
Yes, my main computer is still my late-2013 iMac. It’s still great as my photo editing and video editing (including 4K) machine. How is that possible? It’s simple: it was top of the line when it came out, with a maxed out processor and video processor. The rest was upgraded along the way. My latest upgrade, as I suggested in my previous post on the subject, is the replacement of my Fusion Drive setup (HDD + NVME) with an SSD. I wanted a big SSD, so I could fit all my regular work on the computer, only resorting to external hard drives for the big photo and video files. I also wanted to bypass the whole argument of whether to split or not to split my Mac’s Fusion Drive.
I waited for the SSD prices to come down, so I could get a 4TB SSD at a decent price, which happened in late 2020. I got a SanDisk Ultra 3D NAND SSD at 314 Euro (at the time). Now it’s at $470.

Back in January, I set to work on the upgrade. Those of you who’ve opened up iMacs released from 2012 onward know how much “fun” it is to pry open the adhesive strips that hold the display affixed to the aluminum body. I’ve bypassed all that crap, given how many times I’ve had to open up my iMac, and I use four strips of black electrical tape to hold the display to the case at each of its four corners. It works. It’s not pretty, but it’s not ugly, particularly if you cut the four strips equally and neatly, and you affix them at fairly exact points. You can’t even see them from the front of the computer. The display is black, the tape is black, it blends right in. You only spot them from the back. Anyway, it’s a lot easier for me to open up my iMac than it is for those who stubbornly cling to using the adhesive strips every time (there’s a joke in there somewhere).
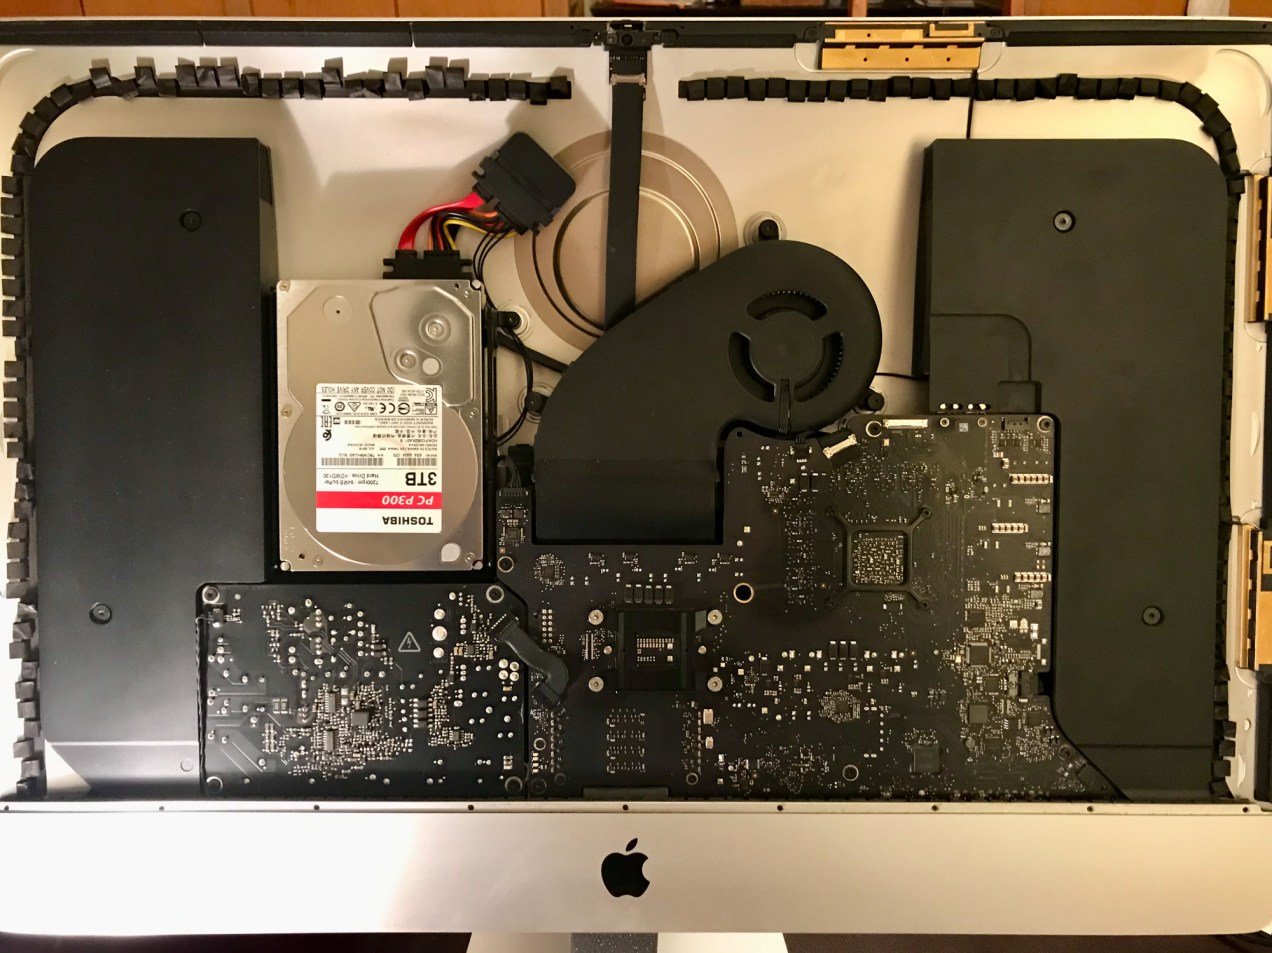
After I opened it, it looked a bit grungy (the fan pulls in a lot of air and dust), and it had been almost a couple of years since I’d last cleaned it thoroughly, so I decided to take the heatsink assembly off the motherboard and replace the thermal paste — give it one last proper once-over, so to speak.

Off came the NVME card and its adapter. Now you can have a proper look at that supposed metal mount for the Apple SSD, which on this iMac is simply set with adhesive on the motherboard. As I said previously, it’s a design flaw, more like an afterthought. There are circuits on the other side of the motherboard going right under the mount, so there’s no way they could have put a proper mount with a flange there. The application of the adhesive was cleaner from the factory, but when I worked on it things got messier.
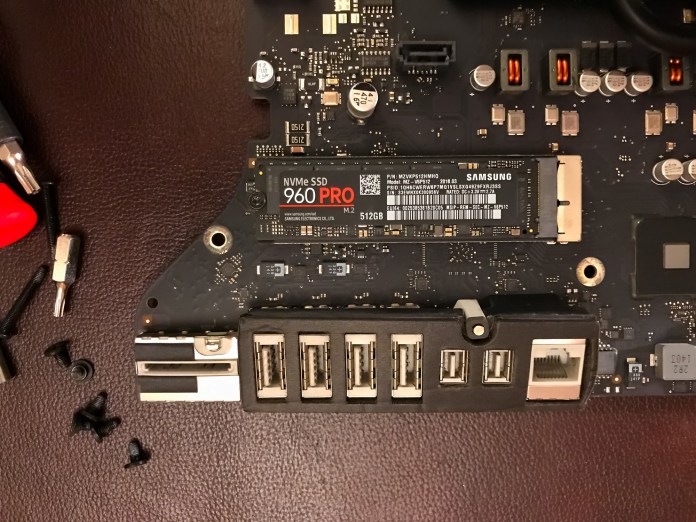
So now, I have no more NVMe SSD, no more Apple SSD, no more Fusion Drive, just one big SSD, plus my external drives. I figured it’d be a simpler setup, and it is.
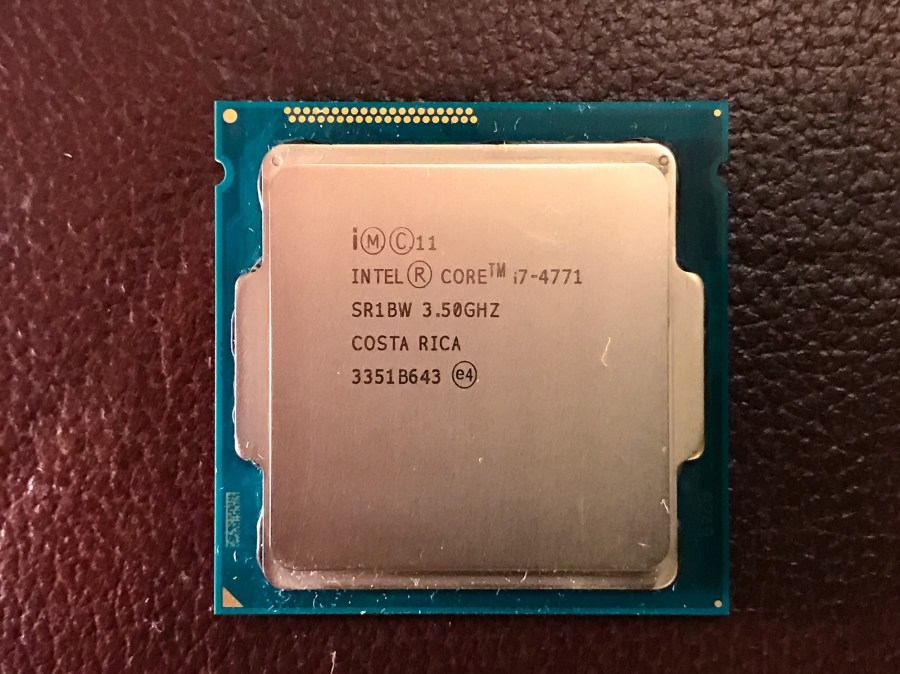
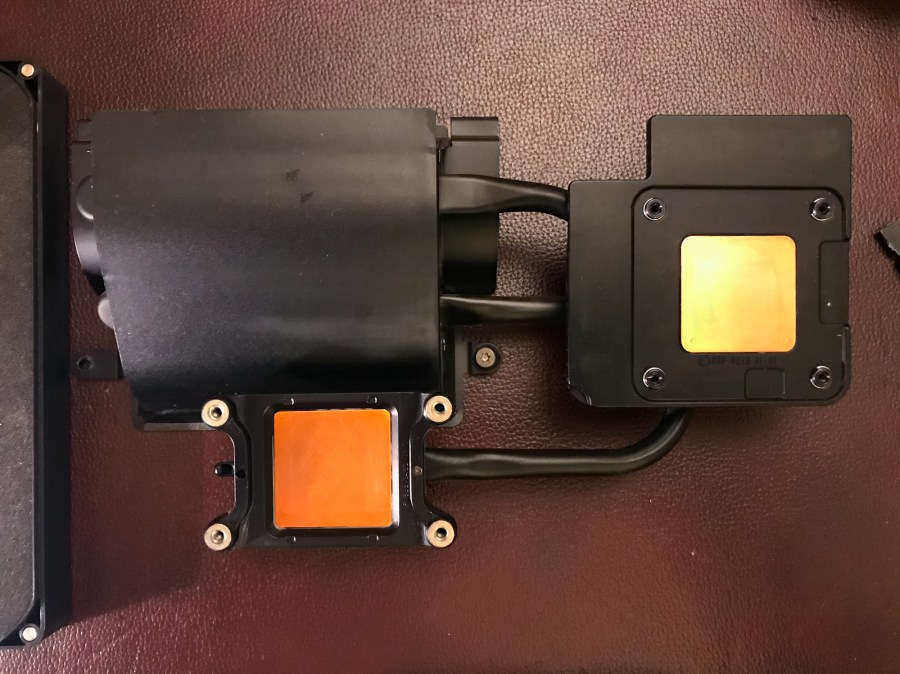
Little did I know when I decided to be thorough with my cleaning, that it was going to be more of an adventure than I bargained for… First, I should set up the double-whammy scenario by saying that the way the heatsink assembly attaches to the motherboard is one of the most awkward and accident-prone setups in hardware design history. If I had put a cuss-count device on my desk as I worked on this stage of the process, and more so, every time I worked on this stage of the process, I’d have surely racked up some serious numbers. Now for the second part of the double-whammy: the way the CPU connects to the socket, which I guess is still part of the heatsink clusterfuck, since the CPU doesn’t sit in its socket without the heatsink, and when you attach the heatsink, the CPU can slide around in its socket, possibly sitting crooked and bending the feck out of the little socket connectors, each of which have specific connections to make and cannot short with each other and cannot be bent in weird ways… aaaaargh, aaaaaargh, well, you get the picture.
So I go through my whole spiel, clean everything up, put everything back together, including the heatsink assembly, tighten up all the screws, put the display back on, confident as ever, and instead of the Apple startup chime, I hear three nasty beeps. The iMac doesn’t boot up. Nothing. I go online and everyone’s posted about the RAM modules not sitting right, about various connectors on the motherboard not being connected properly, not sitting right in their sockets, etc., but EVERYONE forgets about the biggest damned connector on the motherboard not sitting properly in its socket, namely, the CPU! It turned out the reason my iMac wasn’t booting up was the reason no one was talking about: during the heatsink re-assembly, which requires you to do acrobatic work with the motherboard while holding the heatsink in place, flipping and turning the damned thing more than a burned pancake, the CPU somehow shifted about (which it shouldn’t do, because it’s got a very specific spot in there, but it still does, because you have to hold the heatsink over it with your fingers as you flip the motherboard to gain access to the screws from the backside and tighten those as you hold more screws on the other side with your fingers as you tighten them from the other side… anyway, this is so badly designed it’s bound to go wrong, and it definitely went wrong for me.
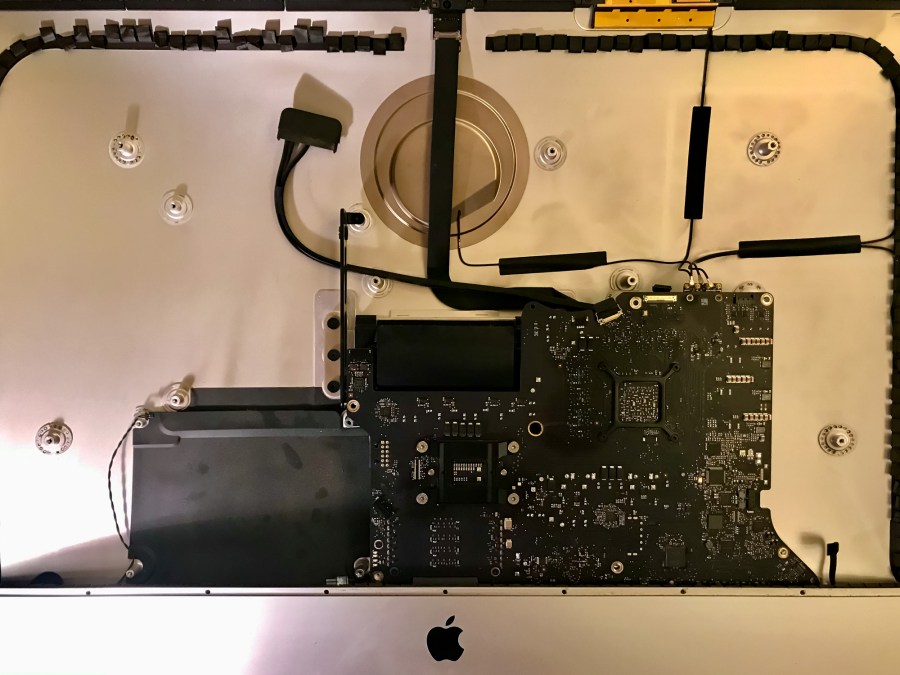
Because I couldn’t find any help for this online, I had to take the whole computer apart while carefully examining every connector and every piece that slid into another piece. Sure enough, after I took apart the heatsink assembly, I found the problem.
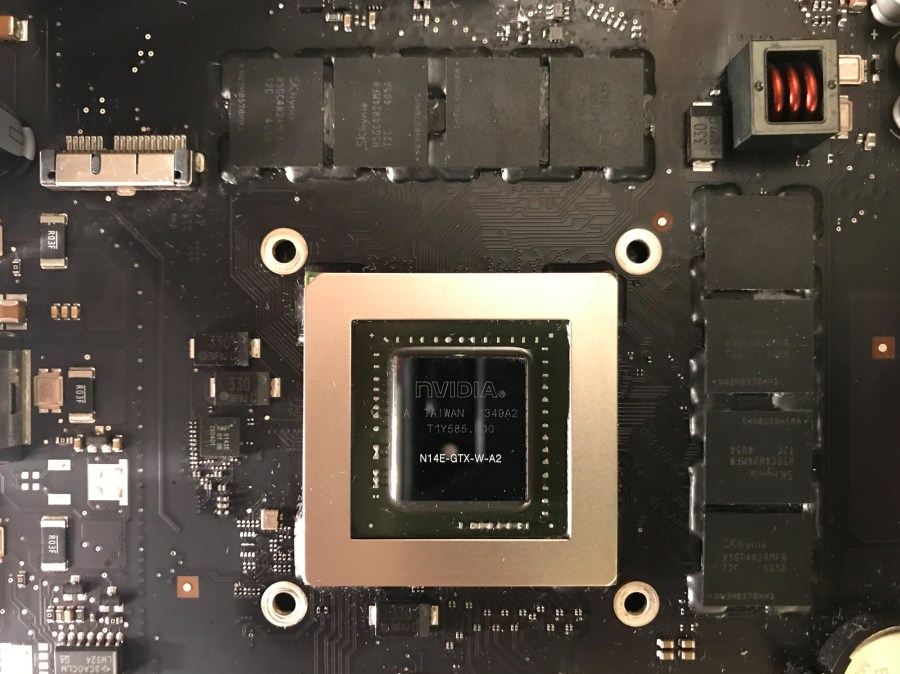
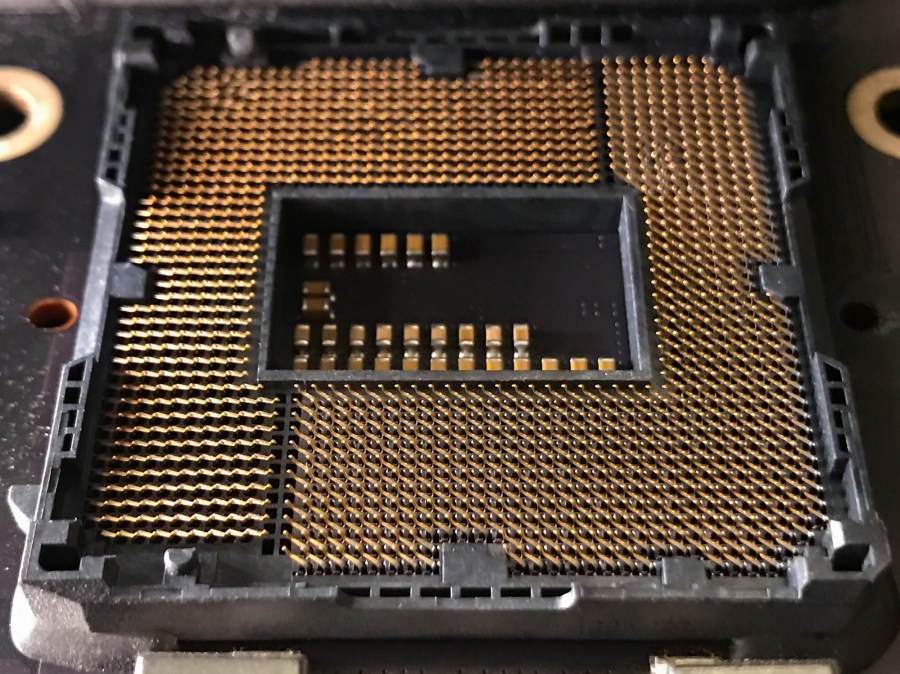
I present to you before and after photos of the CPU socket. The after photo (on the right) may not be perfect, but it works, and it’s after sitting there for about an hour with needle-nose tweezers and a magnifying lens, trying to bend the damned things back into shape and making sure they don’t touch each other.
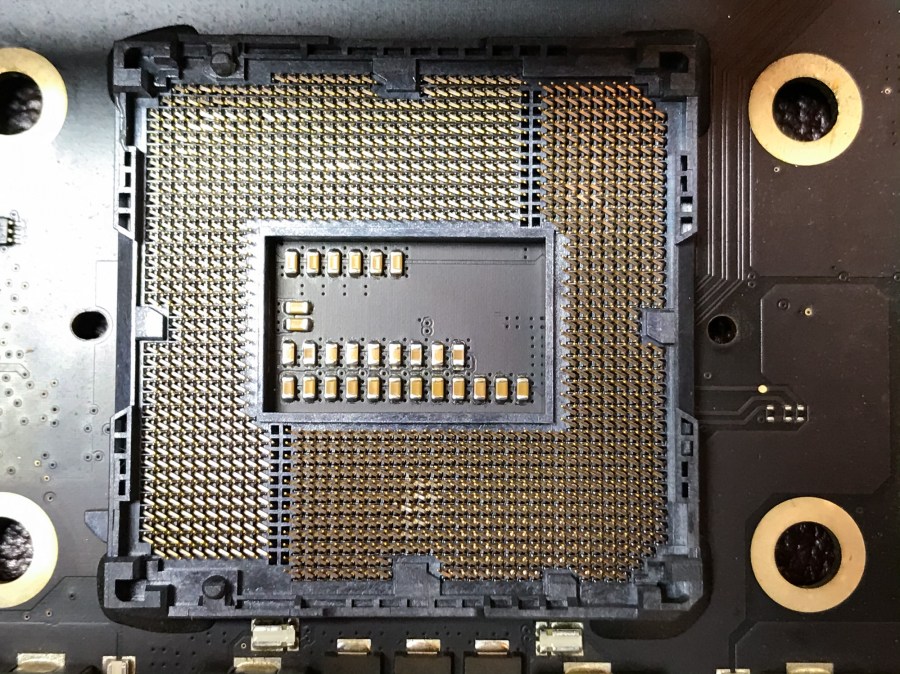
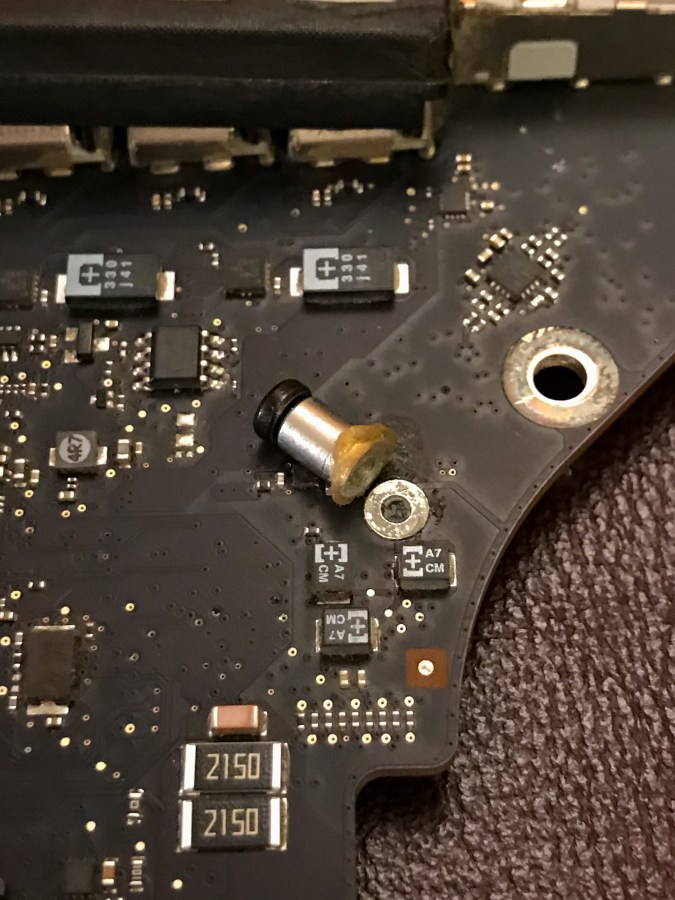
After straightening those bent nose hairs with the tweezers, I began the re-assembly process. Keep in mind I had to clean off the thermal paste and re-apply it (always a fun task). When I tightened up the heatsink screws, that’s when I noticed that one of them was sliding in and out of its threaded socket, which is a big no-no. It means the threads have worn off, which is bound to happen given how much tension the Apple designers designed into the back bracket that holds the heatsink to the motherboard. It’s likely designed to work 2-3 times, and after that it’s anyone’s guess when the threads will strip off.
So what did this mean? I had to find a heatsink assembly on eBay, one that came with all the screws. If you’re also looking for one, be careful, some people only sell the heatsinks, and the set of screws is separate. I wanted the whole thing just in case something else might break on it. I ordered it on the 20th of January from someone in Italy, and because of the COVIDiocy rules in place in Europe it only arrived earlier this month, not quite but almost TWO MONTHS after placing the order.
In the meantime I wanted my computer up and running, so that same night, I took the risk and re-assembled the heatsink with only three working screws. I knew I was running the risk of overheating due to an uneven heat transfer between the chip and the heatsink, but I also suspected the chip had some sort of heat management logic built in, and would probably run at a slower clock speed if it saw a heat spike. Indeed, that’s what happened: my iMac was a little bit slower in the interim.
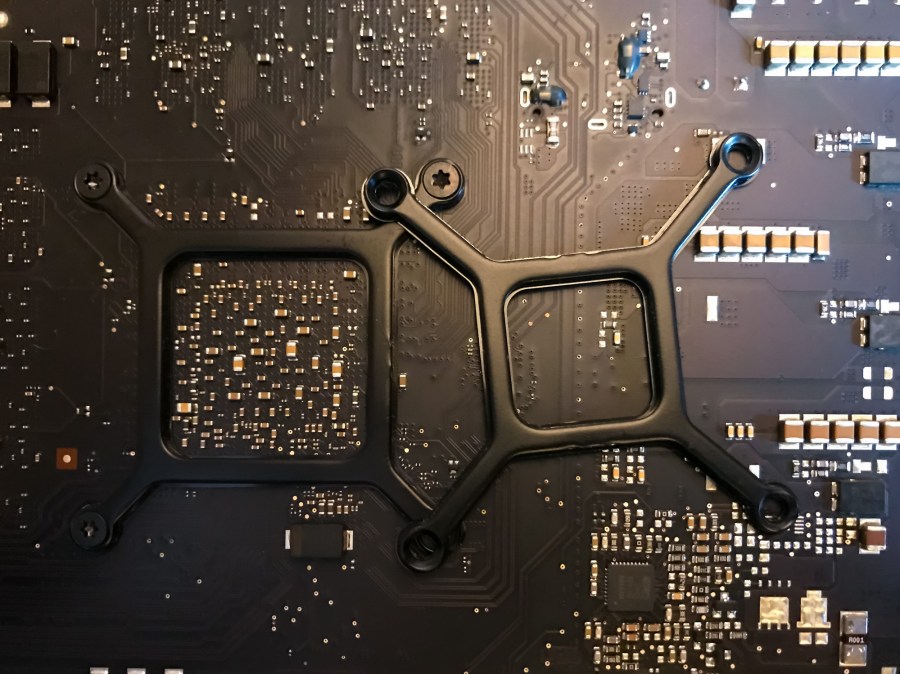
So, I finished re-assembling all the parts and my iMac was back in business, but that wasn’t all of the story, because it would have been too easy… The heatsink assembly arrived, but the back bracket for the graphics chip was too small for my machine (see below). Everything else fitted, but not that. Thankfully, the bracket from my own heatsink worked just fine, but this was yet another kink in the process.
In the course of re-assembly, after once again having to clean off and re-apply the thermal paste, I managed to somehow allow the CPU to re-seat itself in its socket, but this time it was more serious: after re-assembling everything, my computer wouldn’t boot at all and there was a strange humming noise coming from somewhere behind the motherboard. No beeps were given either. This time I didn’t bother to look it up on the internet, I went straight for the carotid, so to speak — right back to the CPU.
I take everything apart and now, not only are those damned little connectors in the socket once again bent in weird ways, but the corners of the CPU are bent, because it was pushed down into the socket by the heatsink after it came loose from its precise slot during re-assembly. If you’re delicate, you may want to skip over the rest of this paragraph. What the hell was I to do? I had nothing to lose. I didn’t know if the CPU would work again, so I took some needle-nose pliers and carefully straightened the corners. Thankfully, there’s a literal safety margin built into the edges of the chip, with no visible circuitry there, just the fiberglass backing (I think). Then I set about re-straightening the little connectors. You would not have wanted to be near me when I did that. So much cussing… I was too busy cussing to take any photos of this step of the process.
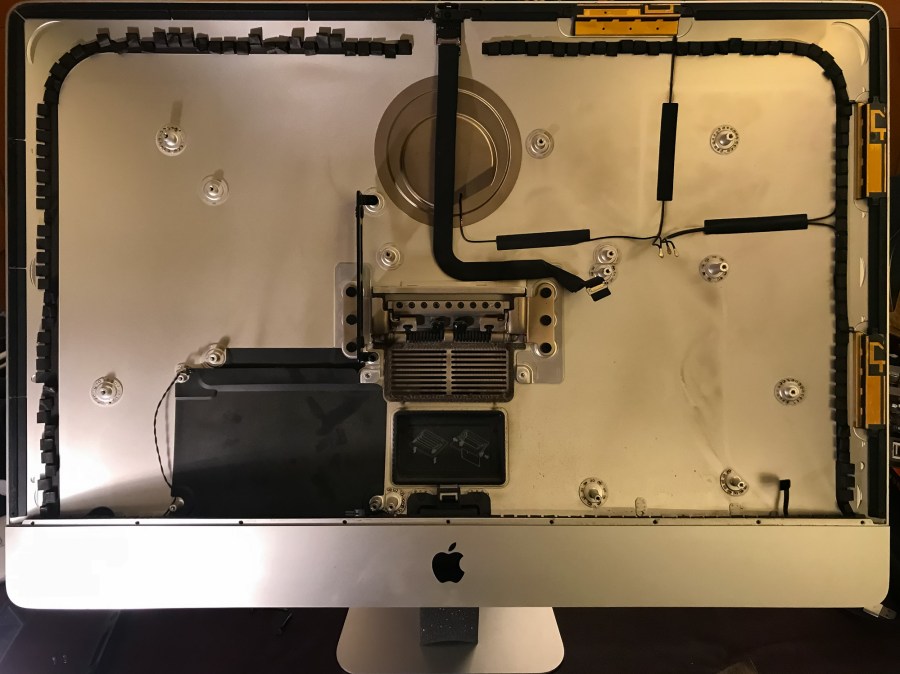
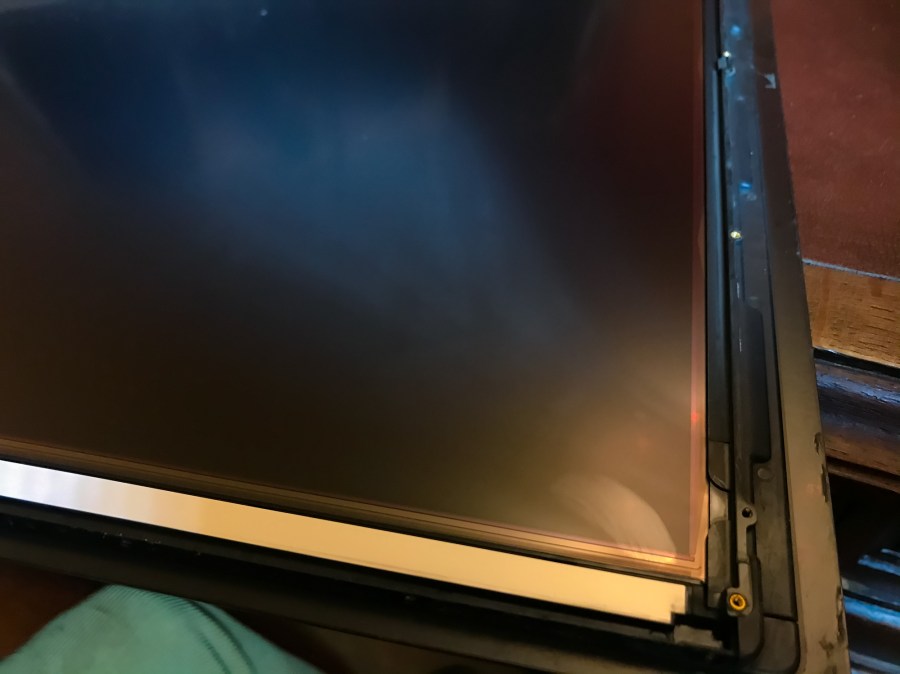
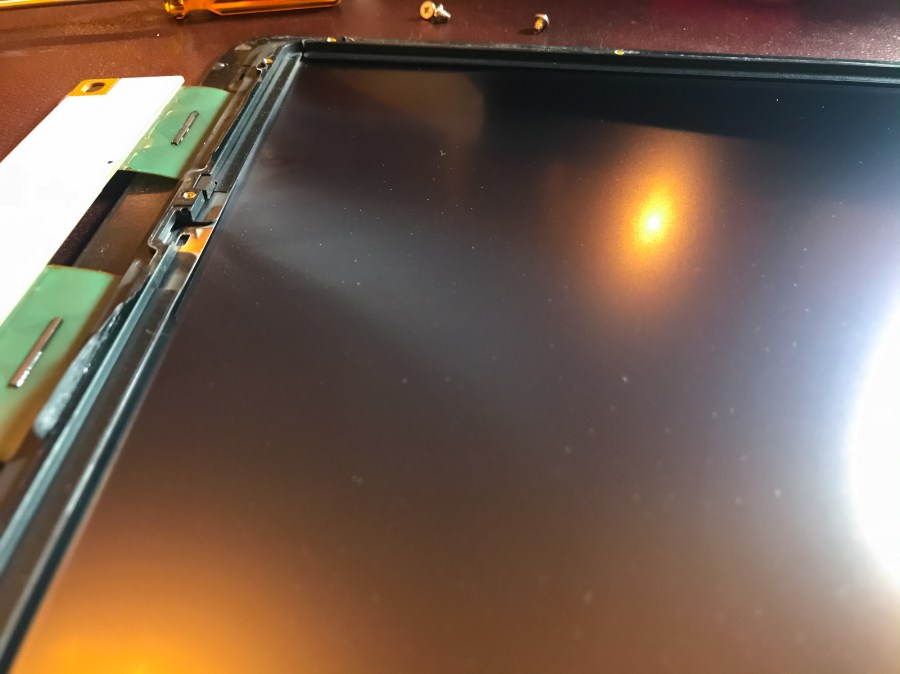
I put it all together again and wonder of wonders, it was booting up just fine. But wait, there’s more… For quite some years now, I’ve been pissed off by some fine dust that’s somehow gotten inside the display assembly and has been showing up in the both lower corners of my display. Now the display assembly itself is sealed with adhesive and with special tape, all around its back. It’s not made to be disassembled by the end-user. It’s made to be replaced. It can only be opened up in a special static-free and dust-free environment. Did I let that stop me? Heck no! I was pissed off by all the dust and I figured now that I tempted fate so many times with my iMac, it was time to tempt it once more by opening up the display. Now if you think, given what I’ve said above, that I surely couldn’t have cussed any more as I was working on the display, you’re wrong. I think it was one long, continuous cuss that just flowed out of me for about the half hour it took to clean the inside of the damned thing.
First, there’s adhesive tape that must be removed, all around the perimeter of the display, while being very careful not to mess with the display wiring harnesses. Also, there are a great many tiny screws, all around the perimeter of the display, that must also be removed. Once that’s done, the metal backing of the display comes off, revealing a stack of plastic sheets of differing transparencies and textures that make up the actual display assembly. Don’t ask me how it works that way. I don’t know. But I do know dust had somehow gotten in there, in-between those plastic sheets, and I needed to clean it off.

Here’s where the static-free and dust-free environment comes in. For as I wiped each of those plastic sheets clean on both sides, with a special dust cloth, they began to attract more dust. Hey, they’re plastic and they get charged with electricity as you wipe them, particularly in the dry late winter/early spring atmosphere. I had a static-free mat, but I couldn’t find the special wire that connects it to the house ground to discharge the static electricity. So I worked as best I could, cleaning each of those plastic sheets from the display sandwich while constantly cussing because I’d bothered with this and because who the feck knew a display was made of semi-transparent plastic sheets that attracted dust like a magnet!
I got it done and put it back together, half-expecting to have screwed it all up, but surprise, surprise, it worked! So now I don’t have those annoying dust spots in the lower corners, but I have a couple of textile fibers, one about 1 cm long and the other about 4 mm long, each about 1/20th of a mm thick, clearly visible in the lower part of the display, plus 5-6 minute specks of dust sprinkled around for good measure.
I hope I never have to open the damned display again, but might have to at some point, given yet another design flaw is clearly apparent here: a factory-sealed display assembly somehow sucked in dust, and now that I’ve had to break the seal to clean it, it’s likely that more dust will get in there.
My computer is working great again and it is back to its normal self. I tested it with Geekbench, and while it was slower in the interim when the CPU couldn’t cool properly, it’s back to its usual perky performance now. I’ve upgraded pretty much everything I could have upgraded on it, so I think the performance I’m getting now is just about all I’ll get from it, and it feels good to know that I’ve squeezed all the practical use out of it. If NVMe storage ever drops in price and increases in capacity to the point where I can get a 4-5 TB module for the price that I got my SSD now, given the huge increase in speed between a regular SSD and an NVMe, I might spring for one, but I don’t know if the iMac can truly handle those speeds. There might be a bottleneck somewhere, perhaps in the SATA connection itself, in the bus, who knows… I also don’t know how much longer it’ll last and if it breaks, what will break and whether it’ll make sense to replace that part, at that time. I am happy though, knowing I’ve made very good use of it while it worked.
Discover more from Raoul Pop
Subscribe to get the latest posts sent to your email.
