
I have a fully functional MacBook Pro made in early 2008 (model A1260). While it’s fairly slow when editing photos and I wouldn’t try to edit 1080p video on it, it’s just fine for word processing, web and email. It has become slow over time, as is the case with older hardware, so I thought I’d give it an upgrade. Since I maxed it out when I bought it, the only upgrade I could give it now was to switch the HDD with an SSD.
This MBP was my main computer for a number of years. I really put it through its paces during its heyday, and by that I mean the sound of its little fans going into overdrive to cool its chips isn’t a rare memory for me. When I bought an iMac, the MacBook Pro became my wife’s laptop, and she used it to write quite a few of her published books on it. Fortunately, I did something few people do with their laptops: I bought an aluminum stand for it right after I bought it, and we’ve used it (mostly) with that stand through all these years. I believe that’s what’s made the difference in its longevity.
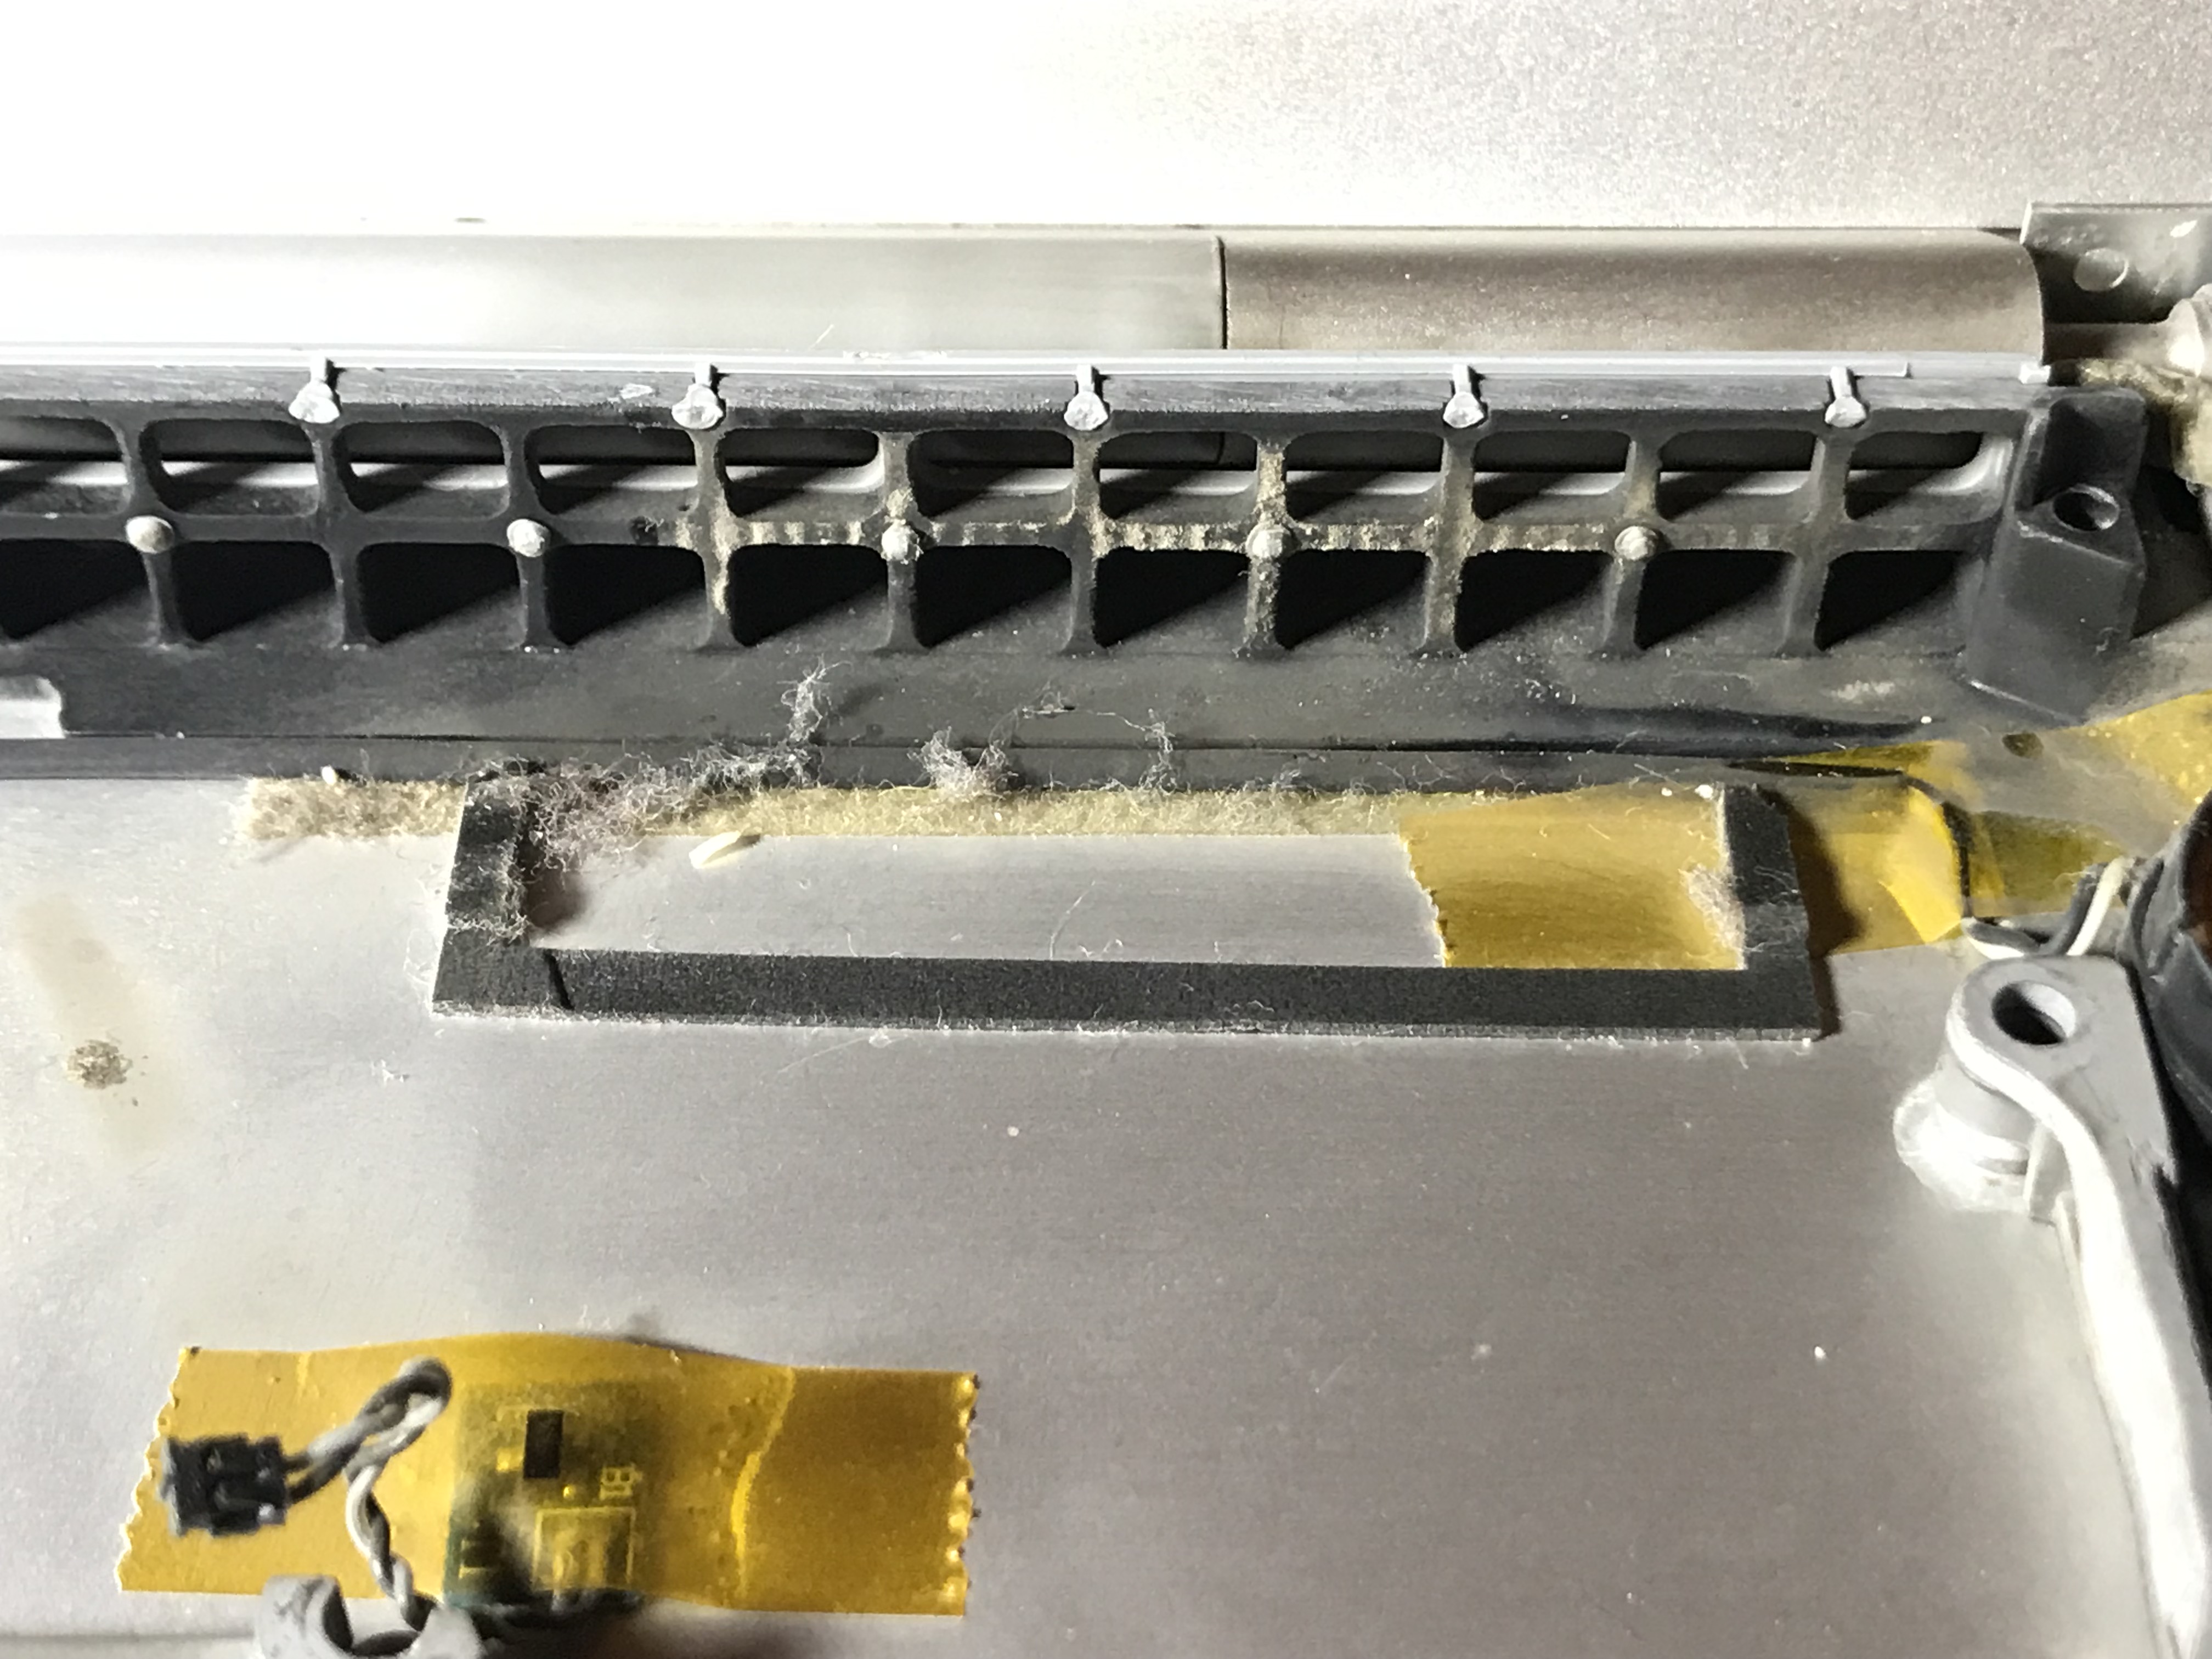
When you use a laptop on your lap, you are shortening its life considerably, in spite of what its name (lap-top) implies. A laptop needs to stay cool, and making it work very hard to achieve that while it’s pulling lint and crumbs from your lap through its air intake, just isn’t going to do it long-term. Its chips will overheat and in the end give out, as I’m sure has been the experience of many people.
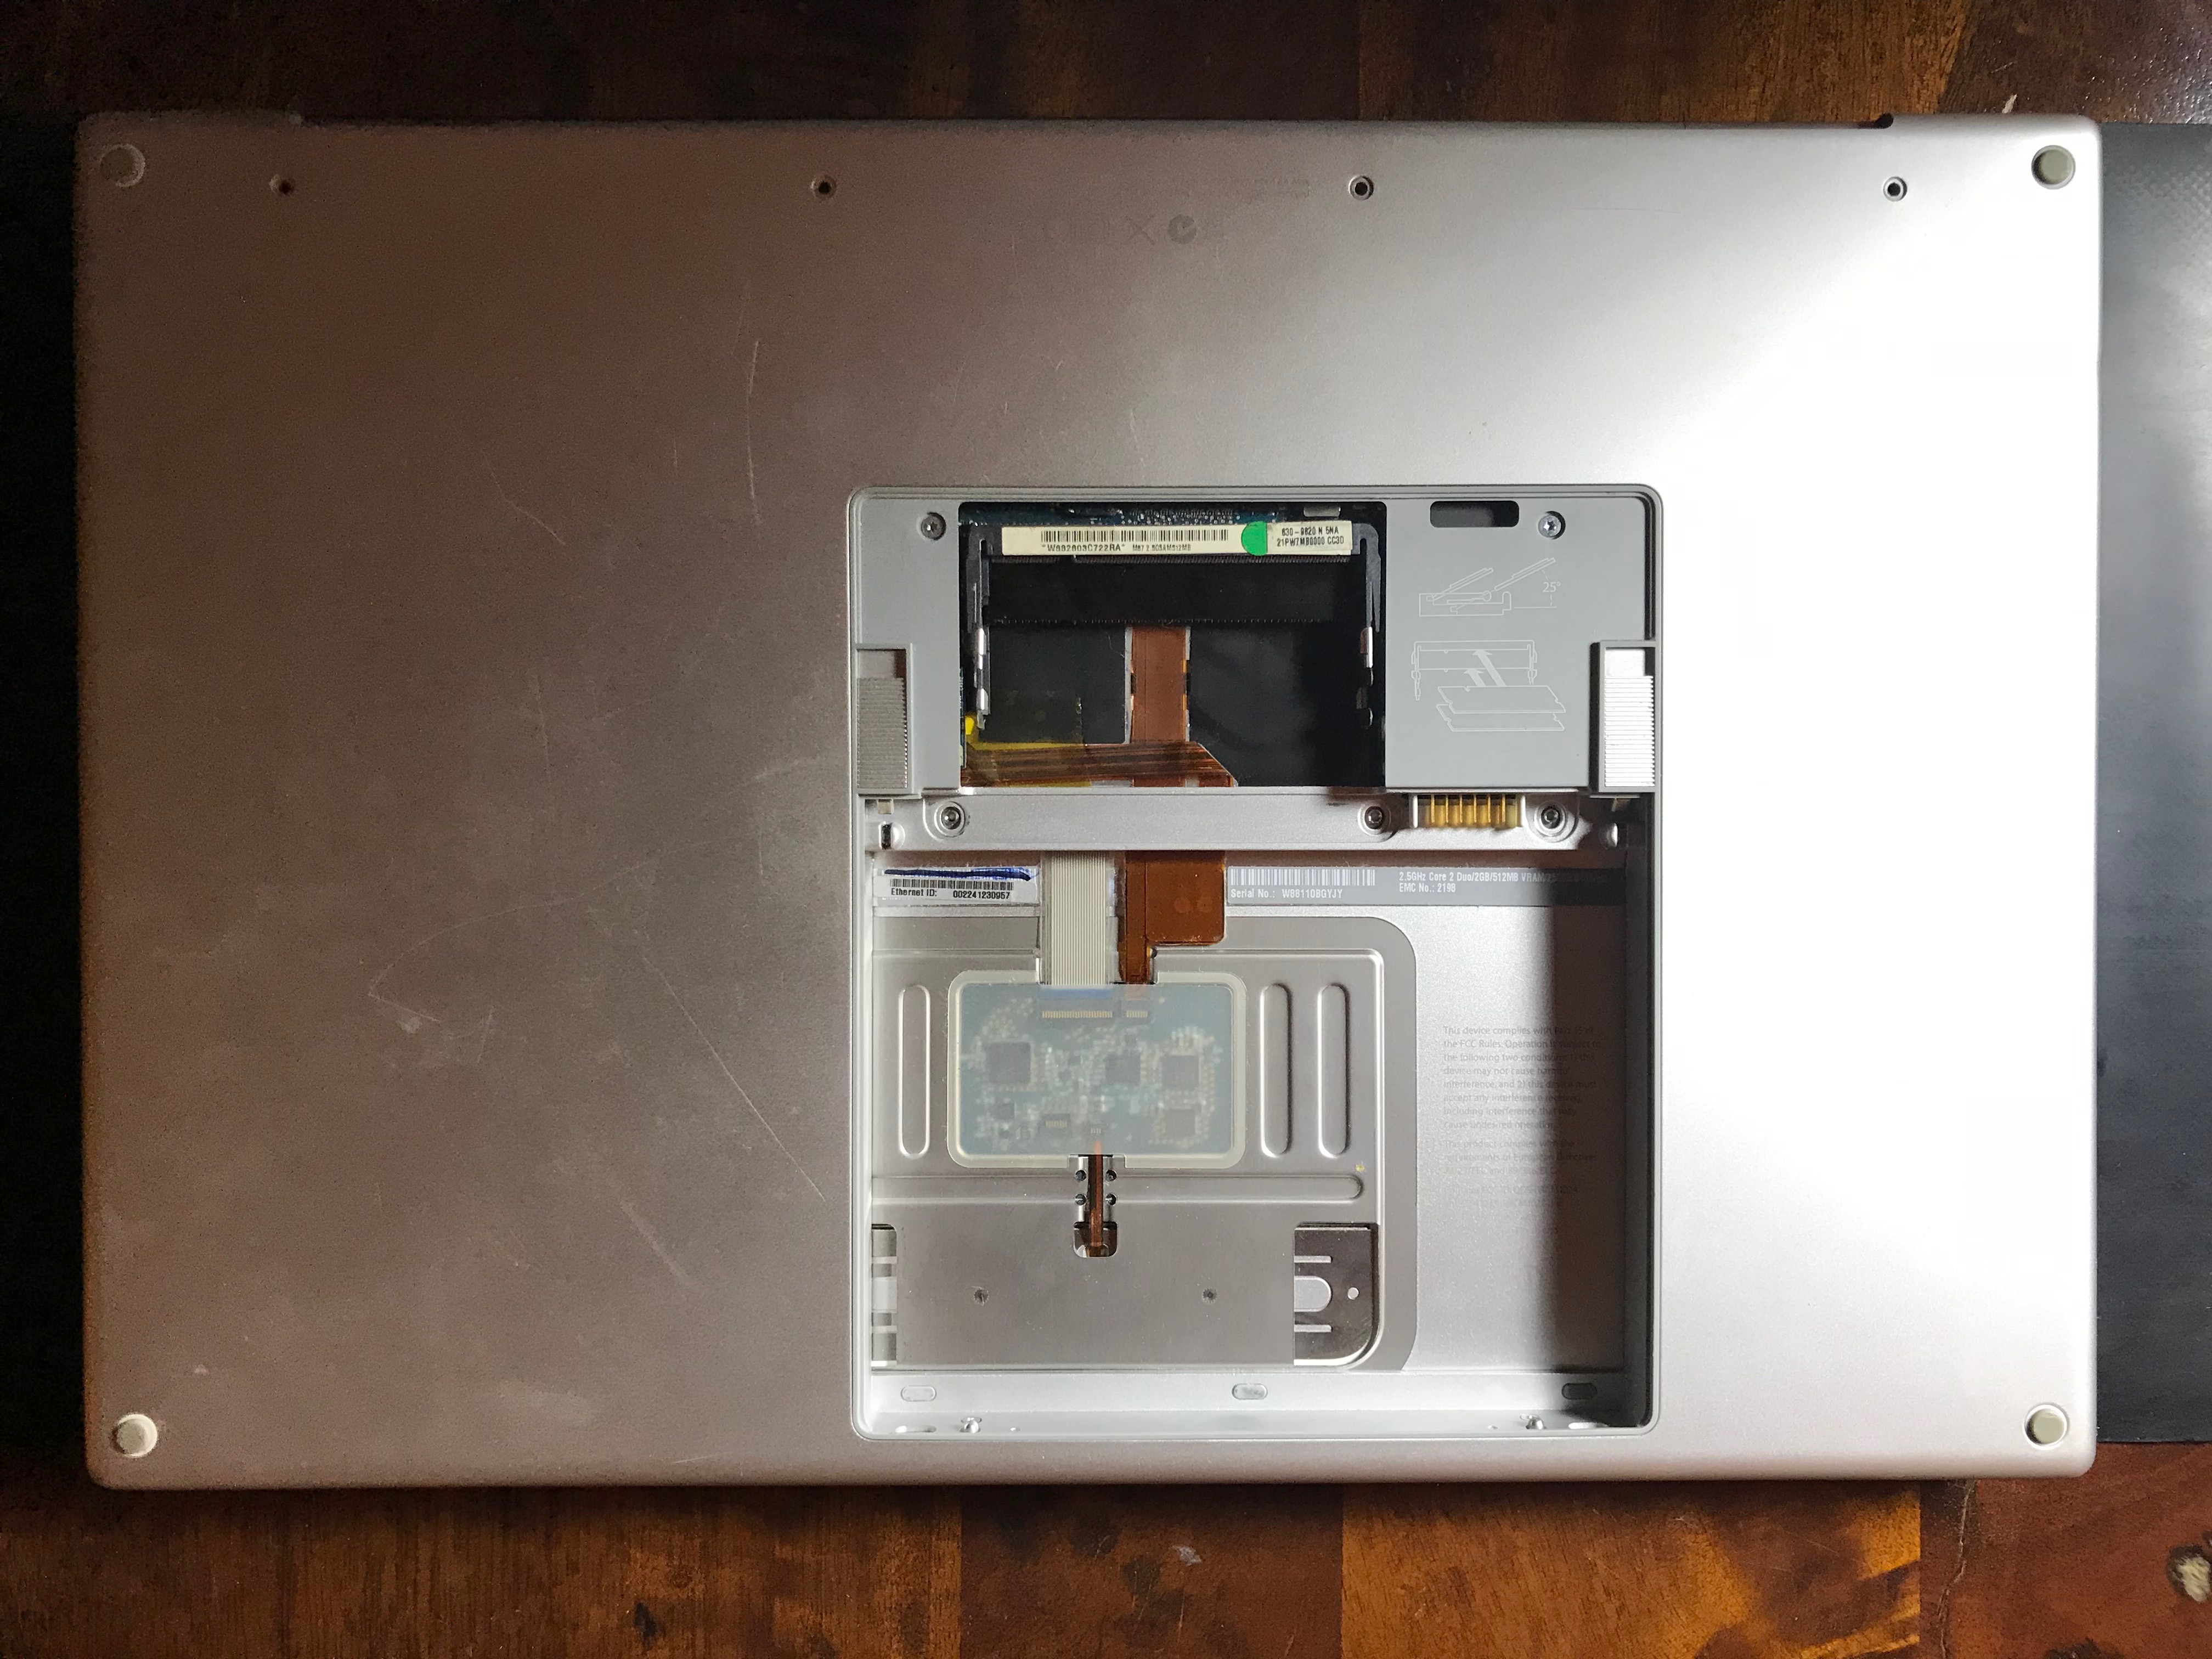
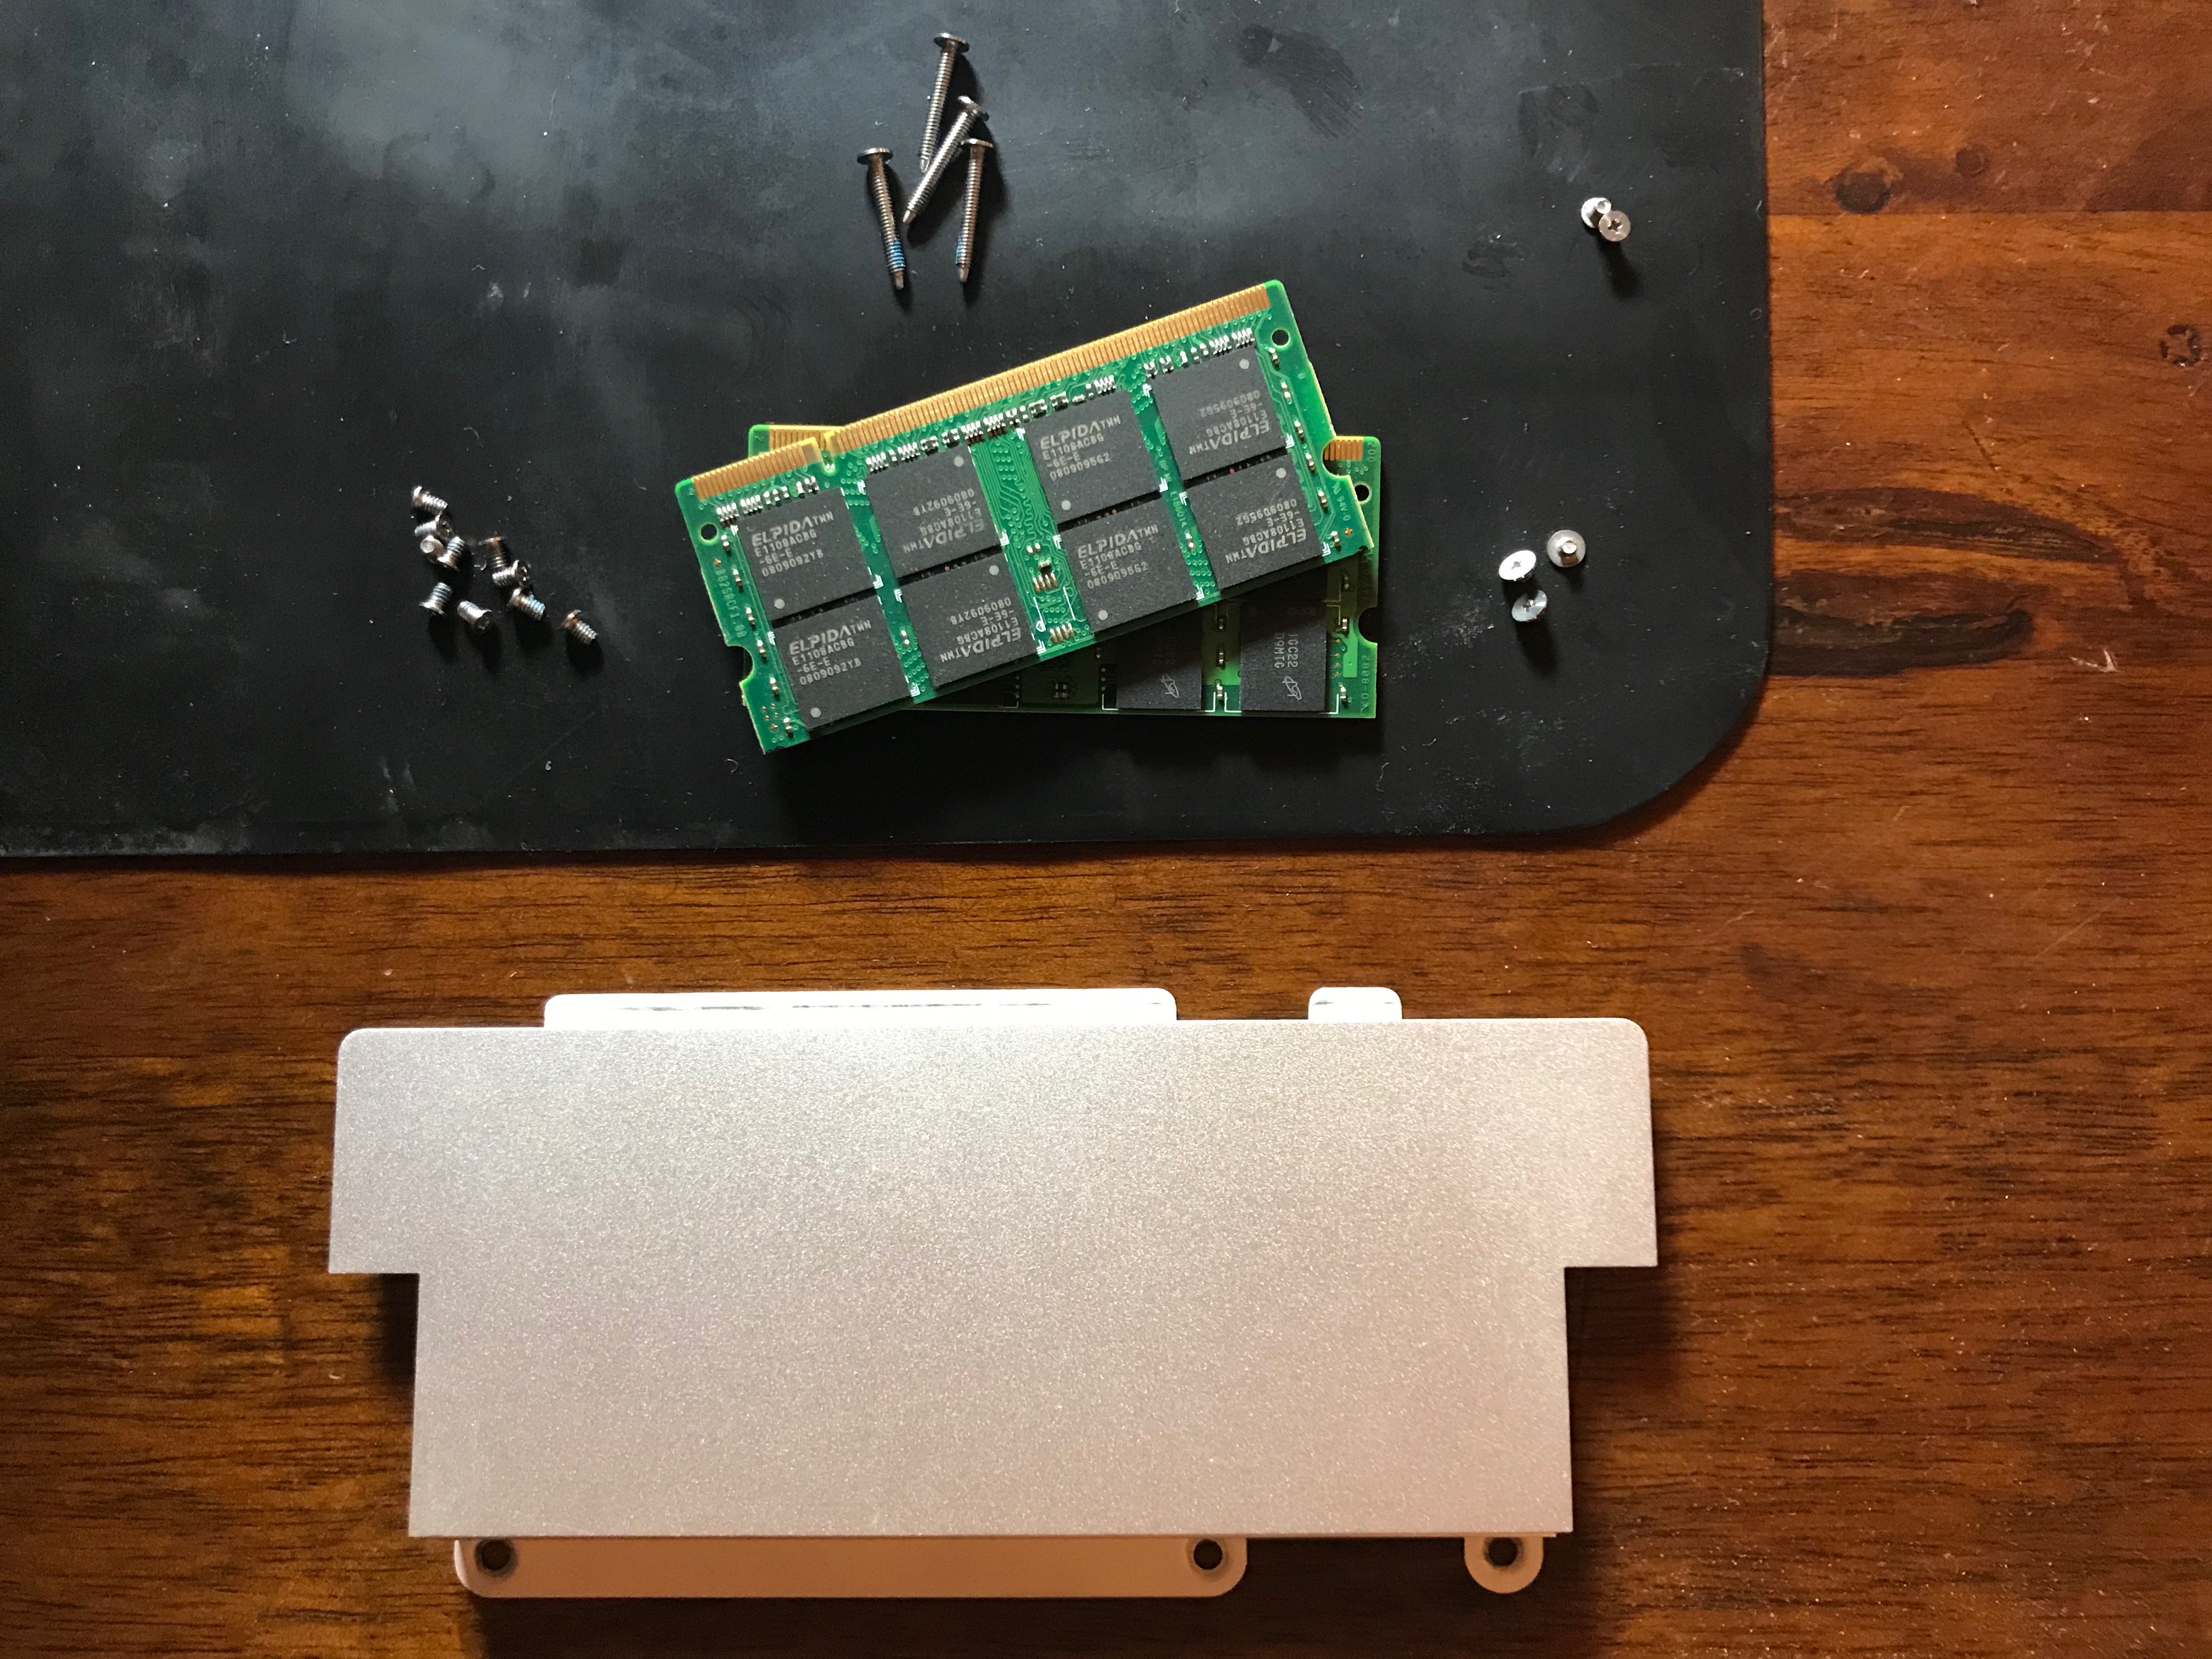
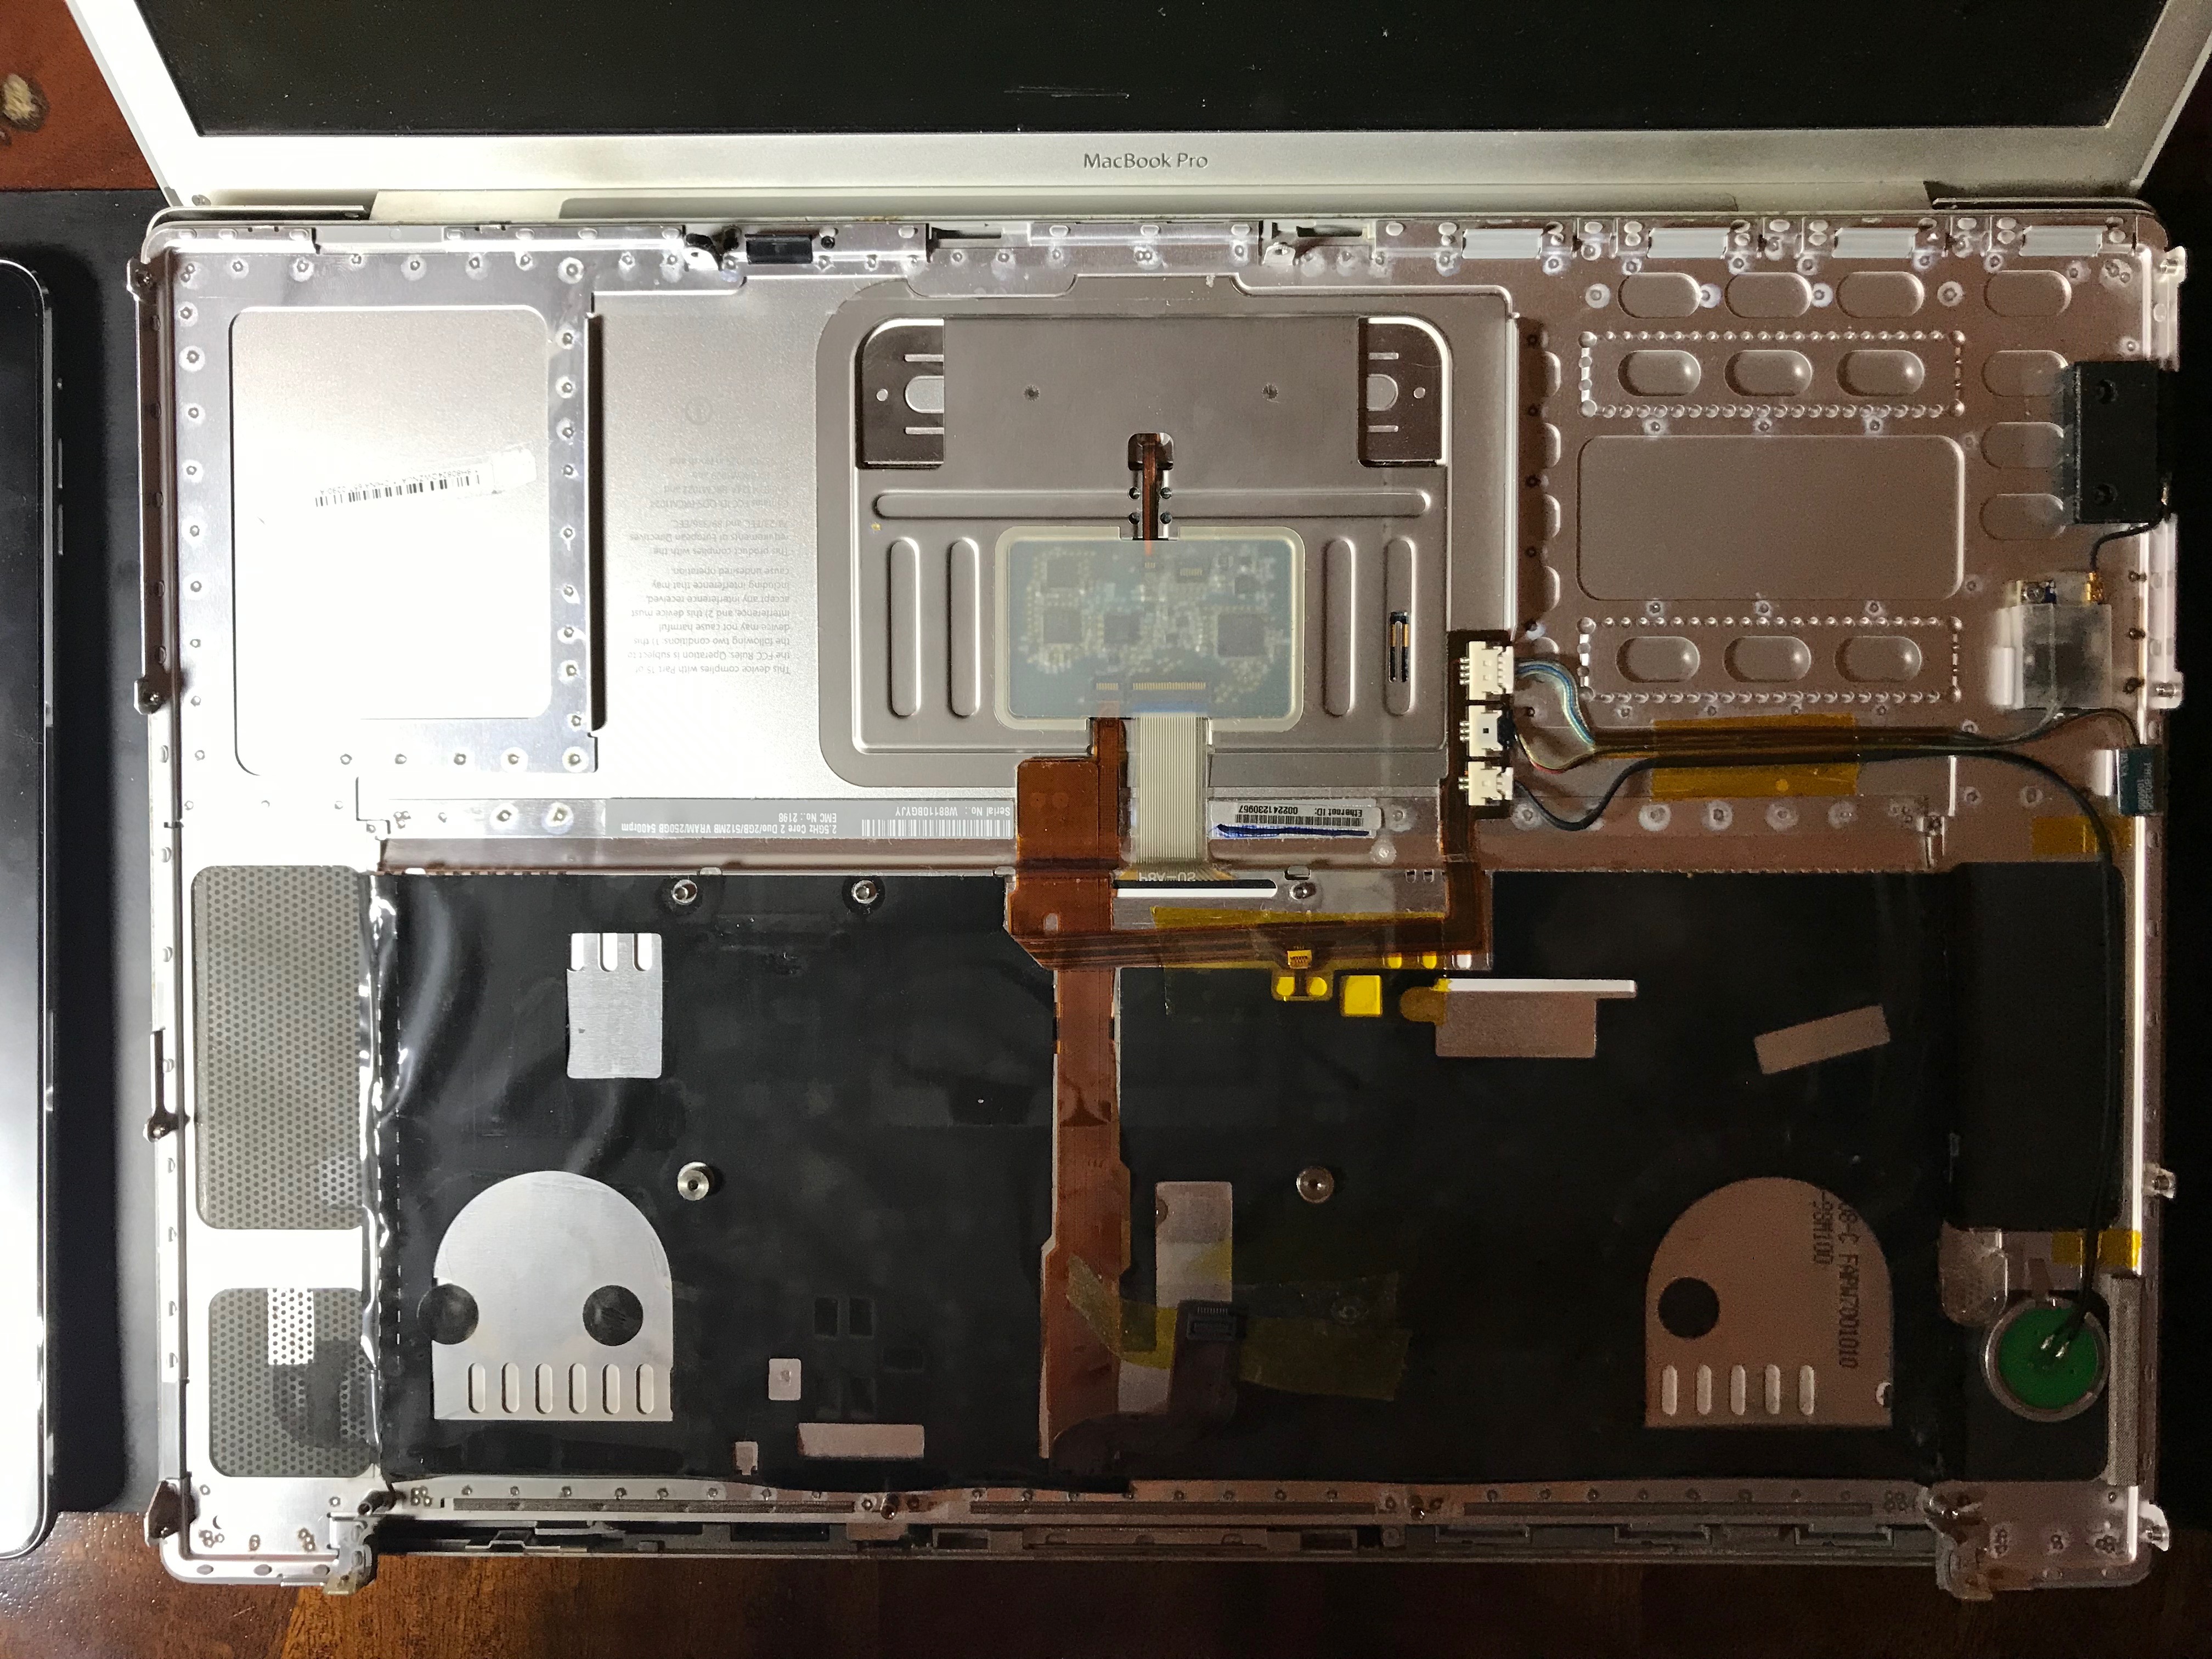
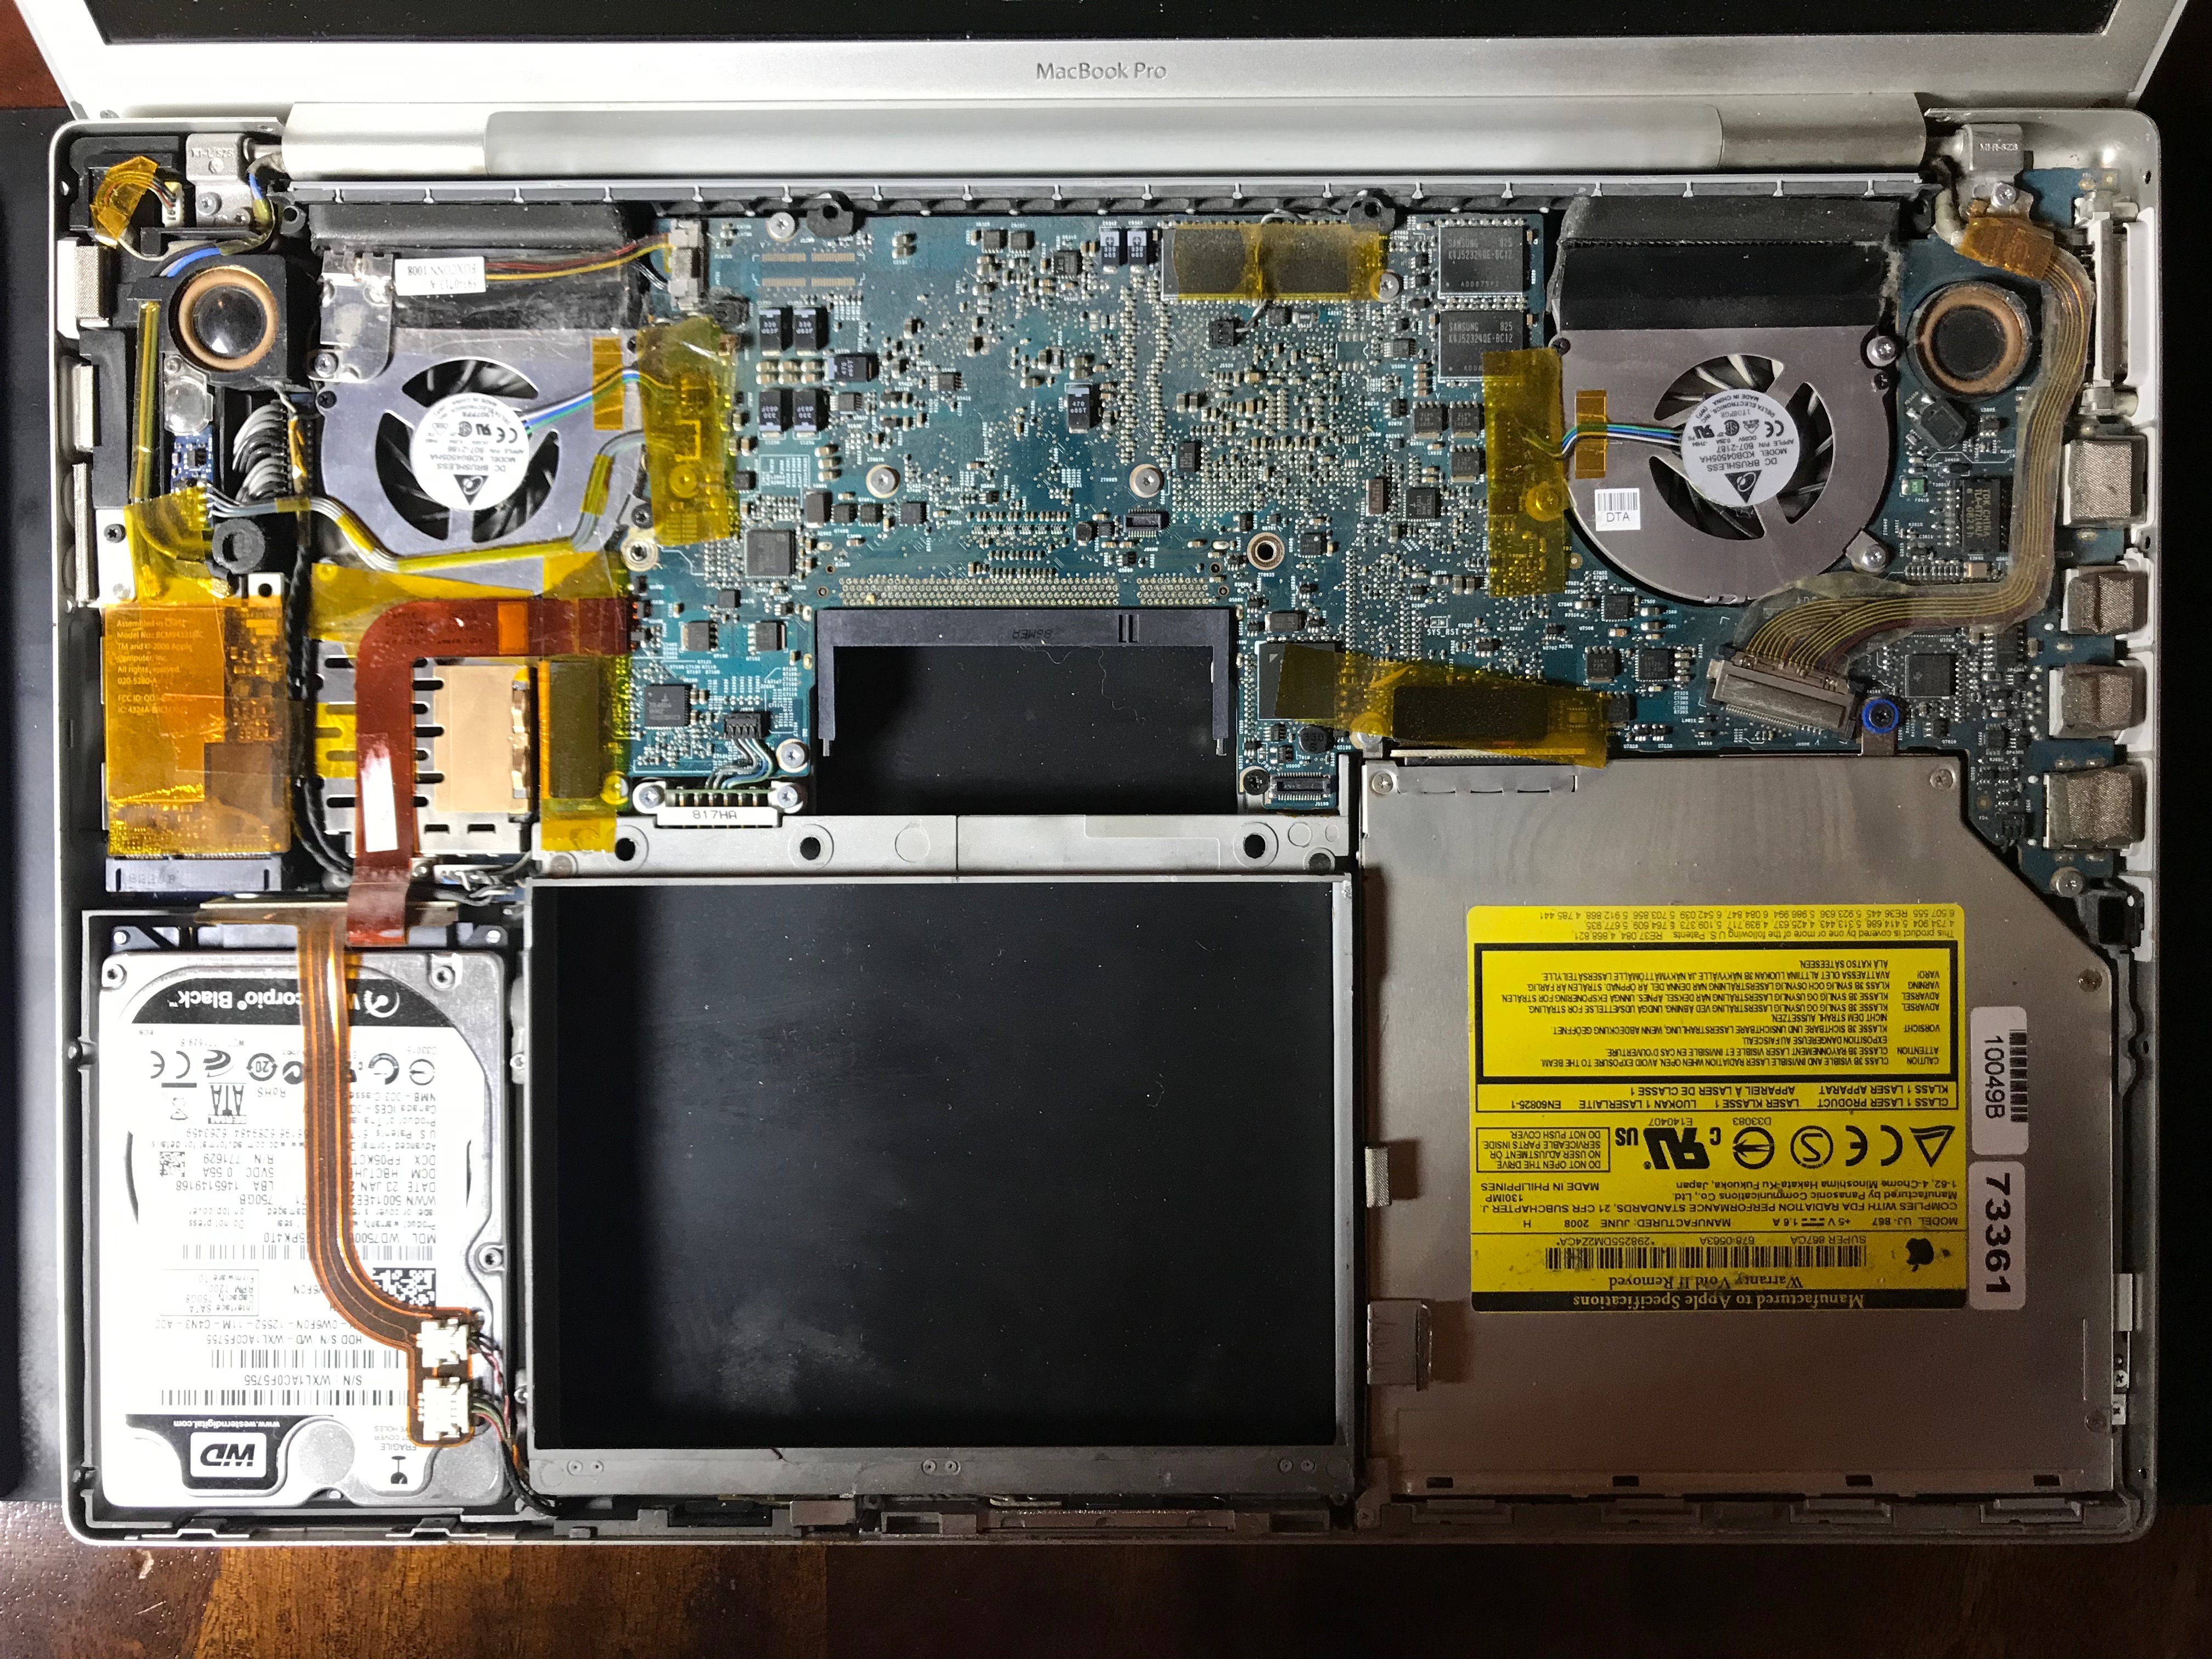
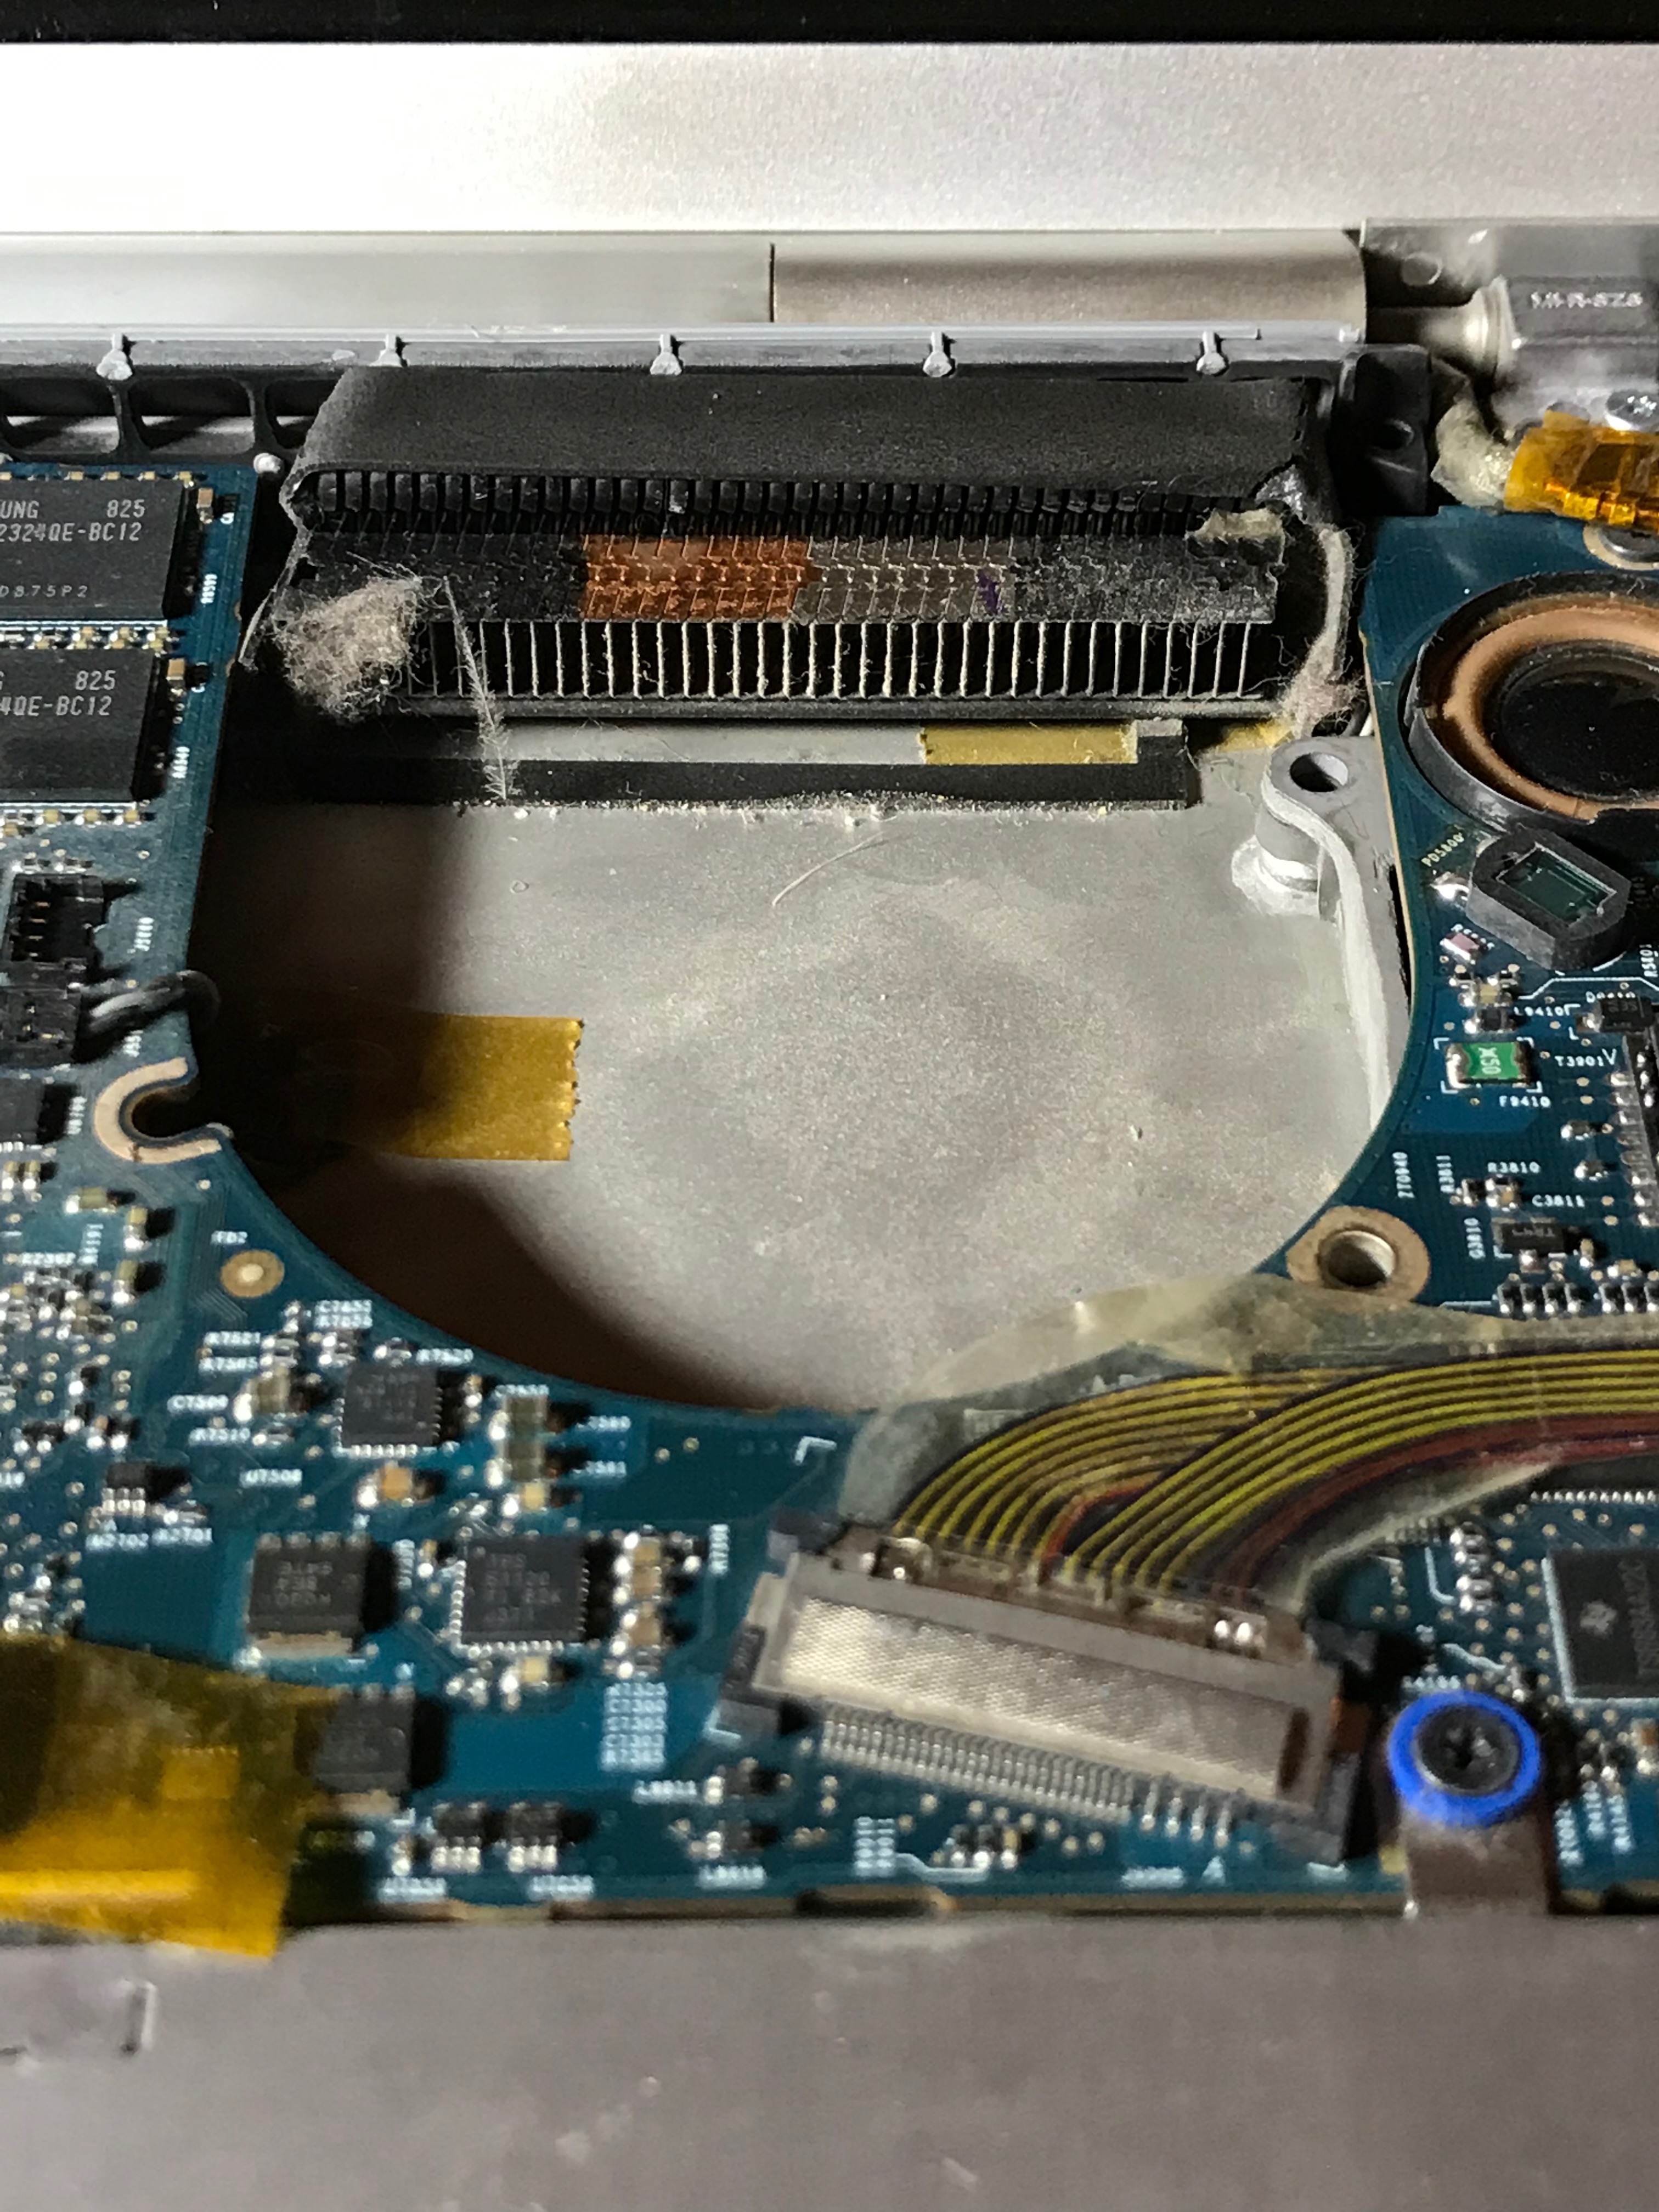
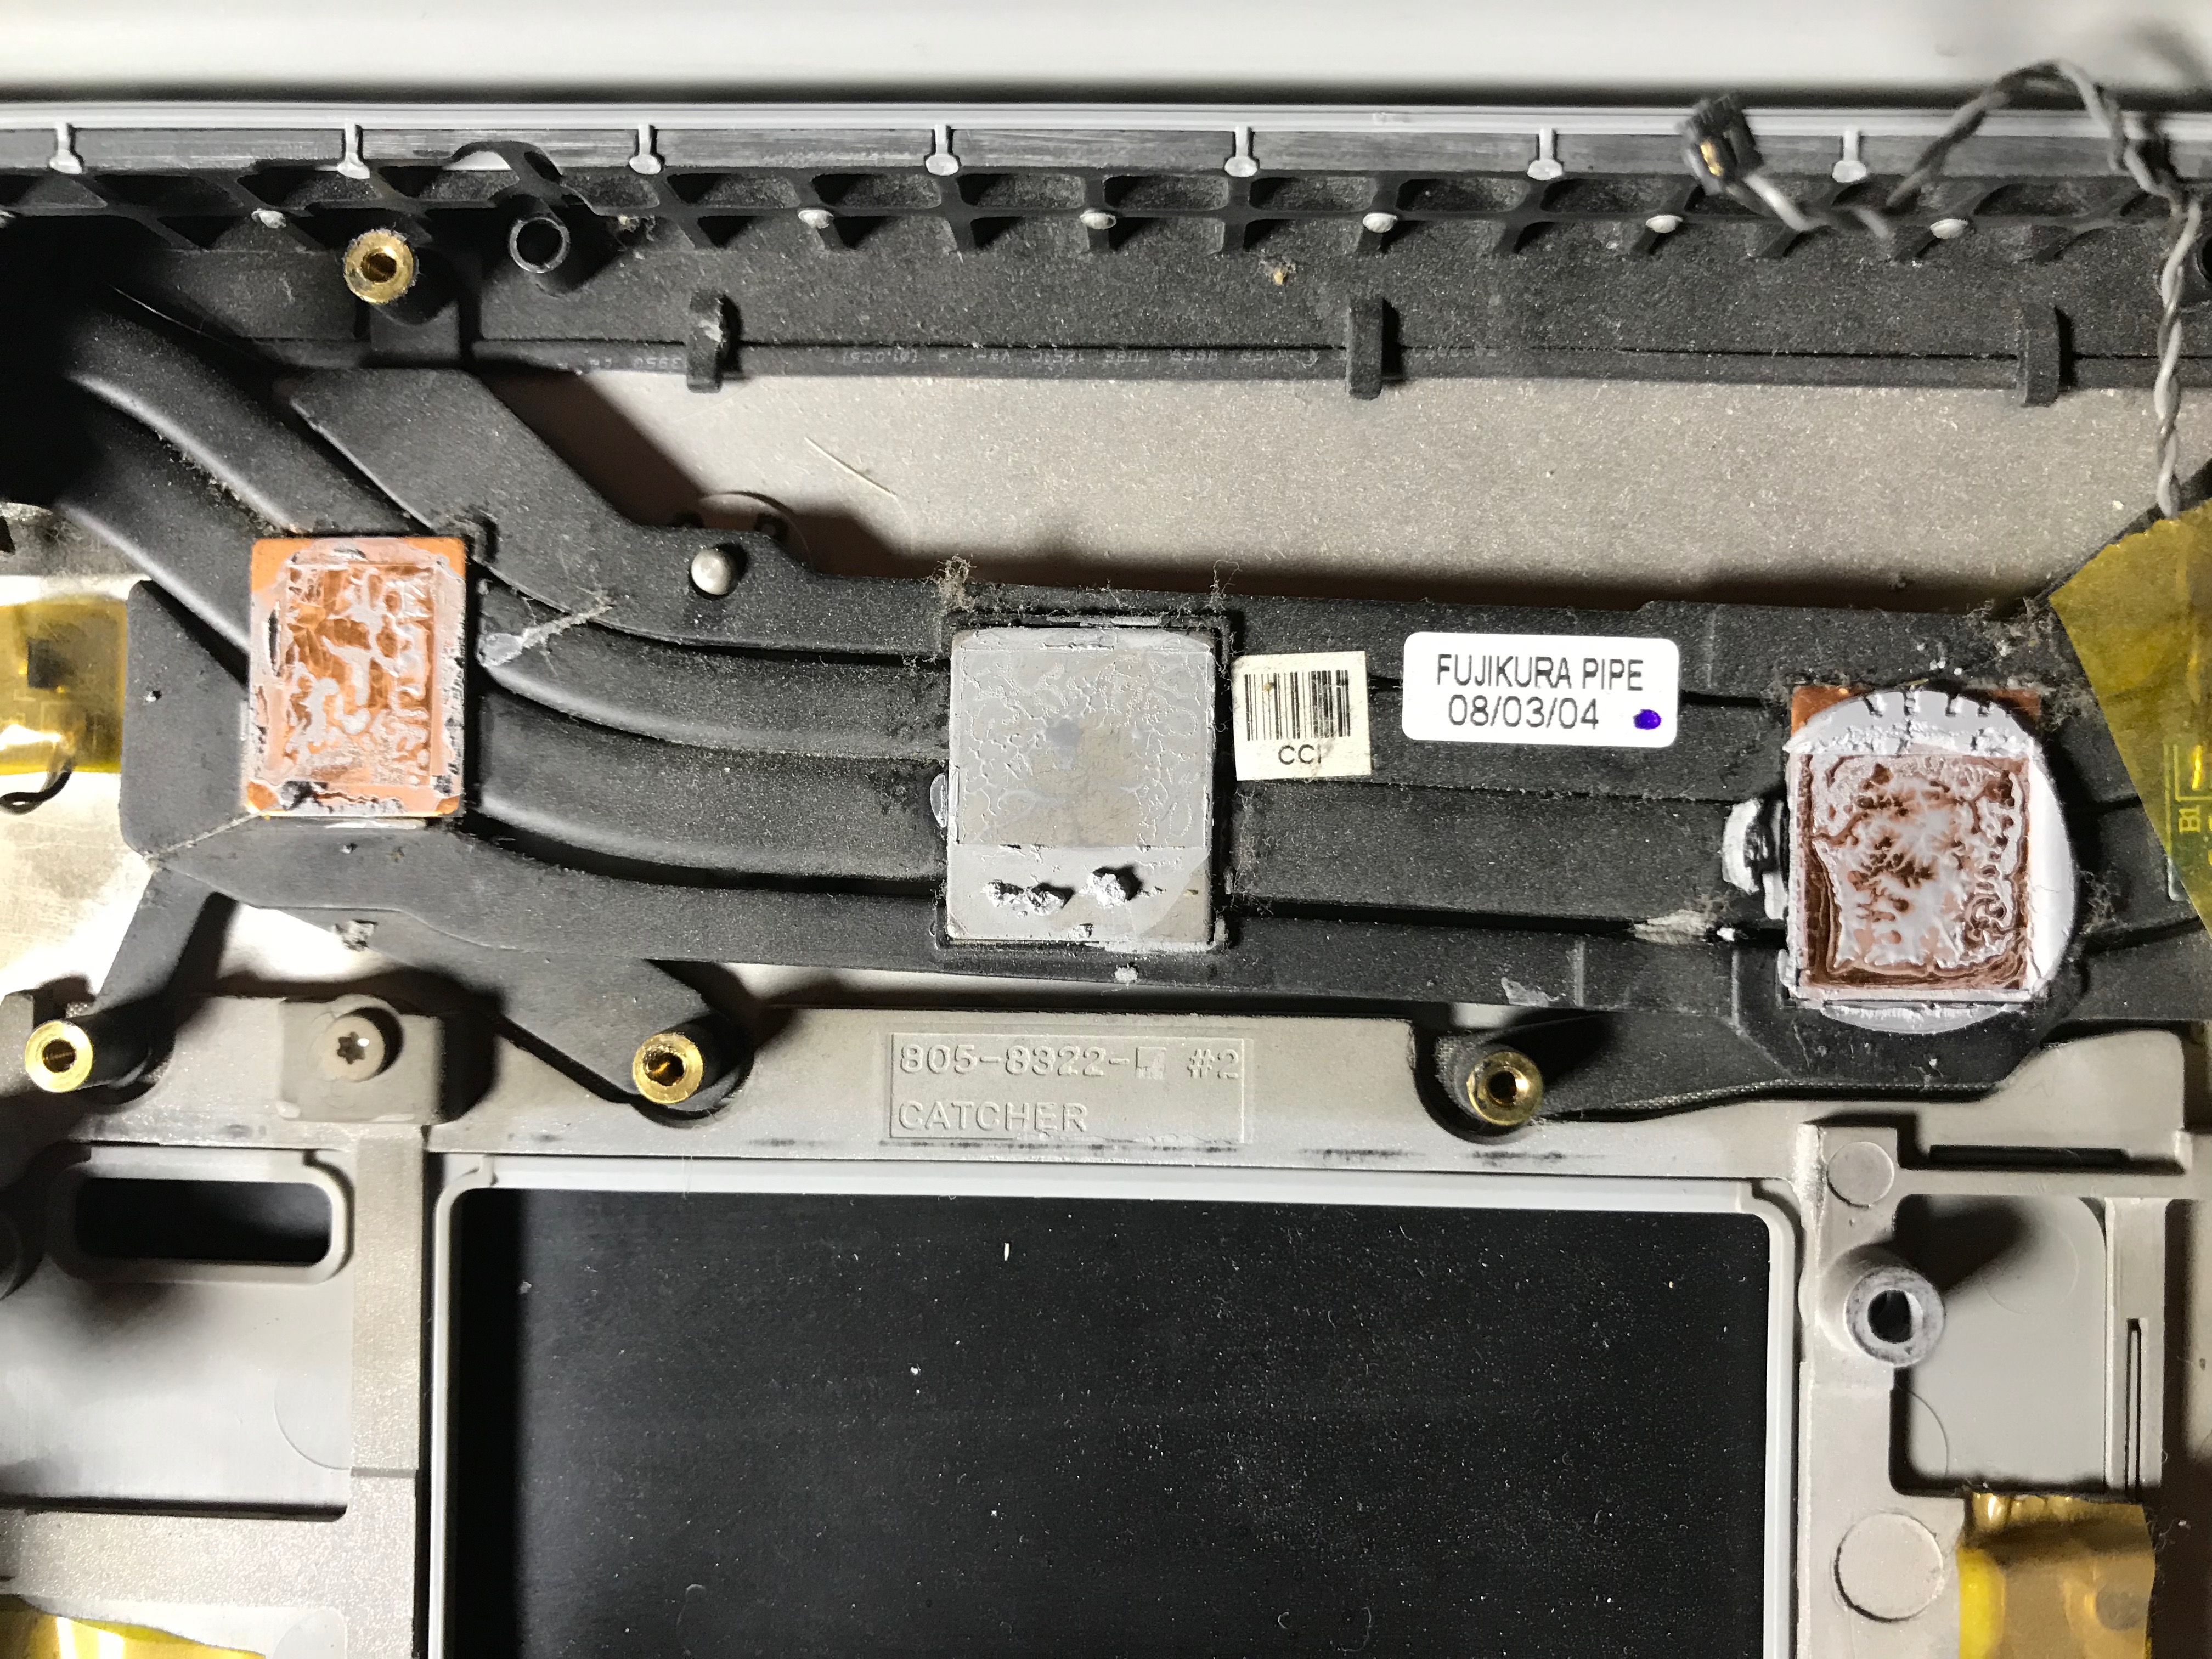
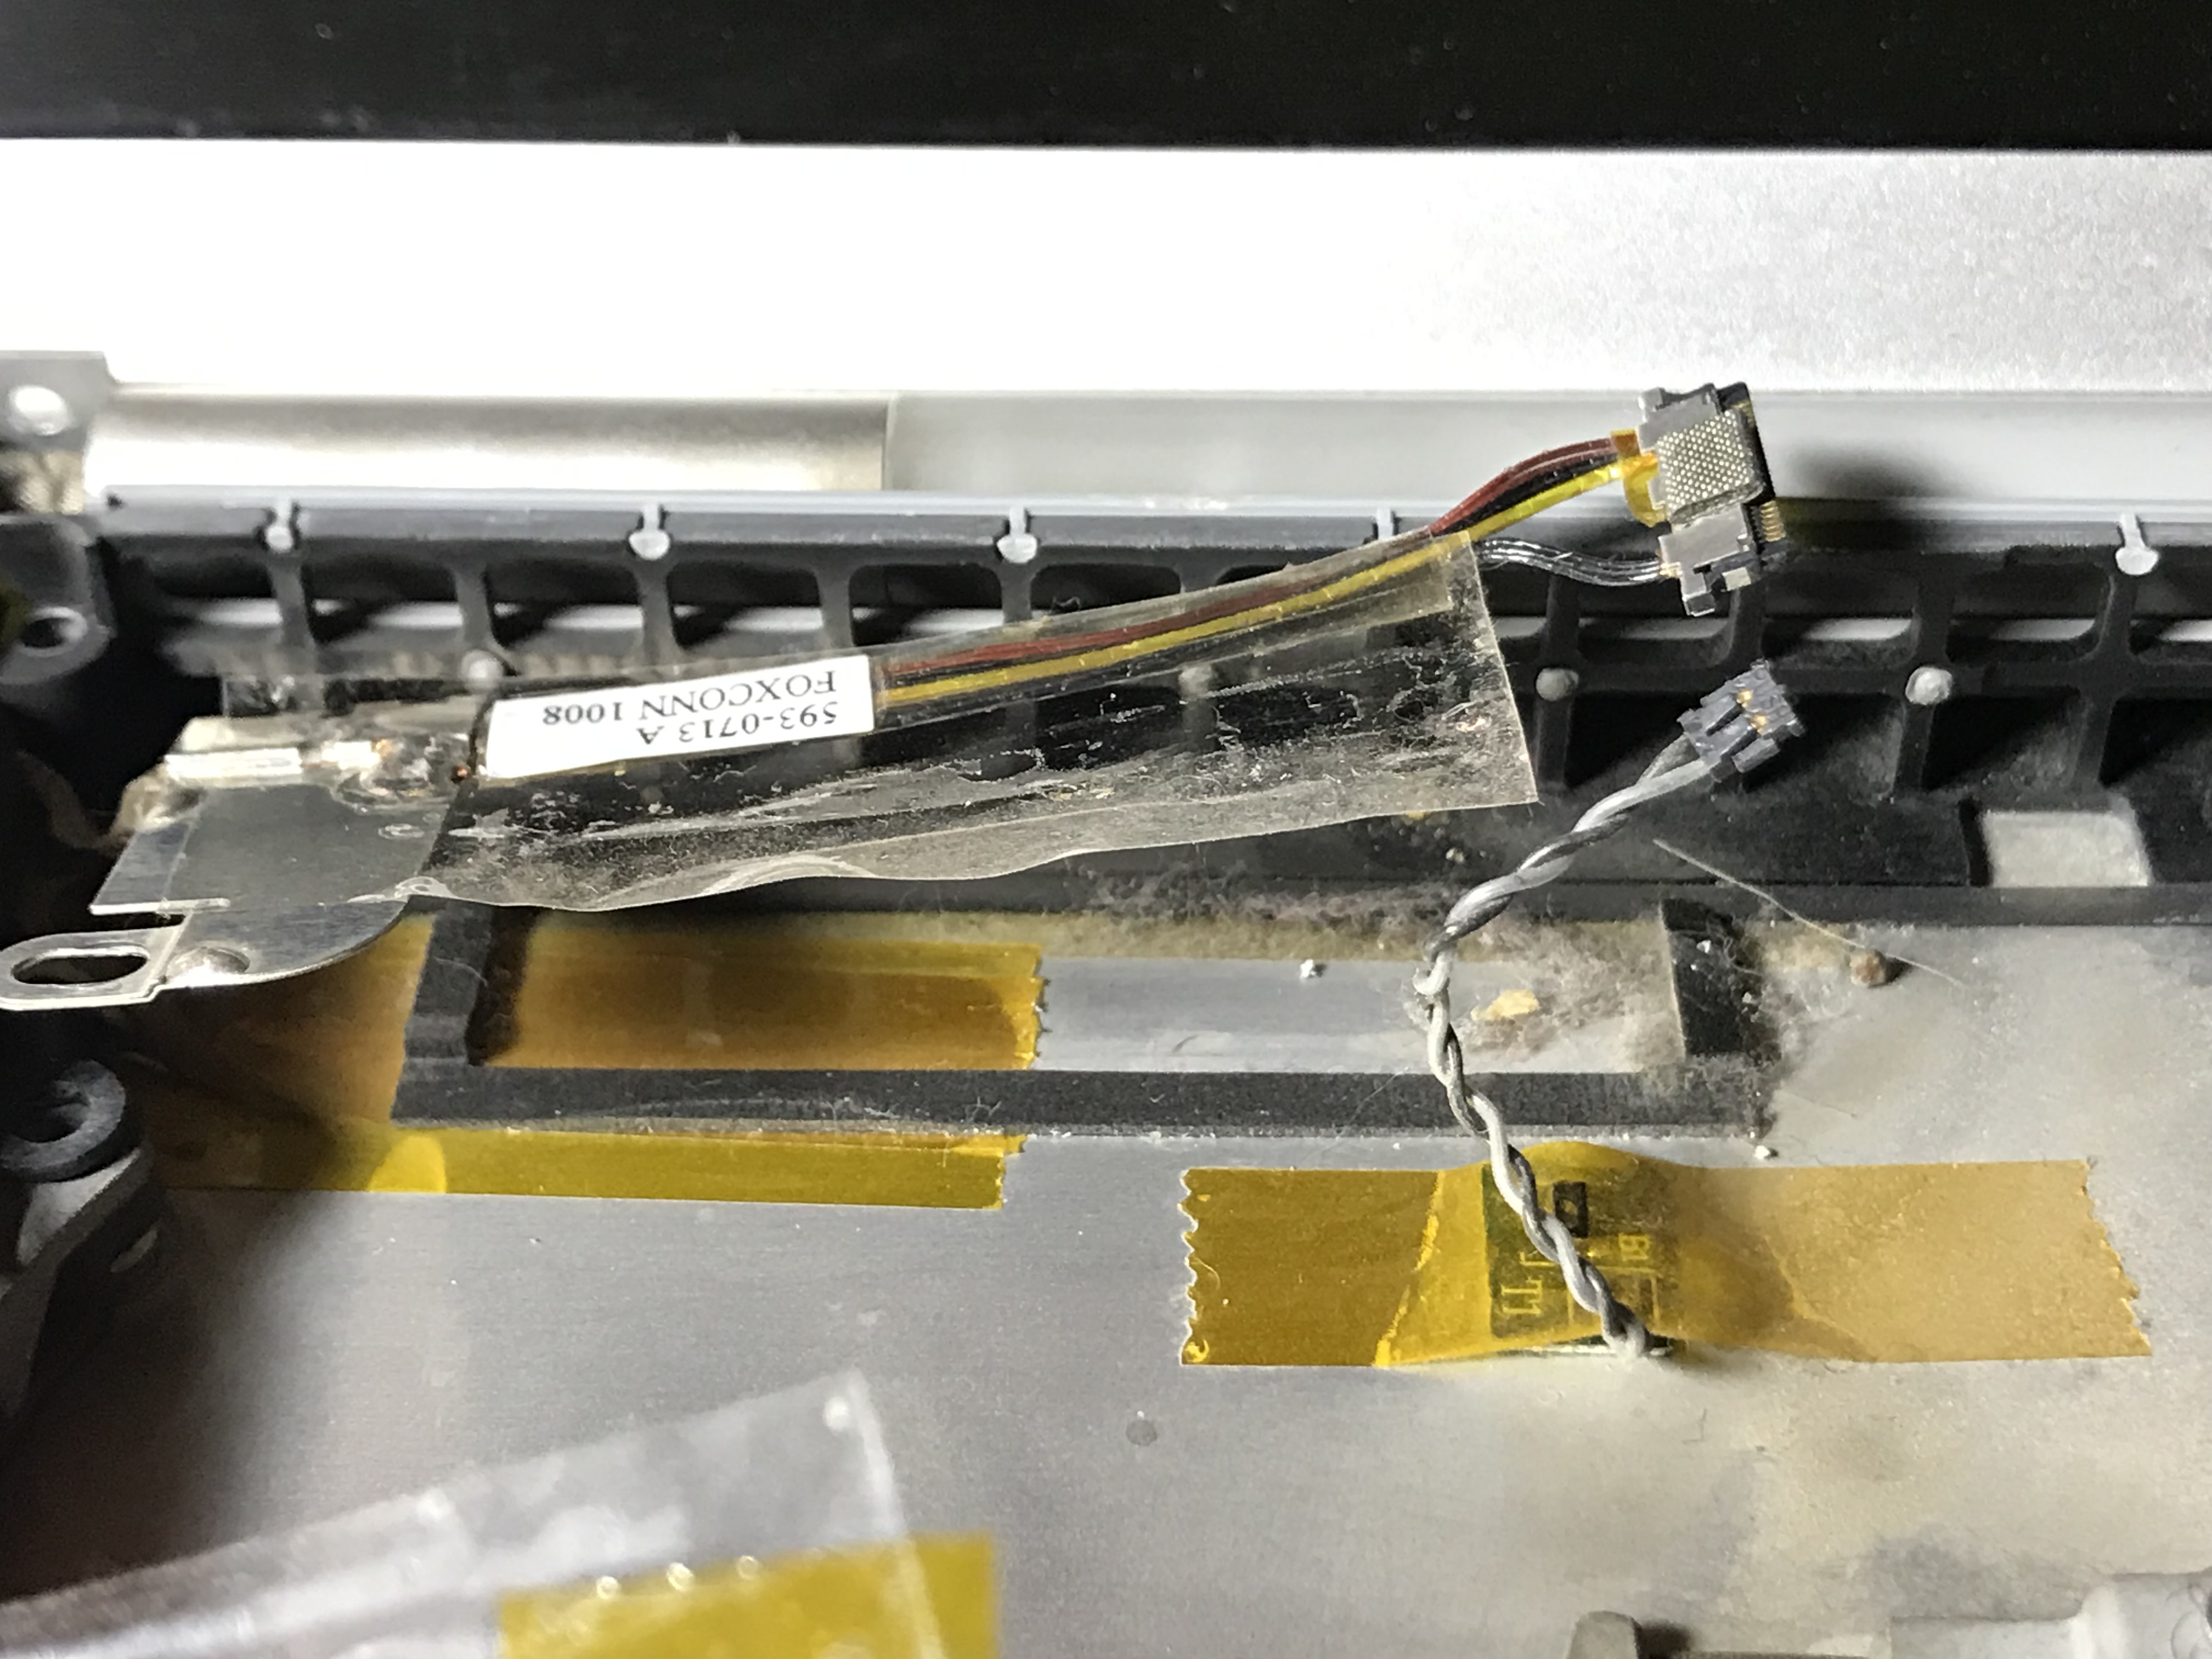
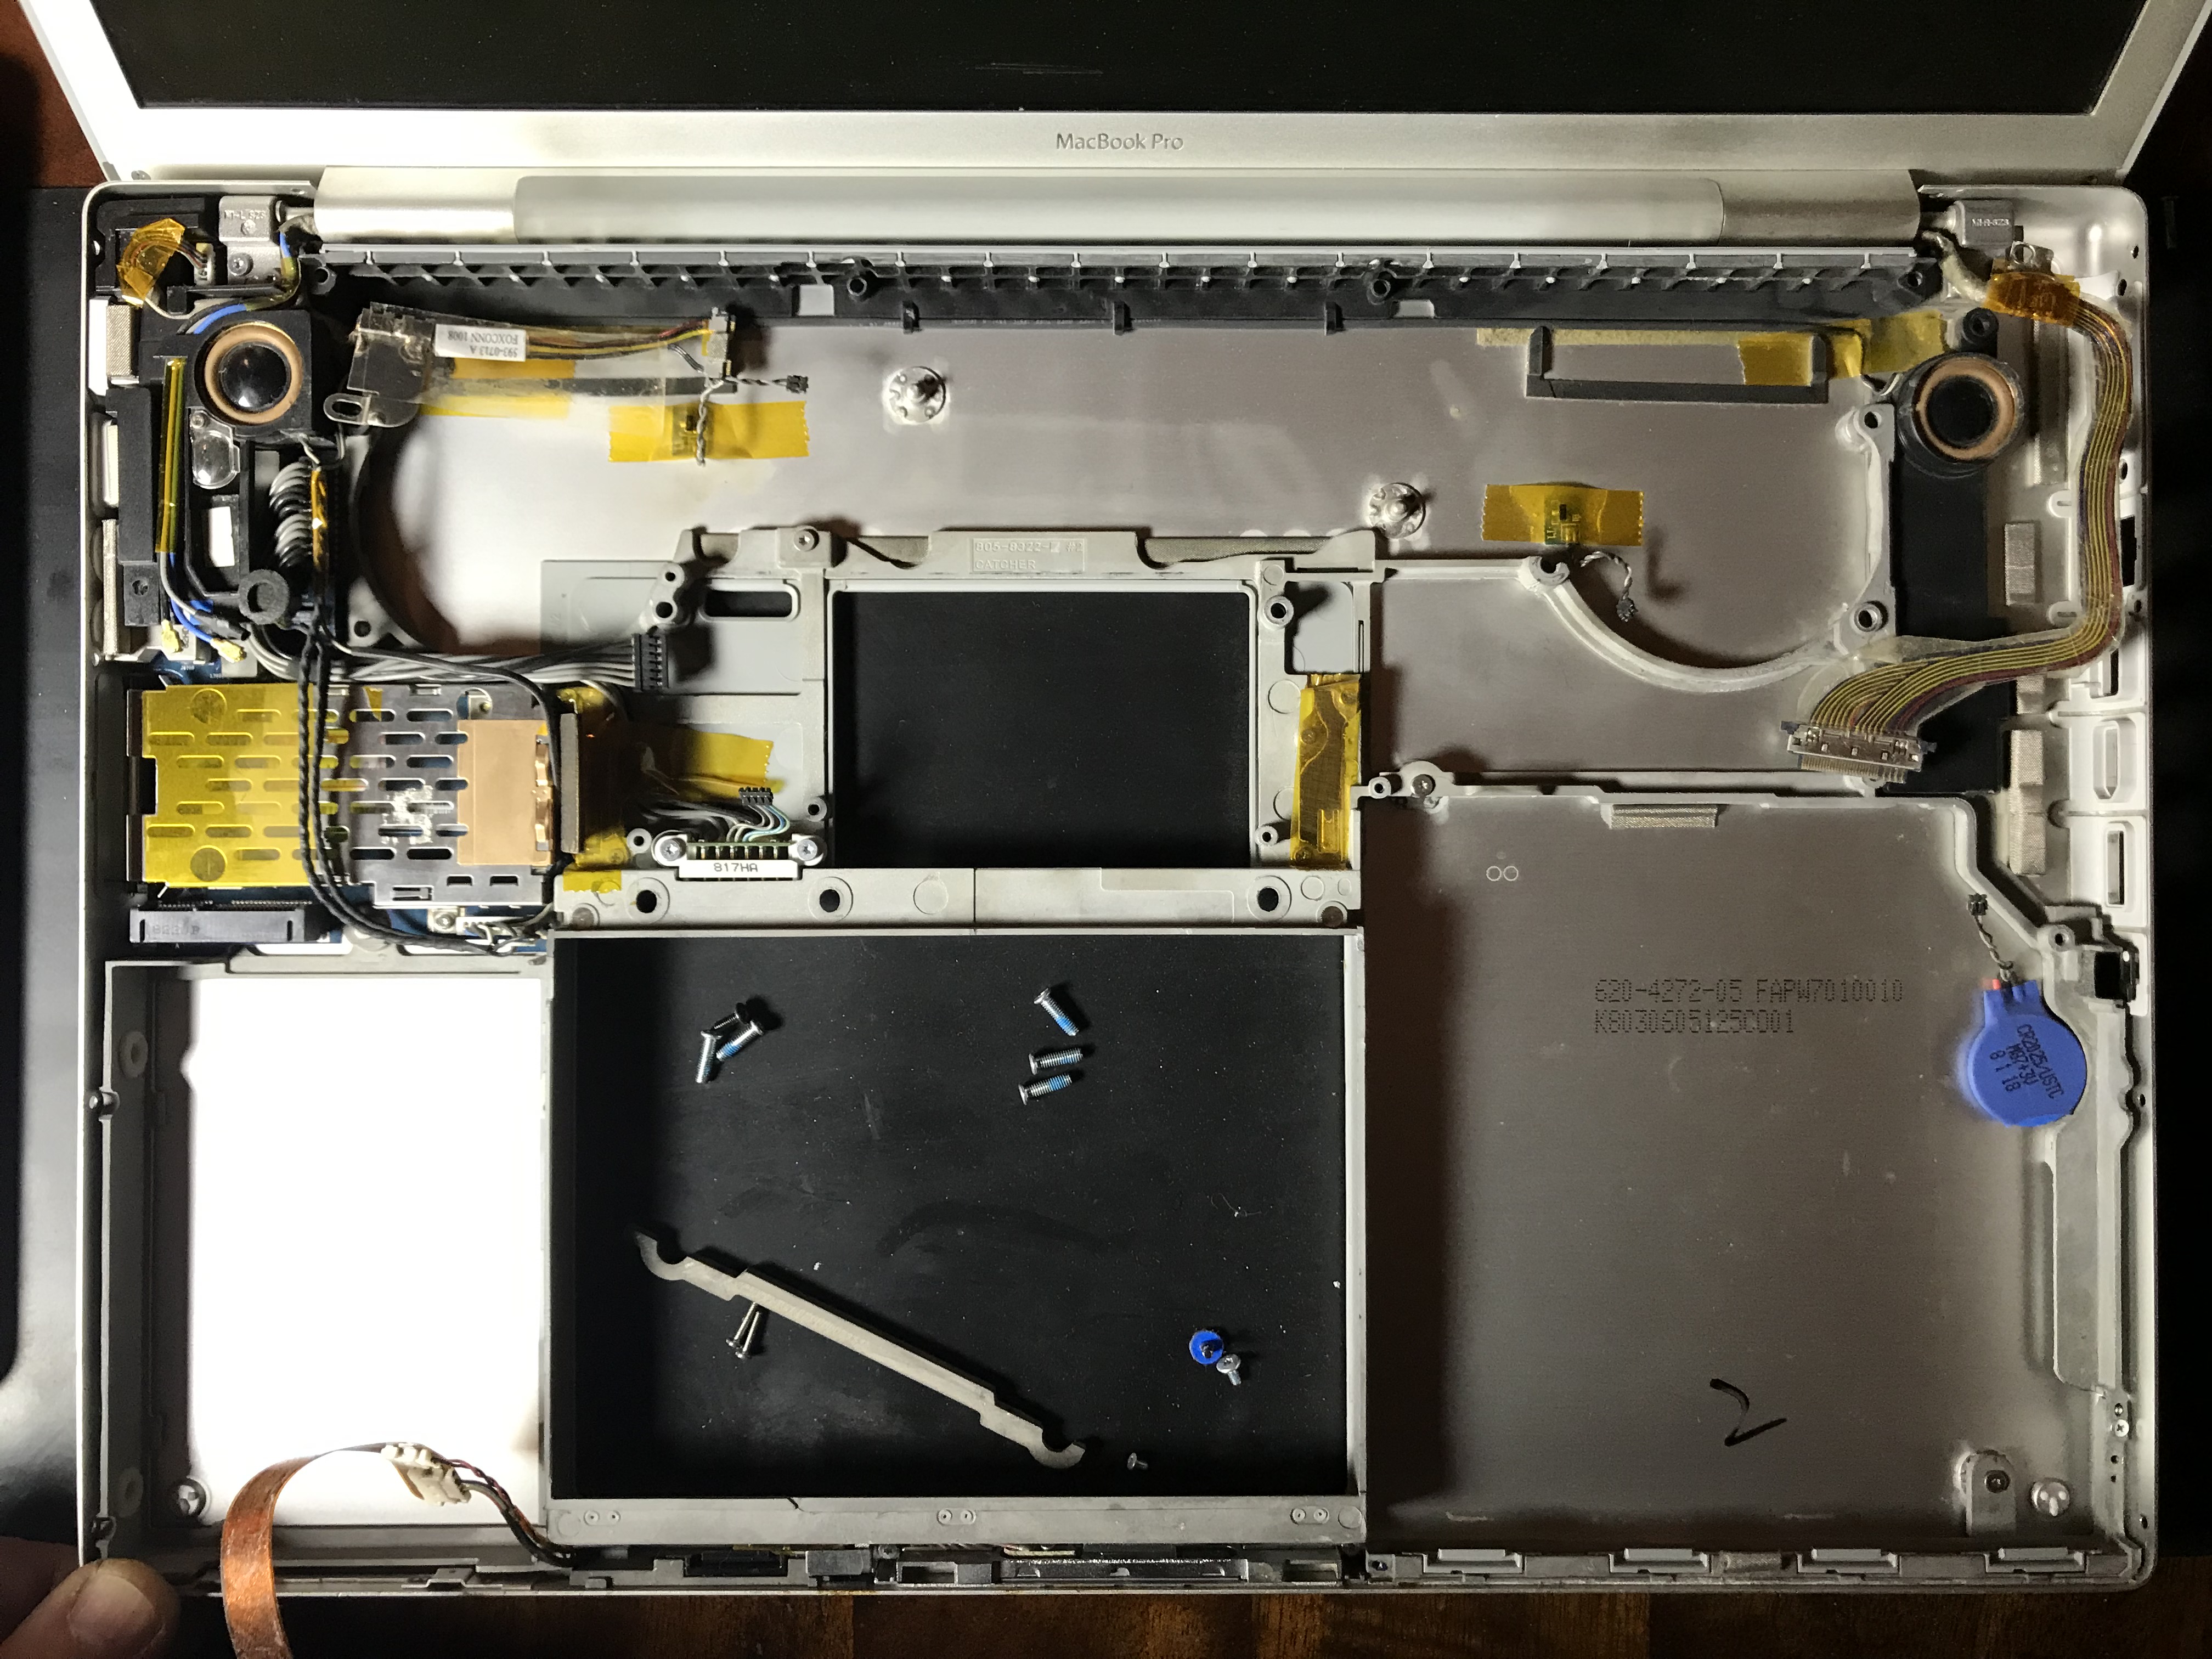
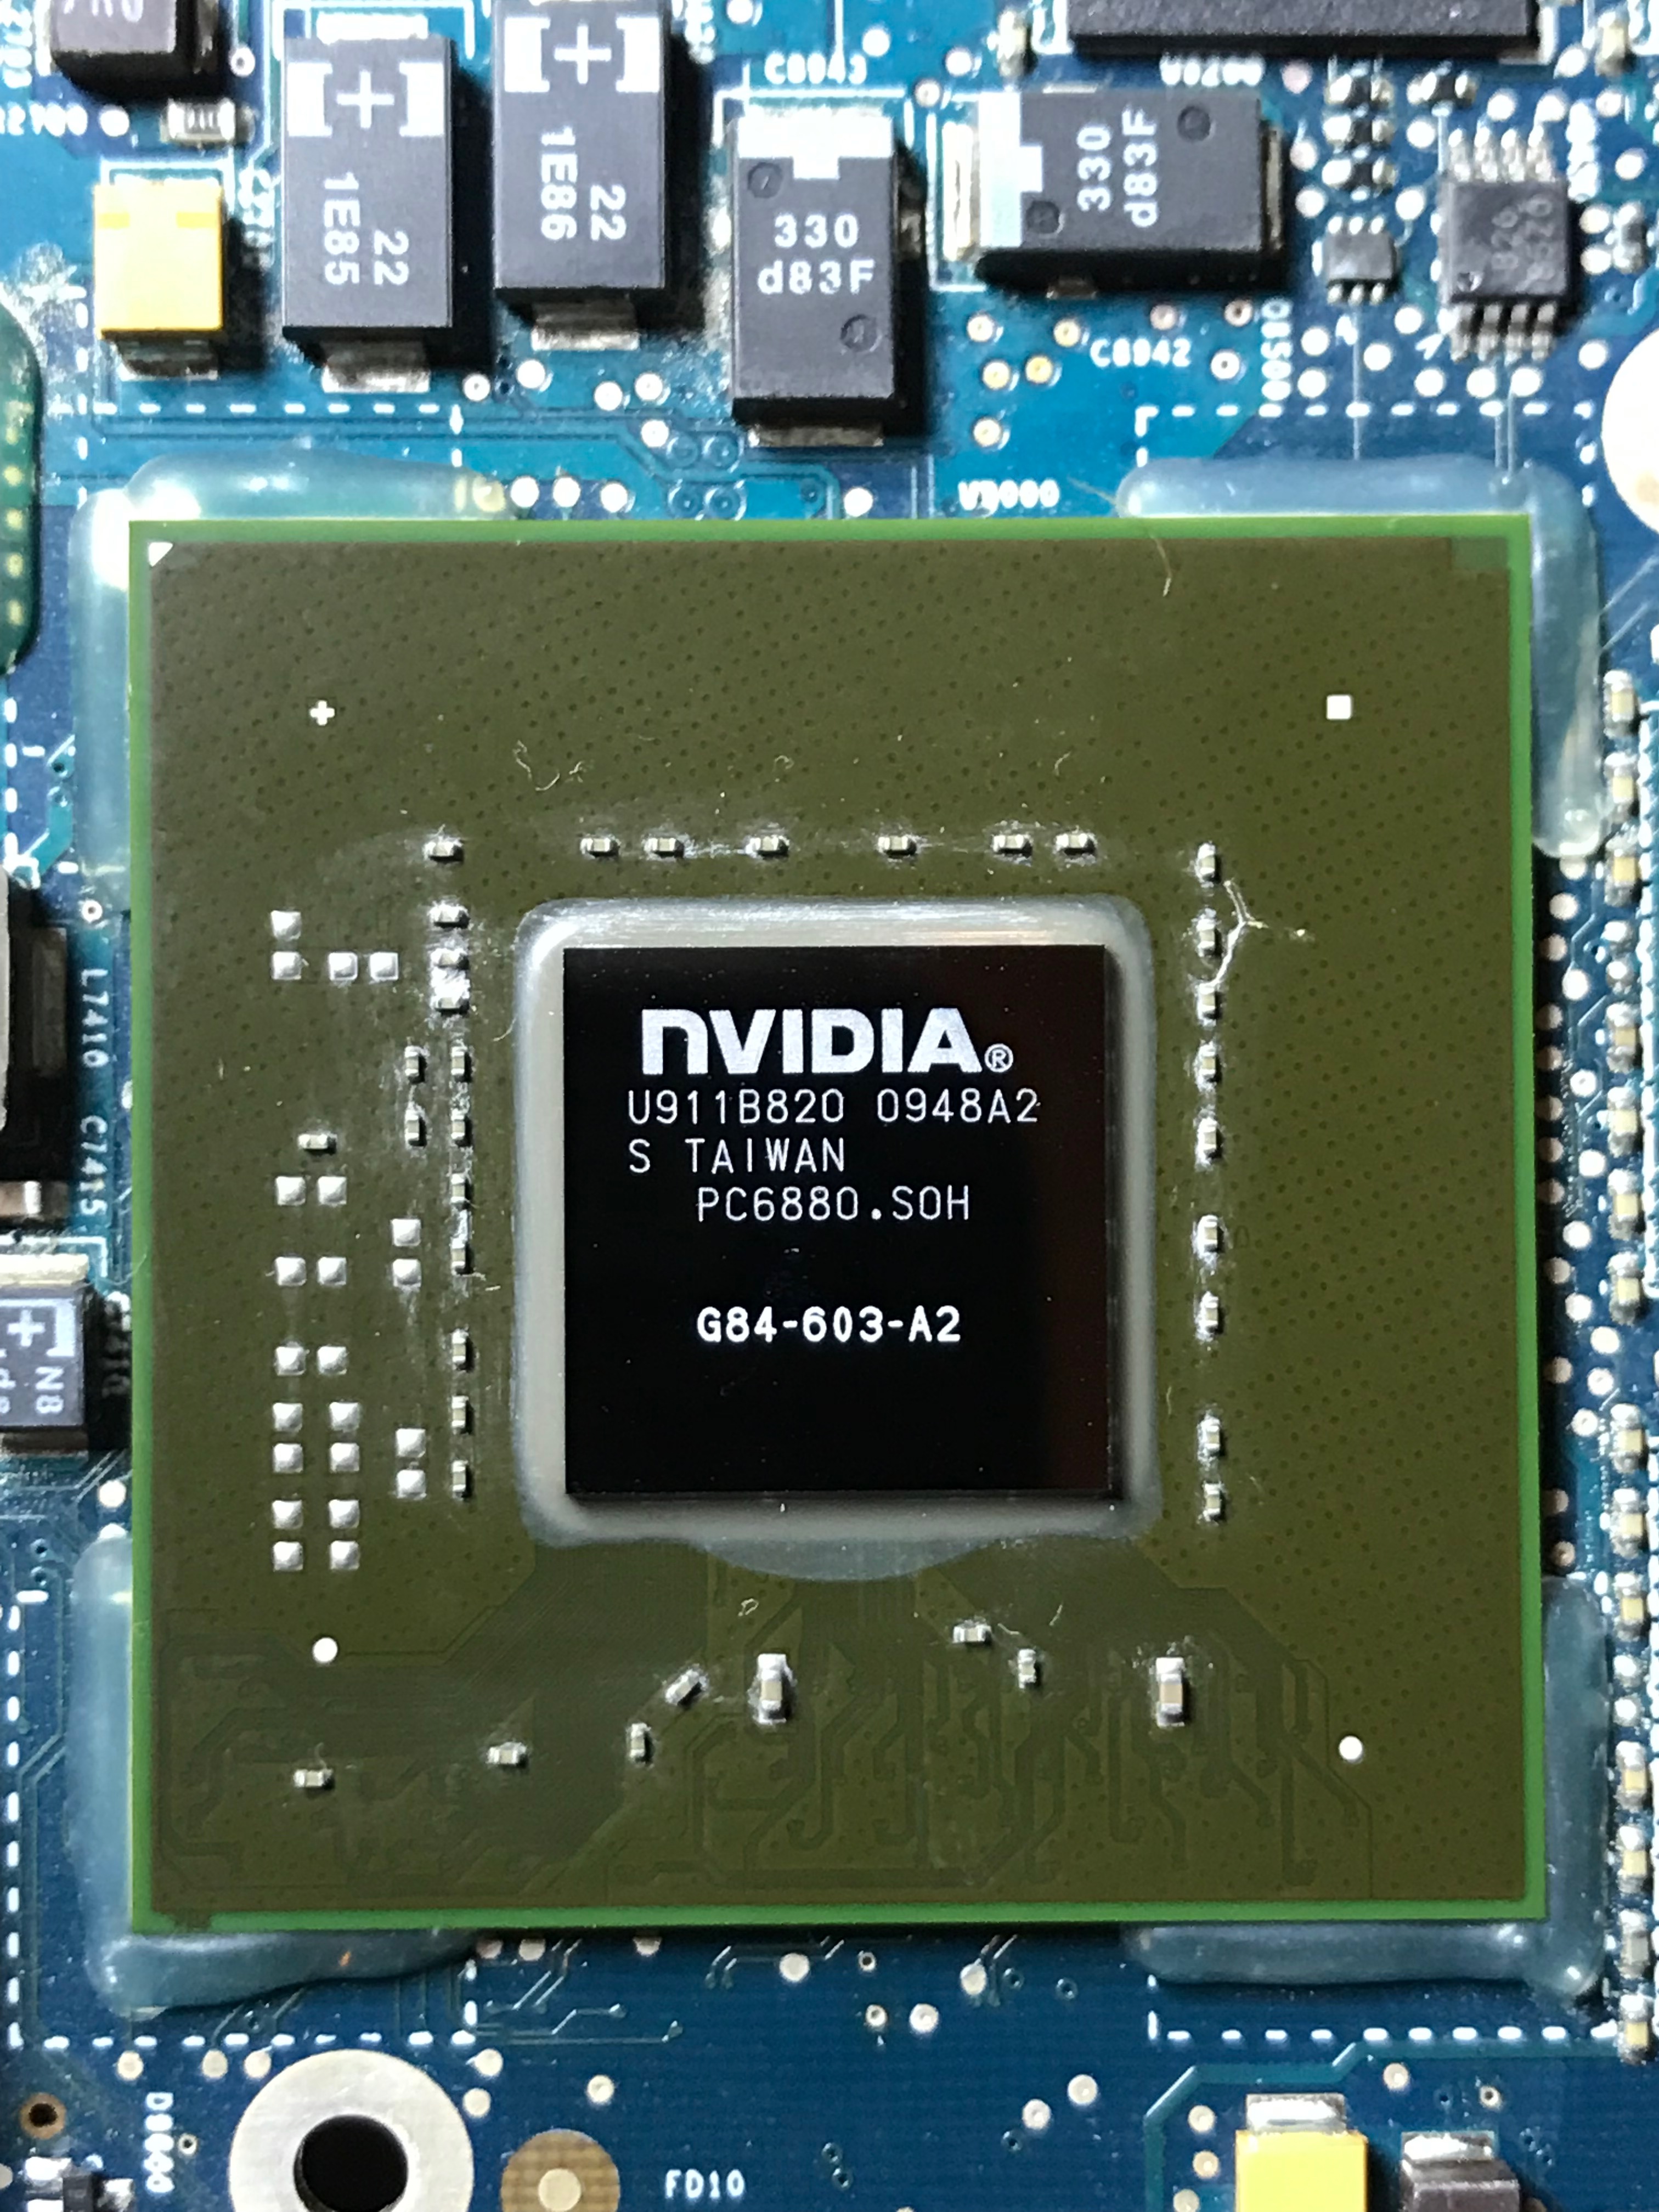
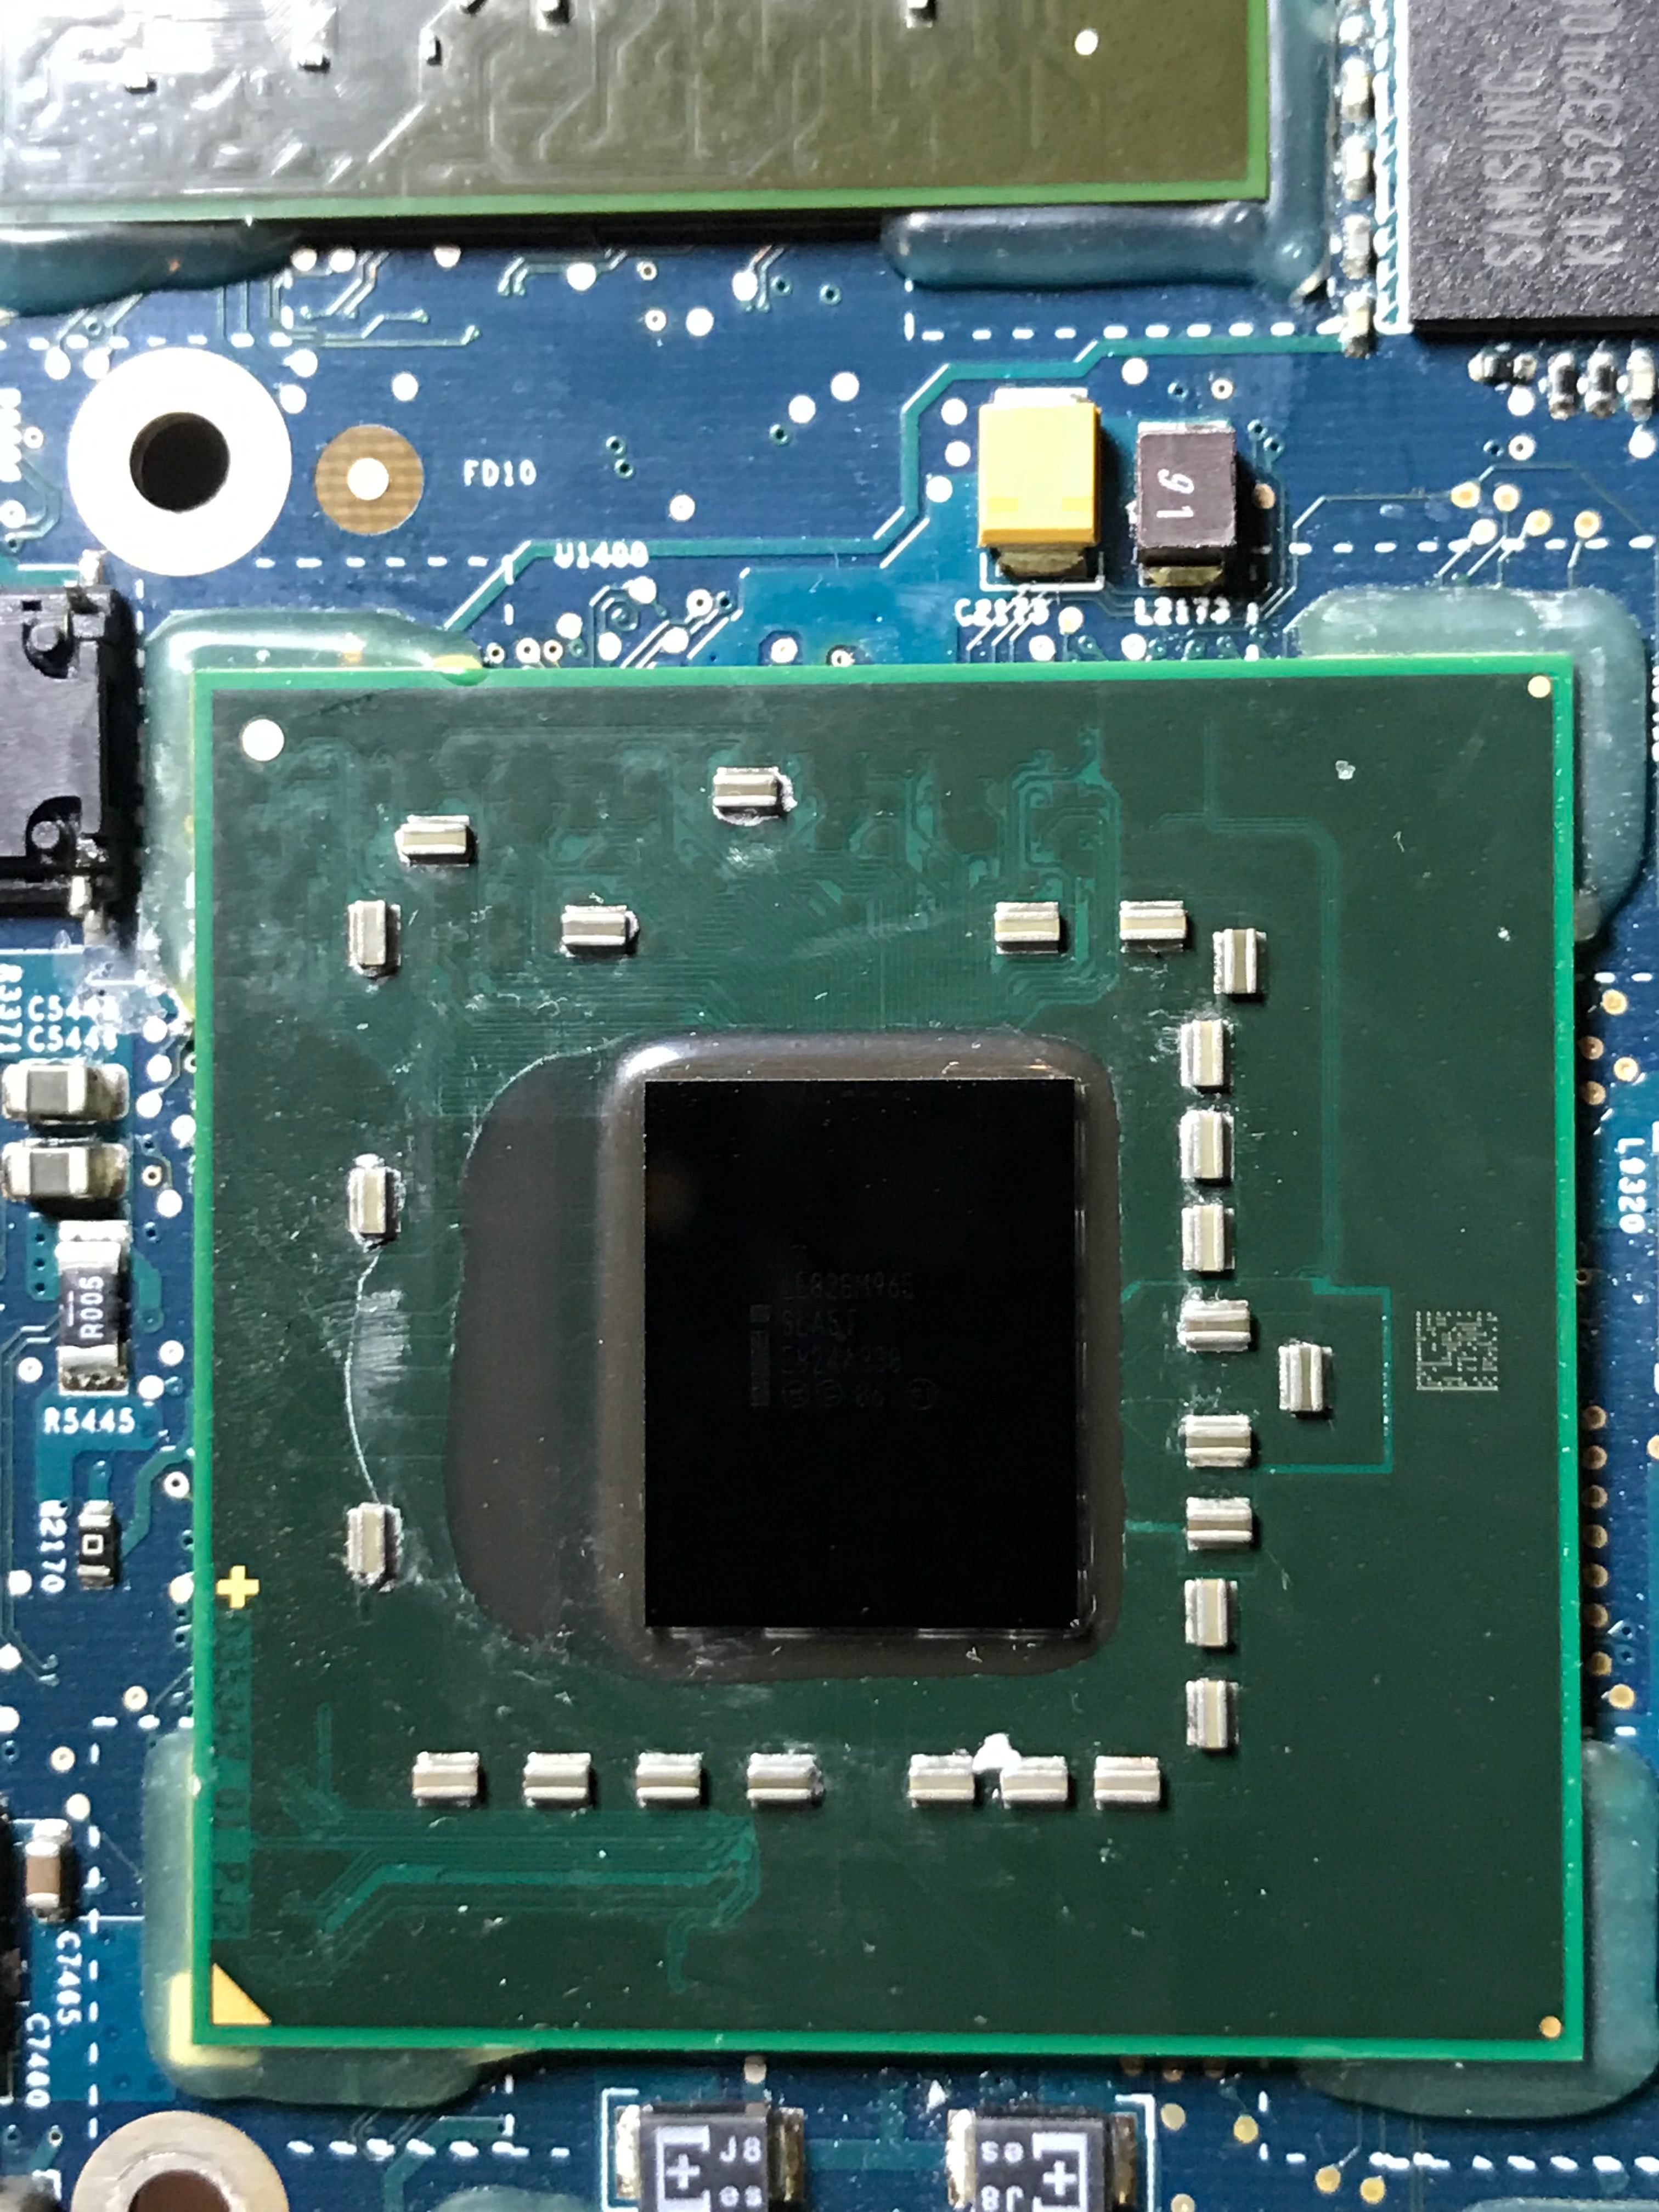
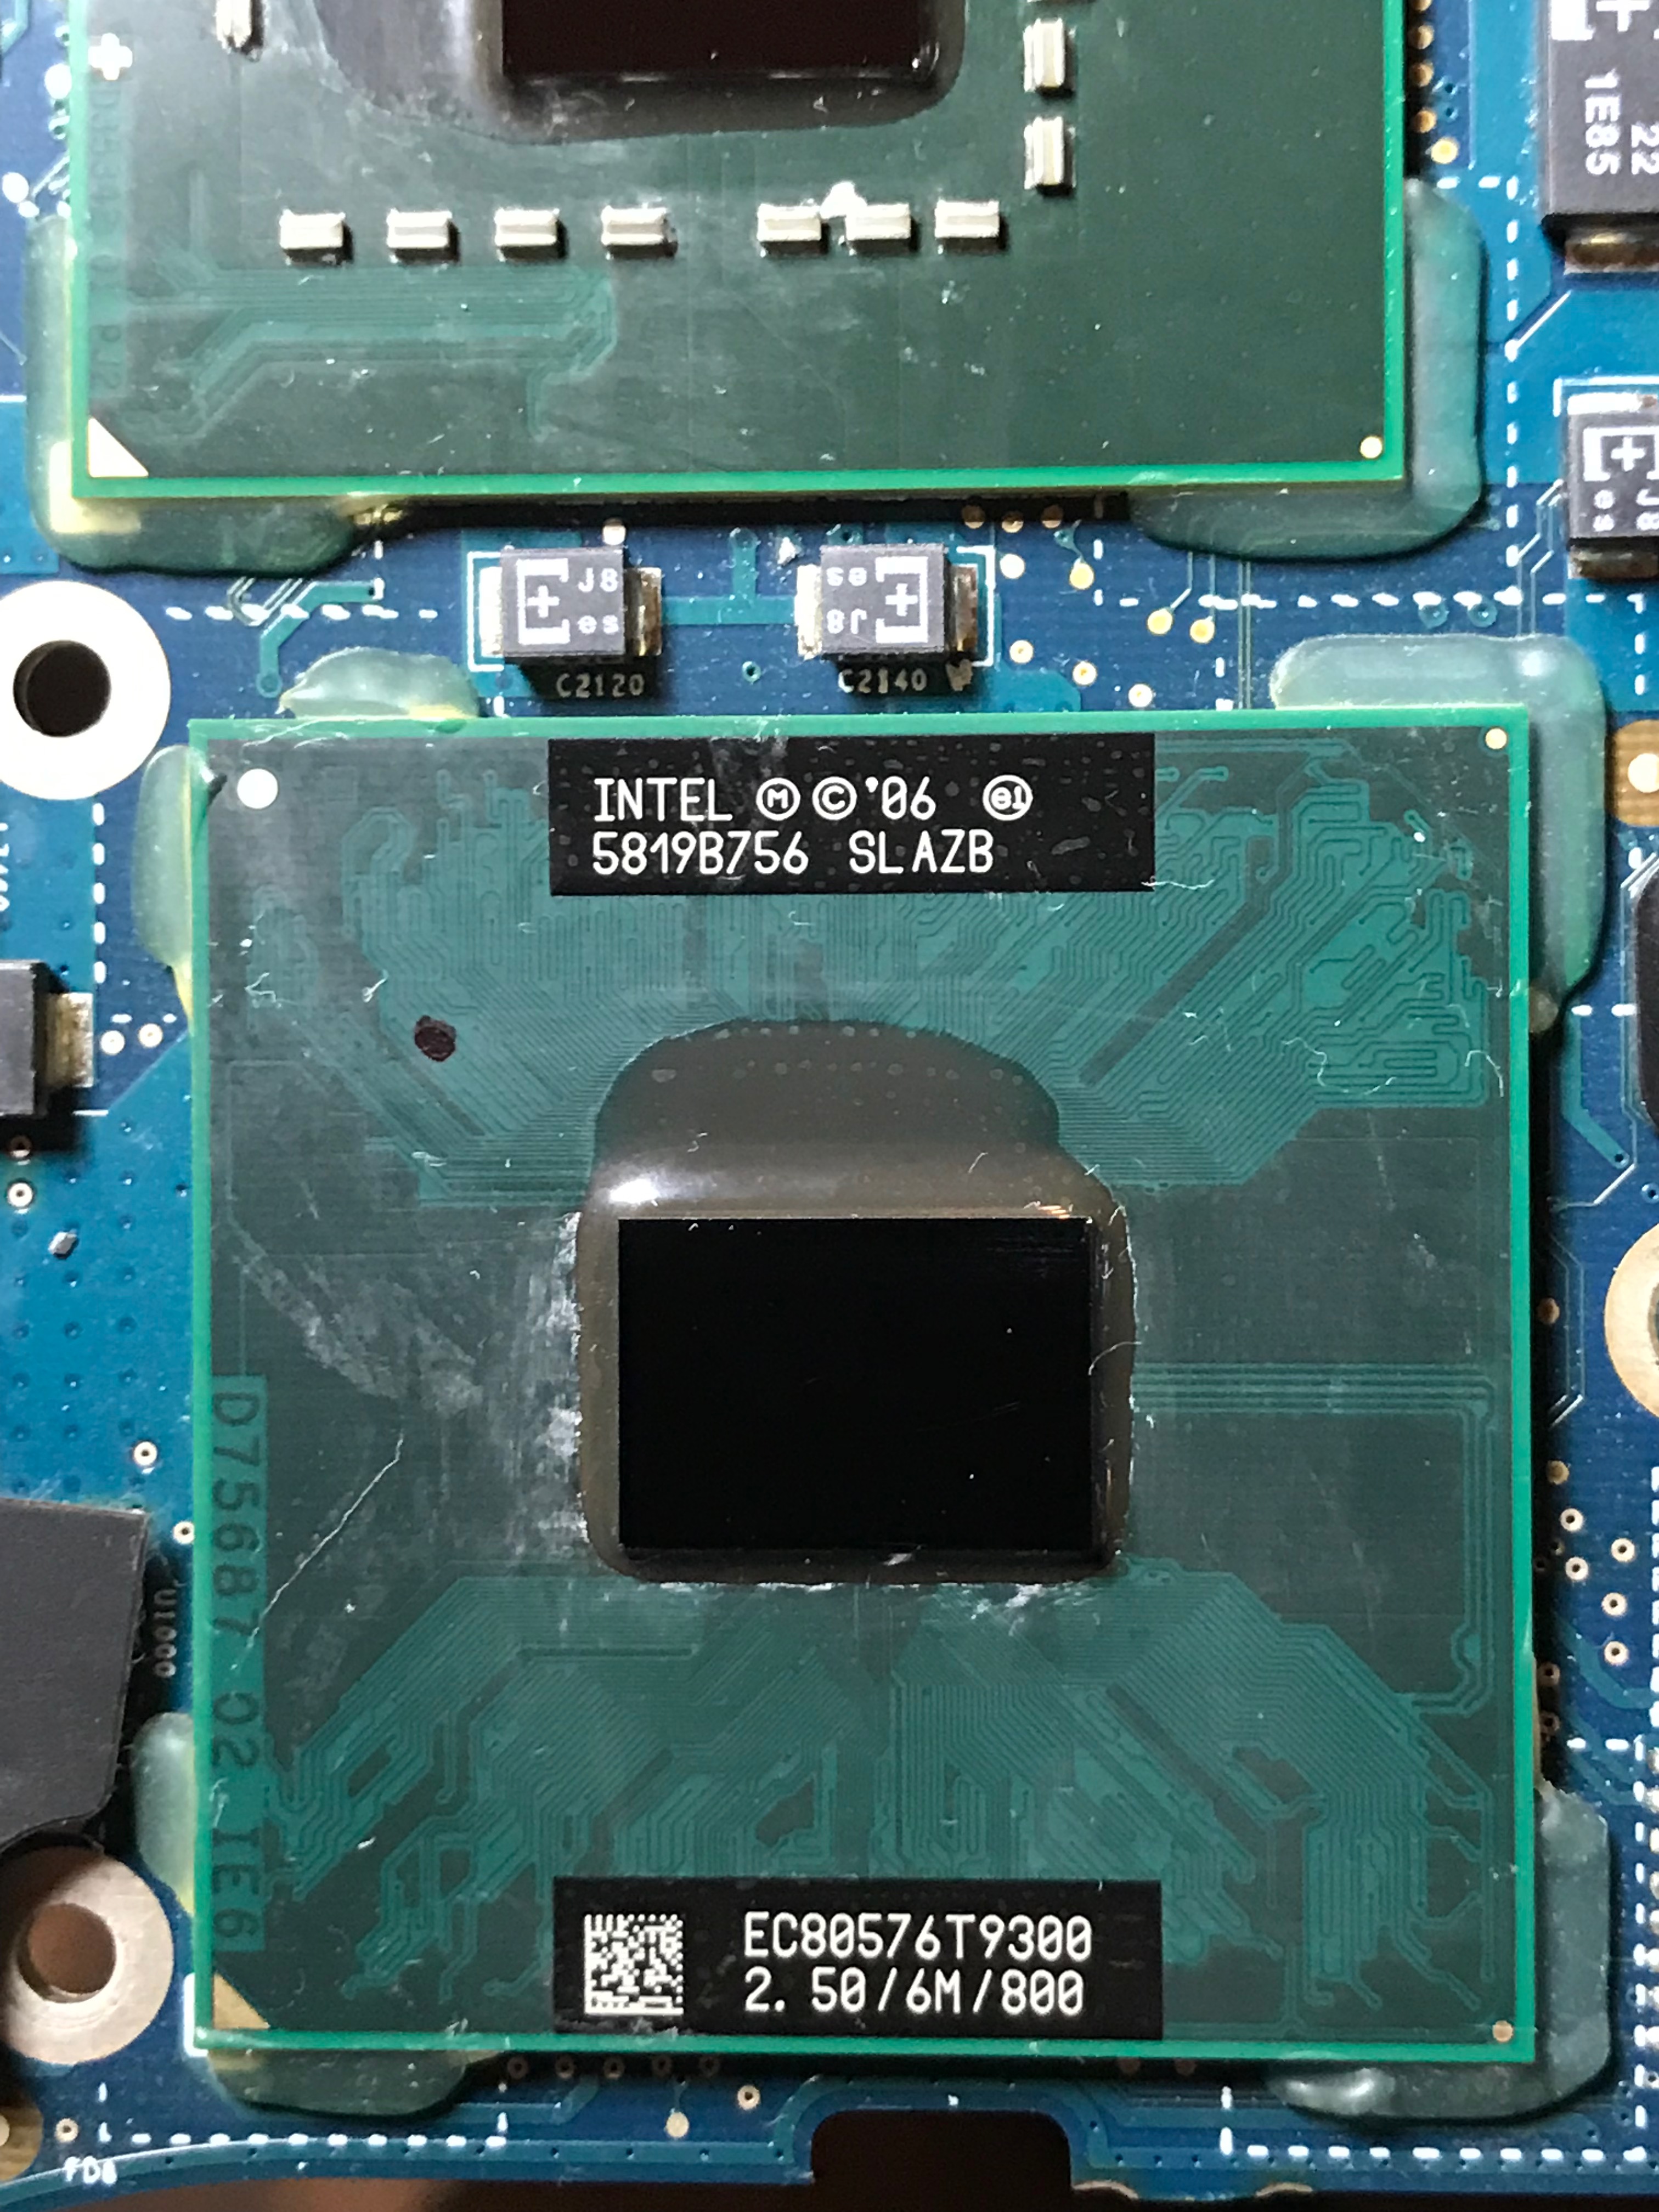
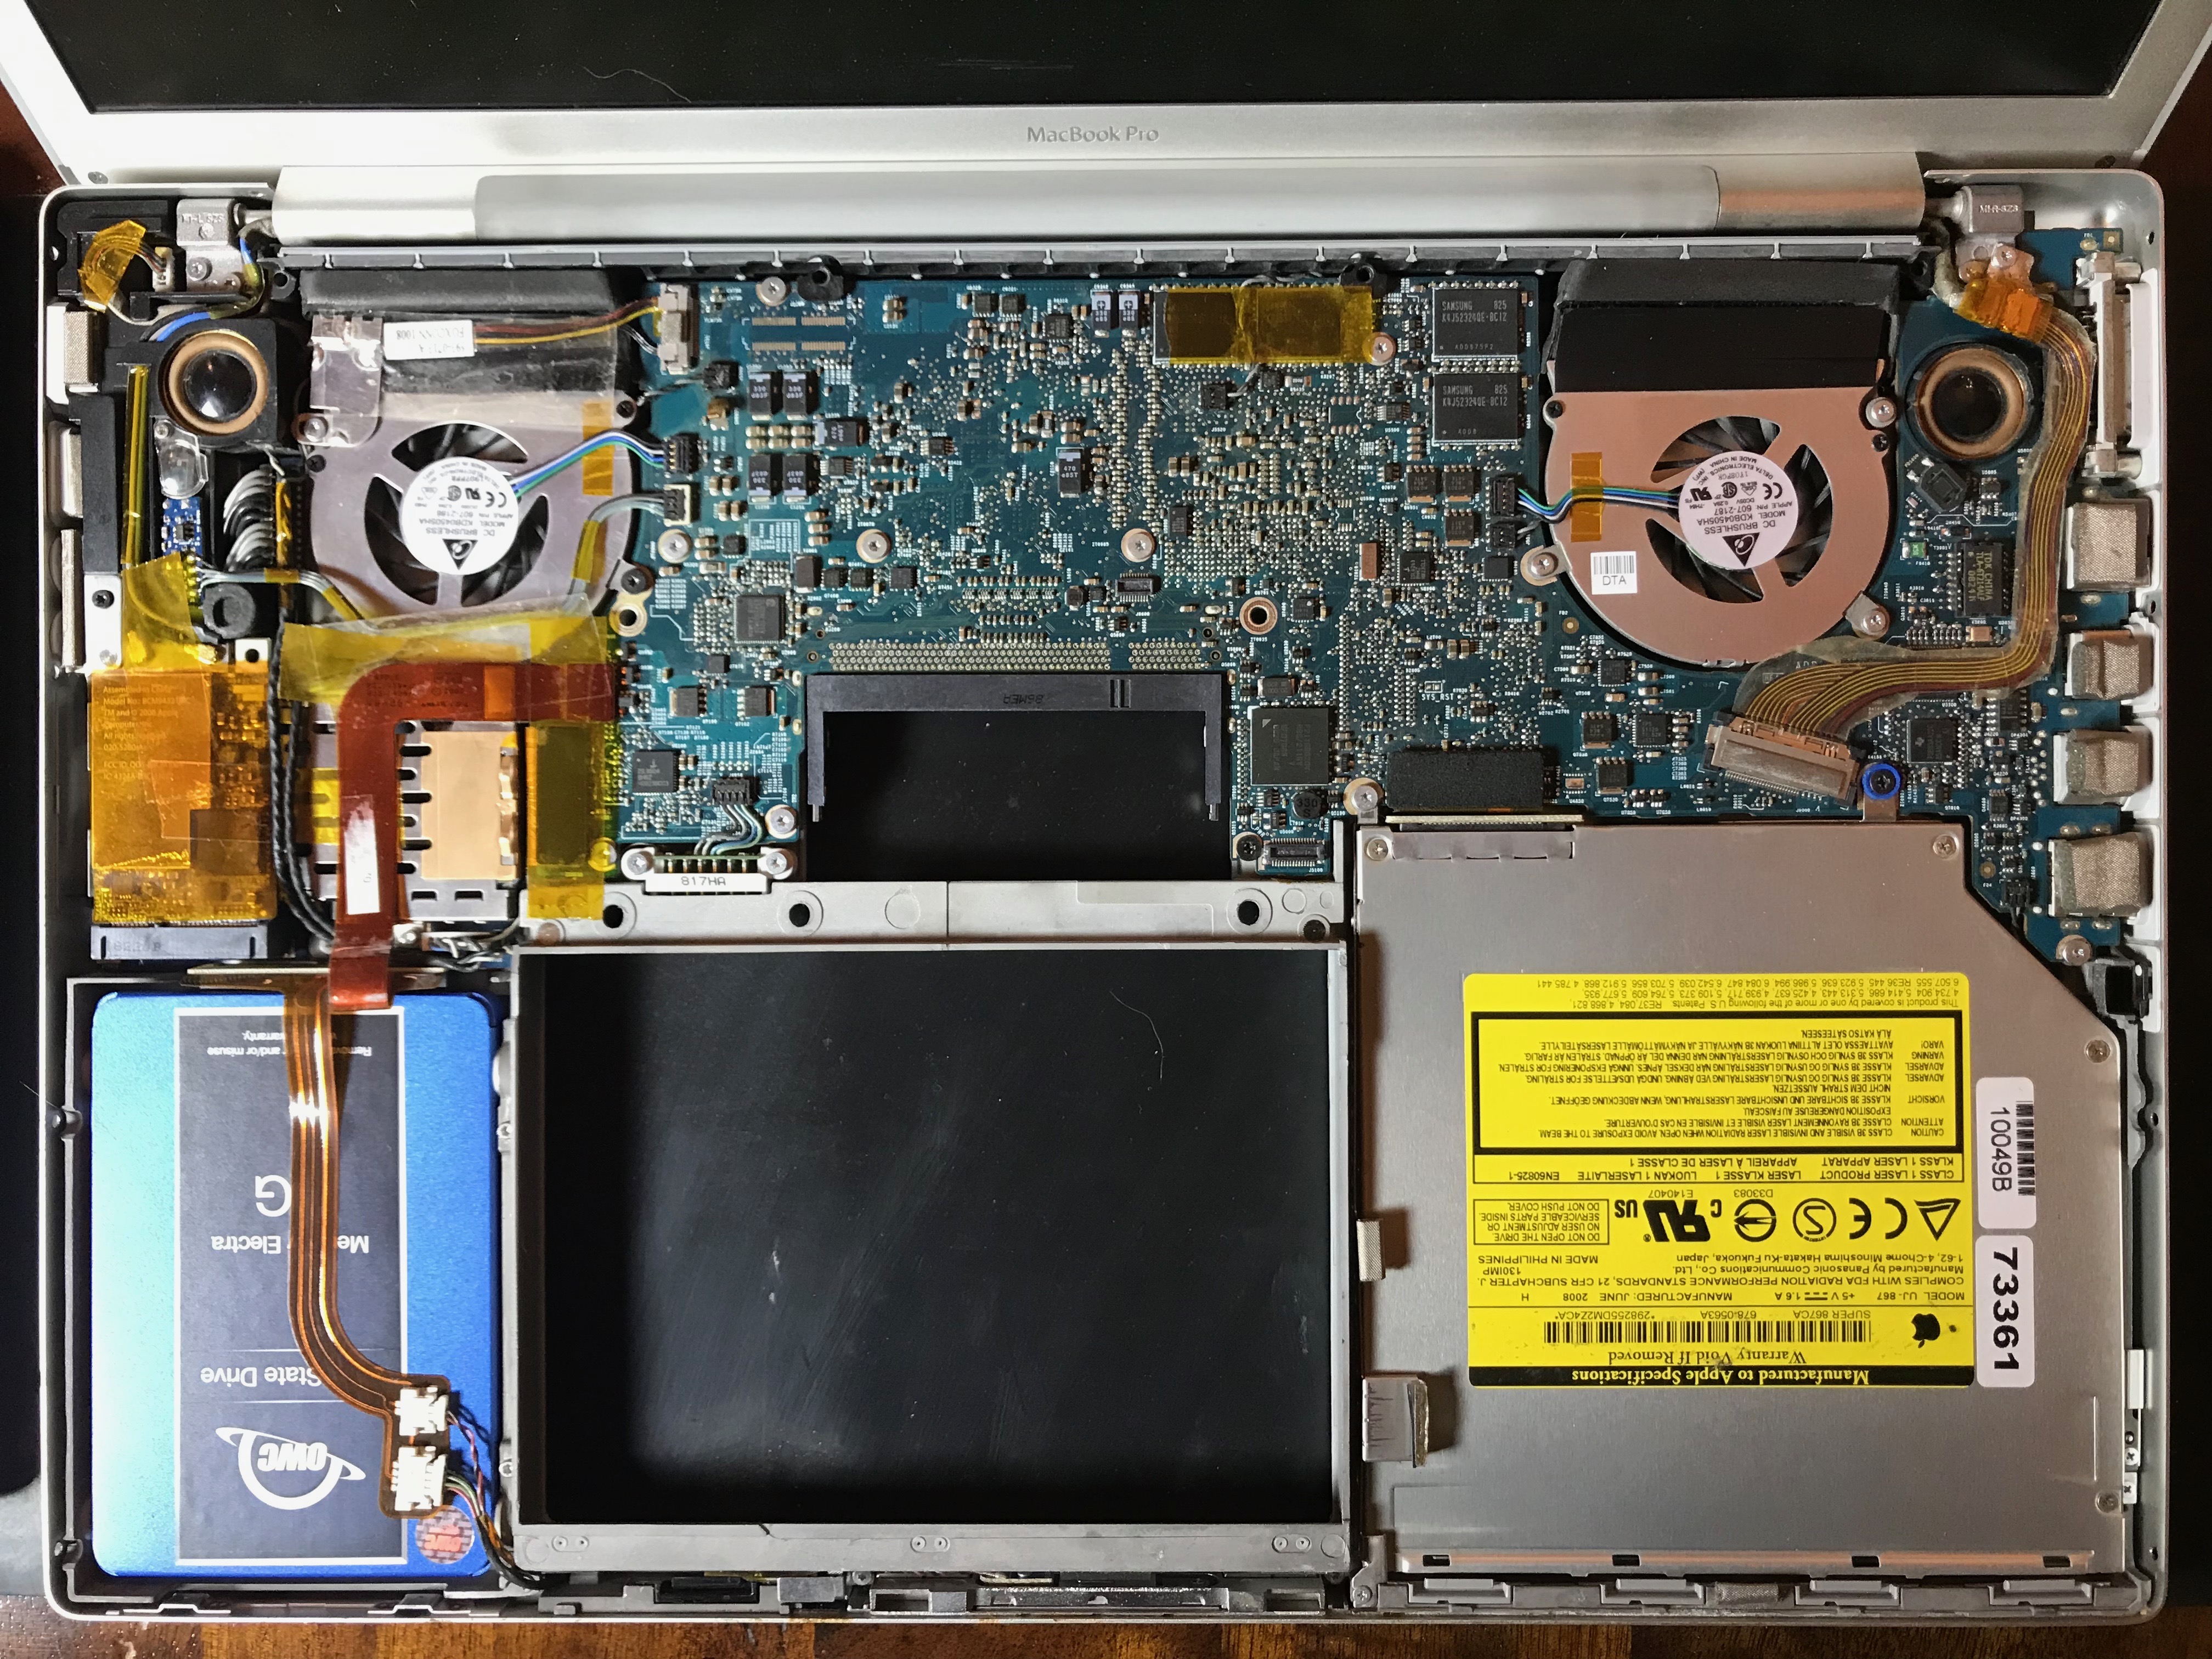
Here is a set of photos taken during the upgrade process. Although I’ve opened my laptop multiple times in the past, once to replace a faulty fan and another to replace a bad wireless card, I referred to this guide from iFixit to refresh my memory. I didn’t just replace the HDD, I also took the laptop completely apart in order to clean out the dust and replace the thermal paste on its chips. I’m really glad I did it, because there was a lot of dust and lint inside (as you can see from the photos) and the thermal paste had become dry and brittle, which isn’t a good thing.
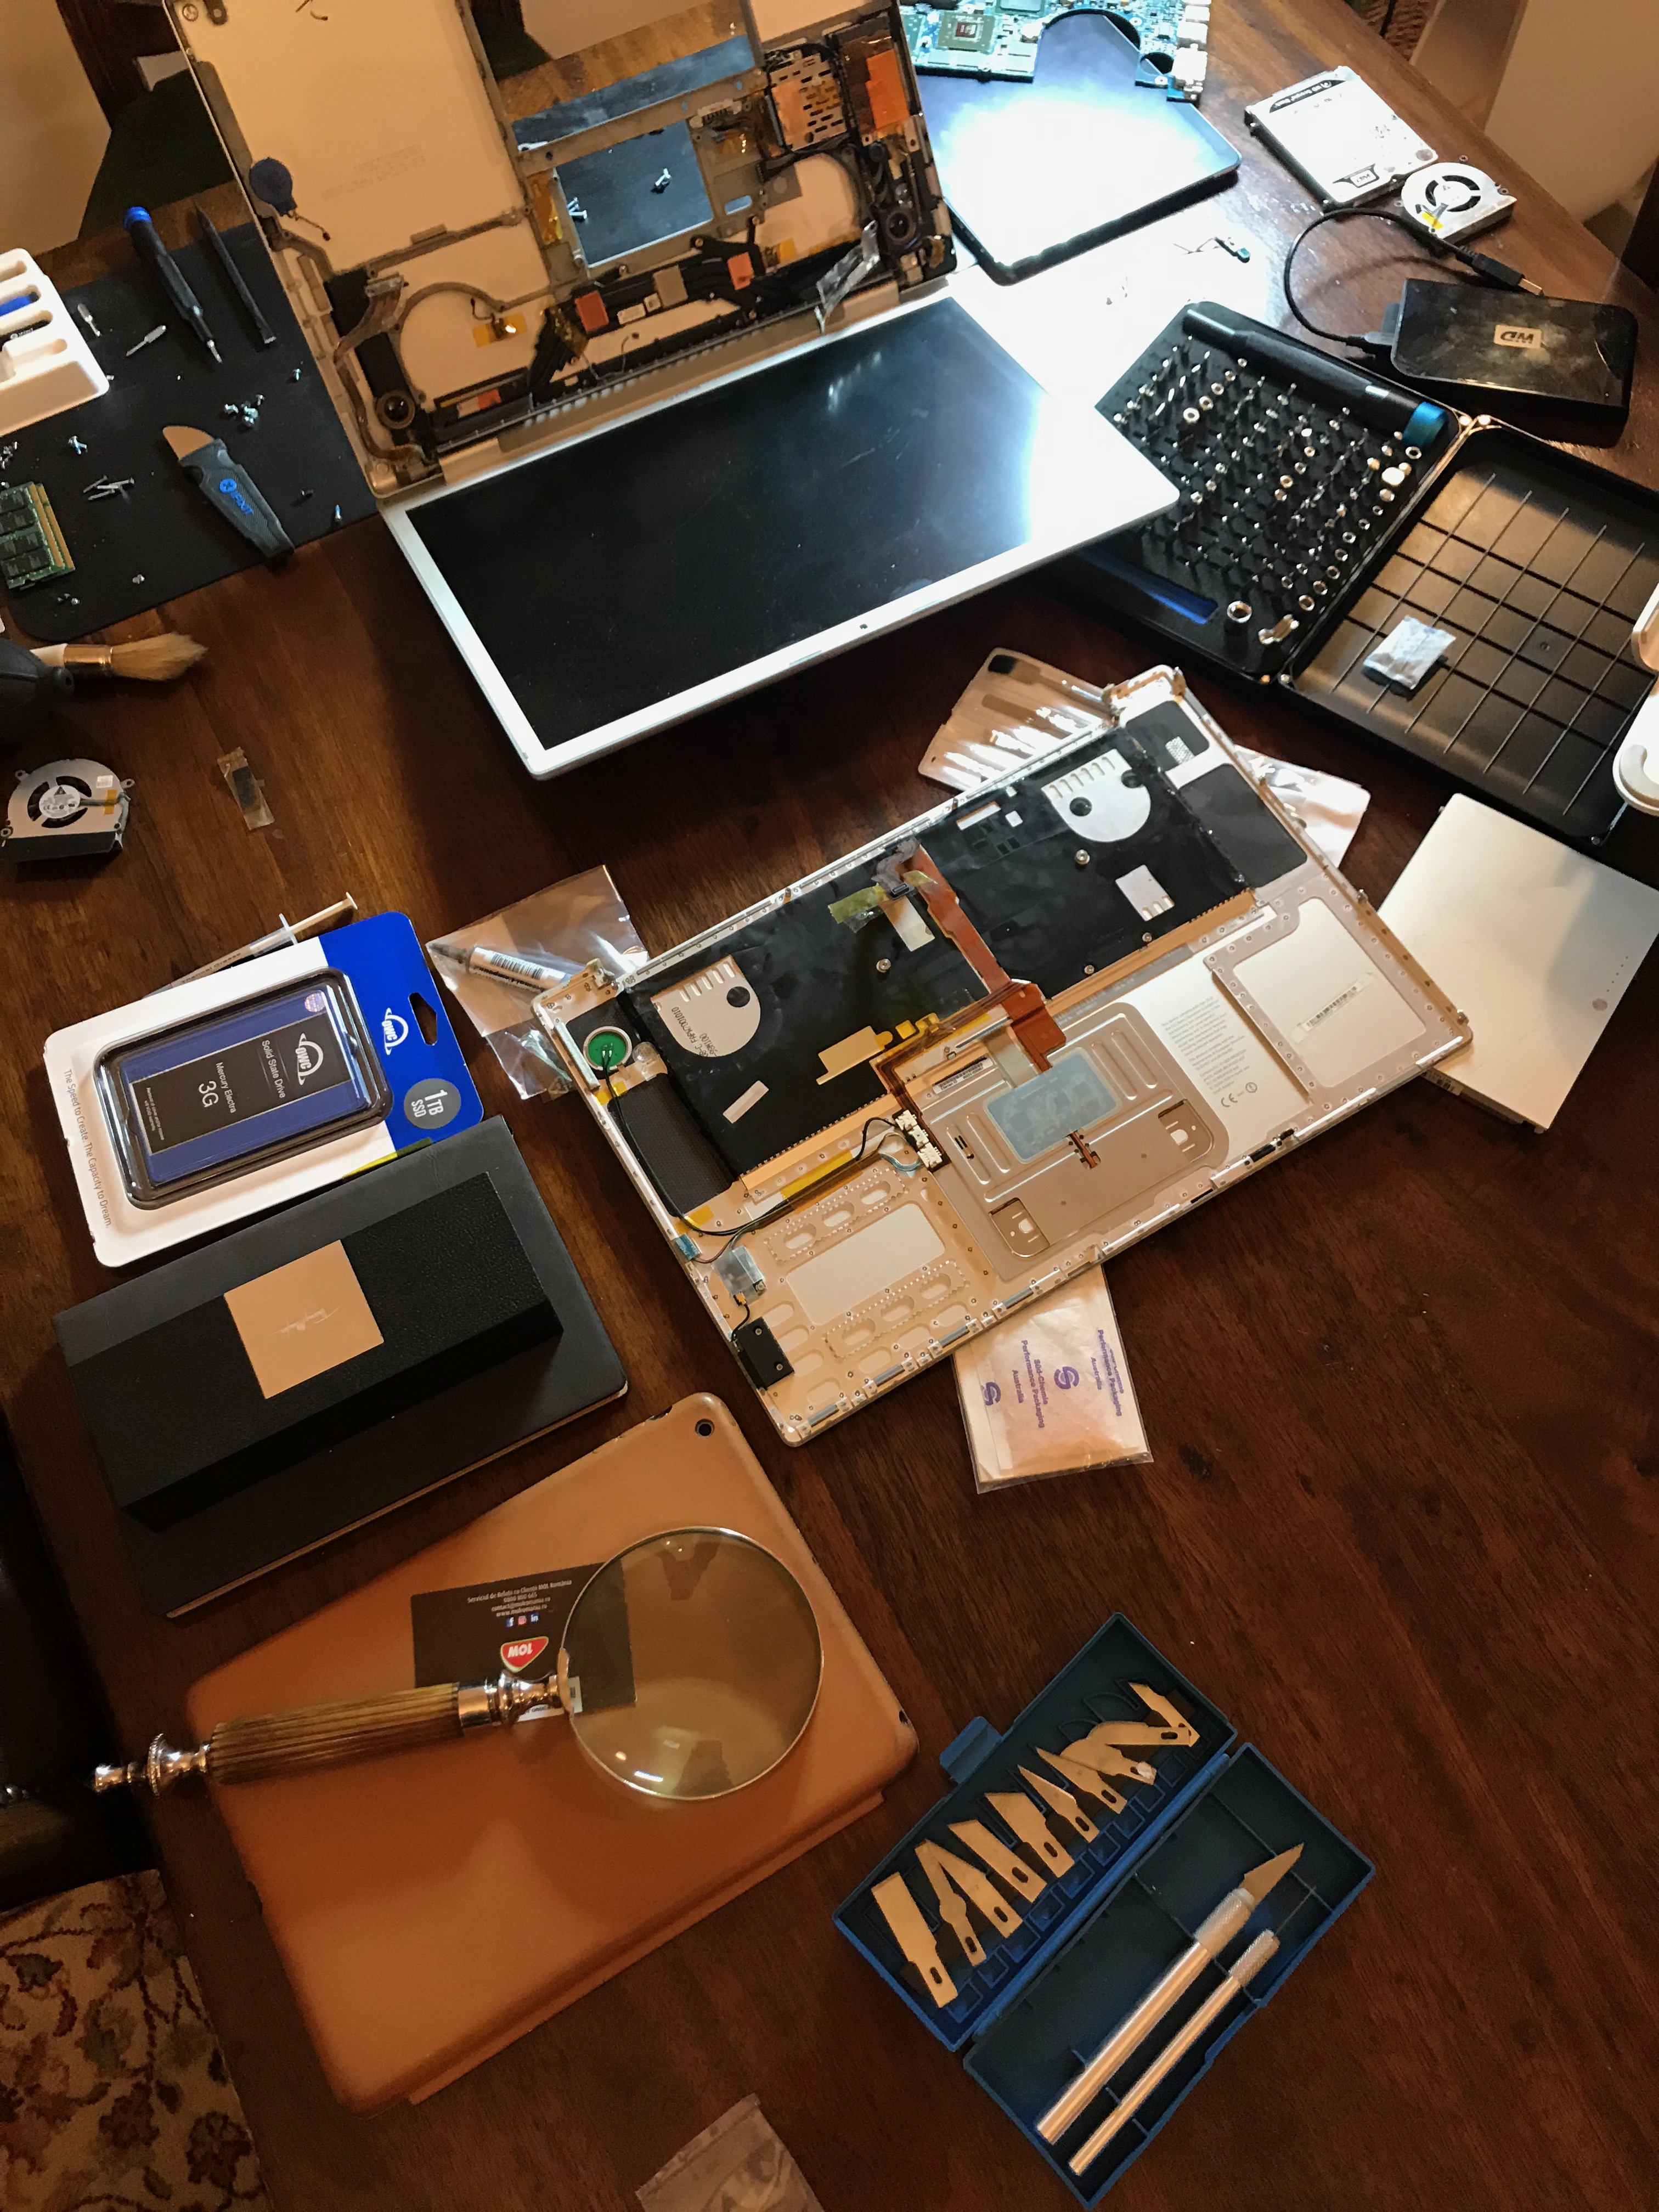
I should caution you first: if your computer is still under warranty, such work will likely void the warranty. Take it to a trustworthy and authorized shop to have it done. Also, don’t expect the job to be as easy or look as clean as it does in the guides posted online. Here’s what my desk really looked like while doing the work. Know what you’re getting into before you open up your computer.

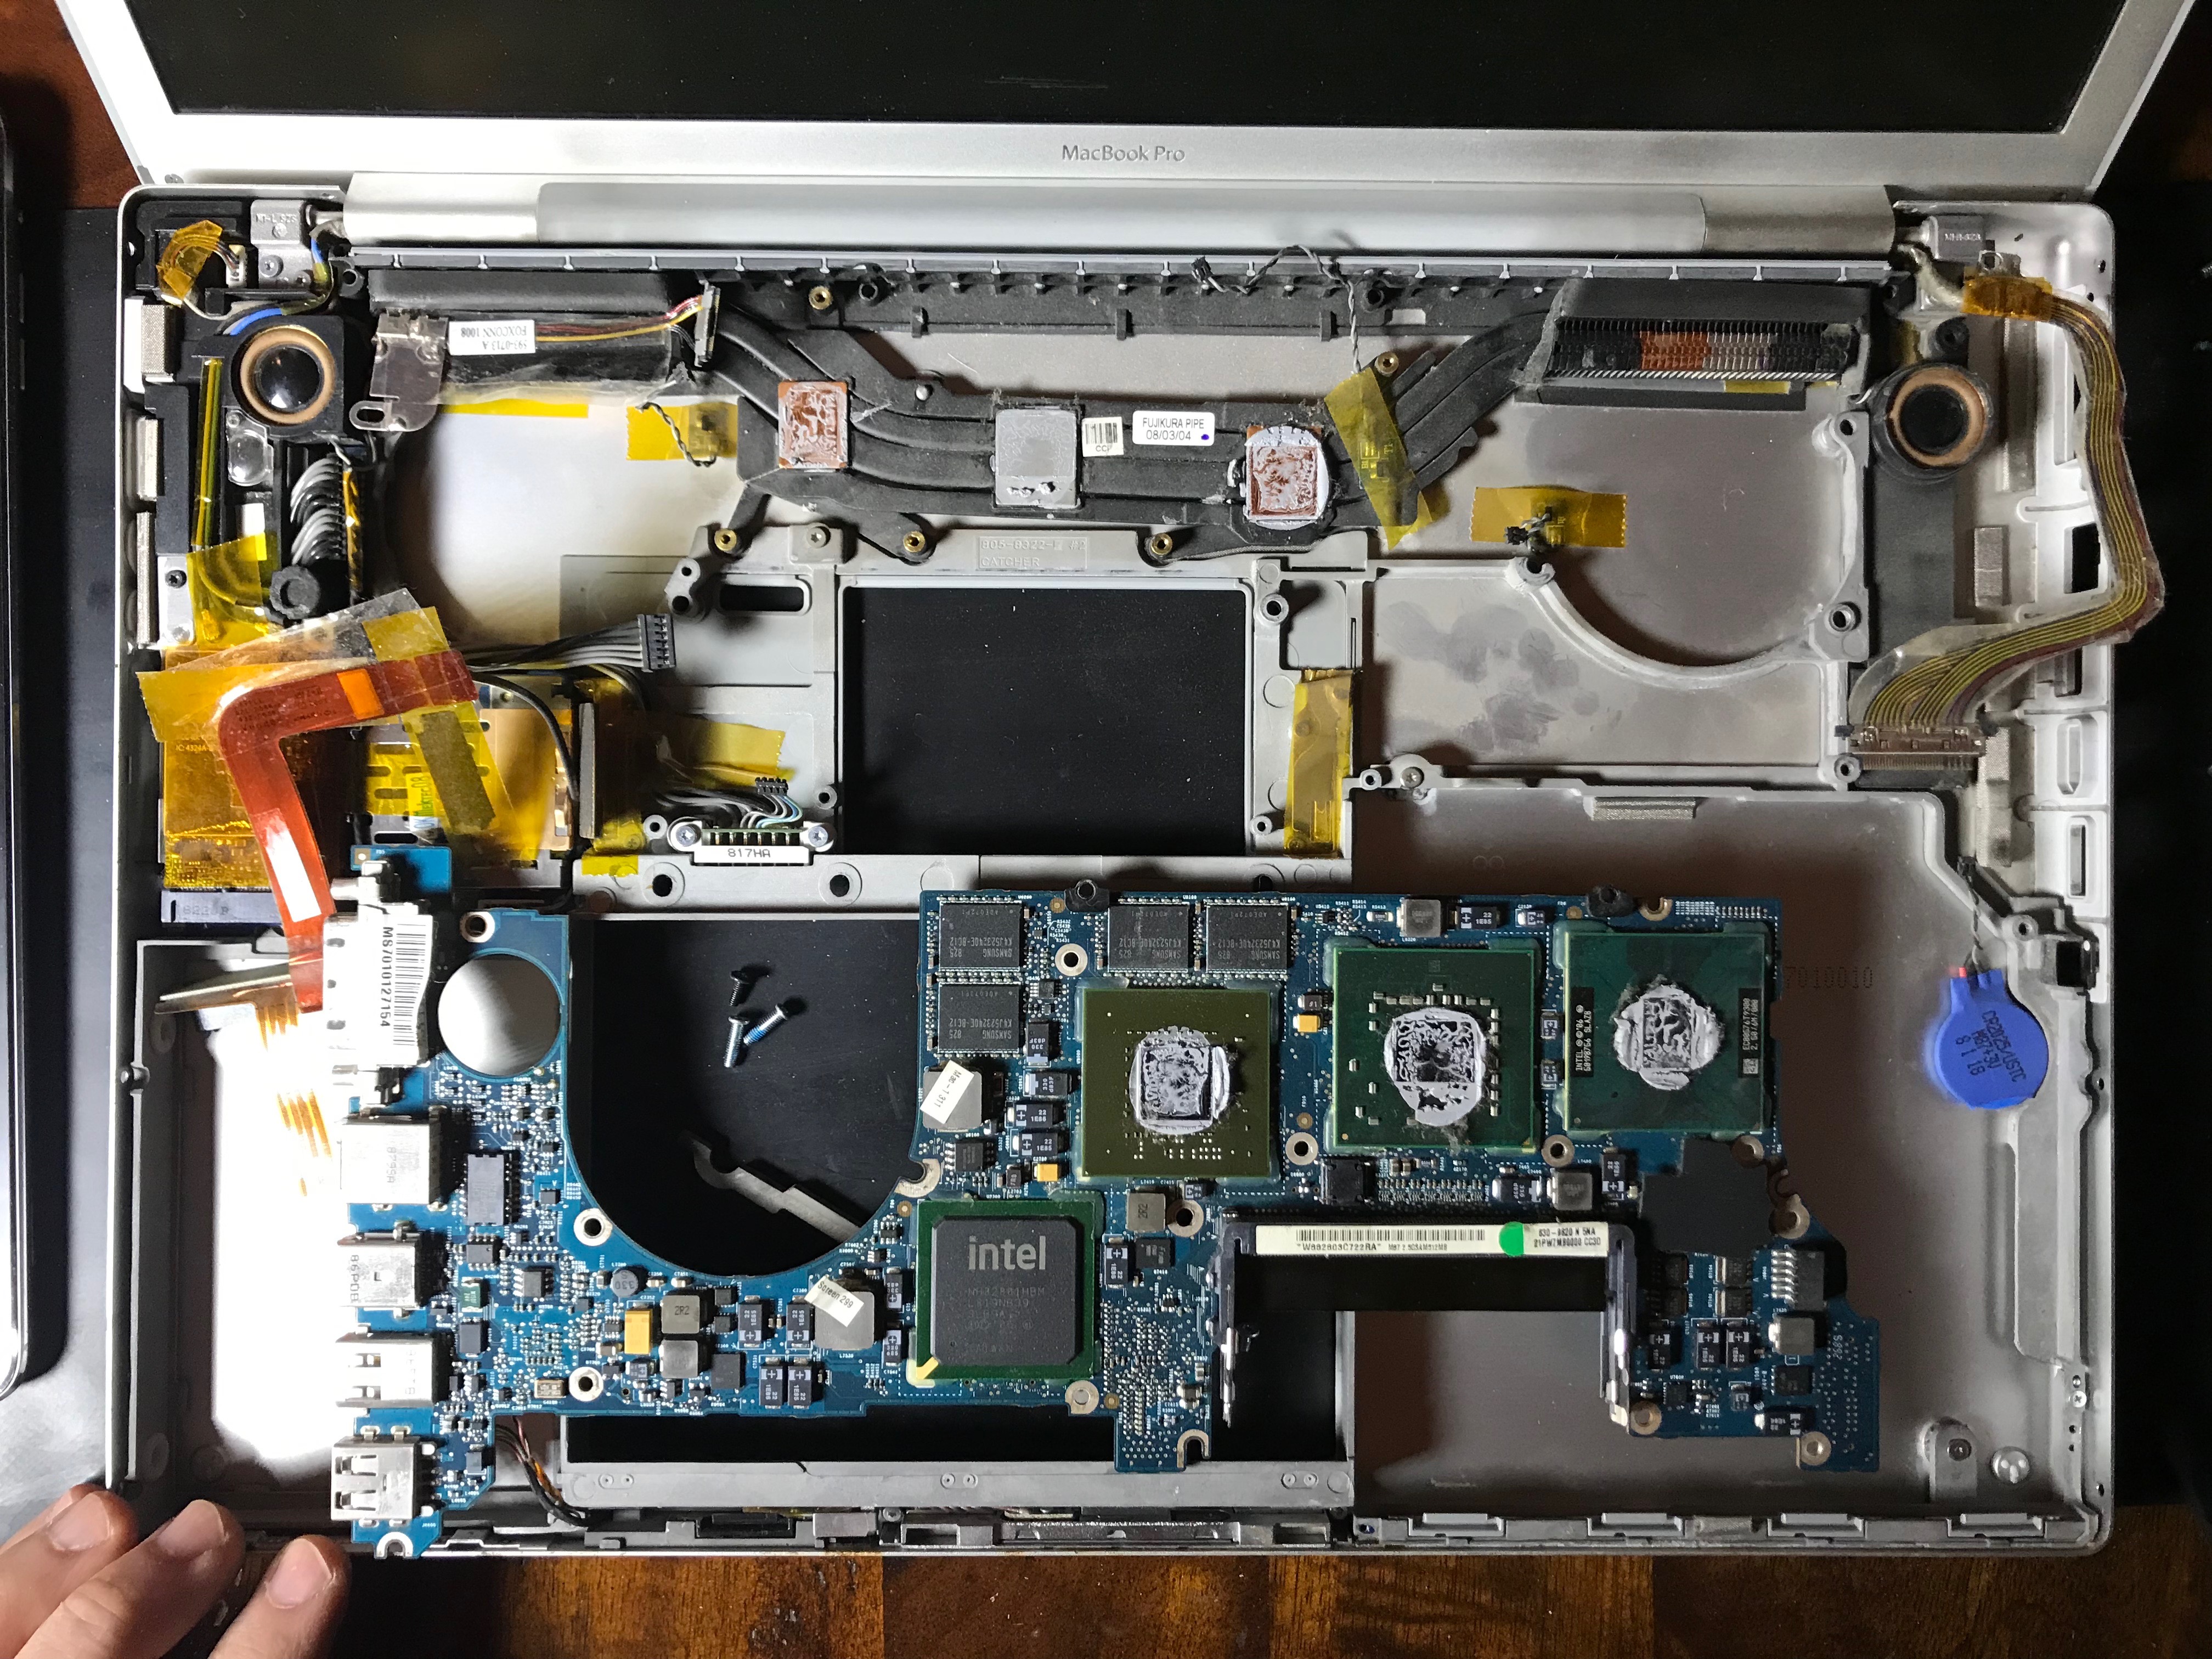

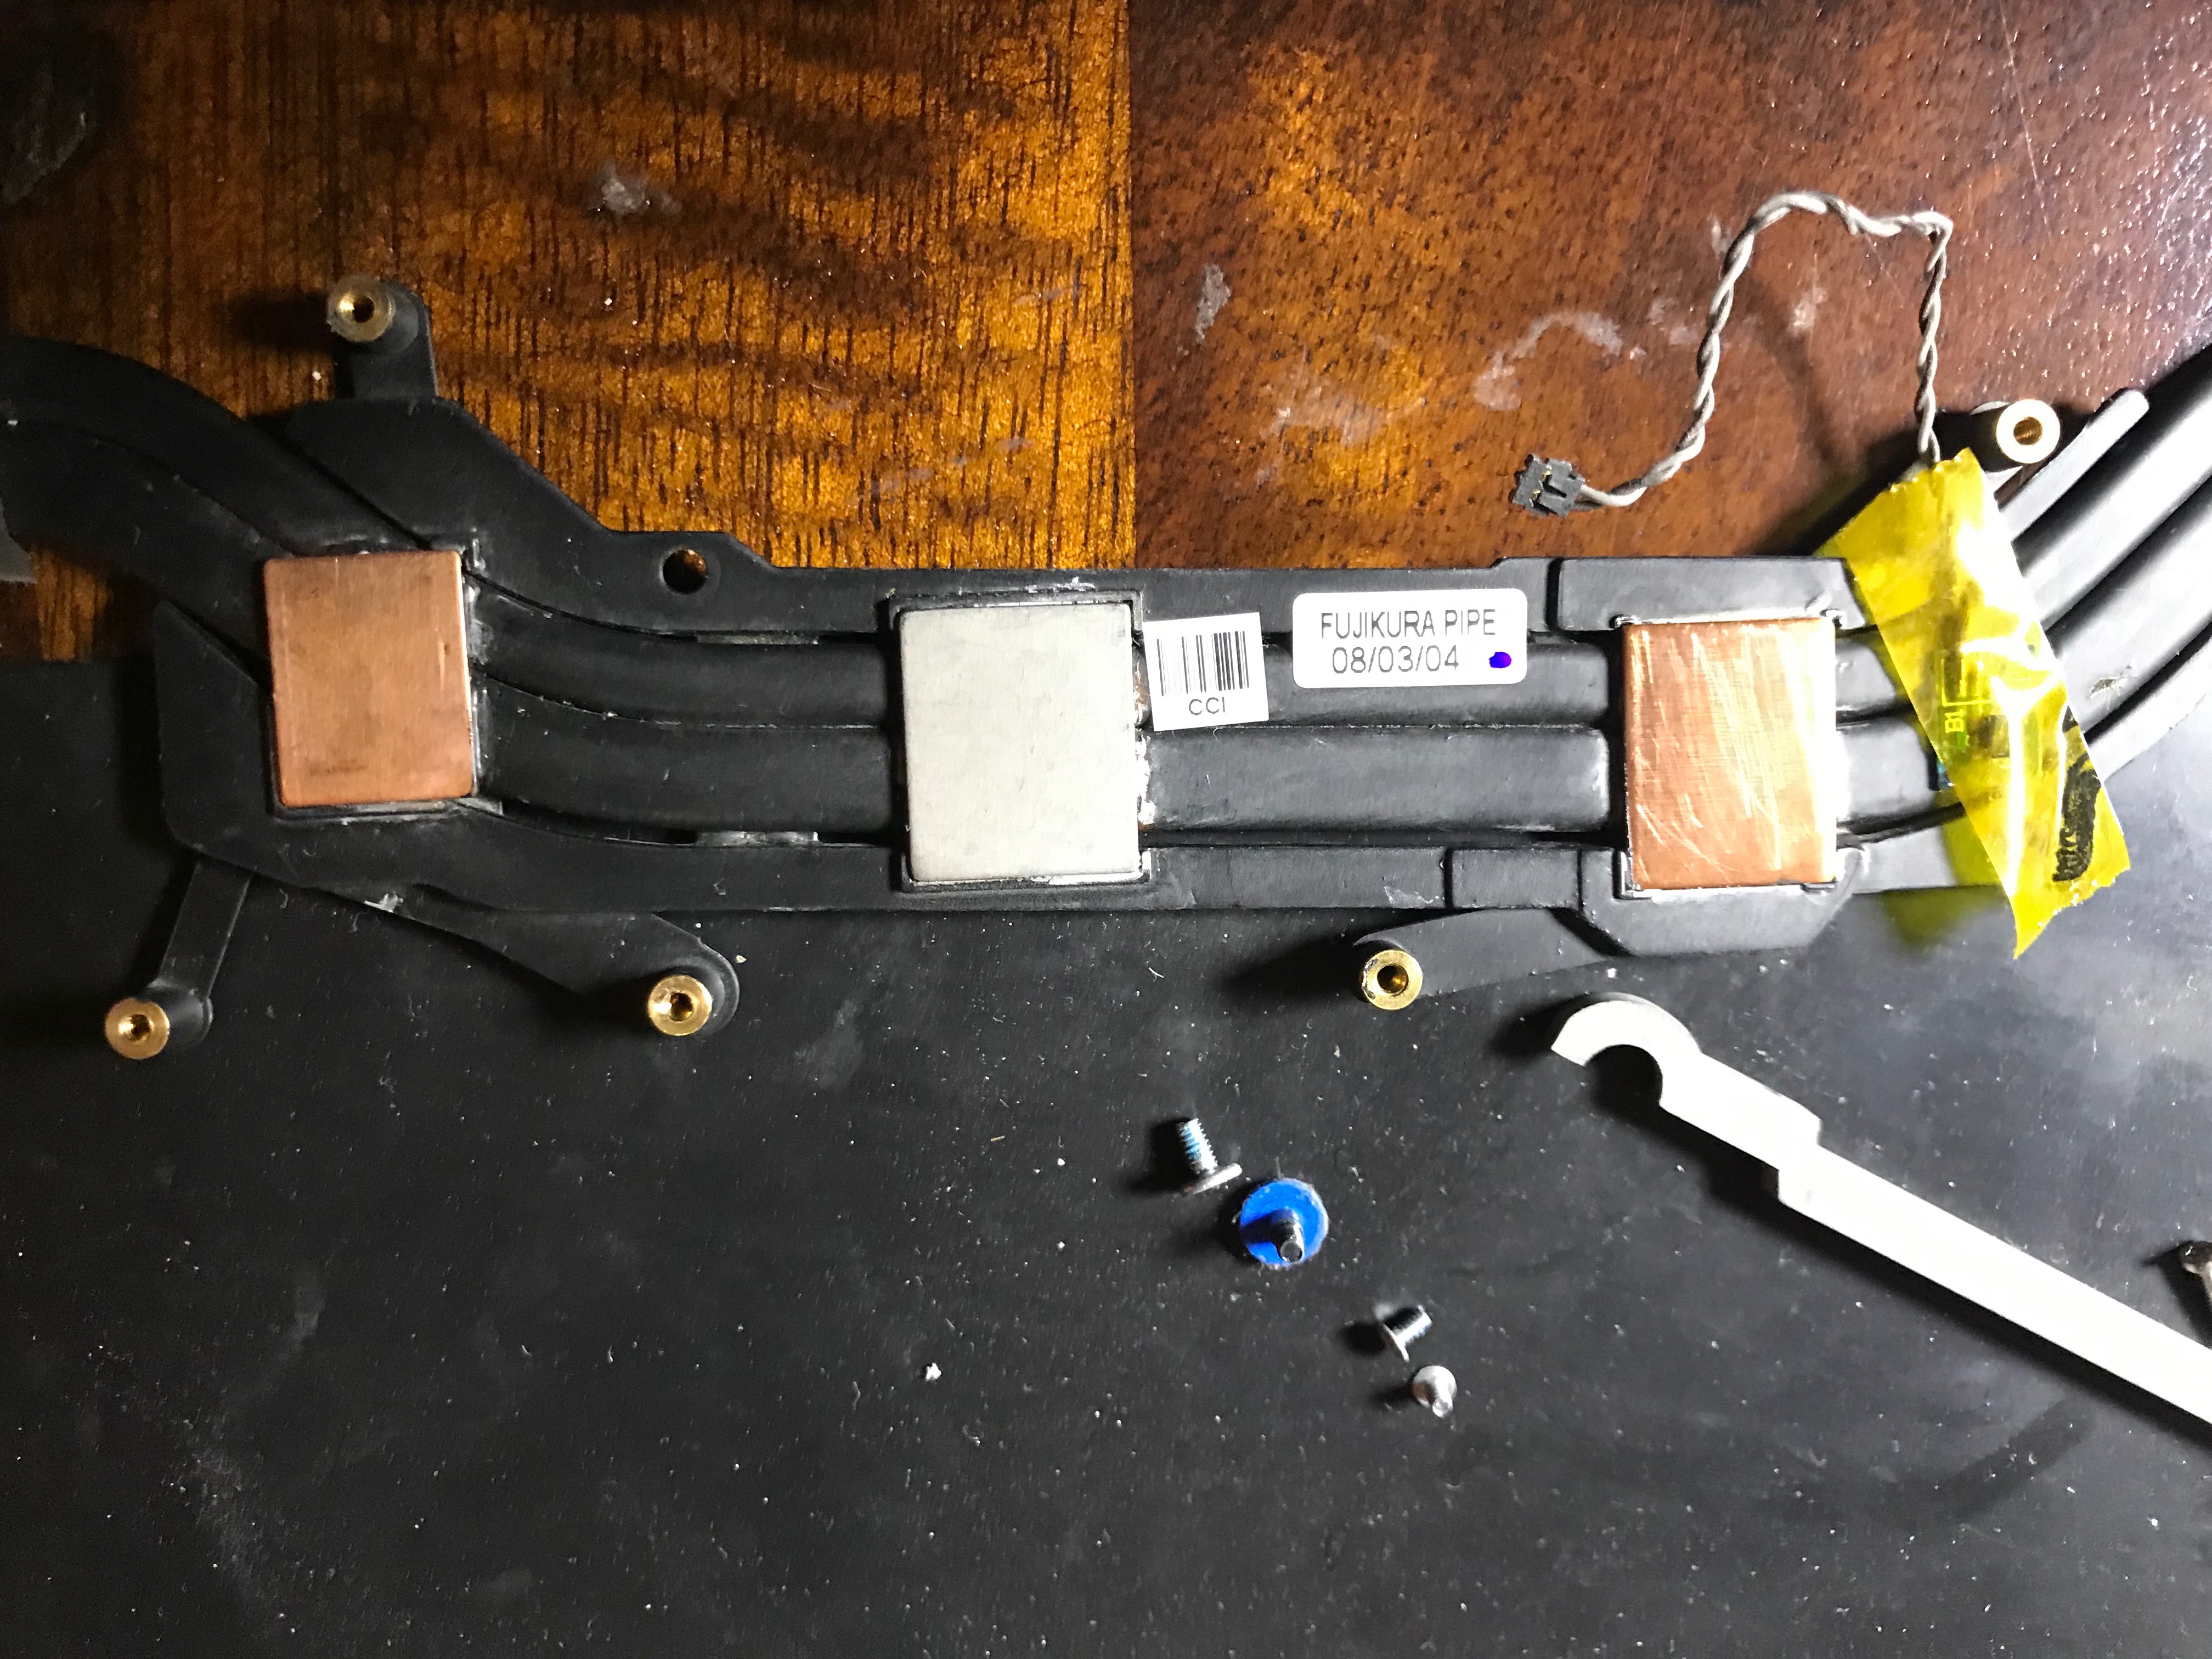

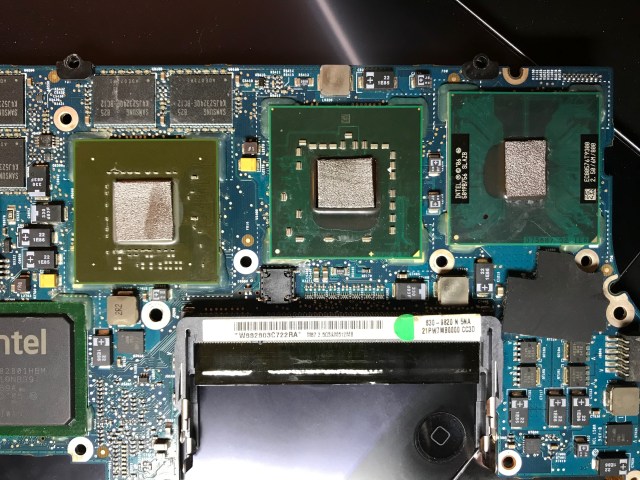
If you’ve looked through the photos and are wondering about the new thermal paste… I ended up not using any. I’d heard good things about a replacement for thermal paste: graphite pads, so I used those instead.
While I’m fairly sure they do what they say they do, which is to enable much better heat transfer than paste without degrading over time, I wouldn’t recommend them for this application, because unlike paste, they don’t stick to the chip at all, and they’re so light even a wisp of breath can blow them away. I was stubborn and did it anyway, but the way you have to fit the heat sink over the chips and turn the whole assembly over in order to tighten the screws means the pads will likely fall out or shift position, and that’s not good in either scenario. If they fall out, you’ll have nothing in place, leading to chip failure, and if they shift and touch other stuff on the board, like the little transistors next to the chip, they can cause a short-circuit, because unlike paste, they conduct electricity. I’m sure they’re great on regular motherboards where you simply sit them over the chip and close the heat sink on top, but not here, where the chips are tiny and you have to fiddle with and turn over the heat sink assembly to get it in place.
Our daughter had broken off one of the keys a few years ago, so I took this opportunity to replace it. Did you know there are websites that sell individual keys for reasonable prices? I didn’t; that was new to me.
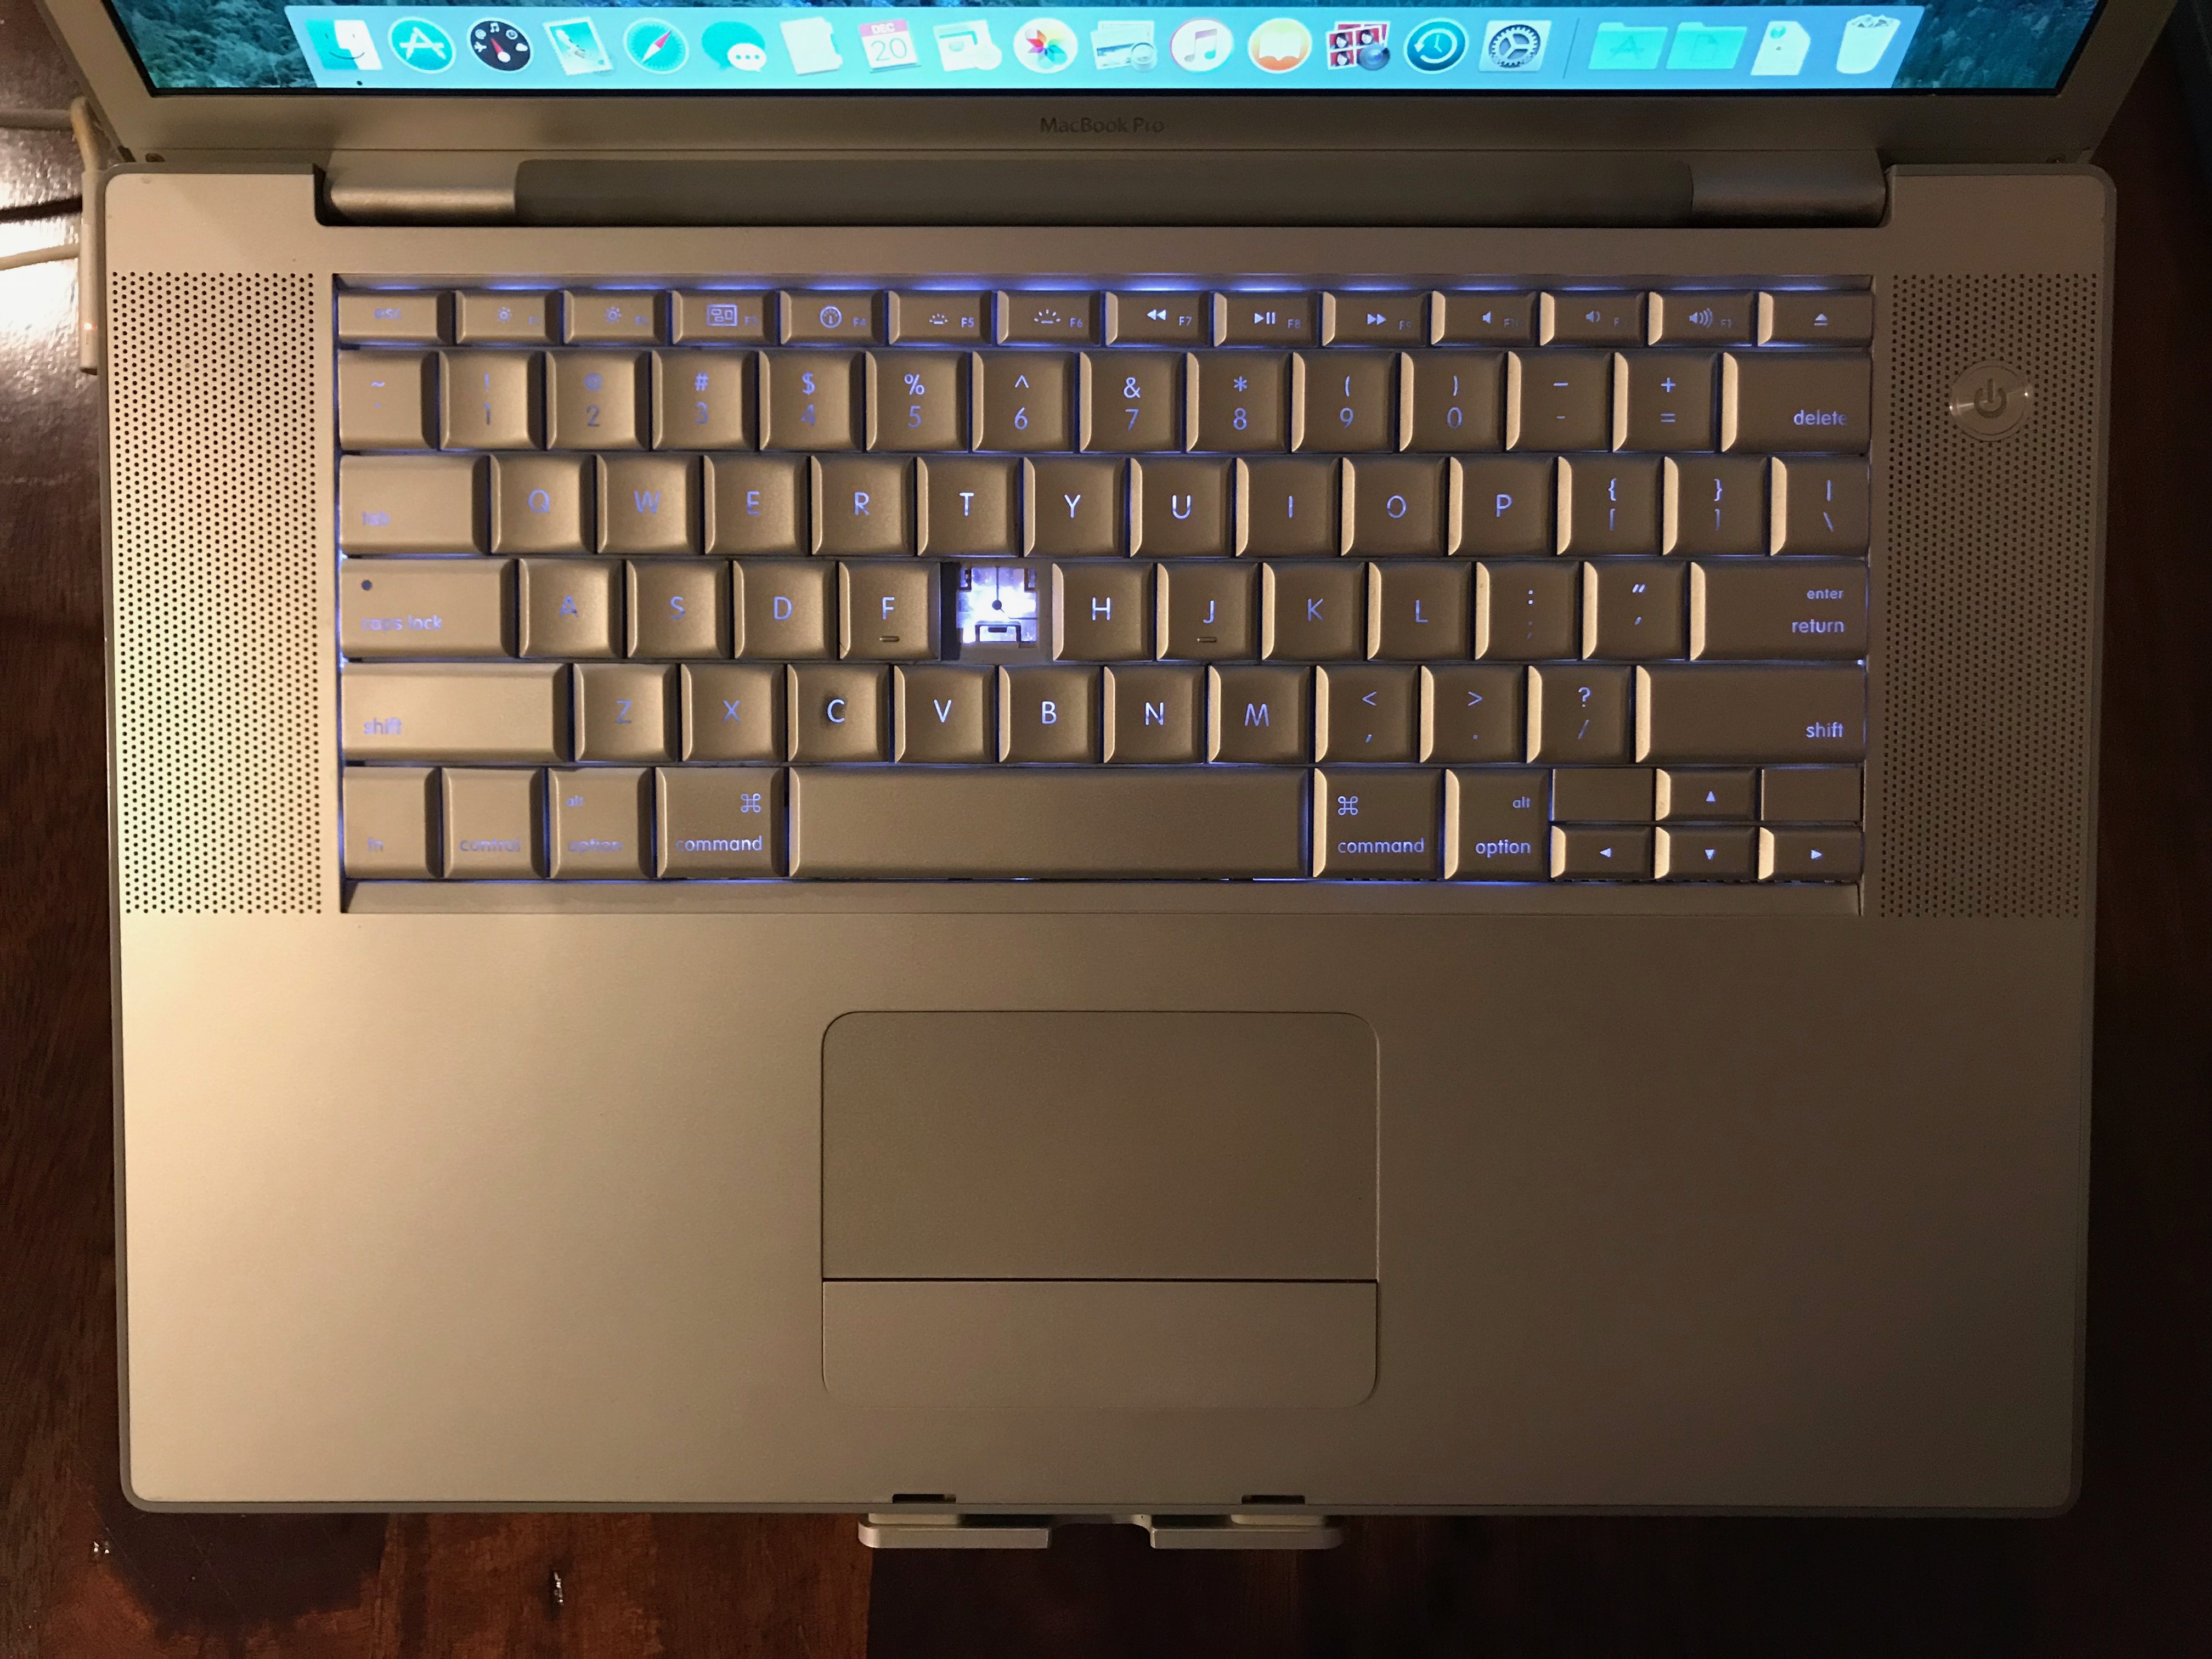
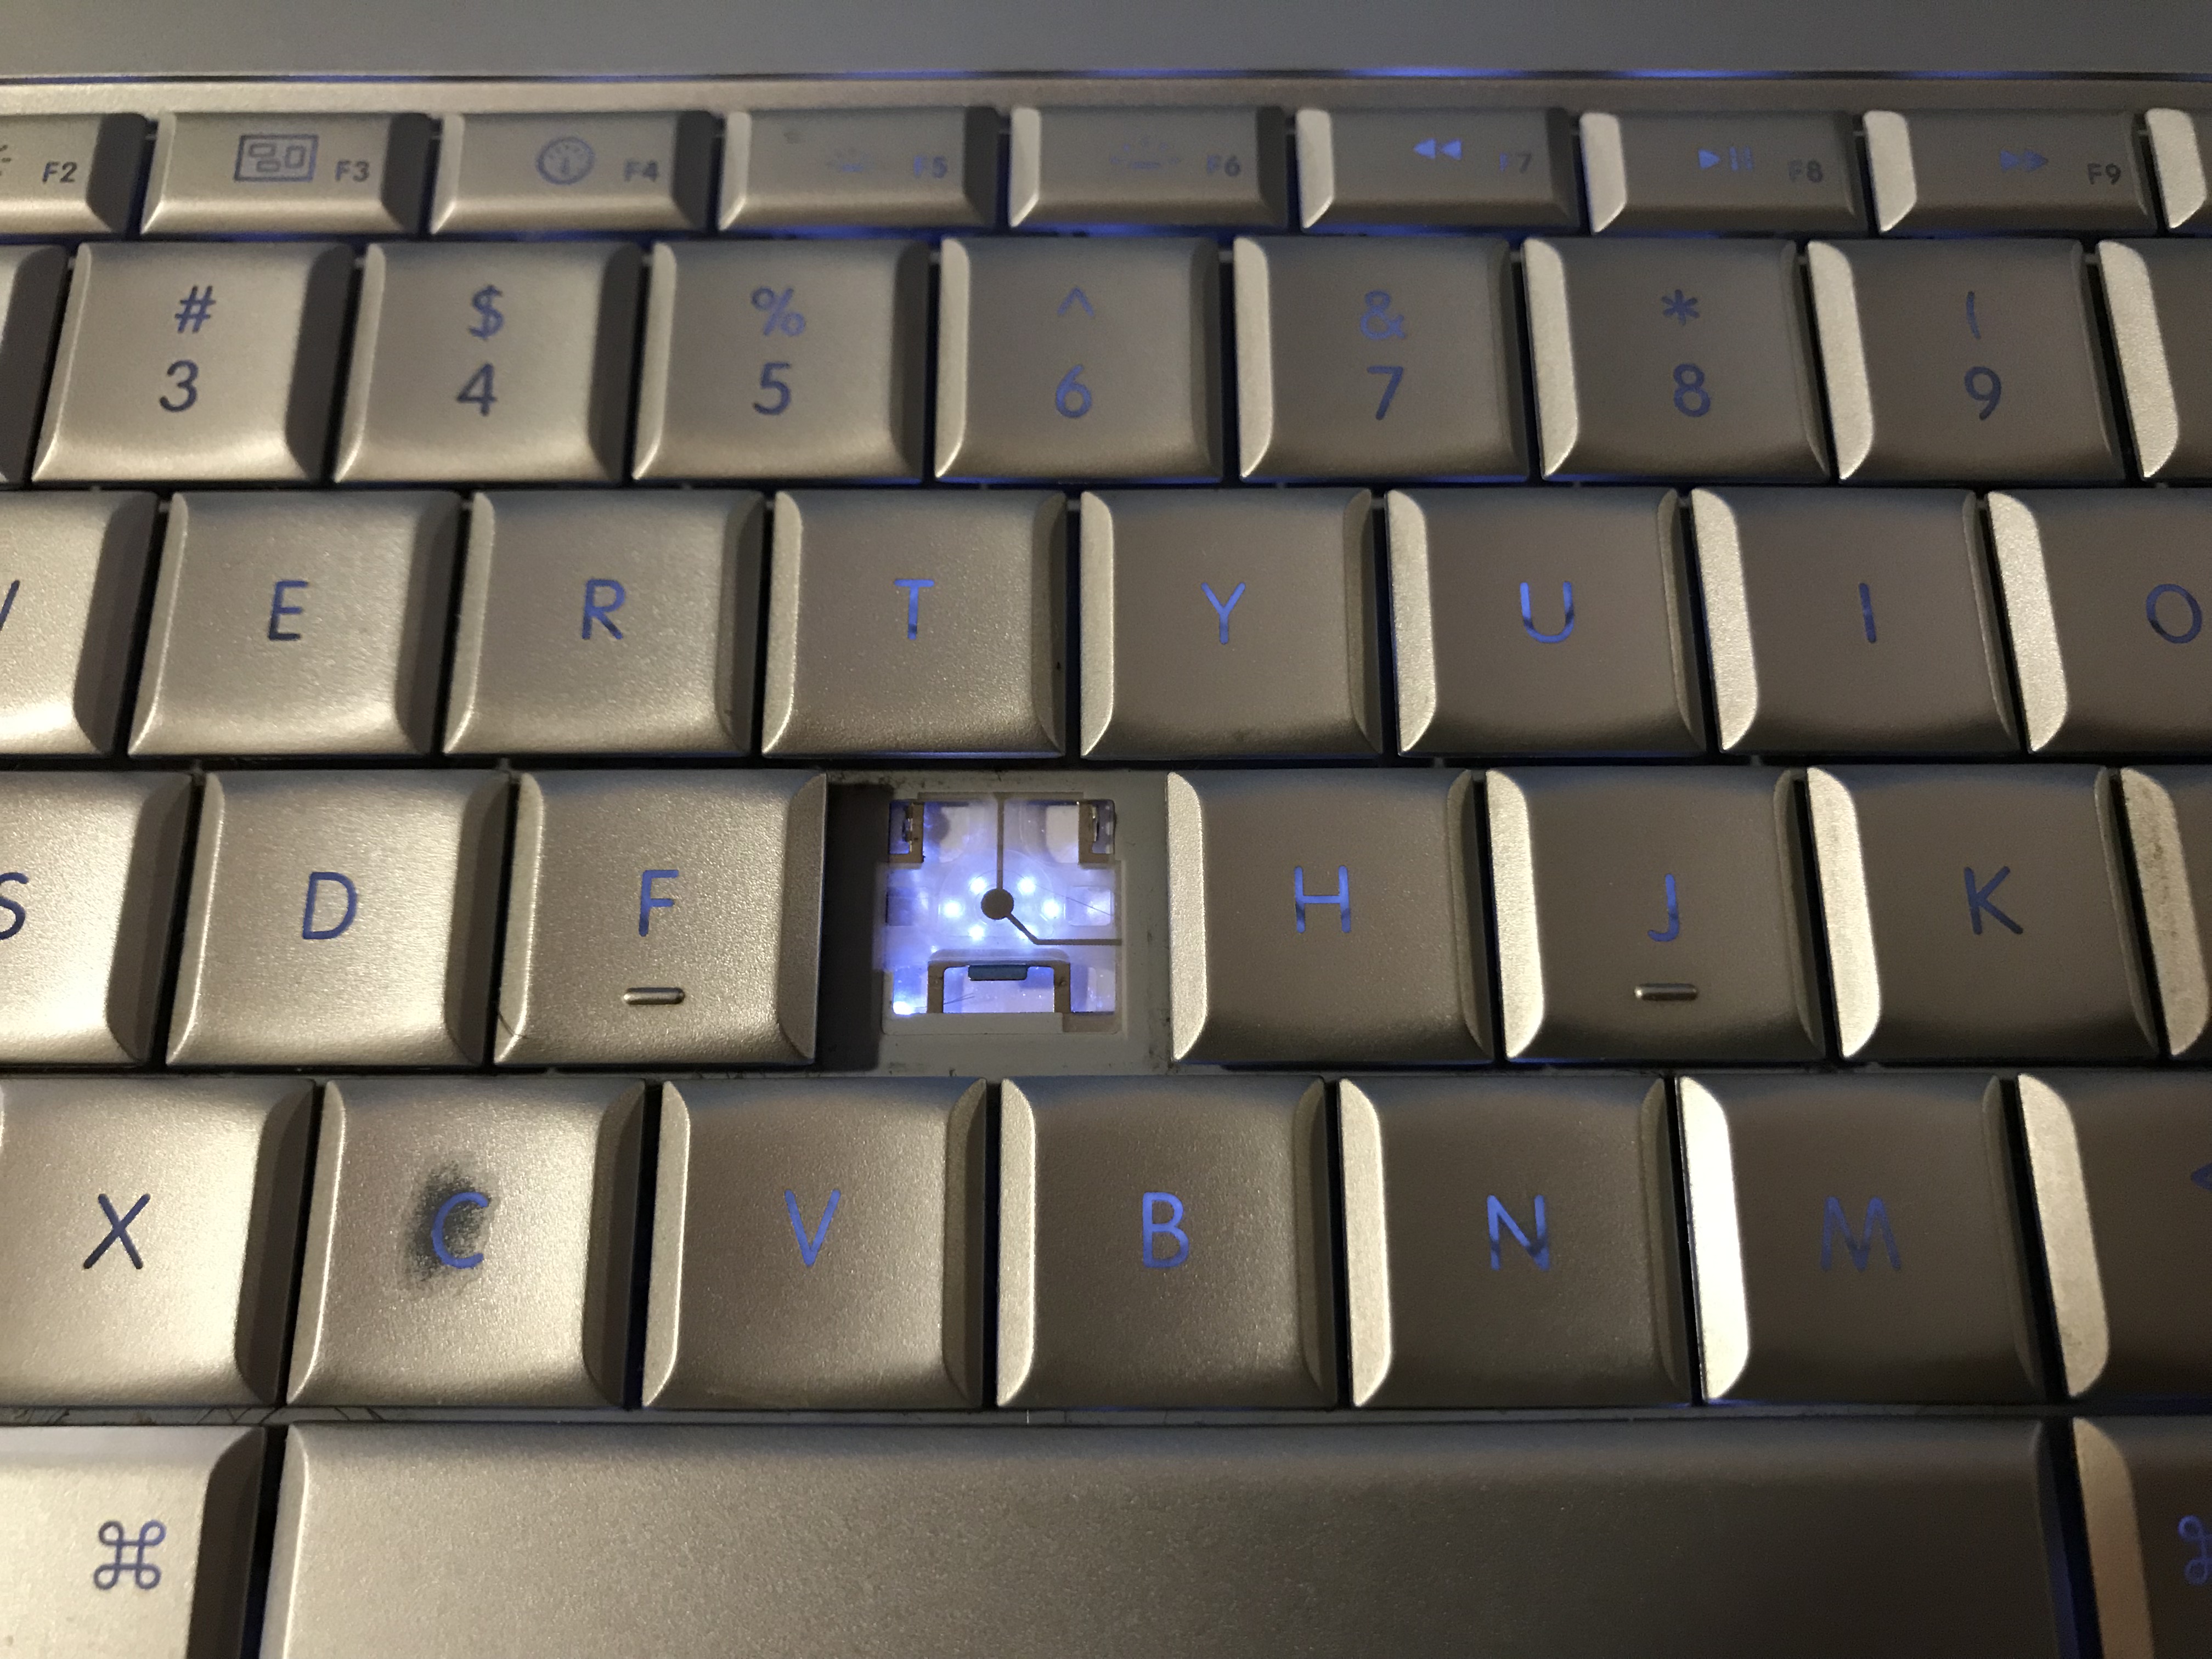
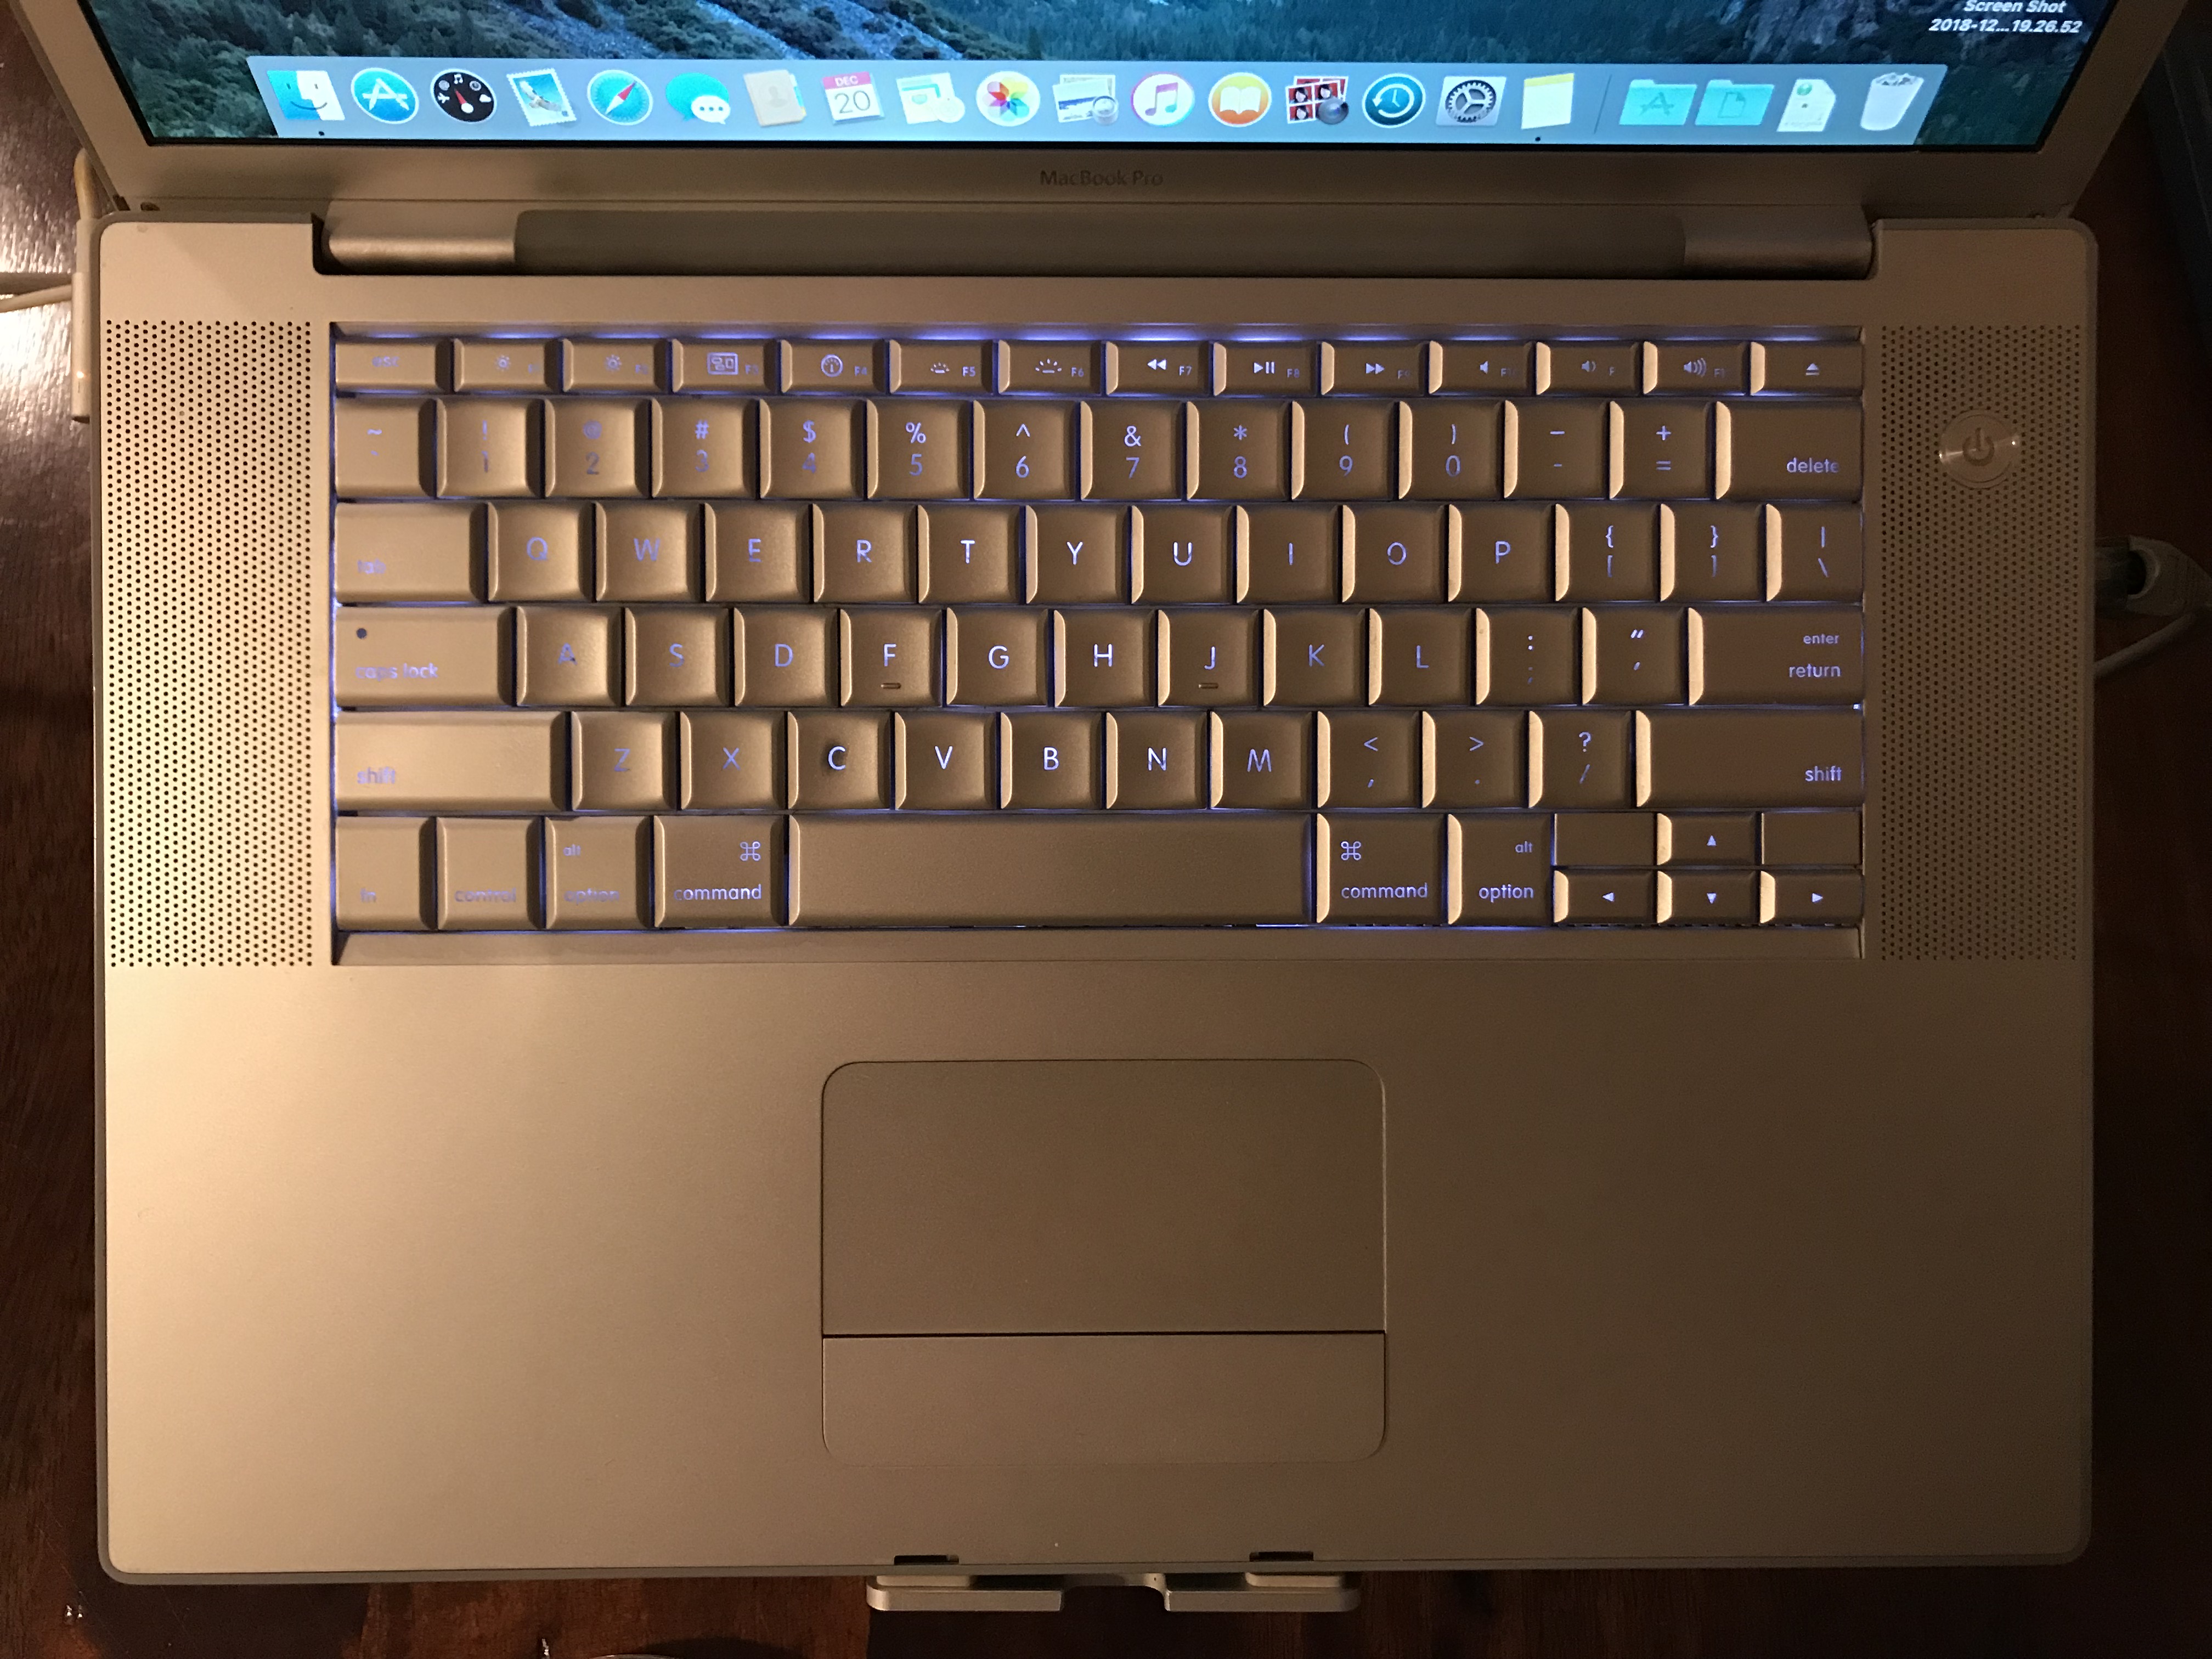
I’d like you to see that there are six lights under each key on this keyboard. This is worth noticing because many laptops nowadays brag about having lighted keyboards and “individual lights under each key” when they mean a single LED, while back in 2008, this MBP had six LEDs for each key!
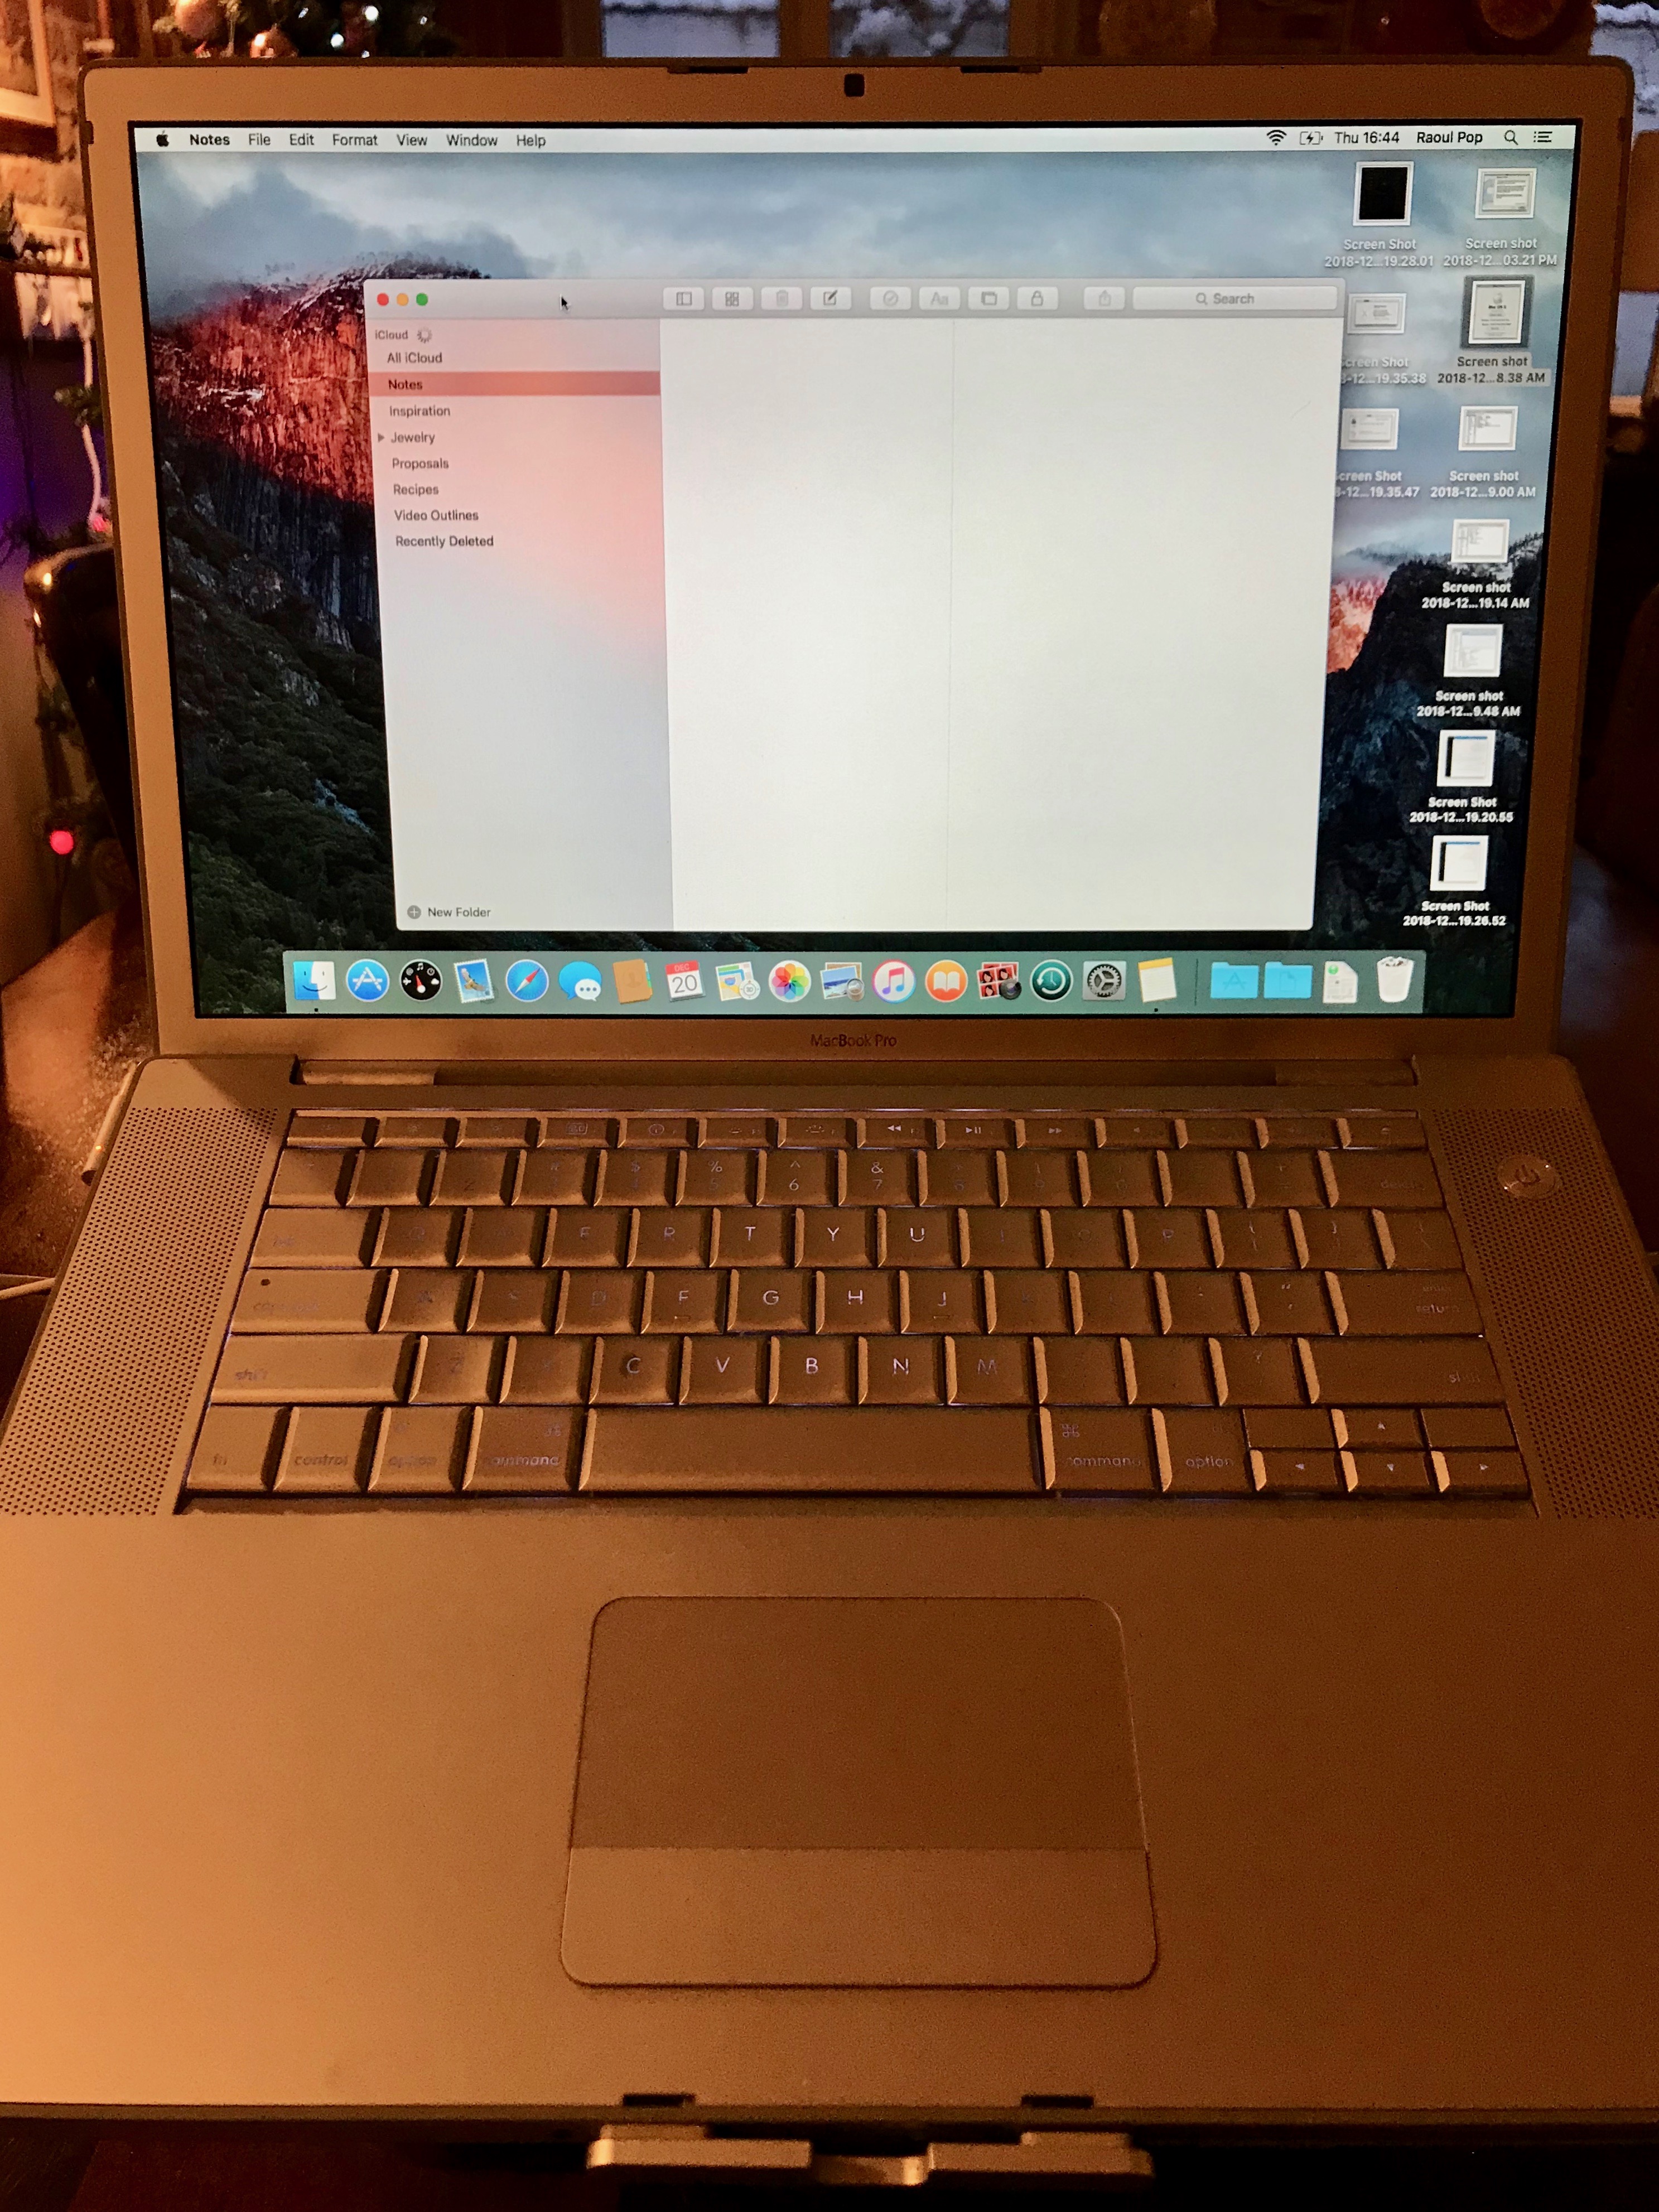
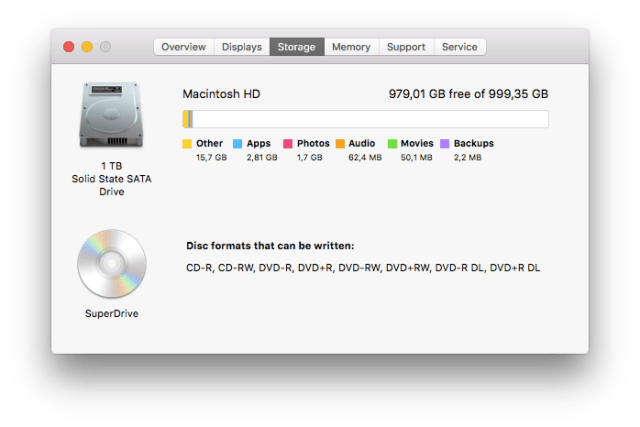
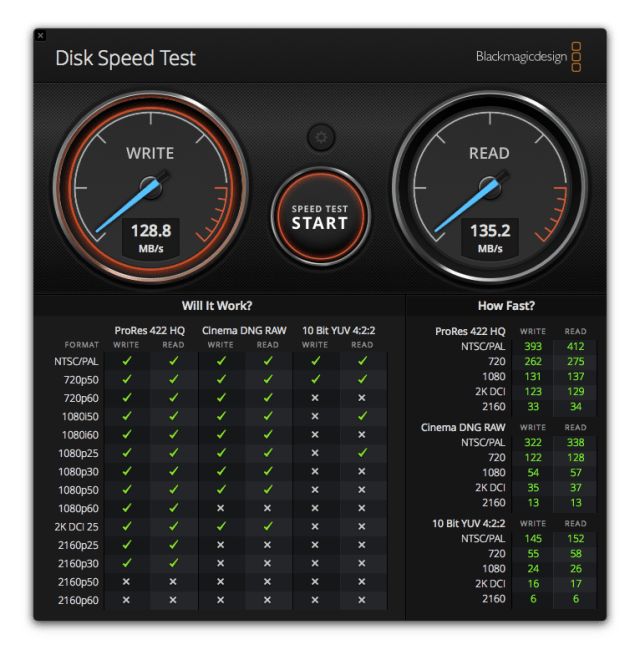
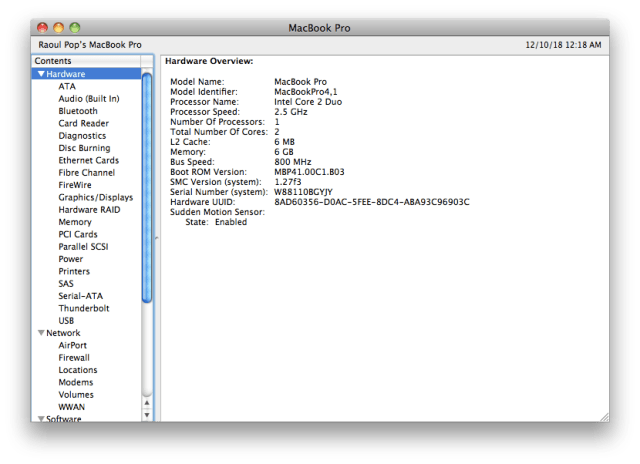
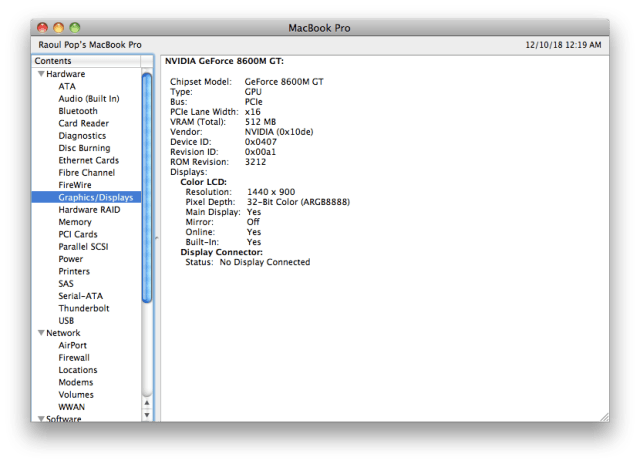
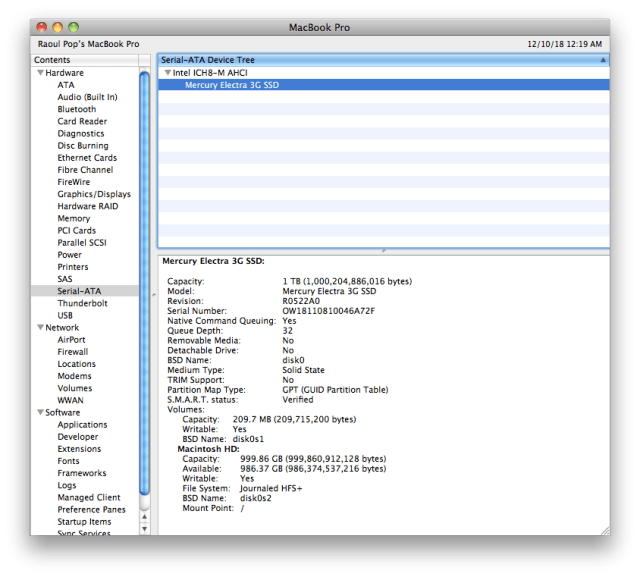
Last but not least, a set of screenshots for the specs. The two specs that are different now are the disk size and speed. The new disk size is 1 TB, which is going to be plenty for this old timer. The speed is capped off at SATA I (1.5 Gb/s or 150 MB/s) by the laptop’s hardware. With the new SSD, I’m getting somewhere between 125-130 MB/s, which is less than the theoretical max but about right in real world speed. Before the upgrade, I was getting somewhere between 40-60 MB/s.
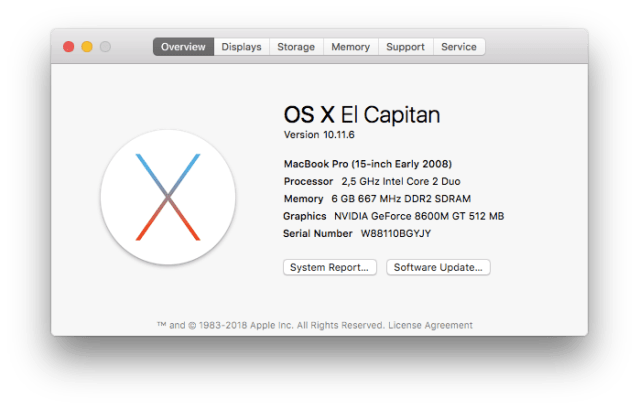
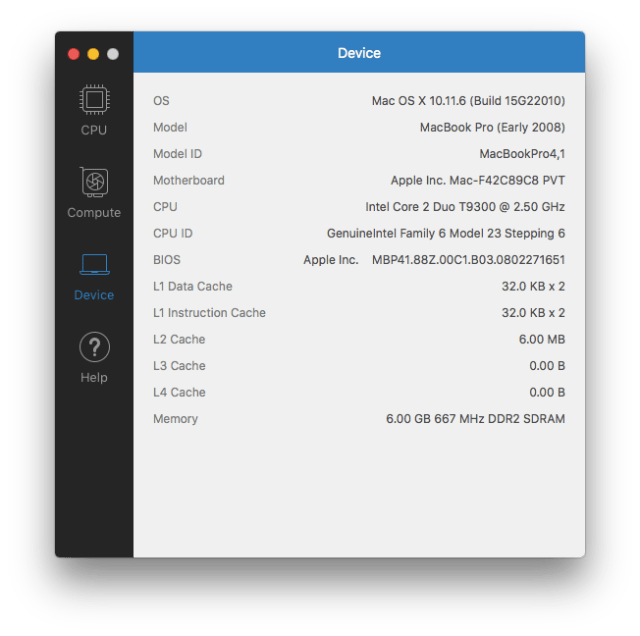
The highest version of macOS that I can install on it is El Capitan, which means it still (sort of) works with iCloud: the photos sync up with my other devices, but the documents and desktop don’t. I know there are hacks out there to enable an upgrade to Mojave, but I’d rather use what’s officially available.
The question that needs a final answer is this: can I see a difference? The answer is yes. The laptop’s gotten a little snappier and for what I need it to do, it works great now. Most of all, I’m amazed that after 10 years, it still works, and it works well.
