I made a quick video that shows you why it’s always important to check a SATA drive’s jumper settings. Many of us assume that since we’re dealing with SATA, not PATA/IDE drives, the jumper settings are no longer important. After all, the Master/Slave relationship no longer applies to the SATA model. Not so. The jumper settings on SATA drives control other important drive settings, such as their speed of operation.
Have a look at this Seagate 500GB SATA drive, the one in my video. I assumed (wrong) that it was operating at 3.0 Gb/sec all along. It wasn’t. For over 2 years, I had three of these drives in one of my Drobo units, and I thought I was getting 3.0 Gb/sec from them, when in fact I was only getting 1.5 Gb/sec. That’s because they shipped with a jumper set to limit their speed of operation at 1.5 Gb/sec from the factory, and I didn’t check it before sticking them in my Drobo and forgetting about them.
I can understand why Seagate would want to ship the drives set to 1.5 Gb/sec. After all, some older computers might not be capable of 3.0 Gb/sec, and you’d run into compatibility issues. They assume IT geeks would know what to do, and they’re right, they would, if they’d only bother to look…
Sometimes you’ll need to switch your drive packs (the set of drives that sits in a Drobo) between two Drobos. Or say you’re using two drive packs on the same Drobo. How do you switch the two packs safely, to ensure you lose none of your precious data?
That’s the question I asked myself a couple of days ago, when I found that I needed to interchange the drive packs between my 2nd Generation (FW800) Drobo and my 1st Generation (USB 2.0 Drobo). I’d expected this move for a while, as I hinted to it in a recent post entitled “What’s on your Drobo“. It has to do with my photography workflow, and if you’d like to read through the rationale, you’re welcome to check out that post.
So, what’s involved?
Safely shut down the Drobo(s)
Disconnect power and FW/USB cables
Take out disk pack as a whole from one Drobo
Insert disk pack as a whole into another Drobo (or same Drobo, as the case may be)
Connect FW/USB cables
Connect power cables
Boot up the Drobo(s)
I’ve put together a video demonstration of the process, which you can watch below or on YouTube. This was unrehearsed, and it’s not something I did before, so there was a fair bit of related anxiety. I rely very heavily on my Drobo units for data archival, and I don’t ever want to lose any of my data. Thankfully, everything went smoothly, and things are working great!
The detailed steps involved in the process are listed in two tech notes on the Data Robotics website:
I need to add here that drive packs aren’t interchangeable between all Drobo models. You’ll need to read carefully through that second tech note listed above to make sure you don’t unintentionally corrupt your Drobo volume by putting the pack in an incompatible Drobo device.
If you’re wondering why one ought to bother to switch data packs, the decision needs to be made on a case-by-case basis. In my situation, the alternative would have been a manual copy of the data, which would have taken days, since I work with terabytes. Switching the drive packs took 15-20 minutes altogether (reading through the tech notes, emailing Drobo Support to ask them a question, and actually doing it). The trade-off, if I hadn’t done things correctly, would have been costly and possibly irreversible data loss. Fortunately, things went according to plan!
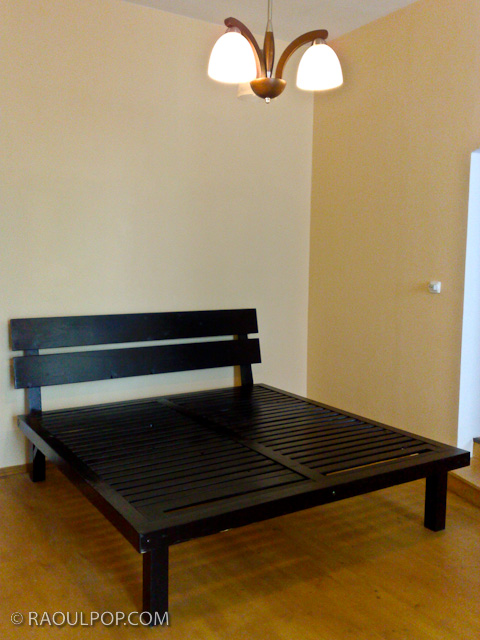
Last summer, I made a custom king size bed frame for our bedroom, out of solid wood. I held off on writing about it until now, nine months later, because I wanted to make sure the end result was solid and worth writing about. We’ve been sleeping on it ever since, and there’s nothing wrong with it, so yes, I can heartily recommend it.
I was fed up with the laminates and particle board garbage they call furniture these days, and I wanted to build something that would last, out of a quality, sustainable material like wood. I chose pine, because it was softer and easier for me to work with. Although I’ve also built a custom cat house for our three cats, I’m no expert carpenter. I just like to work with wood. It’s a wonderful material.
In December of 2005, I wrote an article on wet shaving. Back then, there wasn’t a lot of shaving advice on the internet — at least none I could find. So I wrote the article with the sincere desire to help others like me, who were having a tough time with disposable razors and electric razors, and with constantly irritated faces and necks. For me, it got so bad at times that my whole face and neck would just bleed from every pore, every time I took a razor to my face. It was crazy.
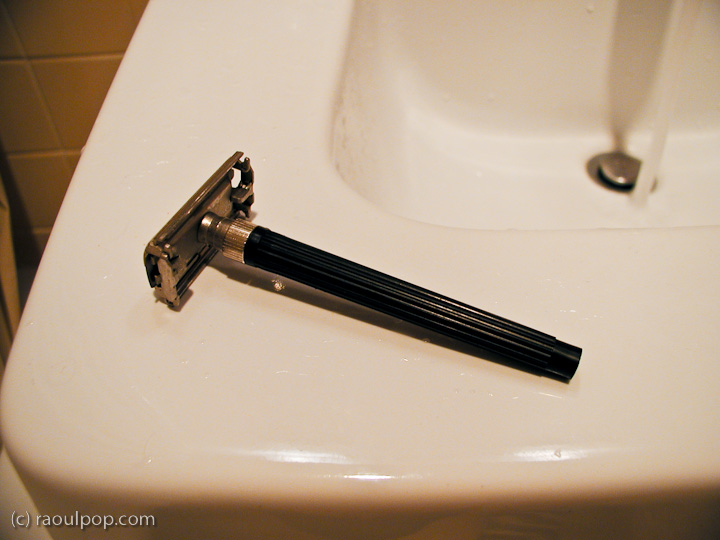
What worked for me then was using a Gillette Mach 3 Razor, because I didn’t know better. I would use a safety razor from time to time, just to troubleshoot where my shaving techniques needed improving. Since then, I graduated to using the safety razor all the time. What helped me improve my shaving technique was watching mantic59‘s videos on YouTube about three years ago. I was really glad to find him again today so I could link to his videos. I haven’t seen them since, and I wasn’t sure if he was still around.
Now that it’s been more than a few years since I wrote the original article, I thought I’d update it with a how-to video on wet shaving with a safety razor, where I show how a typical shave goes for me. I shot the video in 720p HD, with the wonderful Olympus PEN E-P2. My wife acted as my trusty camera-woman.
Shaving is an art, and it has to be learned. It doesn’t come naturally to us. One’s shaving form must by necessity differ, depending on the type of shaving utensil used: straight blade, safety razor, disposable razor, electric razor, etc. For me, a safety razor is the perfect balance between sustainability and shave quality, and that’s what I’m going to talk about here and in the video.
A straight blade is too scary for me. There’s that potential of slitting one’s throat. A safety razor still gives you the benefit of shaving with a sharp blade, but this time it’s contained within an apparatus that won’t let it cut your throat. A disposable razor, whether it has one, two, three, four or five (who cares!) blades, doesn’t offer as good a shave, because it’s less maneuverable, it’s made to be even safer — or in this case, useless — and creates non-recyclable waste, thus polluting the environment.
Just think how many blades and handles you use every year — all of those end up in a landfill. They can’t be recycled, because the plastic can’t be separated from the steel. It’s waste that can be easily avoided. On the other hand, all you throw away from a safety razor is a thin steel blade, which is perfectly recyclable. The razor itself lasts practically forever, which is why the companies that make shaving products would rather you get the disposable stuff. I say consequences have to trump profits sometimes, even in a capitalist society.
And, as Cary Grant says in “Mr. Blandings Builds His Dream House”, I like a safety razor because “I prefer the clean sweep of tempered steel as it glides across my face.” Yes indeed, Cary, yes indeed.
I hope you enjoy the video and come away from it with a better appreciation for the art of shaving, and with a few tips that will help you get a better shave!
The folks at Data Robotics put together a short video that showcases Drobo owners talking about what they store on their Drobos, and asked their Twitter followers what’s on their units.
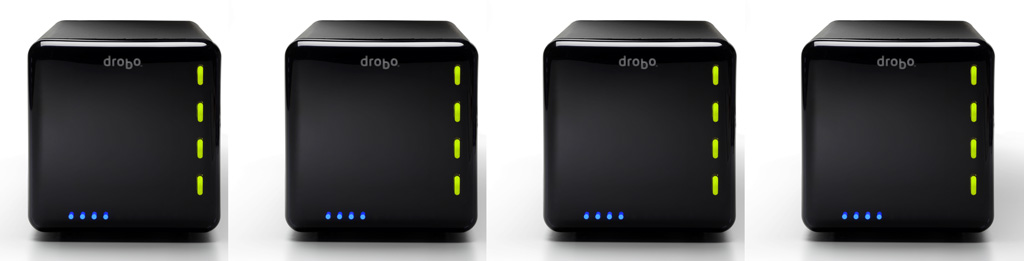
That got me thinking about what I store on my Drobos. I have four Drobos in total: three 1st Gen Drobo units (USB 2.0 only) and one 2nd Gen Drobo (Firewire 800 + USB 2.0). Perhaps that makes me a bit unusual. Most people have one or two units, not four. But there’s reason to the seeming excess.
For one thing, I have a huge photo library. (You can find the photos I edited and published here.) For another, my wife and I have a huge video library. These are movies and cartoons we had on VHS tapes, which we digitized, or on DVDs, which we archived for easy viewing, or TV shows and movies that we recorded from TV. We’re big fans of classic movies and cartoons from the 1920s, 30s and 40s, and we collect all the ones we like. We also digitized most of our old paperwork. My medical records are all digital. So are my dental records. So are a bunch of our other documents. I scanned all the stuff I could scan, and now when I need to look something up, it’s right there at my fingertips. I’ve also started shooting video more intensively this past year, in SD and HD. (You can find my published videos here or here.) All that stuff takes a fair amount of space — terabytes to be more precise. And to top off this whole list, we live our life on two continents (North America and Europe).
Here’s what I do to make sure I don’t lose my data:
I keep a Drobo with my parents, at their place. On it, I store a backup of my photo library and our video library, along with their files. I back up my live photo library to it using CrashPlan, a piece of software that will let you back up your data to a friend’s machine. I’ve actually just started using it, and while I’ve been able to back up just fine with both machines on the same network, being able to do it from thousands of miles away will be a litmus test of the software’s capabilities. I’ll be sure to write about it if it proves workable. The video library gets backed up every once in a while in a pretty simple manner: I carry movies and videos to them on a hard drive and copy them onto the Drobo. Updated 4/21/10: CrashPlan does indeed work as advertised!
I keep two Drobo units at our home. On one of them, I keep our video library, and an extensive, historical file archive. On another, I keep a mirror copy of my live photo library, which is currently stored on a WD Studio drive, because it’s smaller and easier to transport than a Drobo, and I do a fair bit of traveling. I mirror my photo library with an app called Synkron, which works great. I switched to the WD Studio when I started traveling extensively and realized the Drobo couldn’t always fit safely into my luggage. (Where oh where is that Drobo carrying case I wrote about last year?)
I gave the fourth Drobo to my brother, who needed a solid data storage device to begin to archive his ever-growing library of ethnological videos. He’s a documentary filmmaker who travels around Romania studying and recording religious and secular customs, which are being forgotten and buried along with the old folks. He wants to preserve these things for posterity. You can learn more about what he does at his website, called ORMA.
So that’s how I use my Drobos. However, I’ll have another logistical issue to deal with in the near future. I’m running out of space on the WD Studio drive, which has 2 x 1 TB drives in it. I run it in RAID 1, and in another month or two, it’ll be completely full. I’ll need to start using one of my Drobo units as my primary photo editing/storage device again. This means I’ll shuffle all my data around once more. A possible new arrangement will see me using the 2nd Gen Drobo for the storage and editing of my photos and videos, and the other for the storage and retrieval of our video library and historical file archive, while the WD Studio drive will see some backup duty or be relegated for travel-only purposes.
The current drive distribution among the three Drobos I use actively is as follows:
2 x 2 TB drives + 2 x 1 TB drives in the Drobo that stays with my parents
4 x 1 TB drives and 4 x 500 GB drives, respectively, in the two Drobos that are with us
I can’t speak for my brother, but I believe he’s using 4 x 1 TB drives in his Drobo
I’d love to hear how you are using your Drobo. Perhaps you have some ideas for me?
Image and video used courtesy of Data Robotics. The 2nd Gen Drobo is available for purchase from Amazon or B&H Photo. The 1st Gen Drobo has been discontinued as of 2009. Be sure to also check out my reviews of the Drobo S, DroboPro and DroboElite.