I thought I’d do something a little bit different for this topic and publish photos of some of my cold weather clothes. I want to give you some ideas of what to look for in materials and what you can combine in terms of color and texture.
Warm weather may be on the way but now is the time to pick the fabrics out of which you’d like to make your next cold season’s clothes. Chances are it’ll be discounted because they’re making way for the thinner fabrics of summer and besides, you want to take your time and really look around. You should look for the best quality cloth at the best price for your budget. You should only buy fabrics that you’d love to wear. There’s no reason to invest in fabric that you’re not sure about, only to invest even more money and effort afterward in order to make it into a suit and then, as you stand in front of the mirror, come to the realization that you don’t really like it.
Buy only what you fall in love with, find a great tailor, make it into a suit that you’ll love, and that way you’ll ensure that you’ve got an outfit you can wear for years to come, one that will make you feel good every time you put it on.
All of my cold weather outfits feature thick wool fabrics, just like these. I love to look for interesting colors and textures. Underneath, I love to wear thick cotton shirts, sometimes with a white cotton t-shirt underneath the shirt, for extra warmth. And I like to wear a tie, not necessarily to make the outfit more formal, and this is a little secret… I do it because it keeps me warmer. The tie causes the shirt collar to close up tightly around my neck, keeping the warmth generated by my body inside the shirt. And the tie acts as a sort of scarf, wrapped around the base of my neck and draped down my chest. It really works, it keeps me warmer in winter. Try it for yourselves and you’ll see what I mean.
One thing about winters is they don’t like to leave. Just when you think they’re packing to go back north, they settle back down for at least a few more days. And they’re not shy about it, either. They’ll let loose and bring on a bonafide winter storm.
This particular one happened just about six years ago. The set of pictures you’re about to see were taken in Grosvenor Park and Cabin John Park, MD, and in Tyson’s Corner, McLean, VA.
Things can start out picturesque in the morning…
… and turn into this by evening.
By morning, things are back to picturesque — a beautiful, white winter picturesque.
Sadly, that doesn’t last long. In a day or two, rising temperatures melt it away.
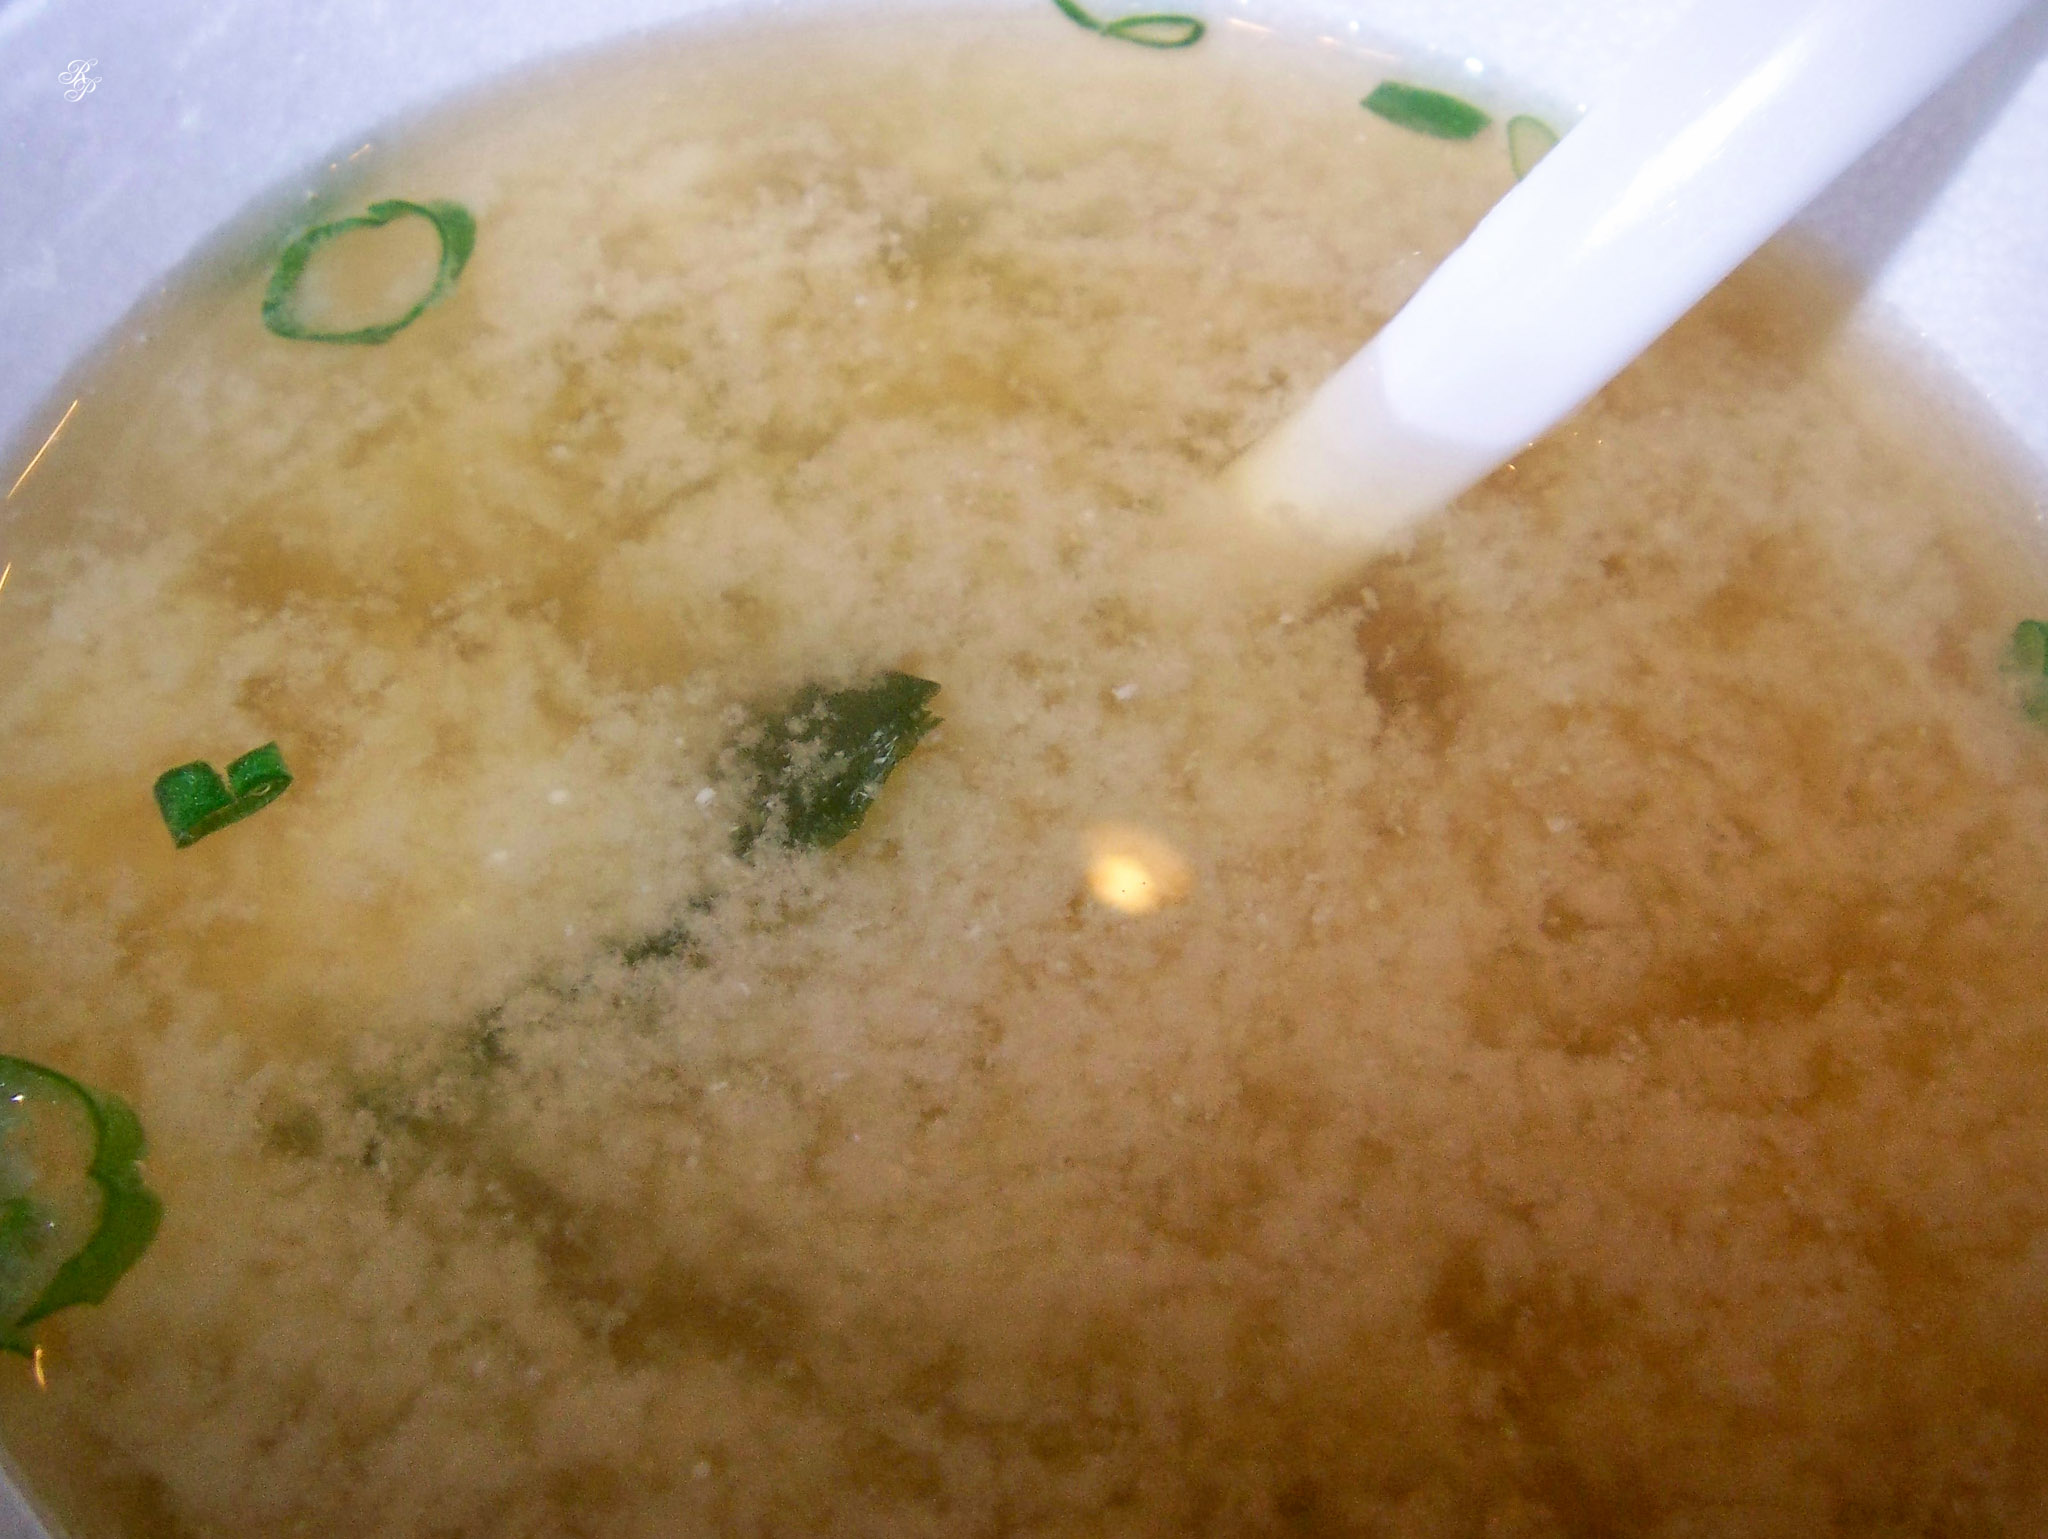
By the way, there are few things that cheer me up better than warm miso soup and veggie sushi after exploring in the snow.
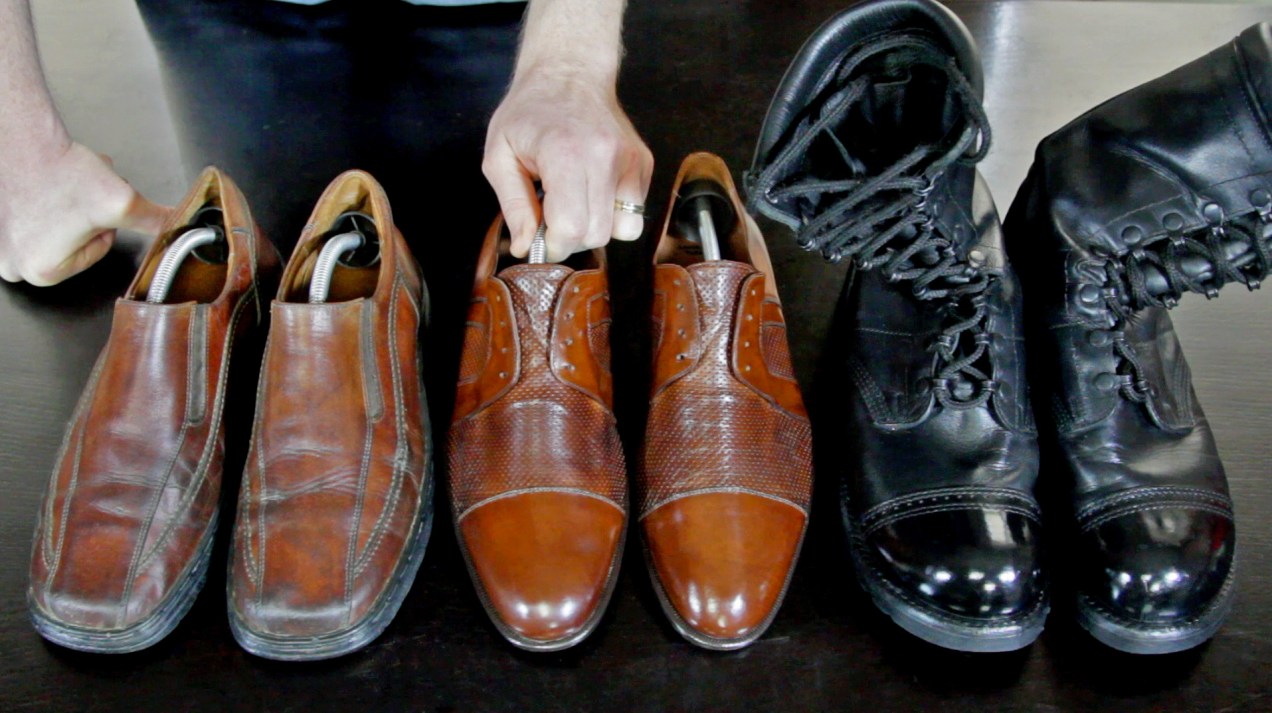
During the past few weeks, I worked on an extended video (about 50 minutes long) on shoe care, where I explained how I take care of my shoes. In order to offer as much advice as possible, I selected three pairs of shoes: a summer pair, a pair of winter boots and a pair of old shoes that had been abused in the garden and the yard. The point was (and is) to show the viewers how to take care of all sorts of shoes, whether they be warm weather, cold weather or just plain old shoes. As an added bonus, you’ll also learn how to get a spit shine (also known as a mirror shine or a bull shine). Here is the video, enjoy!
This video is part of my “Elegant Gentleman” series, to which you’re encouraged to subscribe, here or on YouTube and on Facebook.
Yes, you can enable Fusion Drive on older Macs. I’m not sure how this method will work with Macs older than 2011, but I know for sure that it works on mid-2011 iMacs, and quite possibly on other Macs made since then. I have just completed this process for my iMac and I thought it would help you if I detailed it here.
I like Fusion Drive because it’s simple and automated, like Time Machine. Some geekier Mac users will likely prefer to install an SSD and manually separate the system and app files from the user files which take up the most space, which is something that gives them more control over what works faster and what doesn’t, but that’s a more involved process. Fusion Drive works automatically once you set it up, moving the files that are used more often onto the SSD and keeping the ones that are accessed less often on the hard drive. This results in a big performance increase without having to fiddle with bash commands too much.
The hardware
My machine is a 27″ mid-2011 iMac with a 3.4 GHz processor and 16GB of RAM. I bought it with a 1TB hard drive, which I recently considered upgrading to a 3TB hard drive but decided against, given the fan control issues with the temperature sensor and the special connector used on the factory drive.
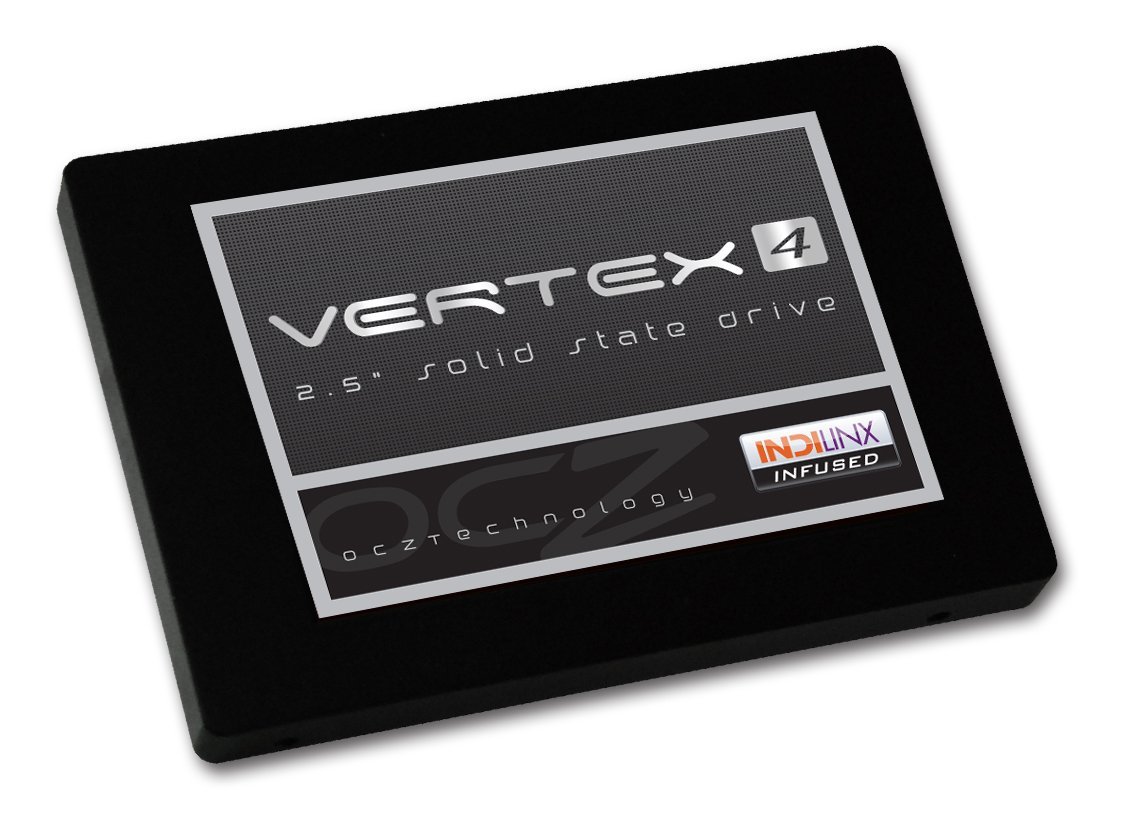
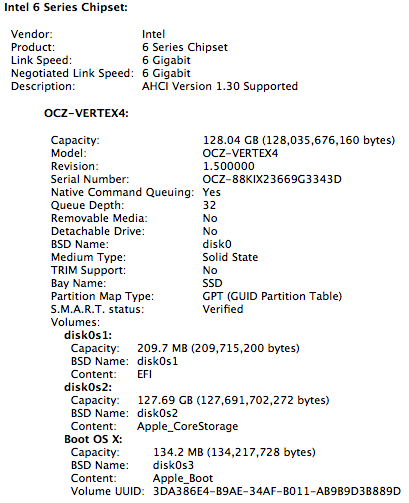
I purchased a 128GB Vertex4 SSD from OCZ. It’s a SATA III (6 Gbps) drive and when I look in System Info, my iMac sees it as such and is able to communicate with it at 6 Gbps, which is really nice.
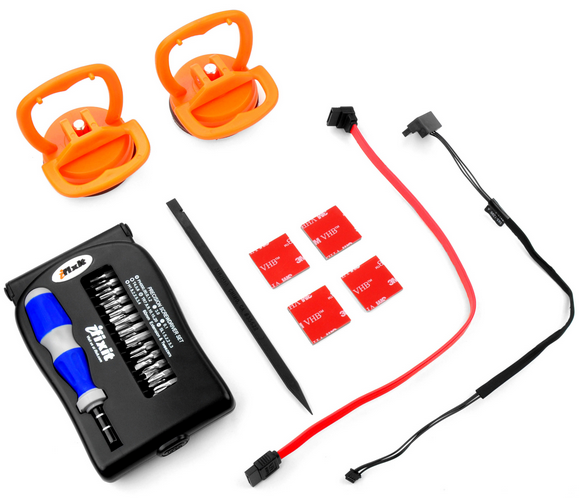
The hardware installation is somewhat involved, as you will need to not only open the iMac but also remove most of the connections and also unseat the motherboard so you can get at the SATA III connector on its back. You will also need a special SATA wire, which is sold as a kit from both OWC and iFixit. The kit includes the suction cups used to remove the screen (held into place with magnets) and a screwdriver set.
You can choose to do the installation yourself if you are so inclined, but realize that you may void the warranty on the original hard drive if something goes wrong, and this is according to Apple Tech Support, with whom I checked prior to ordering the kit. Here are a couple of videos that show you how to do this:
In my case, it just so happened that my iMac needed to go in for service (the video card, SuperDrive and display went bad) and while I had it in there, I asked the technicians to install the SSD behind the optical drive for me. This way, my warranty stayed intact. When I got my iMac back home, all I had to do was to format both the original hard drive and the SSD and proceed with enabling the Fusion Drive (make sure to back up thoroughly first). You can opt to do the same, or you can send your computer into OWC for their Turnkey Program, where you can elect to soup it up even more.
The software
Once I had backed up everything thoroughly through Time Machine, I used the instructions in this Macworld article to proceed. There are other articles that describe the same method, and the first man to realize this was doable and blog about it was Patrick Stein, so he definitely deserves a hat tip. I’ll reproduce the steps I used here; feel free to also consult the original articles.
1. Create a Mountain Lion (10.8.2) bootup disk. Use an 8GB or 16GB stick for this, it will allow you to reformat everything on the computer, just to clean things up. Otherwise you may end up with two recovery partitions when you’re done. I used the instructions in this Cult of Mac post to do so. The process involves re-downloading 10.8.2 from the Apple Store (if you haven’t bought it yet, now is the time to do so) and an app called Lion Diskmaker.
2. Format both the original HD and the SSD, just to make sure they’re clean and ready to go. Use Disk Utility to do this, or if you’re more comfortable with the command line, you can also do that (just be aware you can blow away active partitions with it if you’re not careful).
2. List the drives so you can get their correct names. In my case, they were /dev/disk1 and /dev/disk2.
diskutil list
3. Create the Fusion Drive logical volume group. When this completes, you’ll get something called a Core Storage LGV UUID. Copy that number, you’ll need it for the following step.
5. Quit Terminal and begin a fresh install of Mountain Lion onto the new disk called “Macintosh HD”.
6. Restore your apps, files and system settings from the Time Machine backup using the Migration Assistant once you’ve booted up. Here’s an article that shows you how to do that. When that completes, you’re done!
The result
Was it worth it? Yes. The boot-up time went from 45-60 seconds to 15 seconds, right away. And over time, the apps and files I use most often will be moved onto the SSD, thus decreasing the amount of time it’ll take to open and save them.
At some point, I expect Apple to issue a utility, like Boot Camp, that will allow us to do this more easily and automatically. Until then, that’s how I set up Fusion Drive on my iMac, and I hope it’s been helpful to you!






























 Raoul Pop