How To

A repair to my wife’s Mac Mini

My wife’s computer is a unibody, late-2012 Mac Mini, model A1347 with Fusion Drive, which we’ve had since then, having ordered it to our specs directly from Apple. We’re happy with it. It’s a lovely little computer with more than enough oomph for my wife’s needs (she is an author).

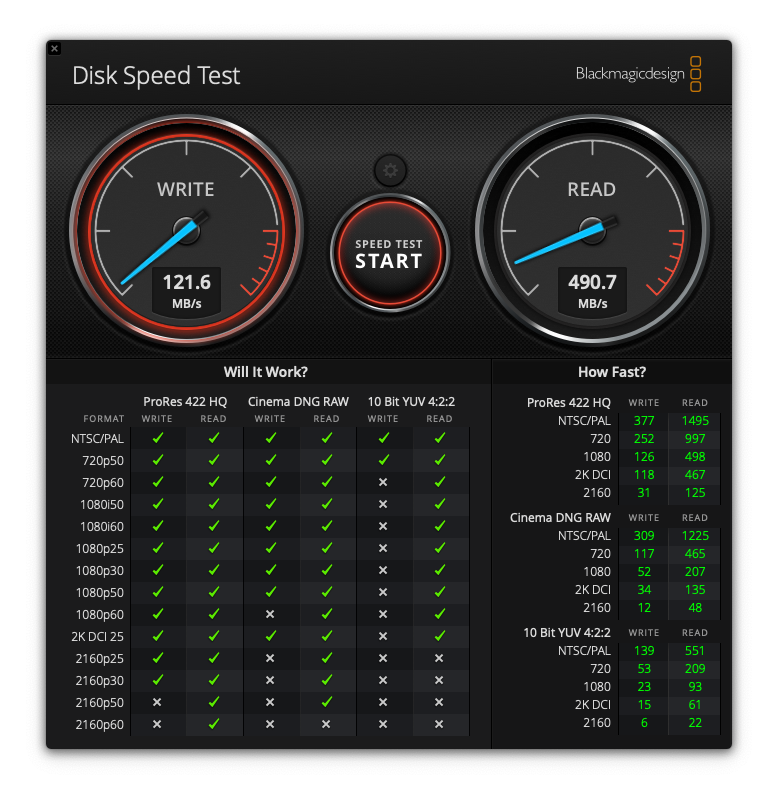
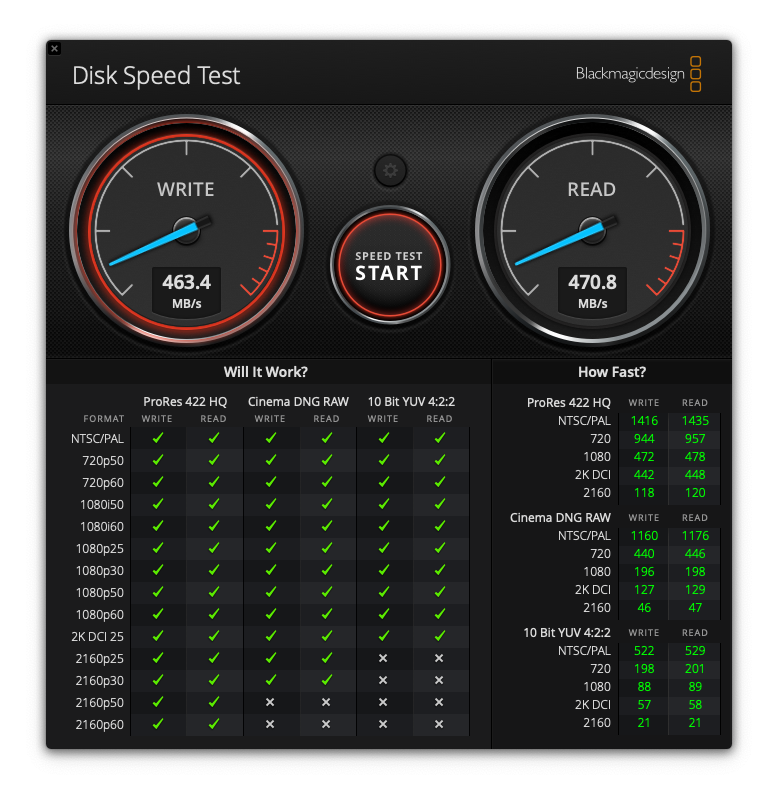
The HDD on her Mac was silently failing and her computer was getting slower. A quick disk speed test revealed that its write speeds had decreased by about 75%.

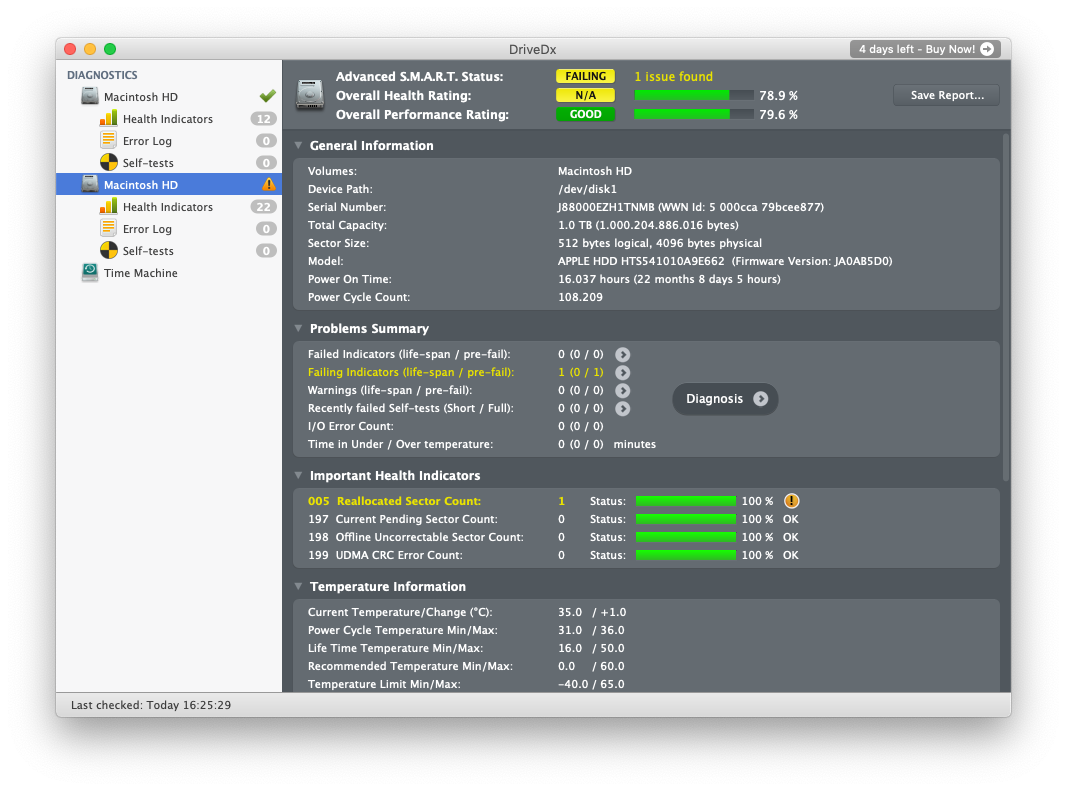
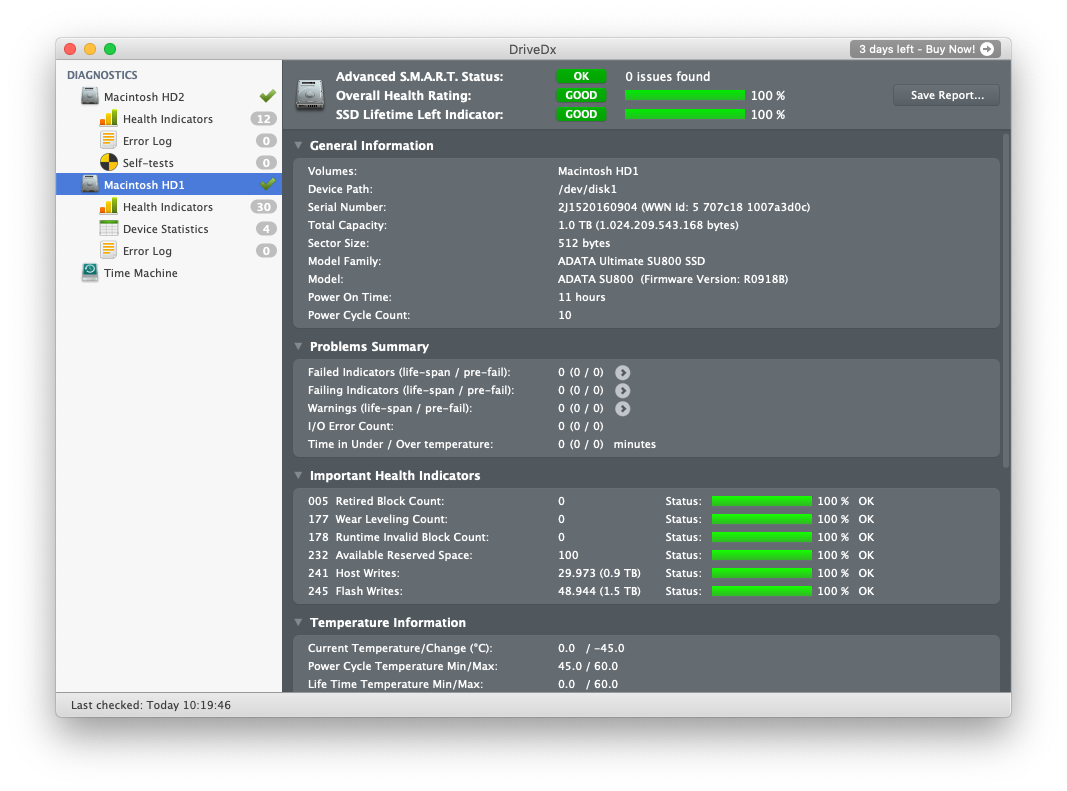
Running First Aid on the system volume did not yield any insights into the HDD’s true state. Thankfully, there’s a little app called DriveDx, which I talked about in a previous post. Running that app revealed the HDD’s problems.

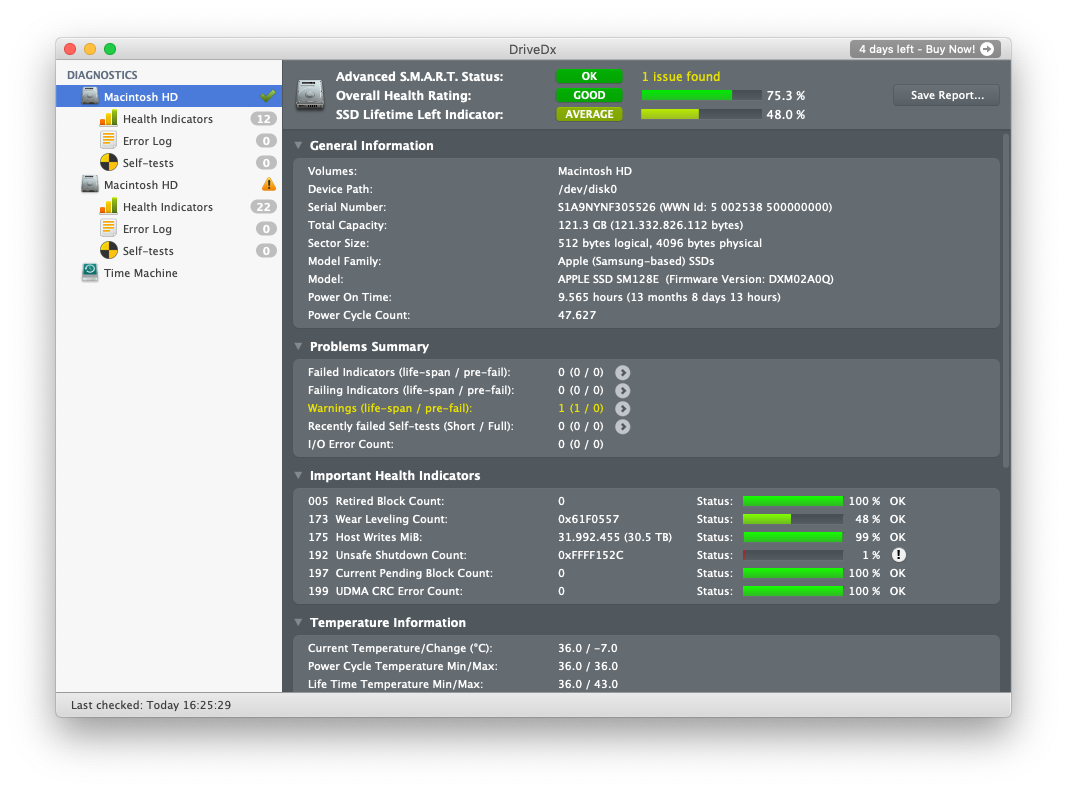
The SSD wasn’t doing too well either, but at least its lifespan was at about 50%.

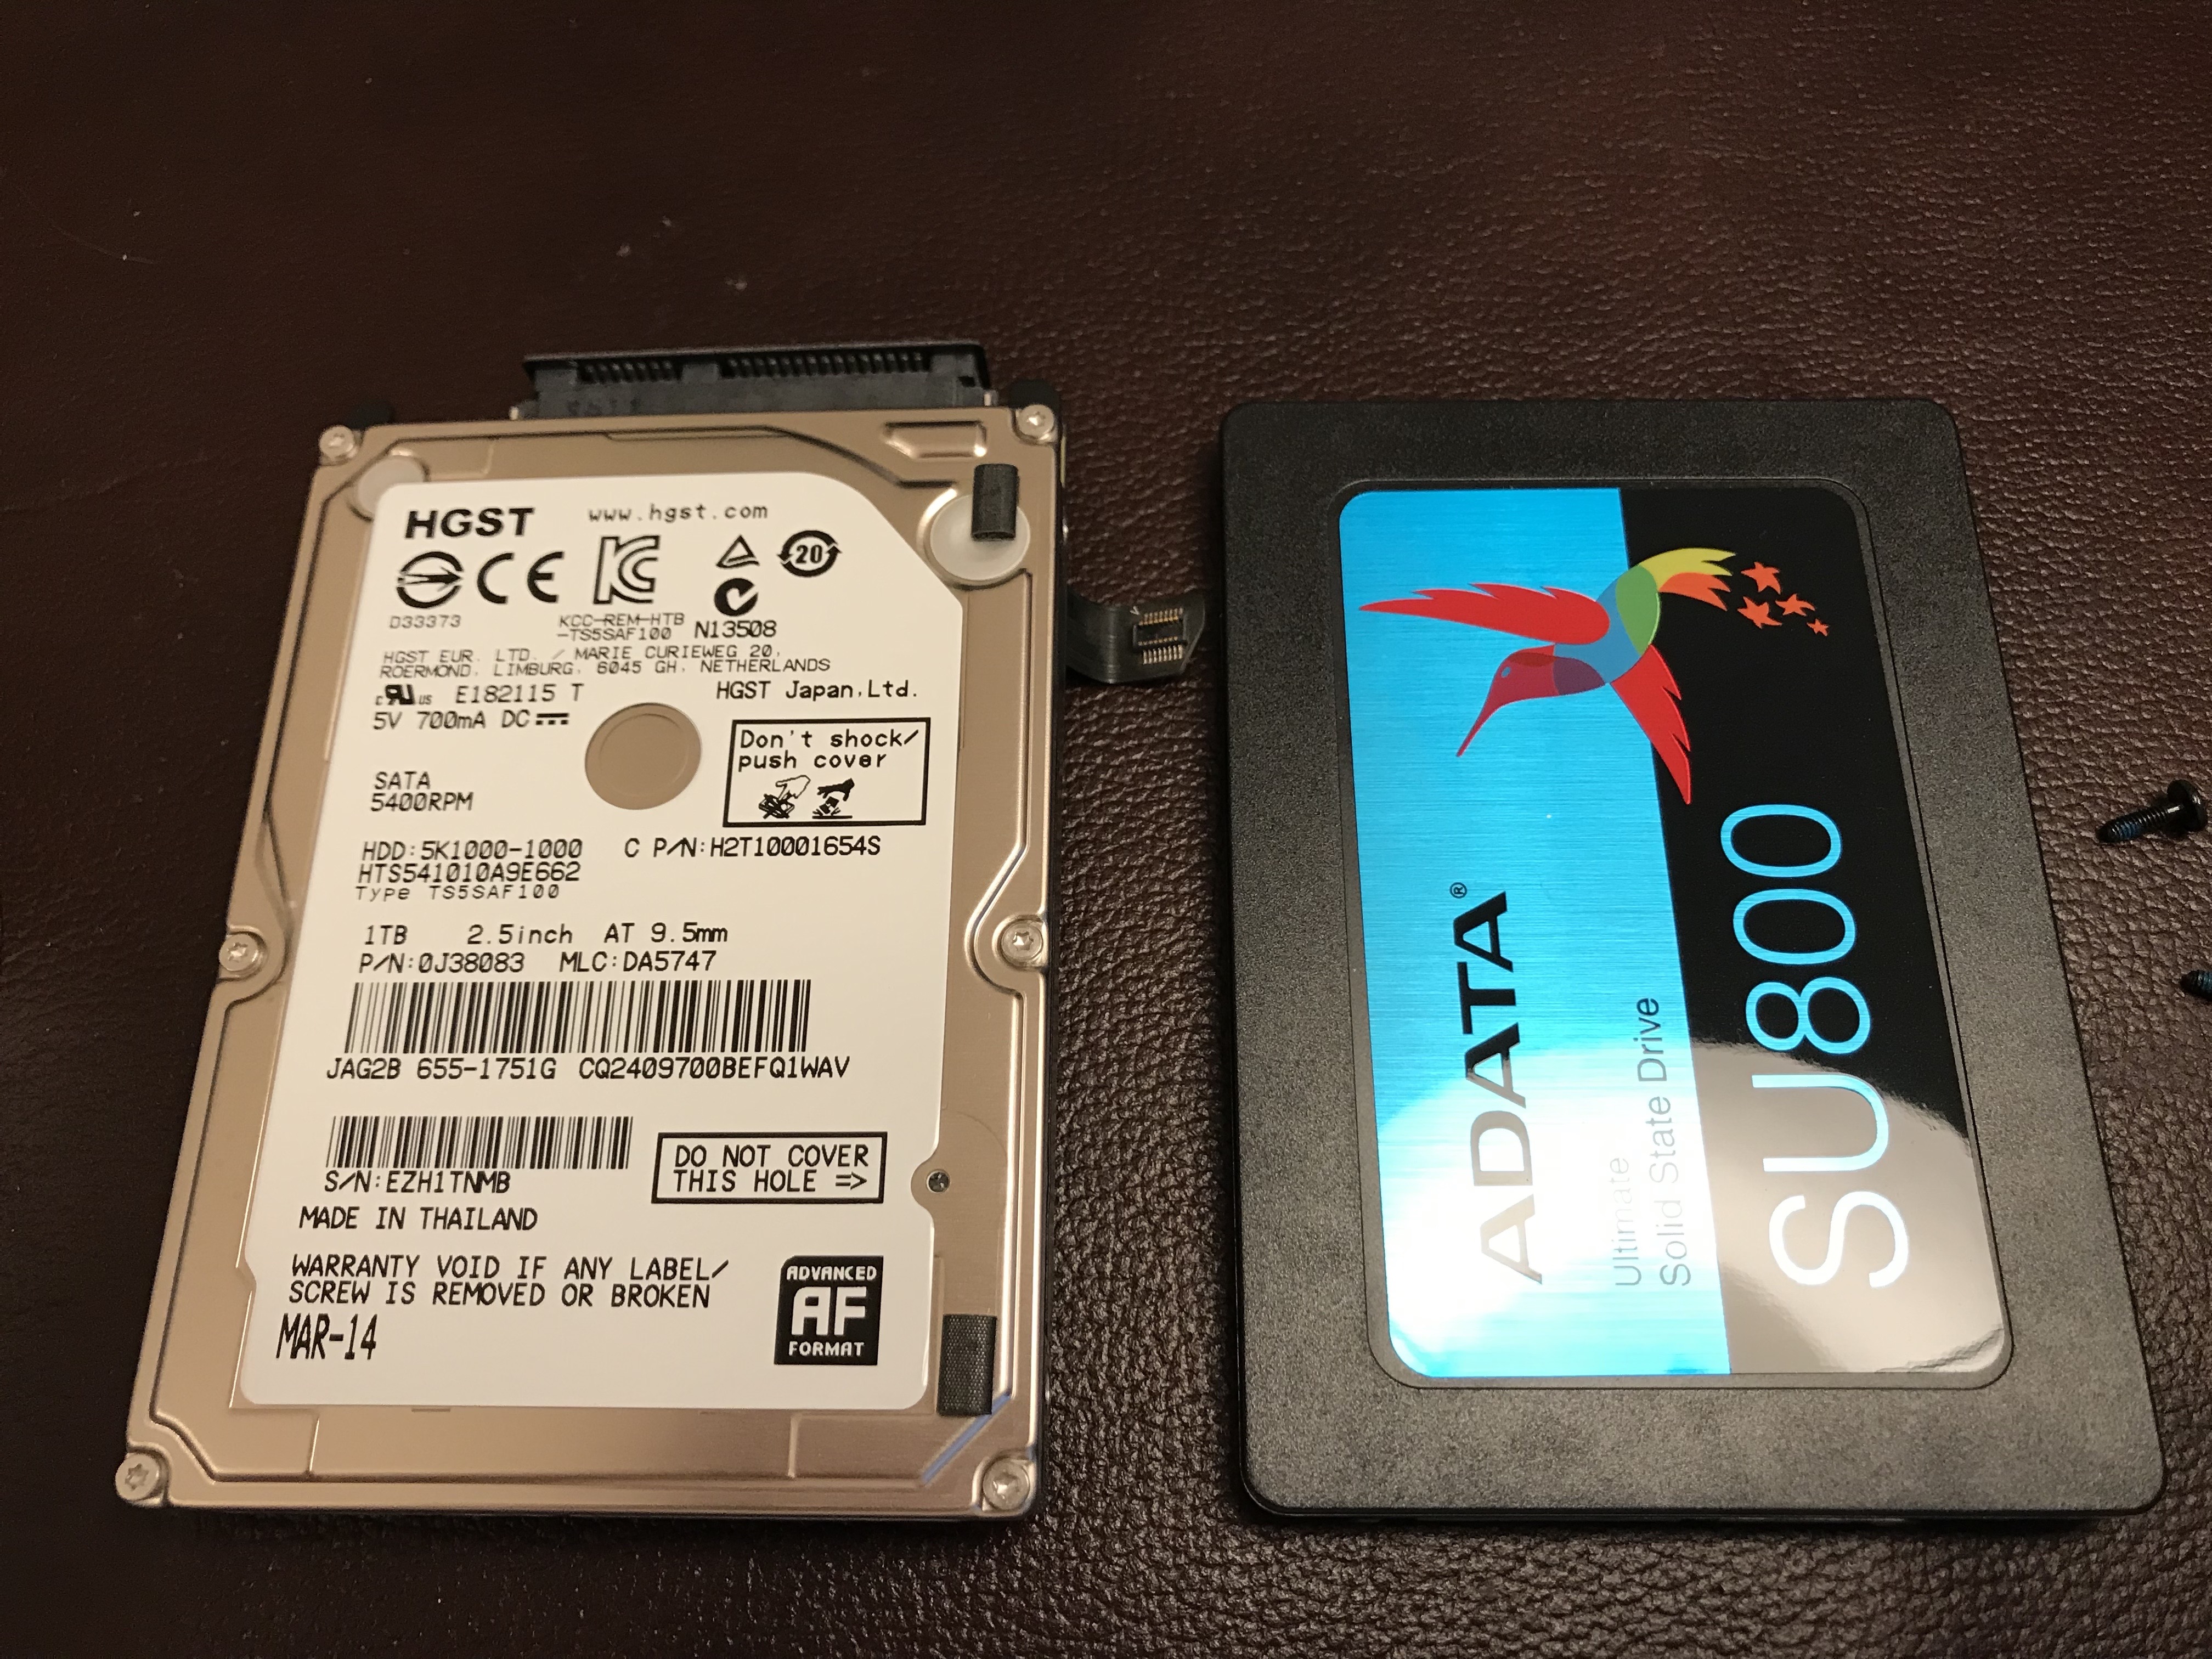
The solution was simple: I needed to replace the HDD. A 1TB SSD would suffice, so I ordered one (an ADATA SU800 1TB SSD). My wife continued to use her computer as usual, since it was still working, although I made doubly sure that it was backing up to Time Machine. I would restore her data from those backups after I replaced the HDD.

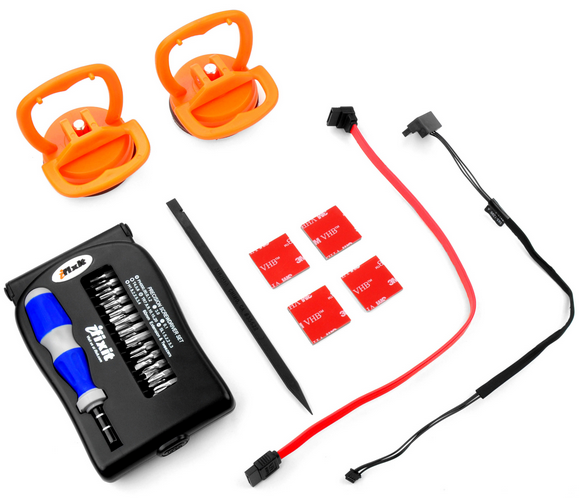
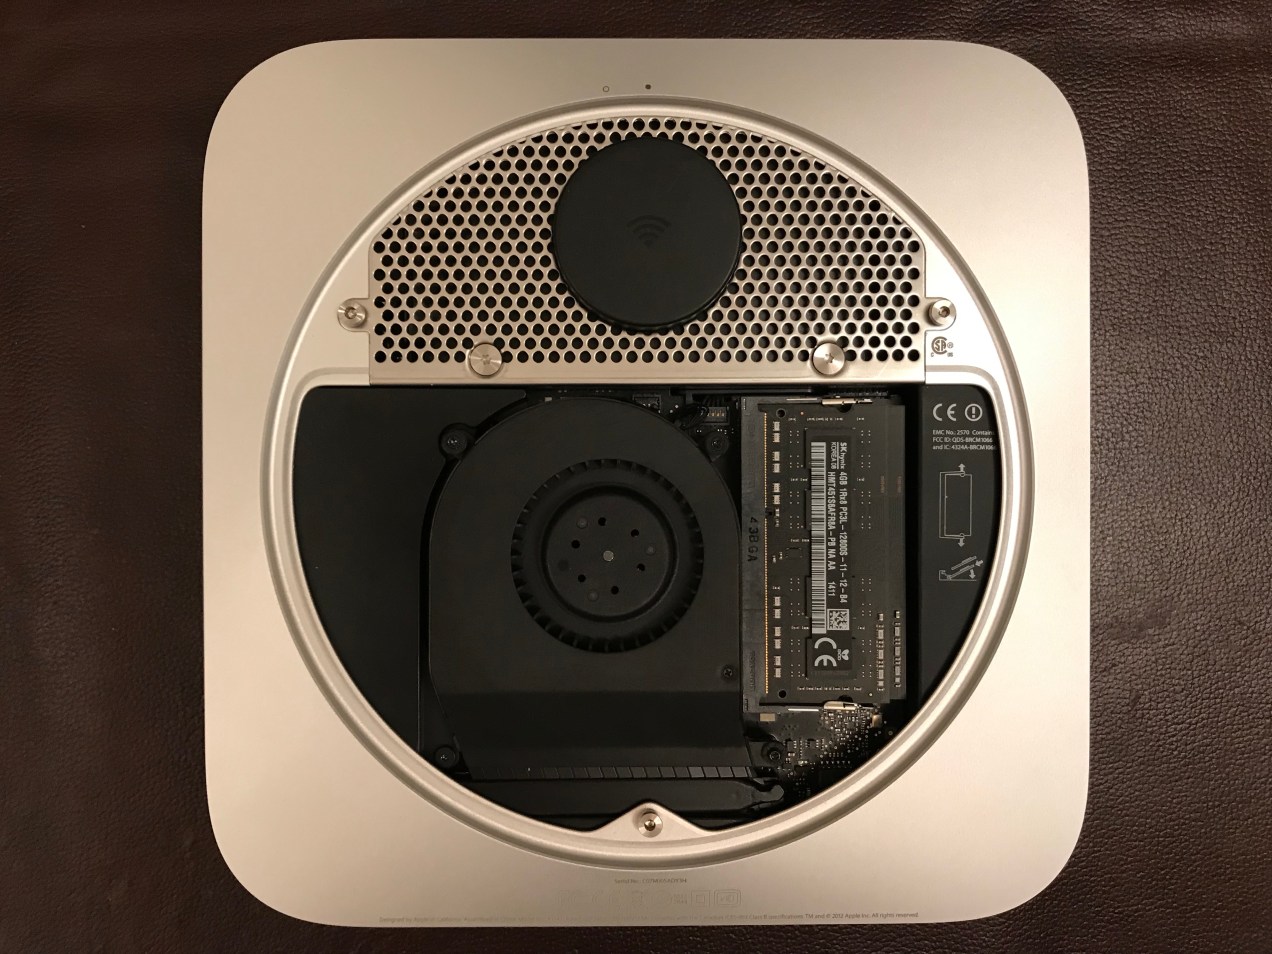
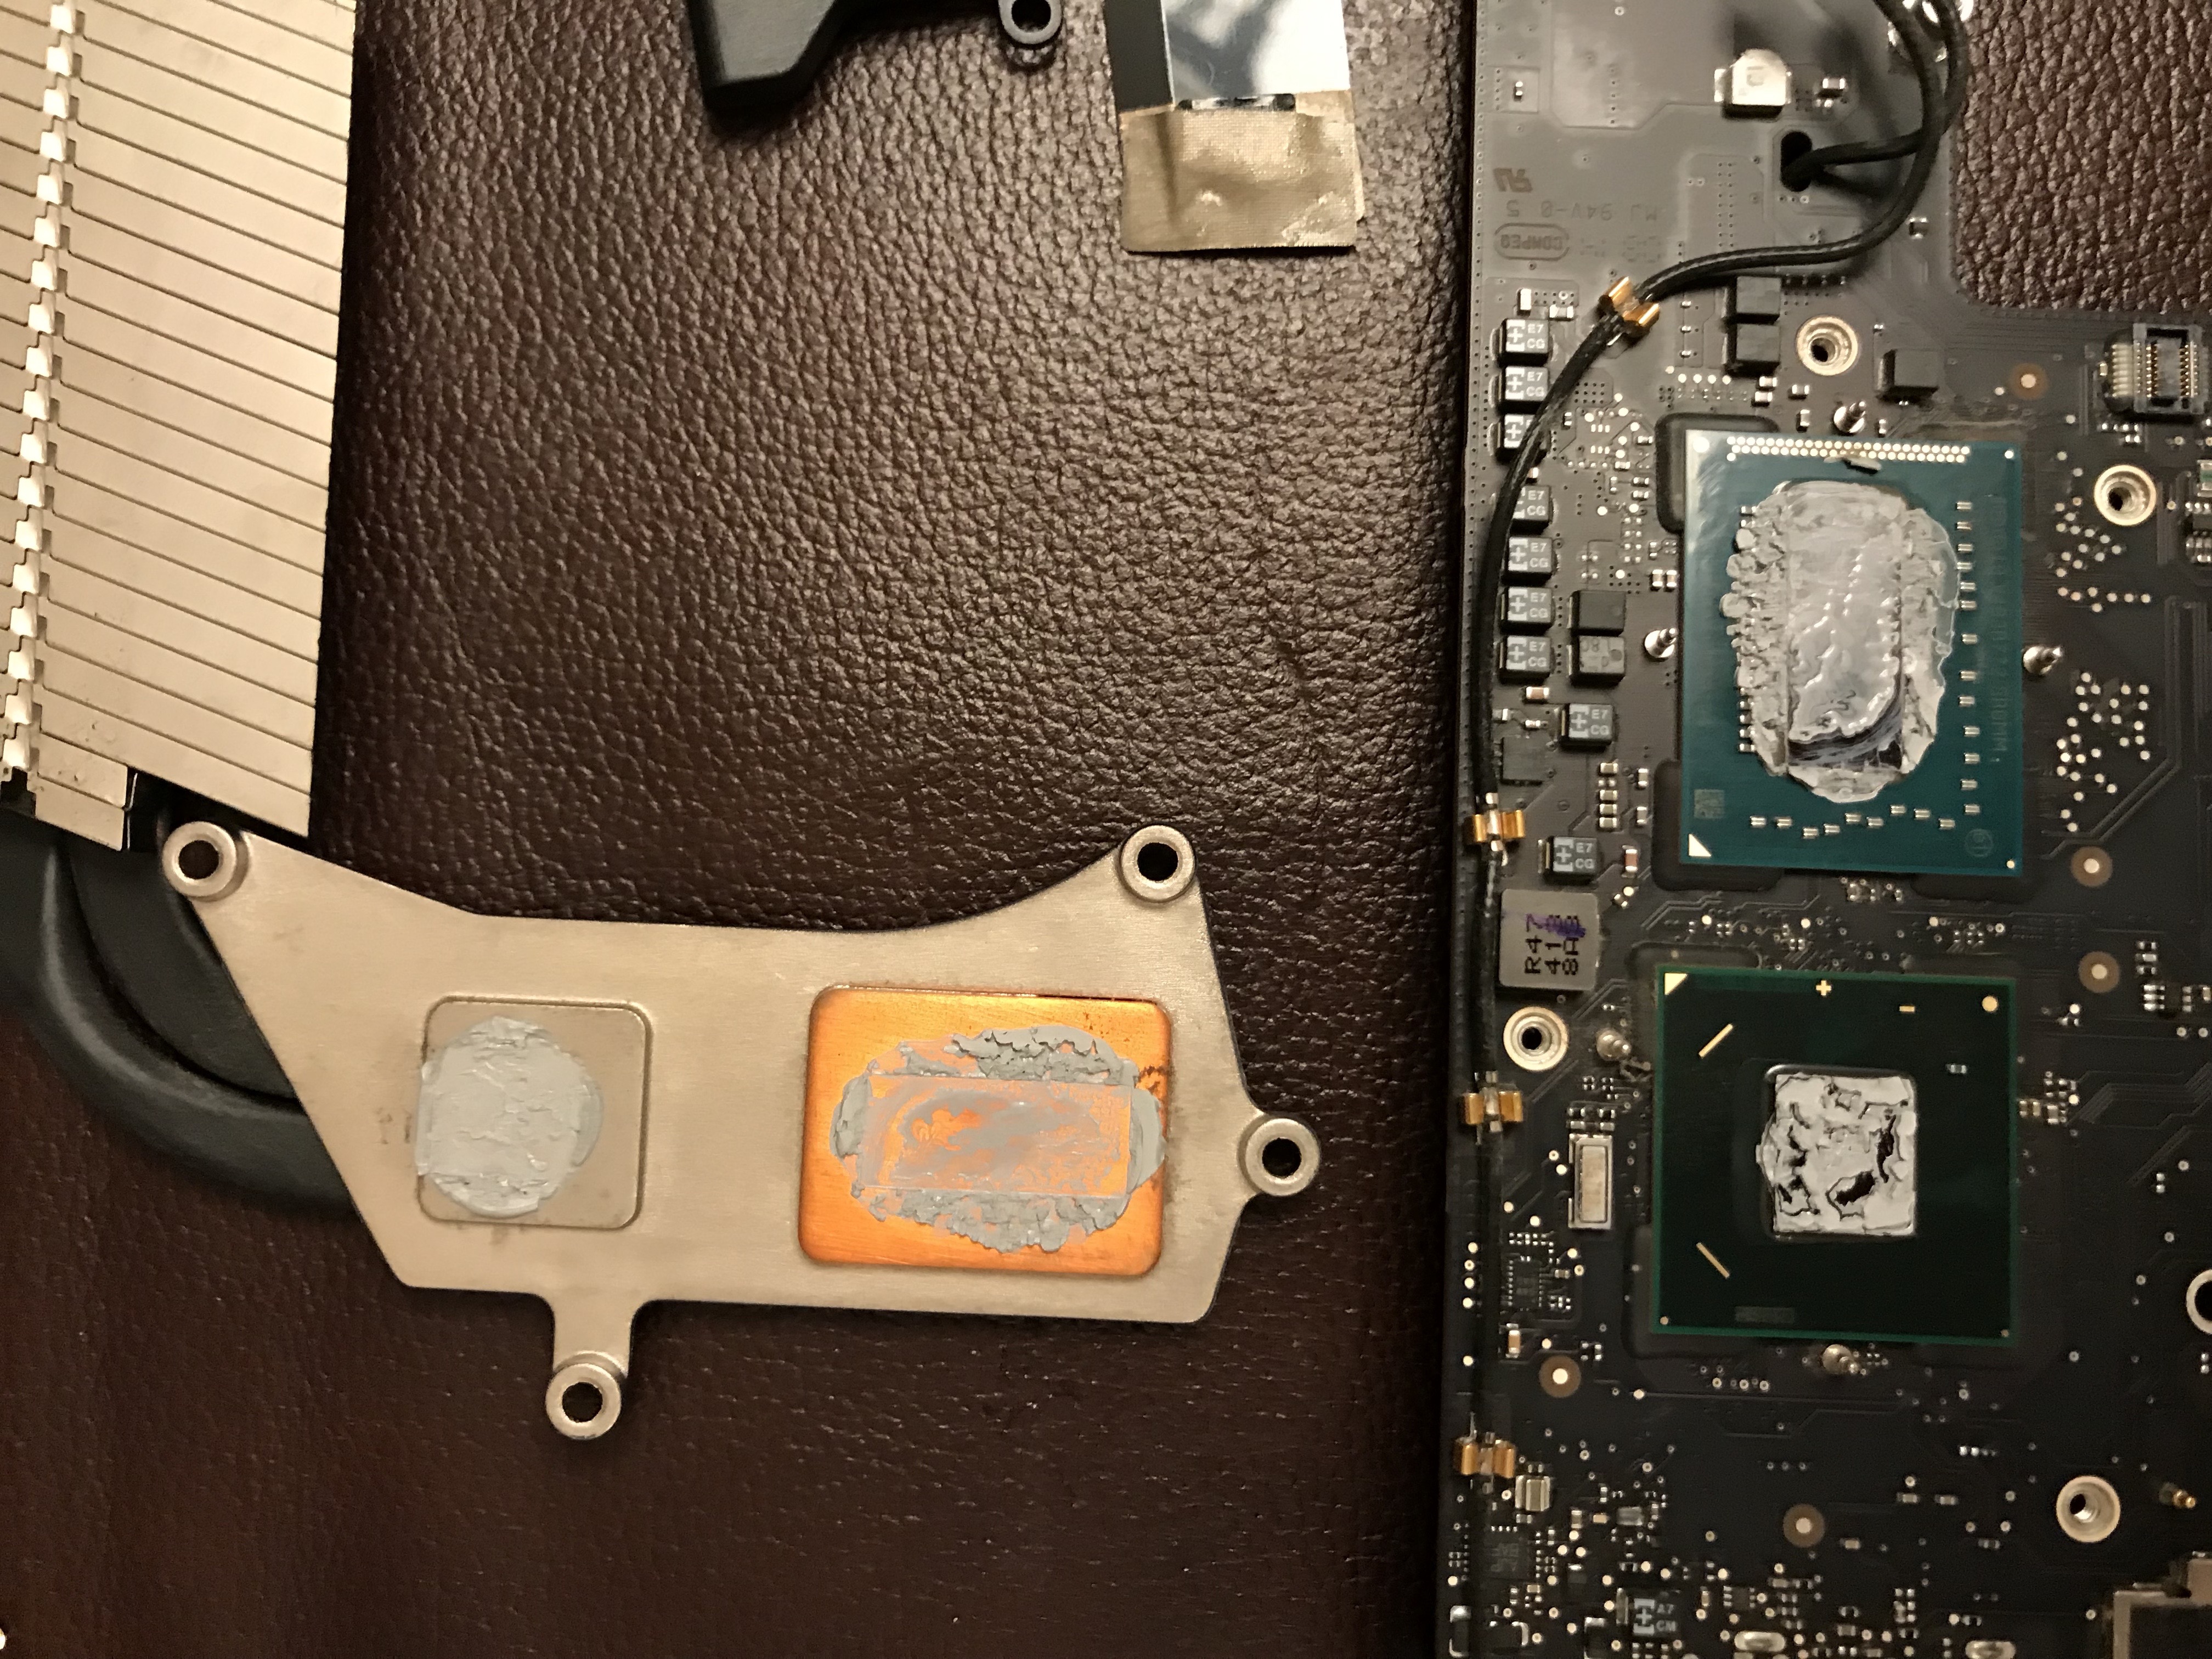
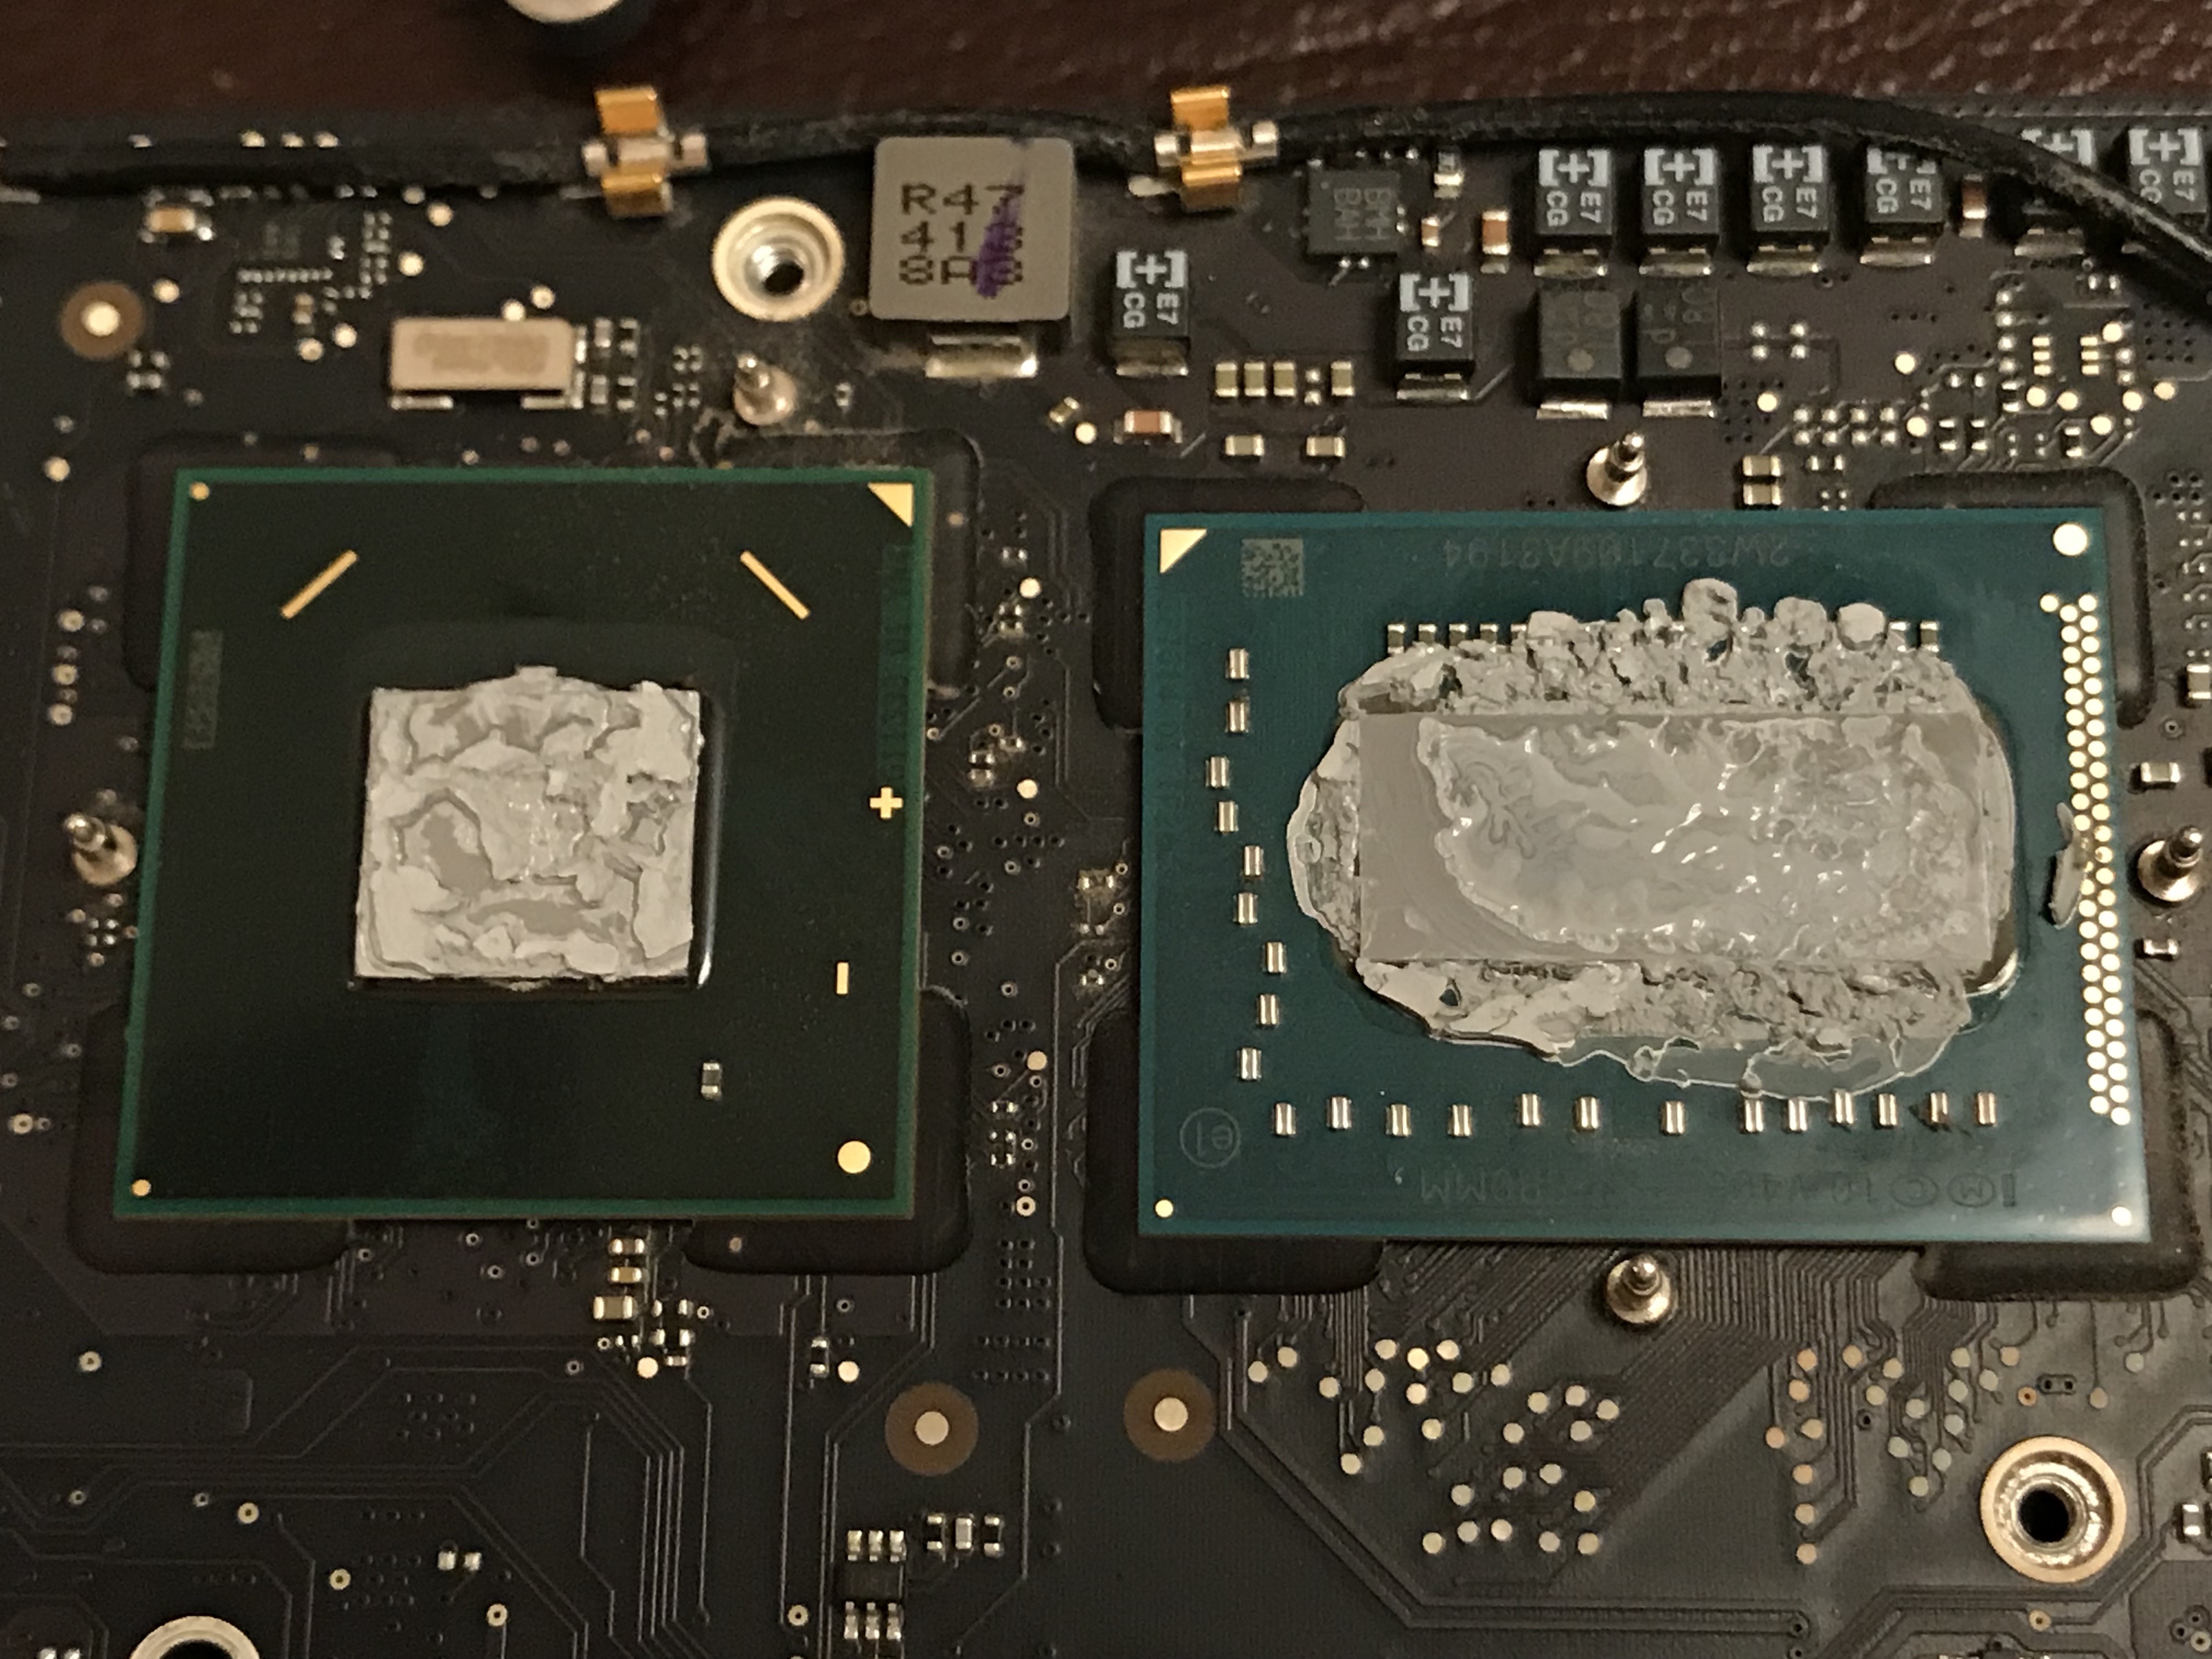
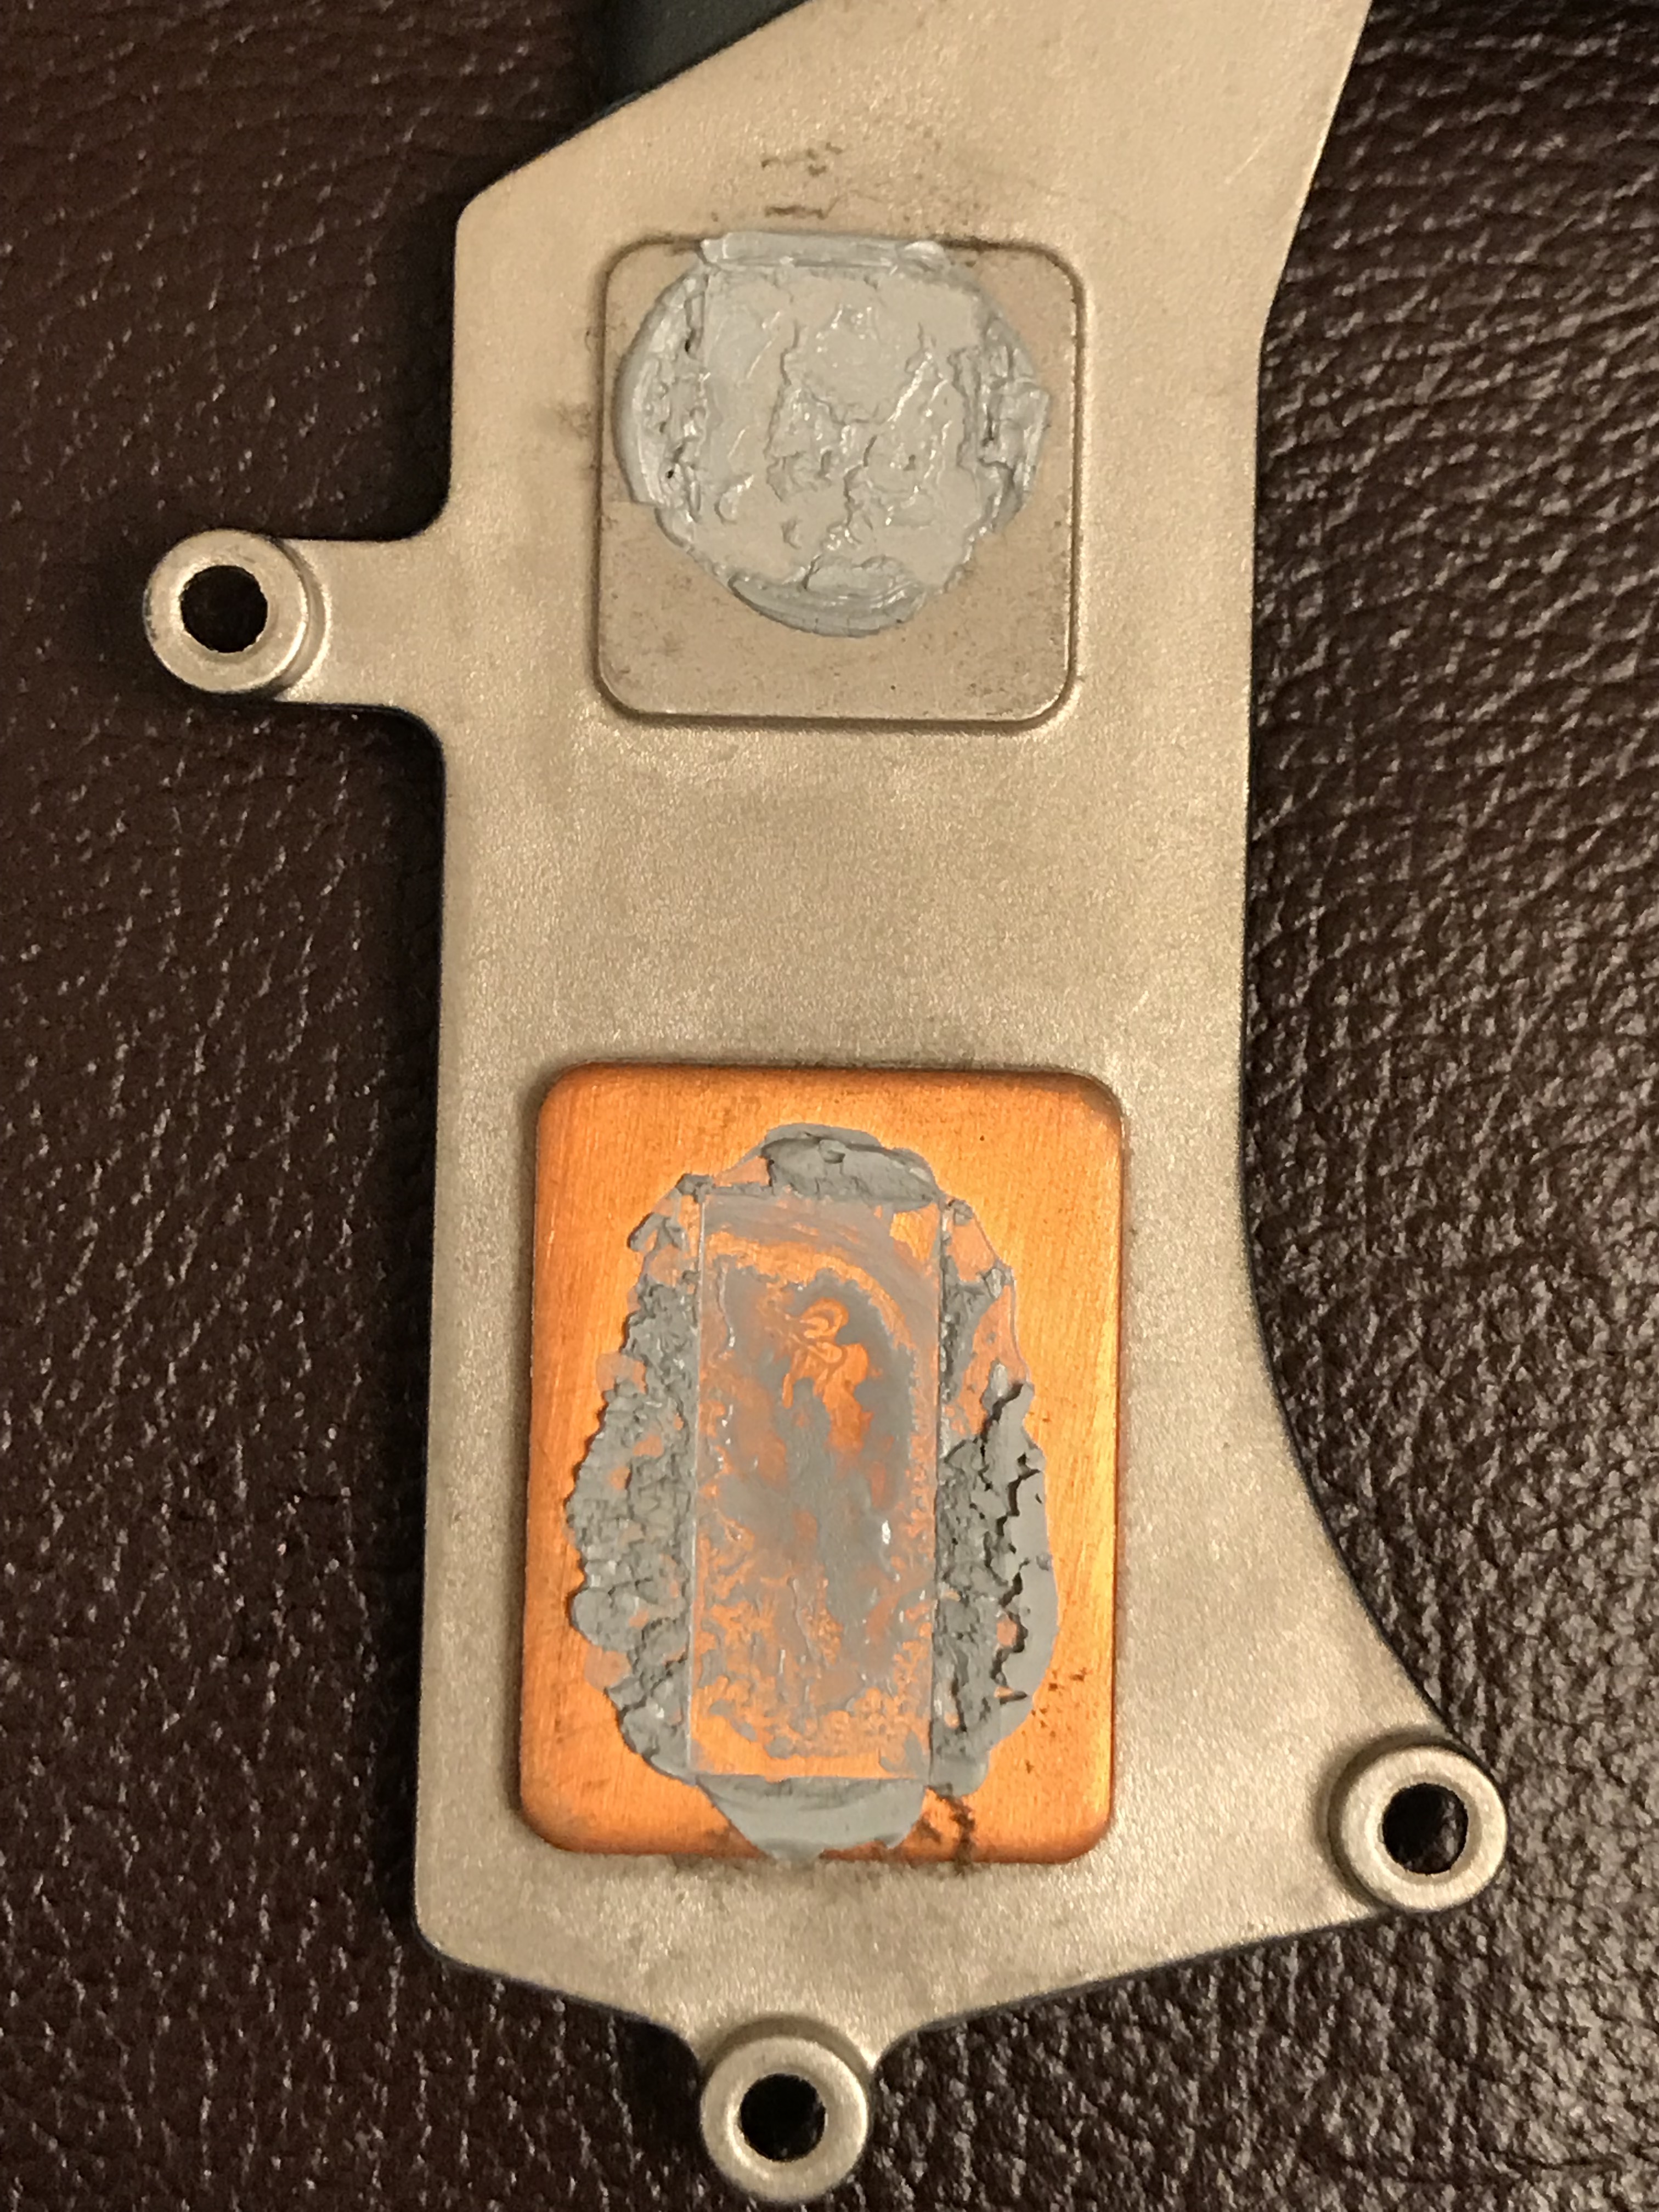
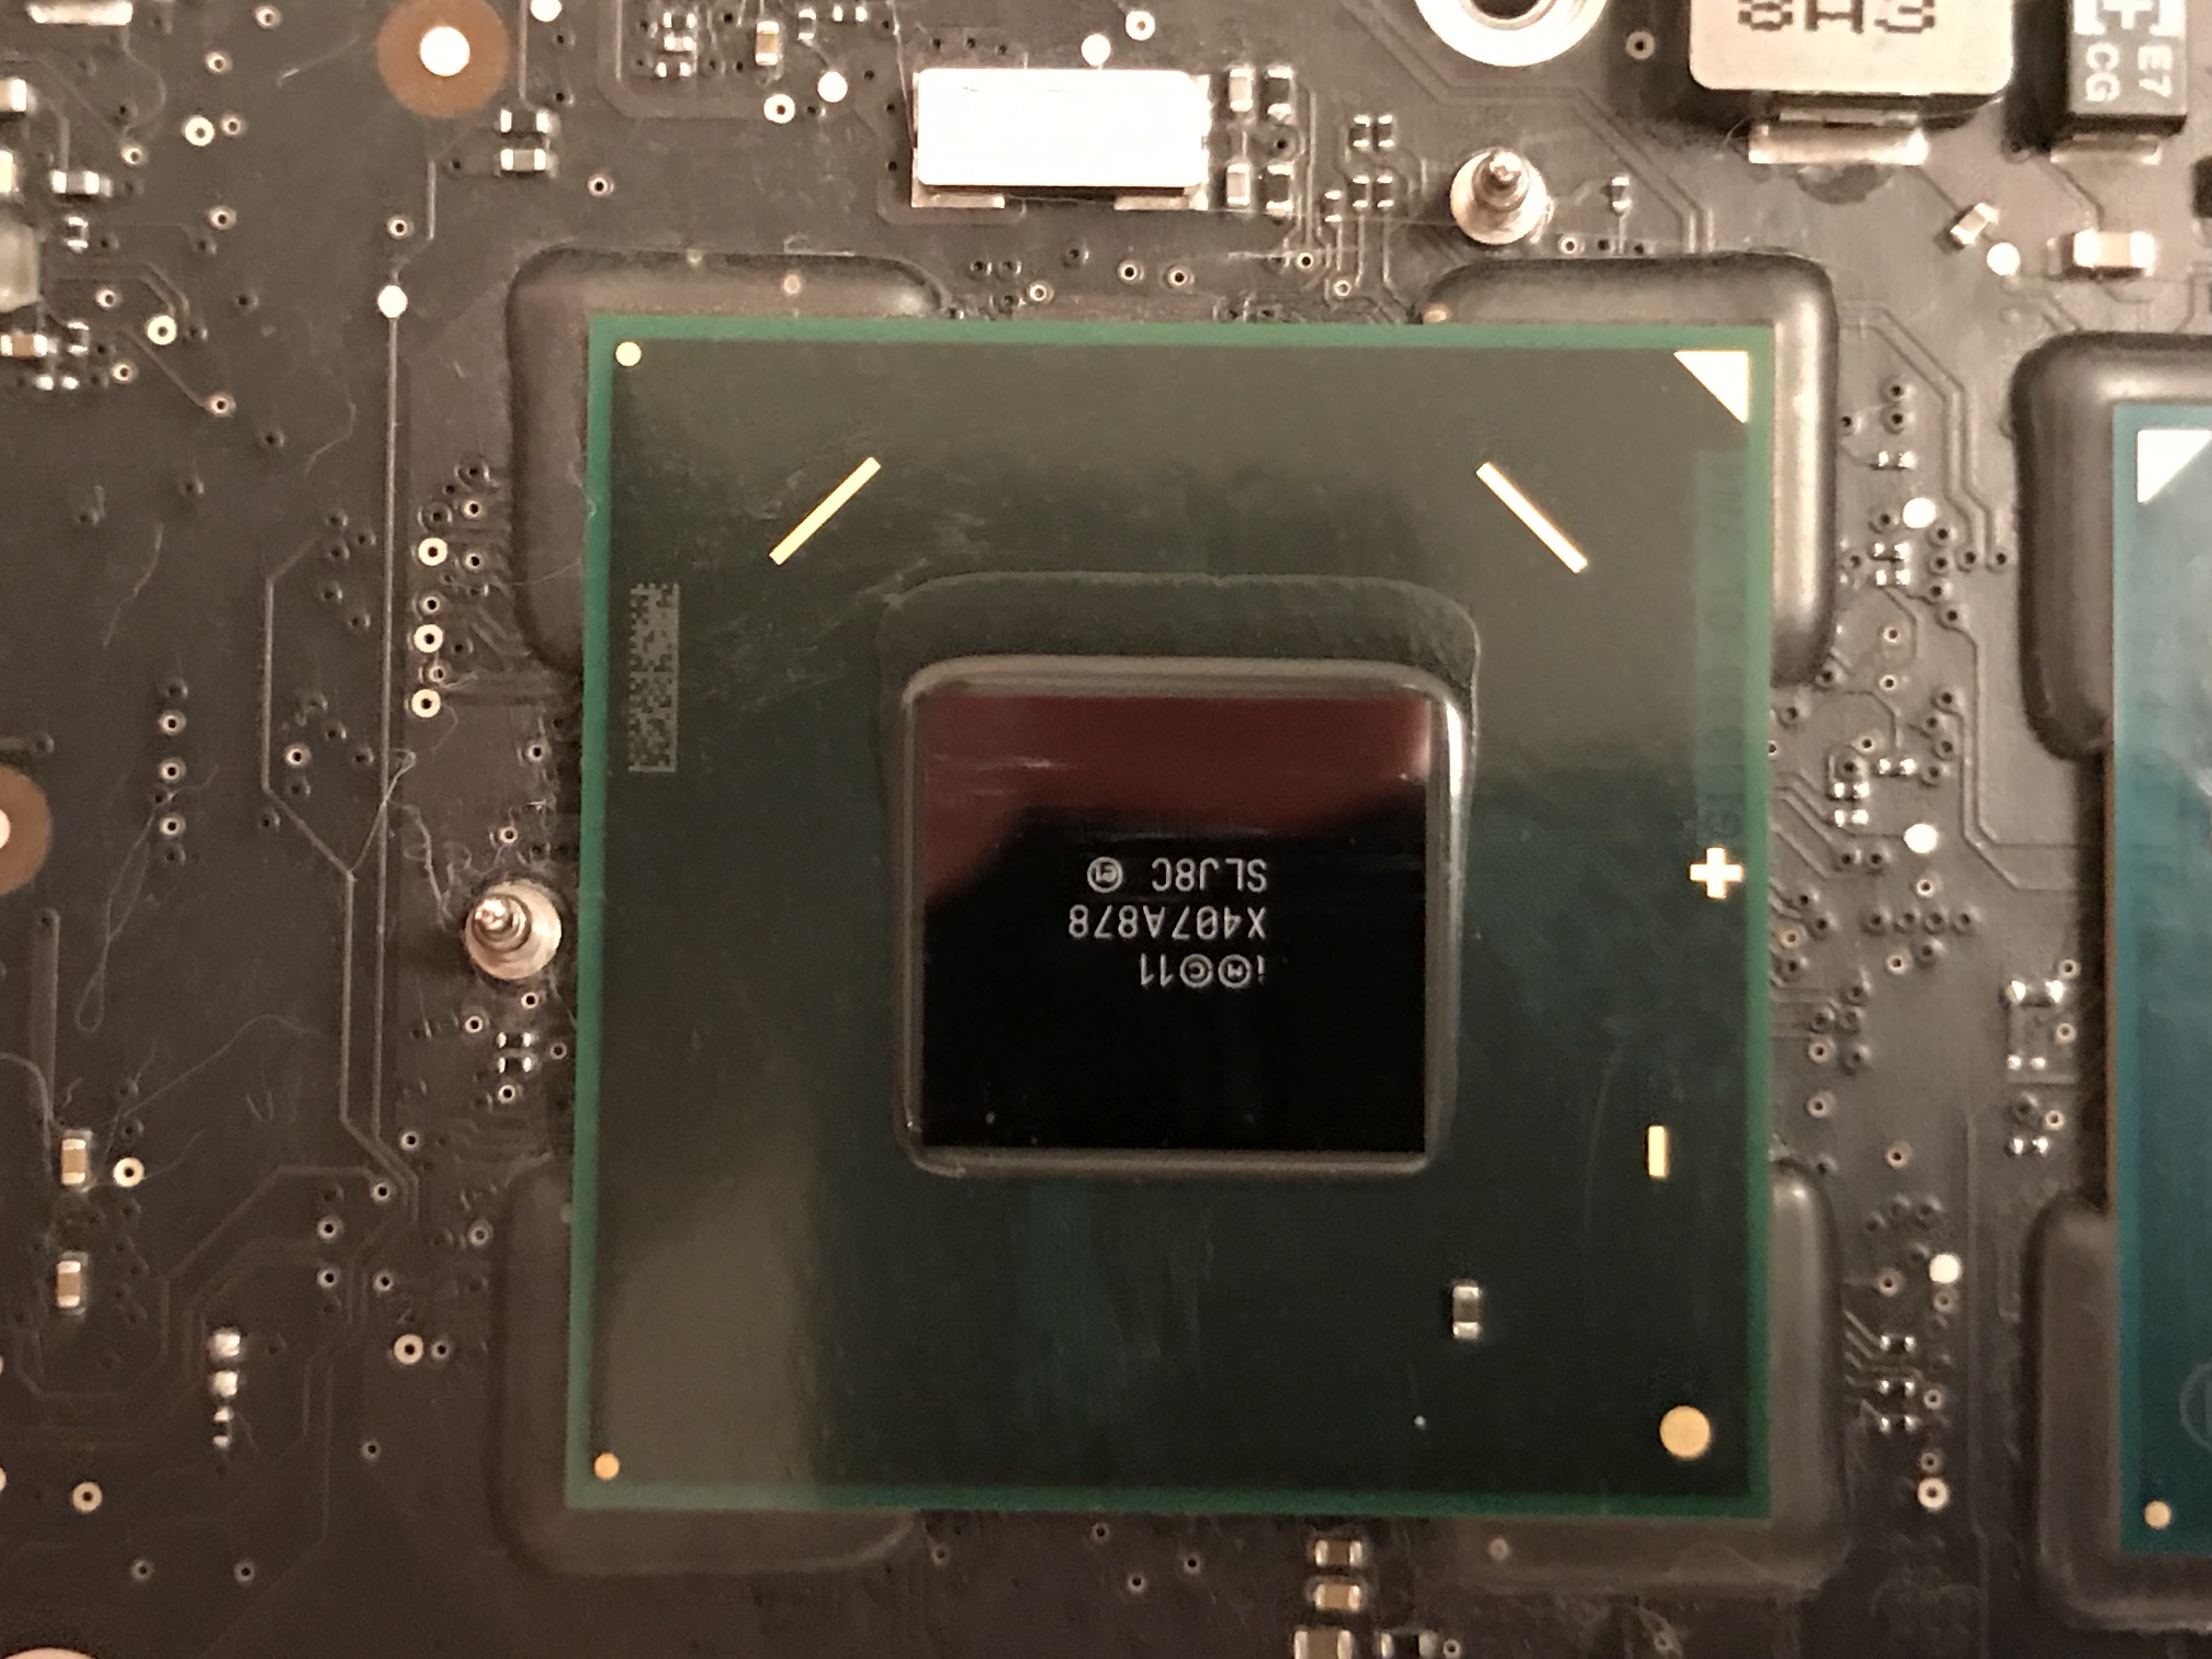
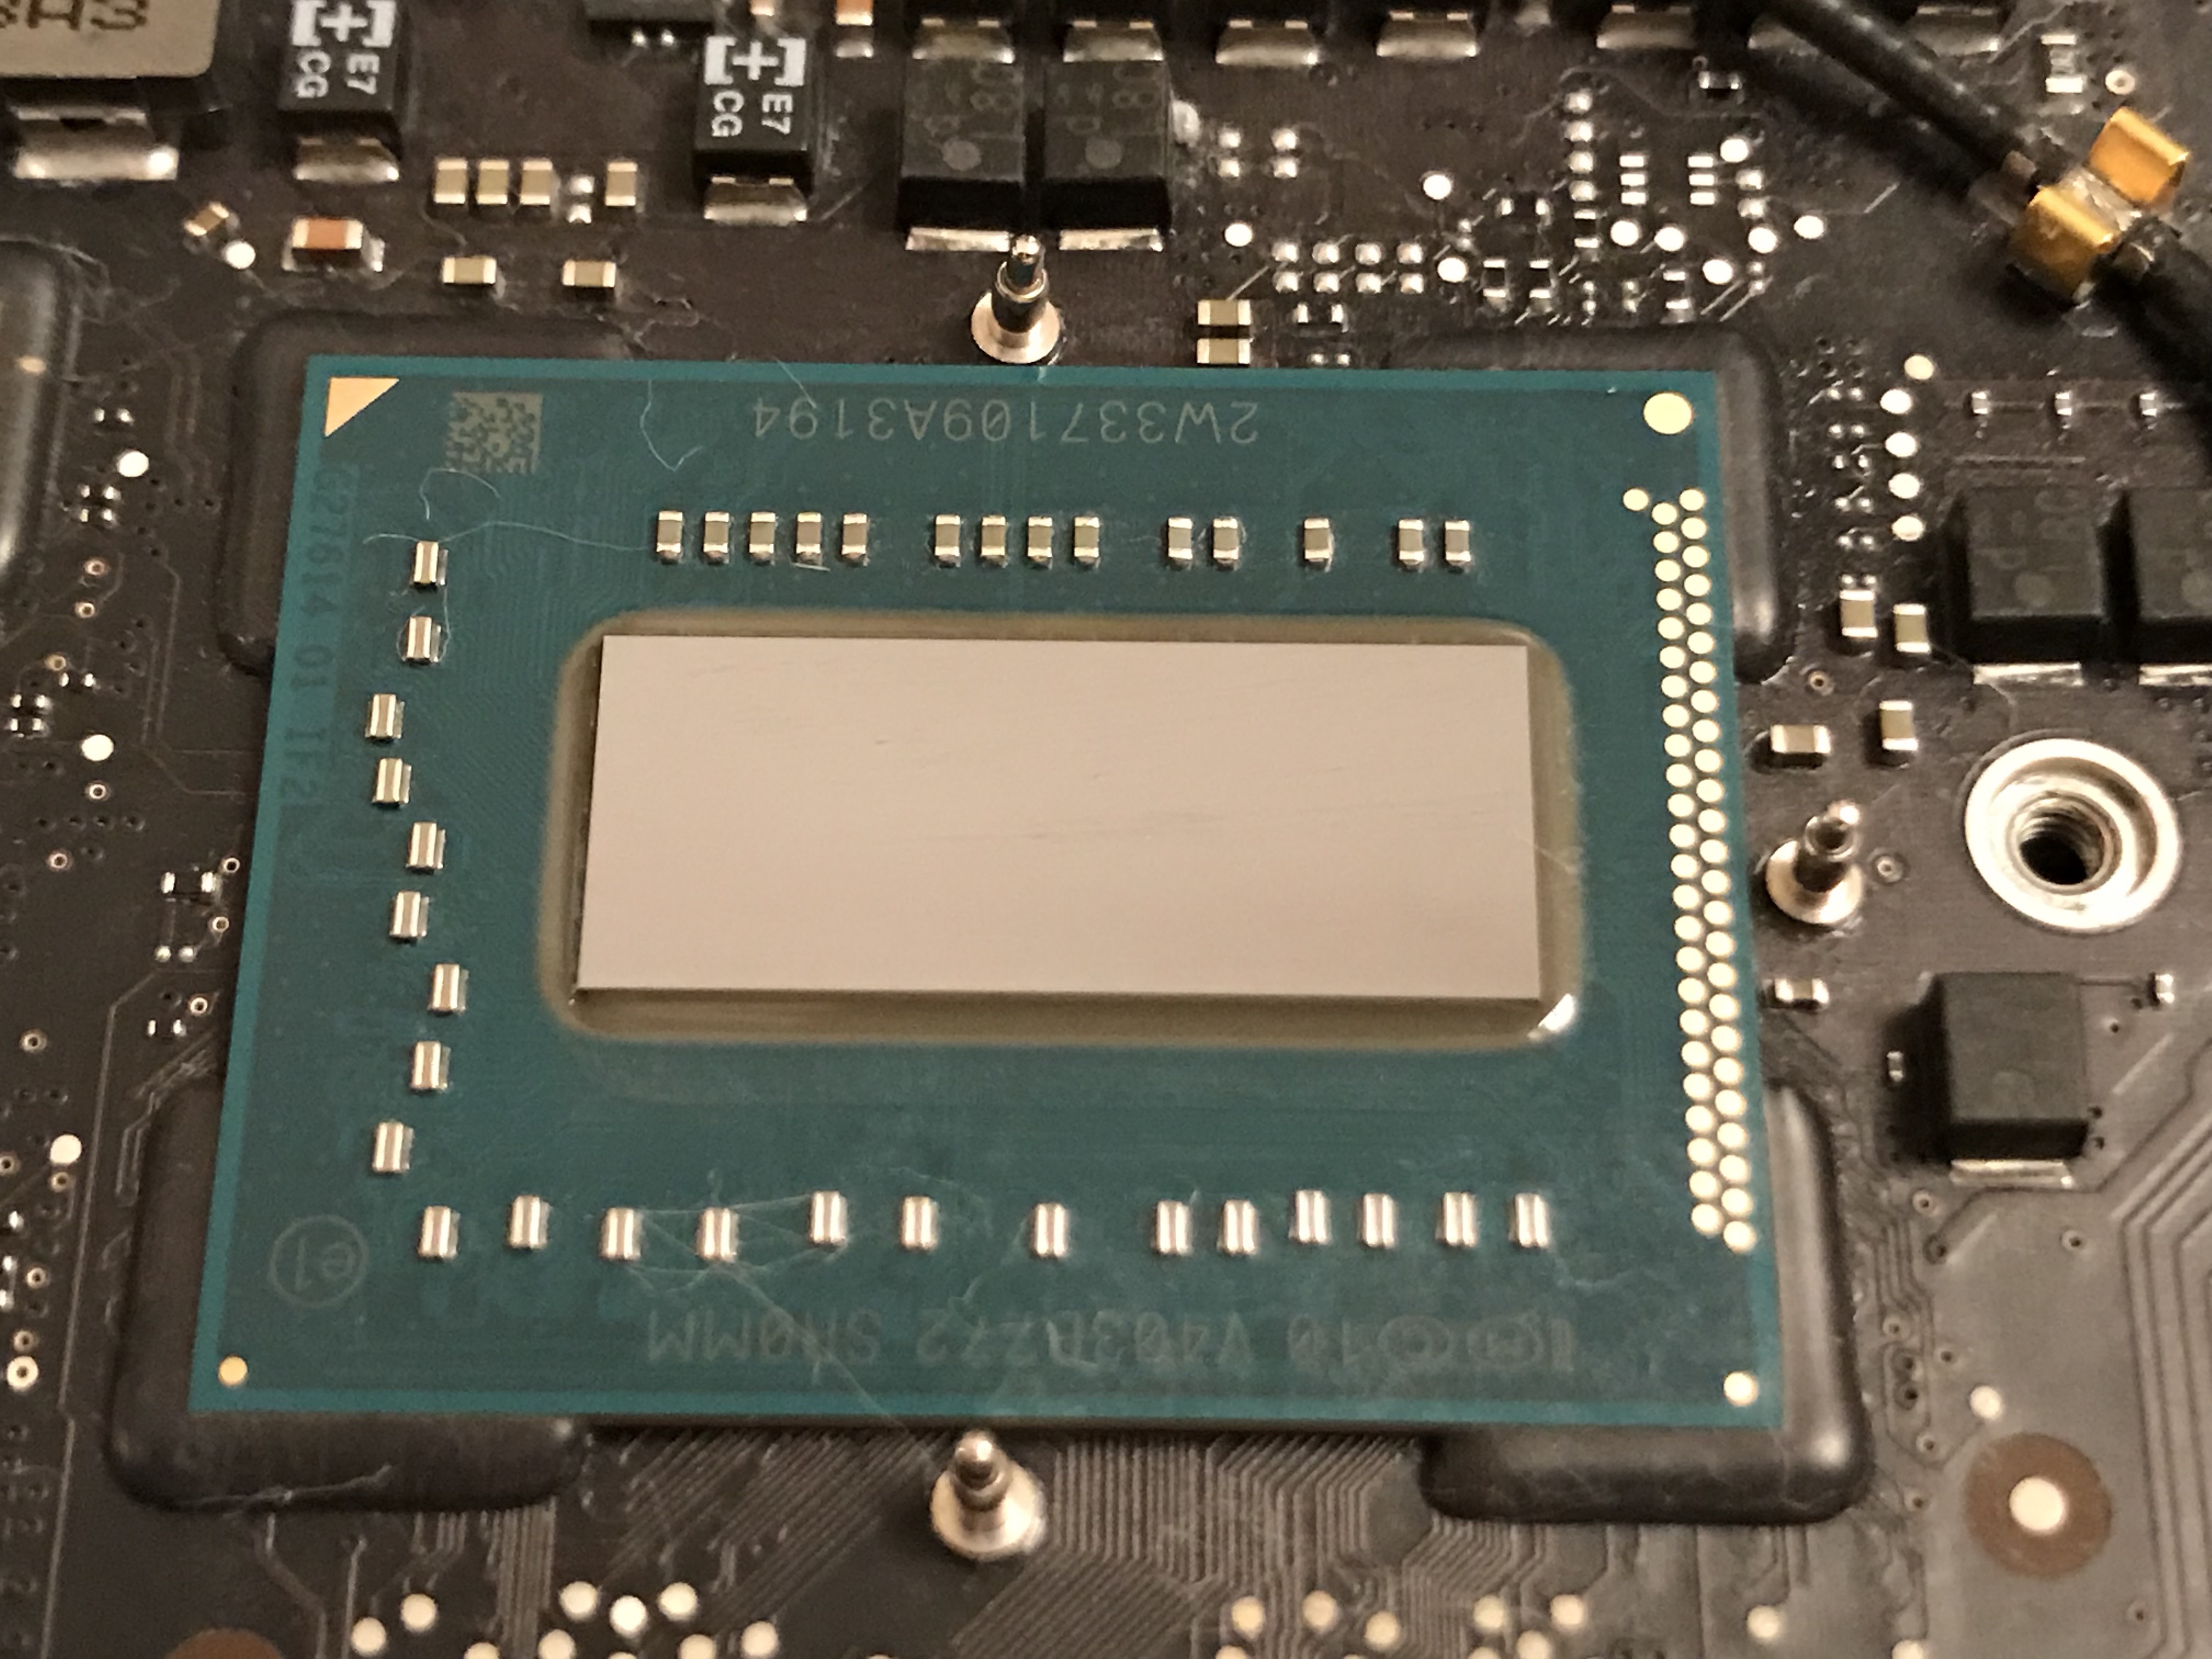
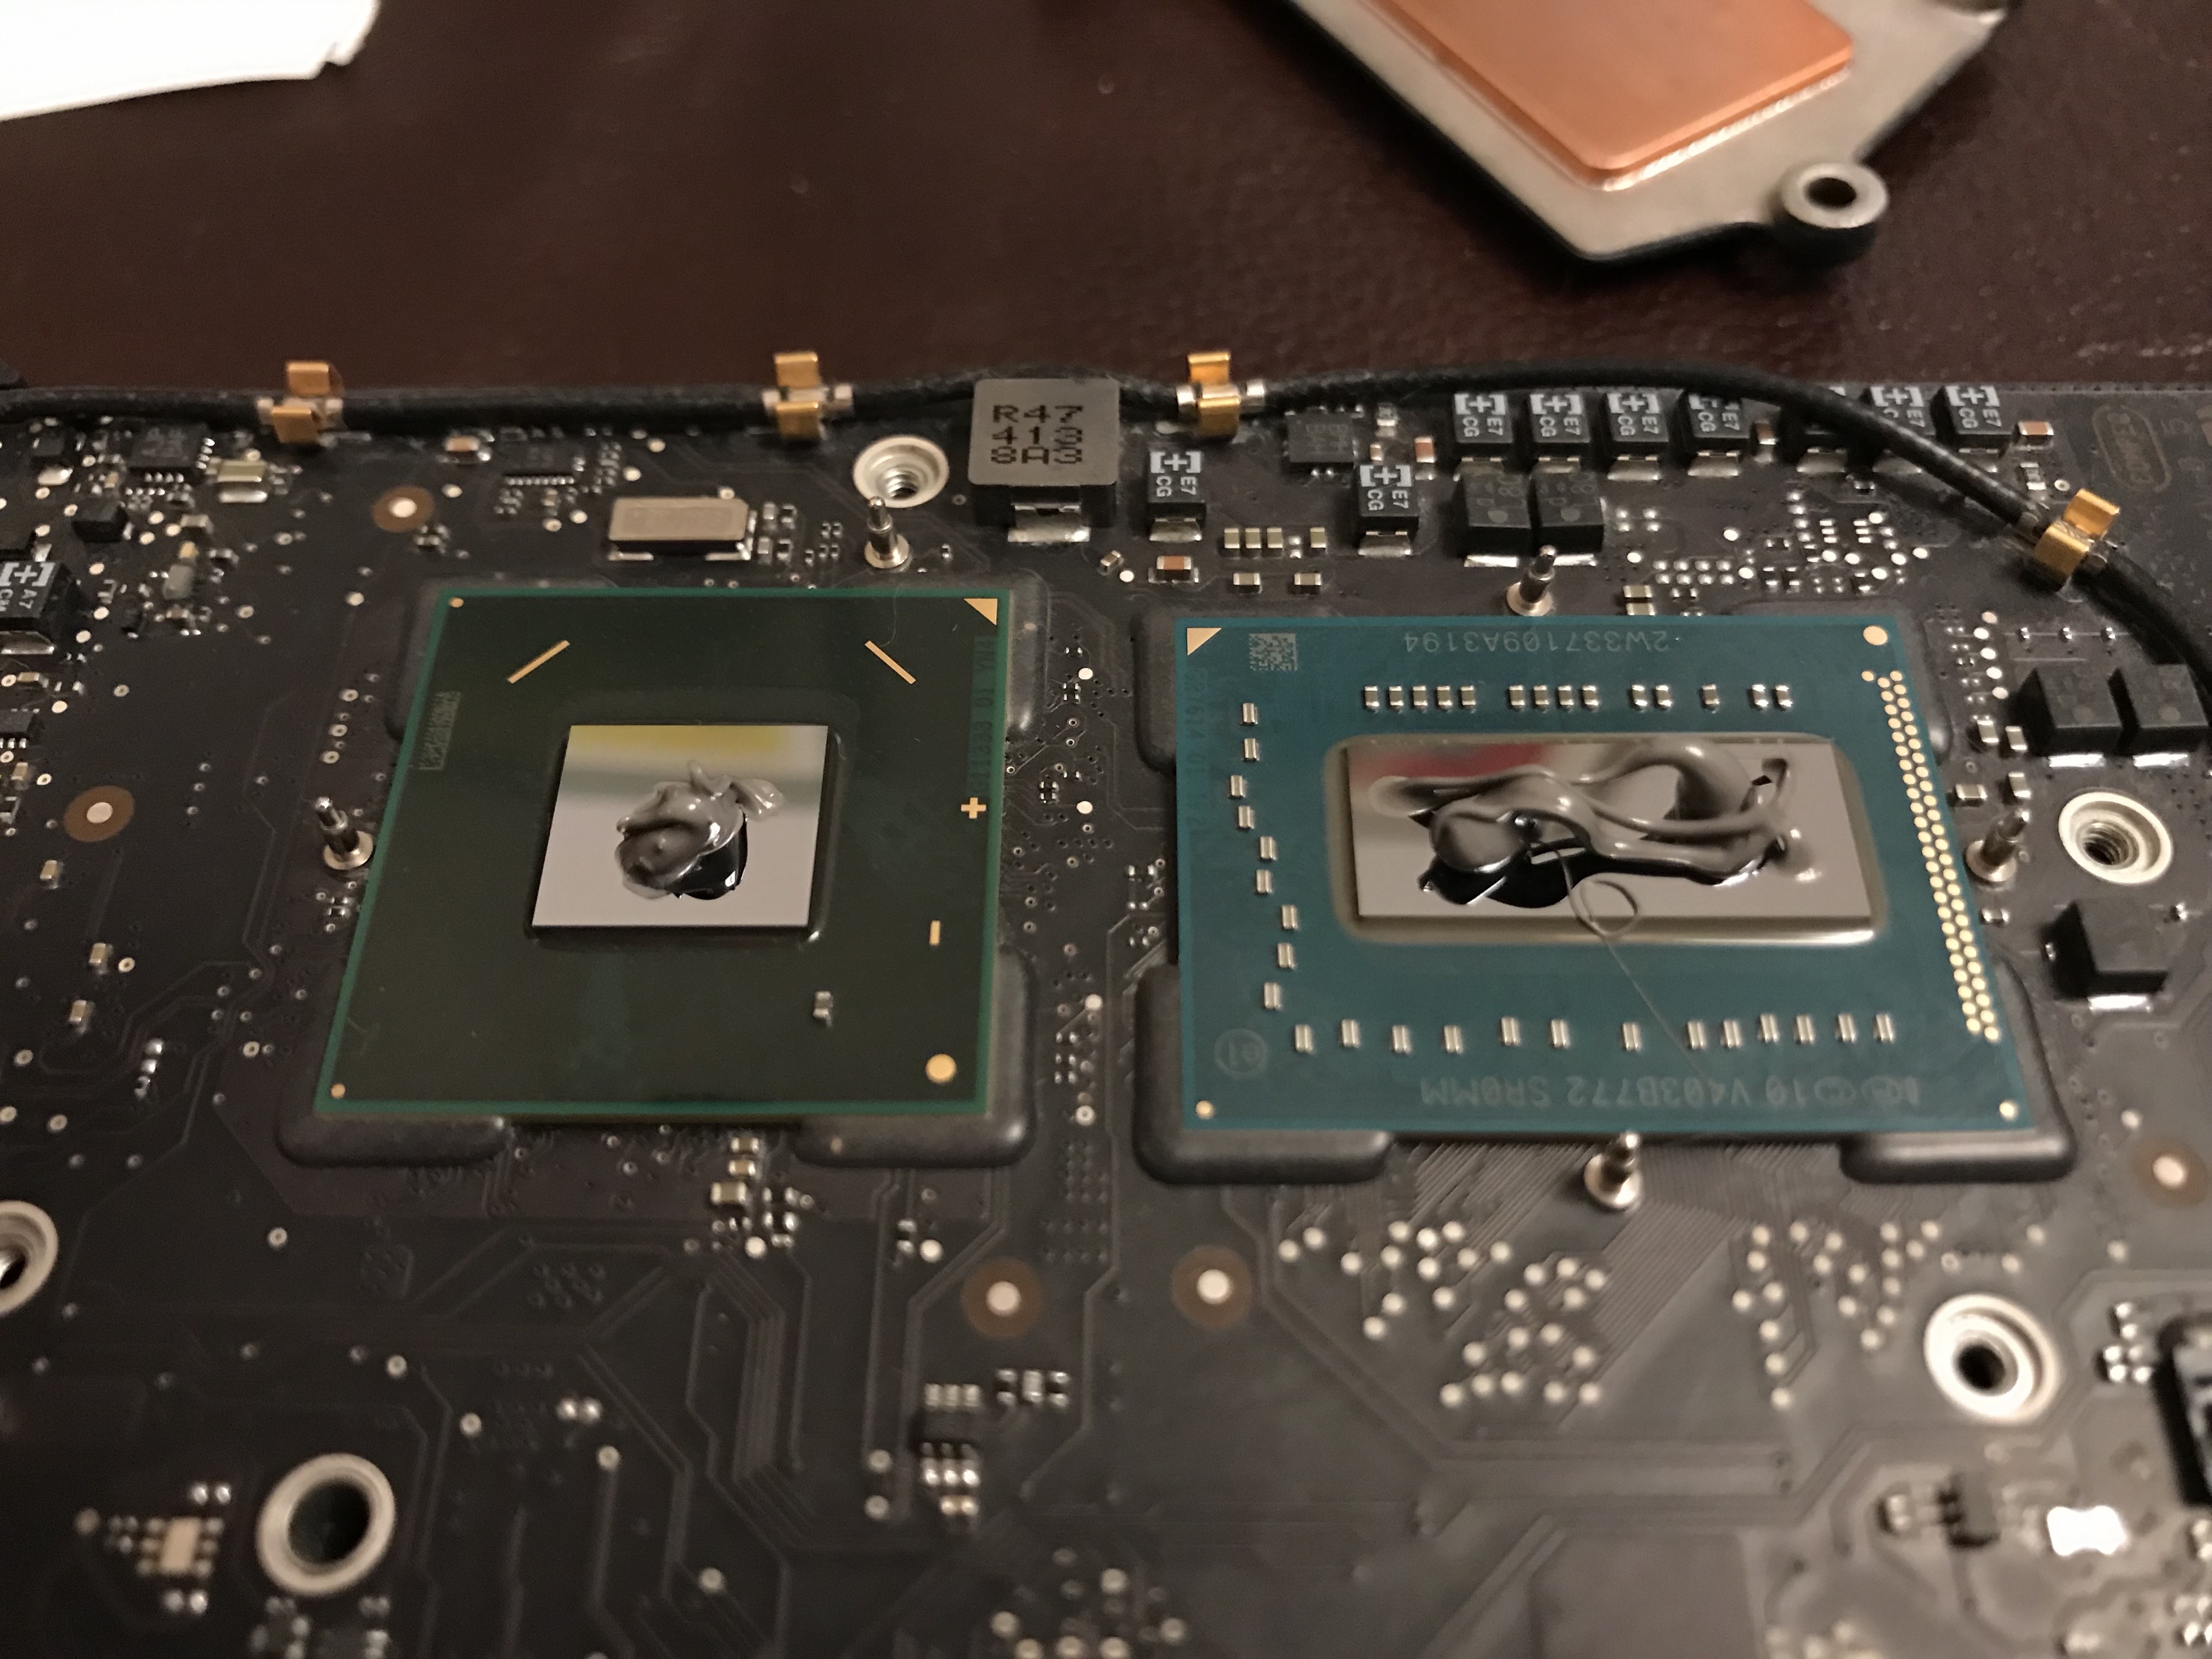
Once the SSD arrived, I got to work. I didn’t want Ligia to experience an outage longer than a few hours, so the pressure was on. My plan was to open up her machine, clean the insides thoroughly of dust, replace the thermal paste on the CPU and GPU, then replace the HDD with the SSD. After putting it back together and booting up, I would need to do a data restore.

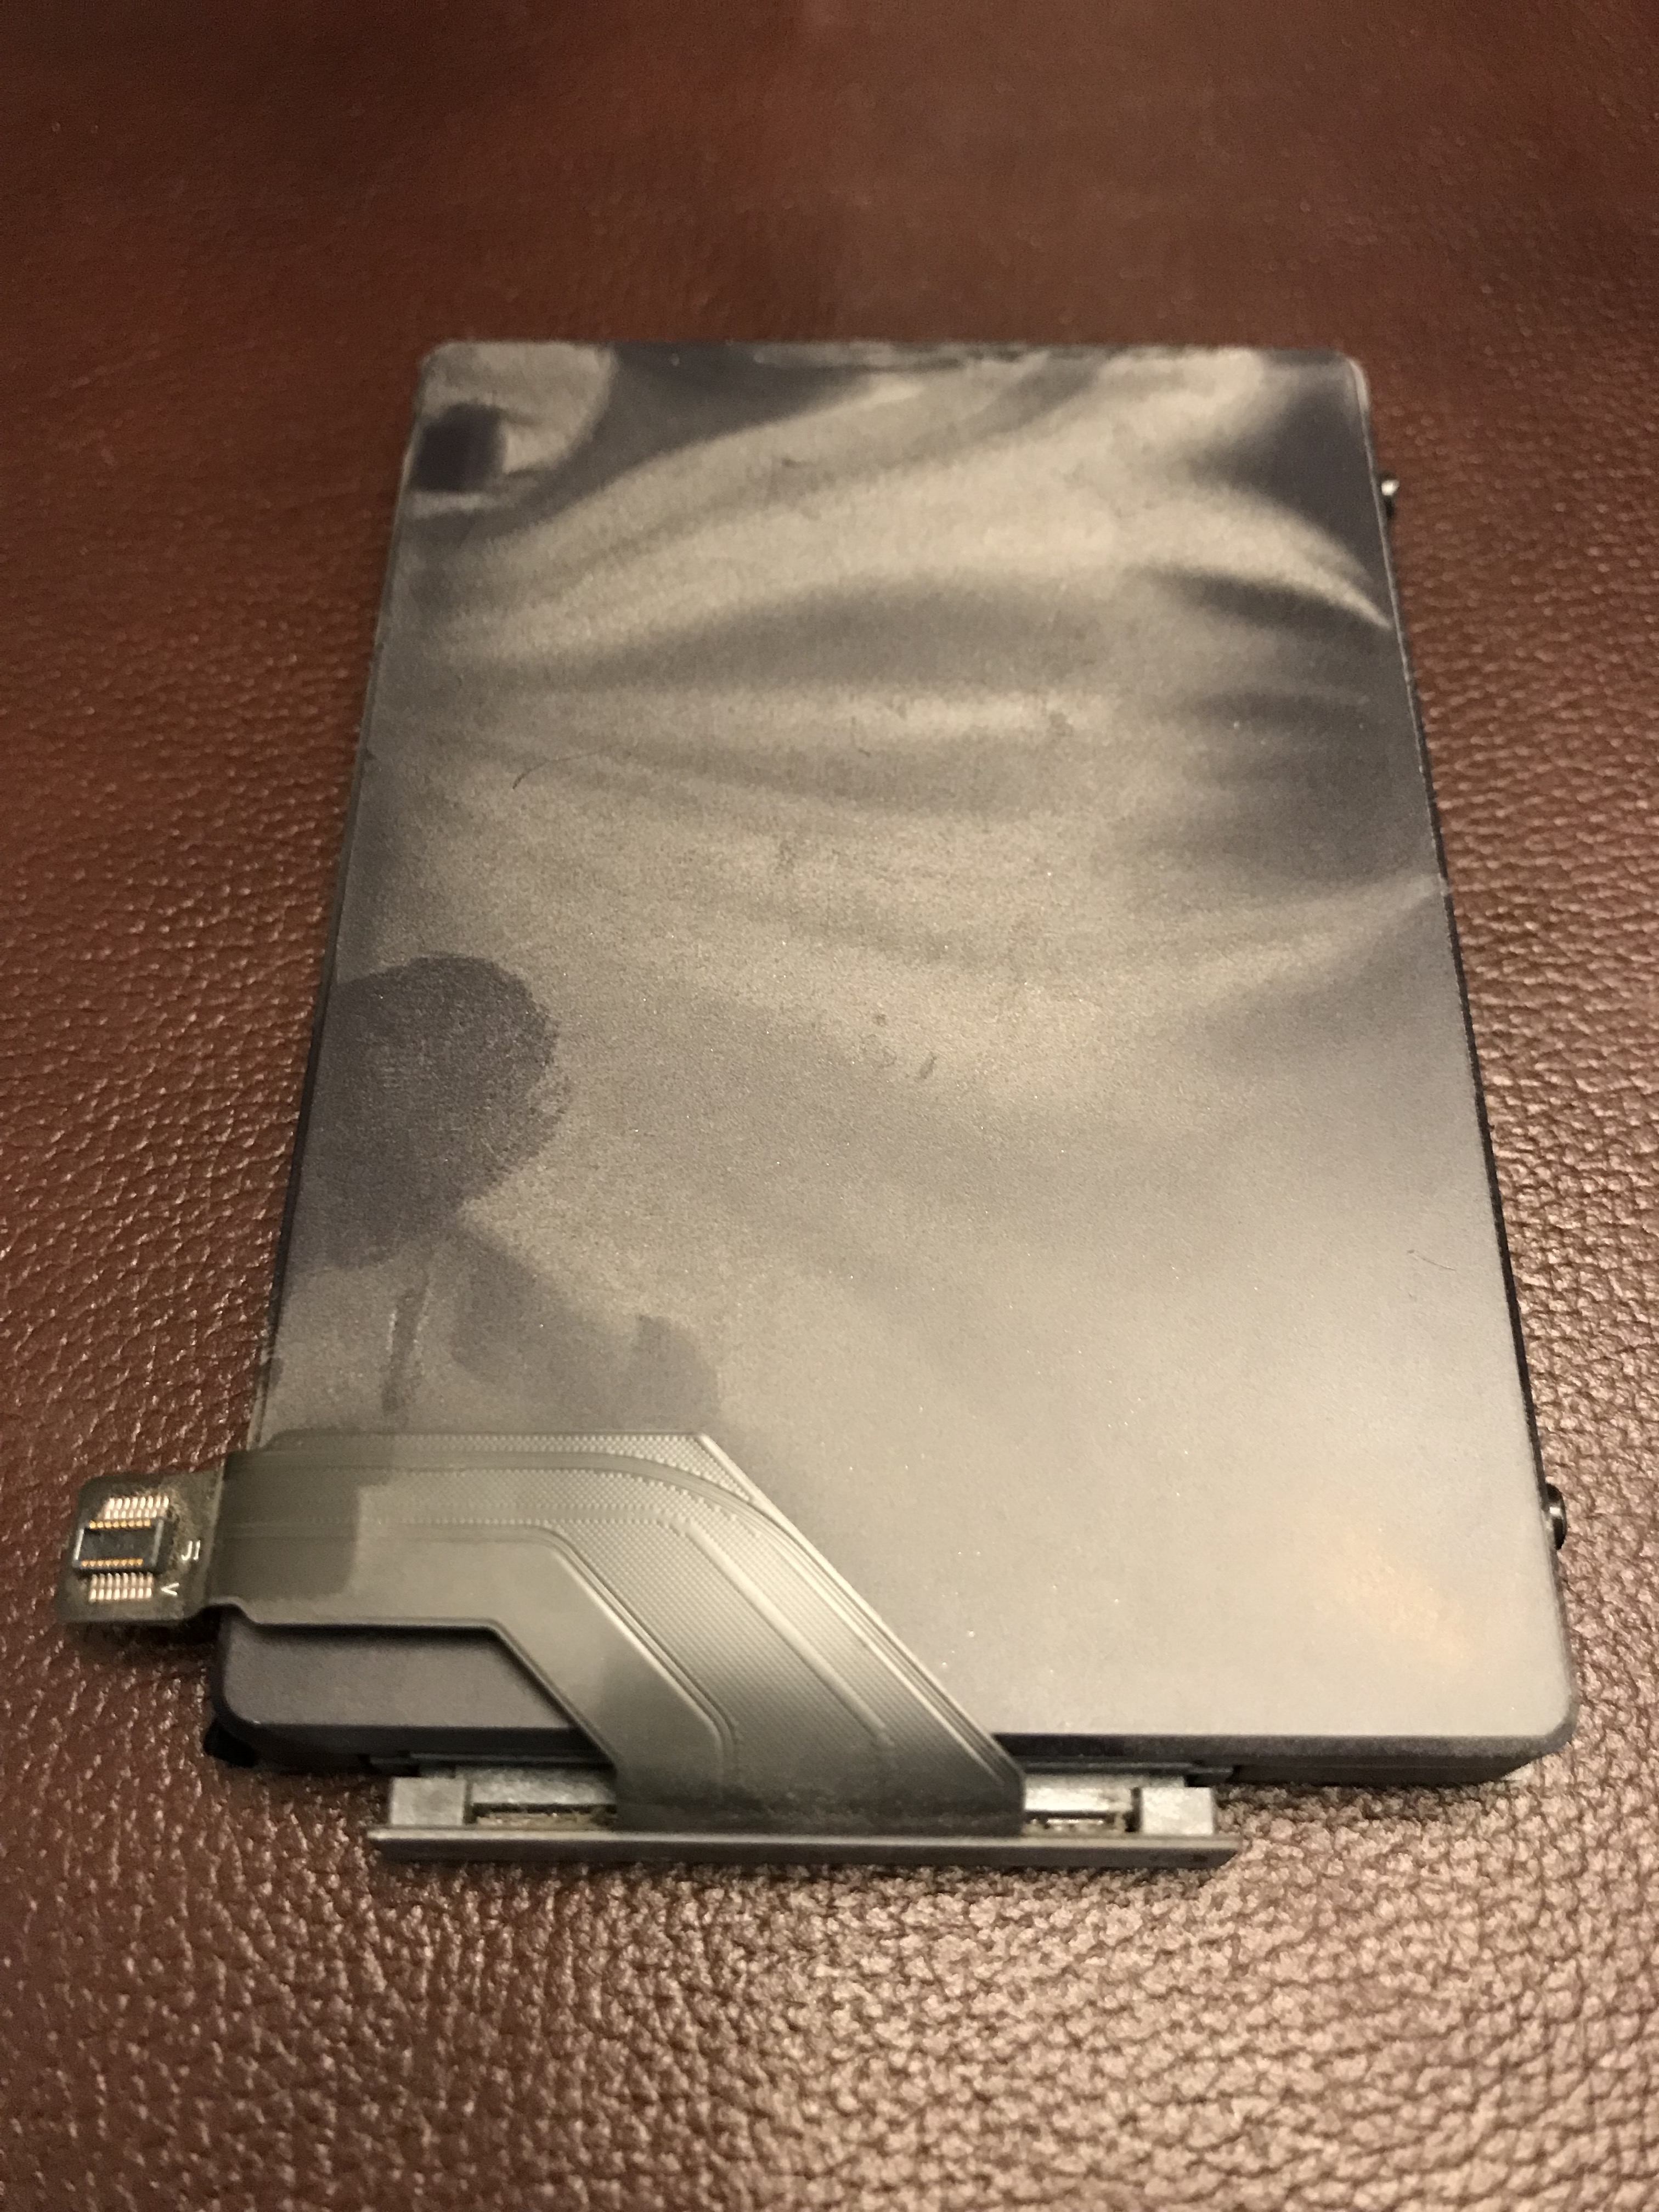
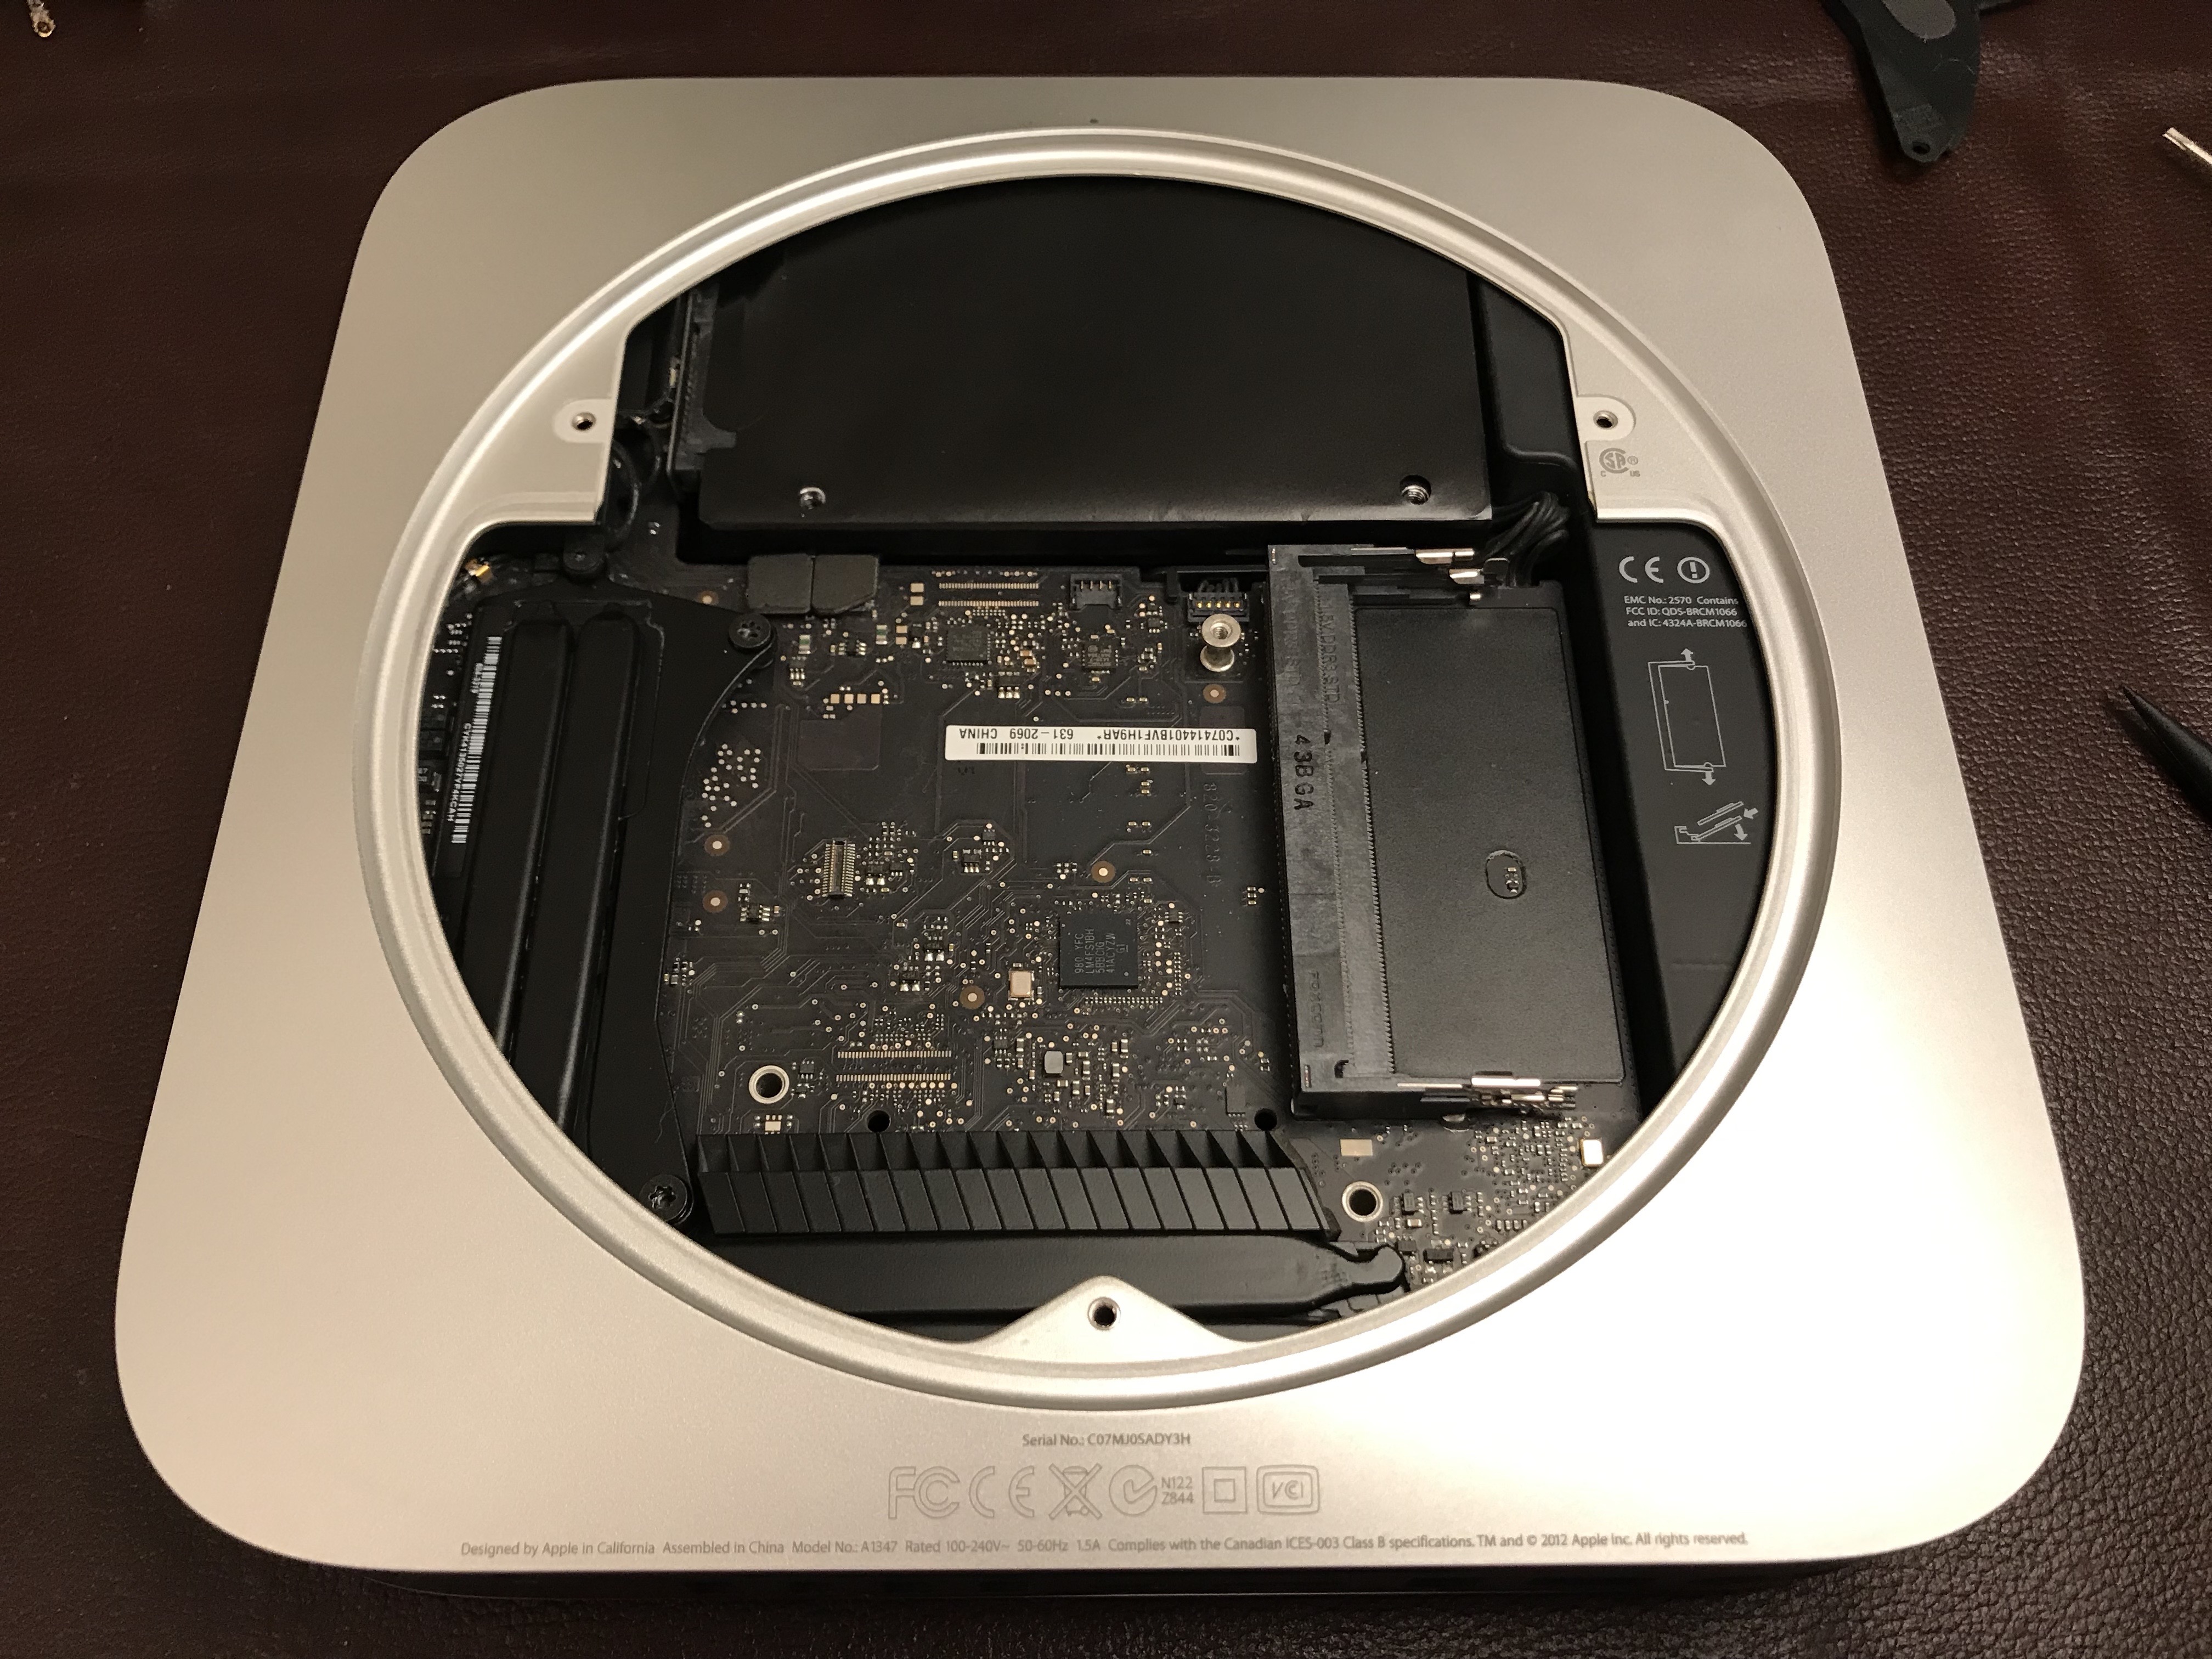
Here is a gallery of photographs from that process. The insides were indeed full of dust and the thermal paste had dried up. I followed this guide from iFixit, although I have to say it’s not entirely accurate, as detailed below.

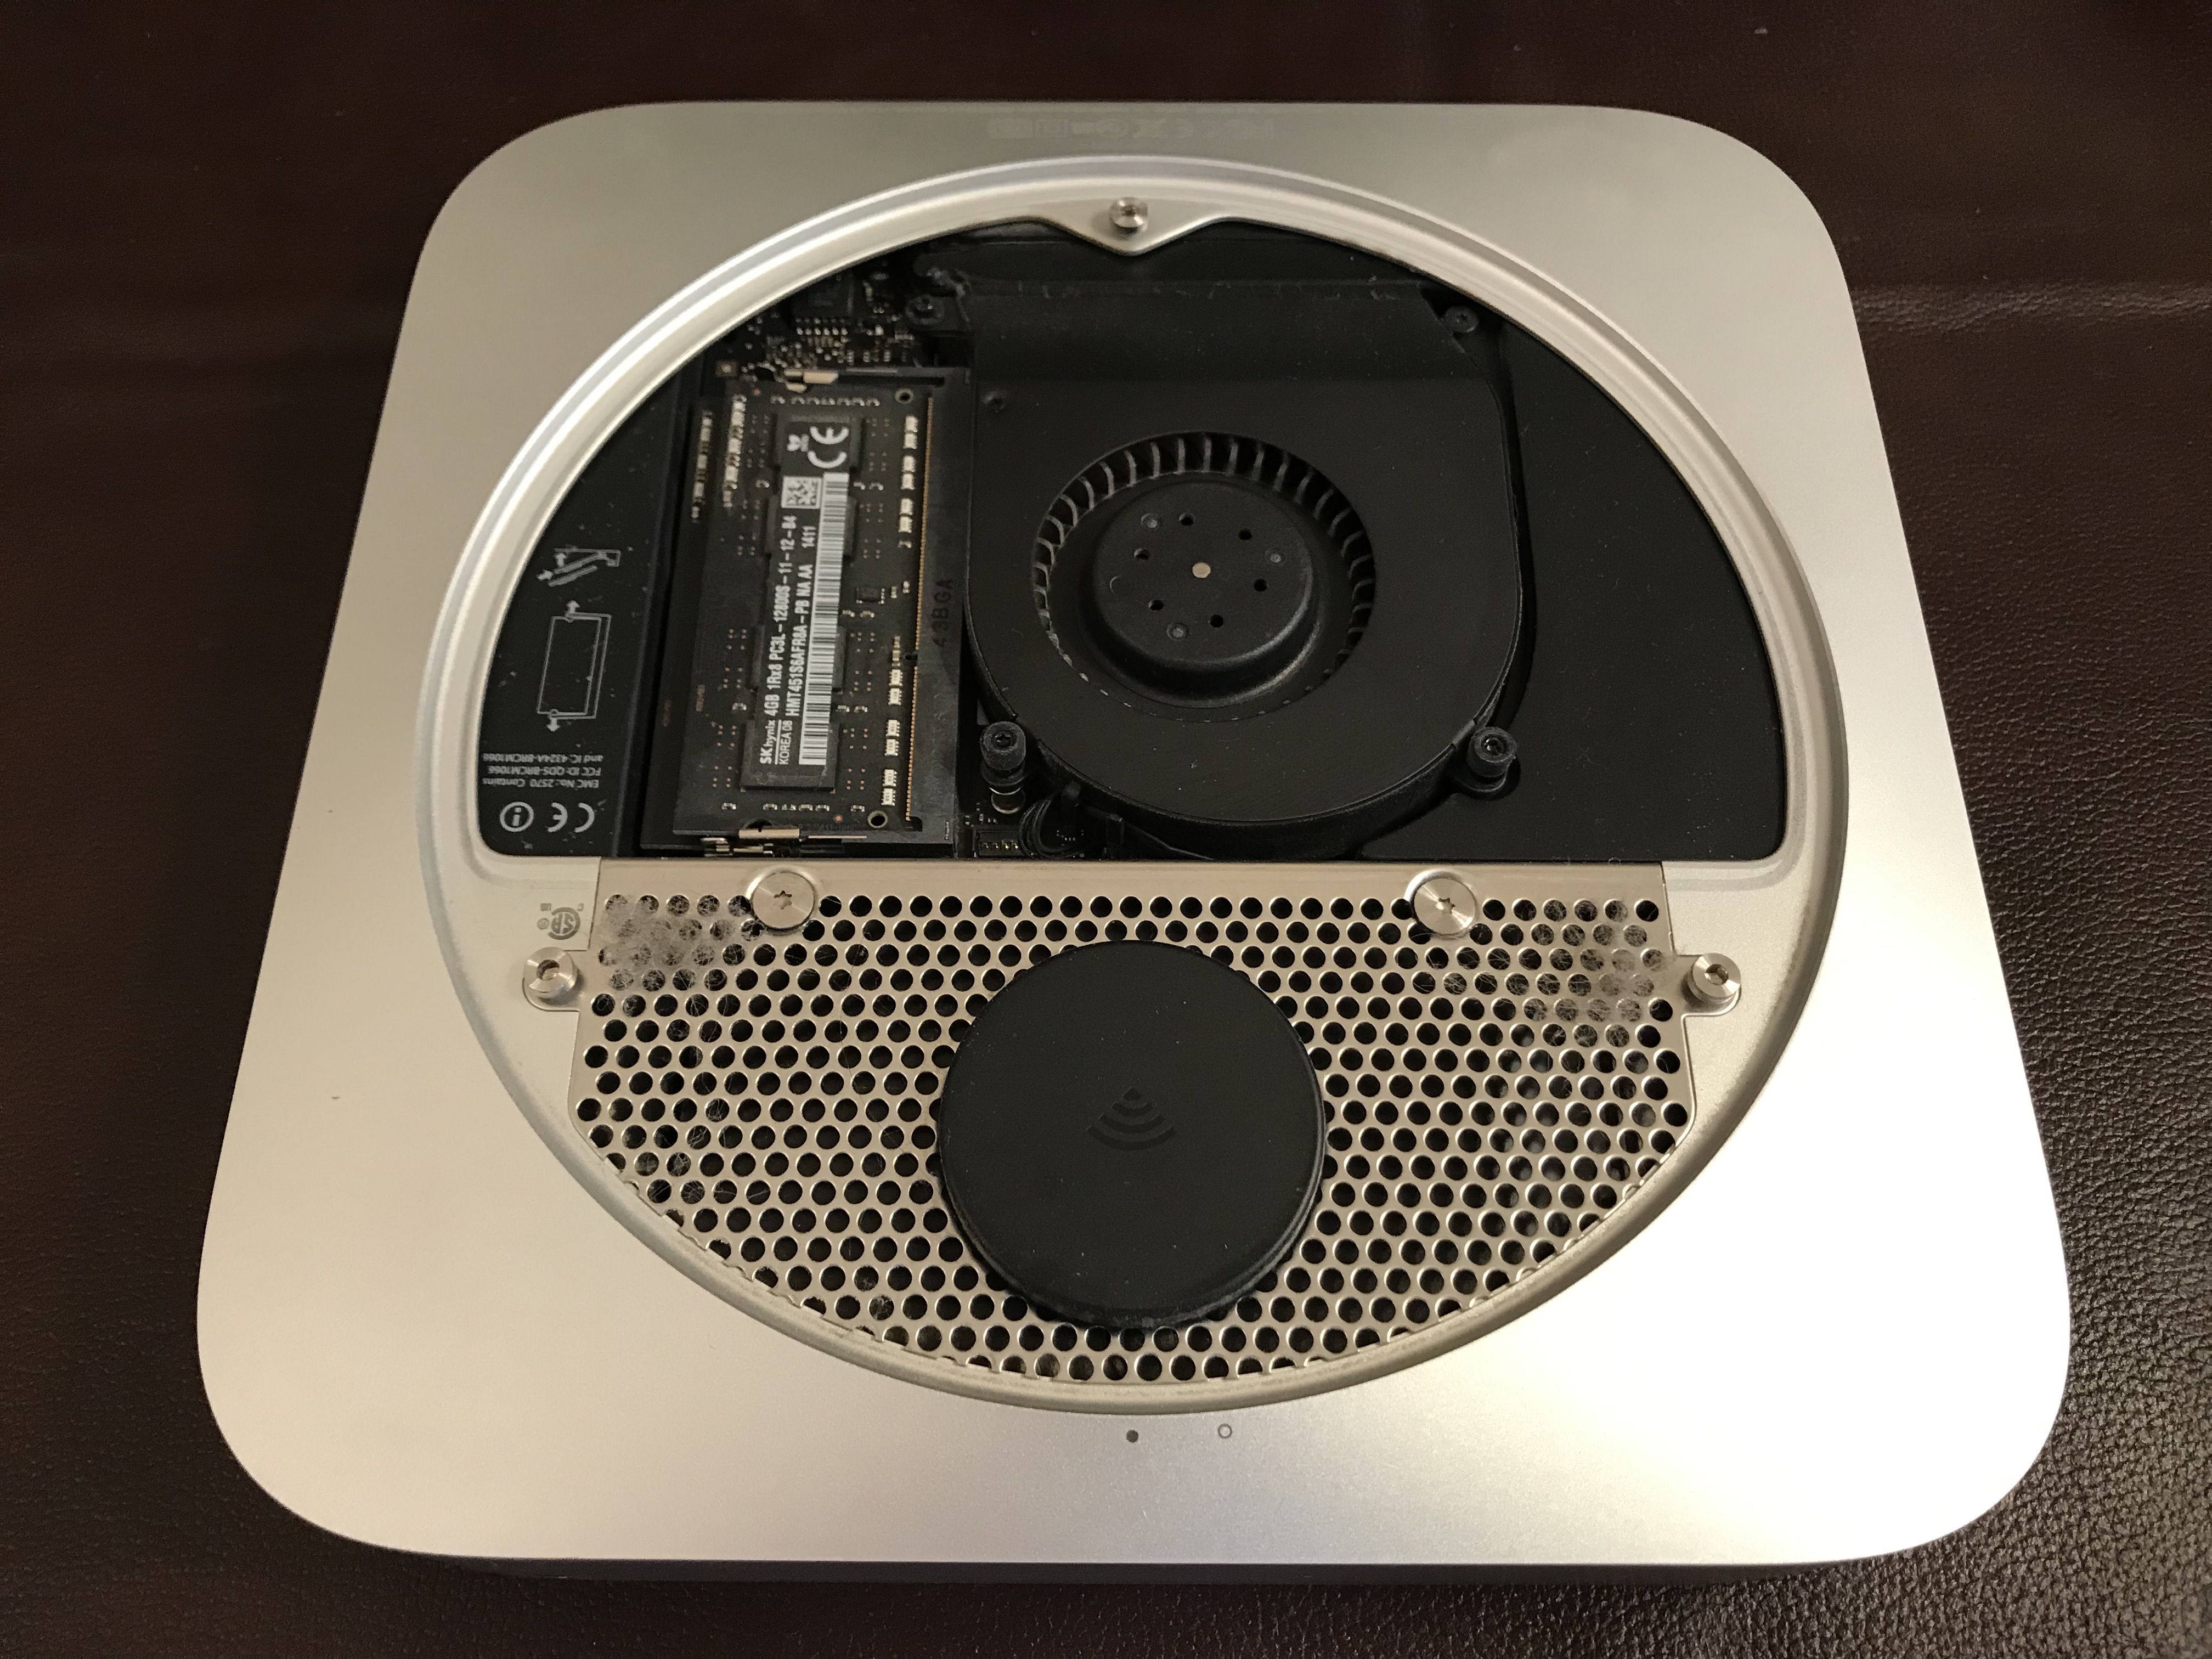
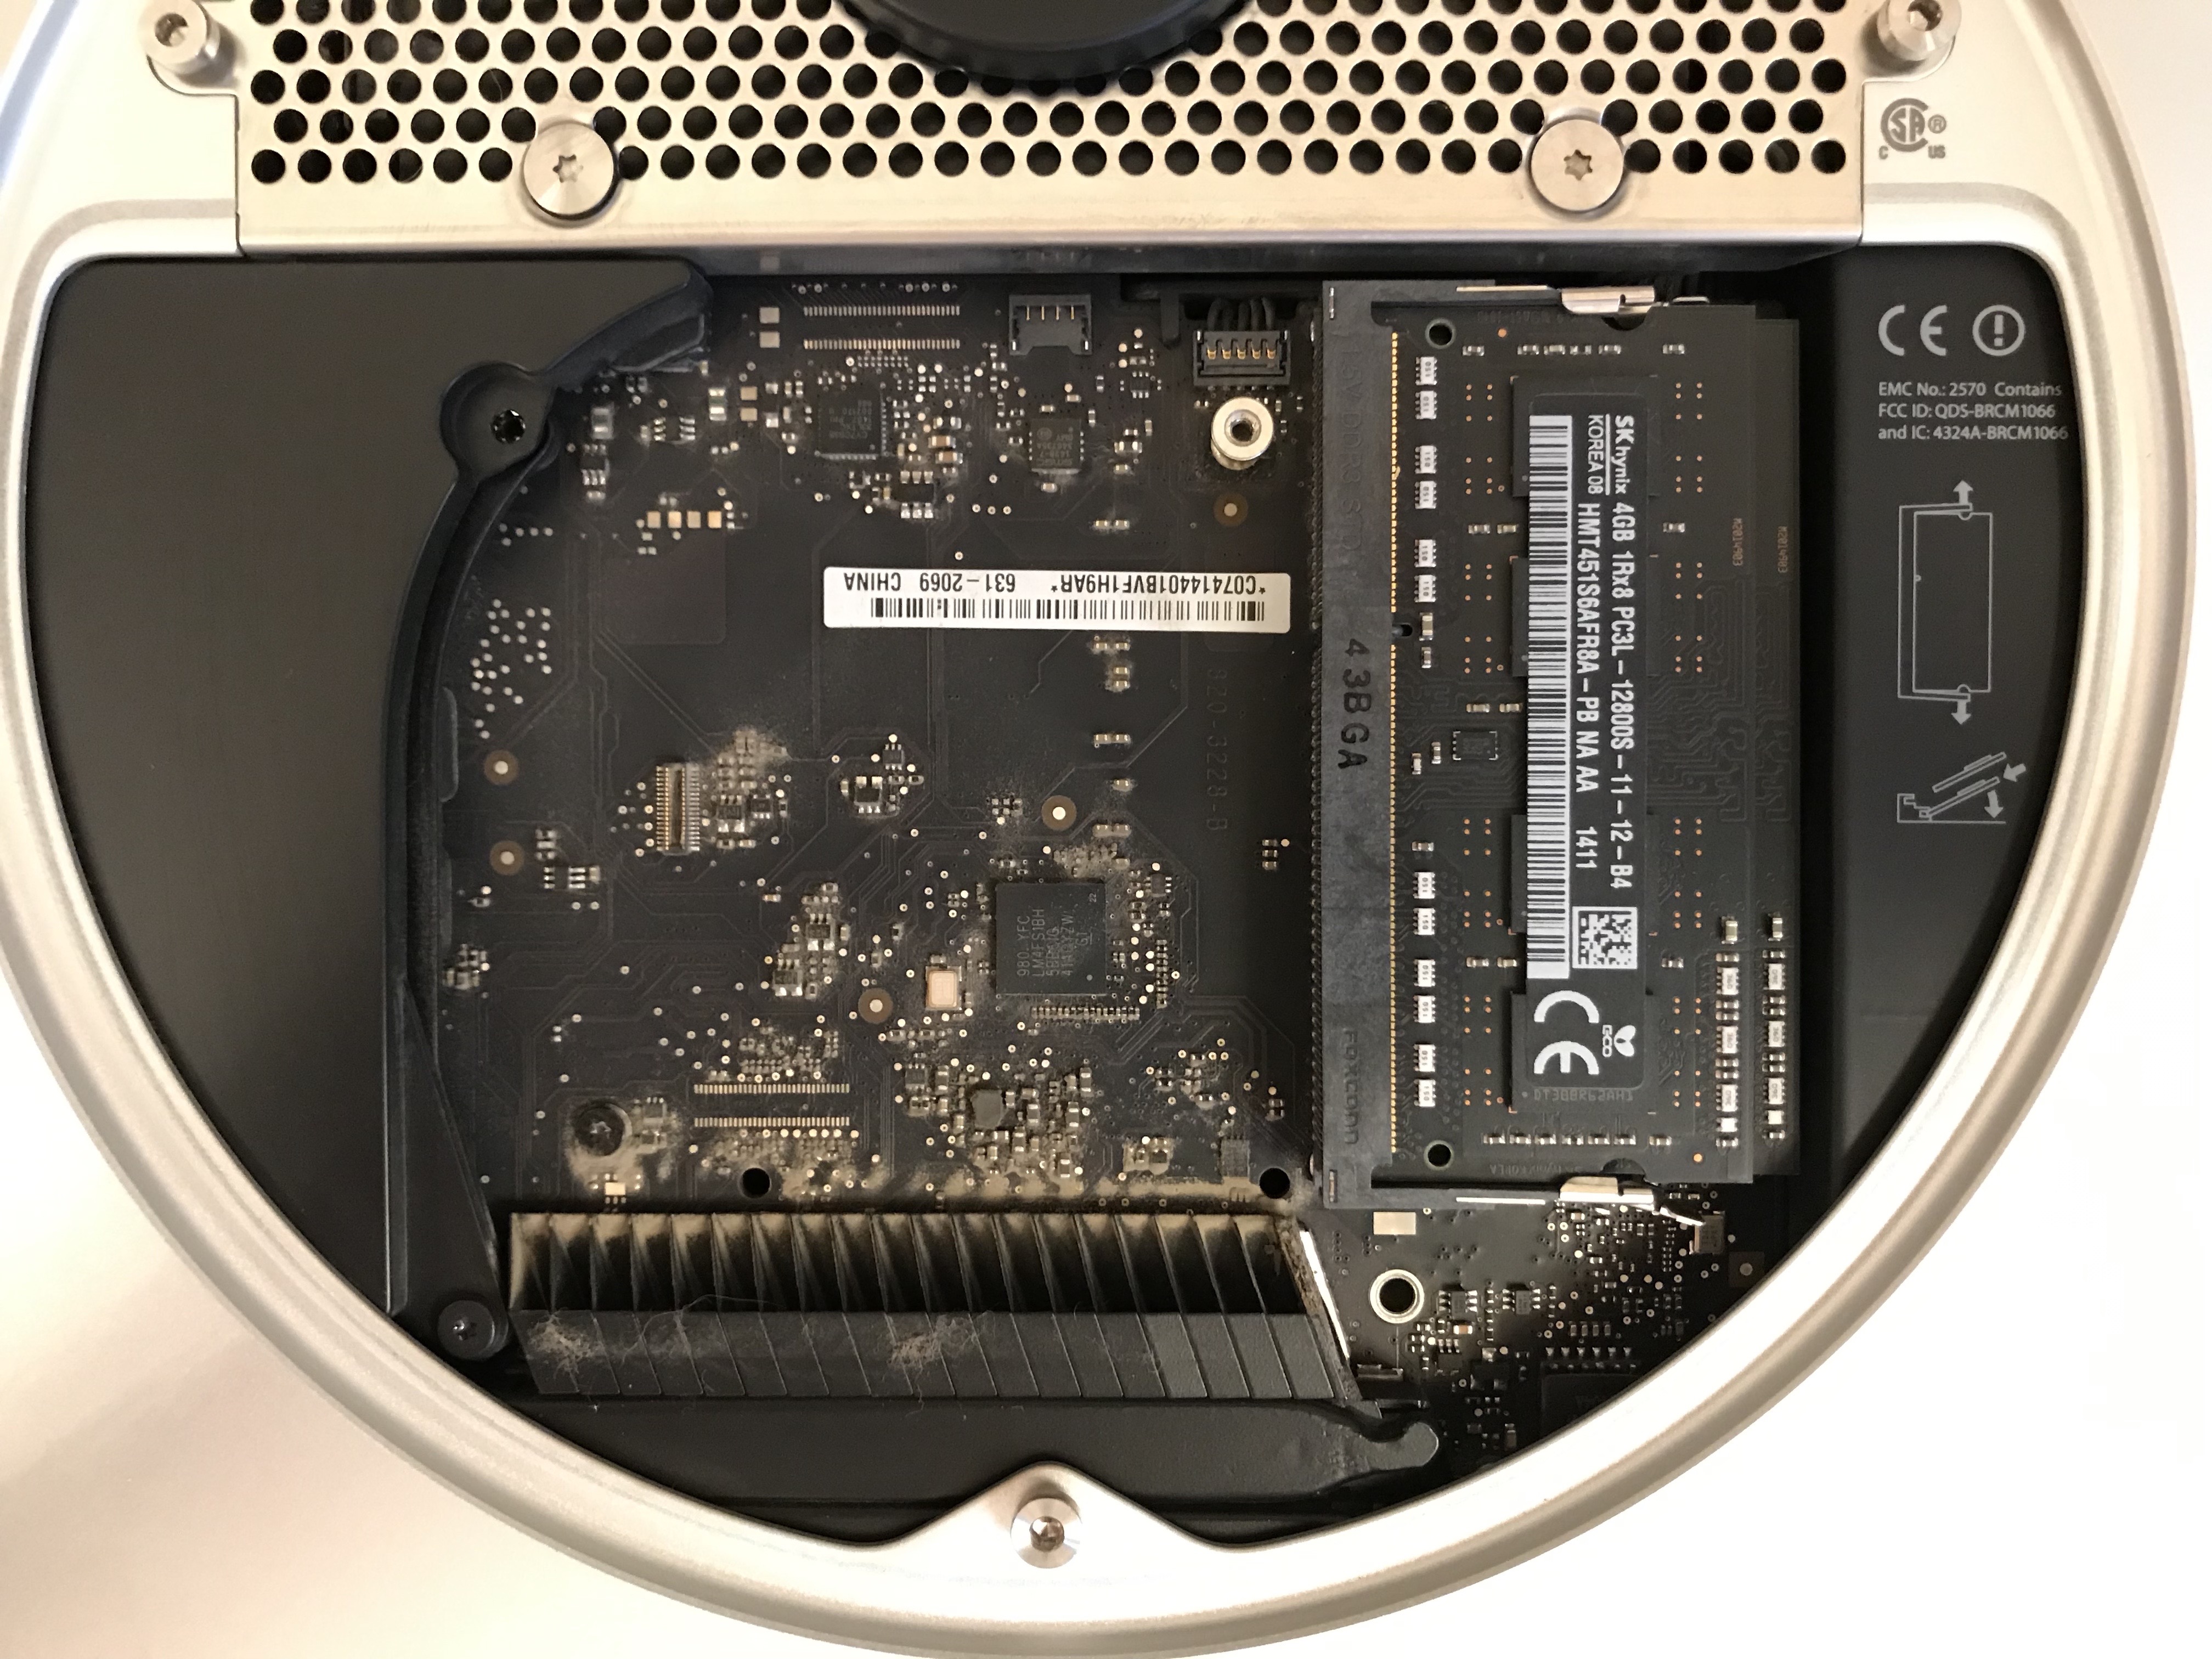
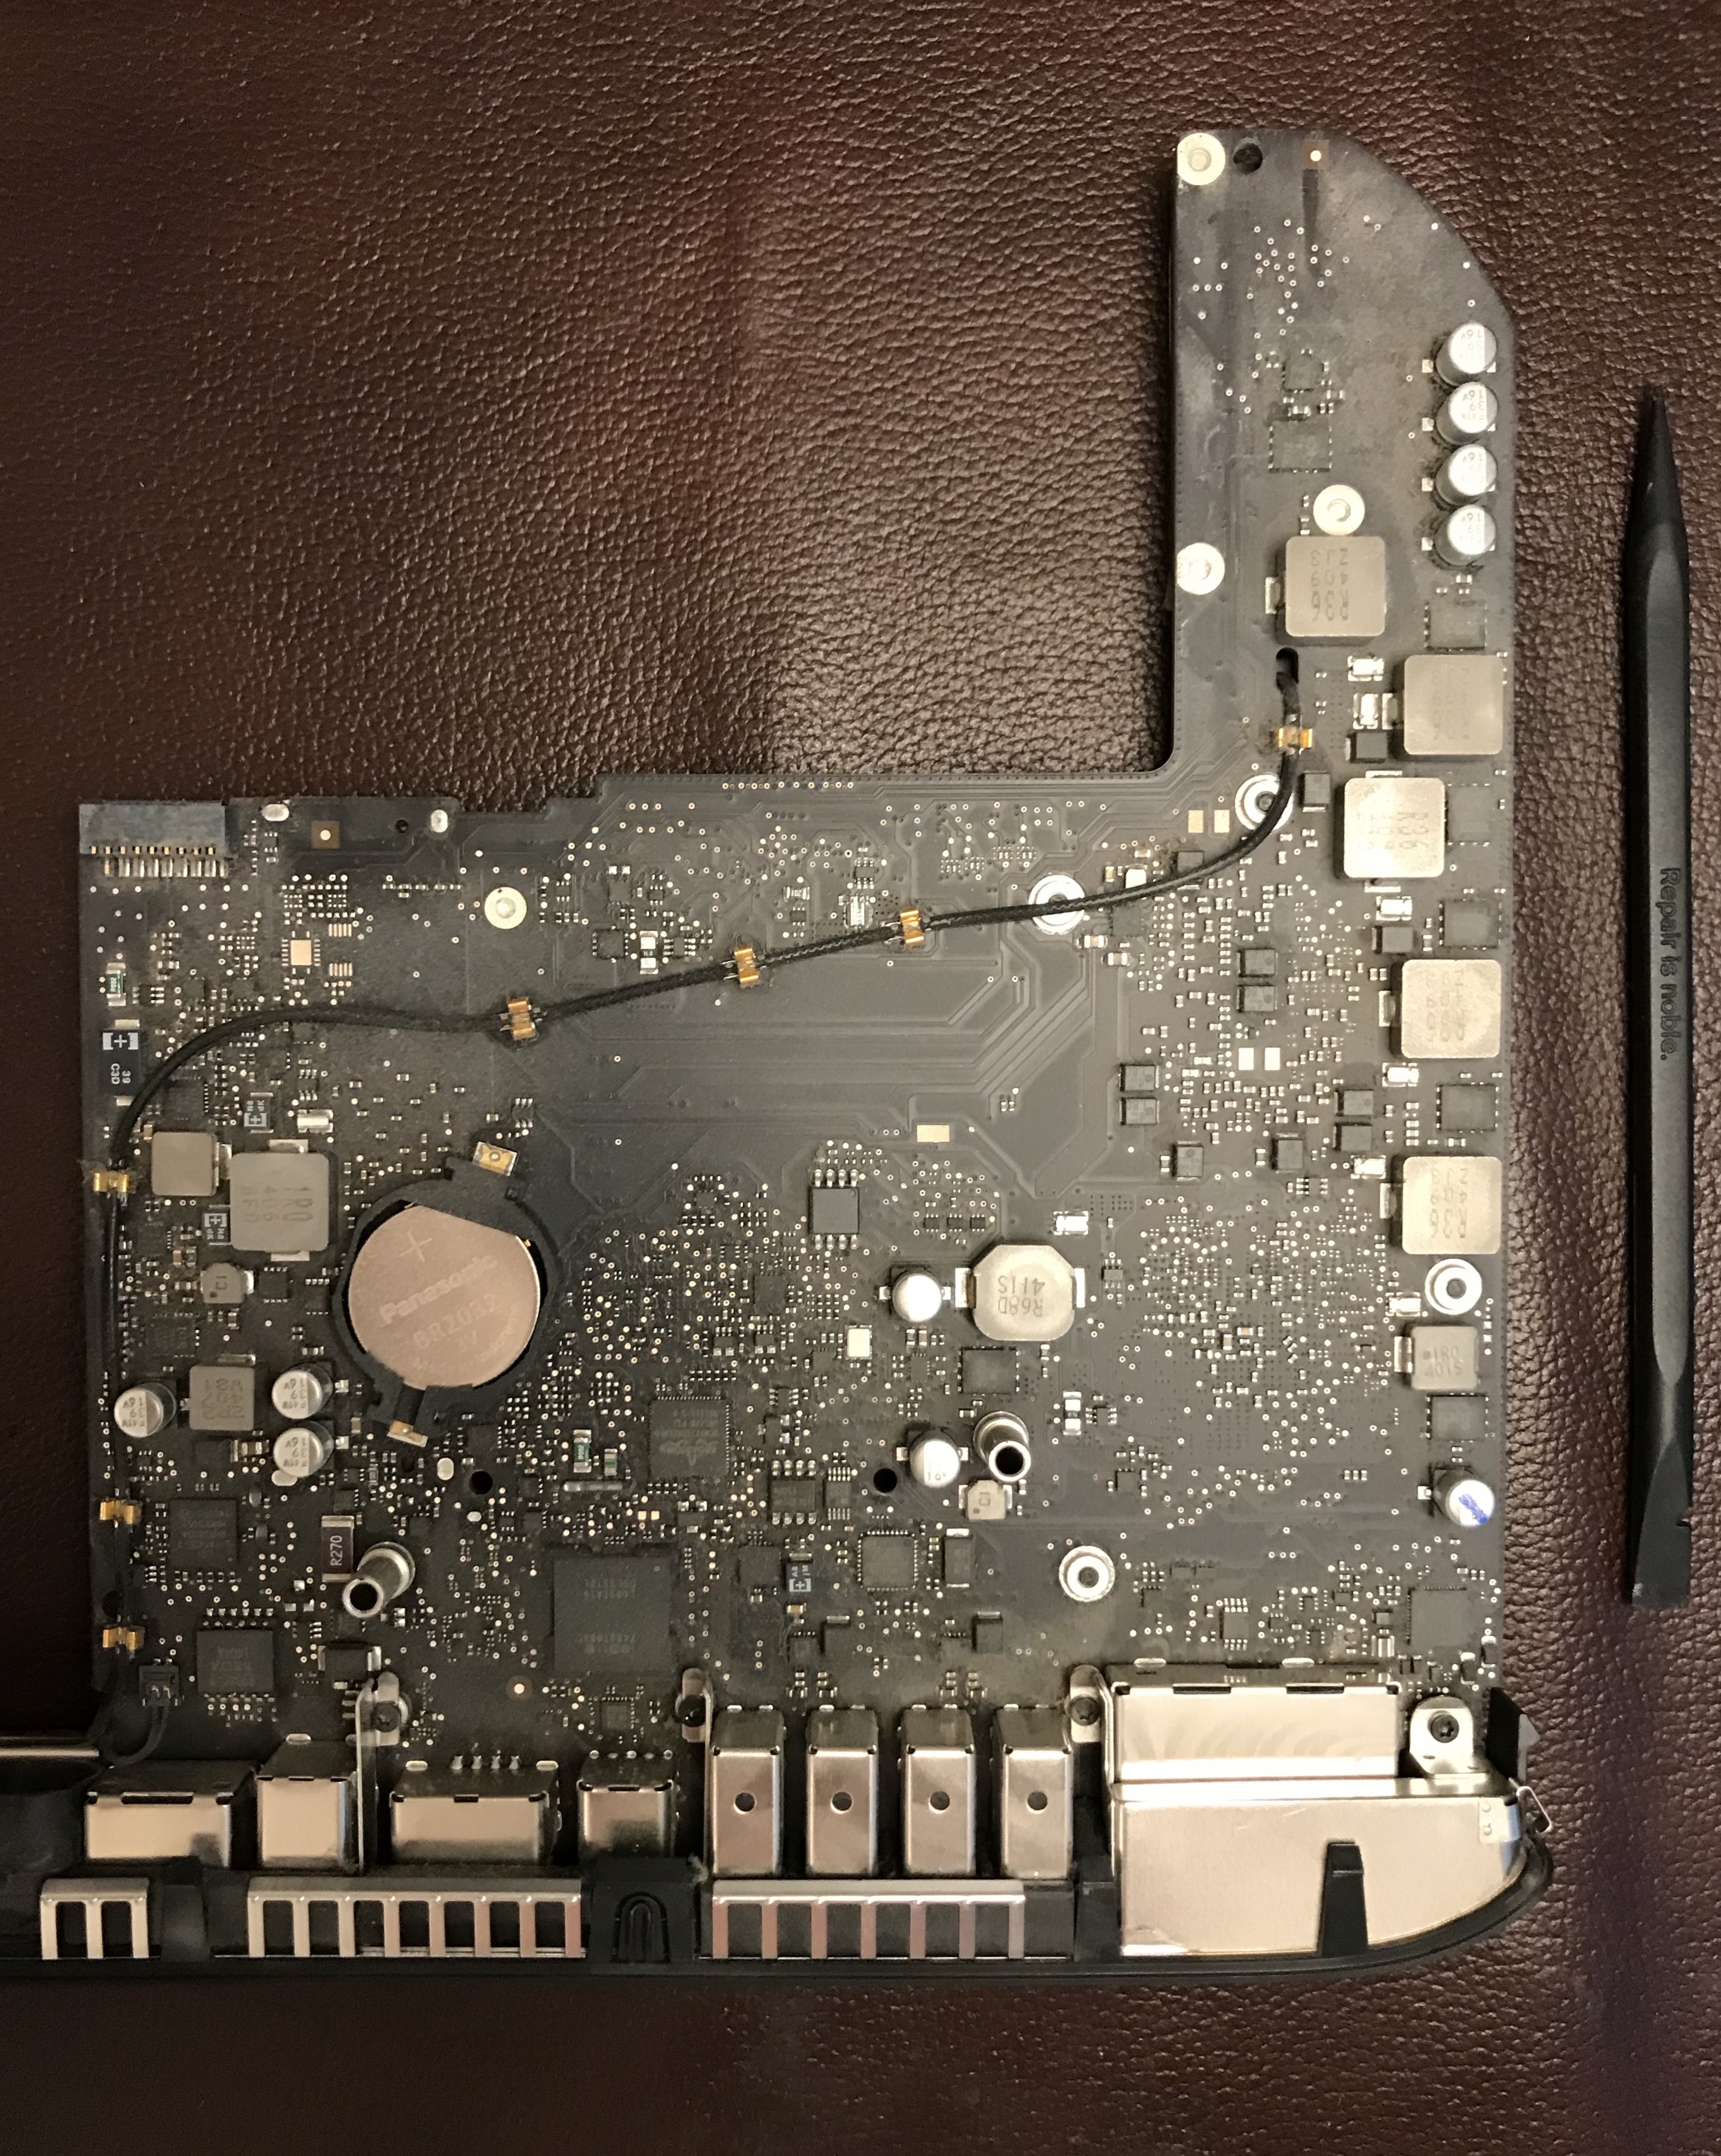
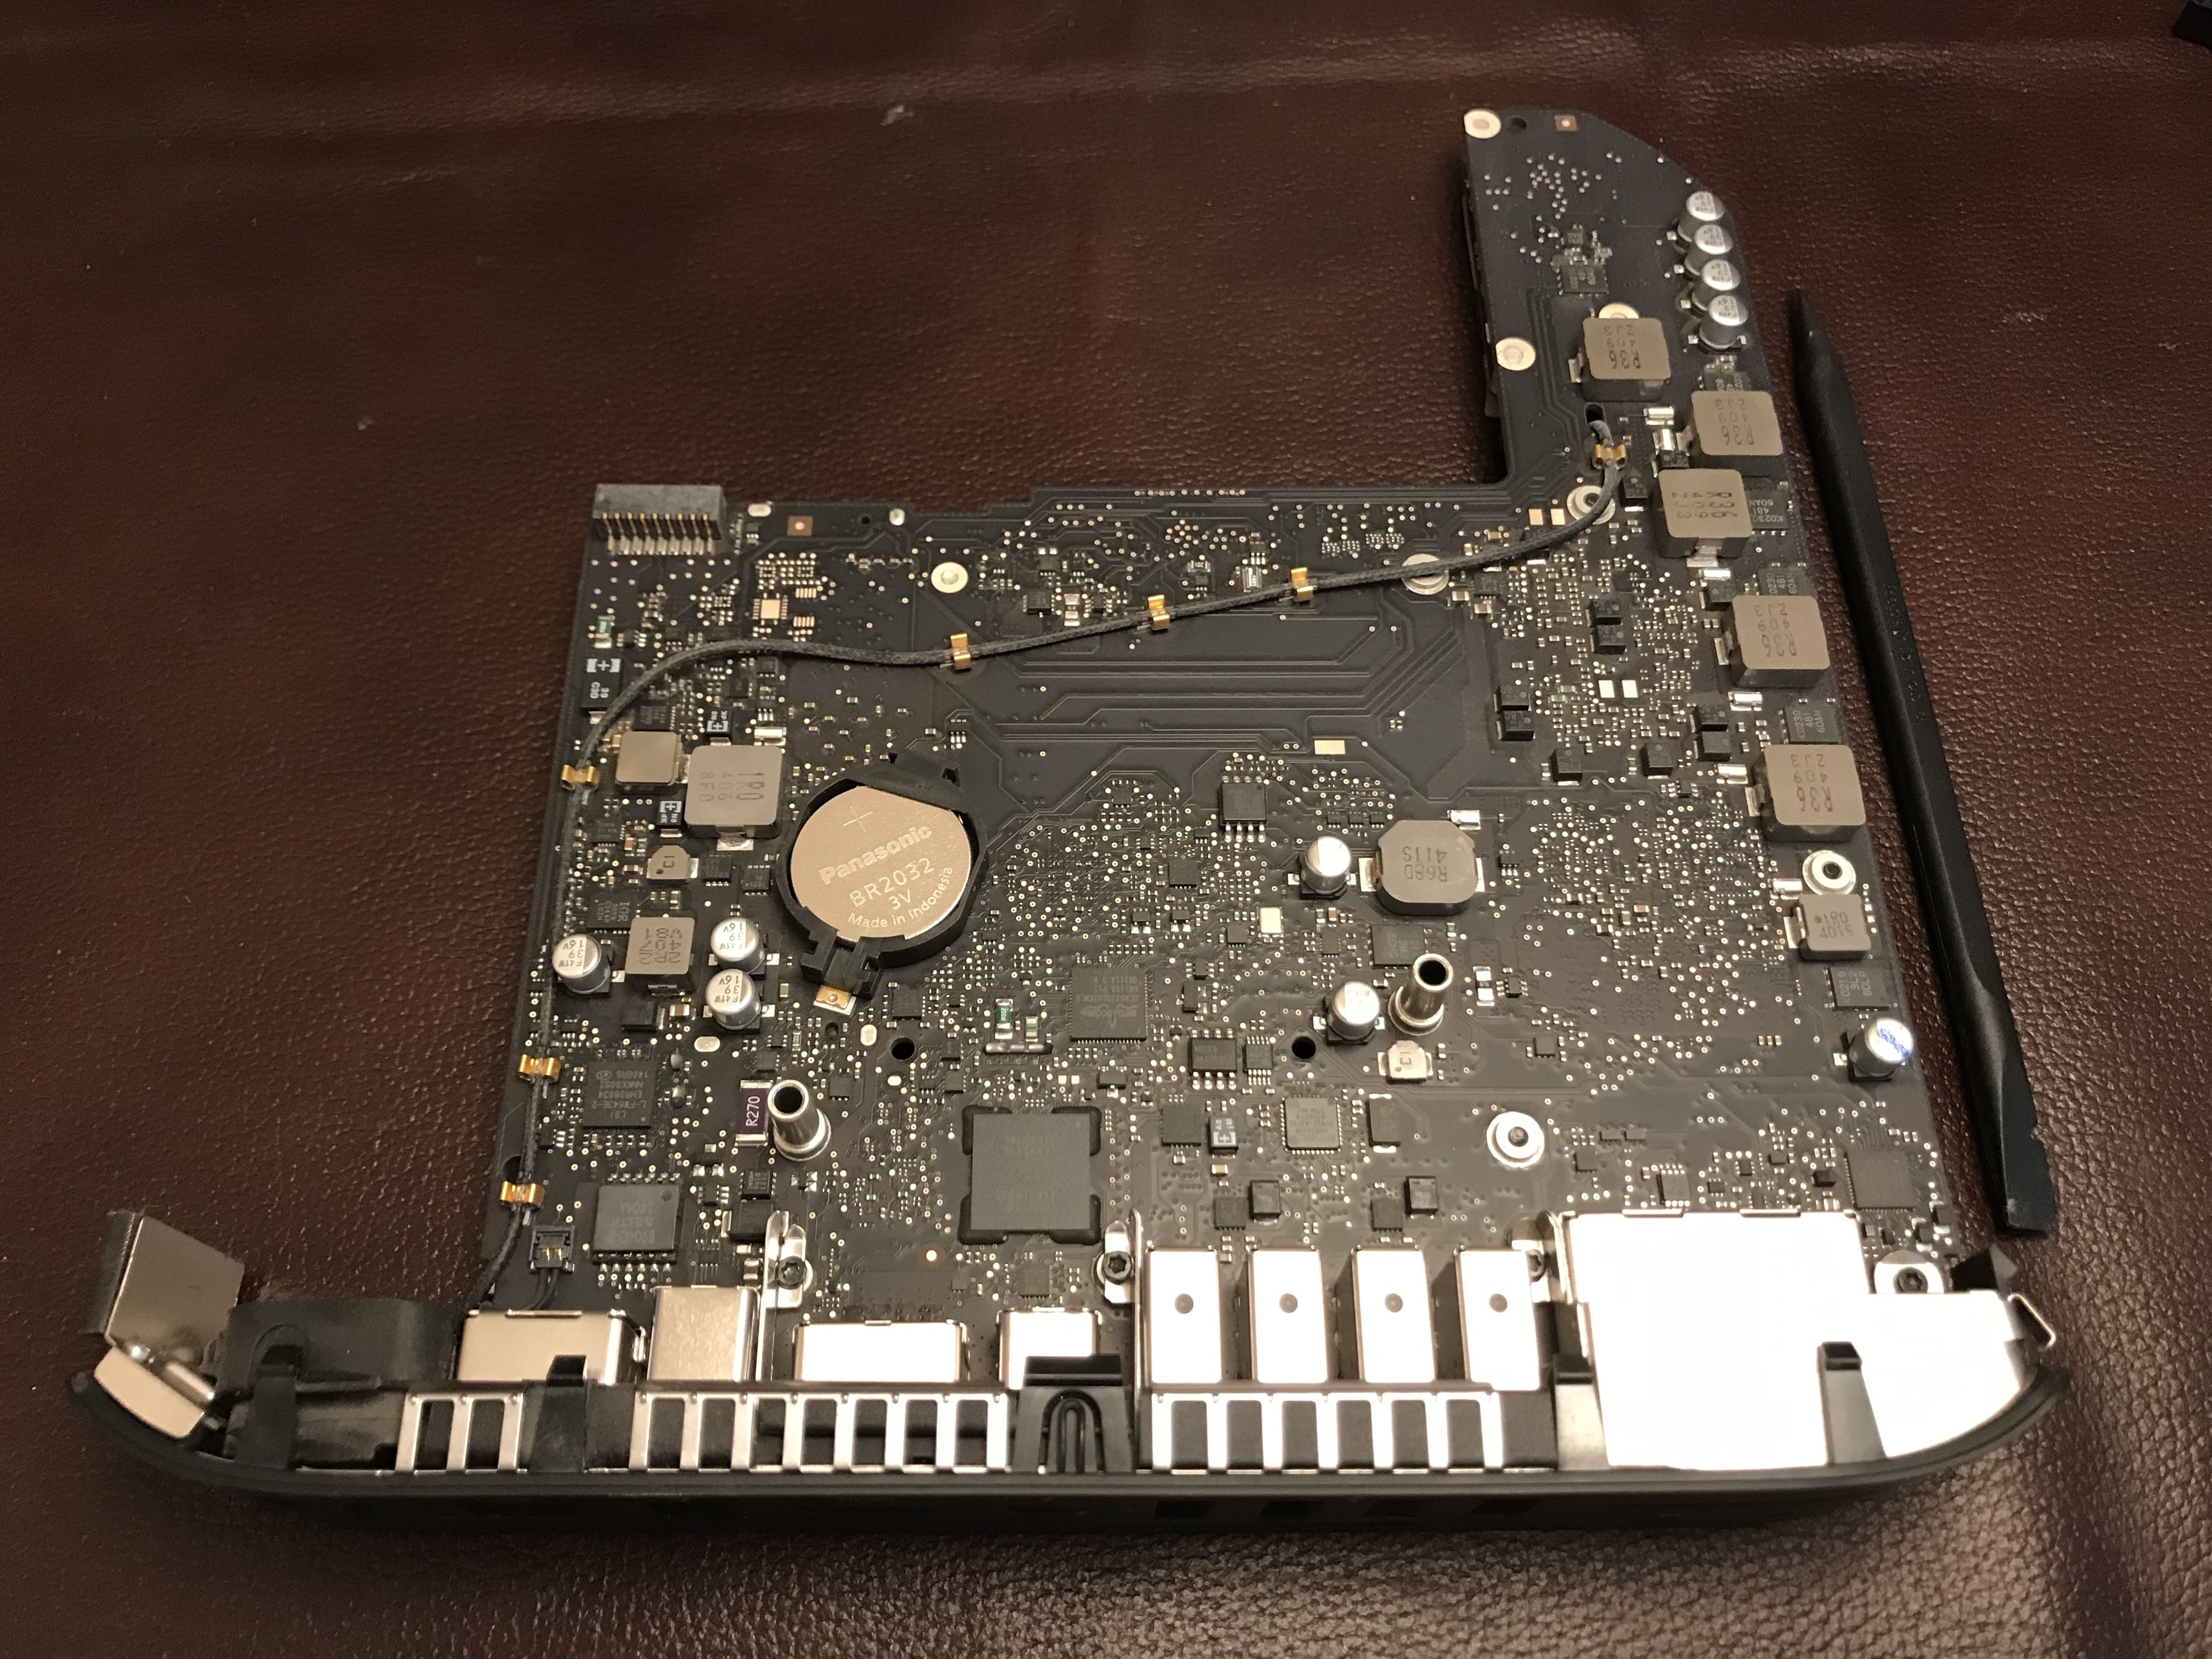
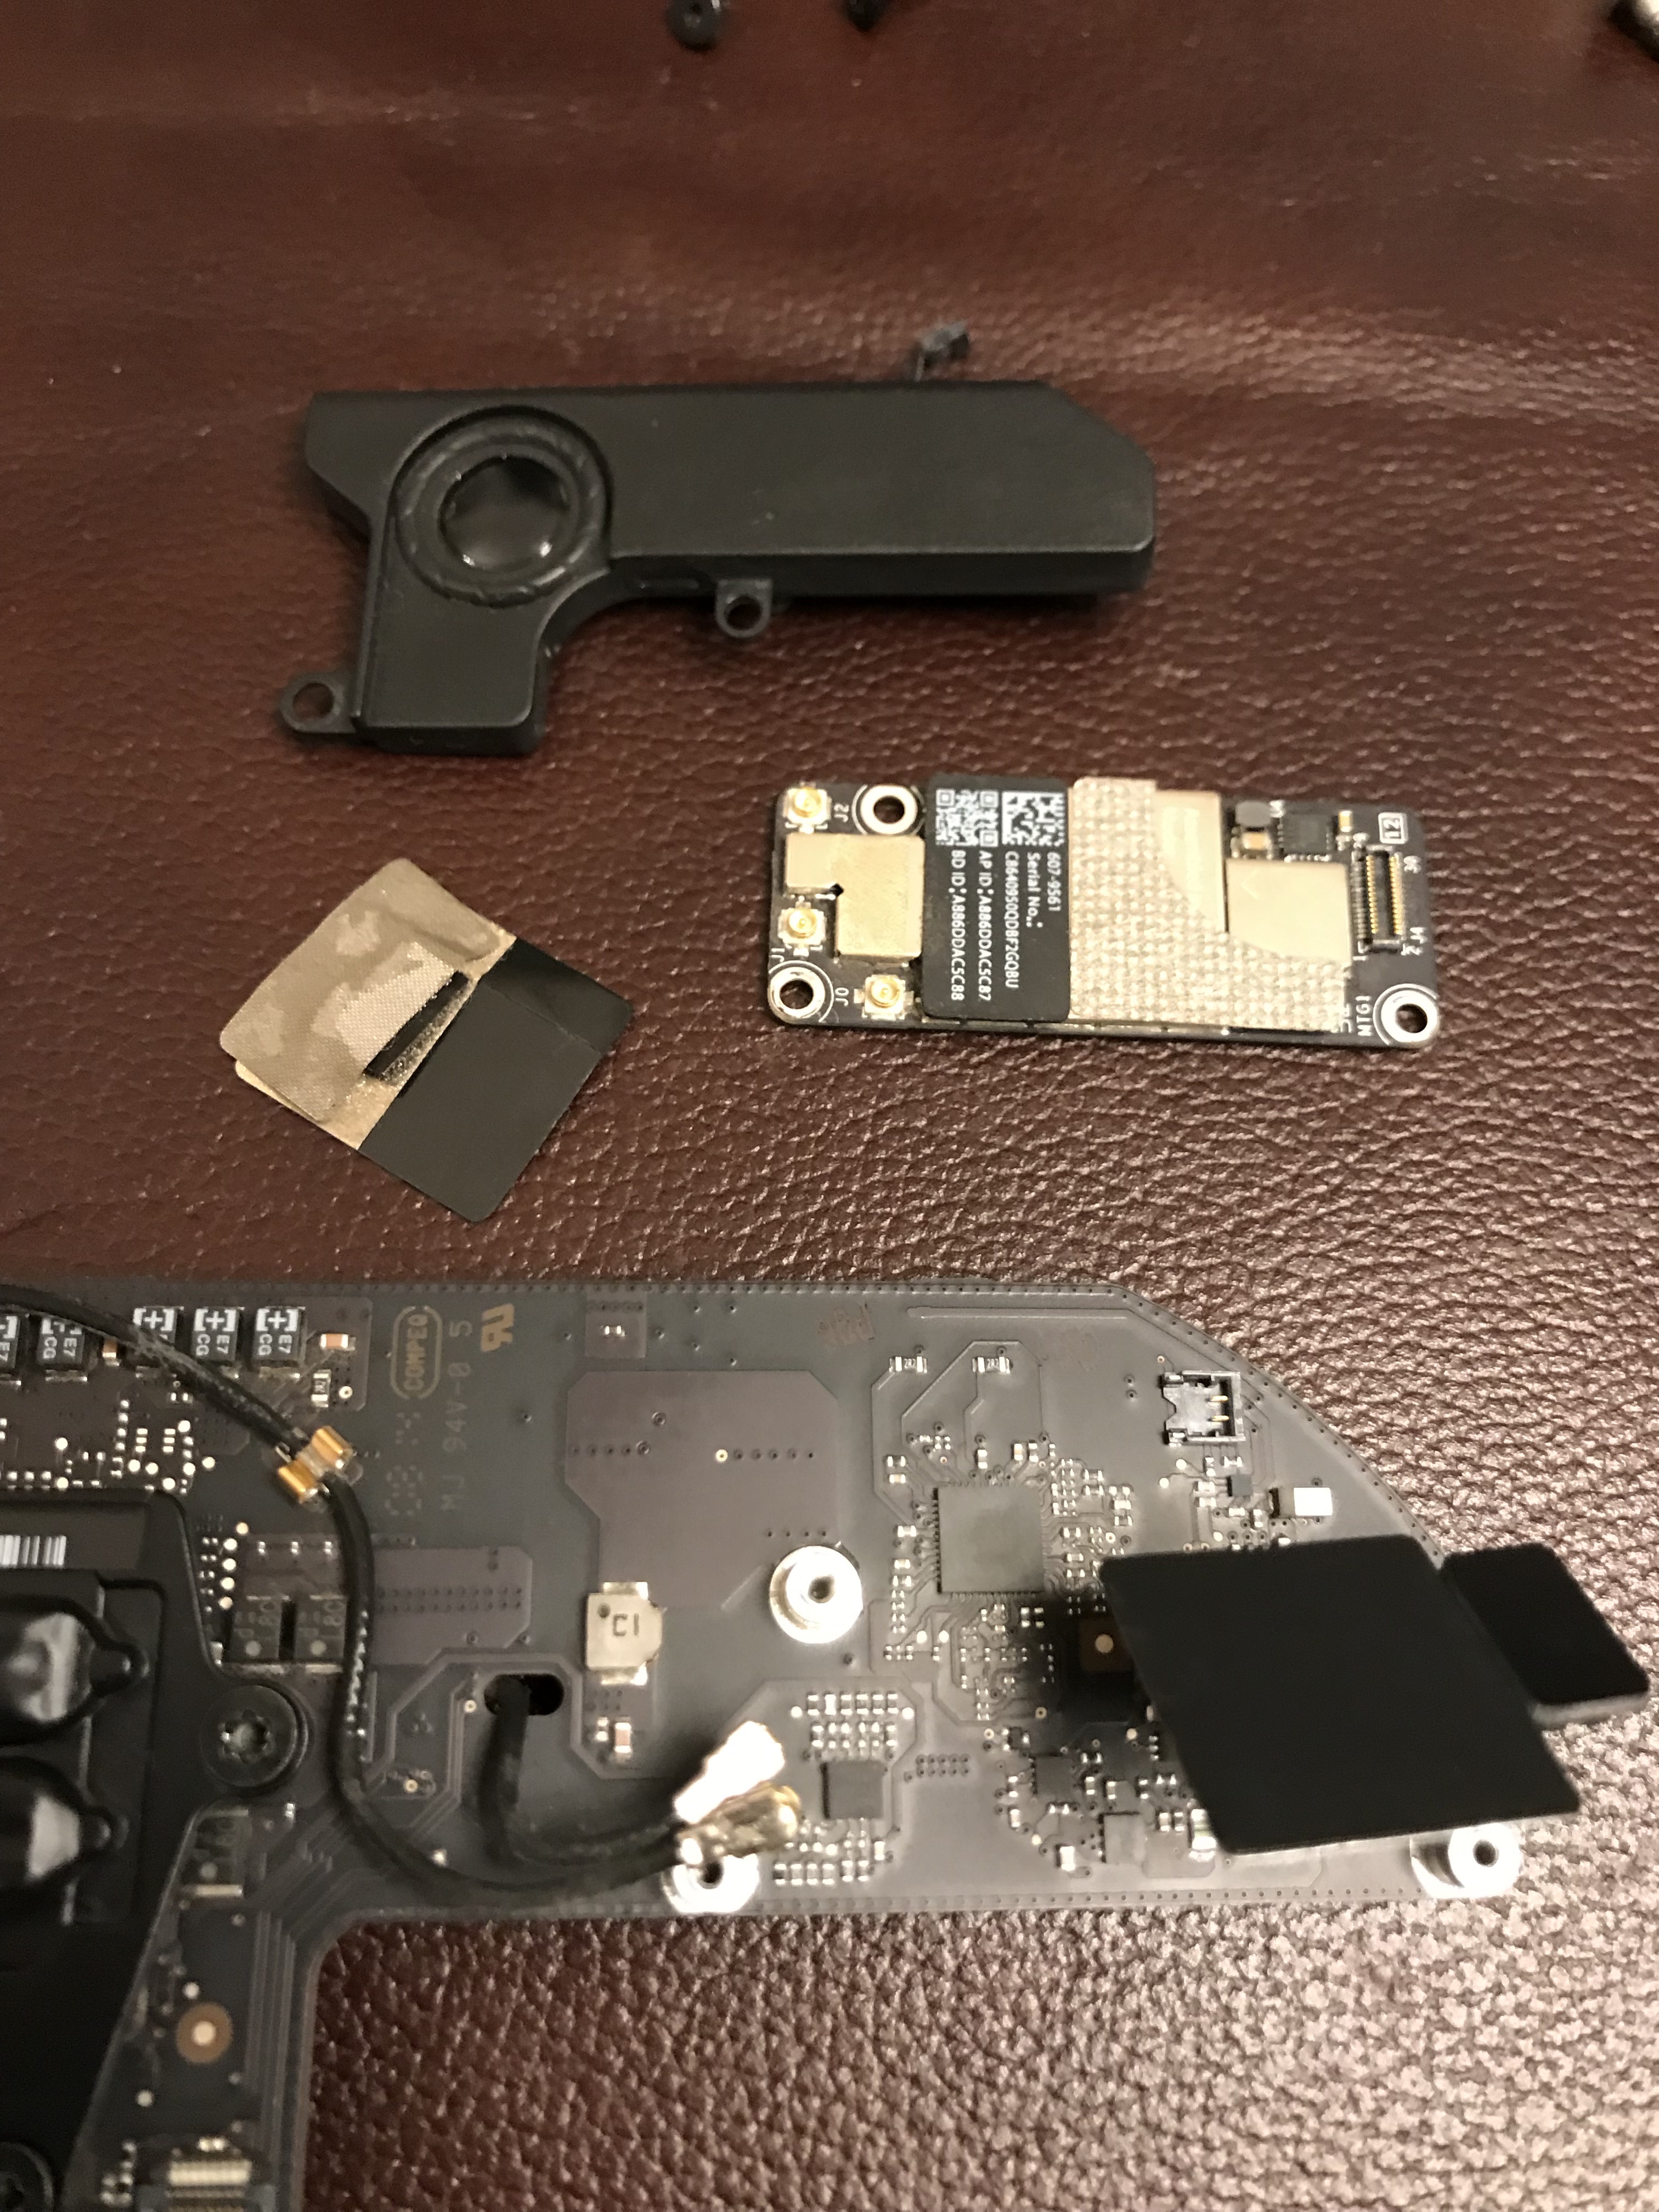
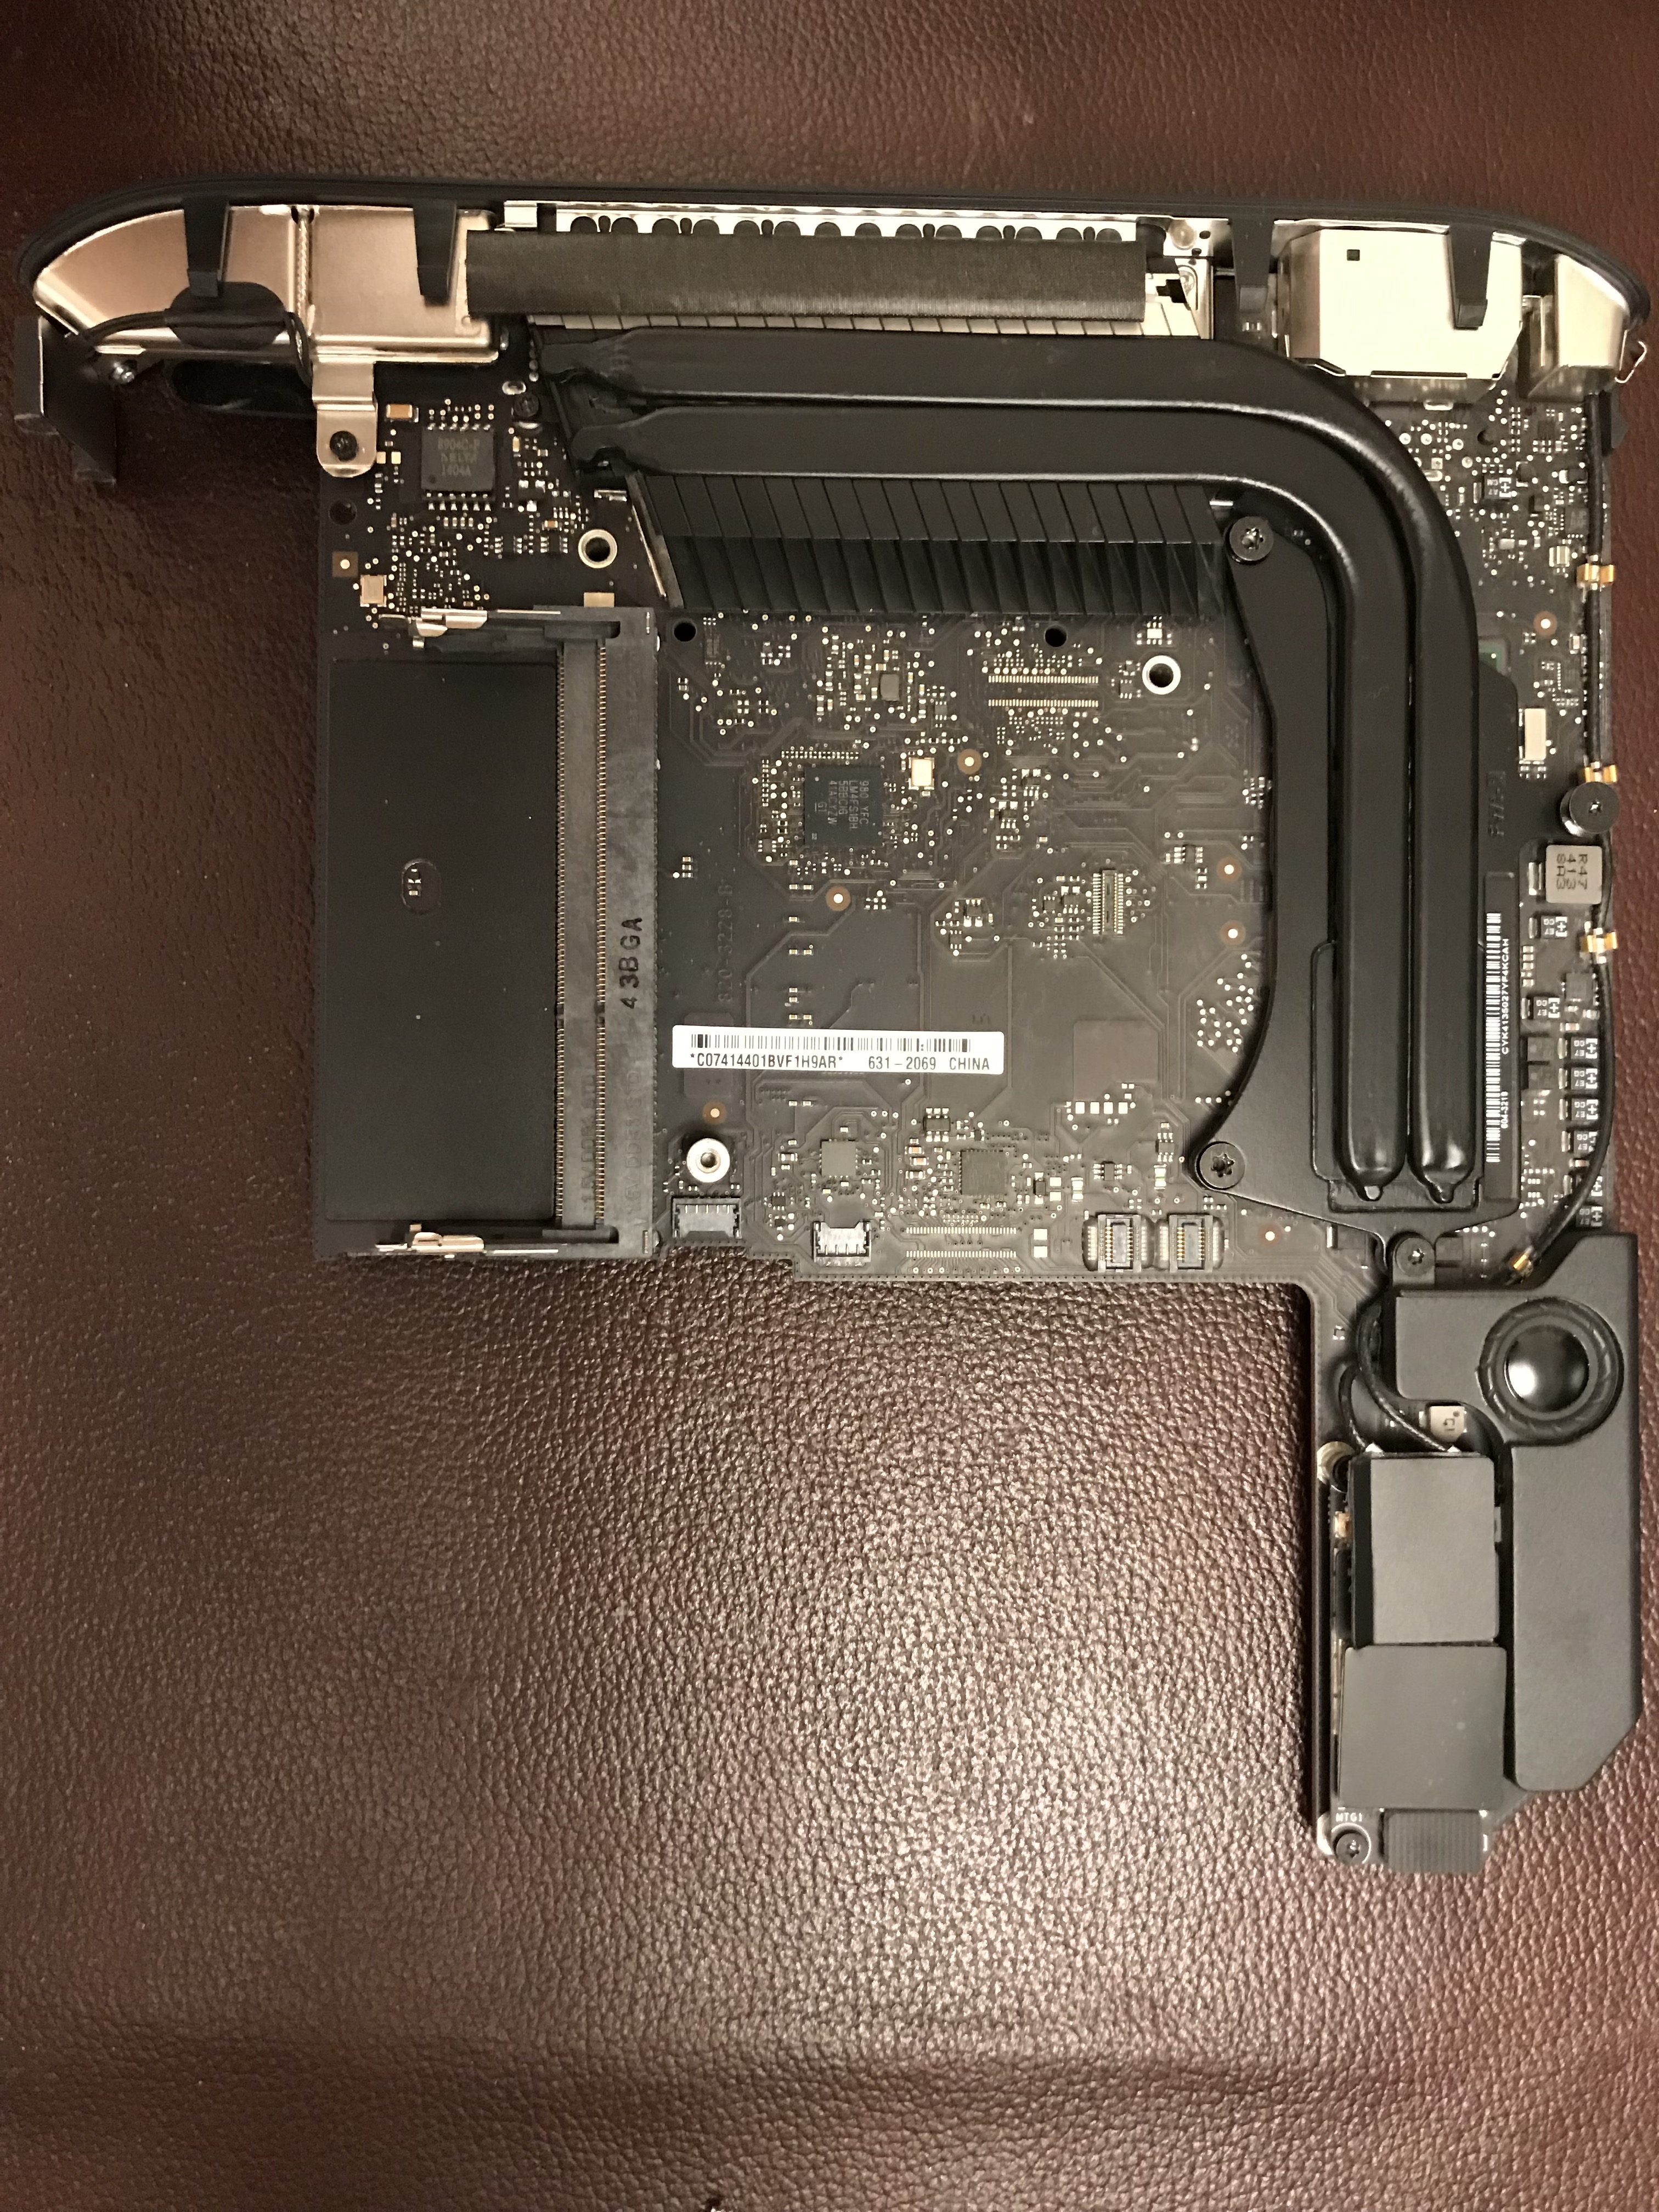
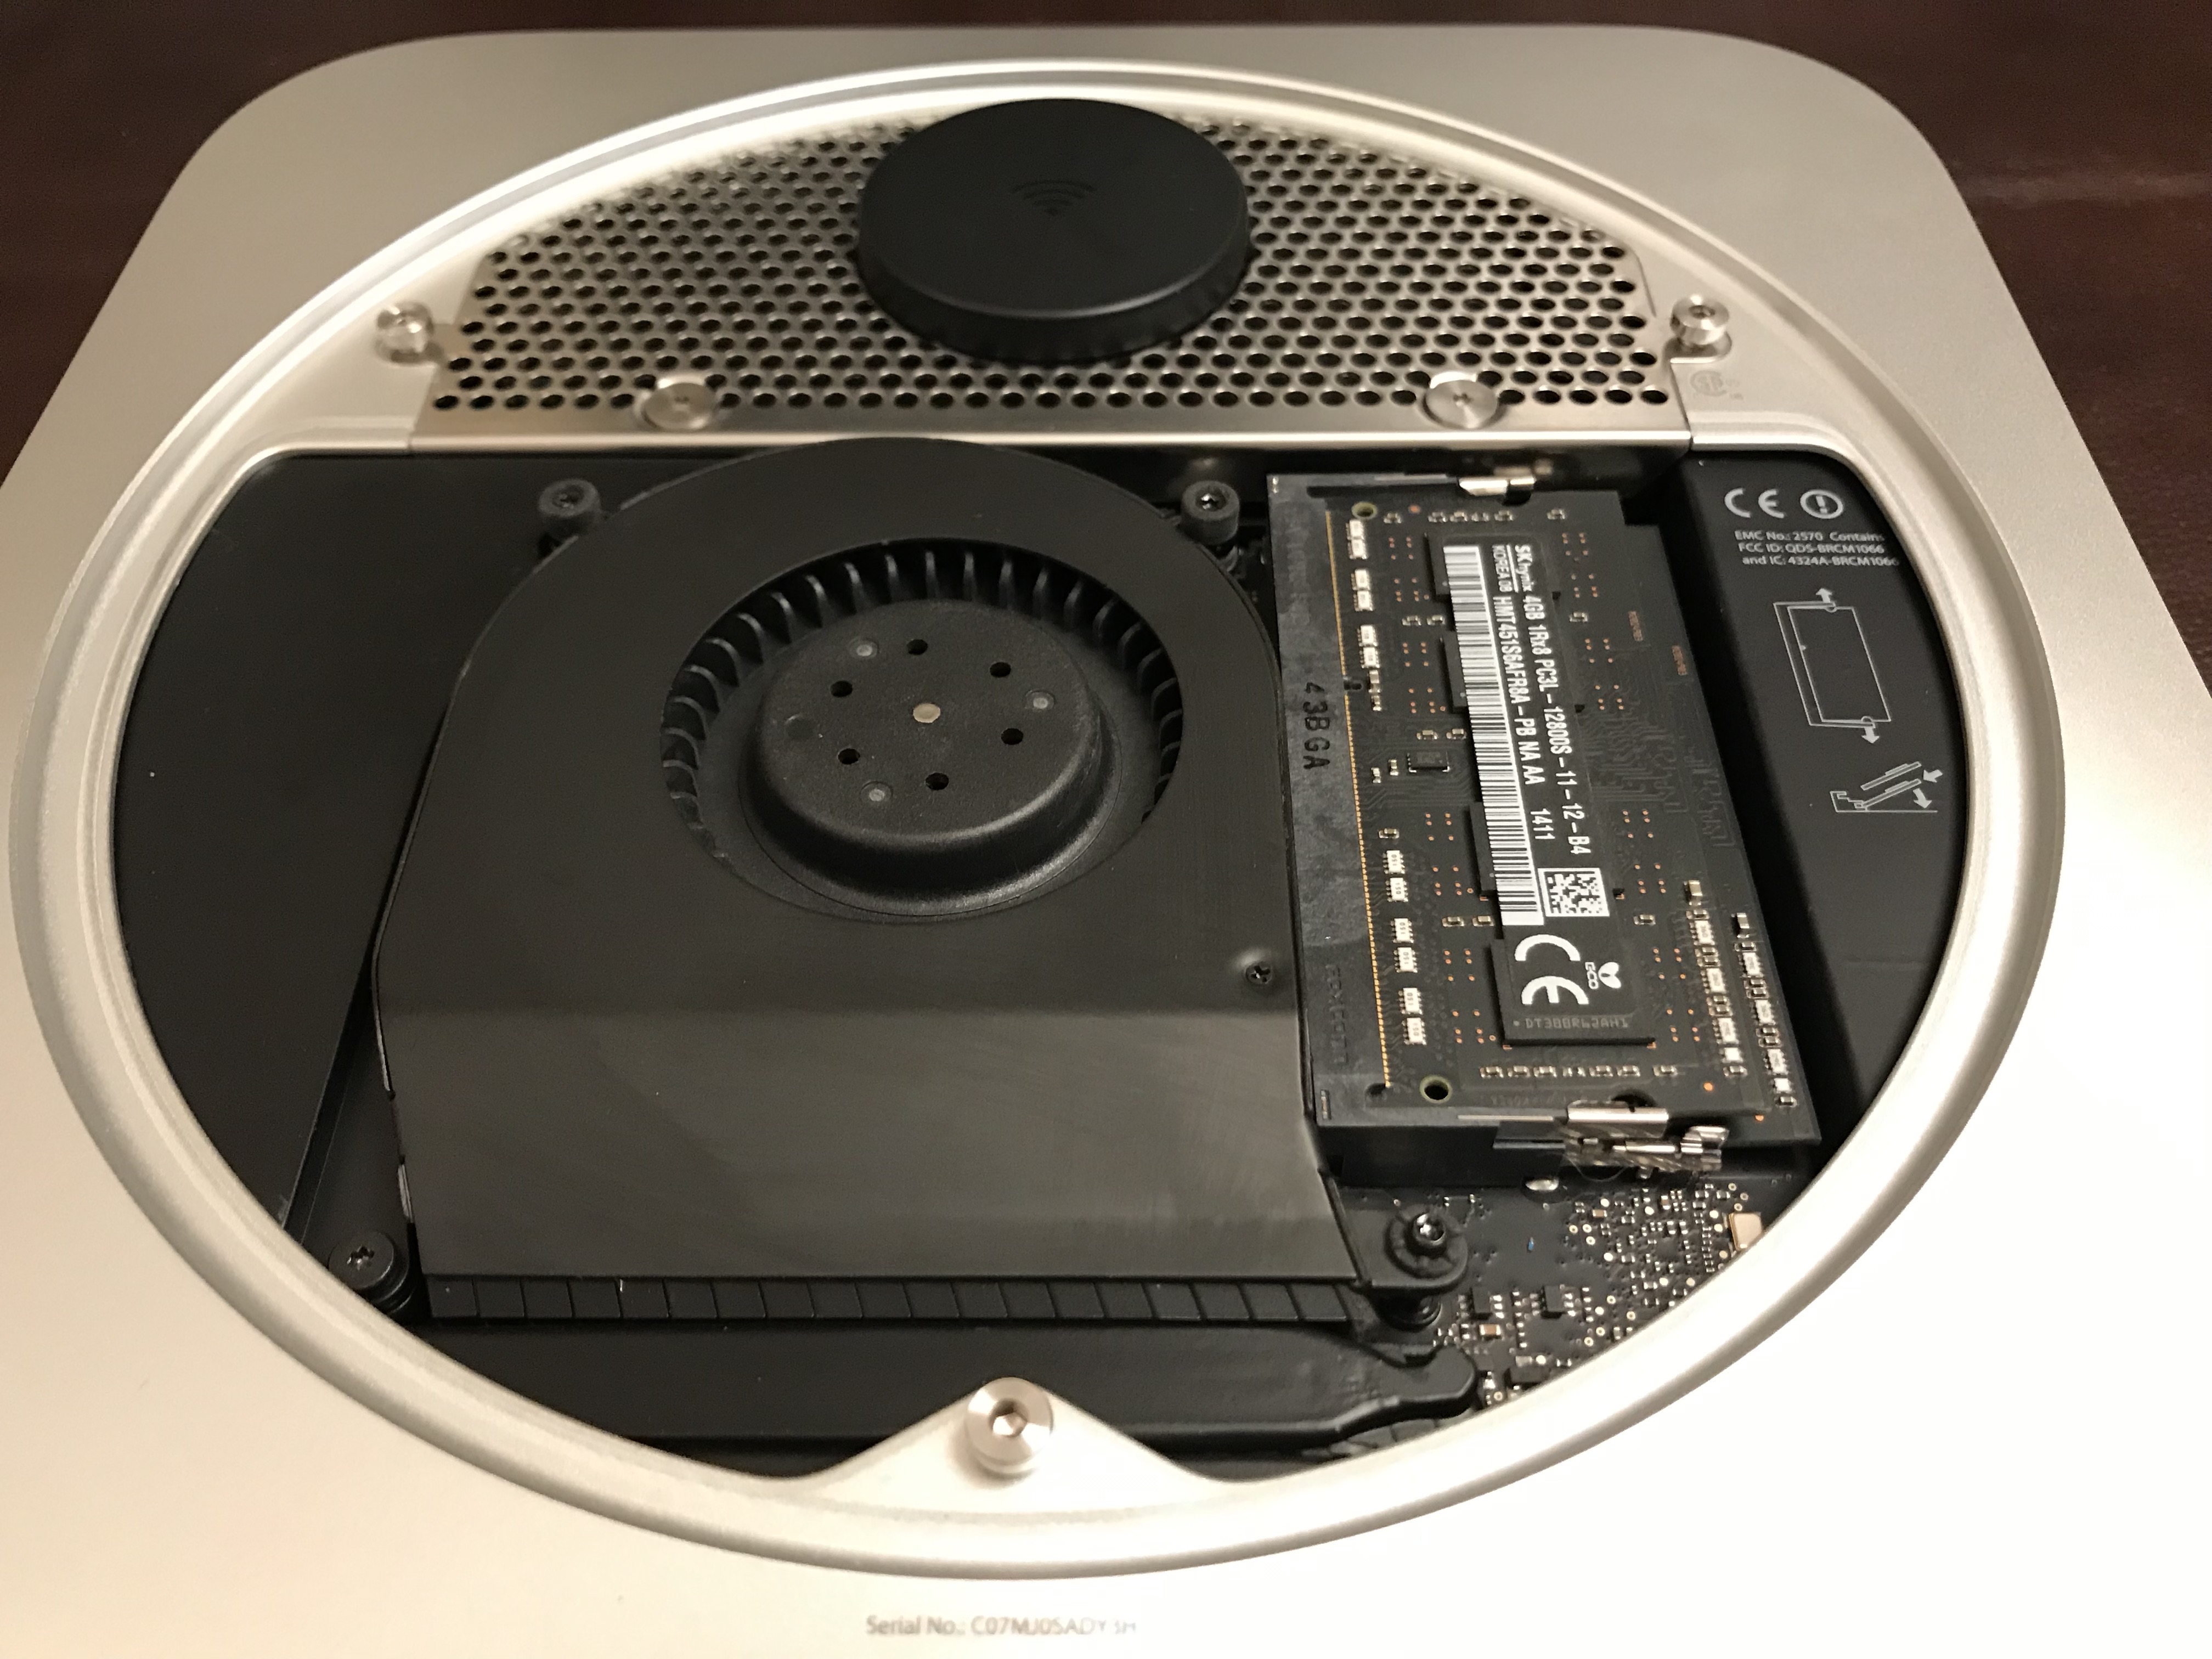
I was on my own when it came time to work on the AirPort/Bluetooth board, where the setup differed quite a bit from the guide. There were also a few screws whose location was different in the guide. So I took photos before I disassembled things, just to be safe.

While I love the design of the Mac Mini (inside and out) and I think it’s a fantastic little computer, it’s tricky to work on. Everything has to fit together just right. The things that gave me problems when it came time to re-assemble it were:

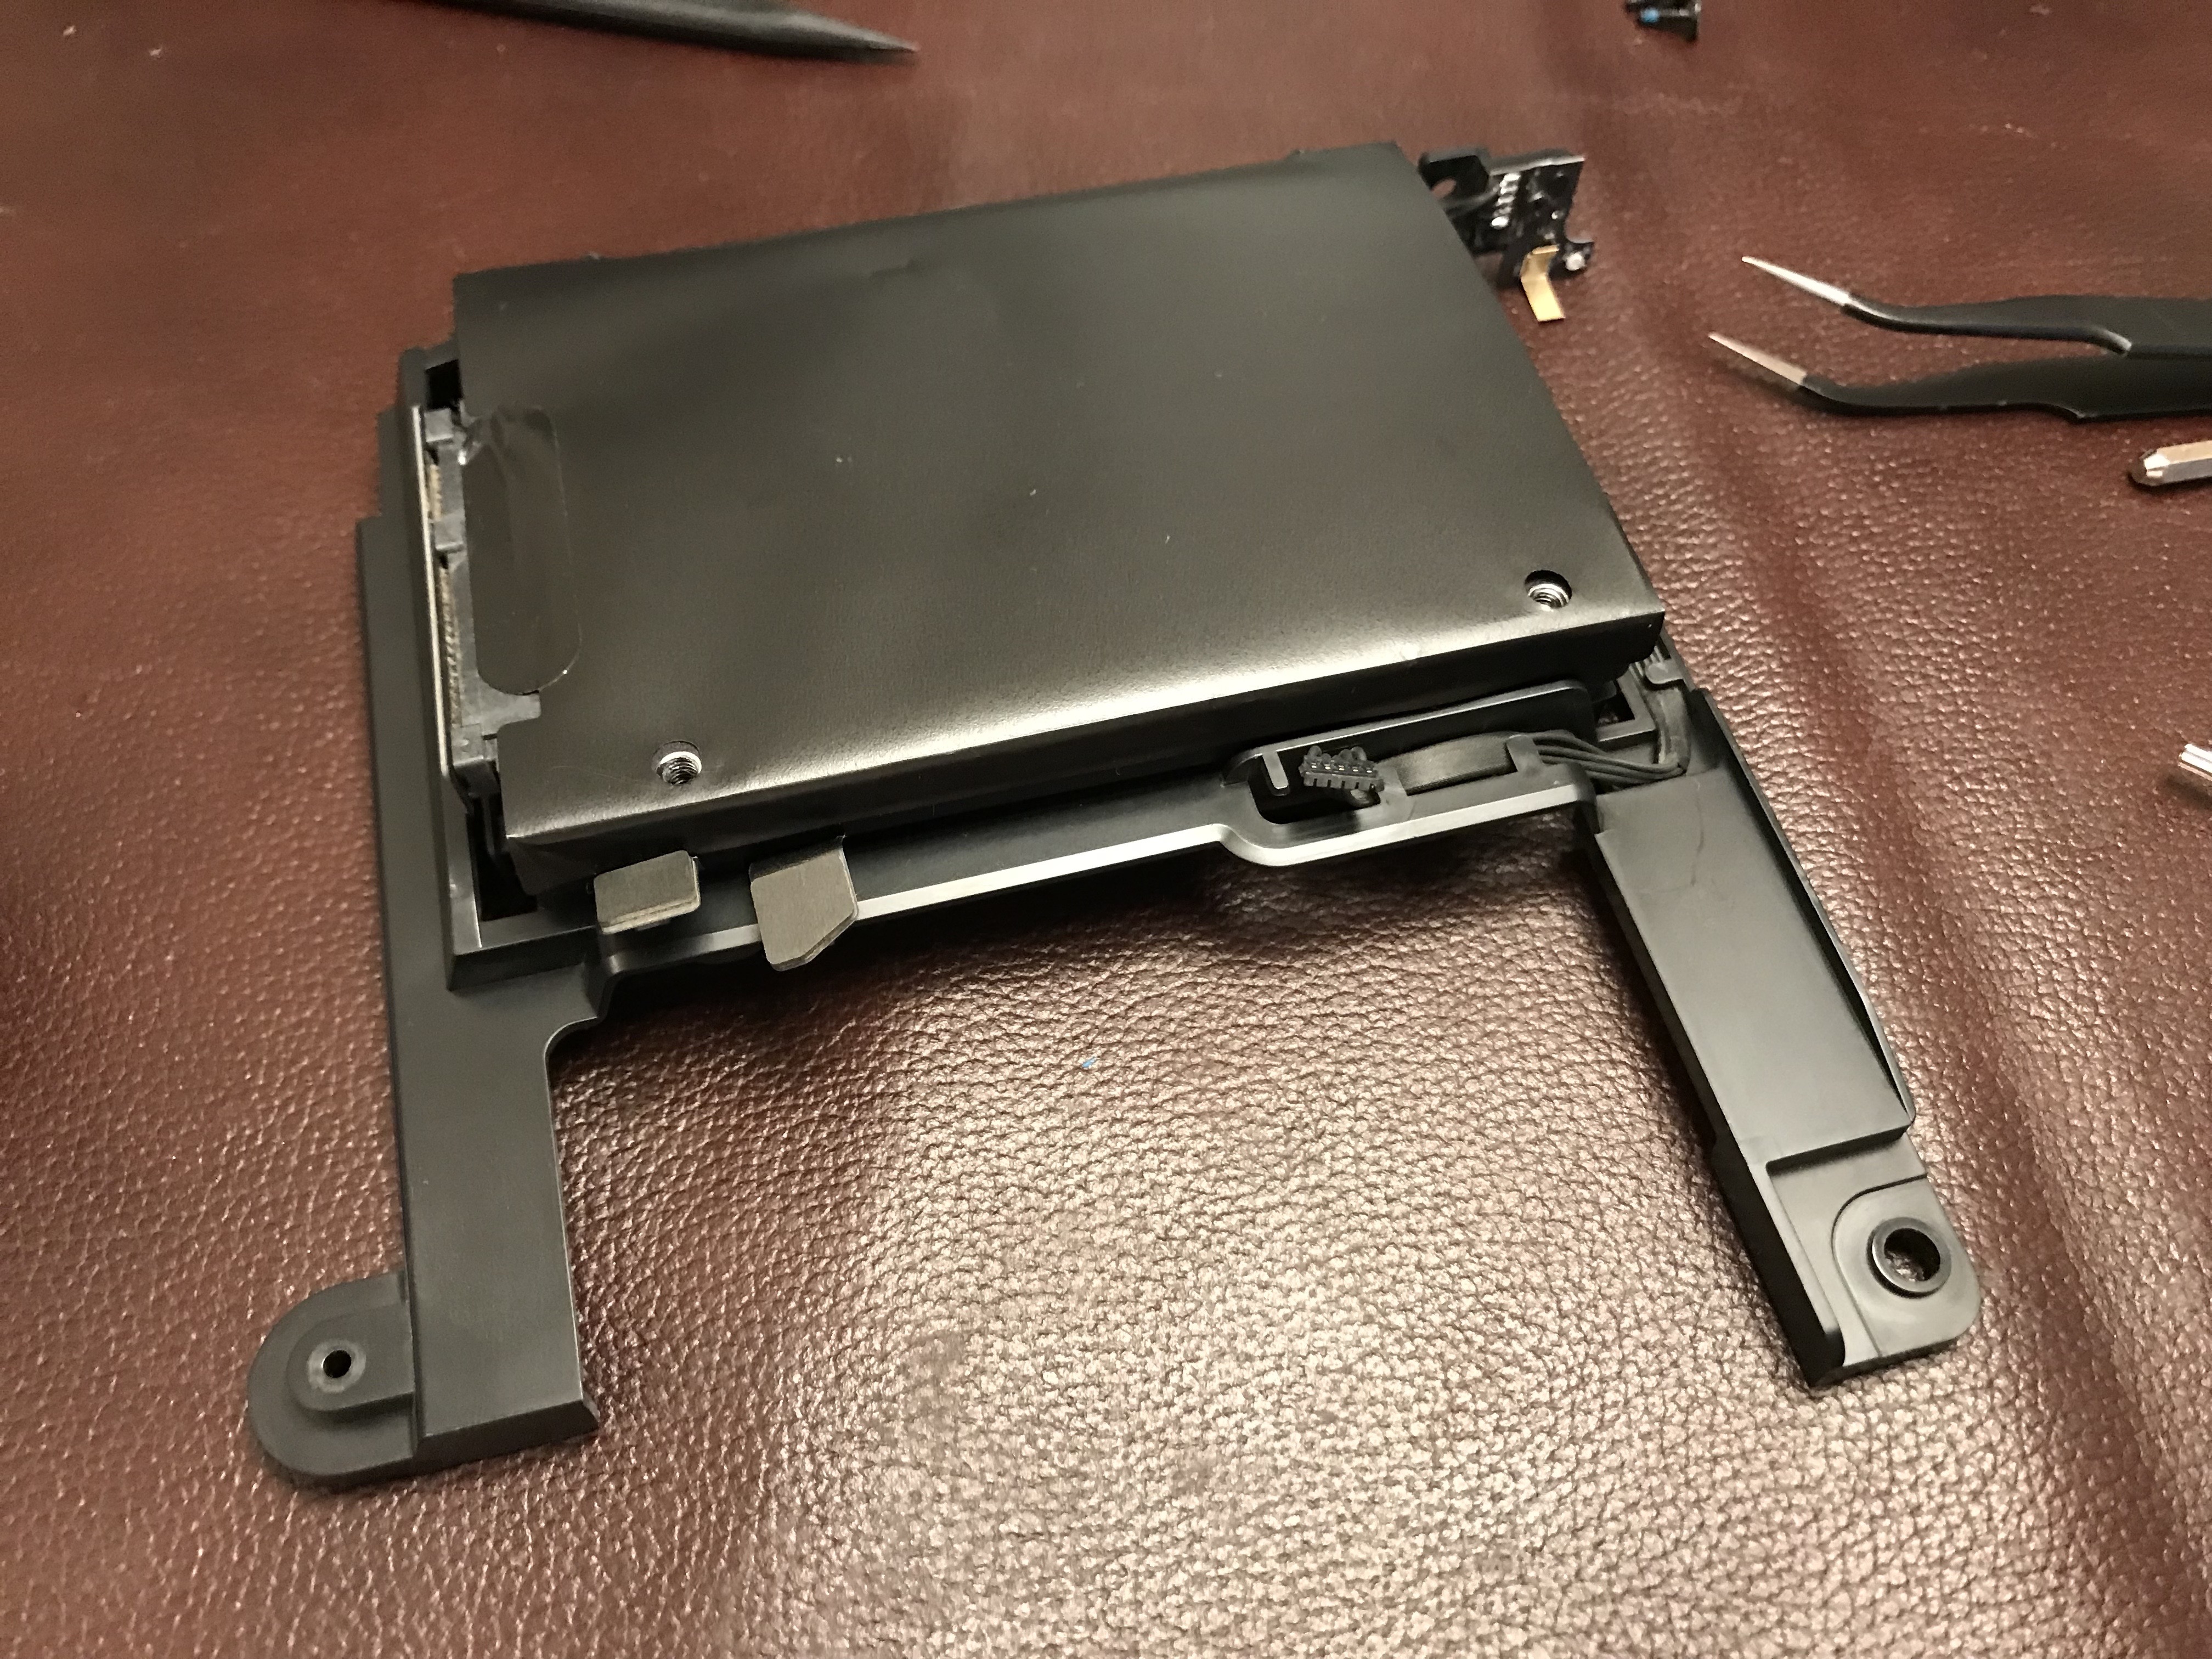
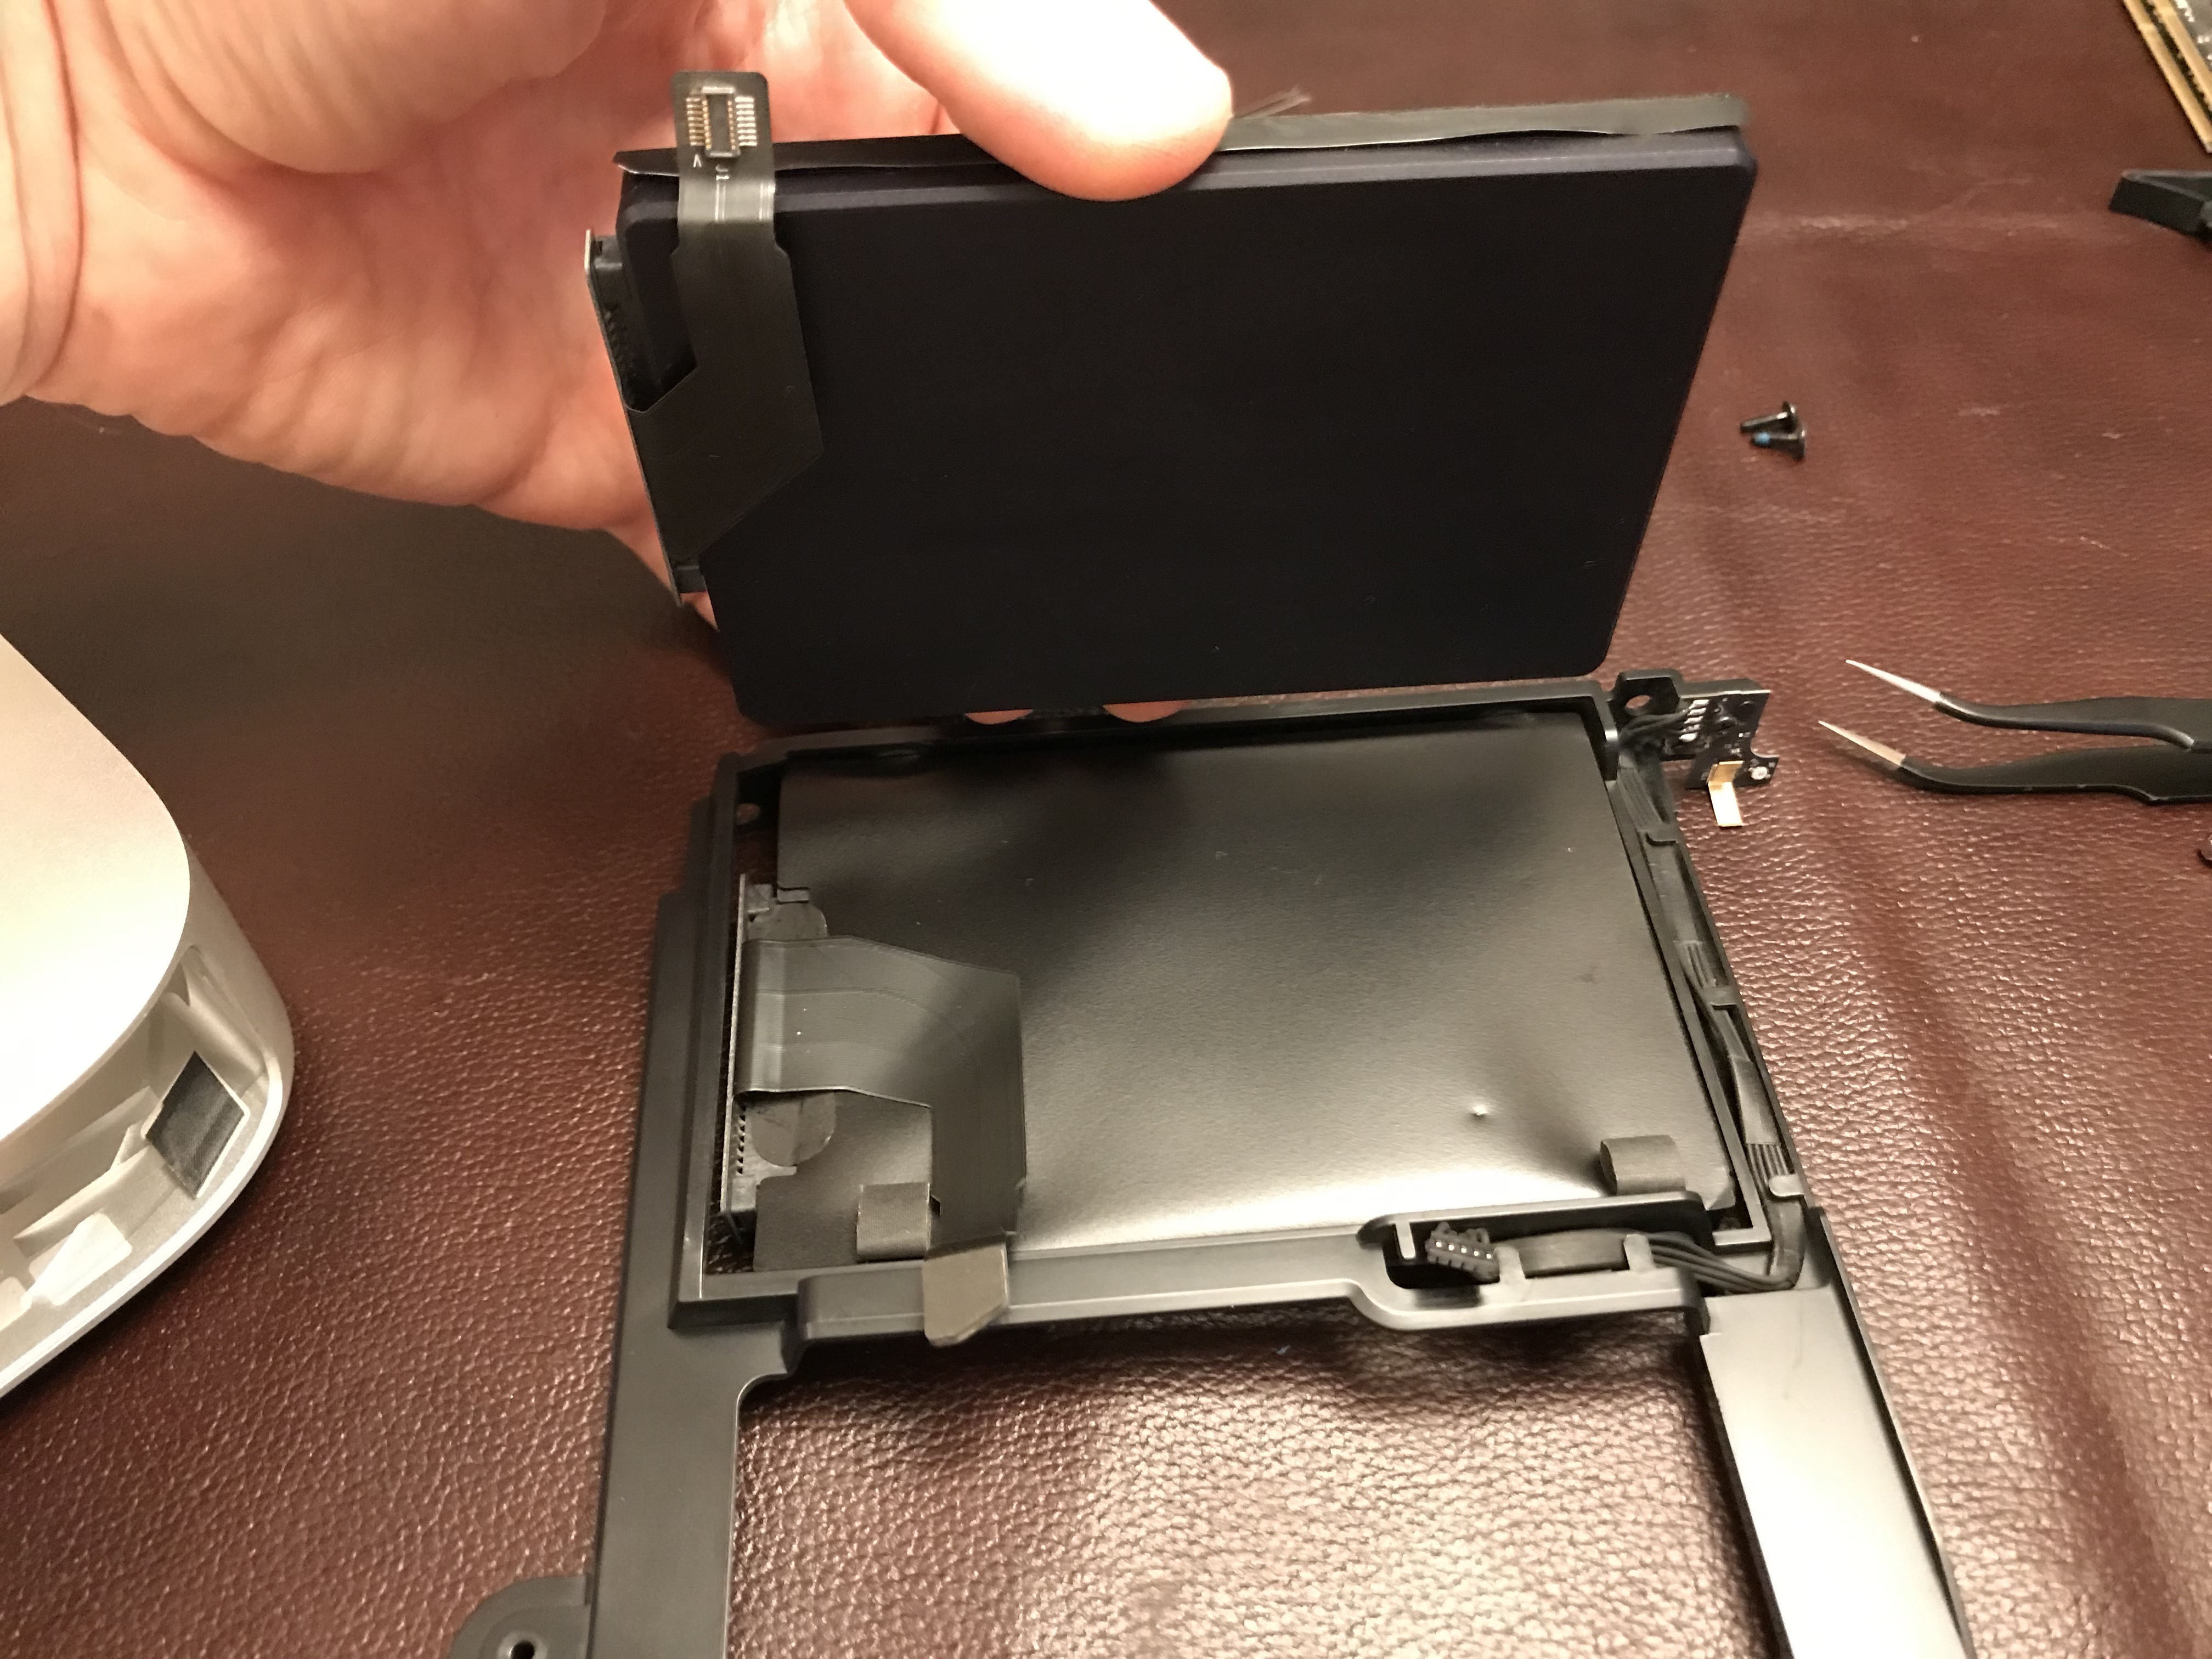
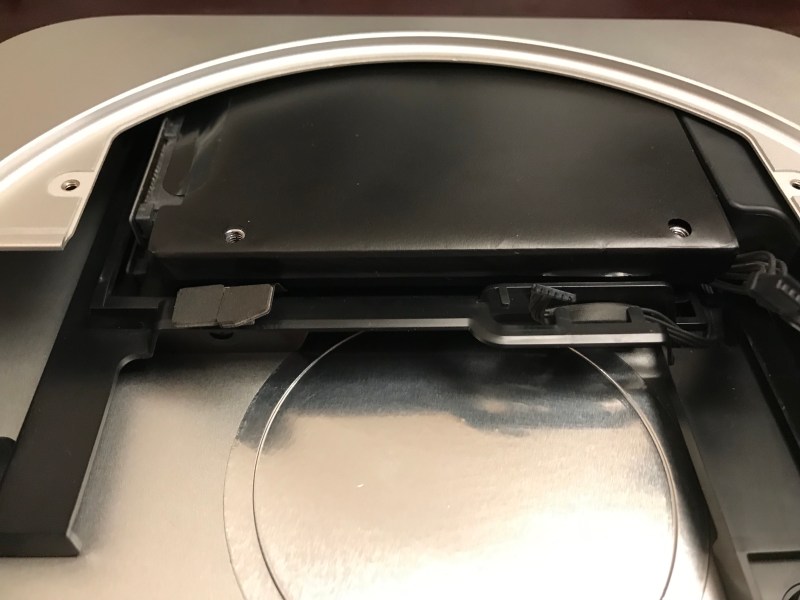
  • the minified SATA cables, which kept popping out of their slots on the motherboard and are really only held in place by the cowling (the little piece of plastic in a semilune shape),
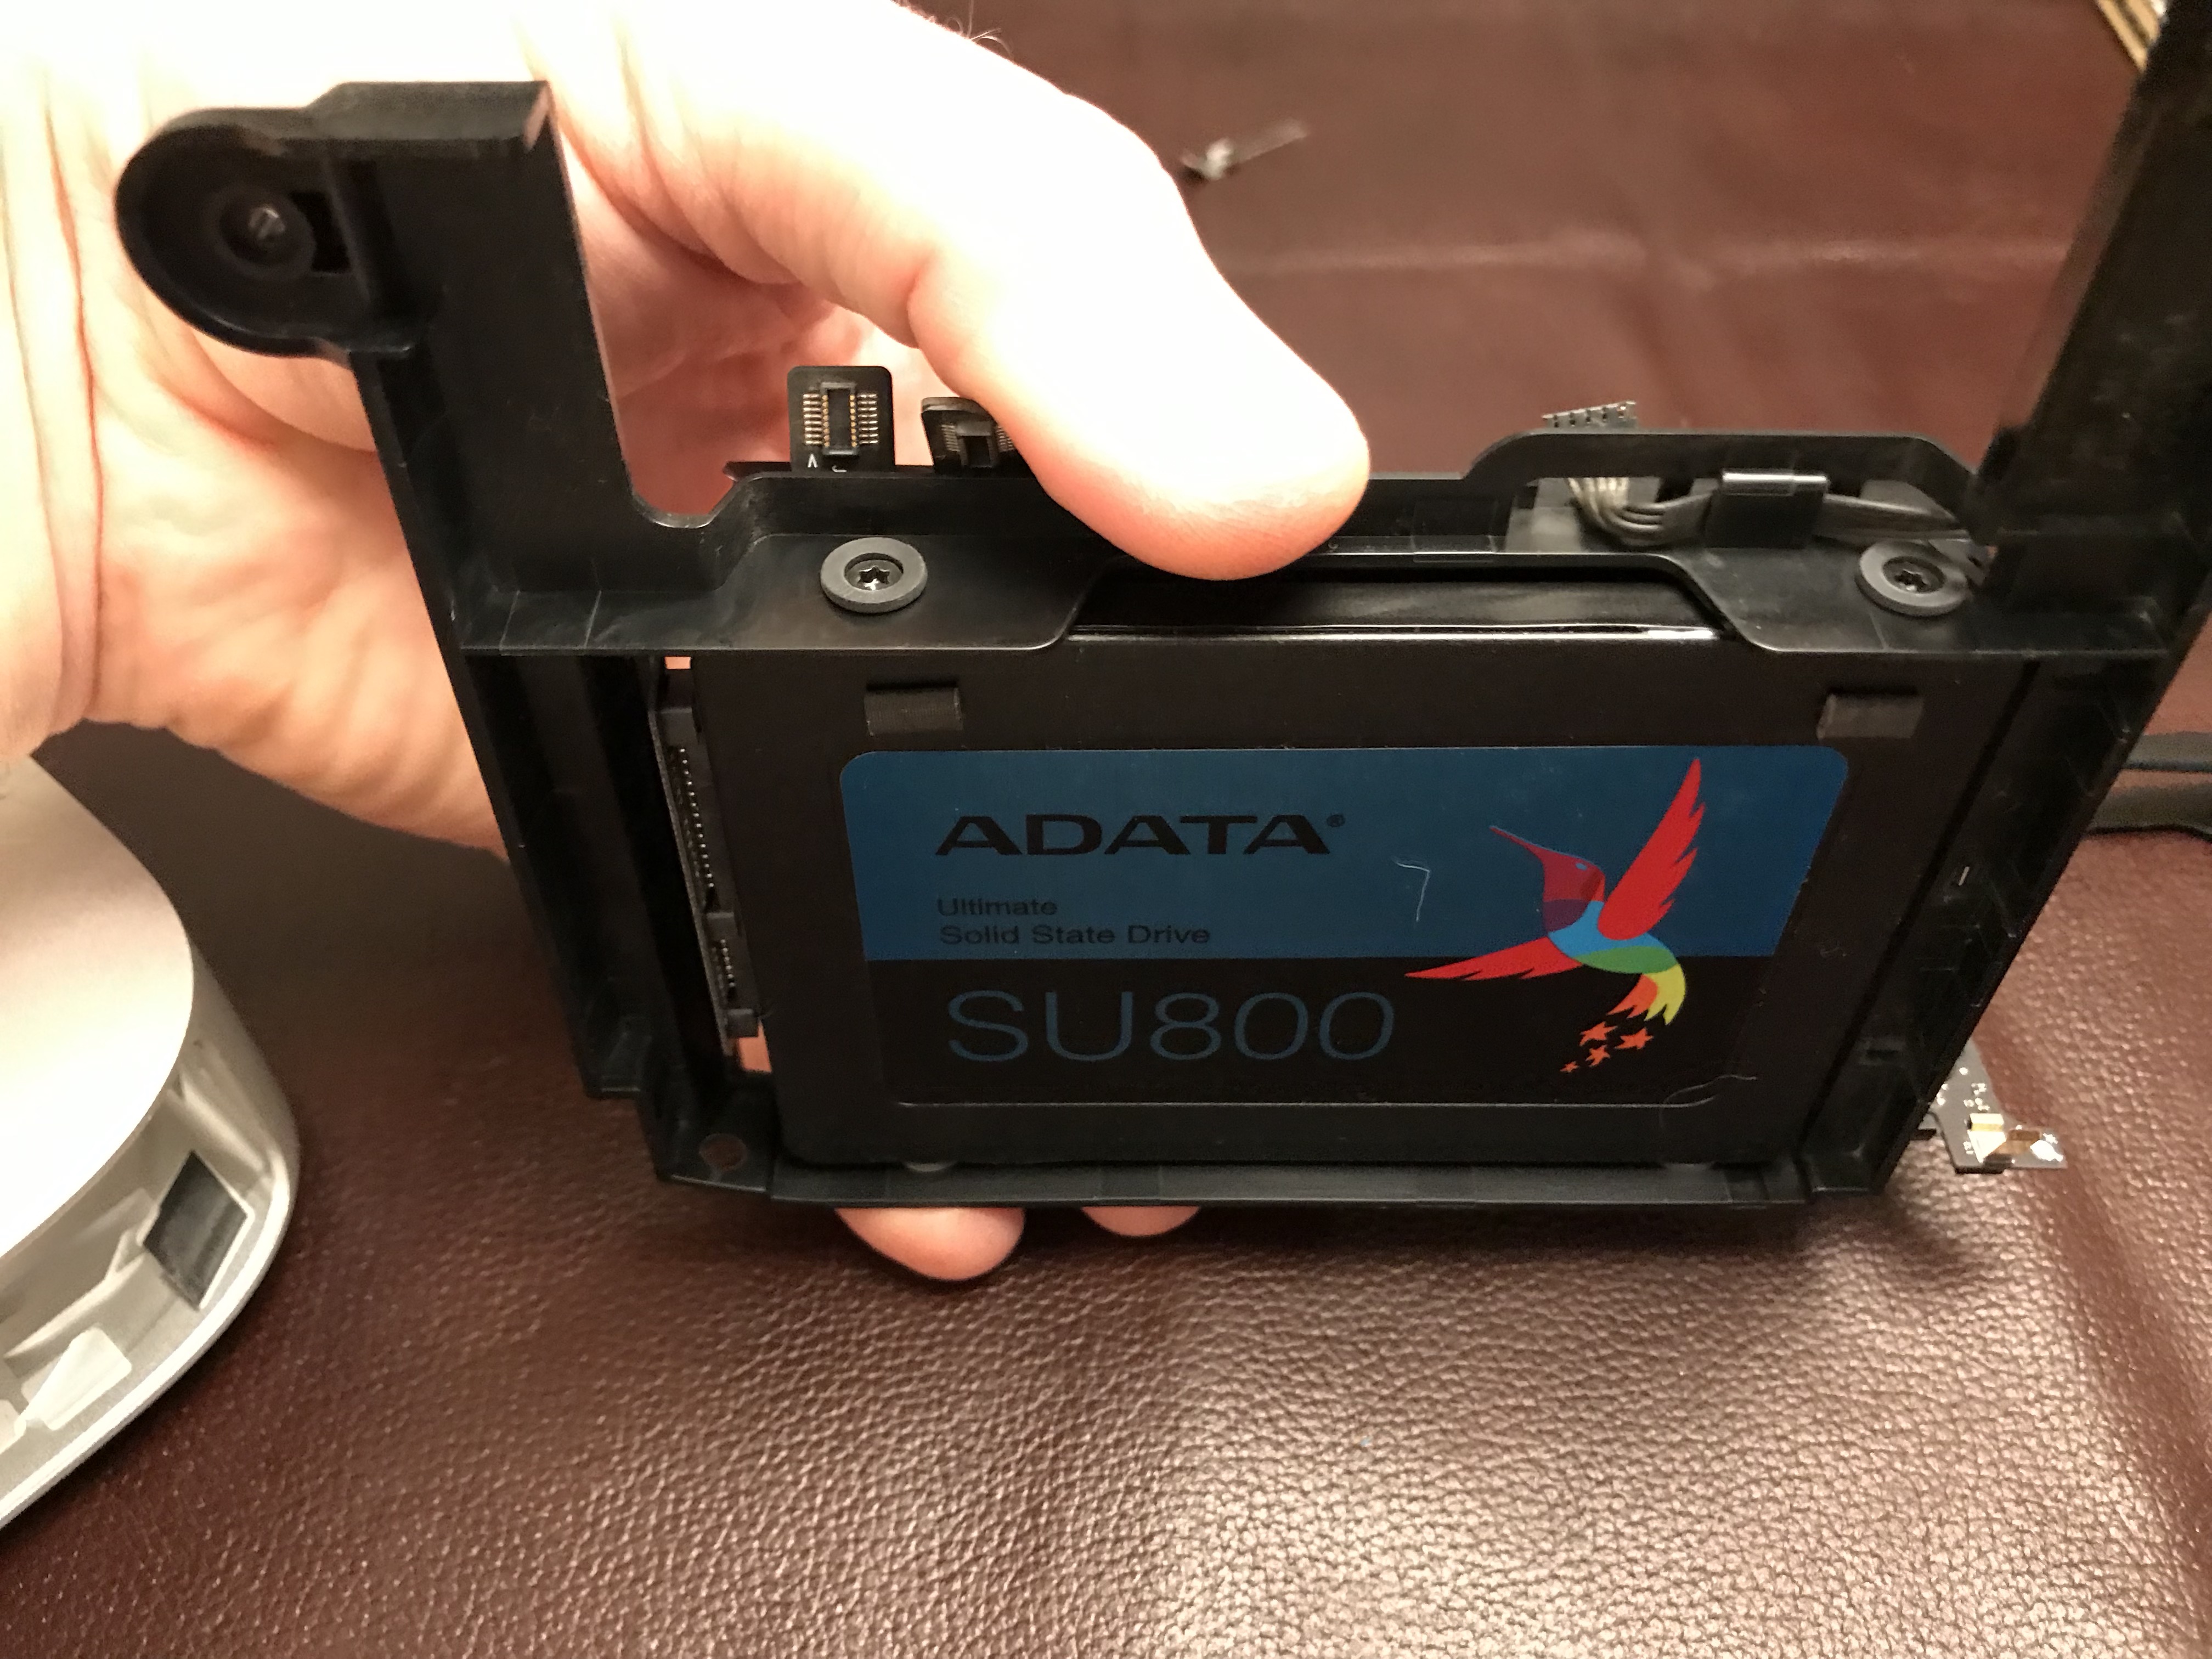
  • re-seating the top drive, whose side screws have to slide into some holes in the back of the case, but there is little to no tactile feedback when they’re in place, and there’s no way to check things visually; it actually fits asymmetrically over the bottom drive, which is a bit illogical, but that’s how the engineers worked out the hardware design,
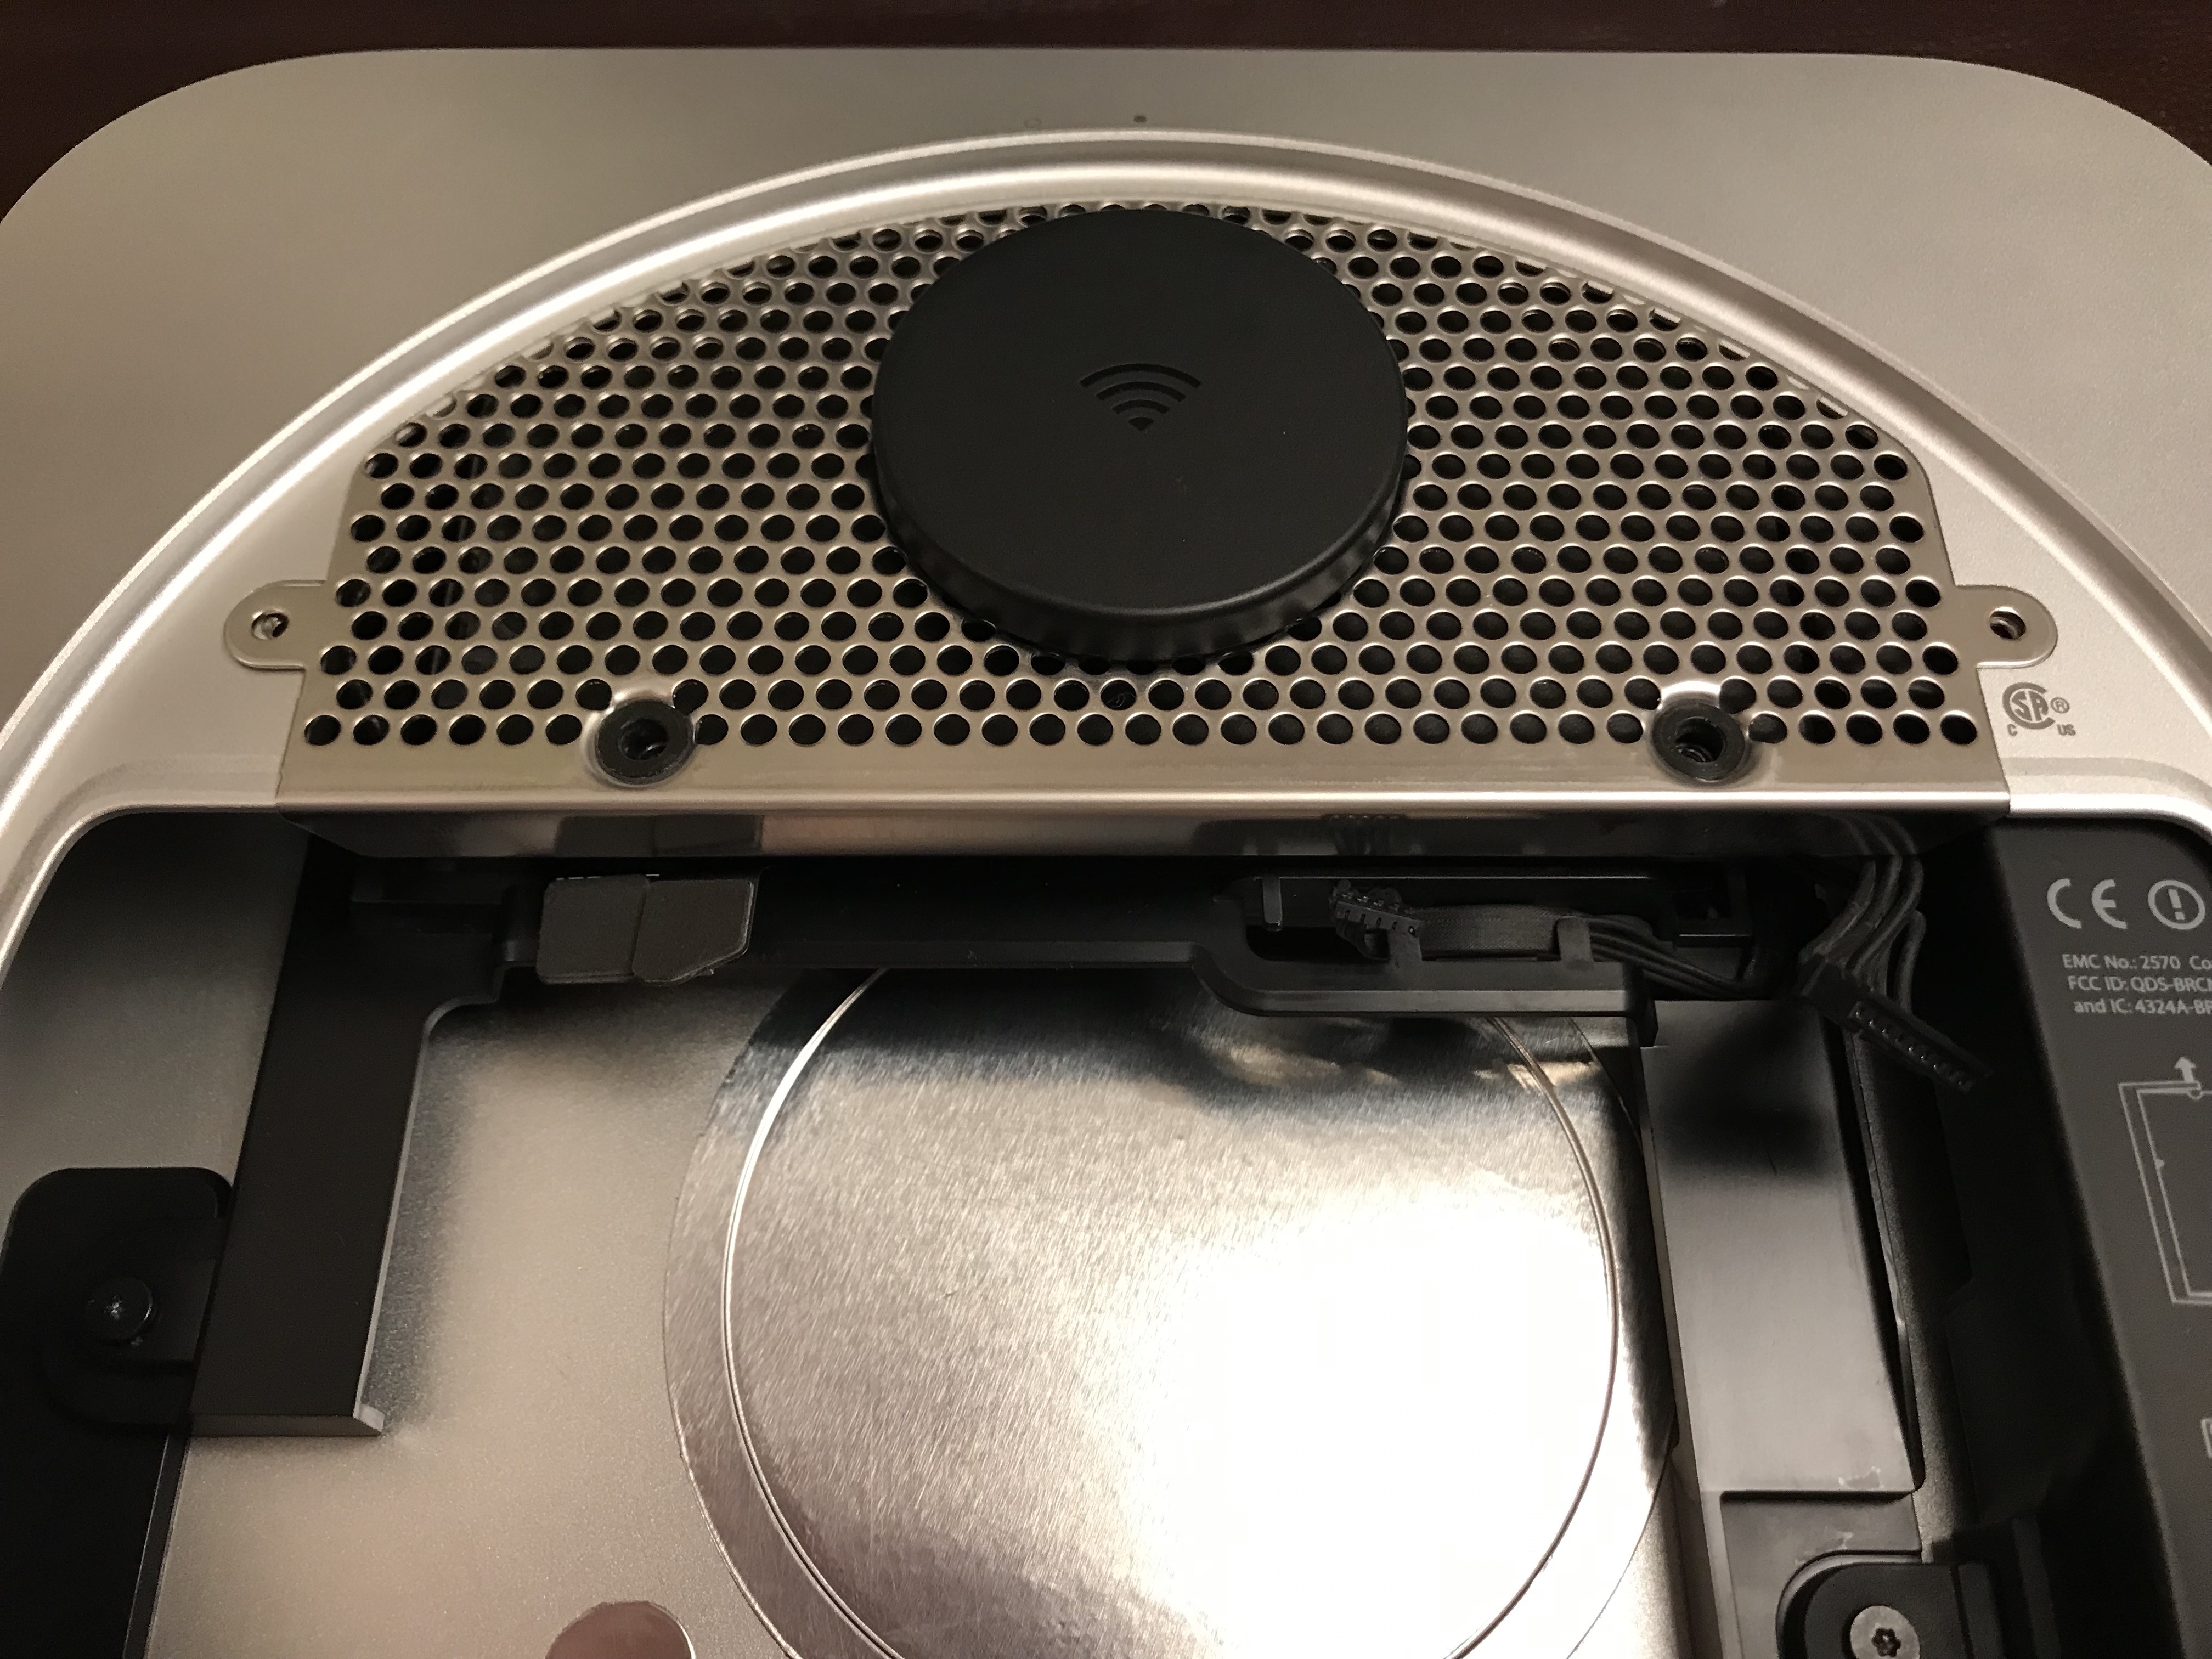
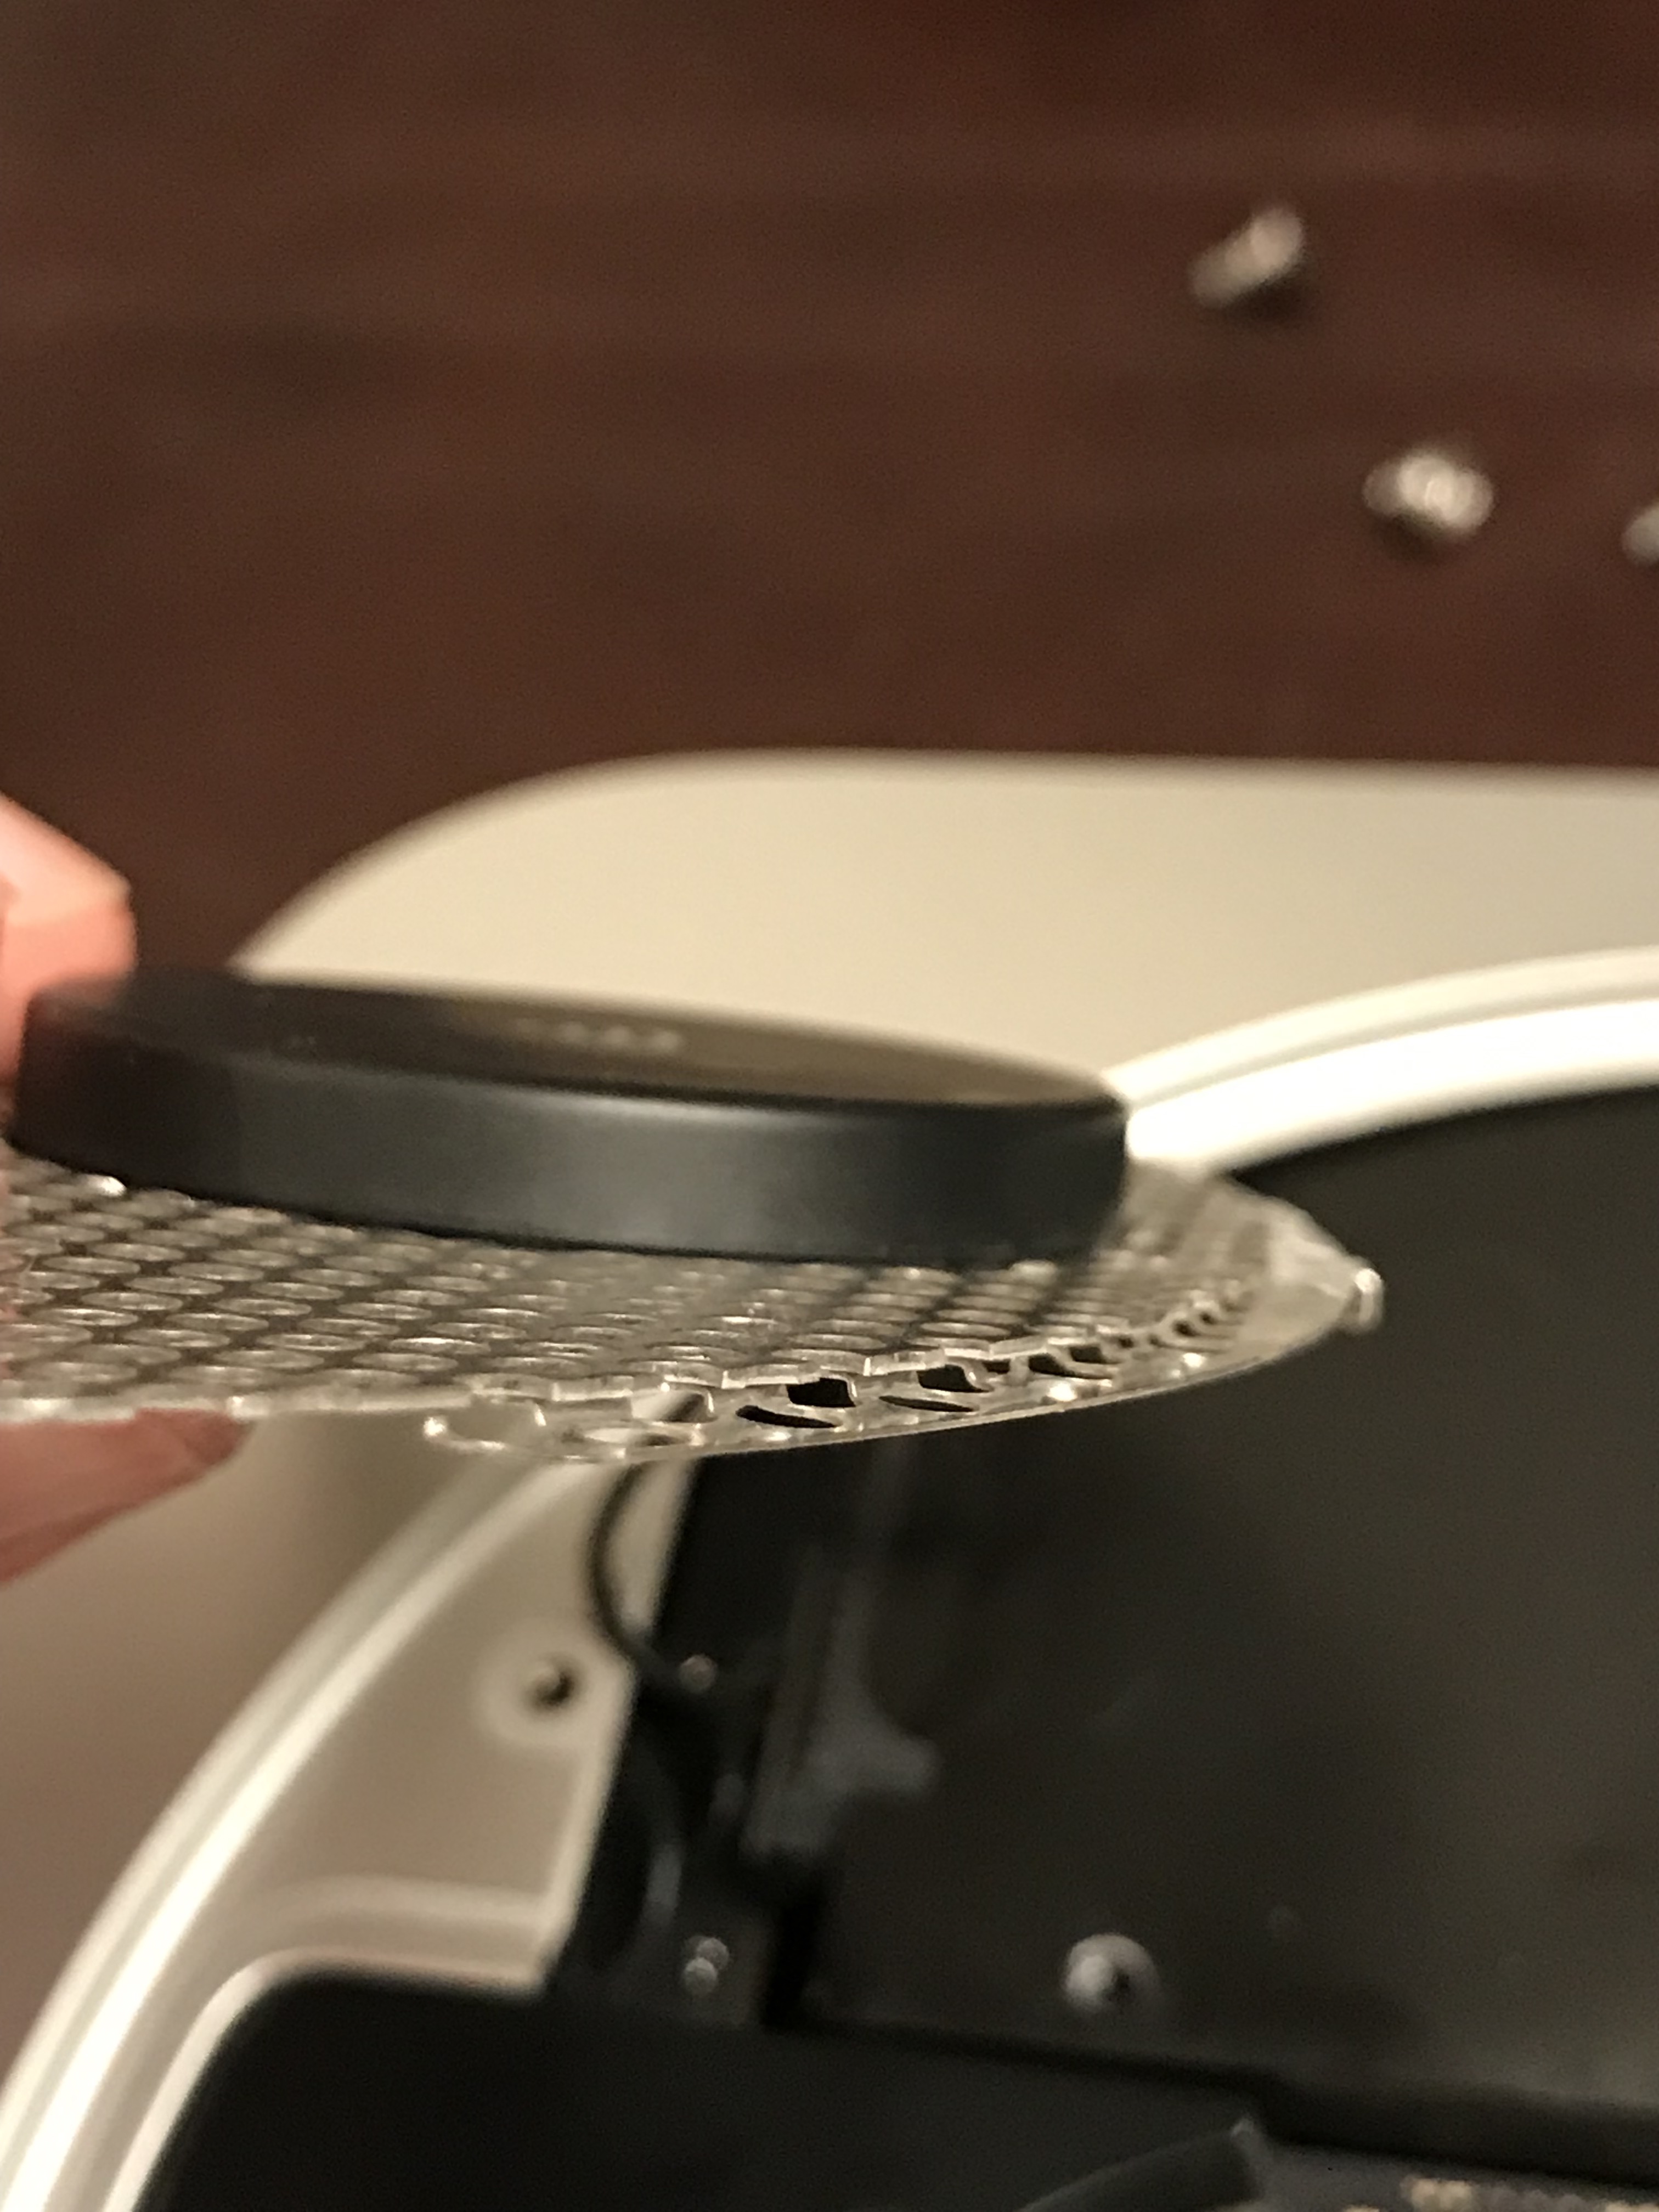
  • and the antenna plate. Oh wow, the antenna plate was a chore to work back in… It has to fit in just right, hugging the inside edge of the case with an indentation made in the wire mesh from which it’s constructed, and for some reason, it just didn’t want to go back in properly. It was off by less than 1 mm, yet it meant that I couldn’t put the screws back on. Be careful with that one!

When it was time to boot it up, the Mac Mini refused to do it. I stared at a black screen for a minute or two, wondering if I’d forgotten to connect some cable inside it, and then it occurred to me to re-seat the AC cable, which is notoriously hard to plug and unplug on this machine, because its slot is too tight. That turned out to be the problem. Whew.

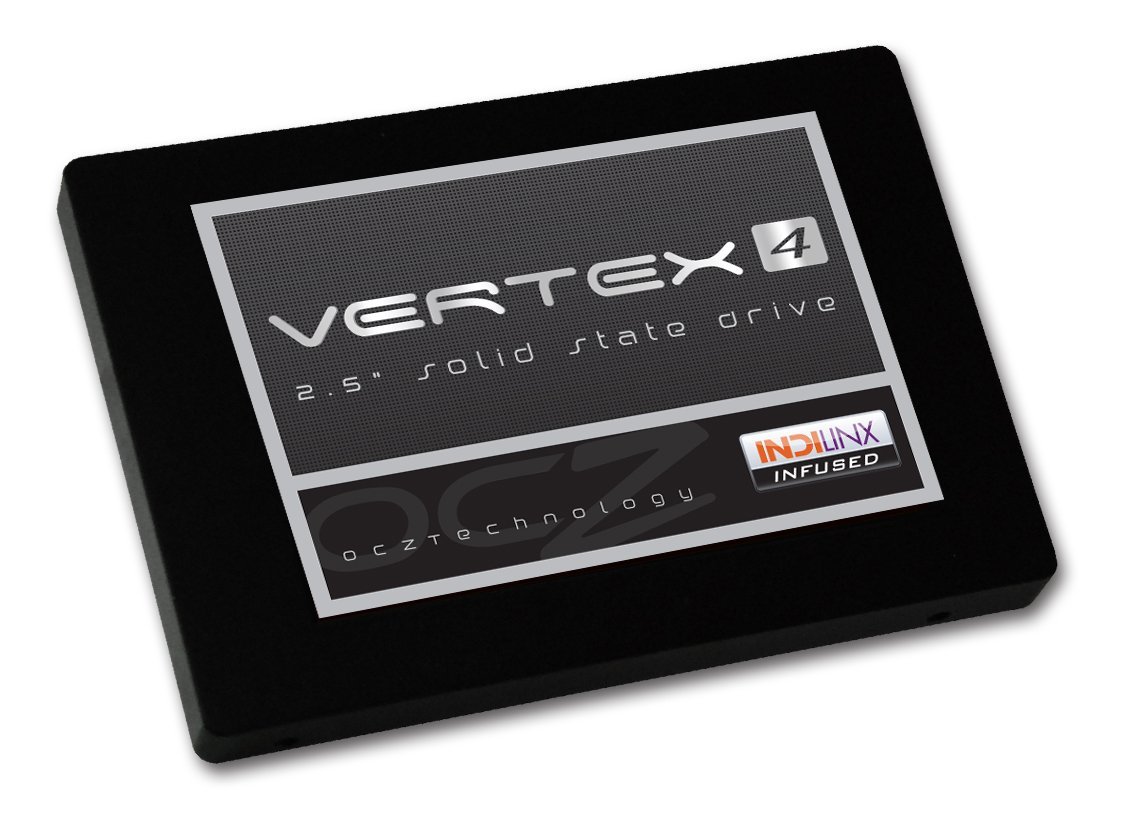
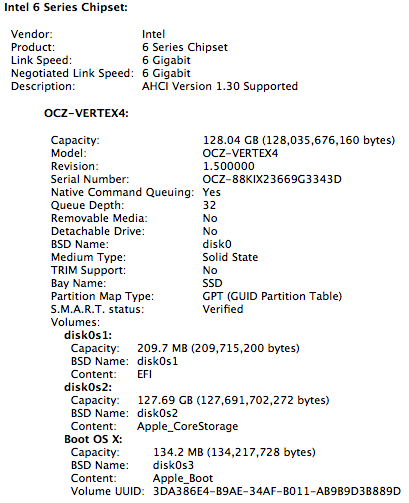
Another wrinkle that I ran into was the Fusion Drive. This machine has an actual SSD inside of it, not a blade SSD, which is what you might find in an iMac or a MacBook. That was a bit of a surprise to me. Anyway, come time to reformat the drives, I figured I could re-enable Fusion Drive and end up with a single volume that used both the Apple SSD and the new ADATA SSD. Nope. While you can run the commands in Terminal to “marry” the two SSDs into a Fusion Drive (see this post for the details), checking the resulting volume with Disk Utility gives an error and Mojave refuses to install on it. So… no Fusion Drive for my wife, I guess. Then I figured I could create a software JBOD in Disk Utility to end up with a single volume once more, and I did that, and it worked, but once again, Mojave refused to install on it. So I had to simply format each SSD as a separate drive and use the 1TB SSD as the system volume, leaving the 128GB Apple SSD as a secondary volume to be used occasionally.

A quick check with DriveDx showed me that the new SSD was doing just fine.

And a disk speed test showed things were humming along nicely.

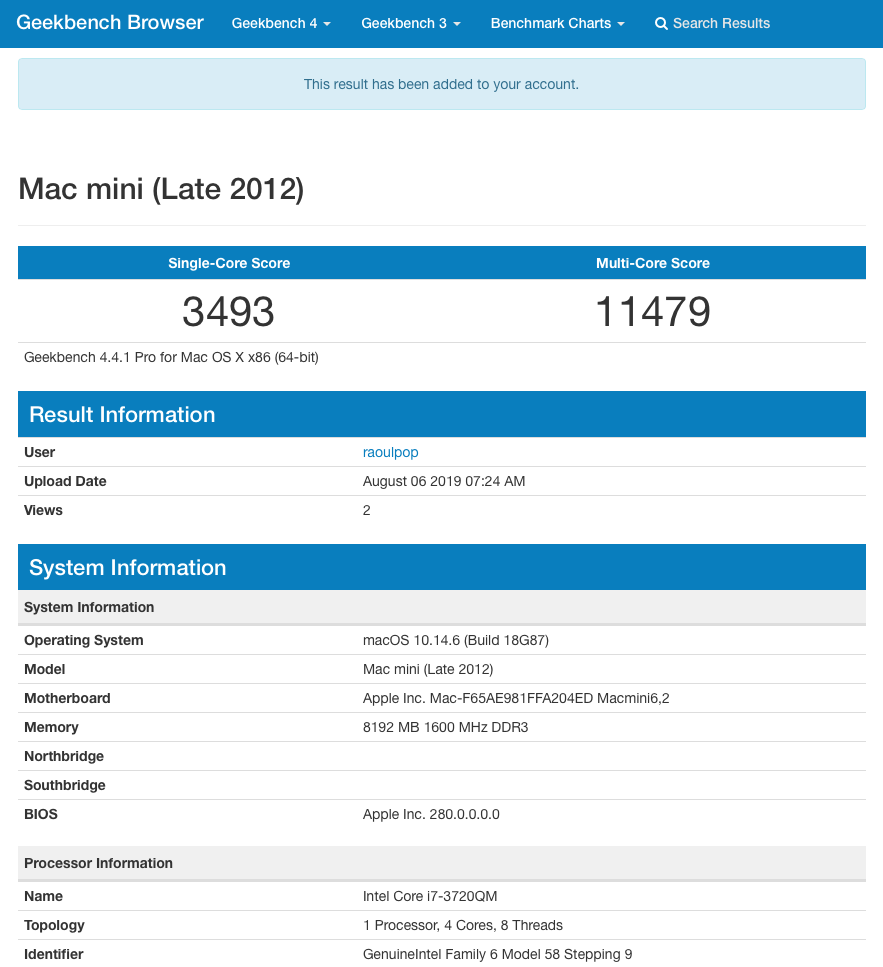
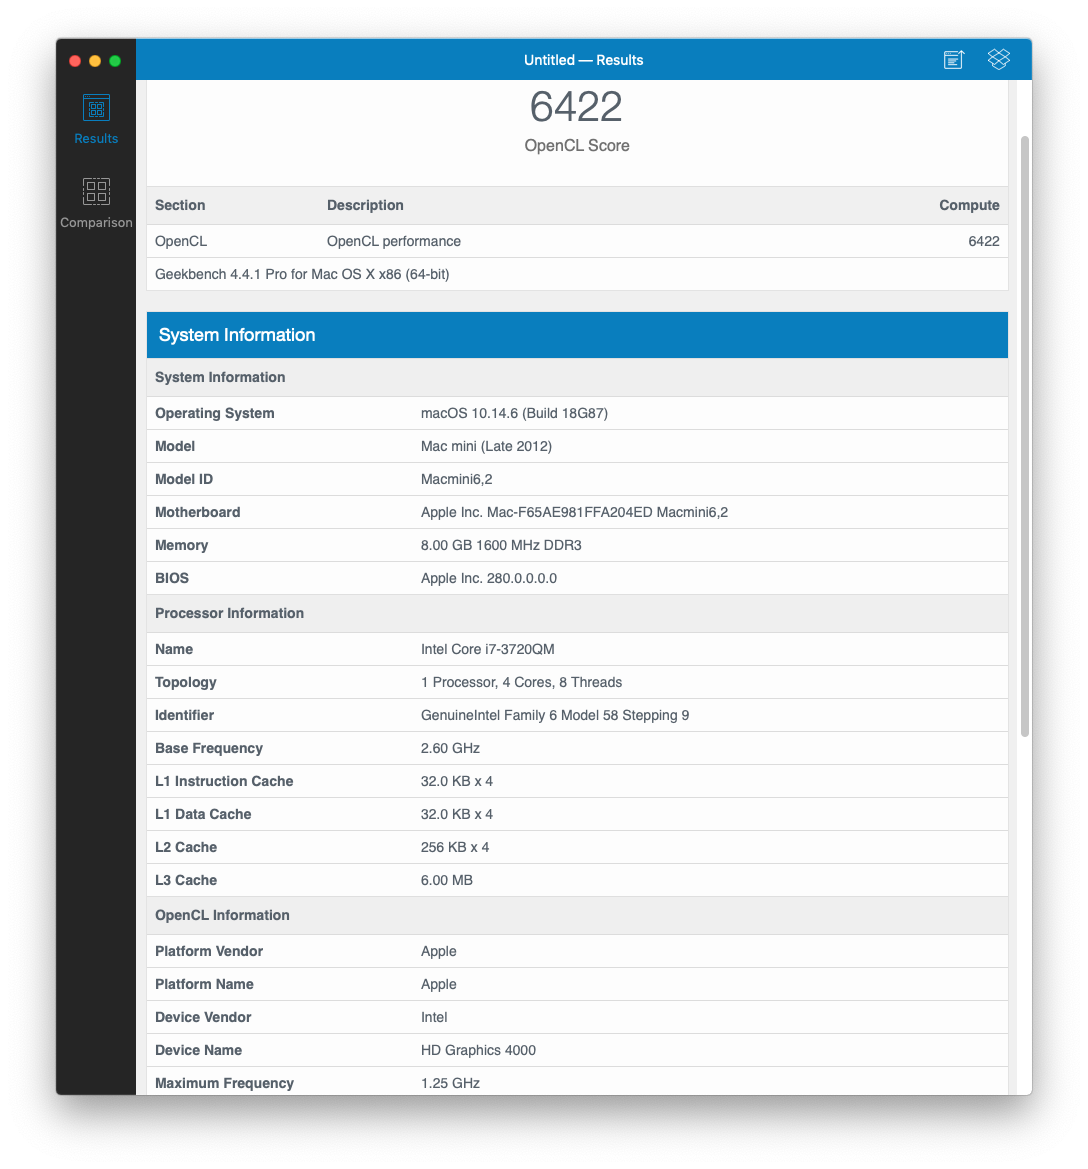
Here are some Geekbench scores for good measure.

My wife’s pretty happy with it now, she says it is faster than before and it doesn’t crash anymore, which it used to do every now and then. And if my wife’s happy, then I’m happy.

Standard
Thoughts

Here’s to the simple solutions

For the past couple of days, Mail had stopped working. It couldn’t connect to the email servers for some reasons and kept taking my accounts offline. I knew I hadn’t changed any of its settings. In all my years of using a Mac (since 1994), I’d never run into a situation where Mail settings had gotten corrupted, but I was now willing to look into it. I kept looking at all sorts of scenarios and guides online — things such as these (1, 2, 3, 4) — but nothing helped.

Then it occurred to me that three days ago, as I worked late, past midnight, I got the bright idea to switch the firewall level to High from Medium. “Oh, let’s get some extra protection, shall we?” My router is one of these gizmos handed to me by my ISP, it’s a ZTE that came with no printed documentation and barely any online documentation beyond “this is ON button, this is internet port”. So how was I to know that switching it to High would mean all traffic other than port 25 and 80 would be closed off? But that’s what happened. I did it, forgot about it, and when my email stopped working, it took me a couple of days to connect the dots.

I’m writing this down for you because it’s a great reminder that sometimes the simple solutions are the best (and possibly the only) ones. That, plus writing down changes to the internet configs, especially when I’m working late… Sure, I could have taken a dive into deep-level Mail documentation and email servers and the intricacies of setting up IMAP and opened up ports on my firewall and deleted my Mail settings and set up everything again, but all it took was me logging onto the ISP router and switching the firewall back down to Medium. Less than a minute vs. hours and hours of needless work.

Screen Shot 2016-07-21 at 13.53.34

Good to know, right?

Standard
How To

How to create a Fusion Drive on a mid-2011 iMac

Yes, you can enable Fusion Drive on older Macs. I’m not sure how this method will work with Macs older than 2011, but I know for sure that it works on mid-2011 iMacs, and quite possibly on other Macs made since then. I have just completed this process for my iMac and I thought it would help you if I detailed it here.

I like Fusion Drive because it’s simple and automated, like Time Machine. Some geekier Mac users will likely prefer to install an SSD and manually separate the system and app files from the user files which take up the most space, which is something that gives them more control over what works faster and what doesn’t, but that’s a more involved process. Fusion Drive works automatically once you set it up, moving the files that are used more often onto the SSD and keeping the ones that are accessed less often on the hard drive. This results in a big performance increase without having to fiddle with bash commands too much.

The hardware

My machine is a 27″ mid-2011 iMac with a 3.4 GHz processor and 16GB of RAM. I bought it with a 1TB hard drive, which I recently considered upgrading to a 3TB hard drive but decided against, given the fan control issues with the temperature sensor and the special connector used on the factory drive.

imac-basic-specs

I purchased a 128GB Vertex4 SSD from OCZ. It’s a SATA III (6 Gbps) drive and when I look in System Info, my iMac sees it as such and is able to communicate with it at 6 Gbps, which is really nice.

ocz-vertex4-ssd-128gb

ssd-specs

The hardware installation is somewhat involved, as you will need to not only open the iMac but also remove most of the connections and also unseat the motherboard so you can get at the SATA III connector on its back. You will also need a special SATA wire, which is sold as a kit from both OWC and iFixit. The kit includes the suction cups used to remove the screen (held into place with magnets) and a screwdriver set.

2nd-drive-ssd-kit

You can choose to do the installation yourself if you are so inclined, but realize that you may void the warranty on the original hard drive if something goes wrong, and this is according to Apple Tech Support, with whom I checked prior to ordering the kit. Here are a couple of videos that show you how to do this:

In my case, it just so happened that my iMac needed to go in for service (the video card, SuperDrive and display went bad) and while I had it in there, I asked the technicians to install the SSD behind the optical drive for me. This way, my warranty stayed intact. When I got my iMac back home, all I had to do was to format both the original hard drive and the SSD and proceed with enabling the Fusion Drive (make sure to back up thoroughly first). You can opt to do the same, or you can send your computer into OWC for their Turnkey Program, where you can elect to soup it up even more.

The software

Once I had backed up everything thoroughly through Time Machine, I used the instructions in this Macworld article to proceed. There are other articles that describe the same method, and the first man to realize this was doable and blog about it was Patrick Stein, so he definitely deserves a hat tip. I’ll reproduce the steps I used here; feel free to also consult the original articles.

1. Create a Mountain Lion (10.8.2) bootup disk. Use an 8GB or 16GB stick for this, it will allow you to reformat everything on the computer, just to clean things up. Otherwise you may end up with two recovery partitions when you’re done. I used the instructions in this Cult of Mac post to do so. The process involves re-downloading 10.8.2 from the Apple Store (if you haven’t bought it yet, now is the time to do so) and an app called Lion Diskmaker.

2. Format both the original HD and the SSD, just to make sure they’re clean and ready to go. Use Disk Utility to do this, or if you’re more comfortable with the command line, you can also do that (just be aware you can blow away active partitions with it if you’re not careful).

2. List the drives so you can get their correct names. In my case, they were /dev/disk1 and /dev/disk2.

diskutil list

3. Create the Fusion Drive logical volume group. When this completes, you’ll get something called a Core Storage LGV UUID. Copy that number, you’ll need it for the following step.

diskutil coreStorage create myFusionDrive /dev/disk1 /dev/disk2

4. Create the Fusion Drive logical volume. I used the following command:

diskutil coreStorage createVolume paste-lgv-uuid-here jhfs+ "Macintosh HD" 100%

5. Quit Terminal and begin a fresh install of Mountain Lion onto the new disk called “Macintosh HD”.

6. Restore your apps, files and system settings from the Time Machine backup using the Migration Assistant once you’ve booted up. Here’s an article that shows you how to do that. When that completes, you’re done!

The result

Was it worth it? Yes. The boot-up time went from 45-60 seconds to 15 seconds, right away. And over time, the apps and files I use most often will be moved onto the SSD, thus decreasing the amount of time it’ll take to open and save them.

At some point, I expect Apple to issue a utility, like Boot Camp, that will allow us to do this more easily and automatically. Until then, that’s how I set up Fusion Drive on my iMac, and I hope it’s been helpful to you!

Standard
Thoughts

A short iMovie wishlist

I do love the way iMovie keeps getting better and better, but I have a few wishes I’d love to see as features:

  1. The ability to truly archive a project and all its files. I know that I can drag and drop a project onto an external hard drive through iMovie, and I’ll get the choice of moving the project, or the project and all its files, and that’s really nice, but sometimes, it doesn’t really move all the files, and let’s face it, I’m still left with separate folders on that external hard drive for the events and the projects. I’d like to truly archive a project and all its files, to a single, standalone archive file (maybe a DMG), where everything I used in the project, including photos, sounds, or loops from the iLife library, is included, so that I can open that project archive years down the road and still be able to access everything I used for that project, and not have to worry about losing files or folders.
  2. Proper watermarks for projects. I shouldn’t have to hack a watermark by employing a PIP effect, which requires more processing power during edits and more processing time during exports. Watermarks should be applied during the export process, after iMovie lets me configure them, Lightroom-style, through a menu that lets me pick the transparent PNG I want to use, and adjust its size, location and opacity.
  3. The ability to merge projects. I’d like to be able to drag and drop a project onto another project, and be given the choice of merging the two projects, or copying the content from one to the other and keeping them as two separate projects. This would allow me, for example, to work on a common intro that I use for a particular show, save it to a project, then drag and drop that intro into projects I use for new episodes. (I already know about duplicating projects, but this has other uses, and it’s also a cleaner way of doing it.) Or even better, I’d love to be able to…
  4. Create my own video loops and store them in the loop library, under a certain category. This would once again help with common project elements, stuff that gets re-used now and again. But when I’d bring these loops into my current projects, it would bring them in with all their component elements intact, allowing me to make changes to them just as if I were working within the original project where I made them. This would allow me to tweak the way these common elements show up in different projects, ensuring they’re never boring.
Standard
Thoughts

File corruption rears its ugly head

During the last few weeks, I’ve seen the following error in Adobe Lightroom 3.

There I am, editing photos, minding my own business, and when I try to view a photo for editing, I get the error message you see above: “The file appears to be unsupported or damaged.”

When I try to view the file in the finder, I get the same error message, this time directly from the OS: “The file […] could not be opened. It may be damaged…”

Here’s my workflow:

  1. Shoot RAW
  2. Import RAW files as DNG into Lightroom (LR converts them on the fly)
  3. Process in LR
  4. Export as JPG or as needed
  5. Back up the catalog and check its integrity weekly

It’s pretty straightforward, and that’s the way I like it. I currently have about 85,000 photos in my LR library, whose catalog is stored locally on my MBP, with the files (DNG, RAW, JPG and TIF) residing on a Firewire Drobo.

Fortunately, the file corruption is only temporary, meaning there’s an error somewhere along the way:

  • It could be Lightroom
  • It could be the DNG file format (because I haven’t gotten the error with RAW or JPG files)
  • It could be OS X: I wonder how much testing Apple did for 10.6.5 with volumes greater than 4TB
  • It could be the Drobo: it’s a big volume (4.4TB) with lots of data that’s constantly being updated, lots of I/O traffic

I don’t know, and I hope someone reading this has an answer.

What fixes the error every time is quitting LR, ejecting the Drobo, cycling its power, mounting it, and starting LR. I’ve also tried just restarting LR, or just ejecting the Drobo, but those methods didn’t work.

Standard