My orbital sander (Parkside PAEXS 20-Li B2) stopped working without any signs of an electrical short or a mechanical malfunction. Here’s how I got it working again, by simply spraying a bit of contact cleaner directly into the power switch, which had gotten clogged up with small dust particles.
I realize that in this case, it was an easy fix. Chances are — given that the switch is unsealed — for most of these orbital sanders that stop working for no apparent reason, that the switch is at fault, and it may only require a bit of judicious use of contact cleaner spray.
As I said in the video, the problem will re-occur, exactly because the switch is unsealed. It did for me, just a day after the fix. What I ended up doing afterward was to remove the sliding switch which sits on top of the regular, unsealed switch and now, with the real switch exposed, I can continue to spray contact cleaner directly into it, every time it gets clogged. It’s simple and it’s practical and it saves me from having to source a sealed switch of the exact same dimensions and solder it onto the contacts, which would take extra time and effort.
I have á Stihl FS 94 C string trimmer which has been working very well for the past 8-9 years that I’ve had it. I’d been having issues when starting the trimmer because it required more pulls than usual, and I didn’t know what was causing the problem until I investigated more closely.
It turned out to be the primer bulb (purge bulb or primer pump), which had cracked and needed to be replaced. Believe it or not, in all these years I haven’t even replaced the spark plug on this thing and it still works great. Don’t think I’ve been neglecting its upkeep though. I have been lubricating the axle and using good gasoline mixed with the correct amount of 2T oil and watching and listening closely to the engine noises, to see if anything needed to be fixed. Nothing ever did, until now. If all our other tools and products we use in our homes were made this well, our lives would be a whole lot easier.
I’ve recently had to deal with a plumbing issue at our country house: the cold water pressure was very low. As it turned out, the bladder (or diaphragm) inside the well pump expansion tank had burst. I replaced the entire pump assembly with a spare one.
I then decided to install a Y filter after the filtration system, which may sound counterintuitive but isn’t. Adding a Y filter (also known as a Y strainer) în between your whole house filtration system and the house pipes is an easy way to ensure that no particulates from faulty filters ever enter the pipes, clumping inside them throughout the house, causing reduced water flow and clogging your faucets.
As long as I was recording video of the repairs, I thought I’d also talk about the way I use teflon tape on my brass fittings. I know most people prefer to use hemp fibers and pipe dope, but I like the ease of use and the serviceability of the tape.
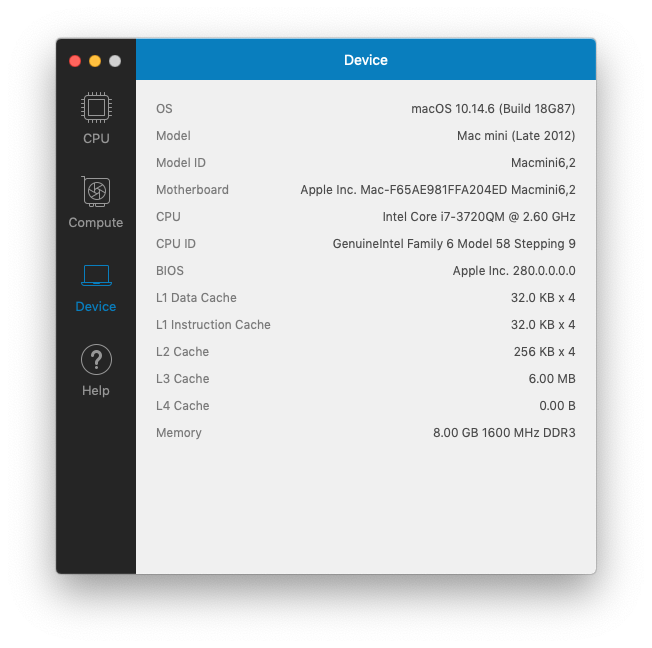
My wife’s computer is a unibody, late-2012 Mac Mini, model A1347 with Fusion Drive, which we’ve had since then, having ordered it to our specs directly from Apple. We’re happy with it. It’s a lovely little computer with more than enough oomph for my wife’s needs (she is an author).
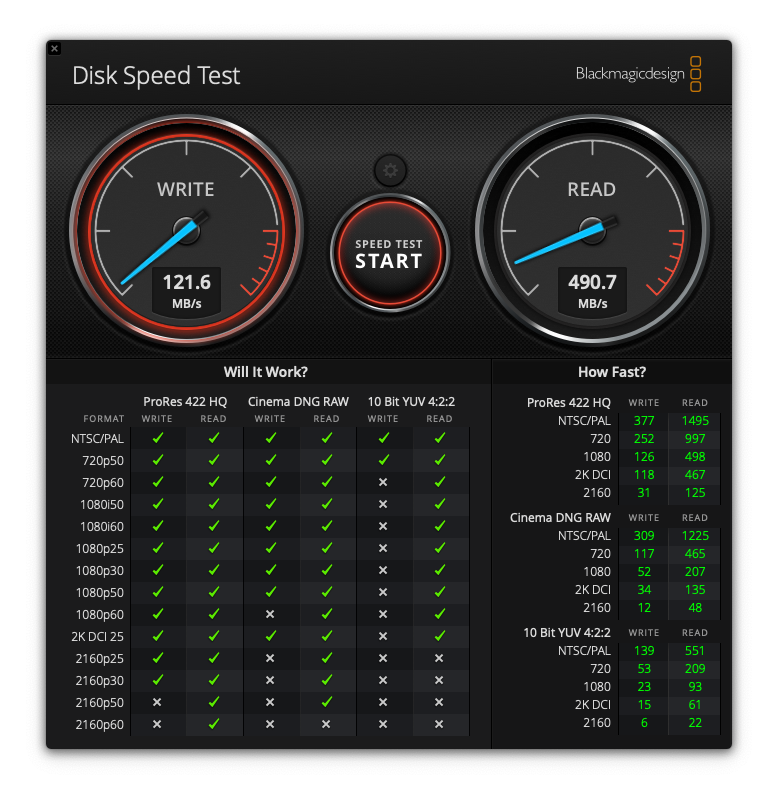
The HDD on her Mac was silently failing and her computer was getting slower. A quick disk speed test revealed that its write speeds had decreased by about 75%.
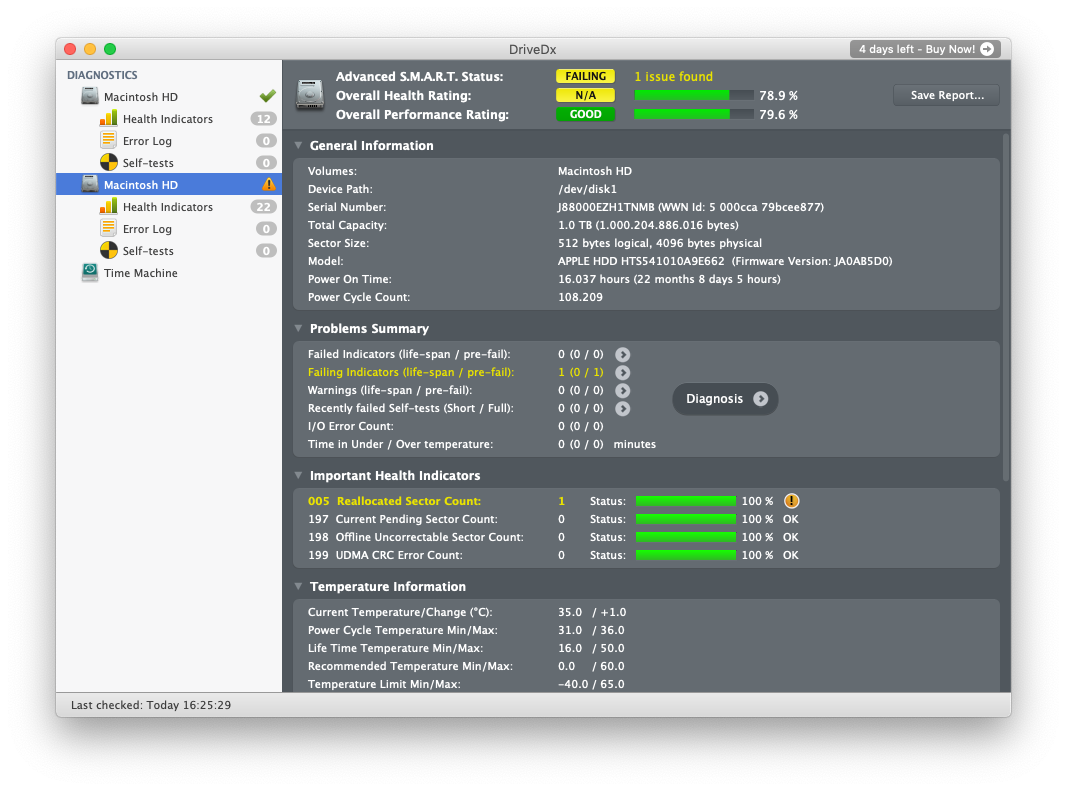
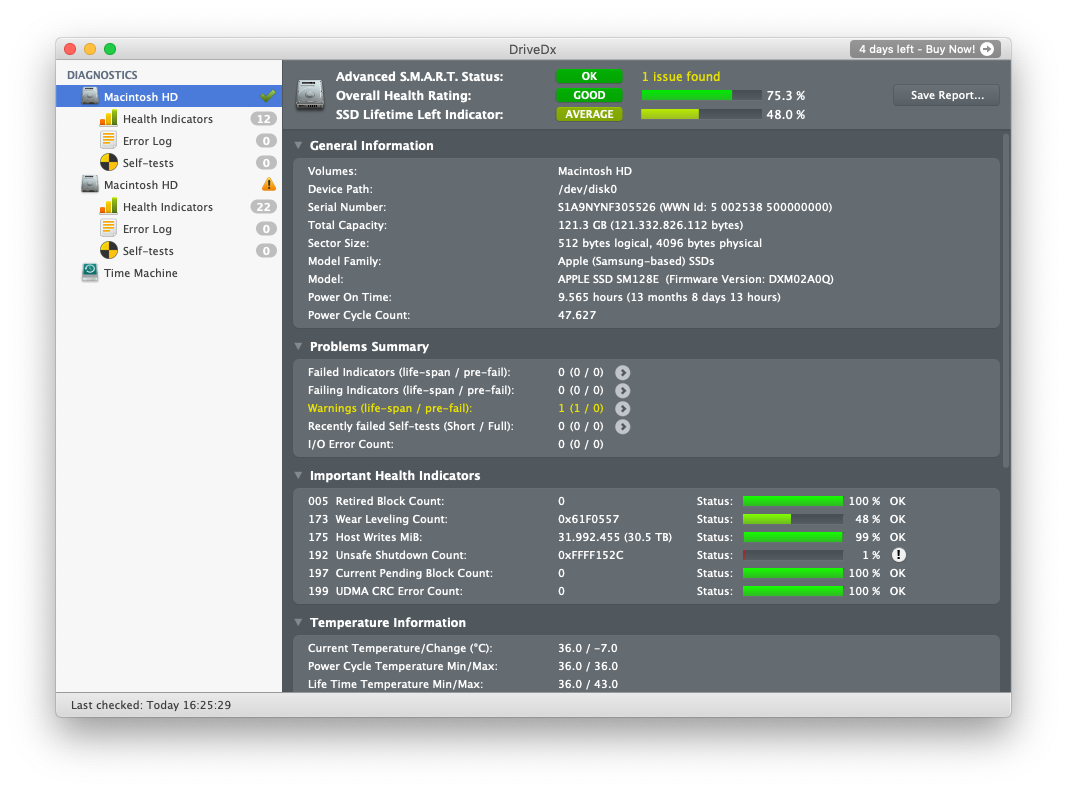
Running First Aid on the system volume did not yield any insights into the HDD’s true state. Thankfully, there’s a little app called DriveDx, which I talked about in a previous post. Running that app revealed the HDD’s problems.
The SSD wasn’t doing too well either, but at least its lifespan was at about 50%.
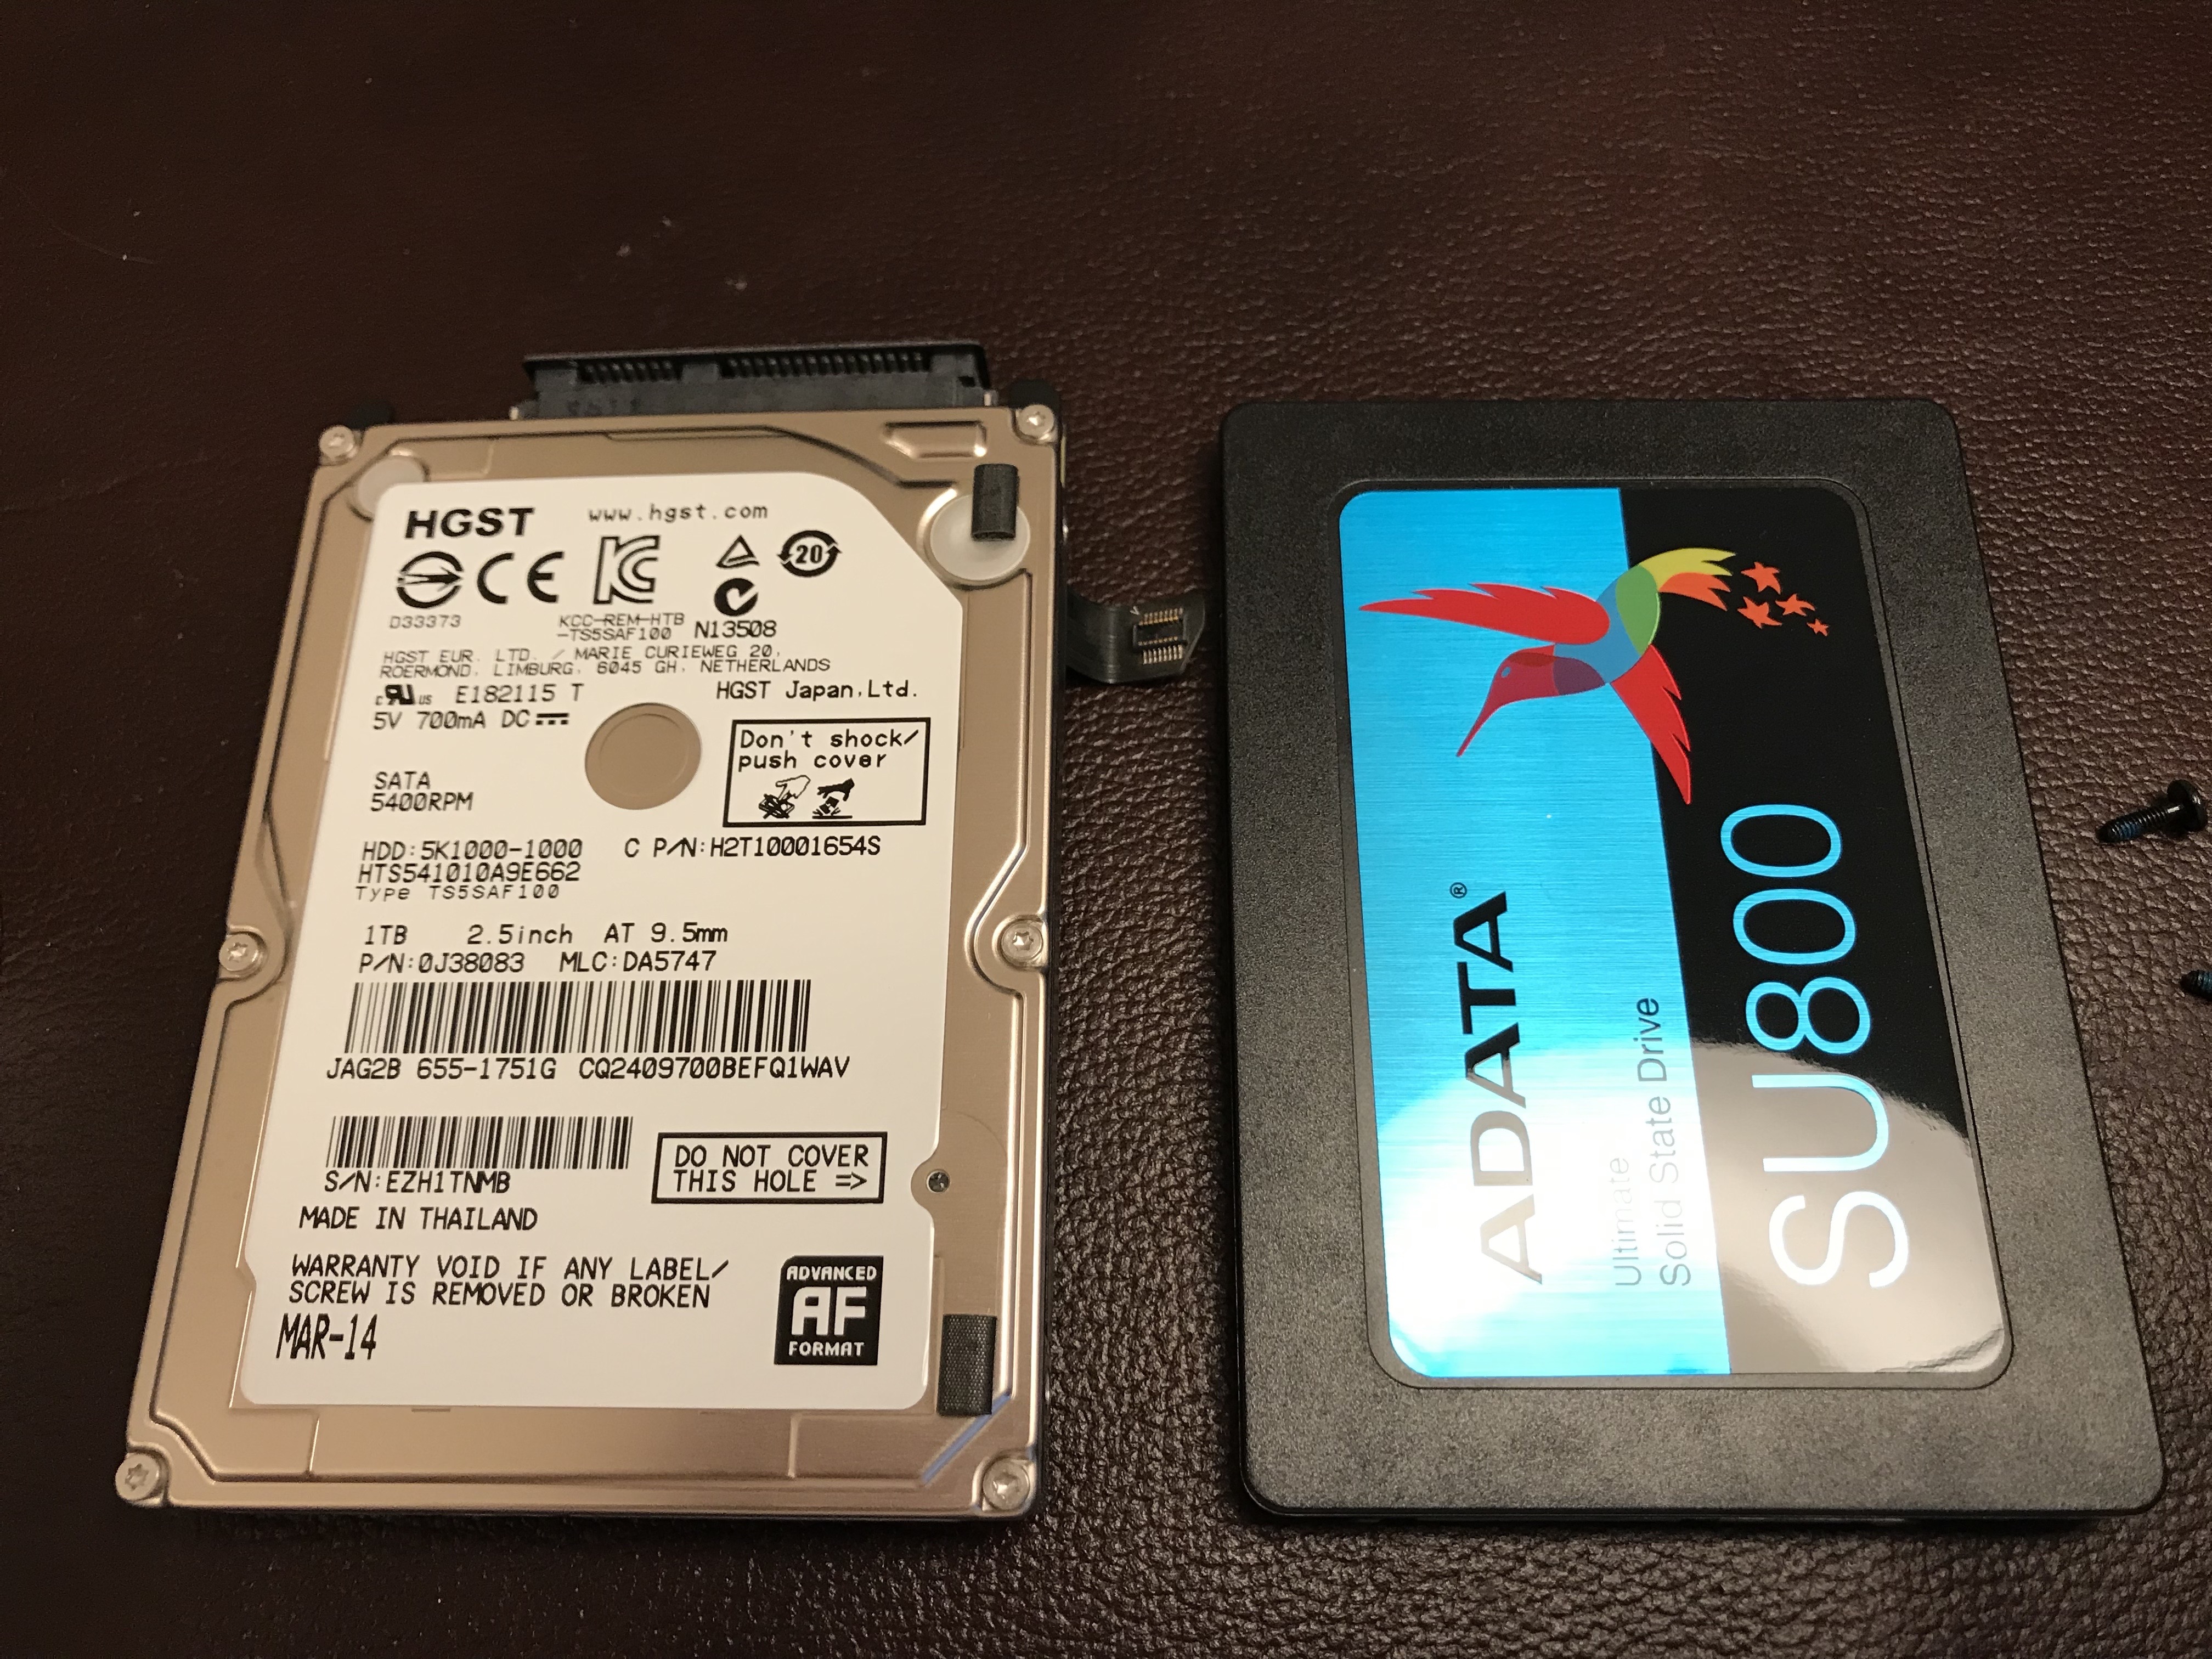
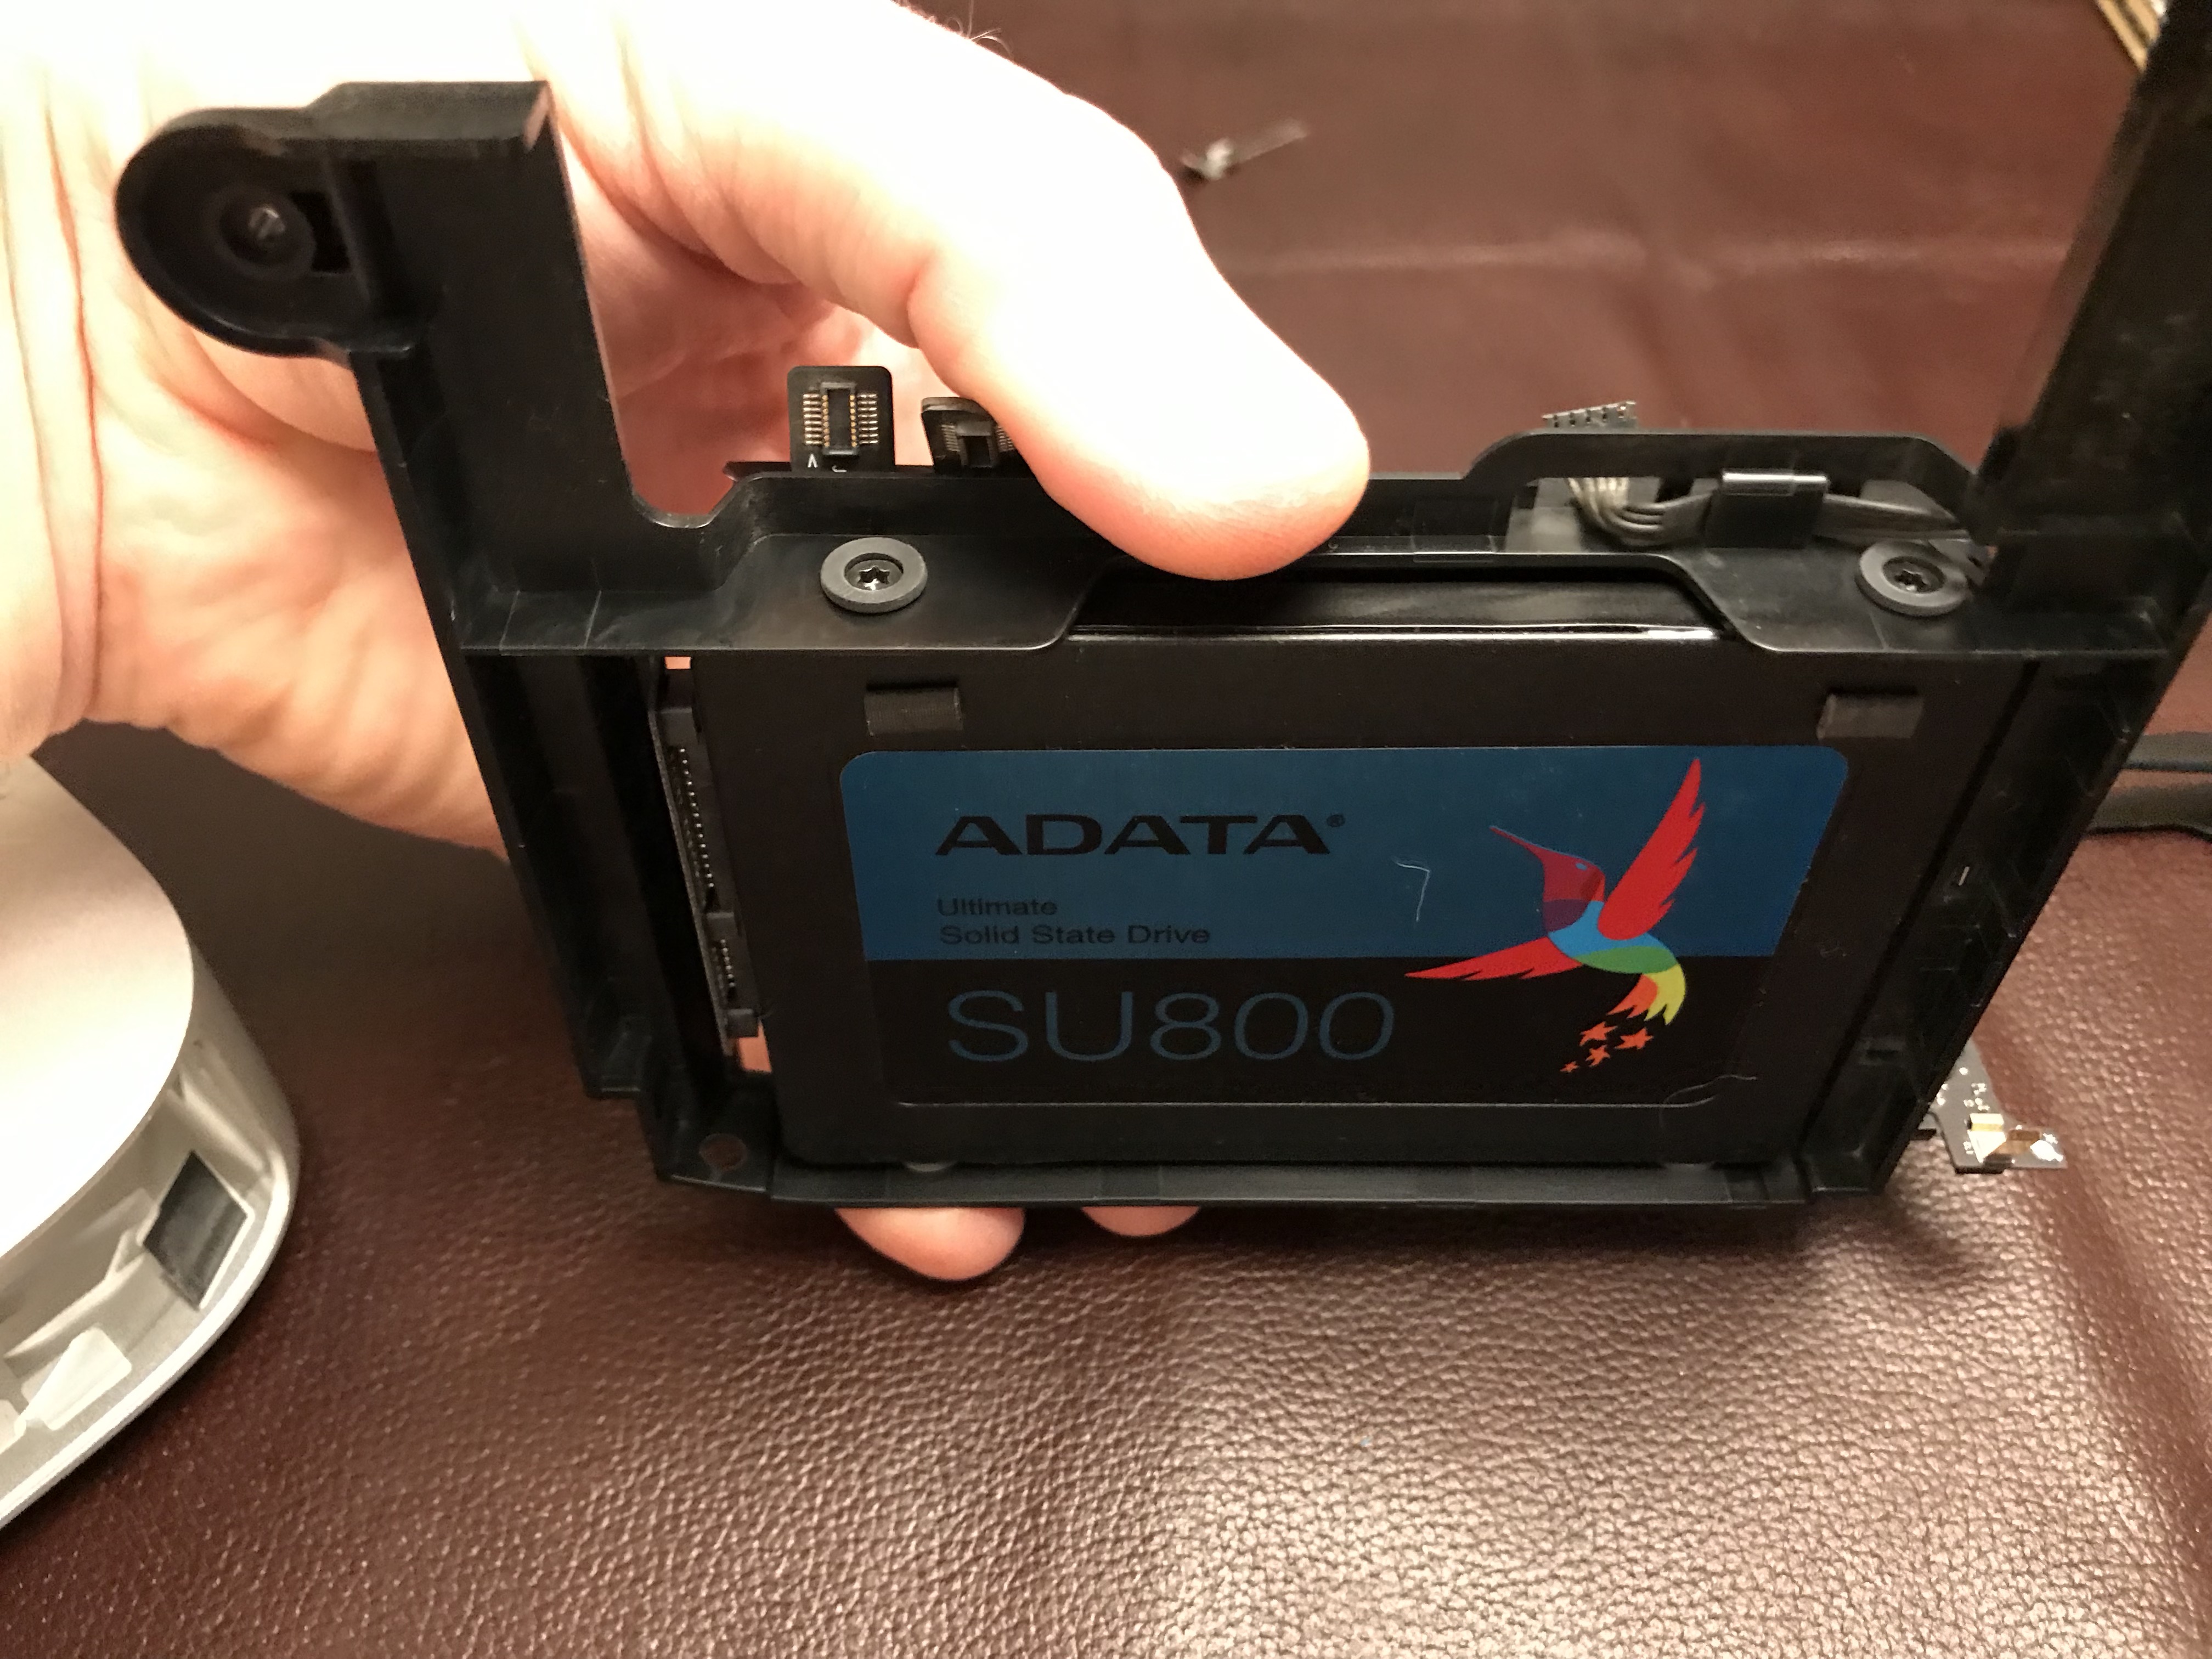
The solution was simple: I needed to replace the HDD. A 1TB SSD would suffice, so I ordered one (an ADATA SU800 1TB SSD). My wife continued to use her computer as usual, since it was still working, although I made doubly sure that it was backing up to Time Machine. I would restore her data from those backups after I replaced the HDD.
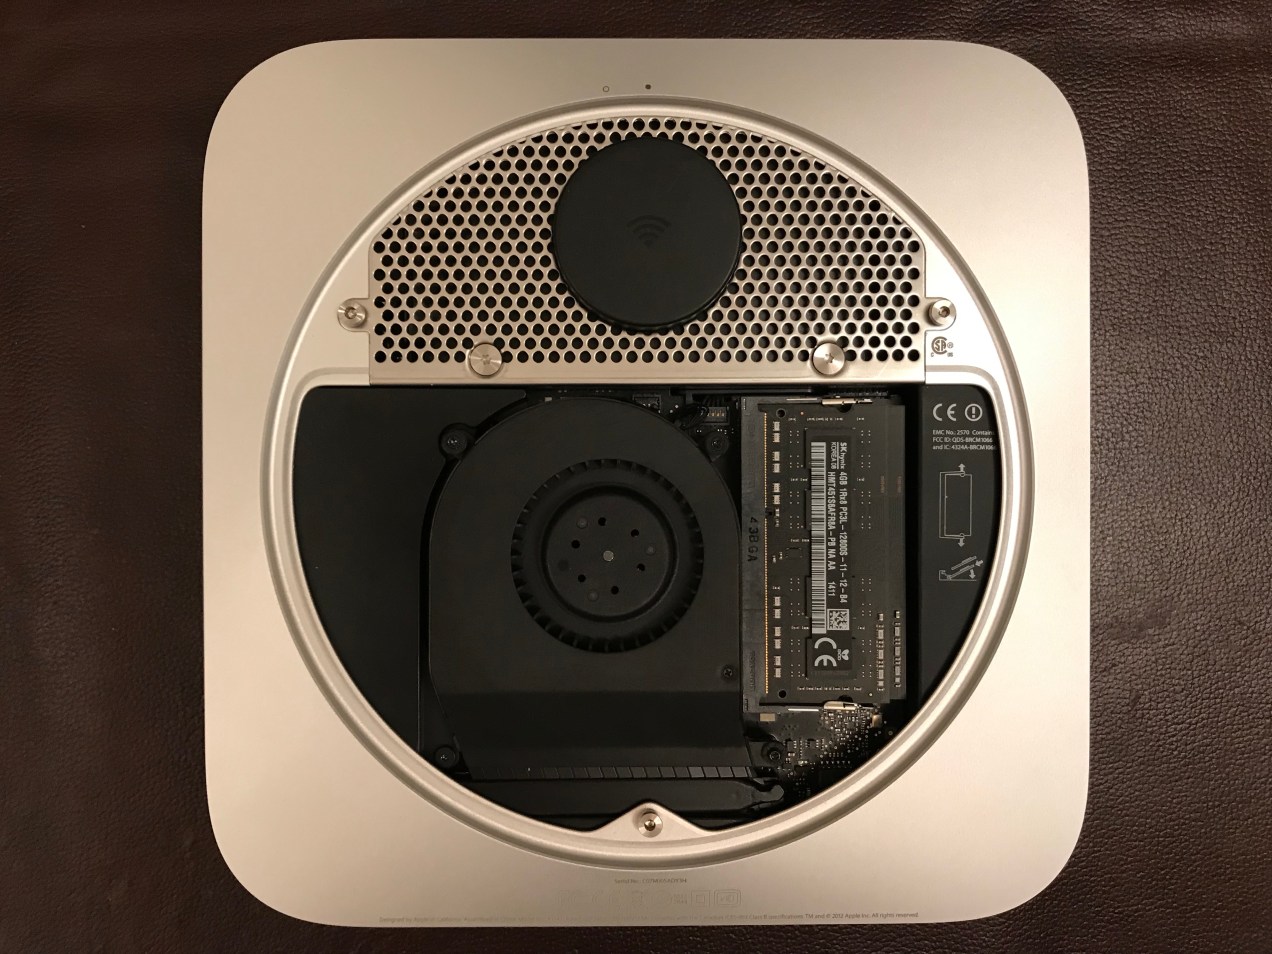
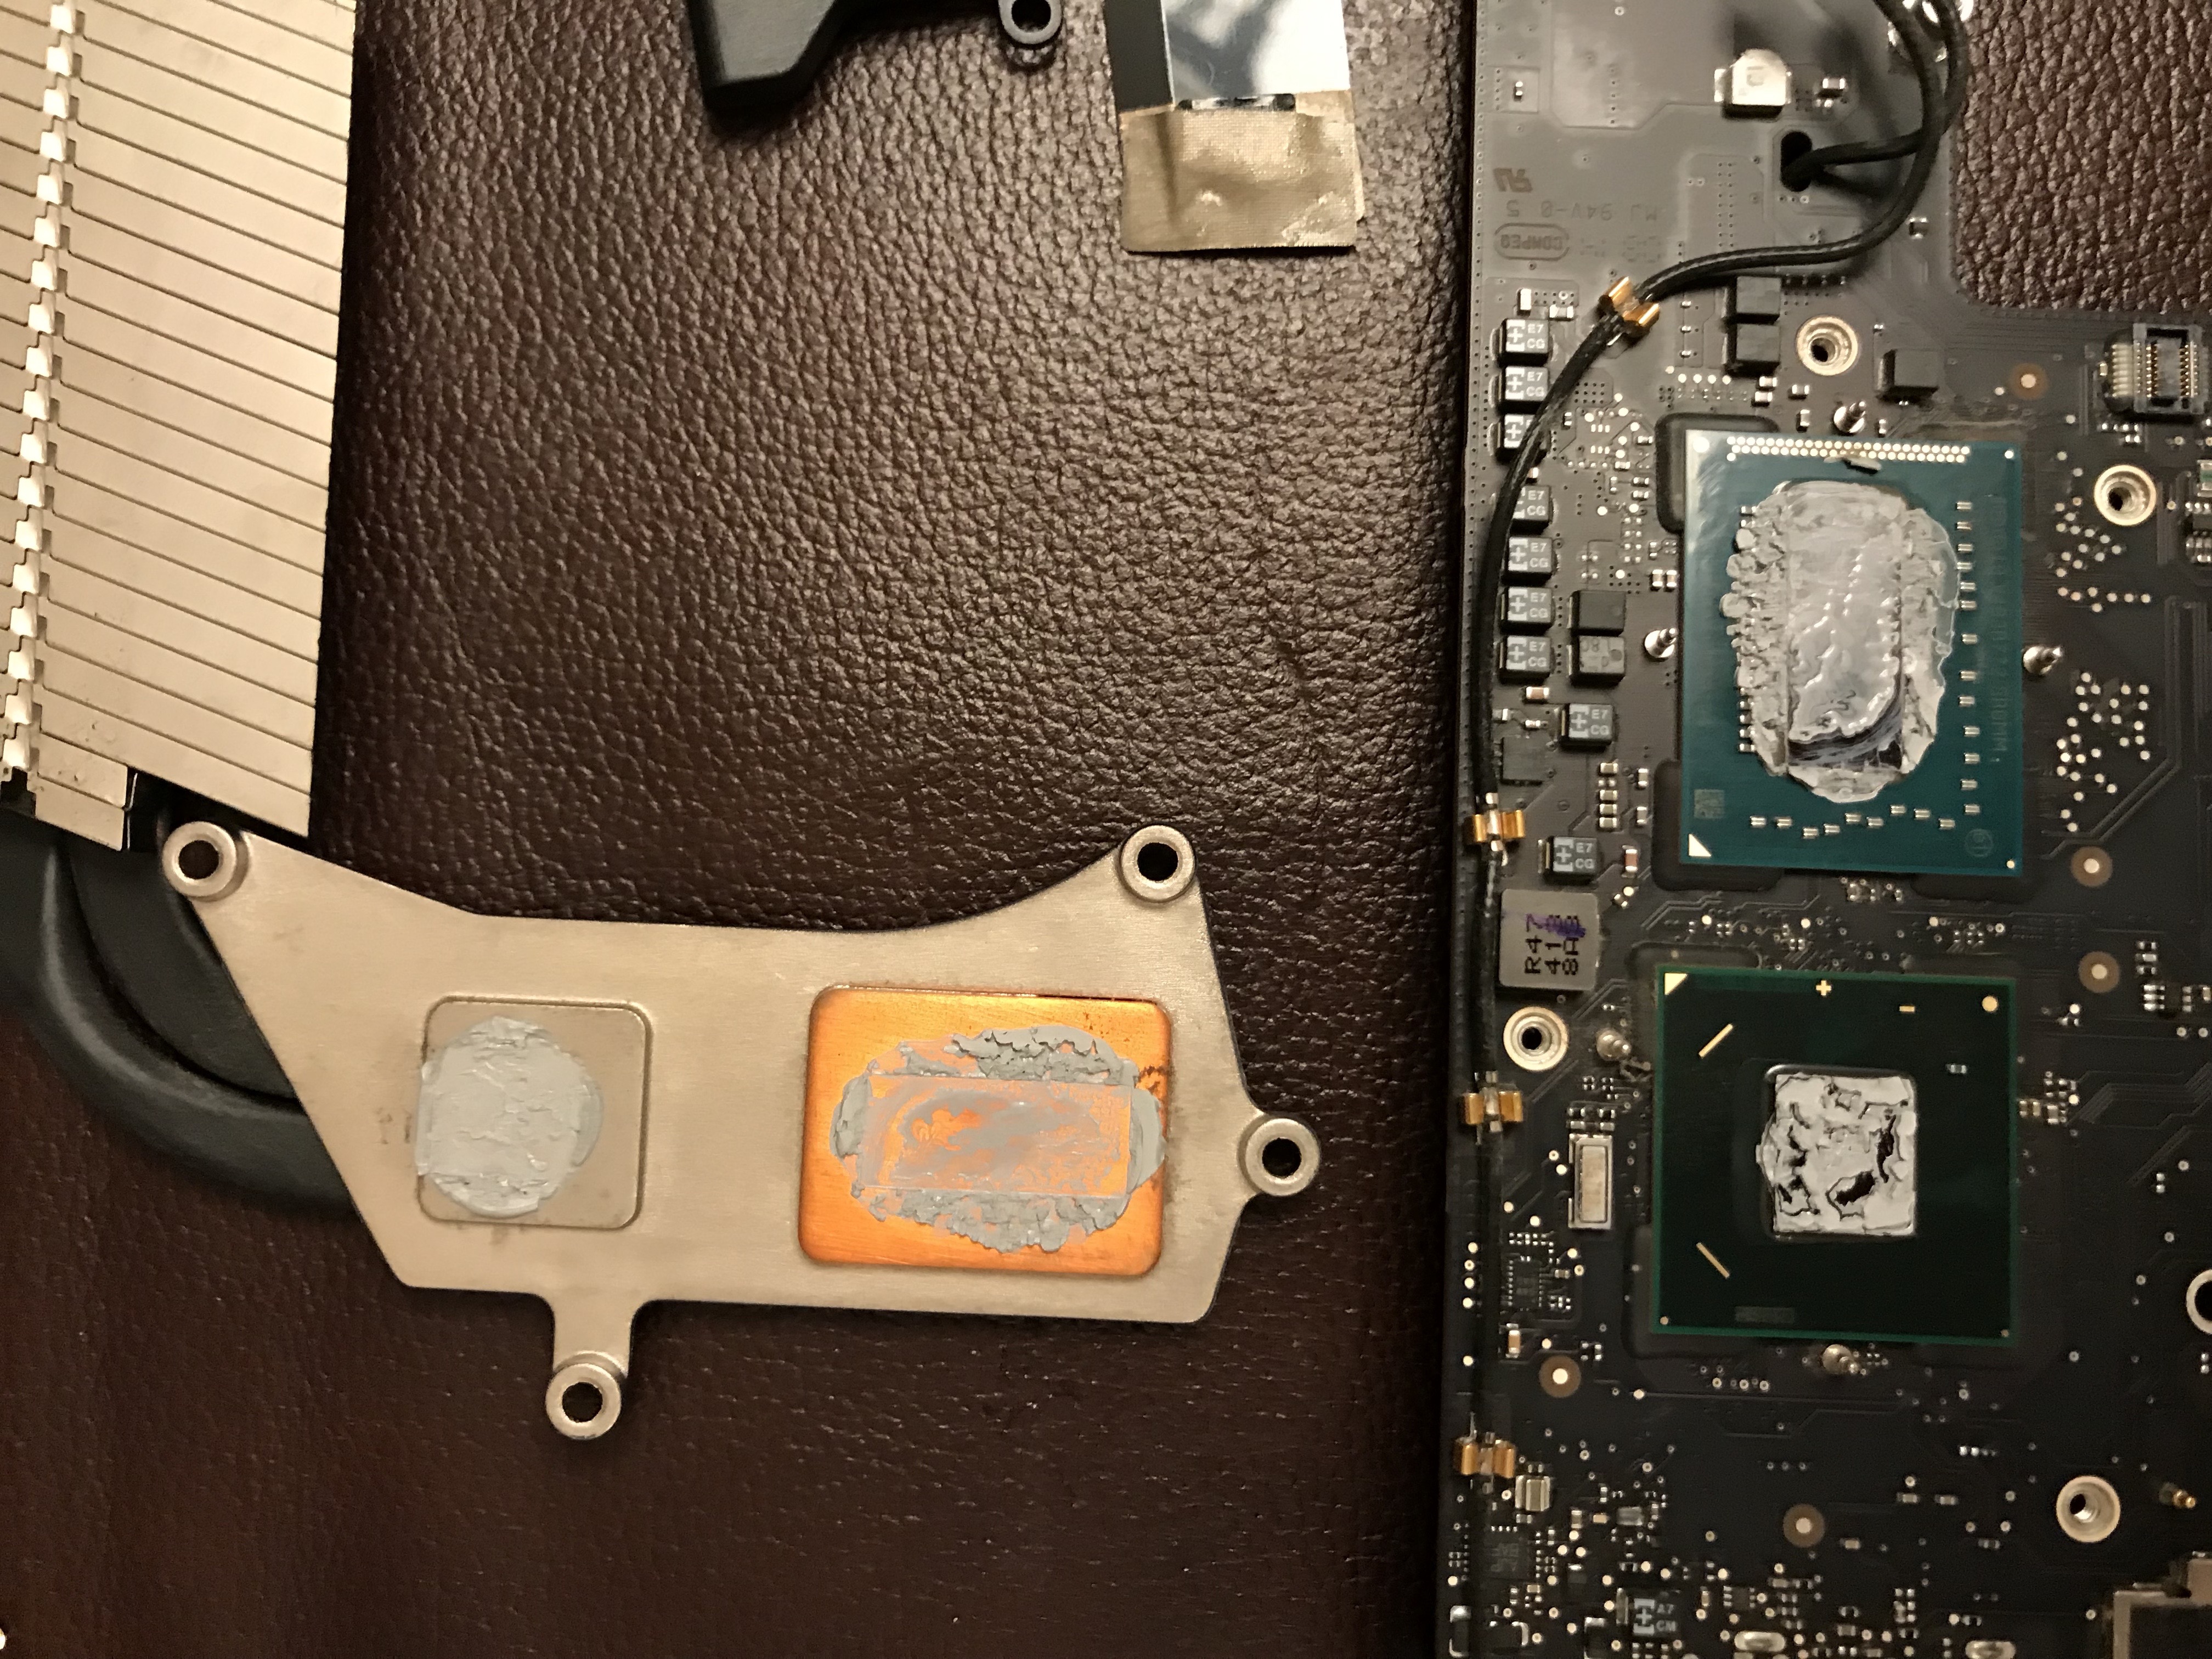
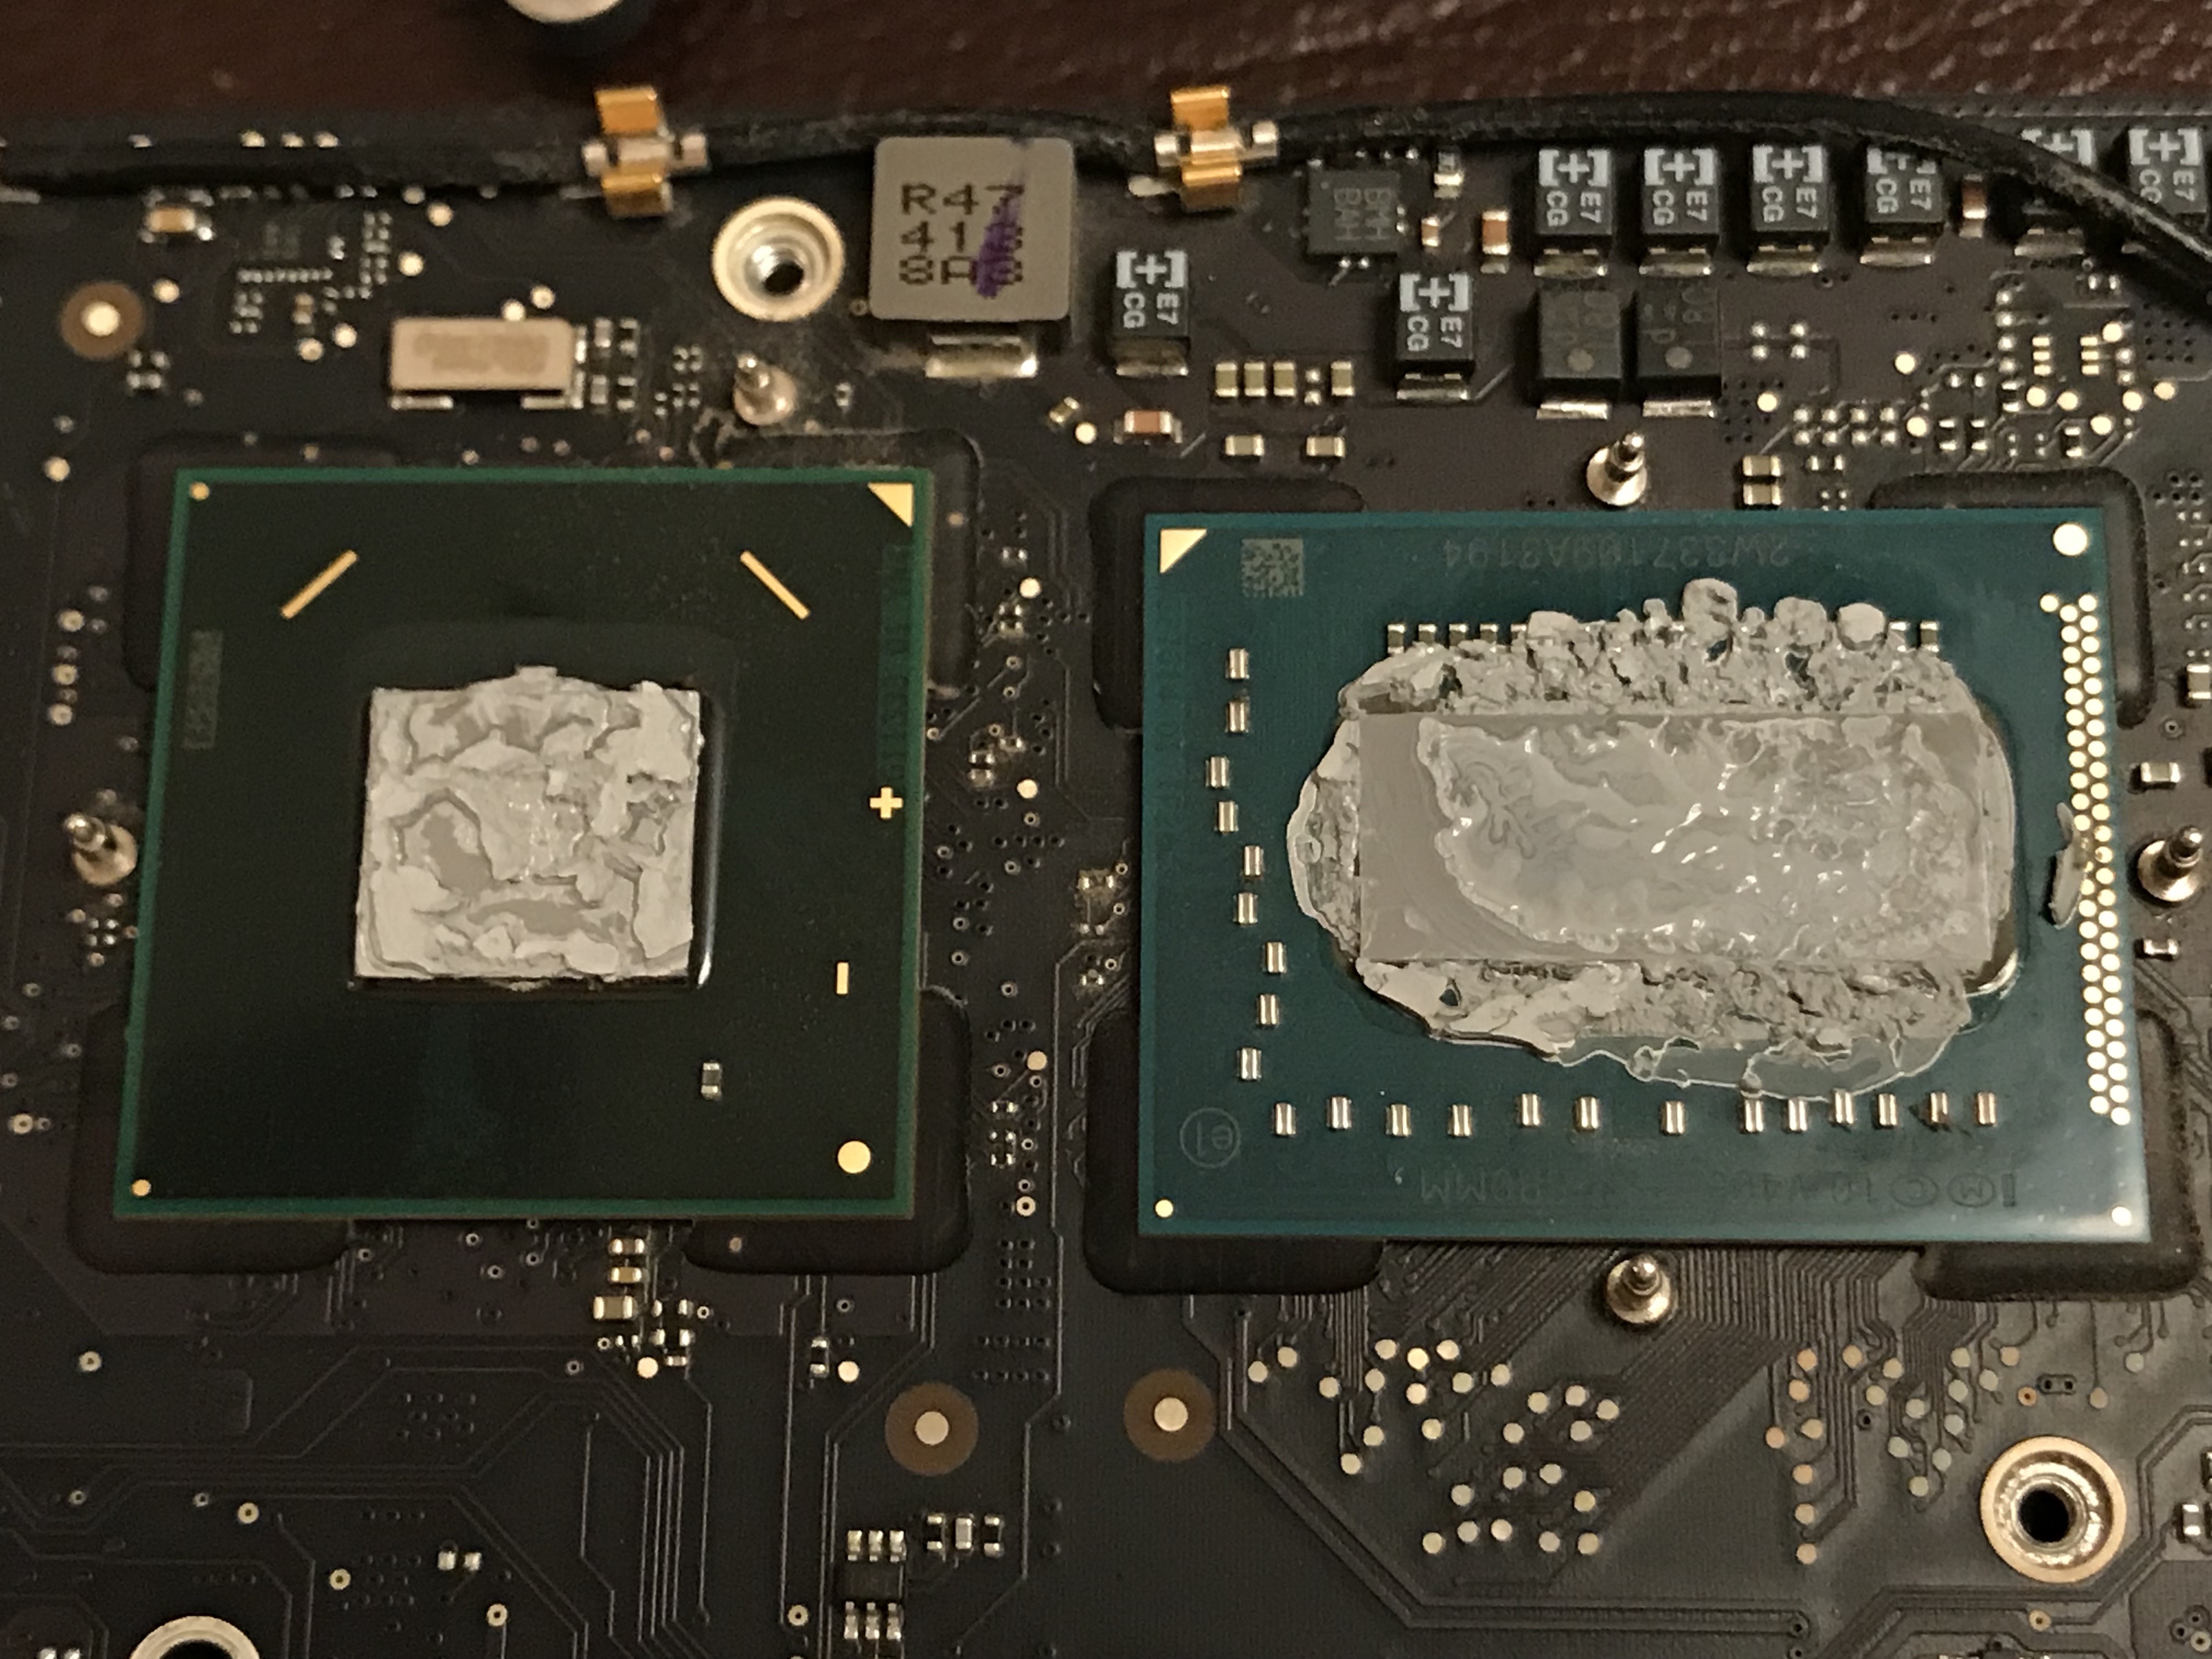
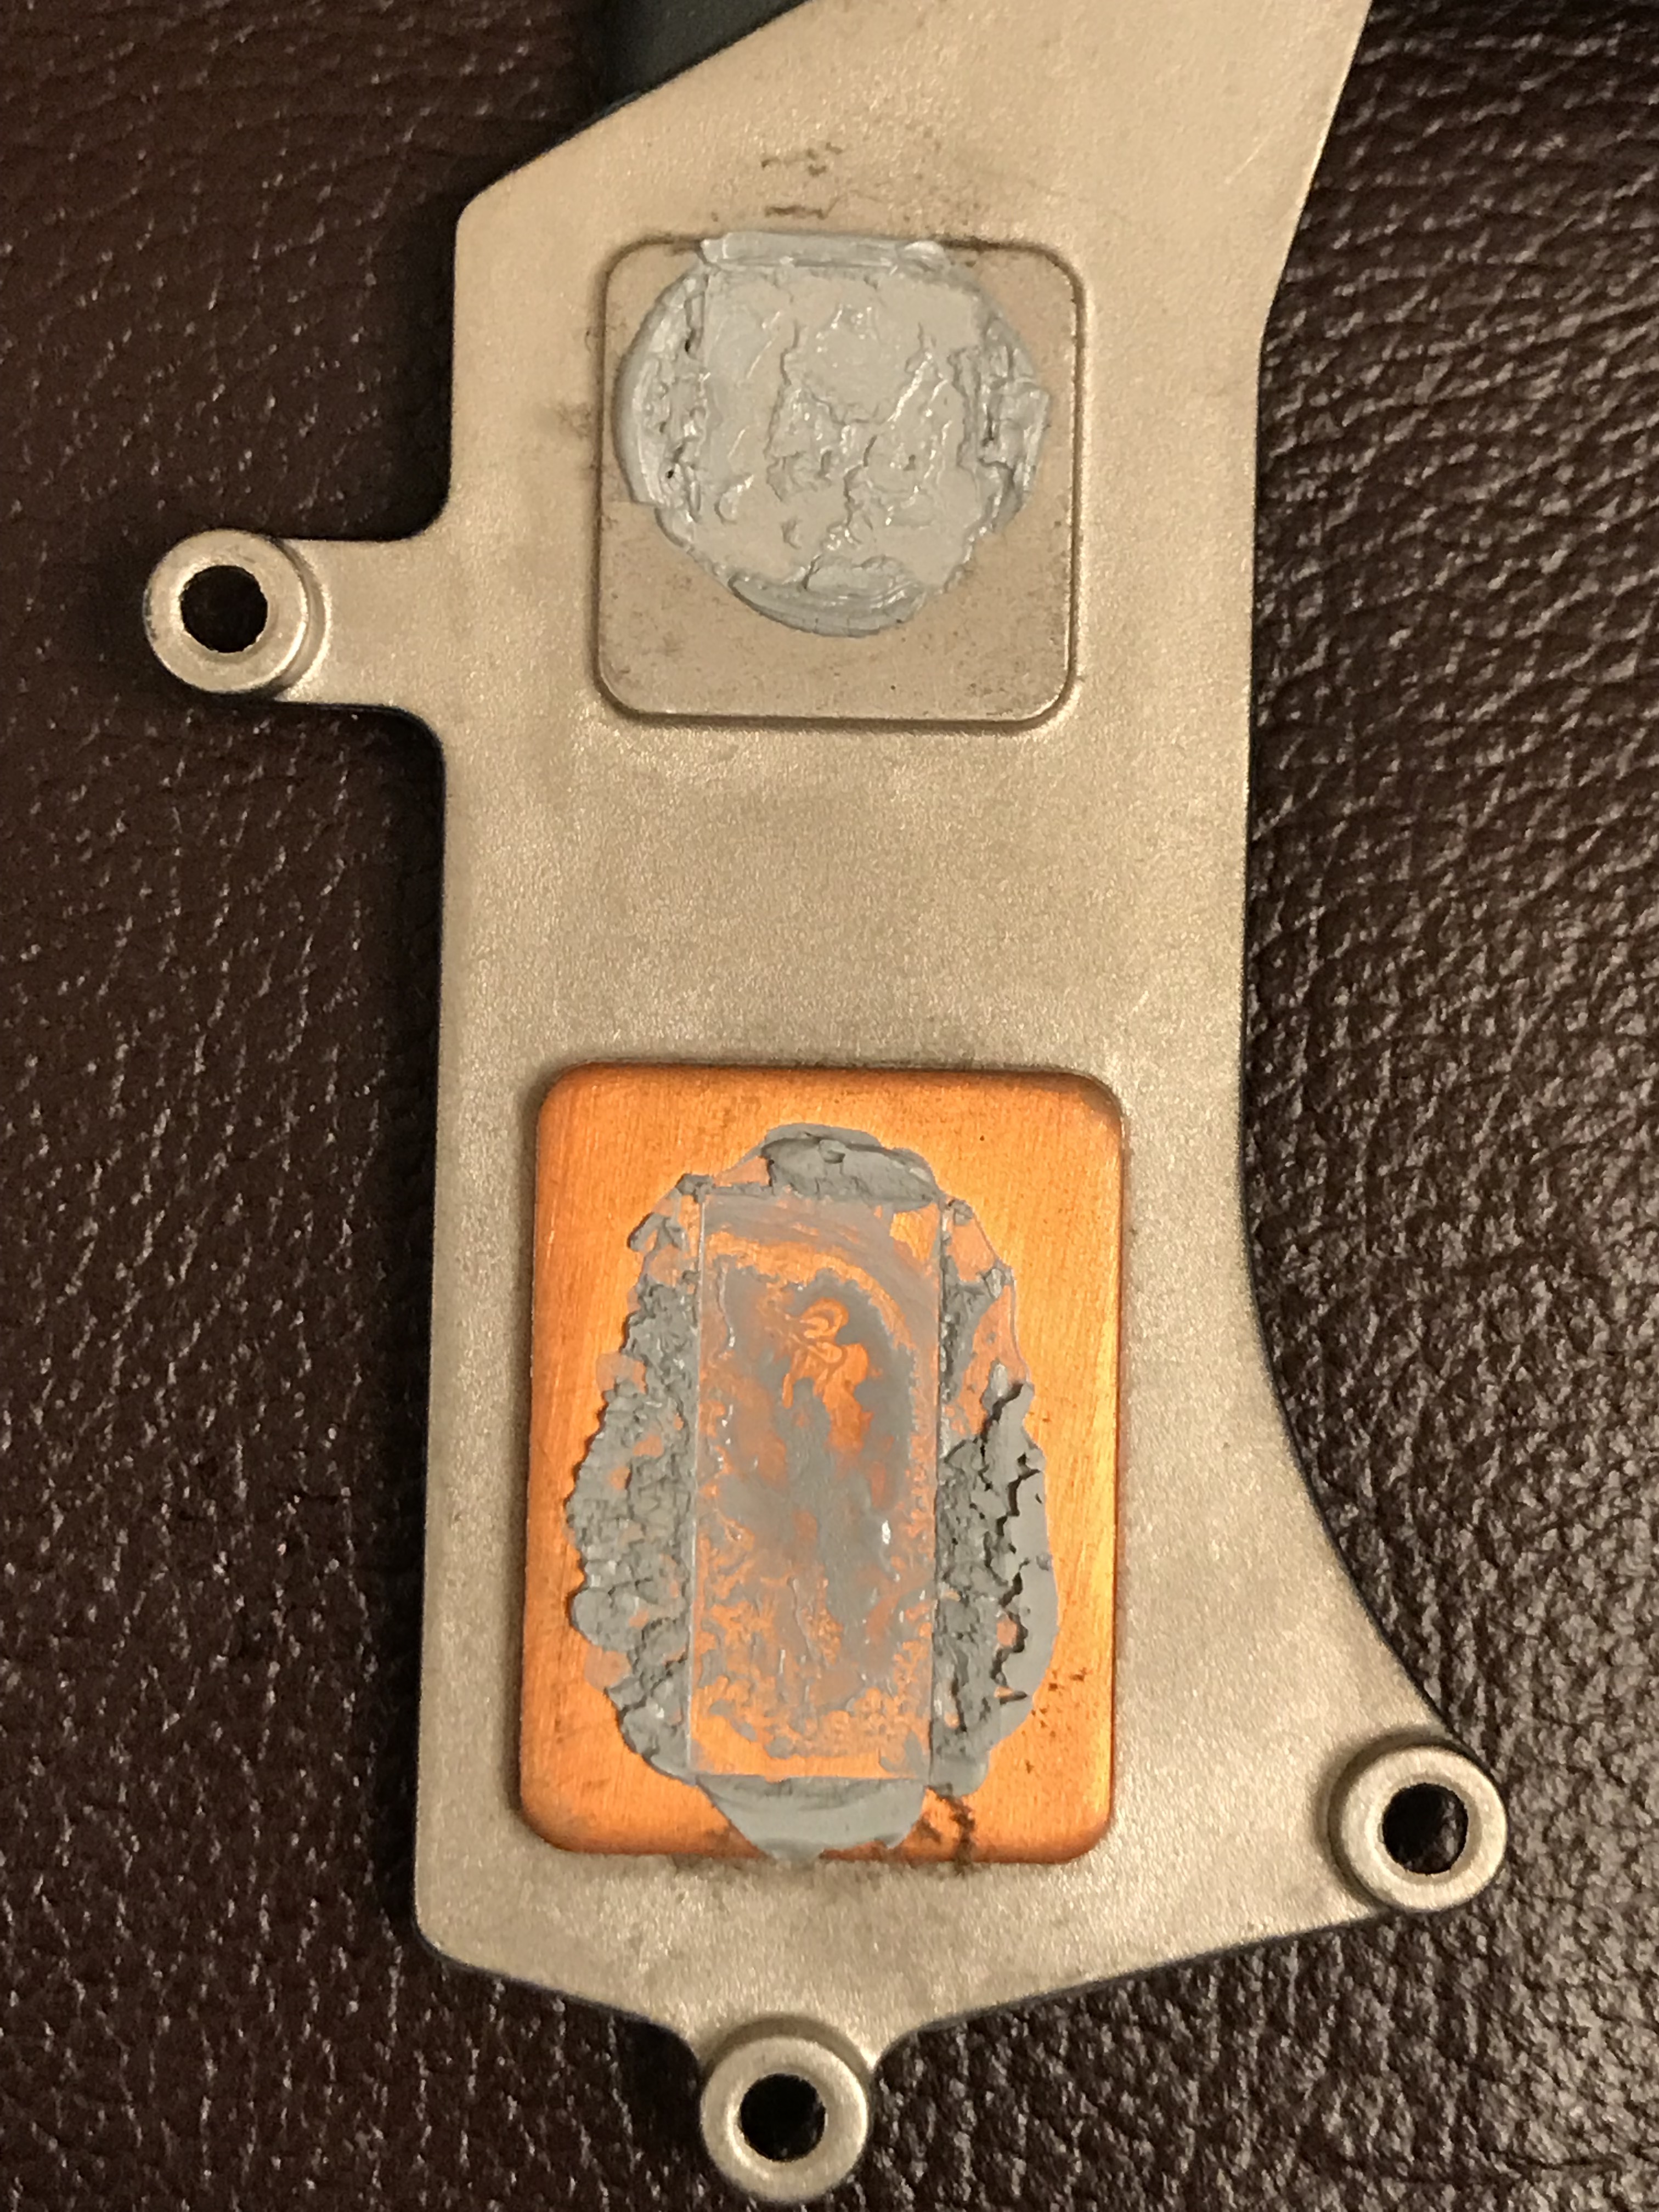
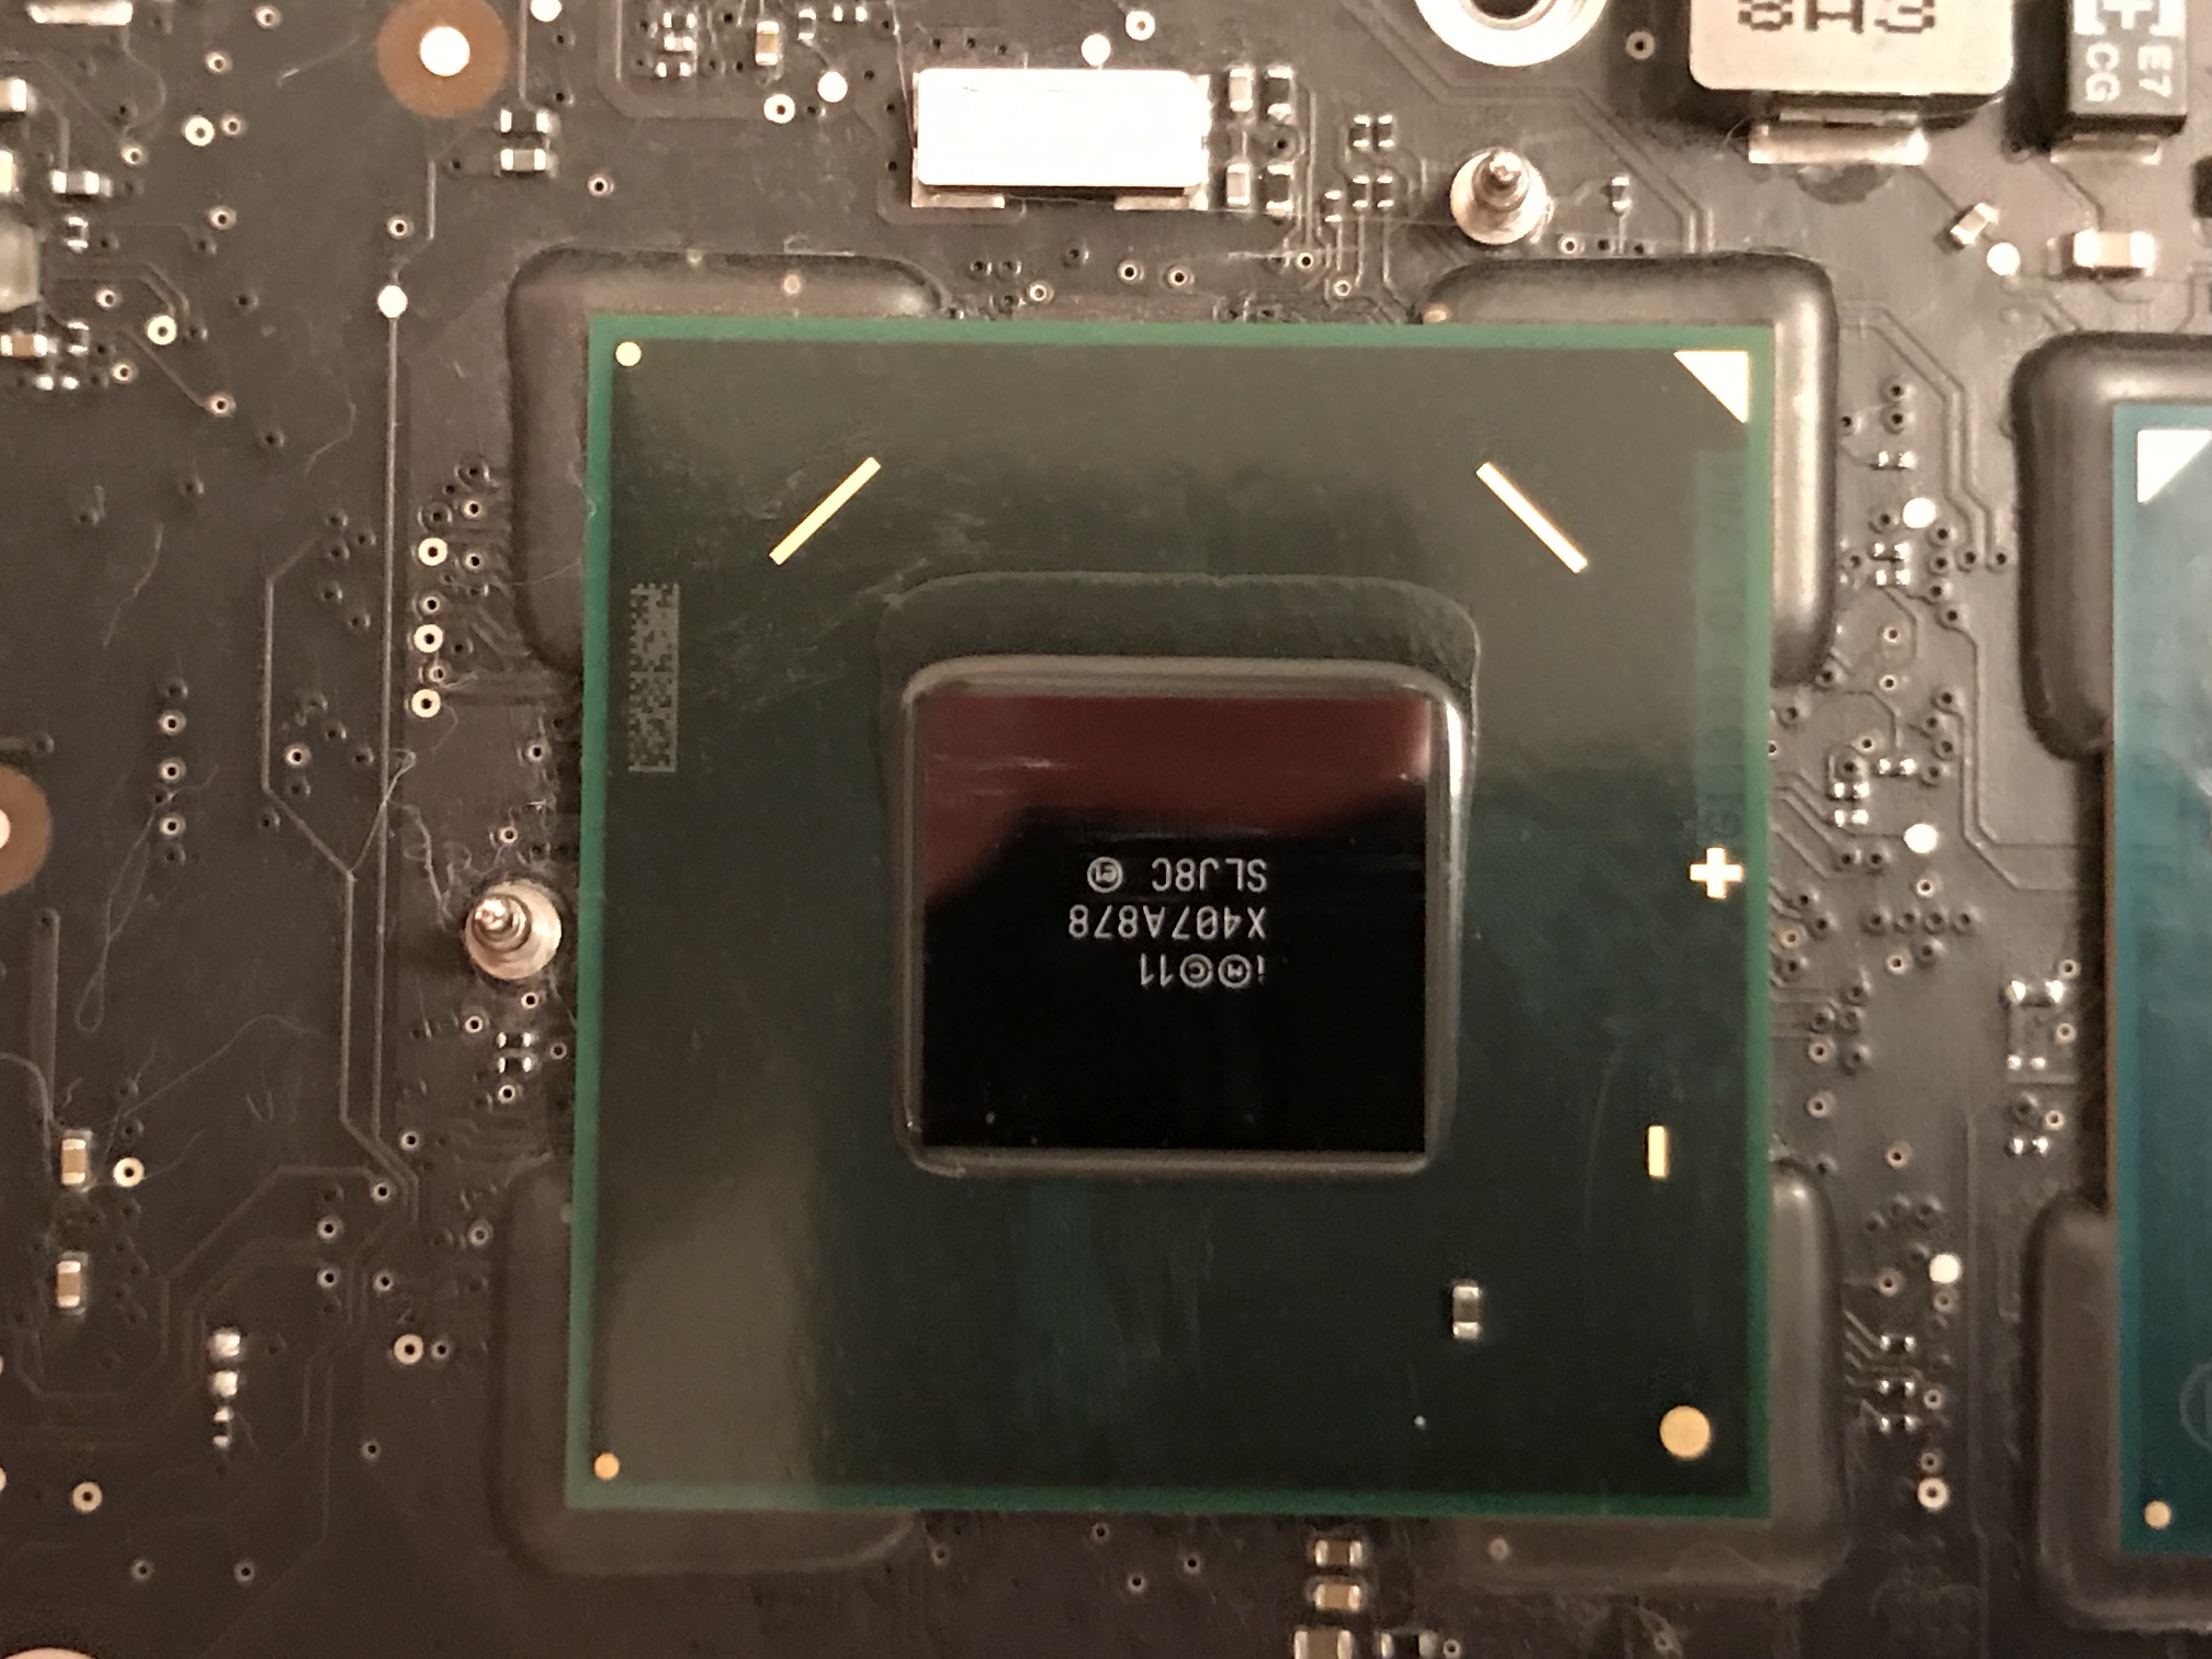
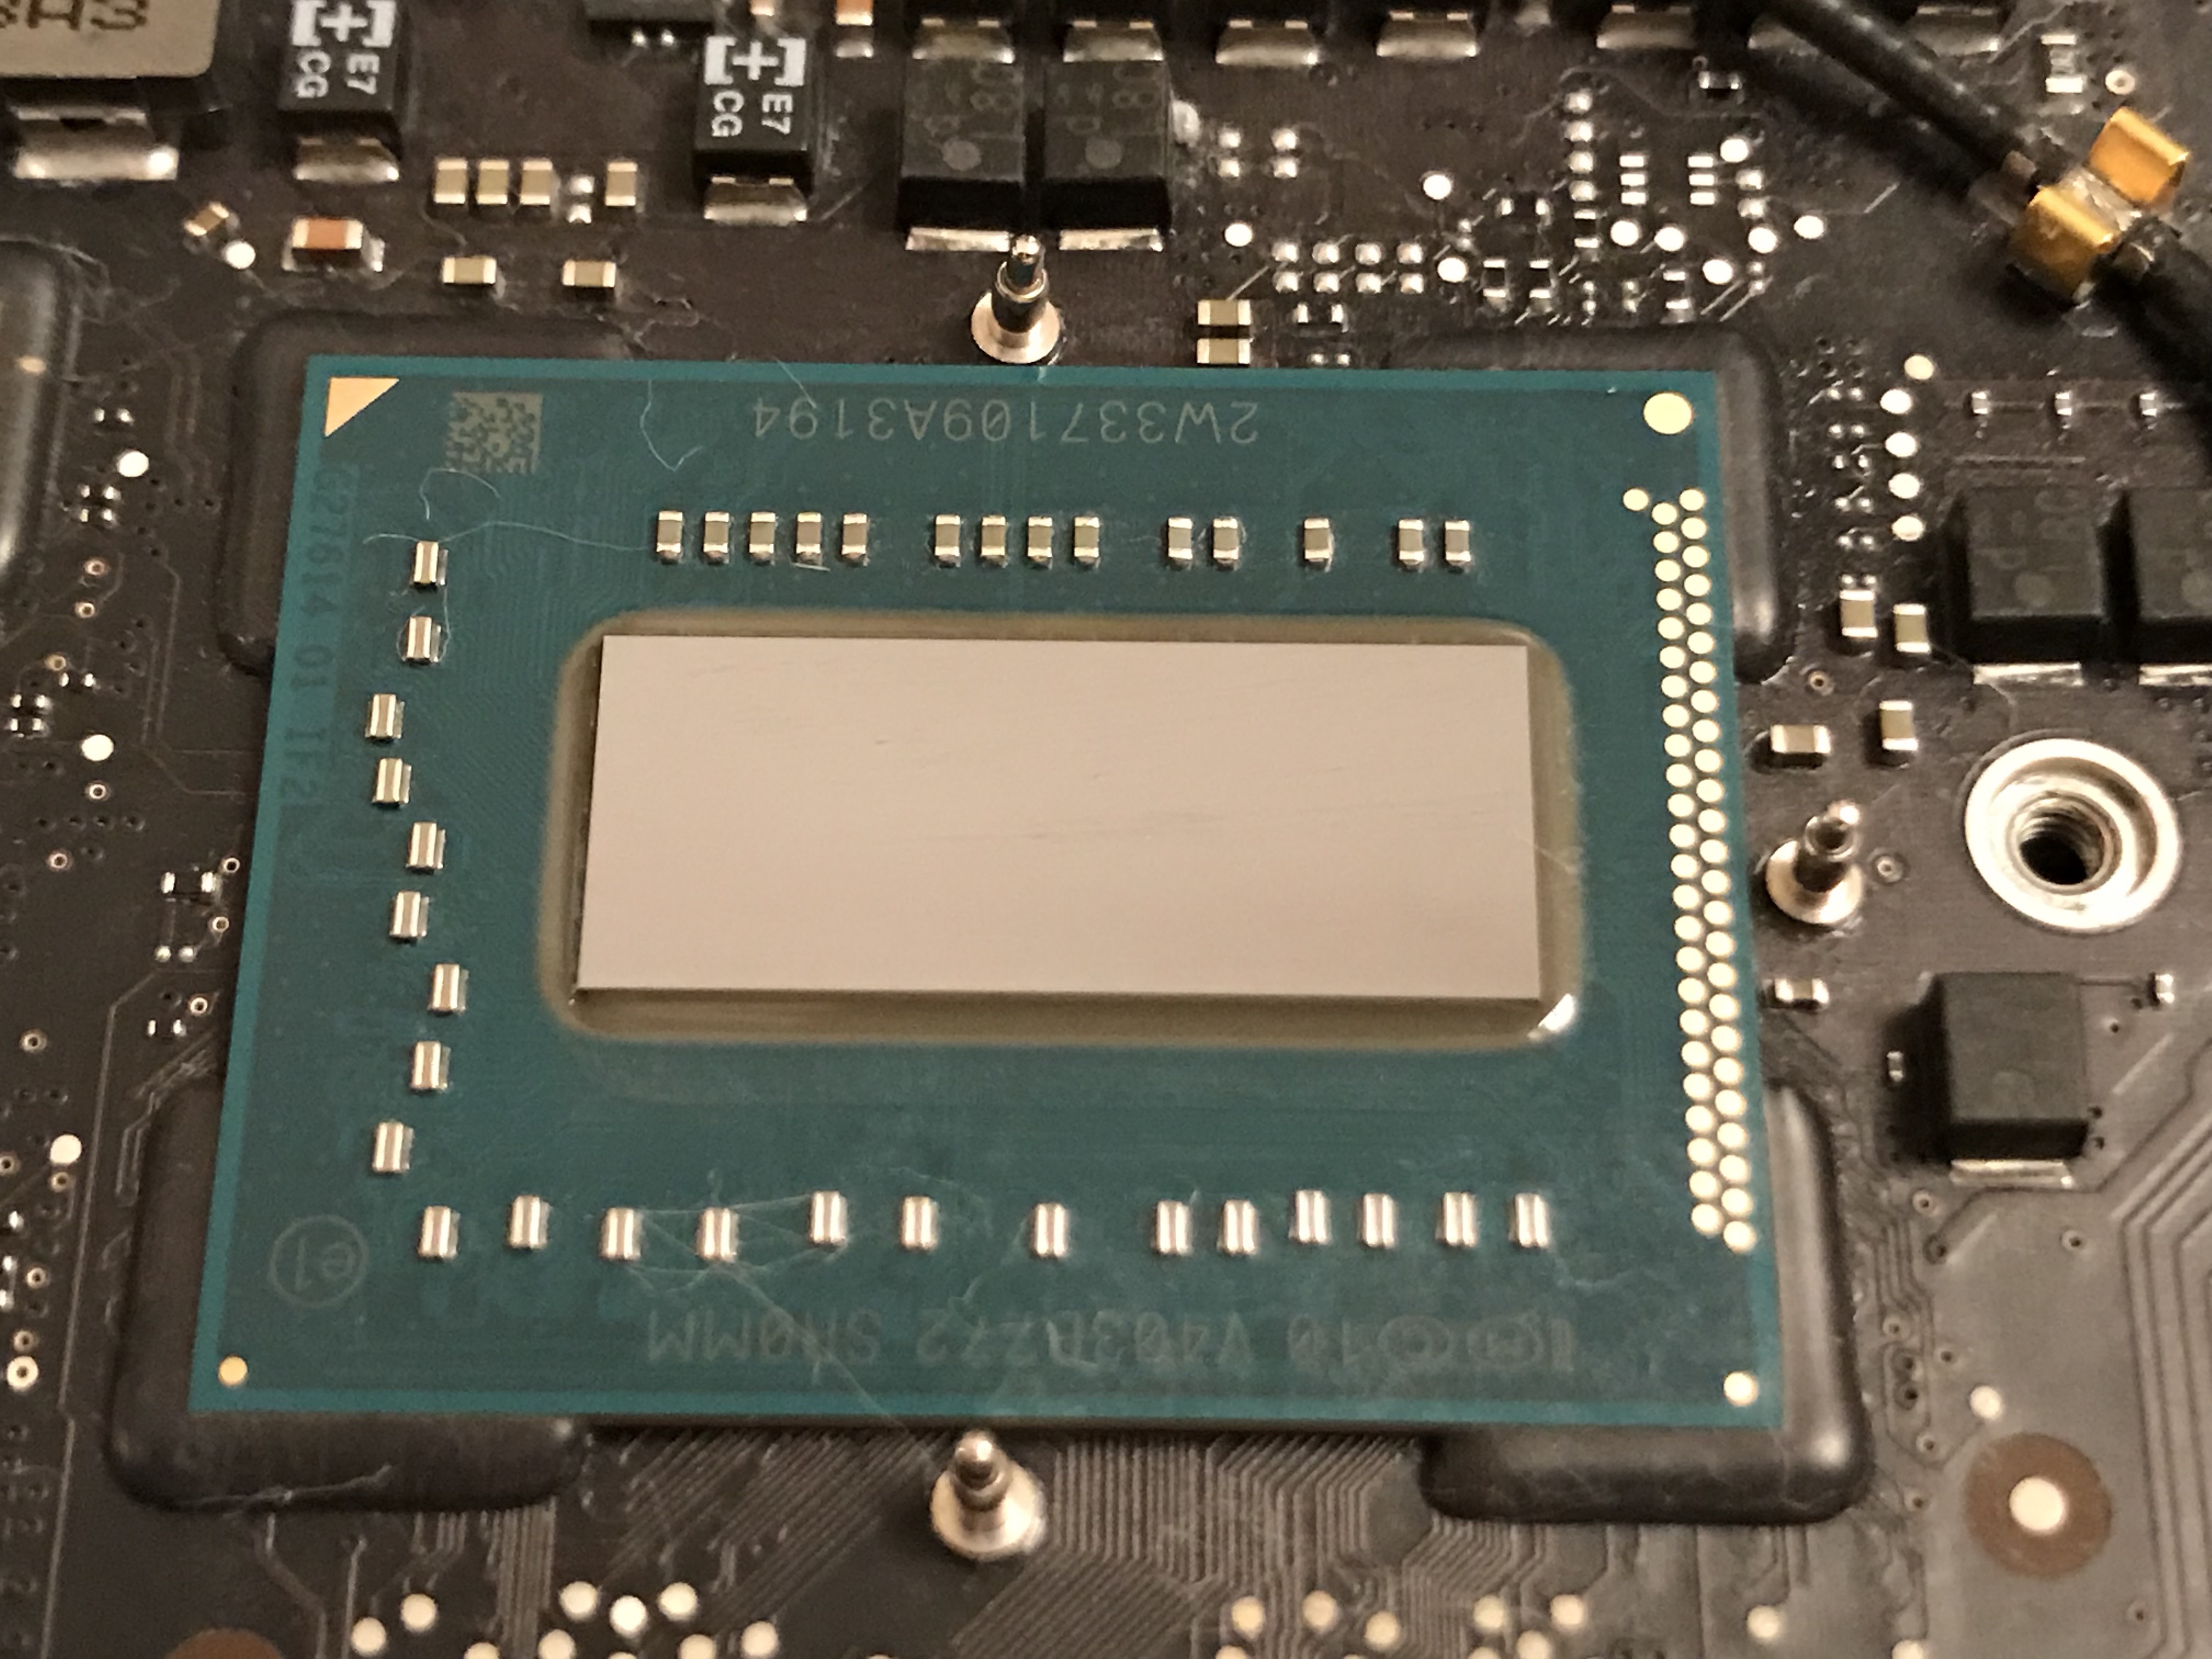
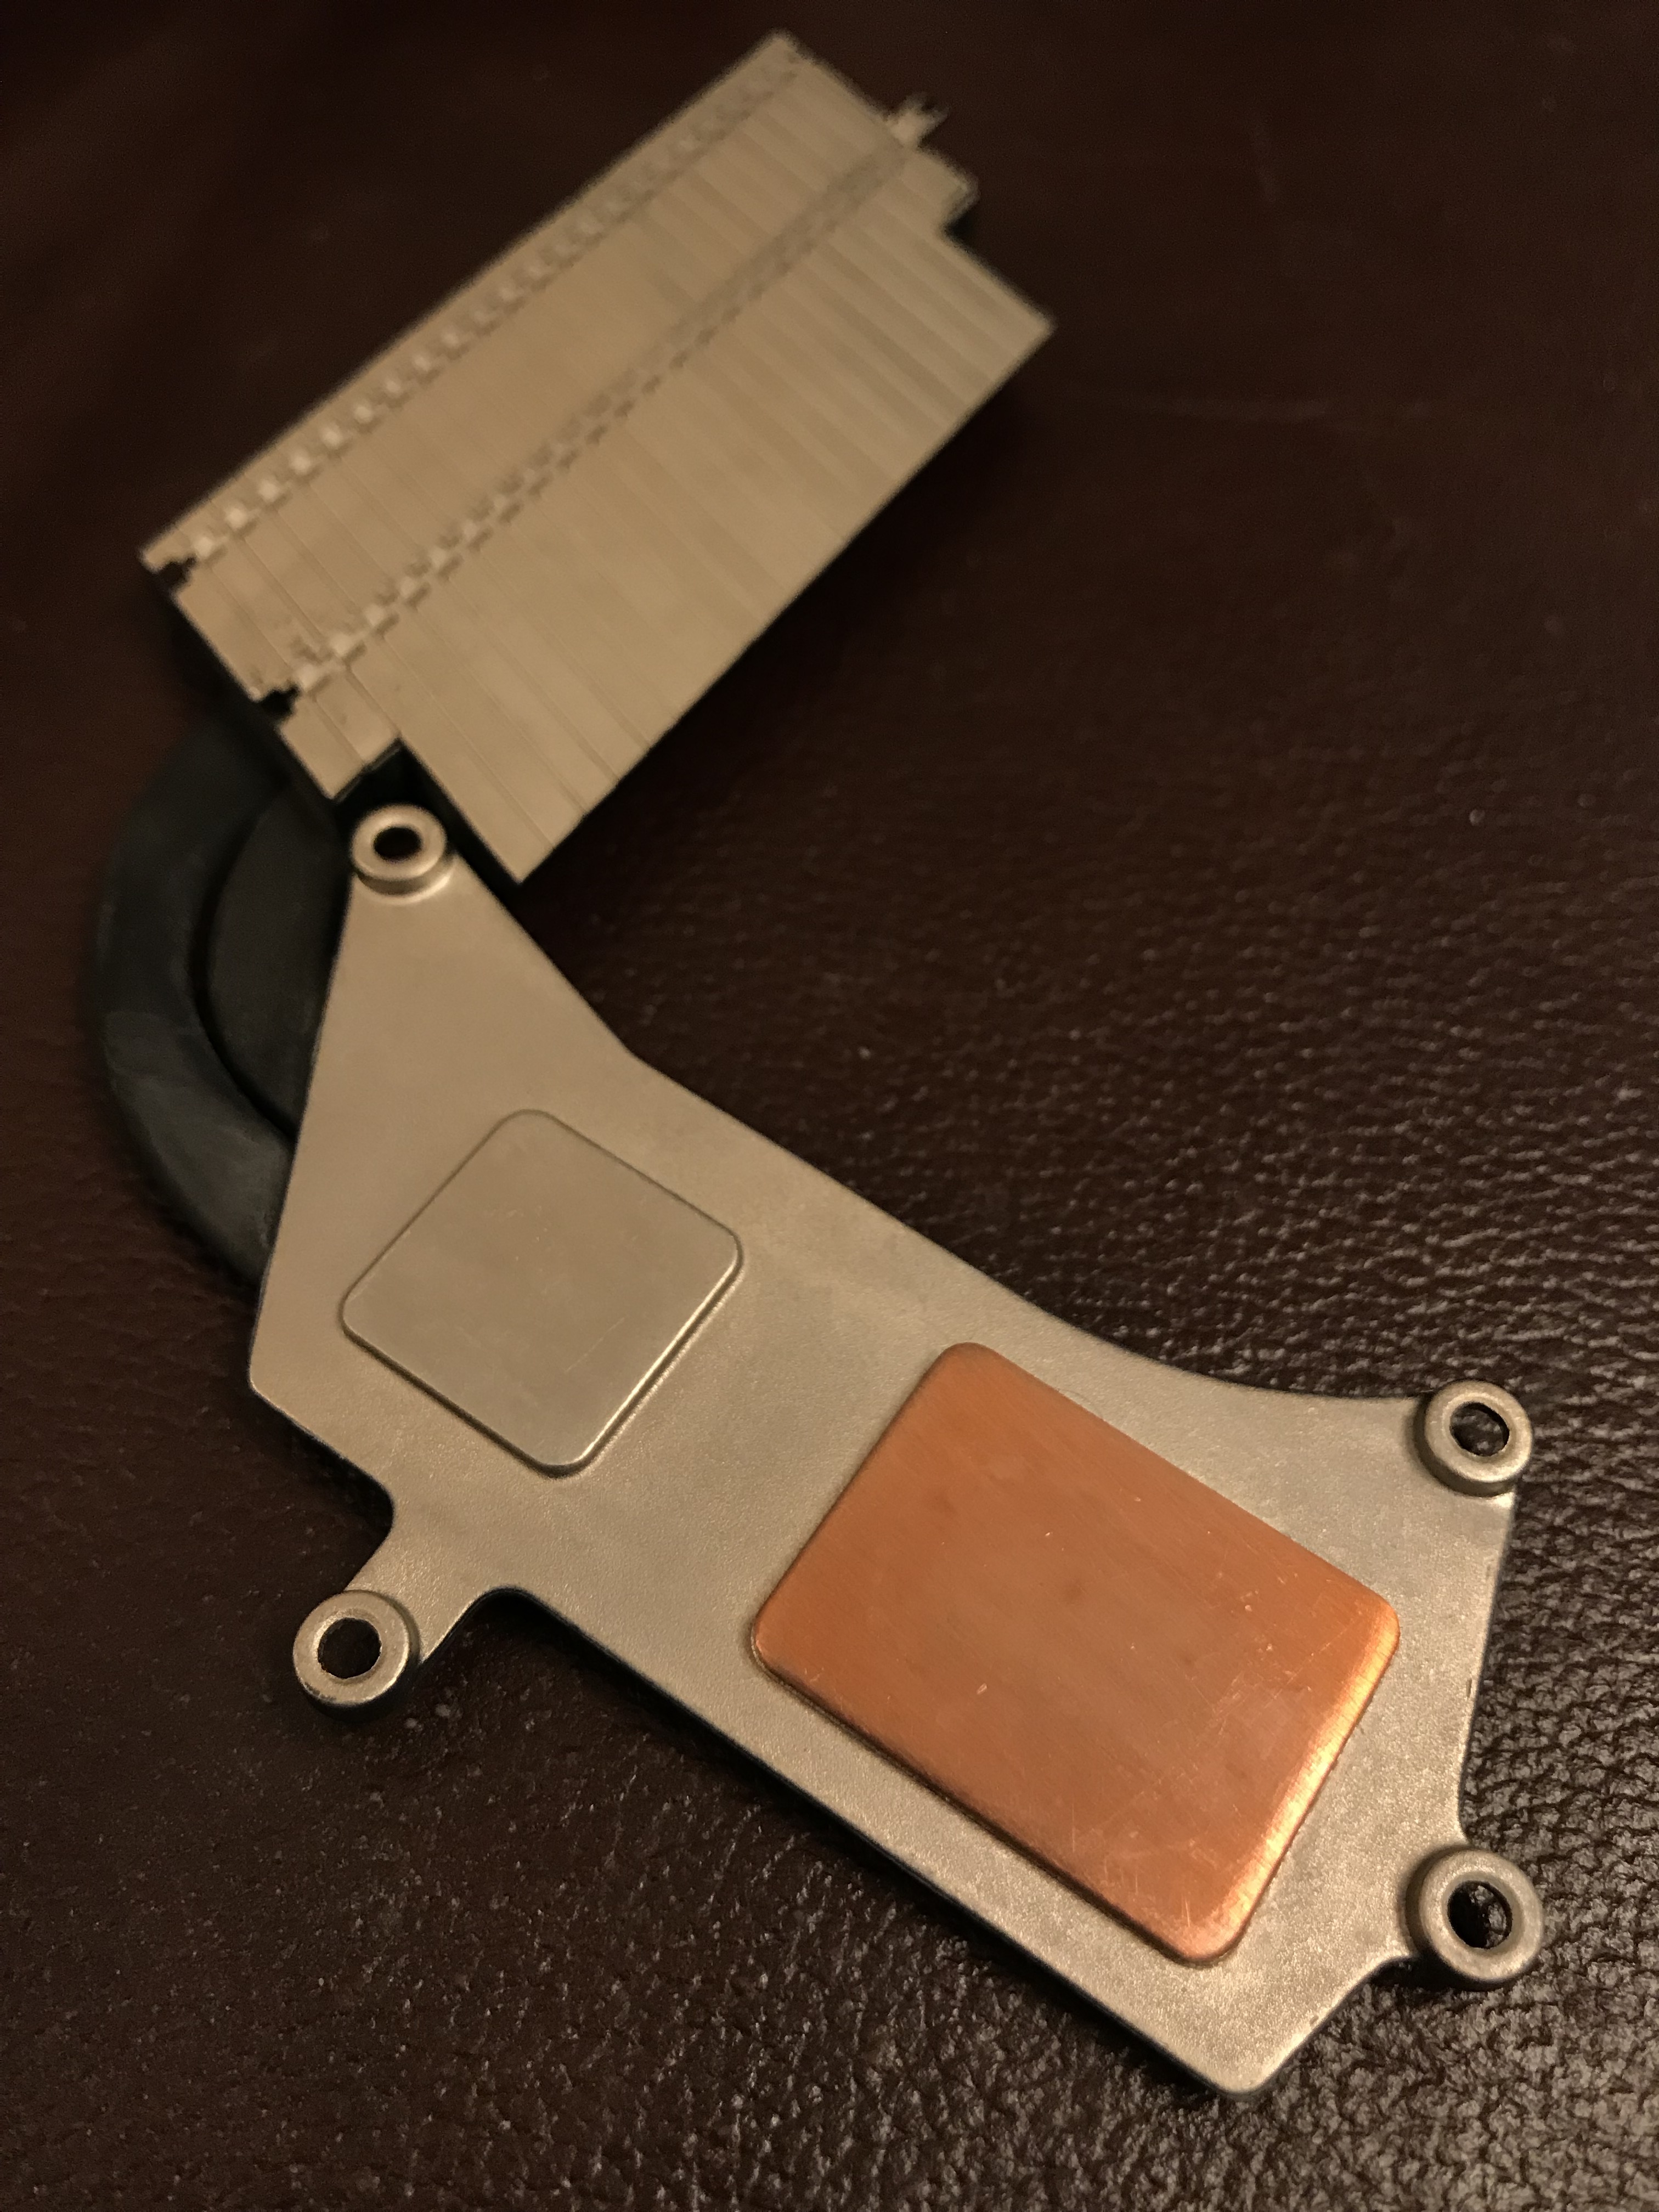
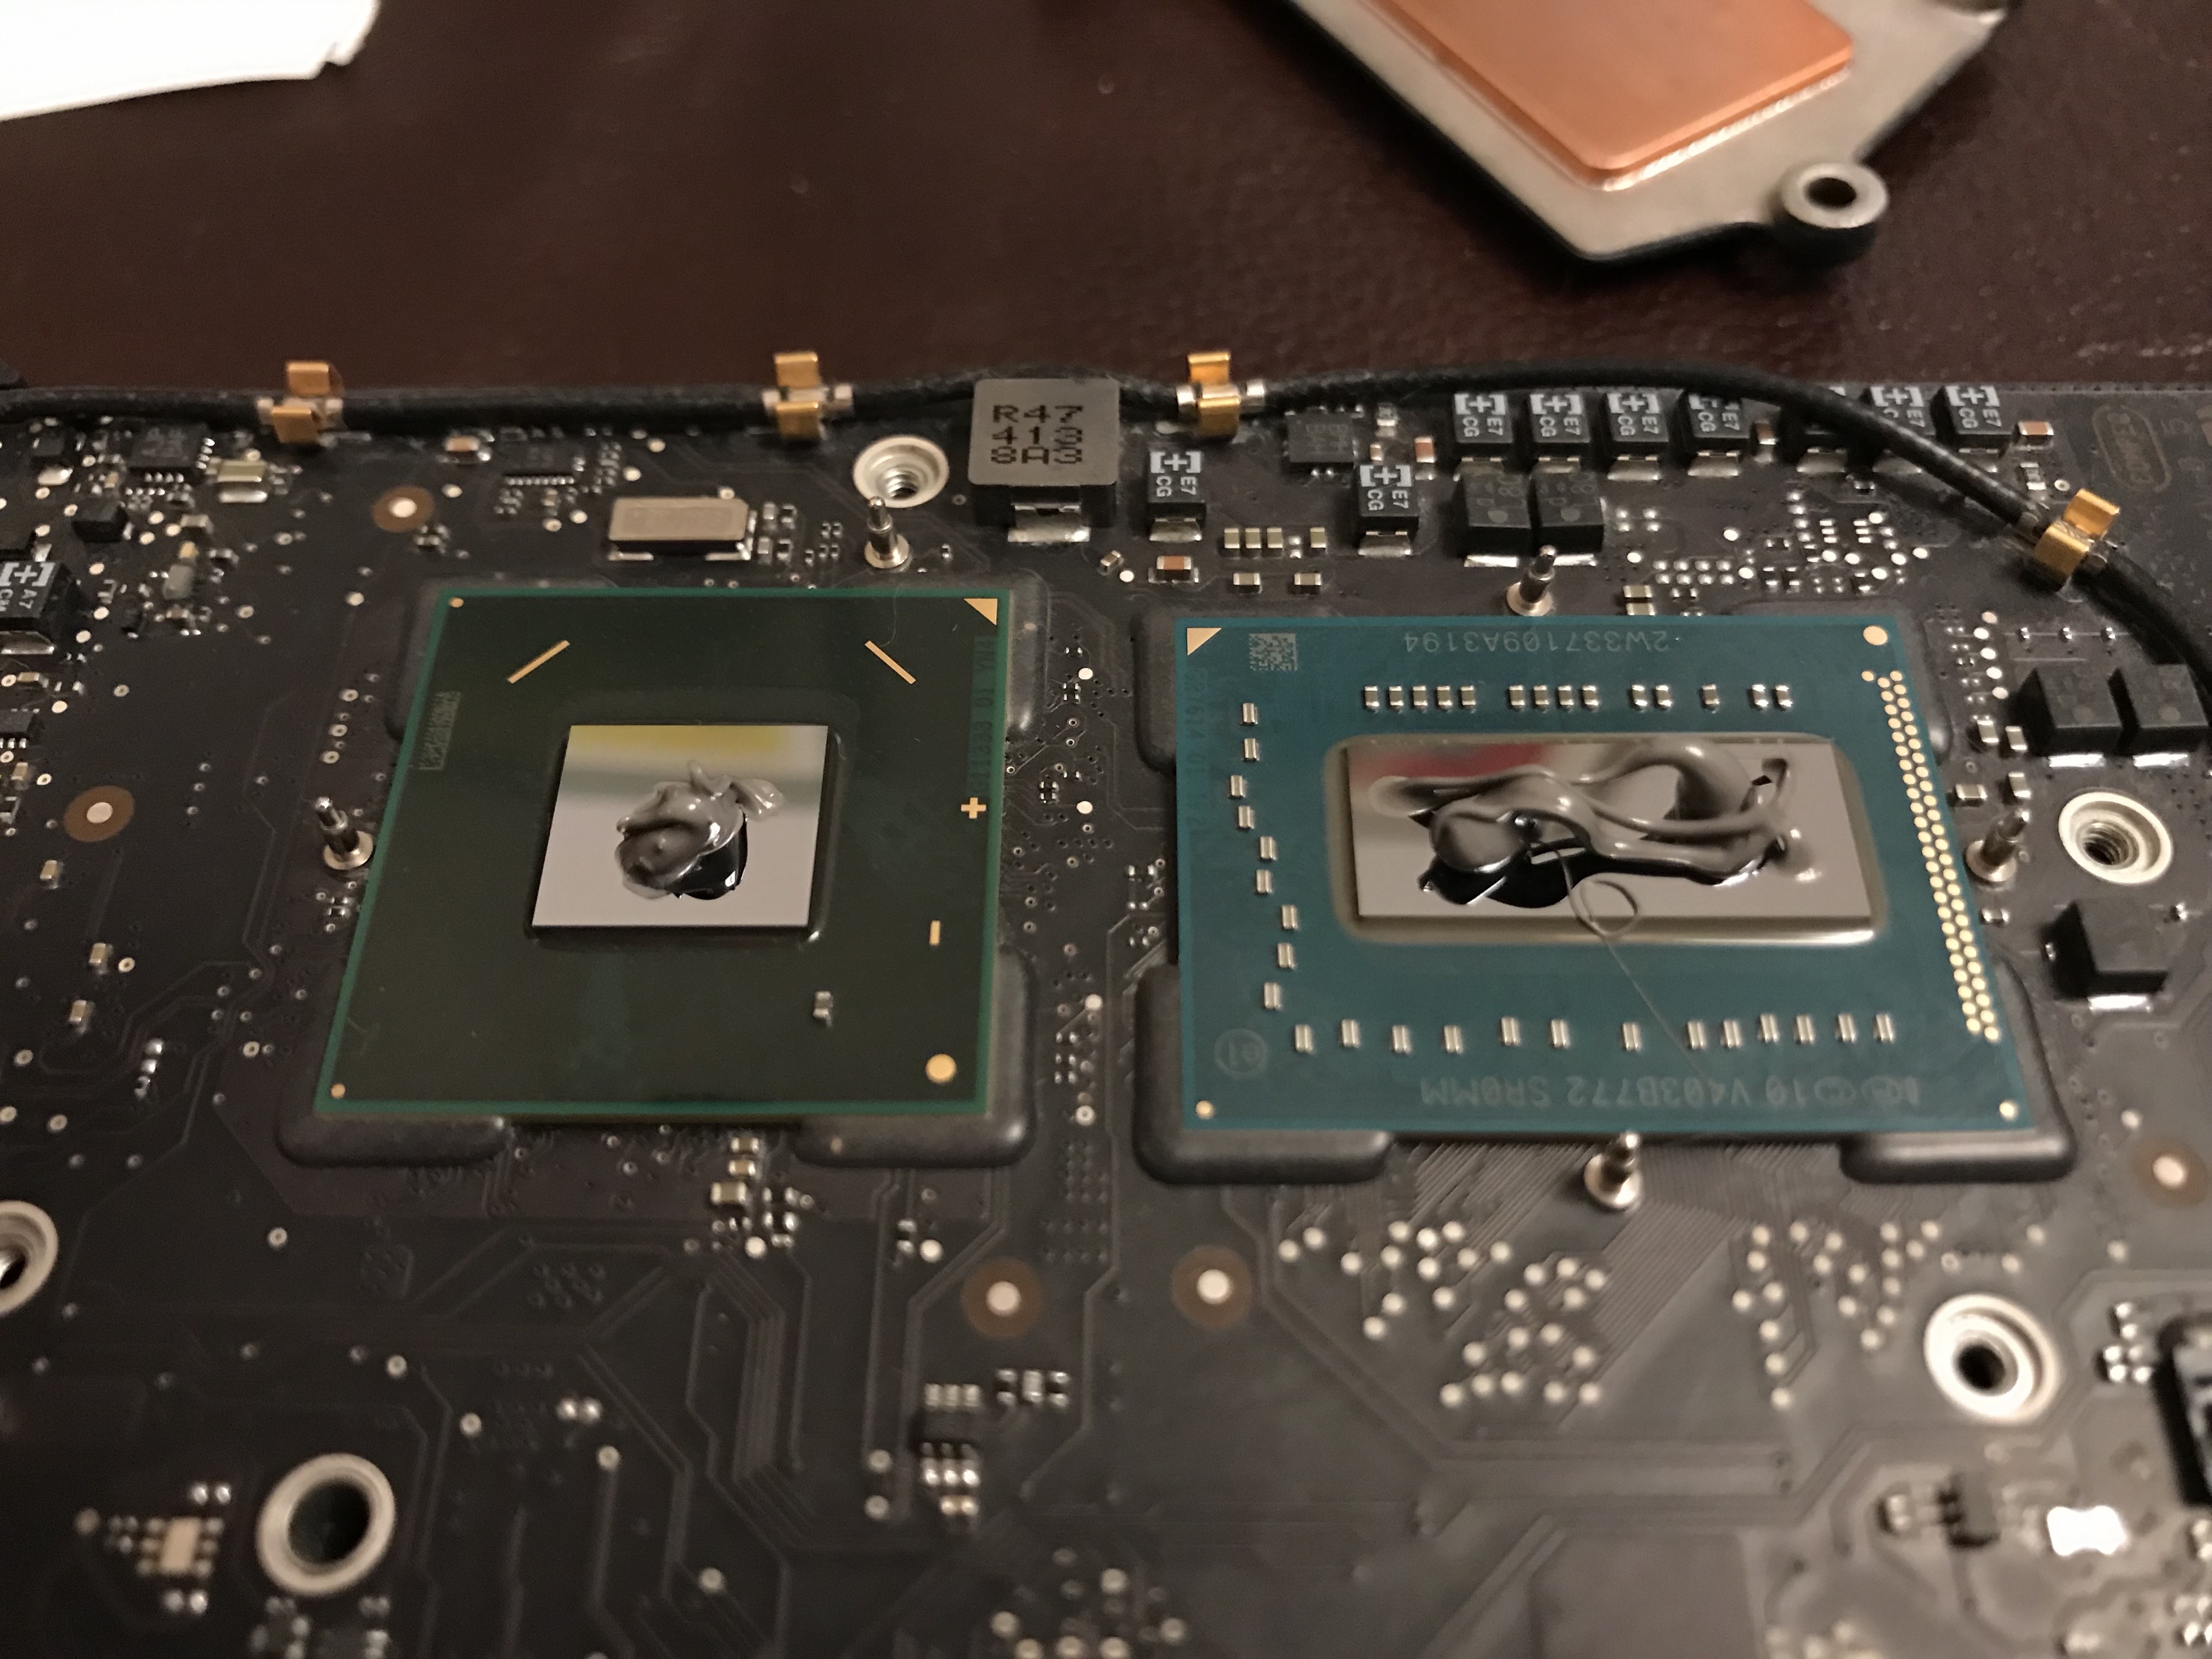
Once the SSD arrived, I got to work. I didn’t want Ligia to experience an outage longer than a few hours, so the pressure was on. My plan was to open up her machine, clean the insides thoroughly of dust, replace the thermal paste on the CPU and GPU, then replace the HDD with the SSD. After putting it back together and booting up, I would need to do a data restore.
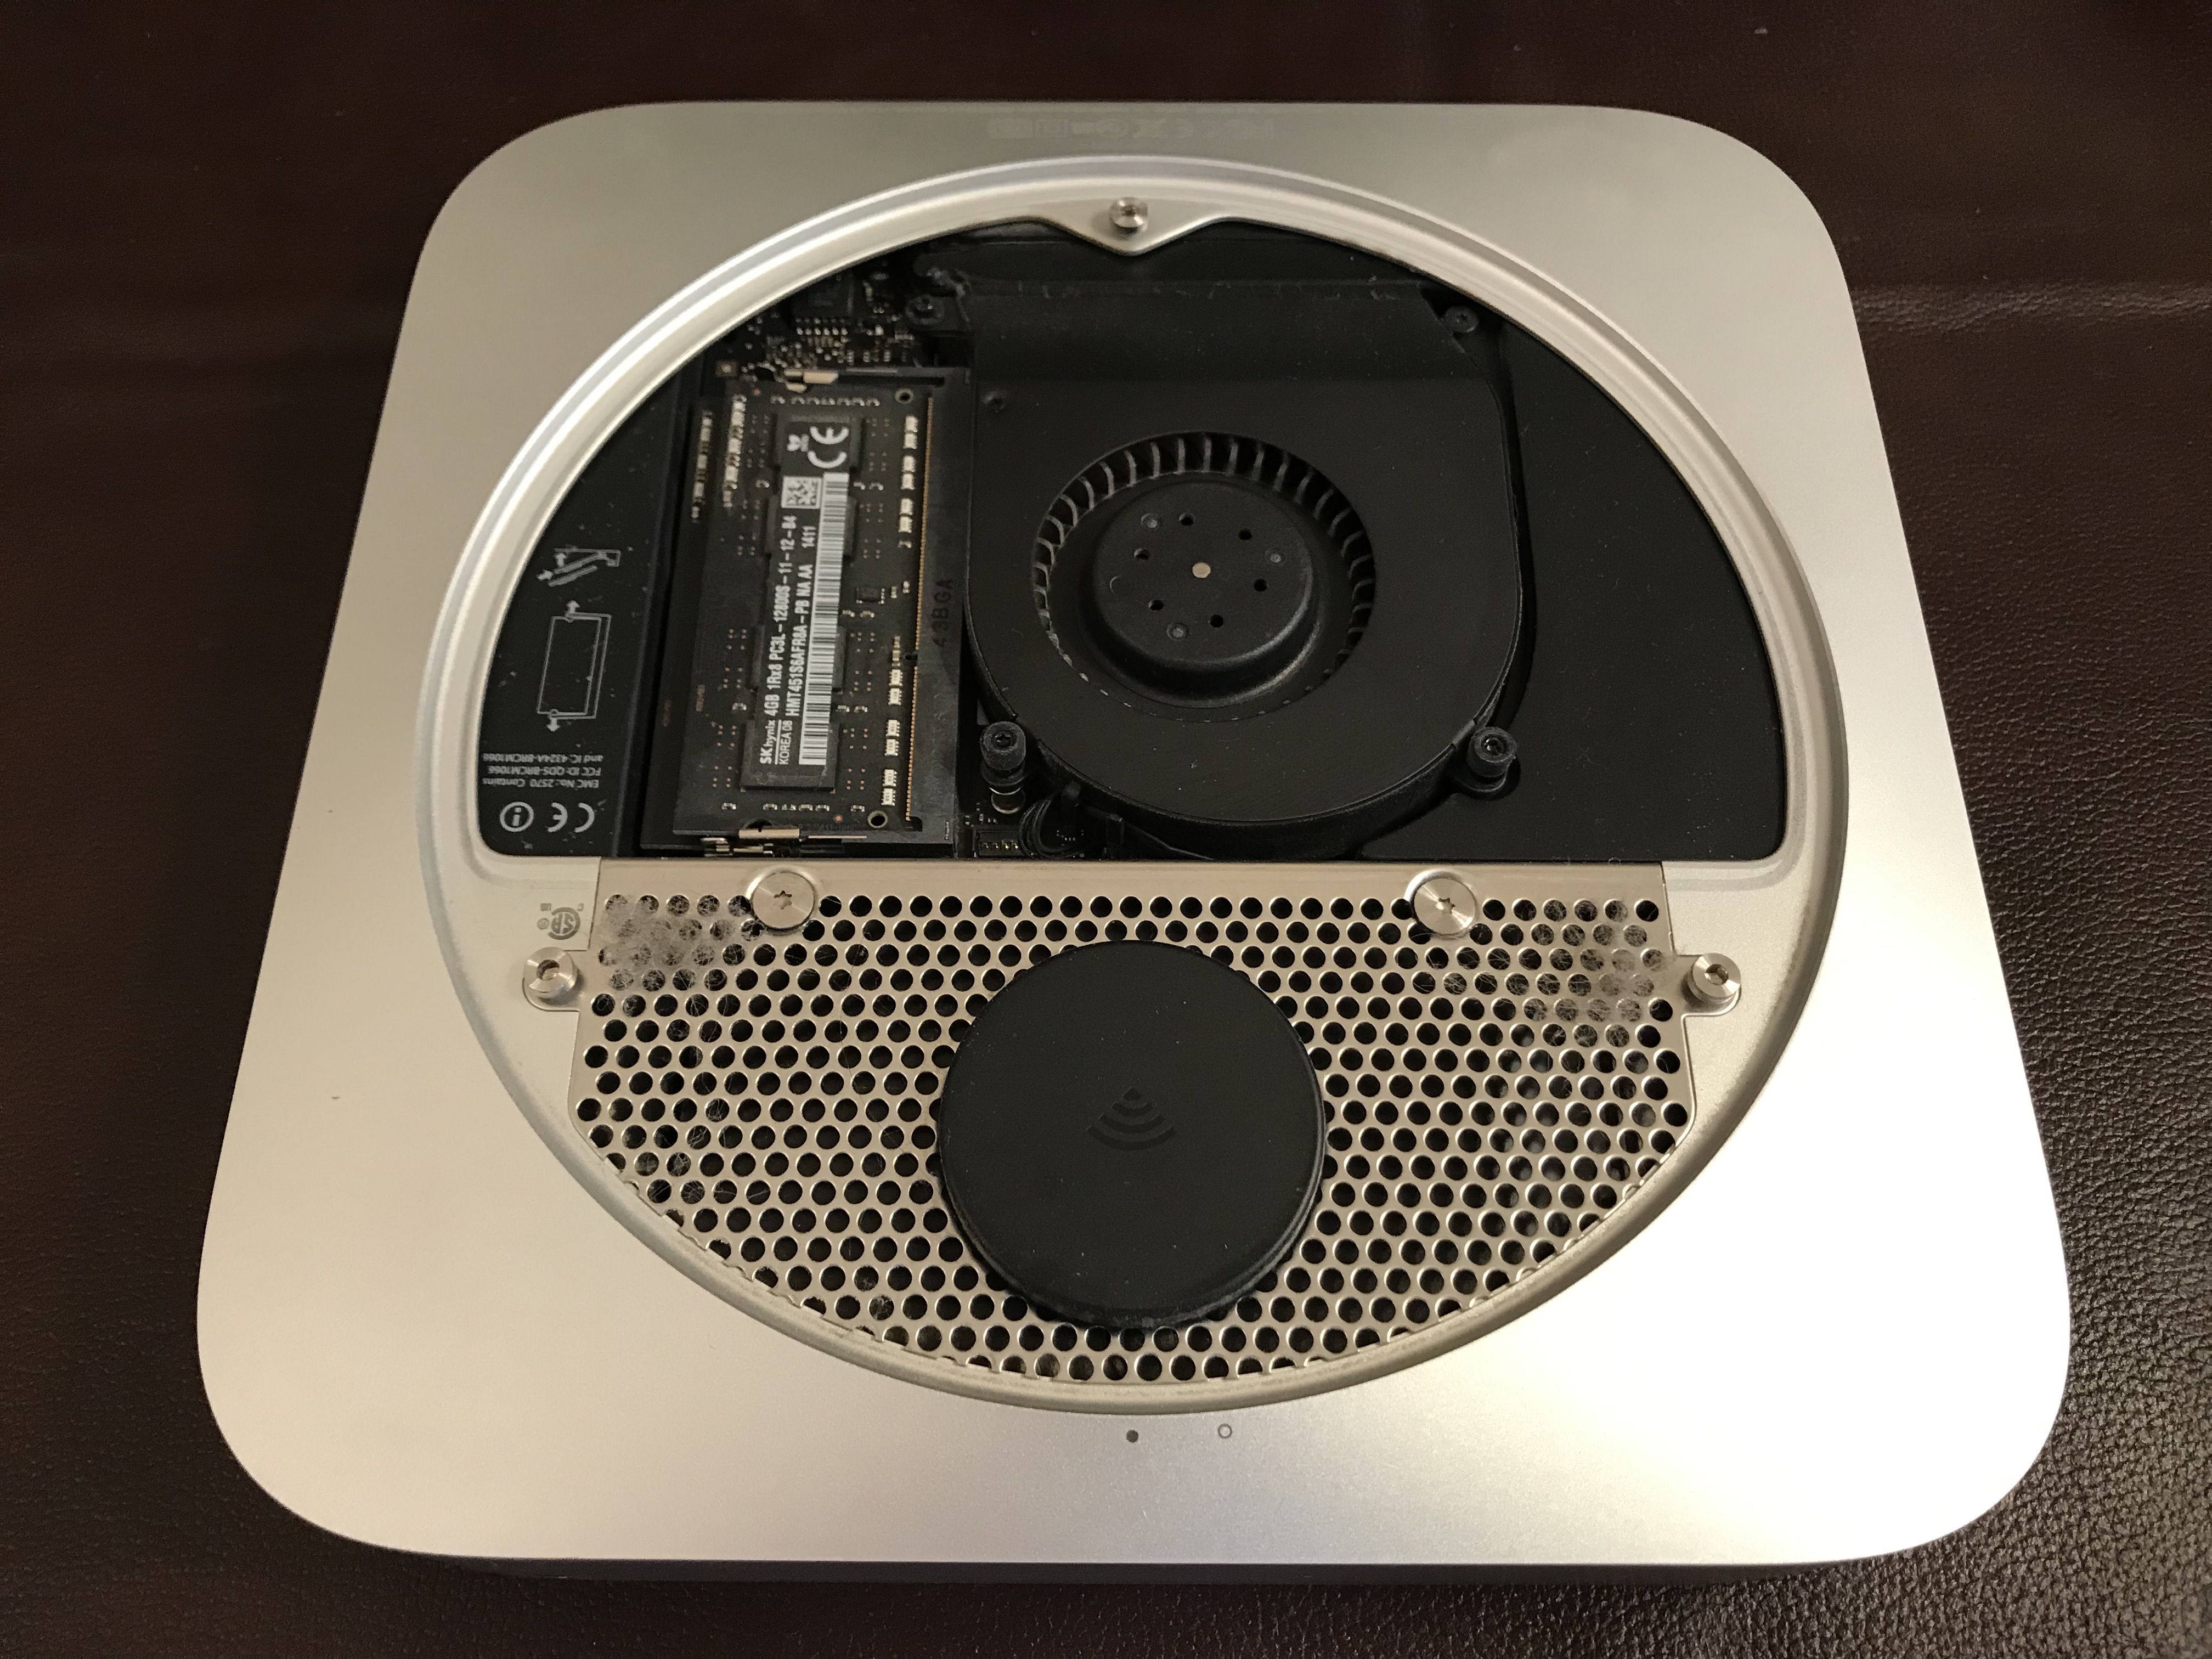
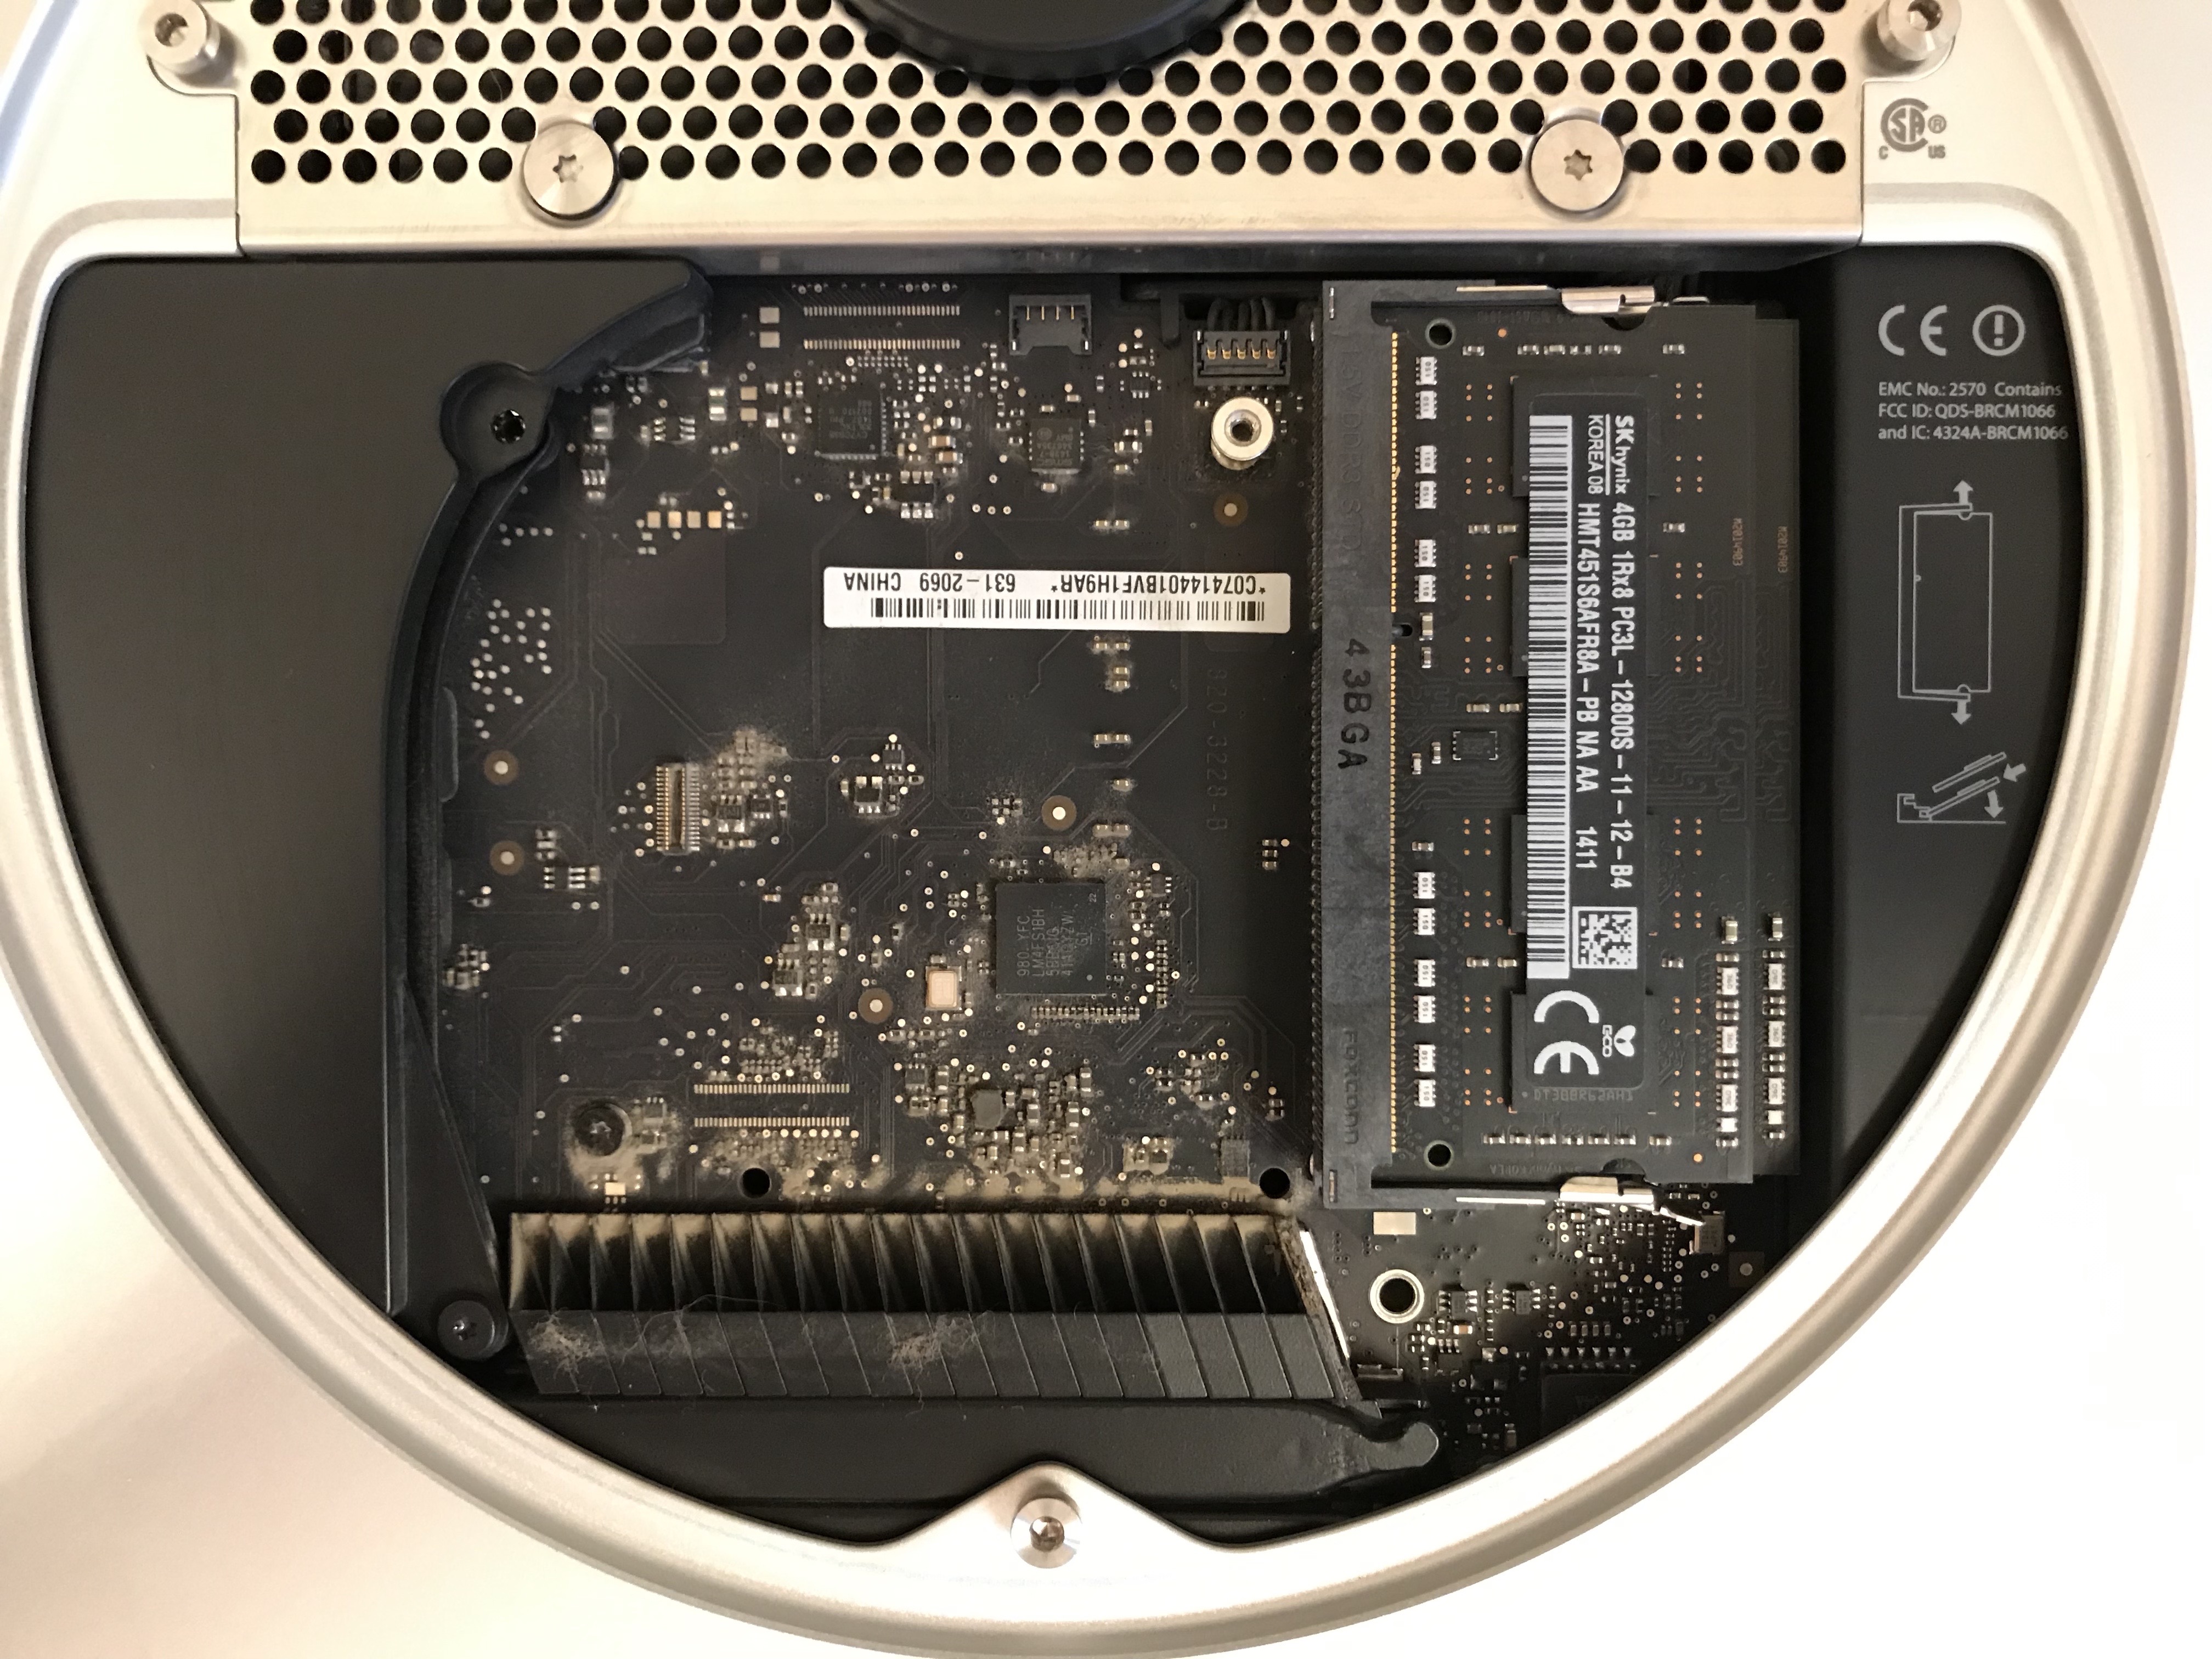
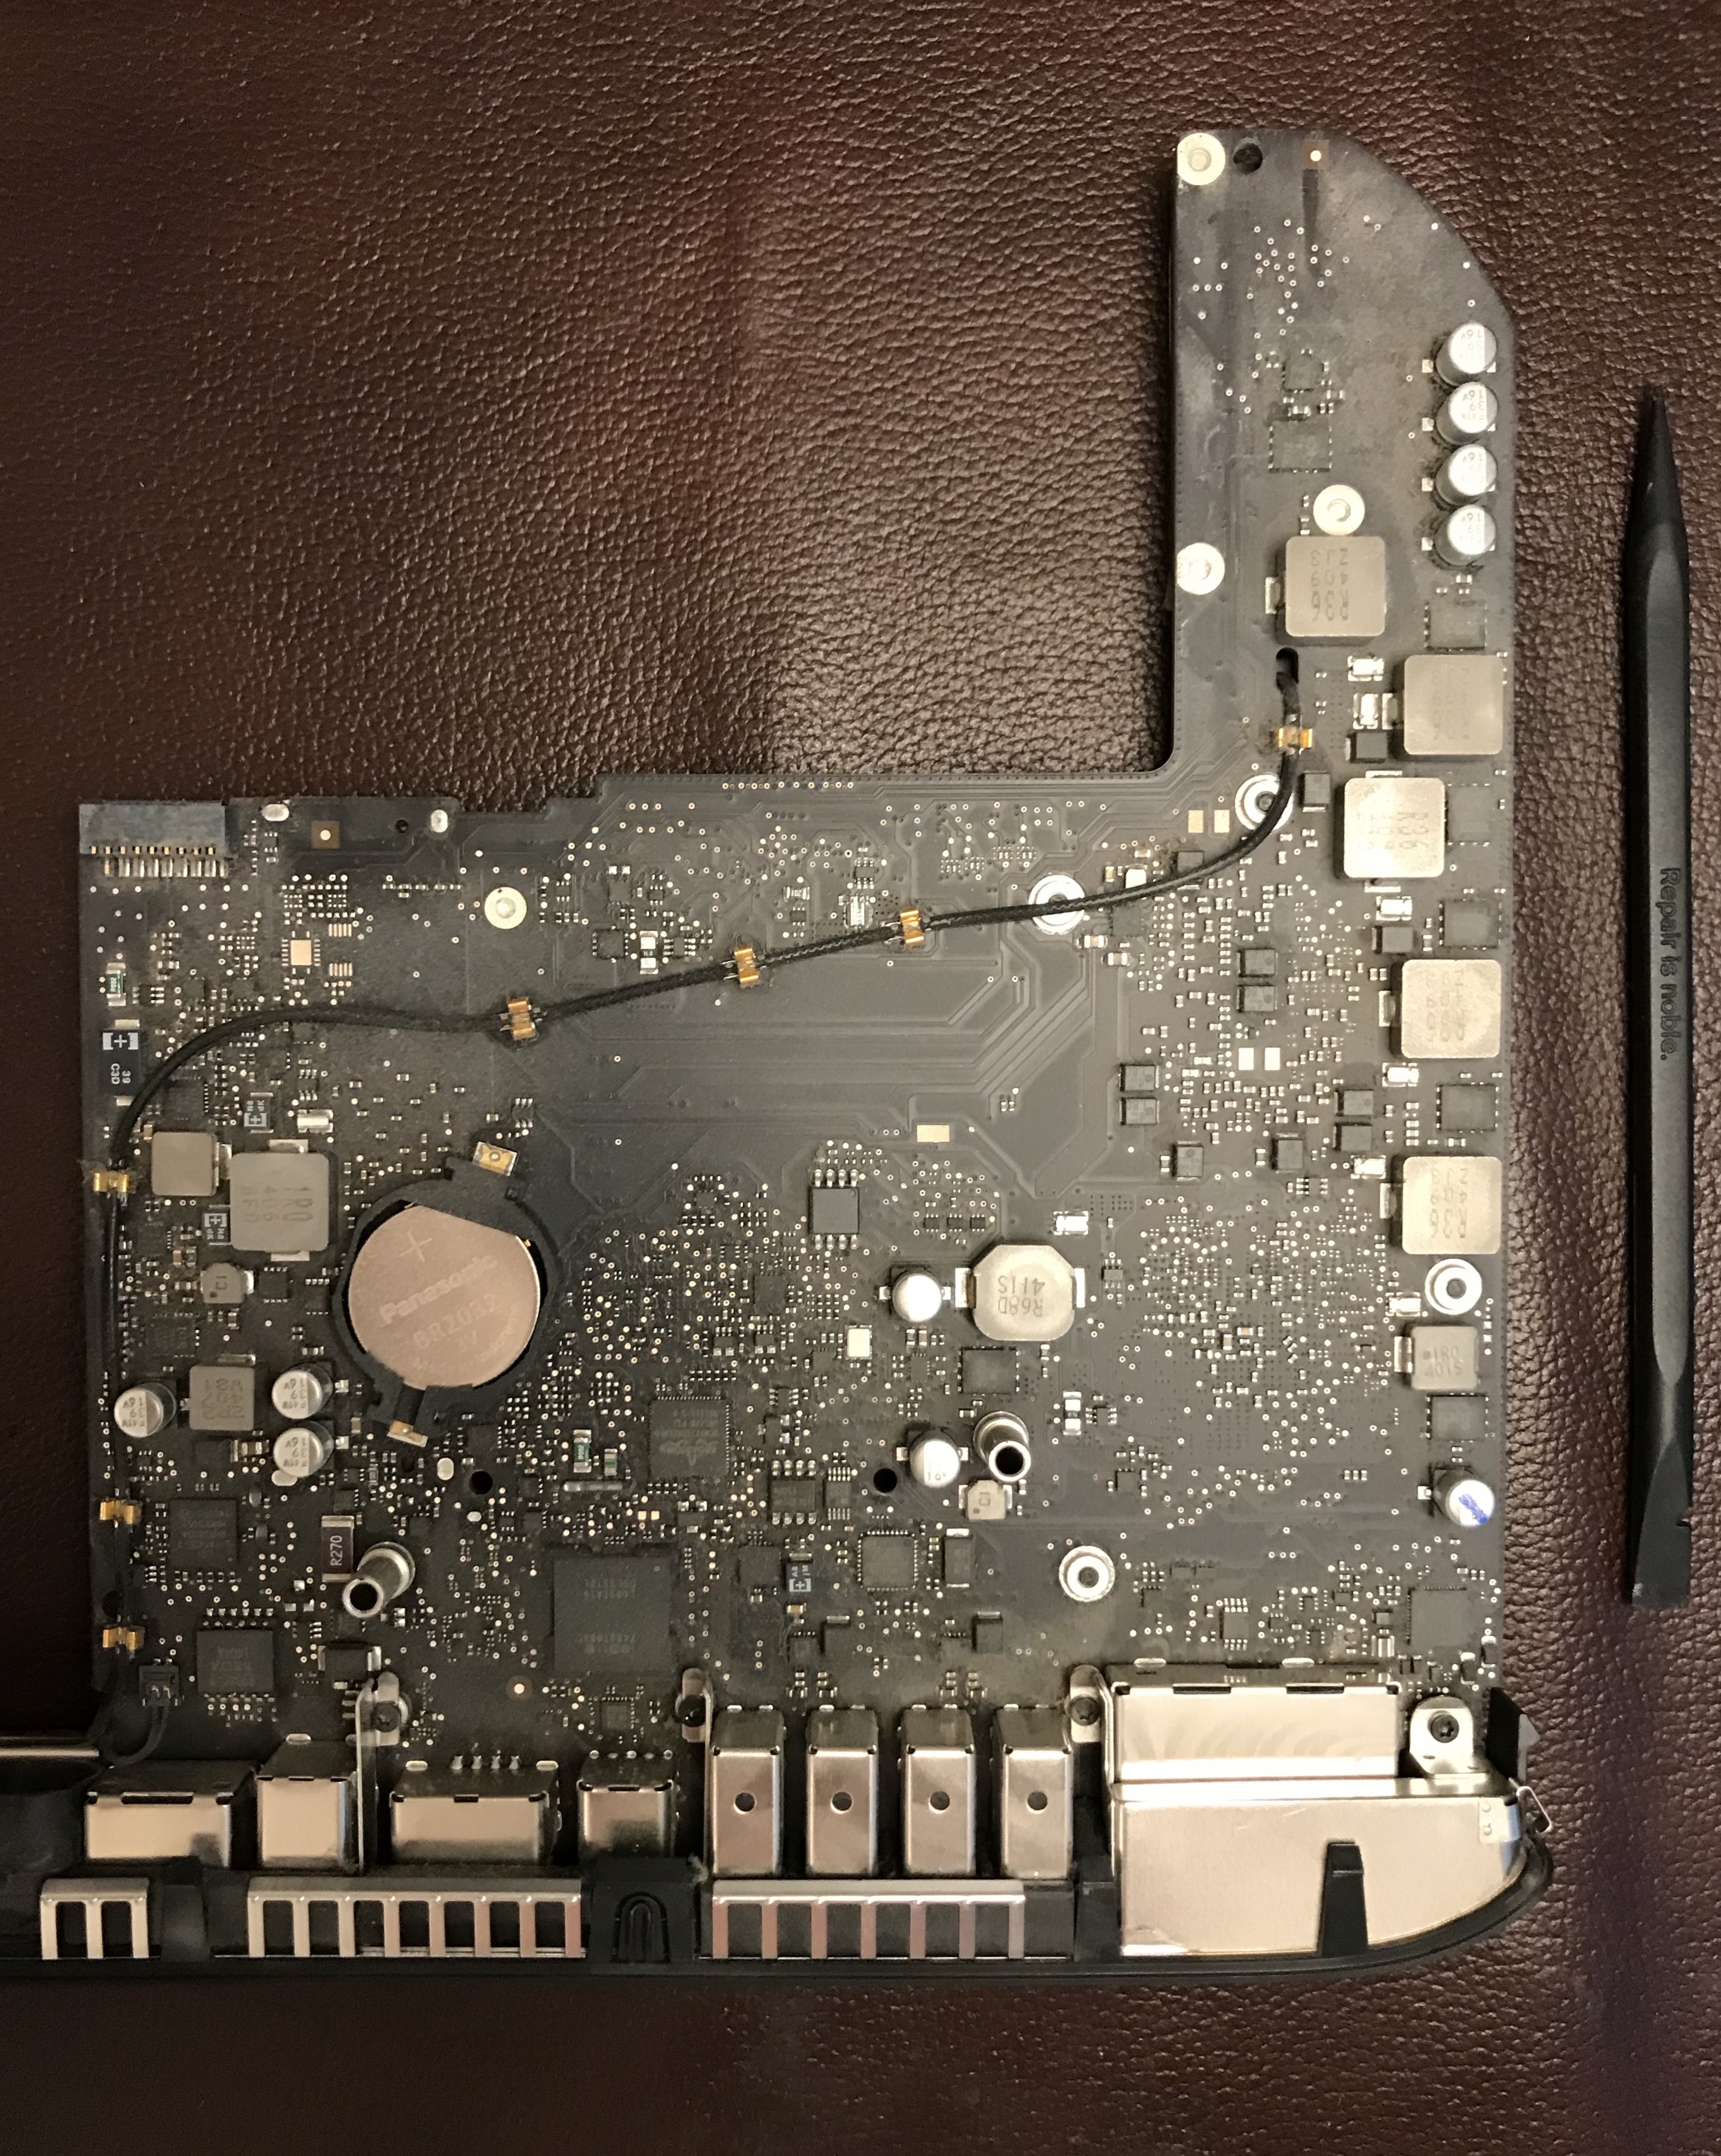
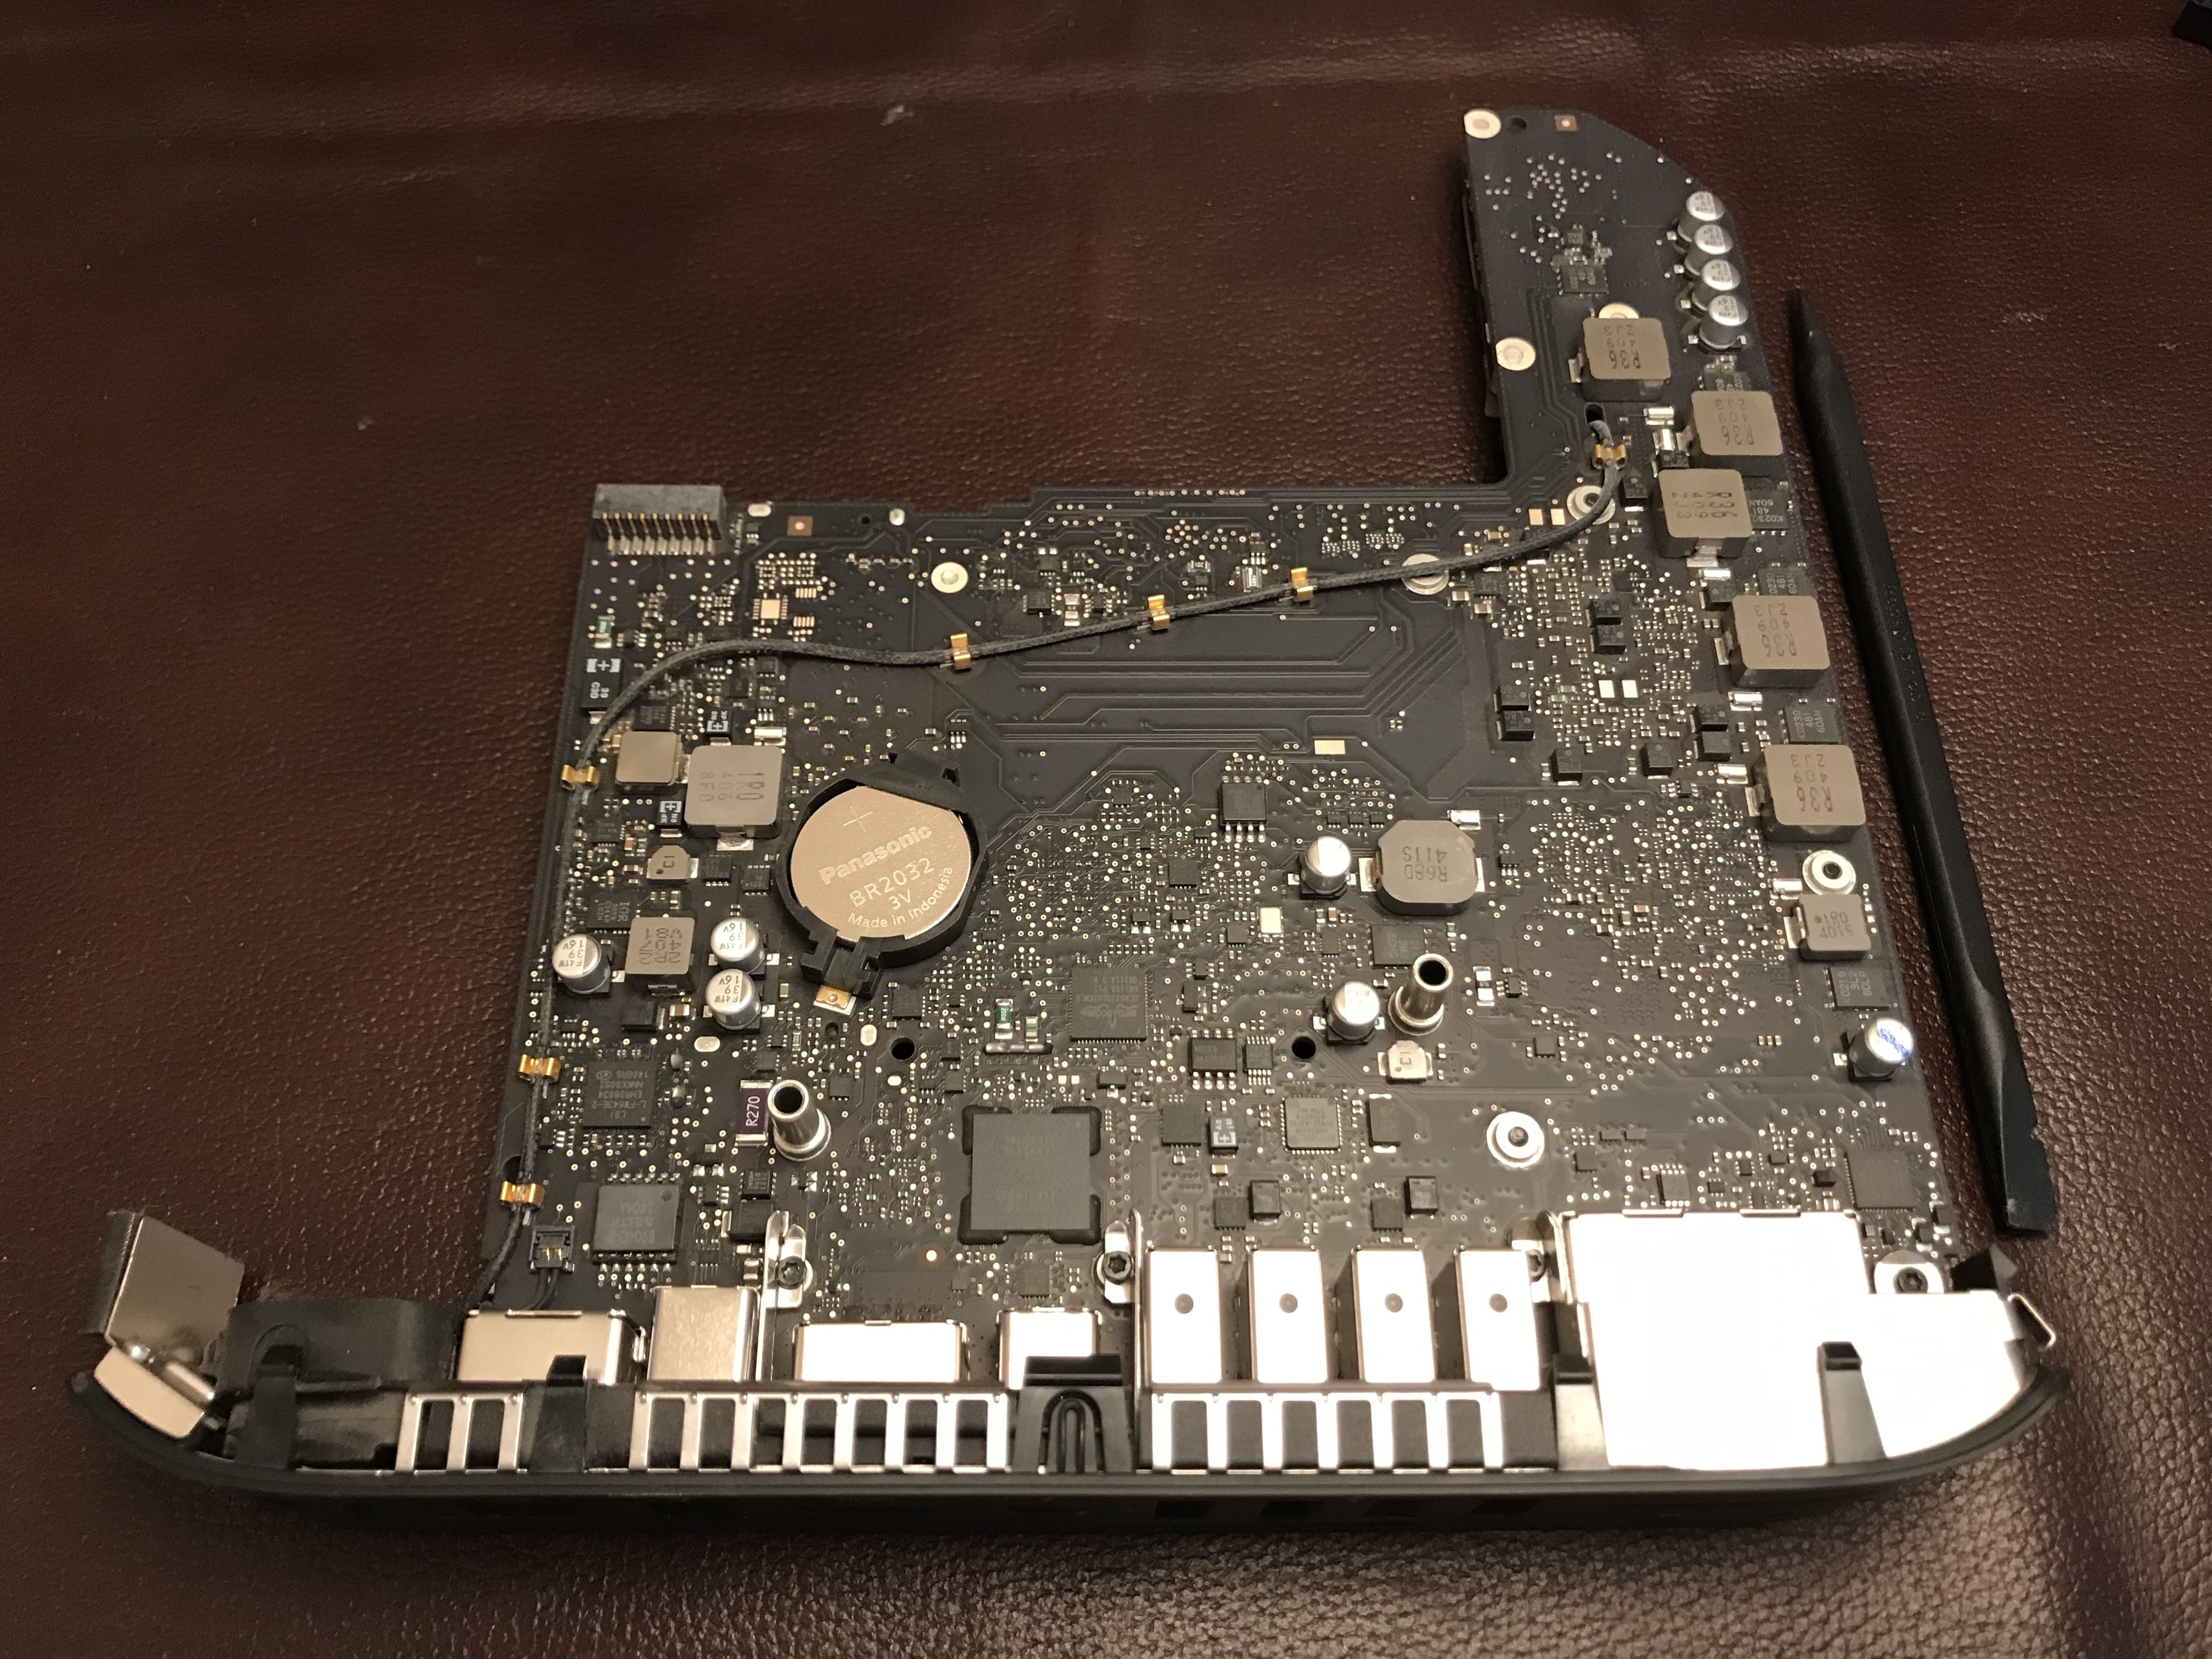
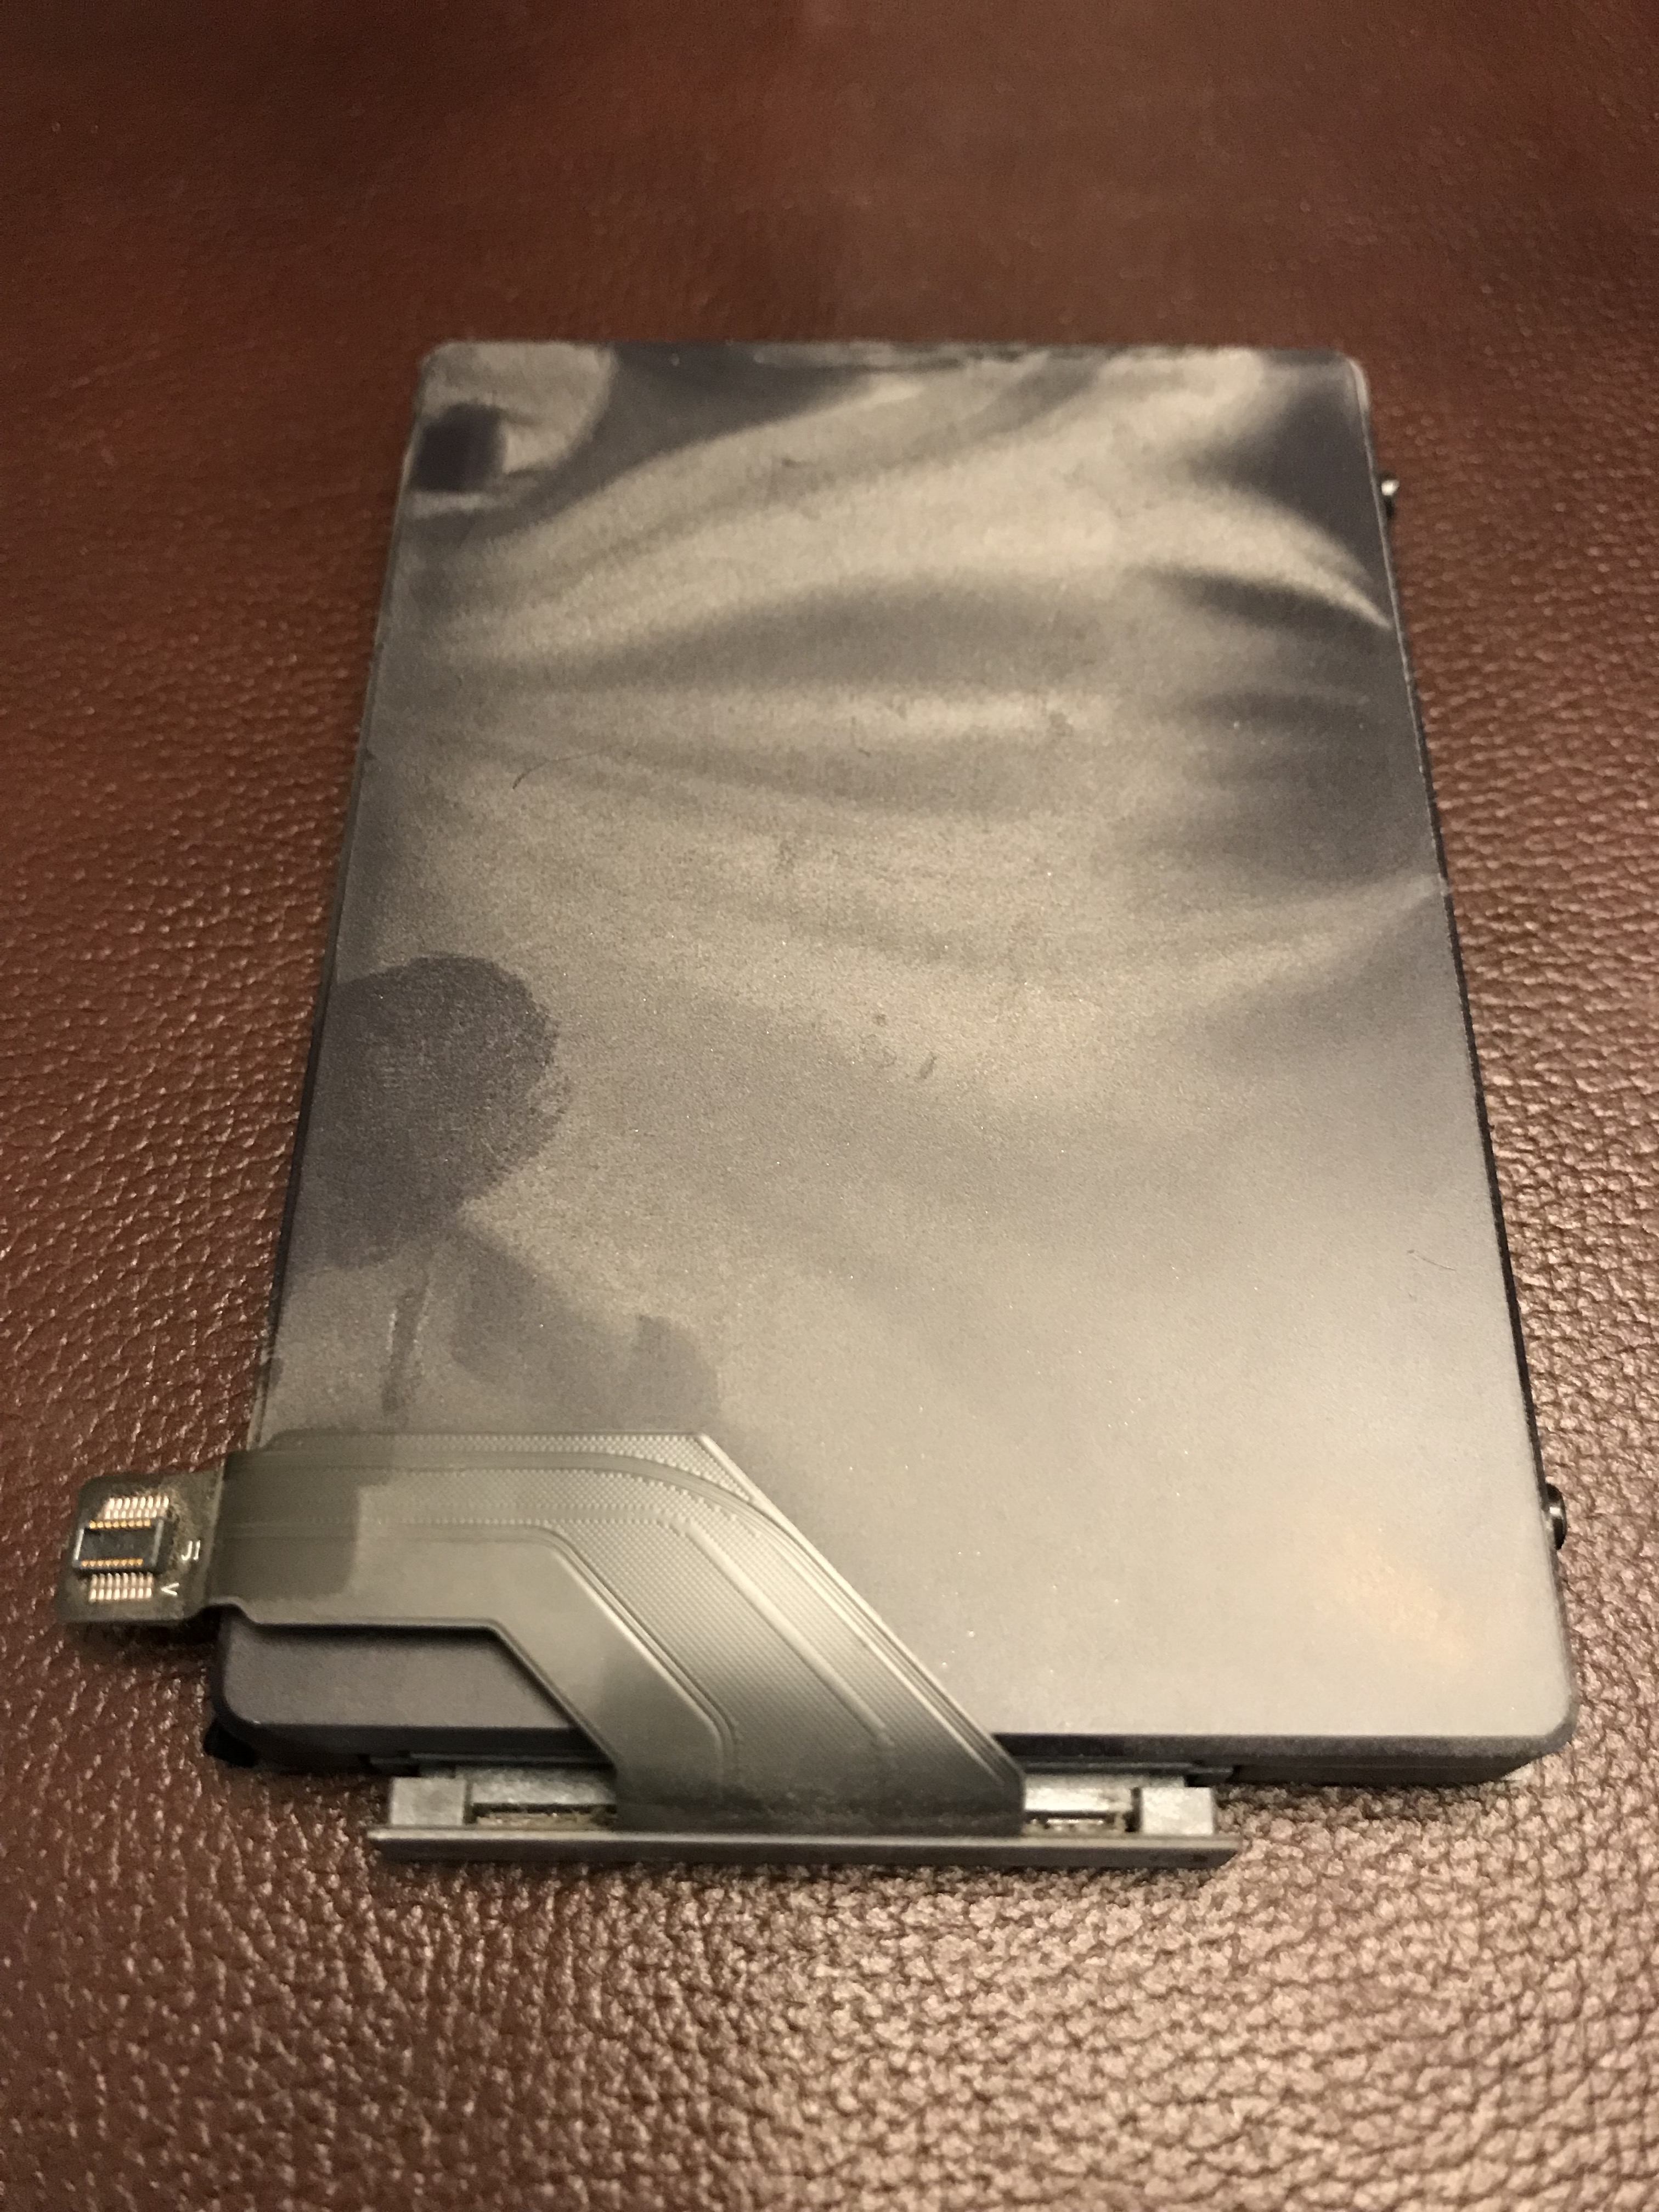
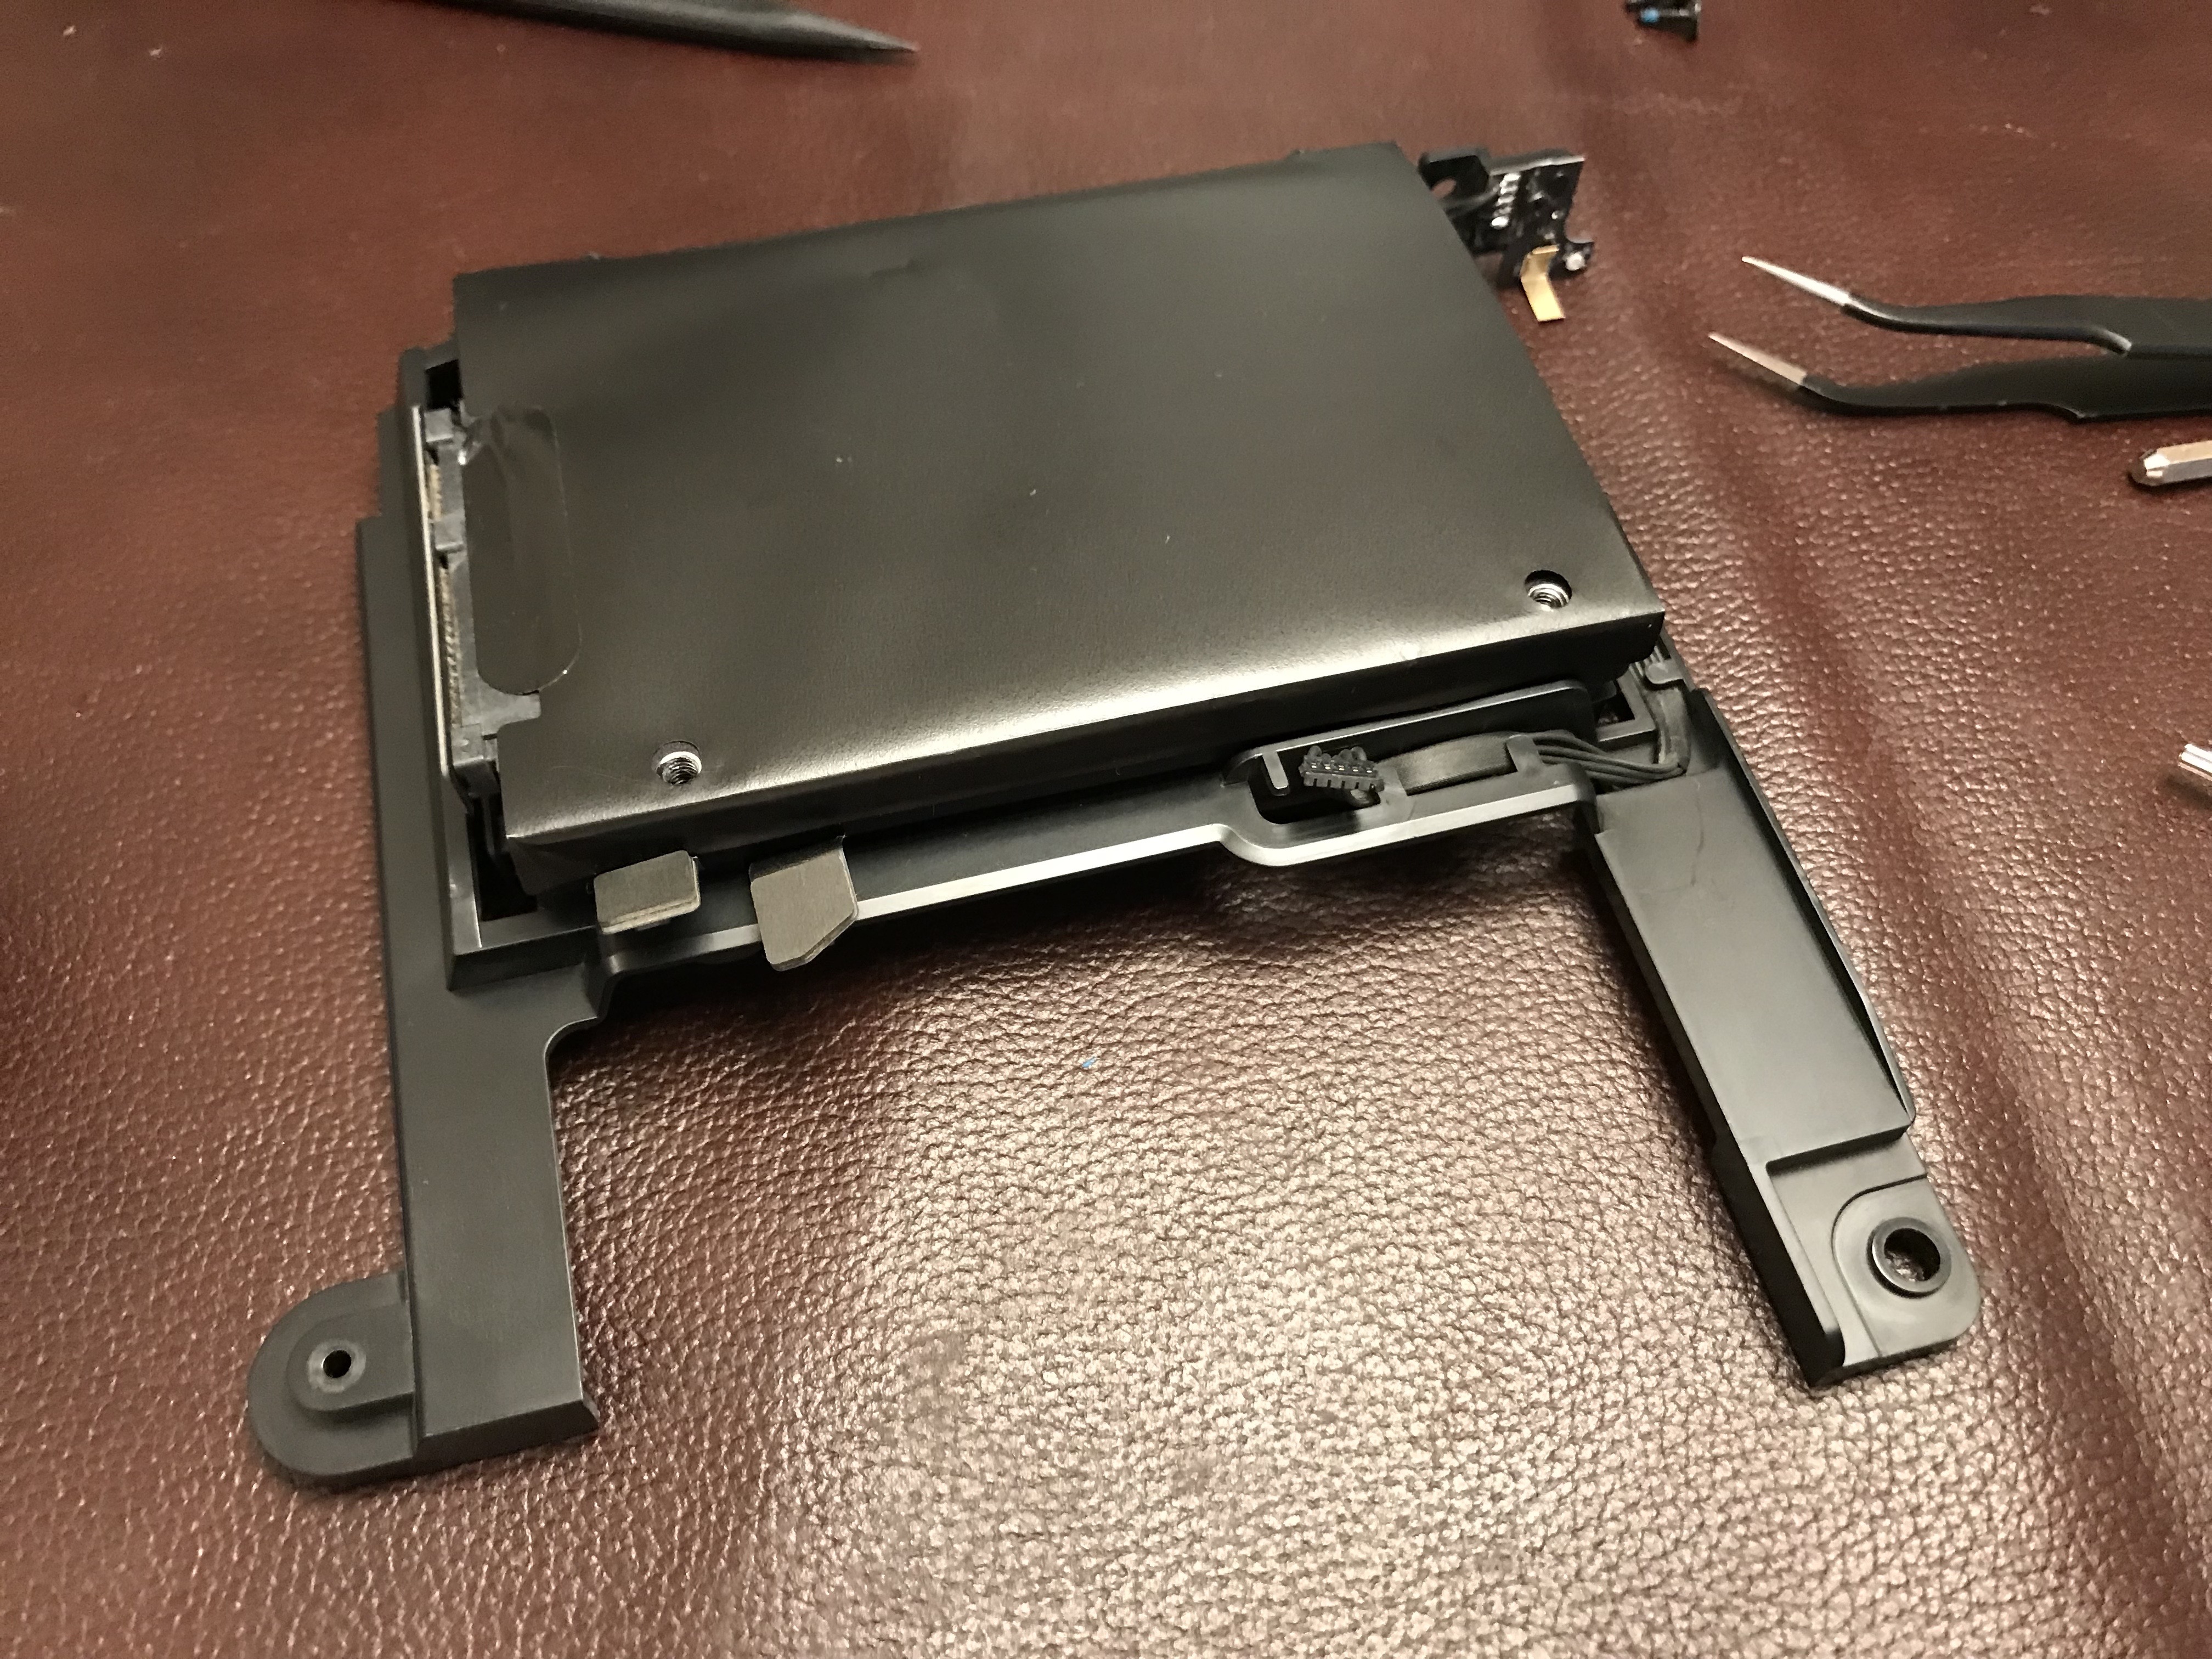
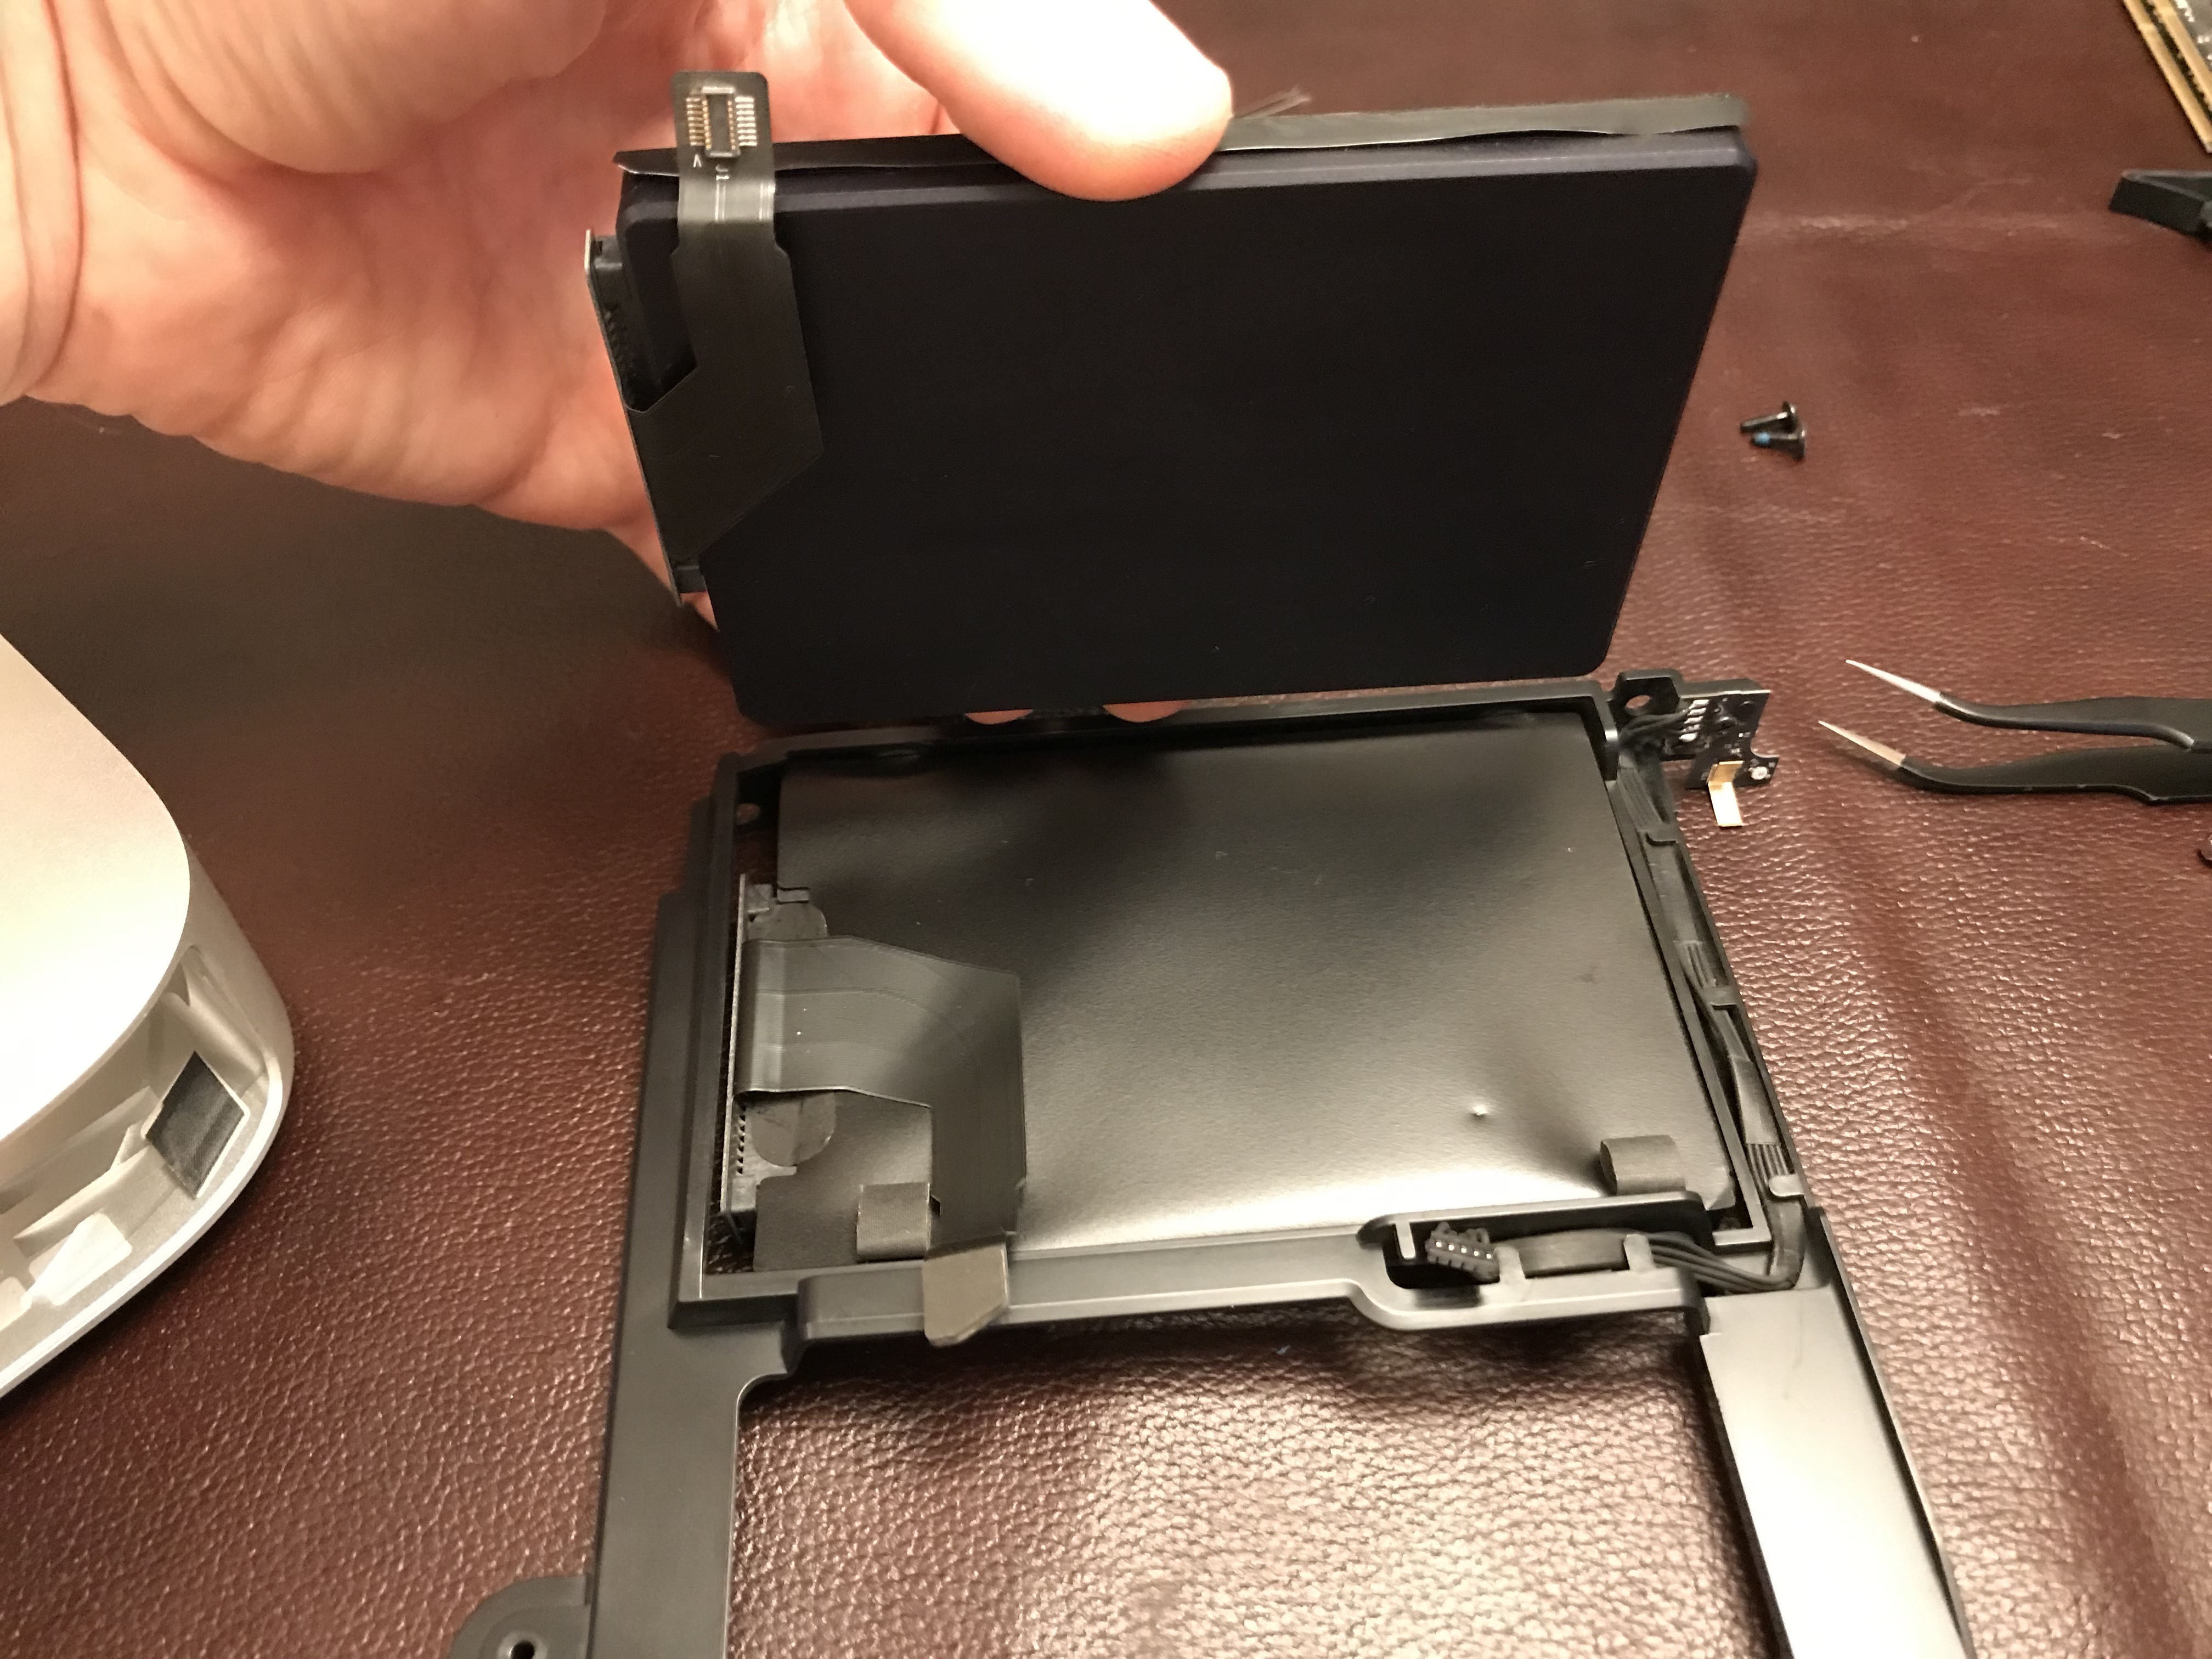
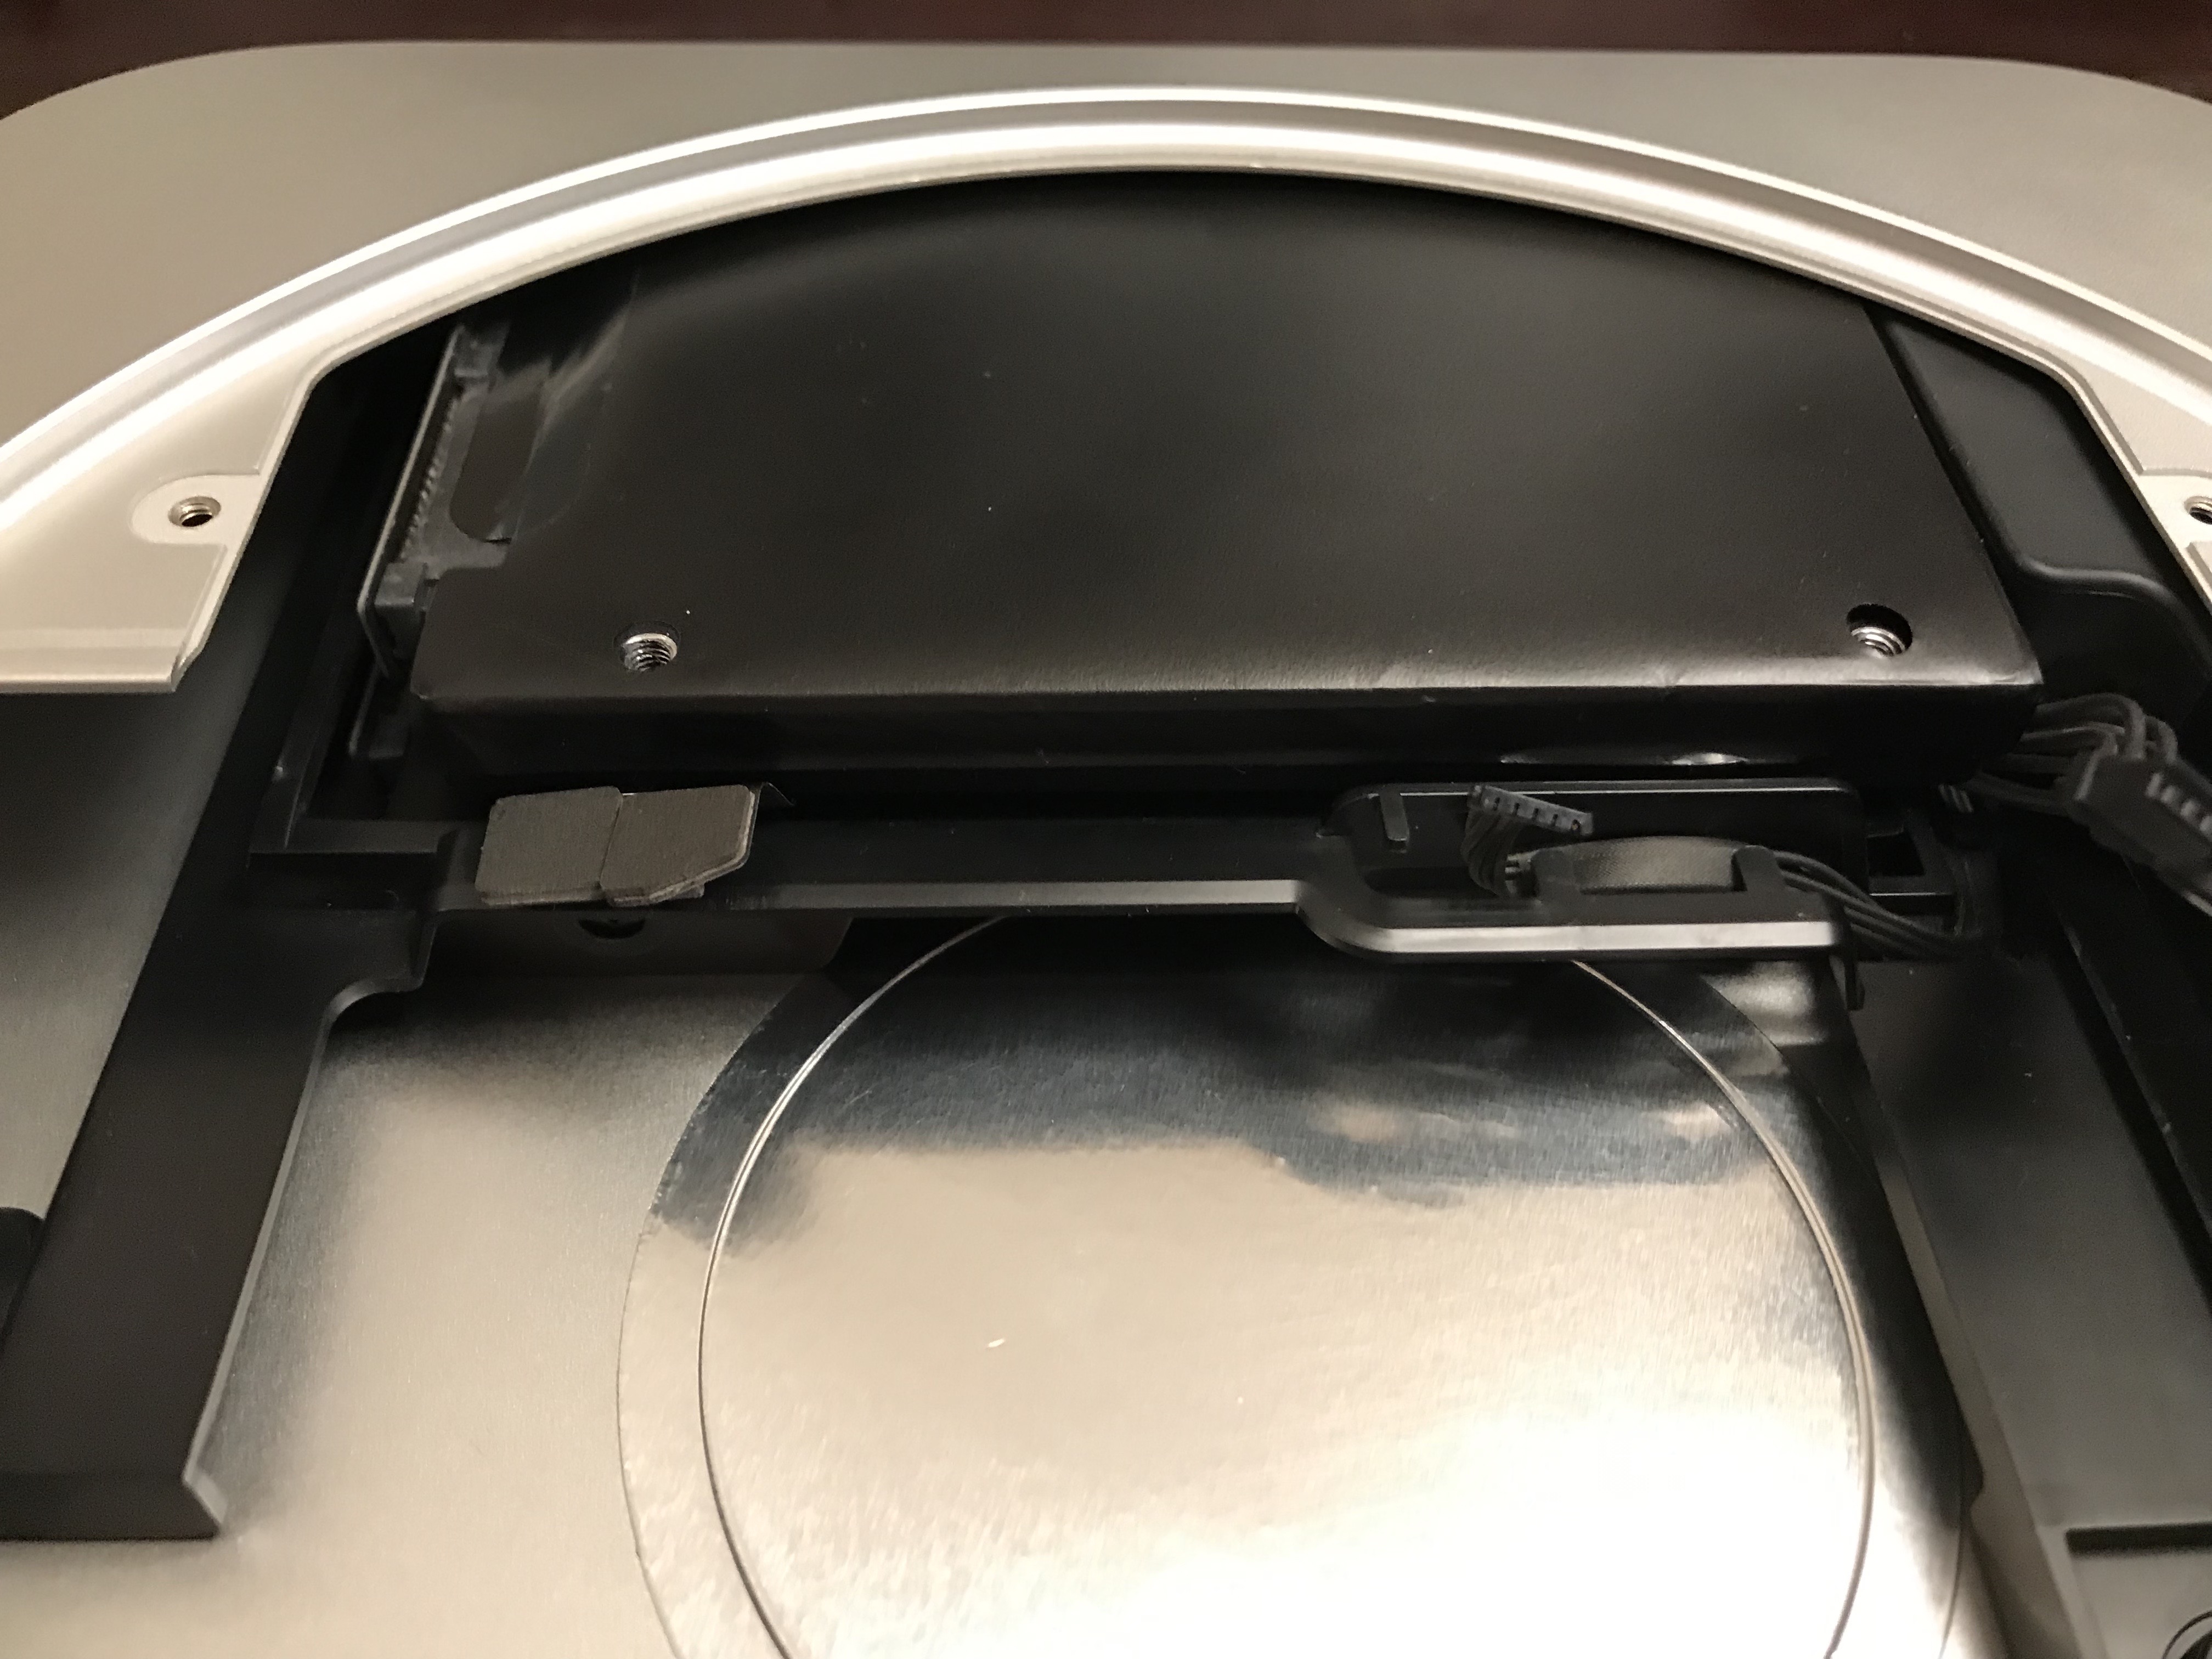
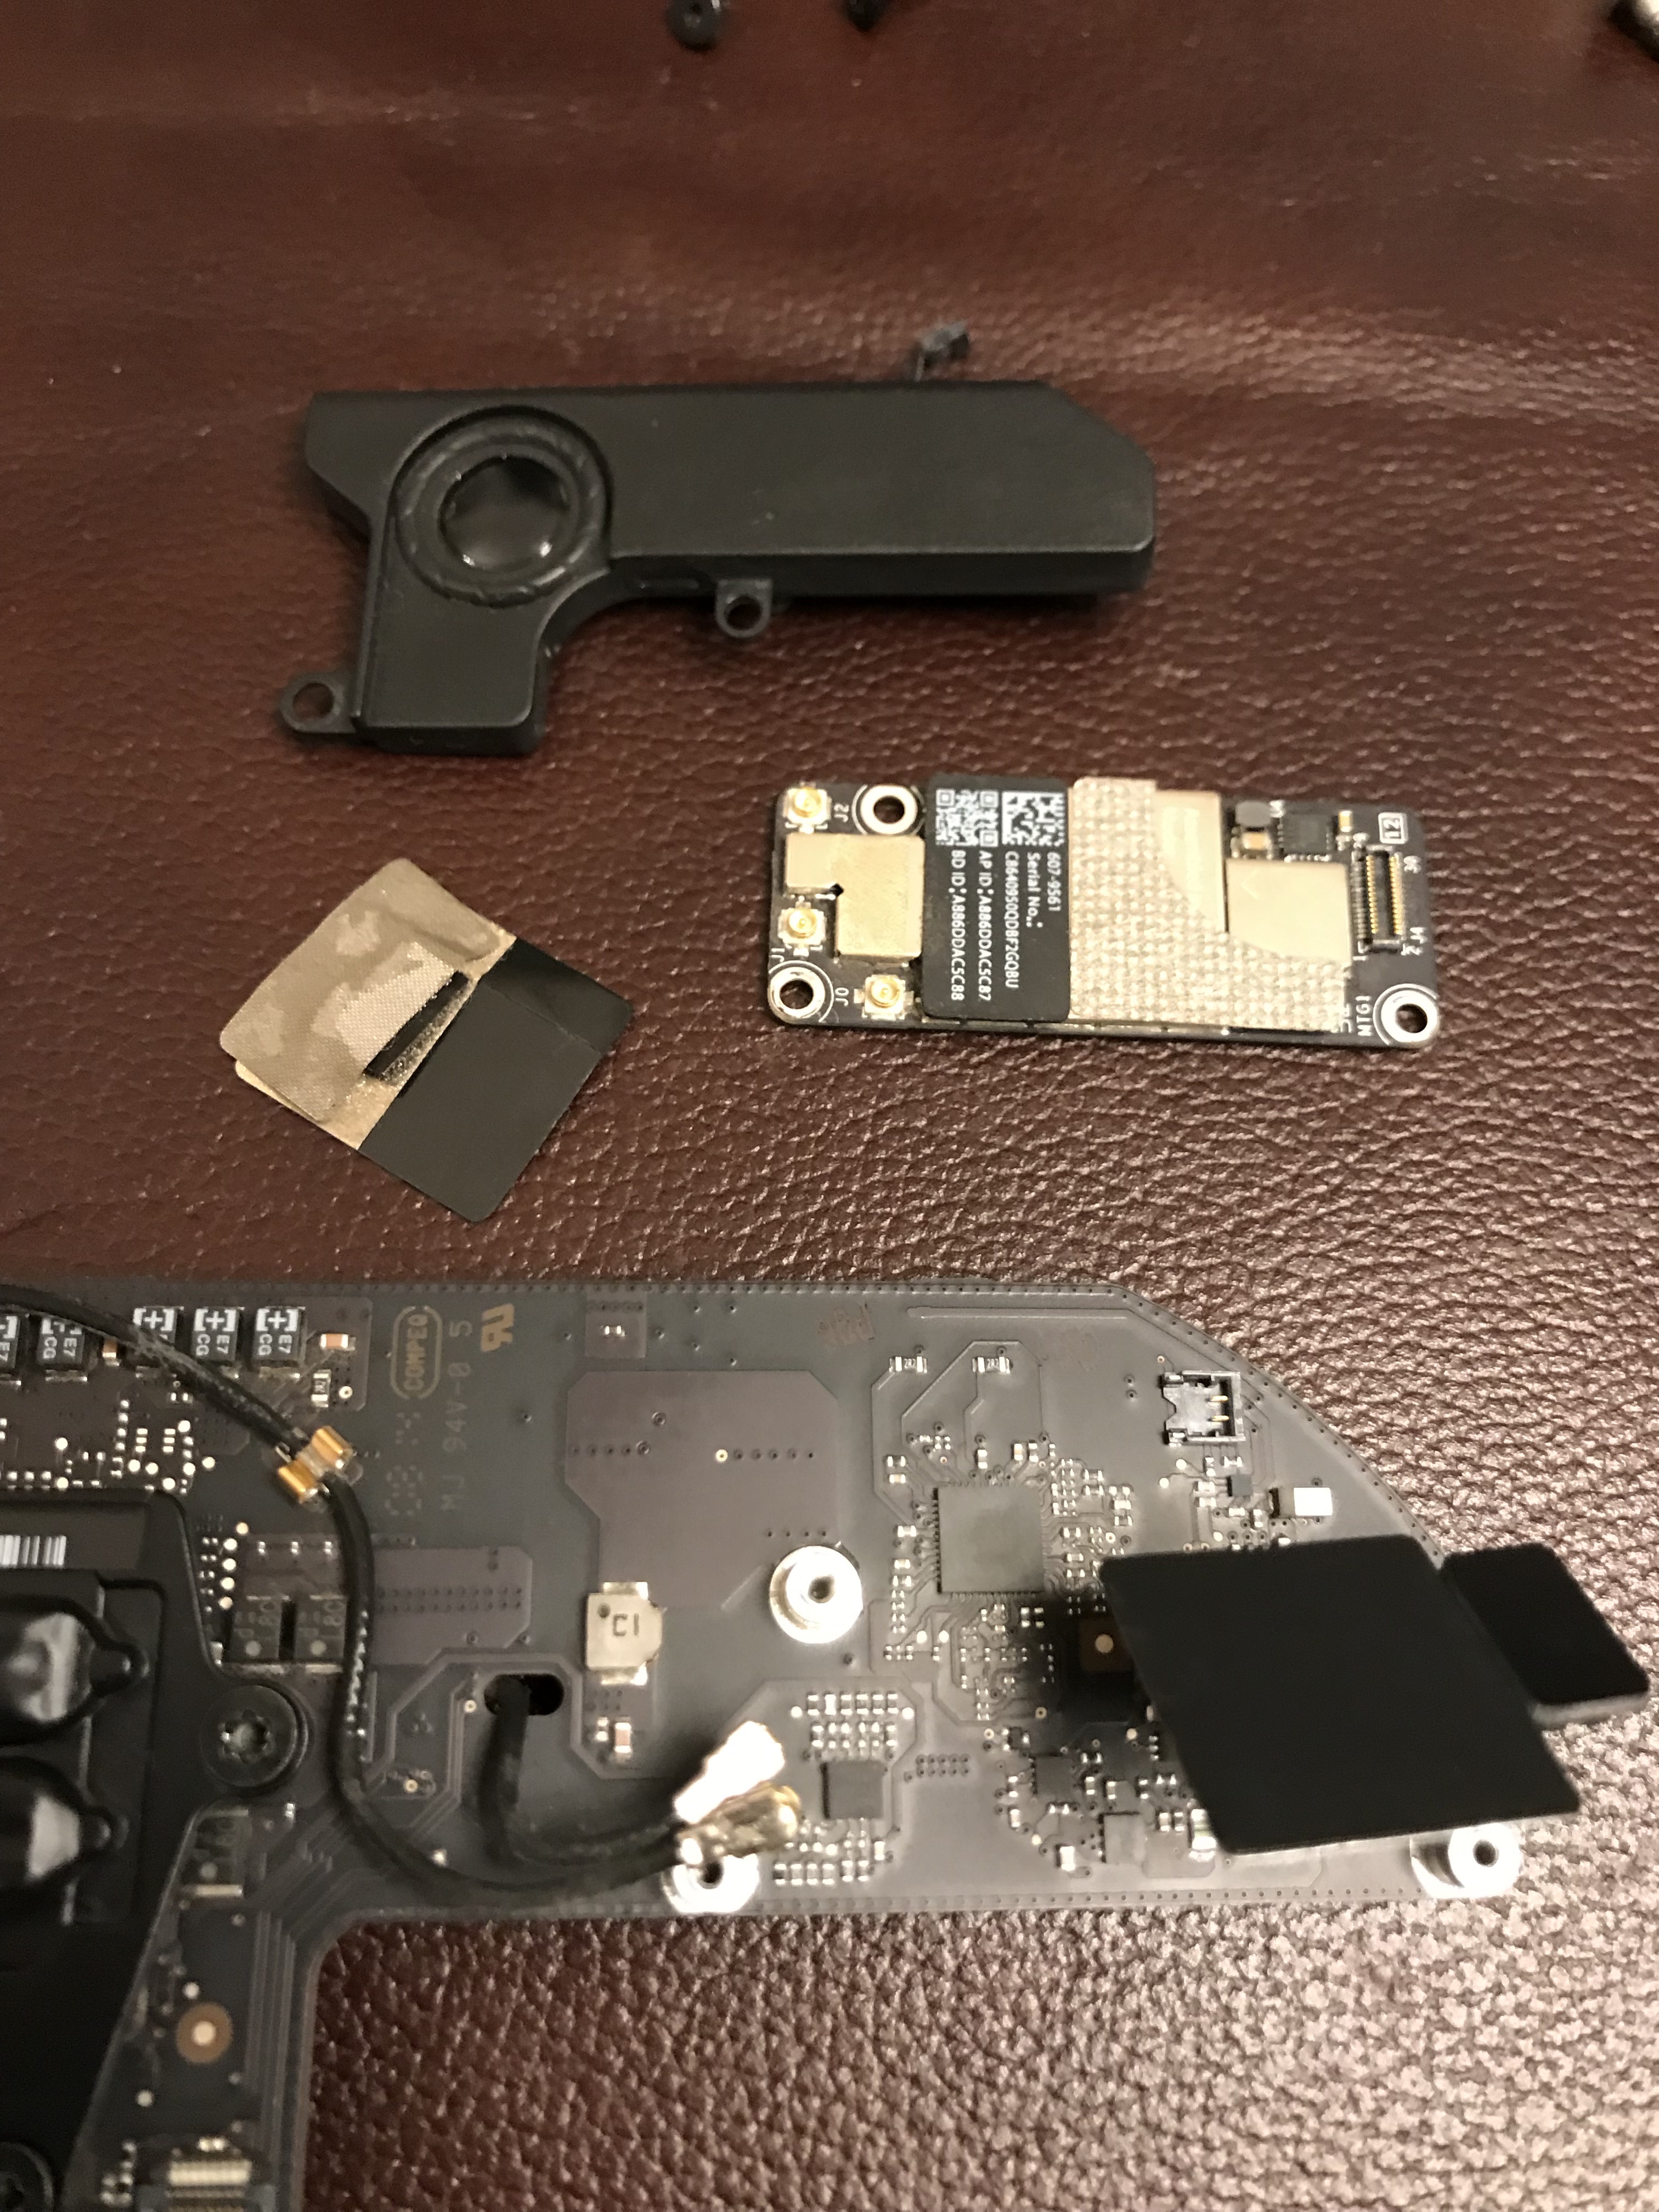
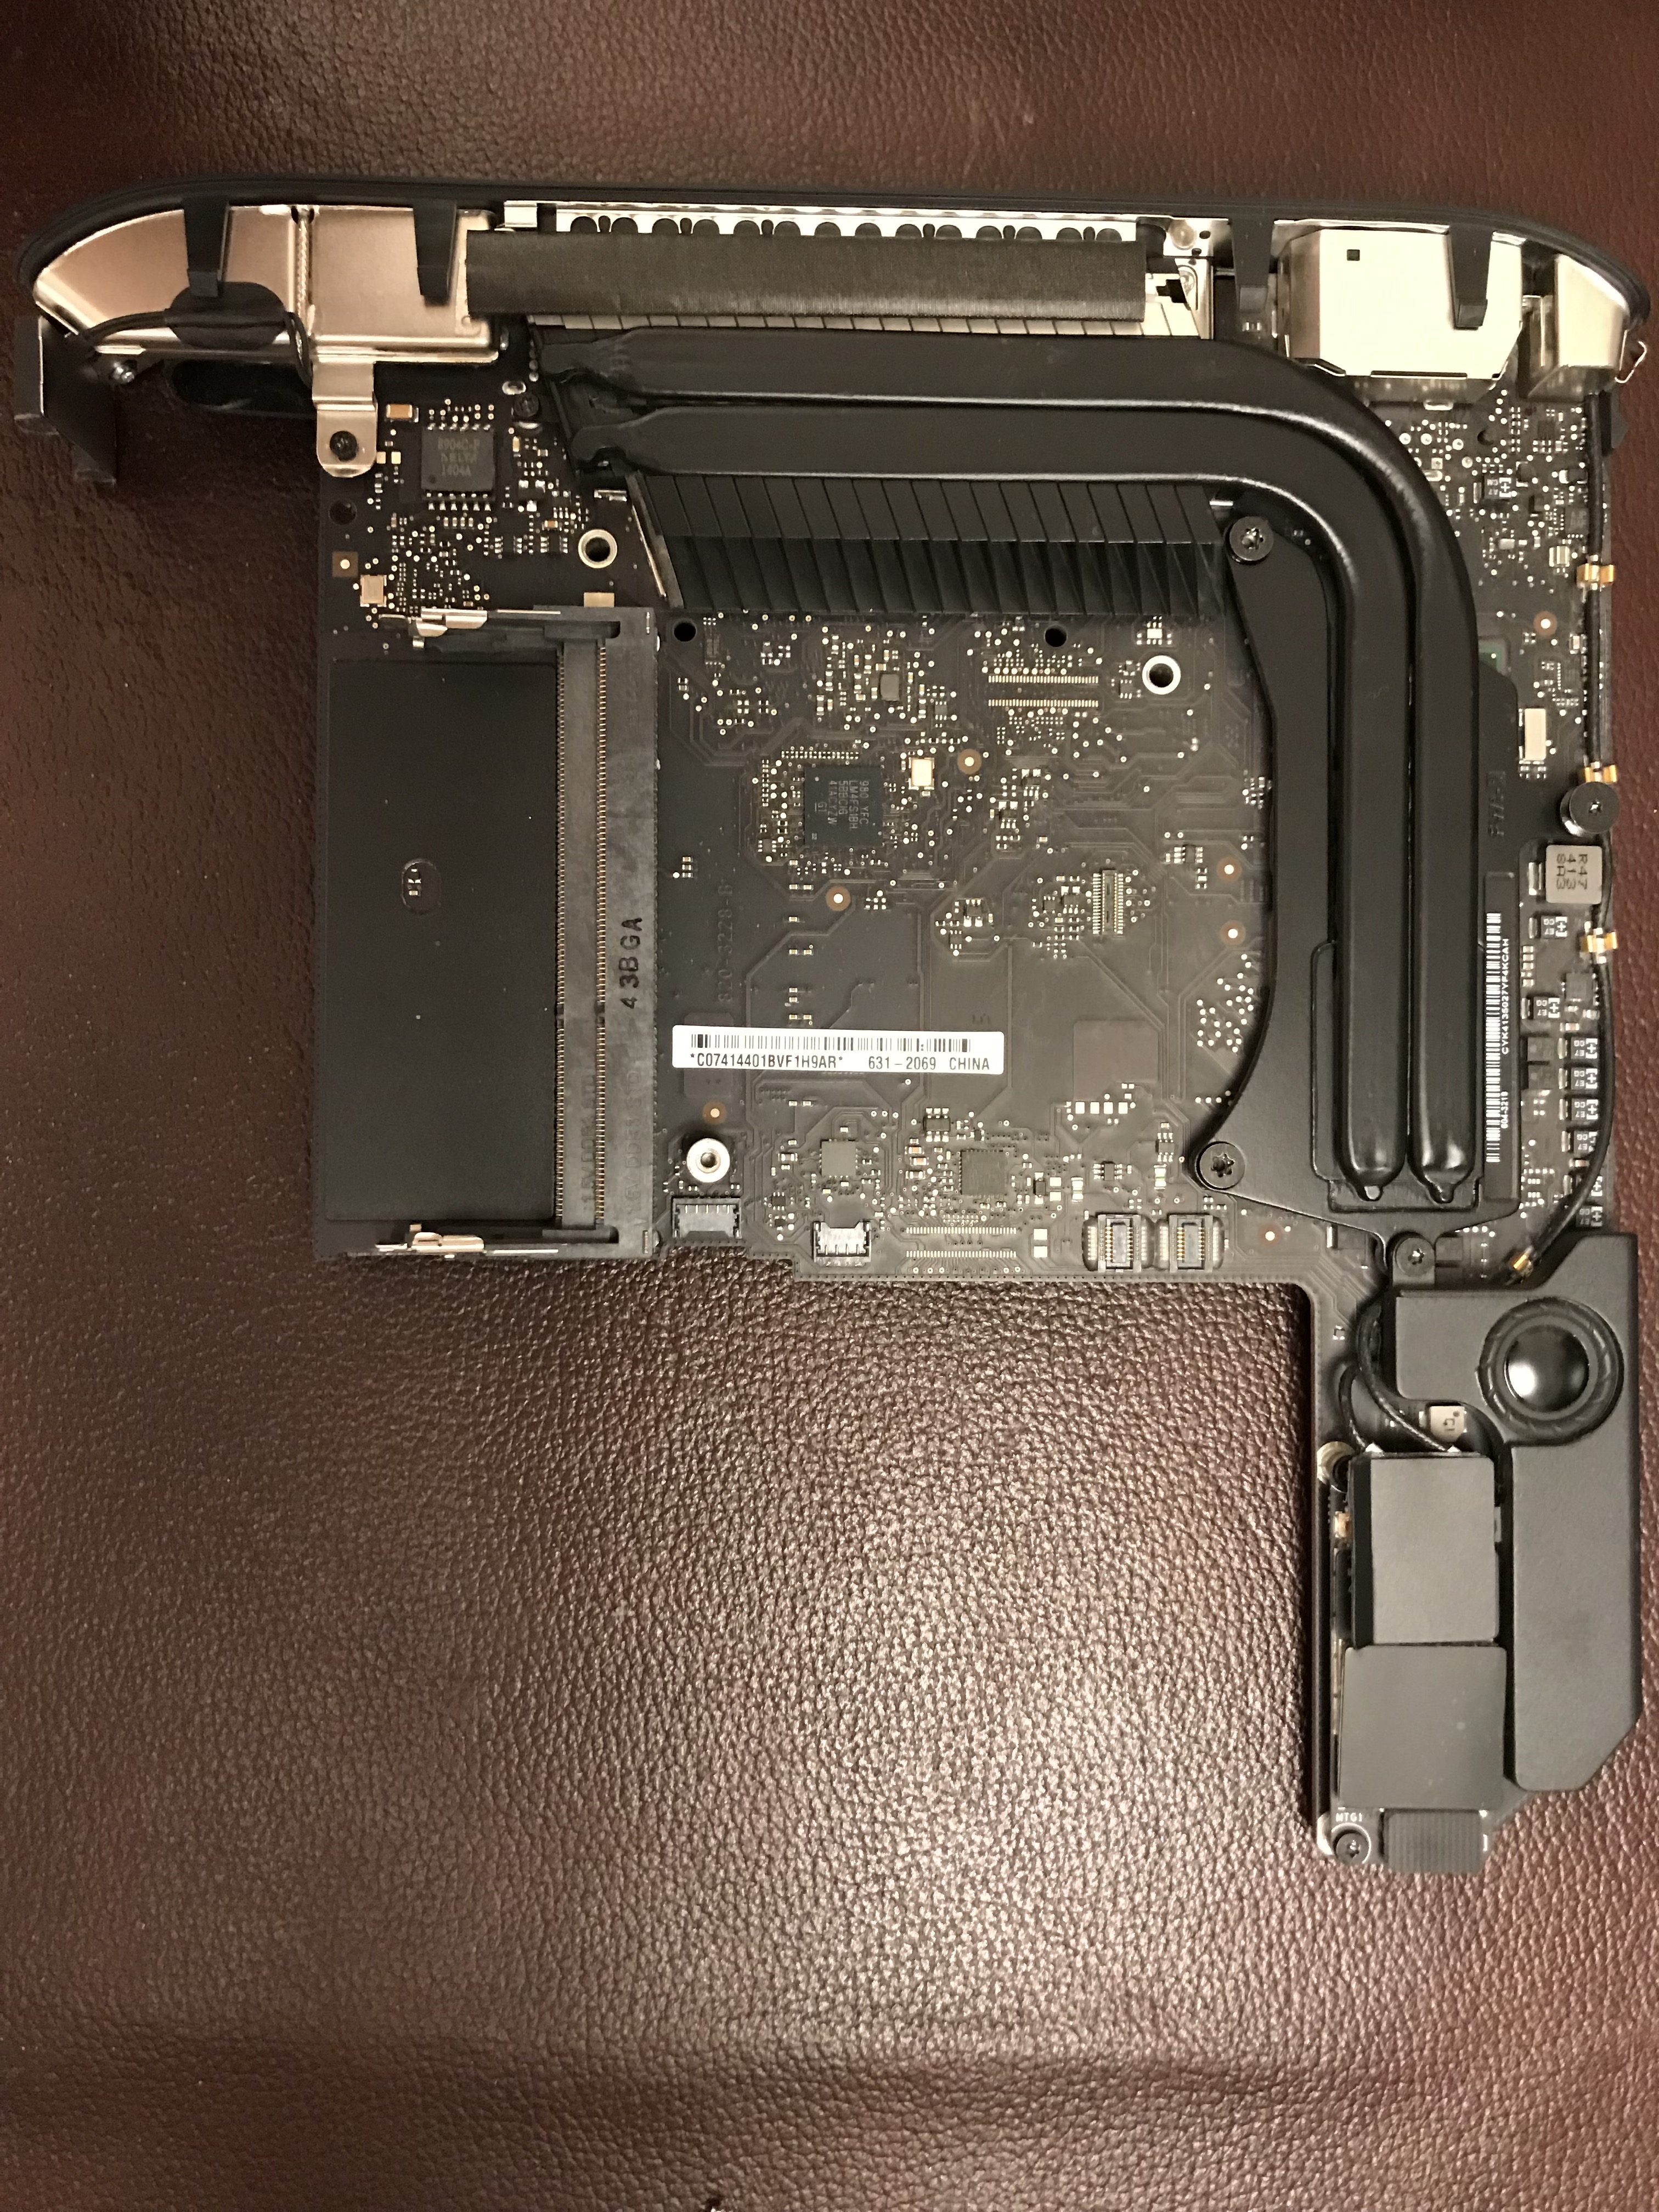
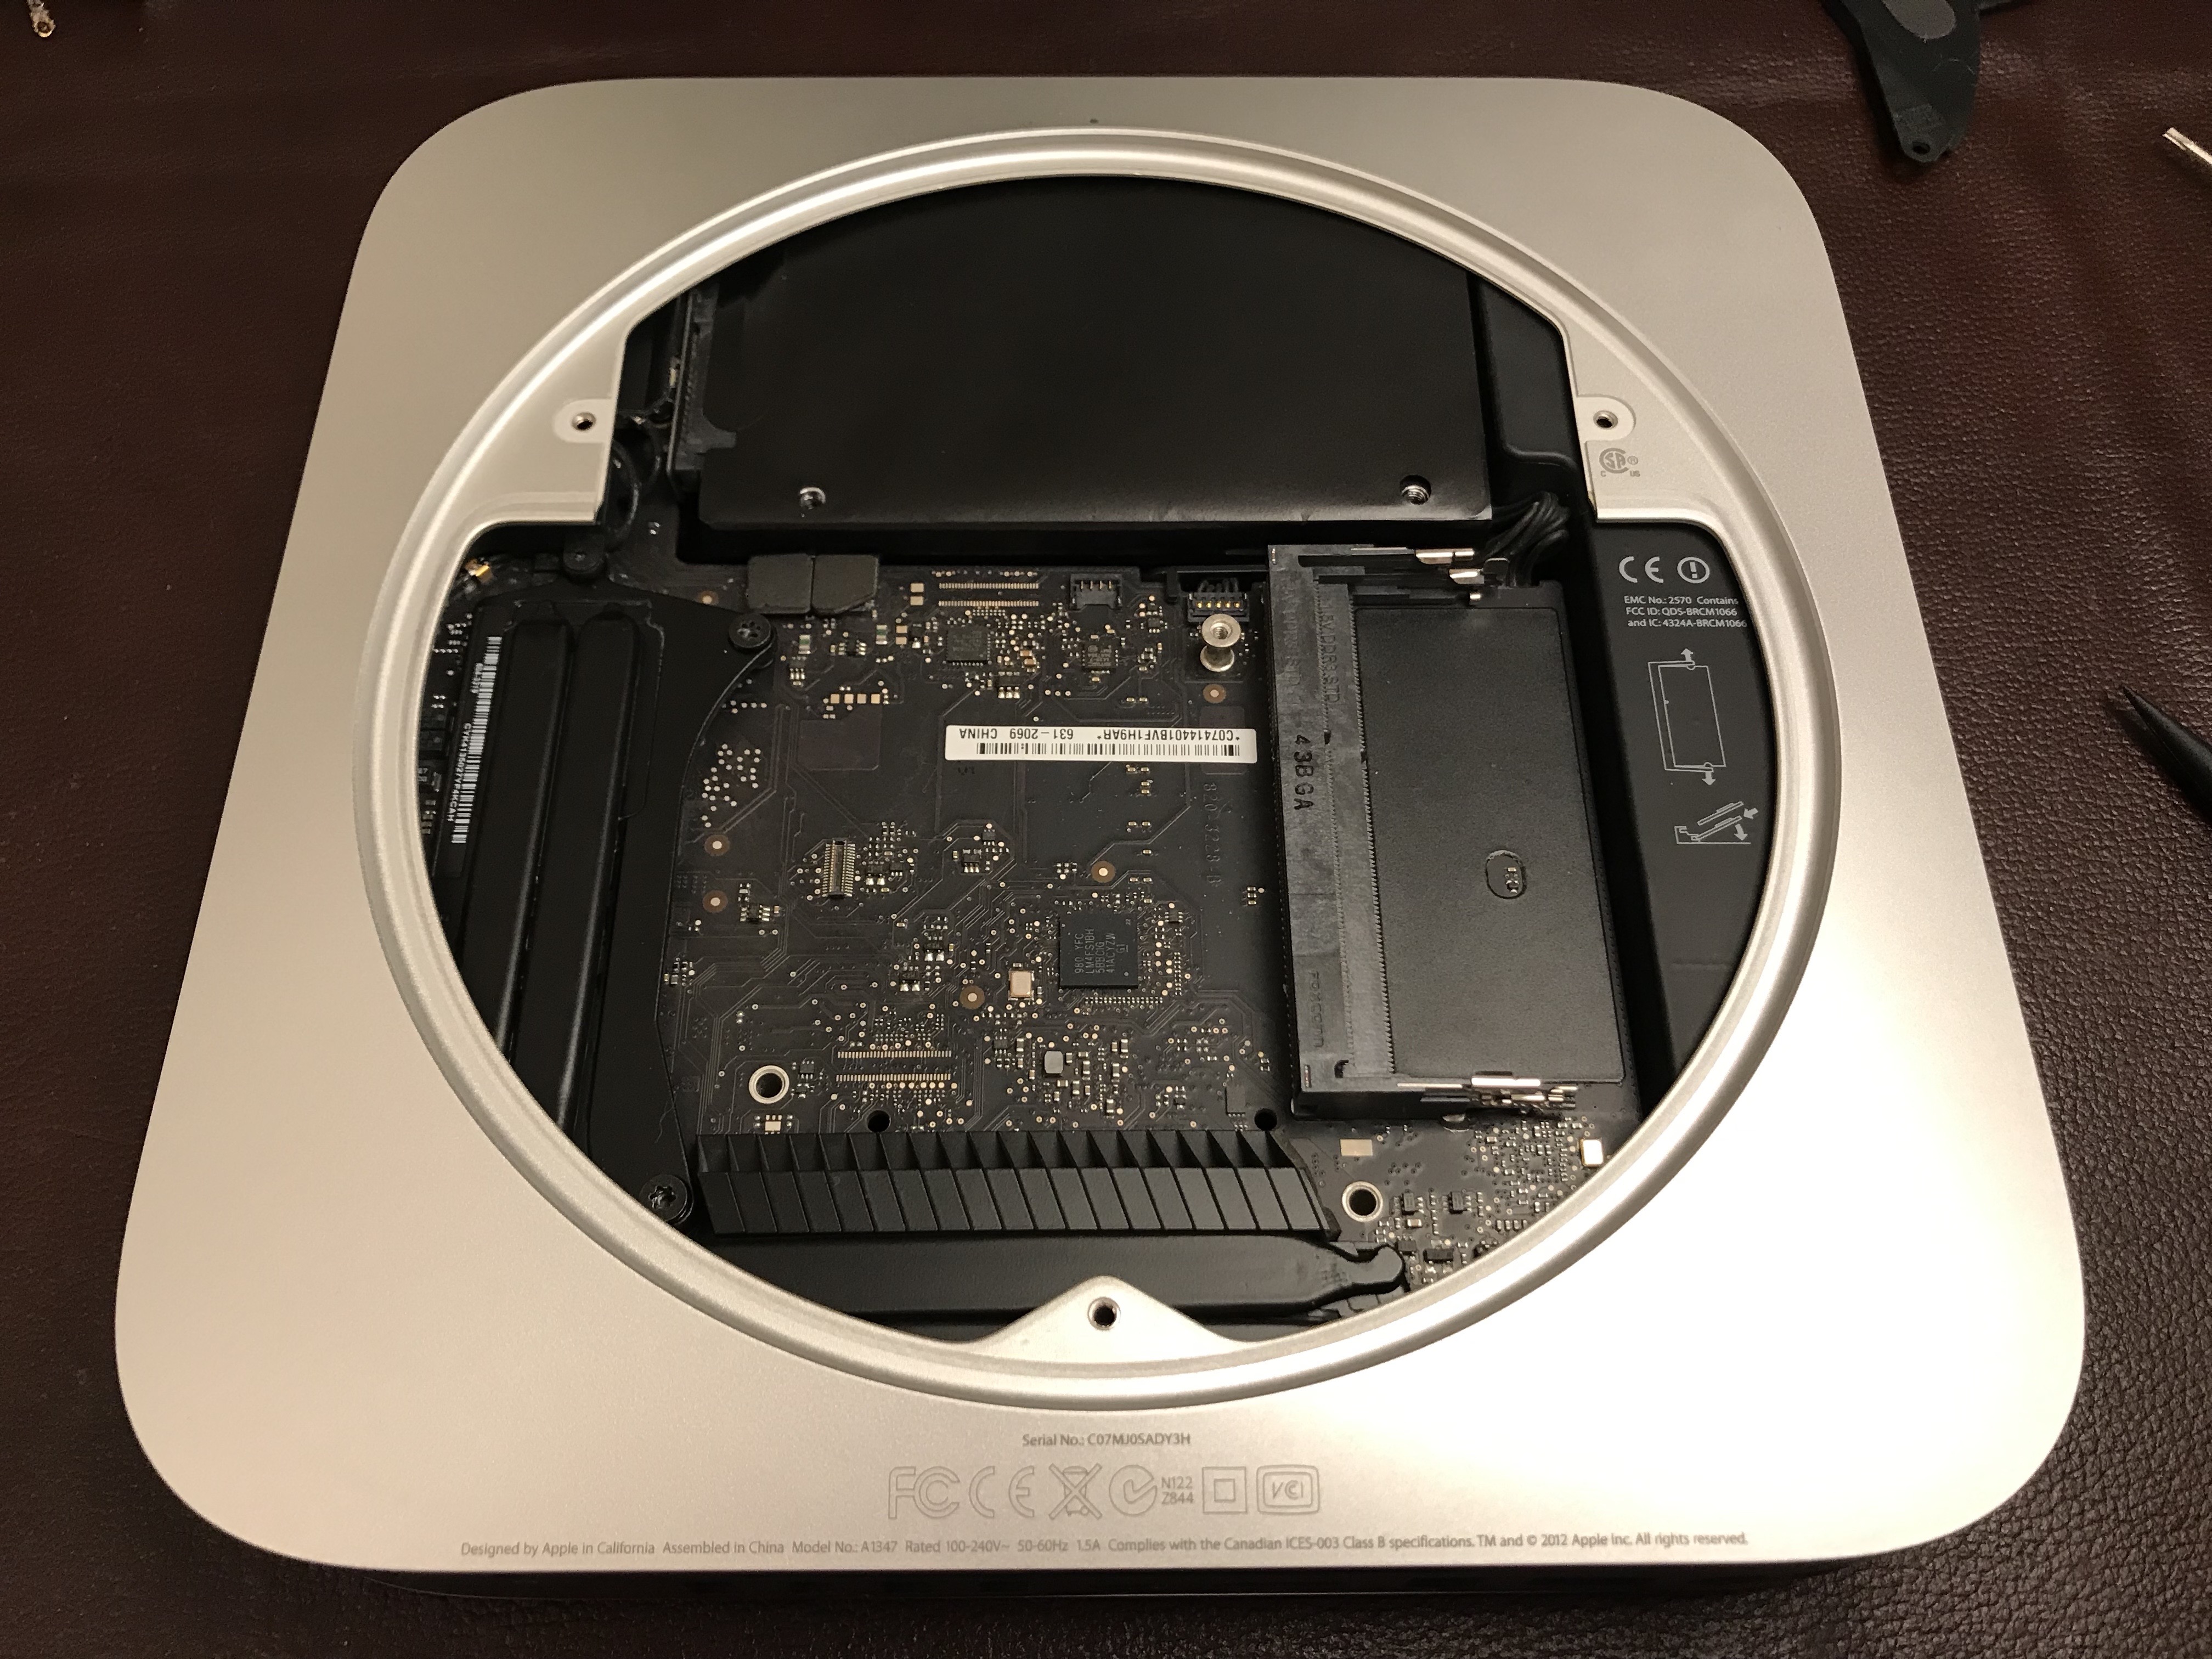
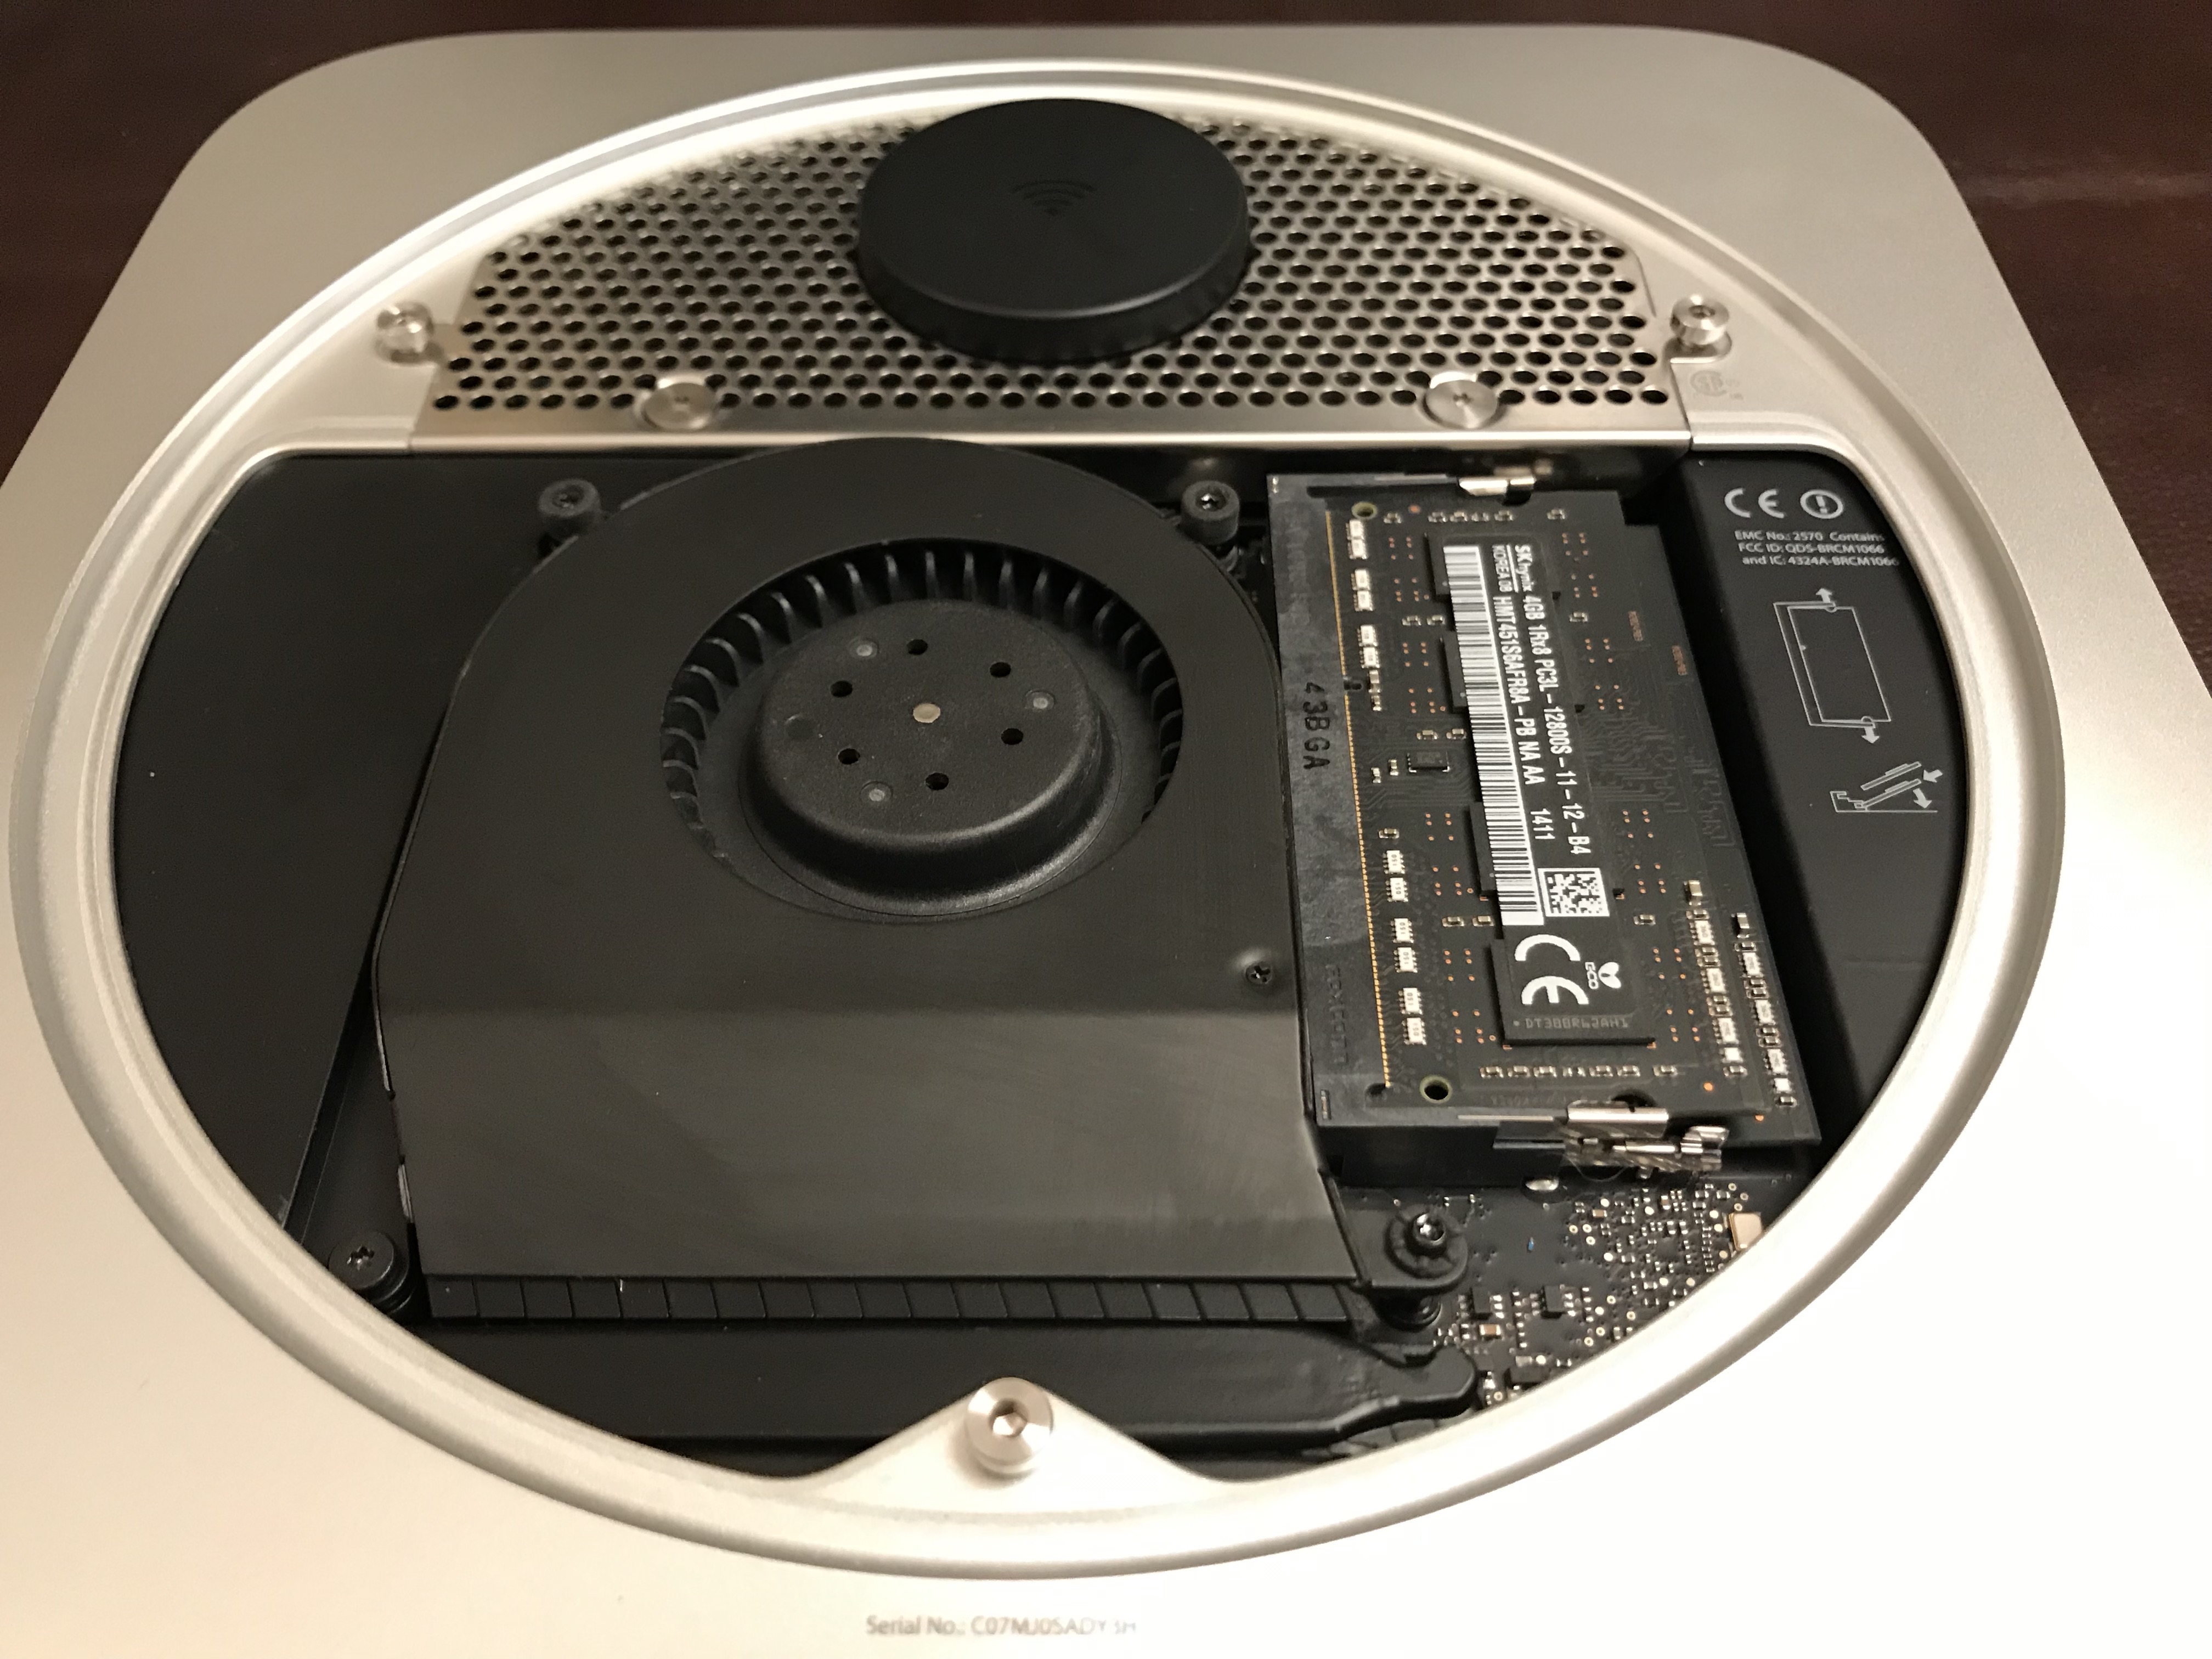
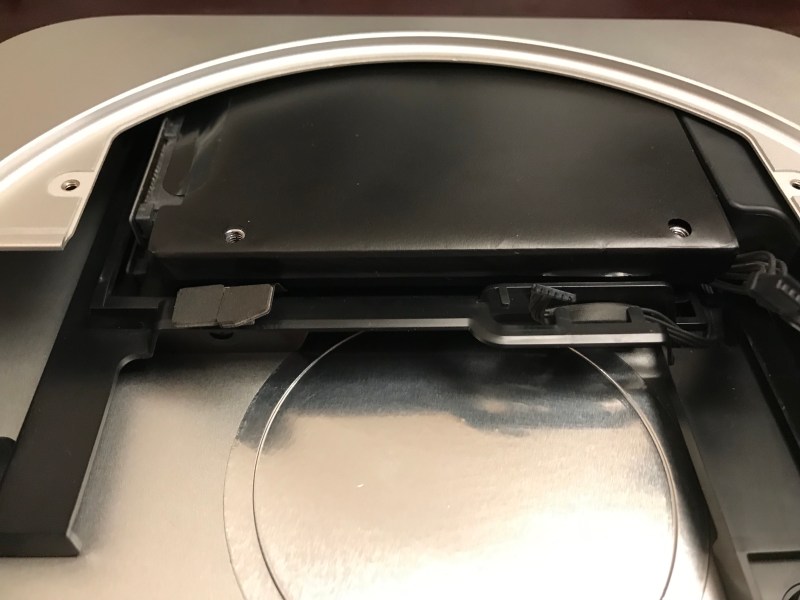
Here is a gallery of photographs from that process. The insides were indeed full of dust and the thermal paste had dried up. I followed this guide from iFixit, although I have to say it’s not entirely accurate, as detailed below.
I was on my own when it came time to work on the AirPort/Bluetooth board, where the setup differed quite a bit from the guide. There were also a few screws whose location was different in the guide. So I took photos before I disassembled things, just to be safe.
While I love the design of the Mac Mini (inside and out) and I think it’s a fantastic little computer, it’s tricky to work on. Everything has to fit together just right. The things that gave me problems when it came time to re-assemble it were:
the minified SATA cables, which kept popping out of their slots on the motherboard and are really only held in place by the cowling (the little piece of plastic in a semilune shape),
re-seating the top drive, whose side screws have to slide into some holes in the back of the case, but there is little to no tactile feedback when they’re in place, and there’s no way to check things visually; it actually fits asymmetrically over the bottom drive, which is a bit illogical, but that’s how the engineers worked out the hardware design,
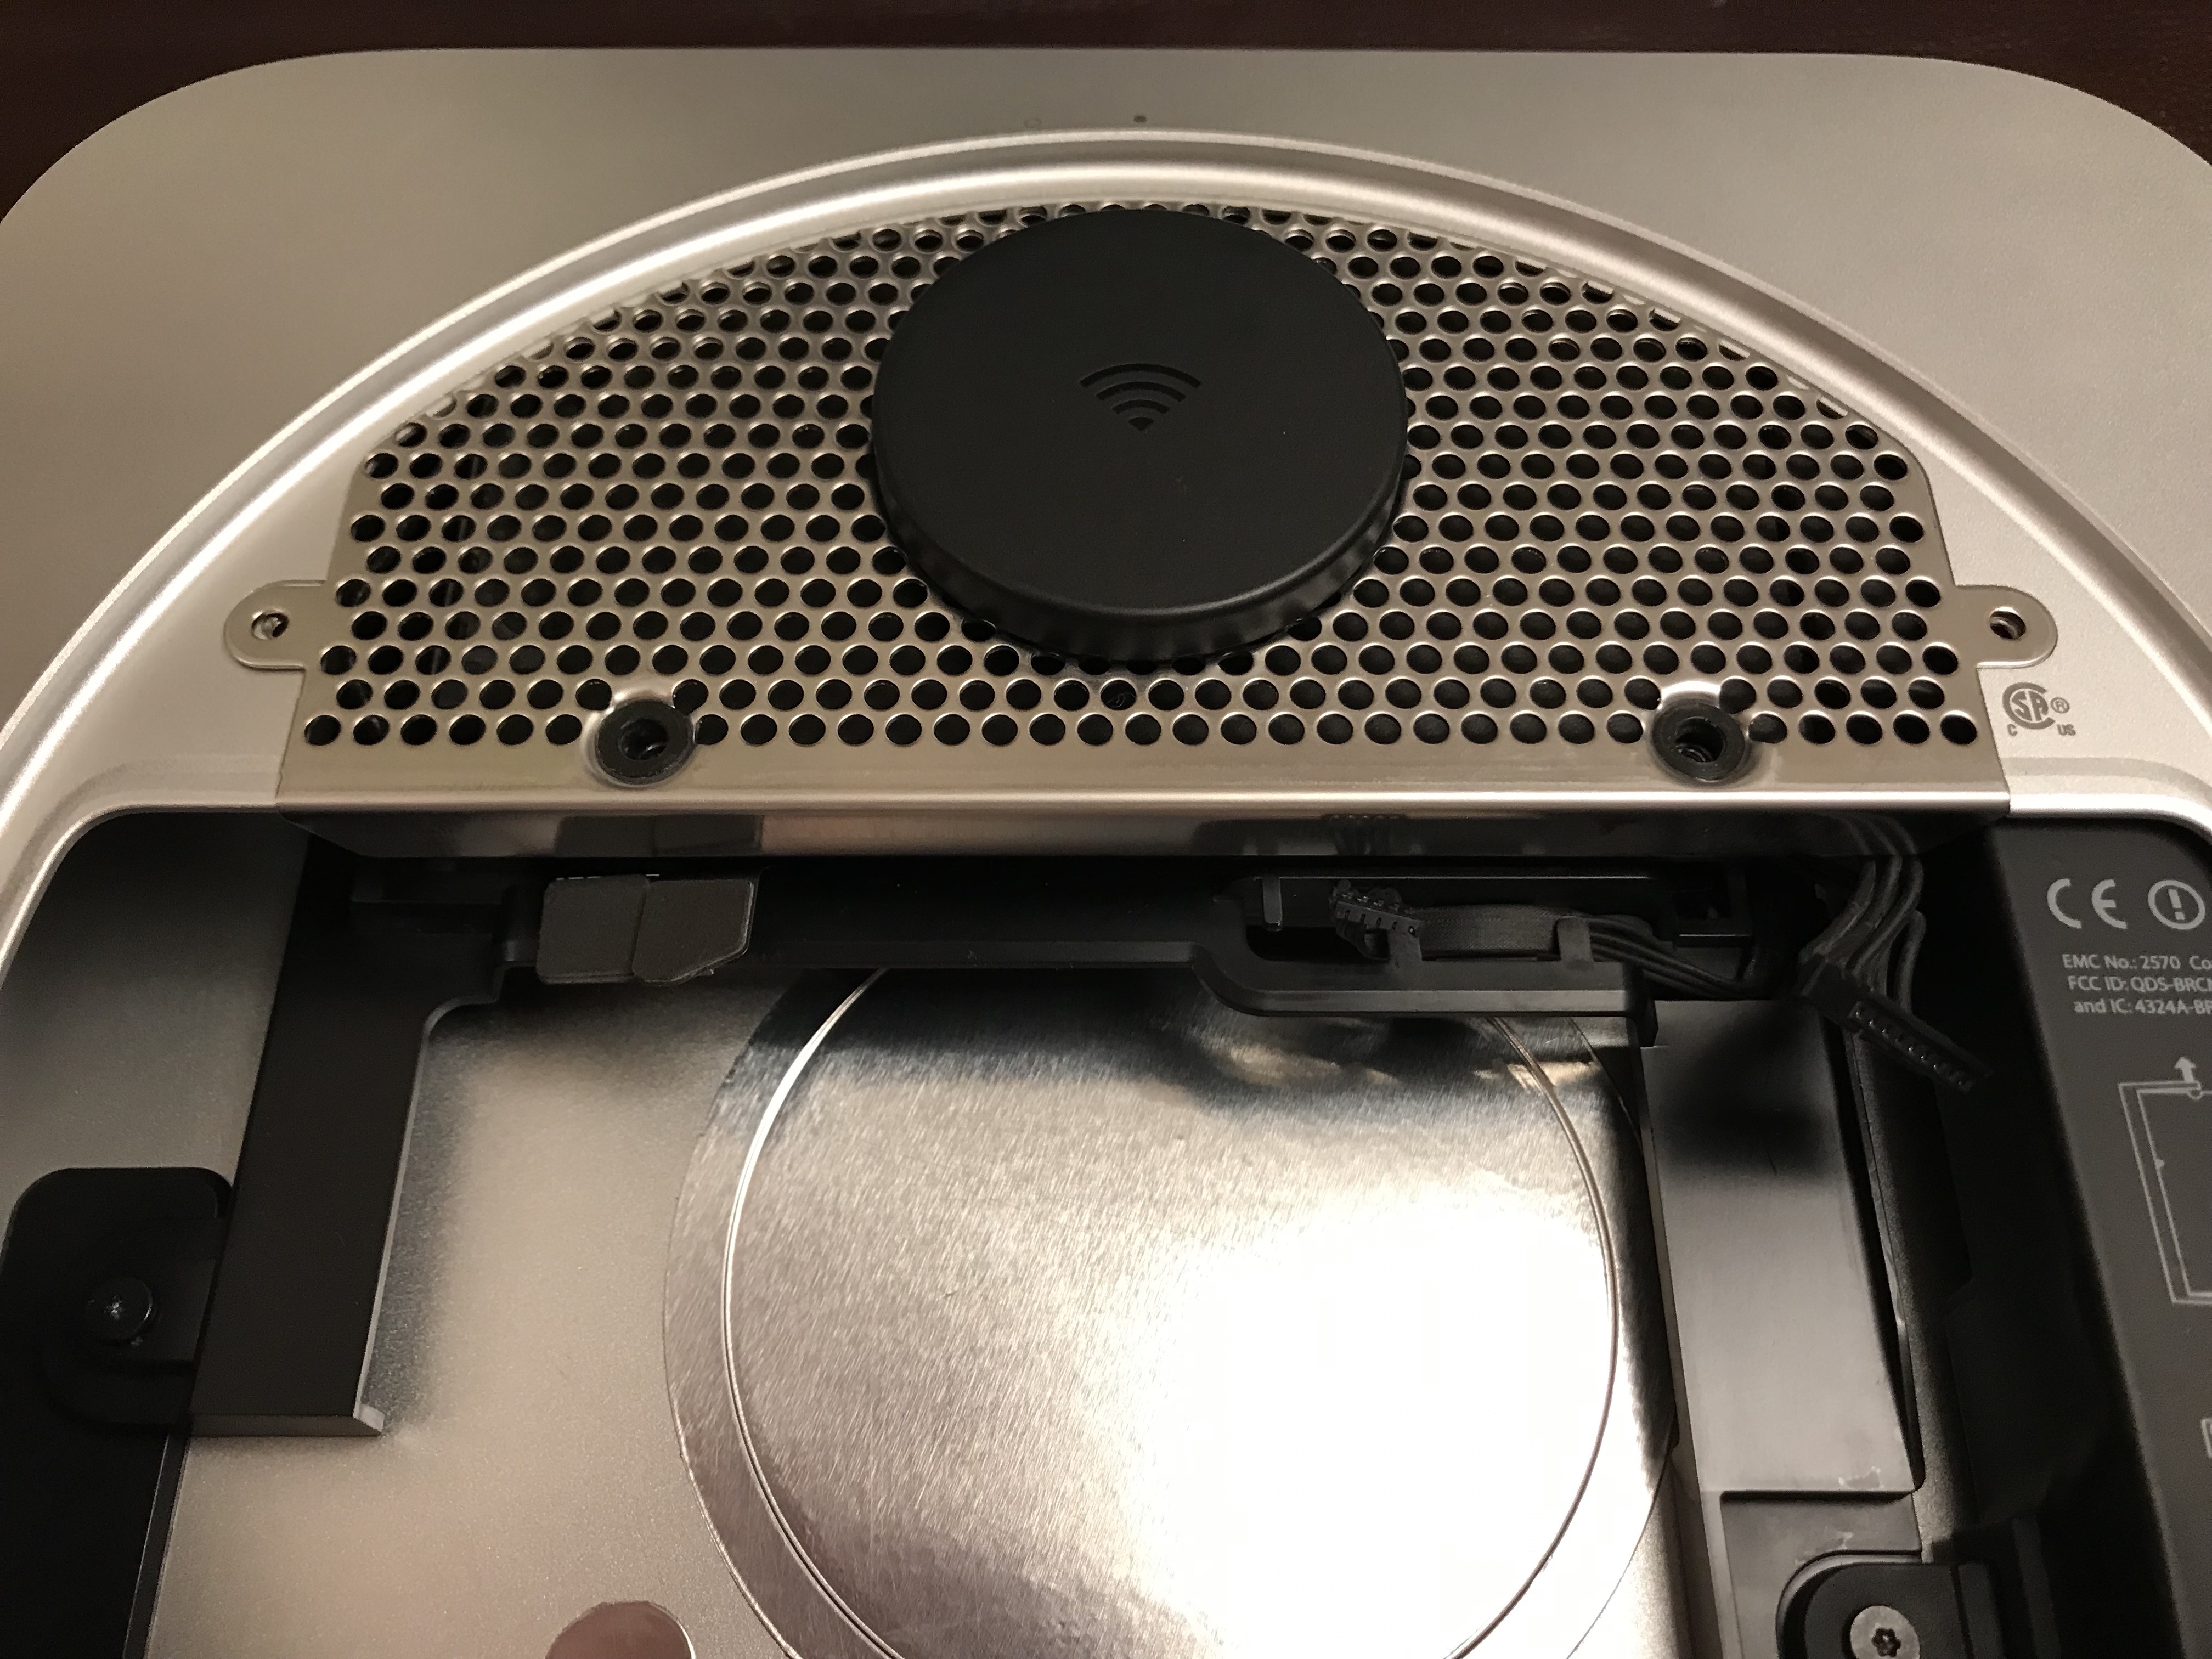
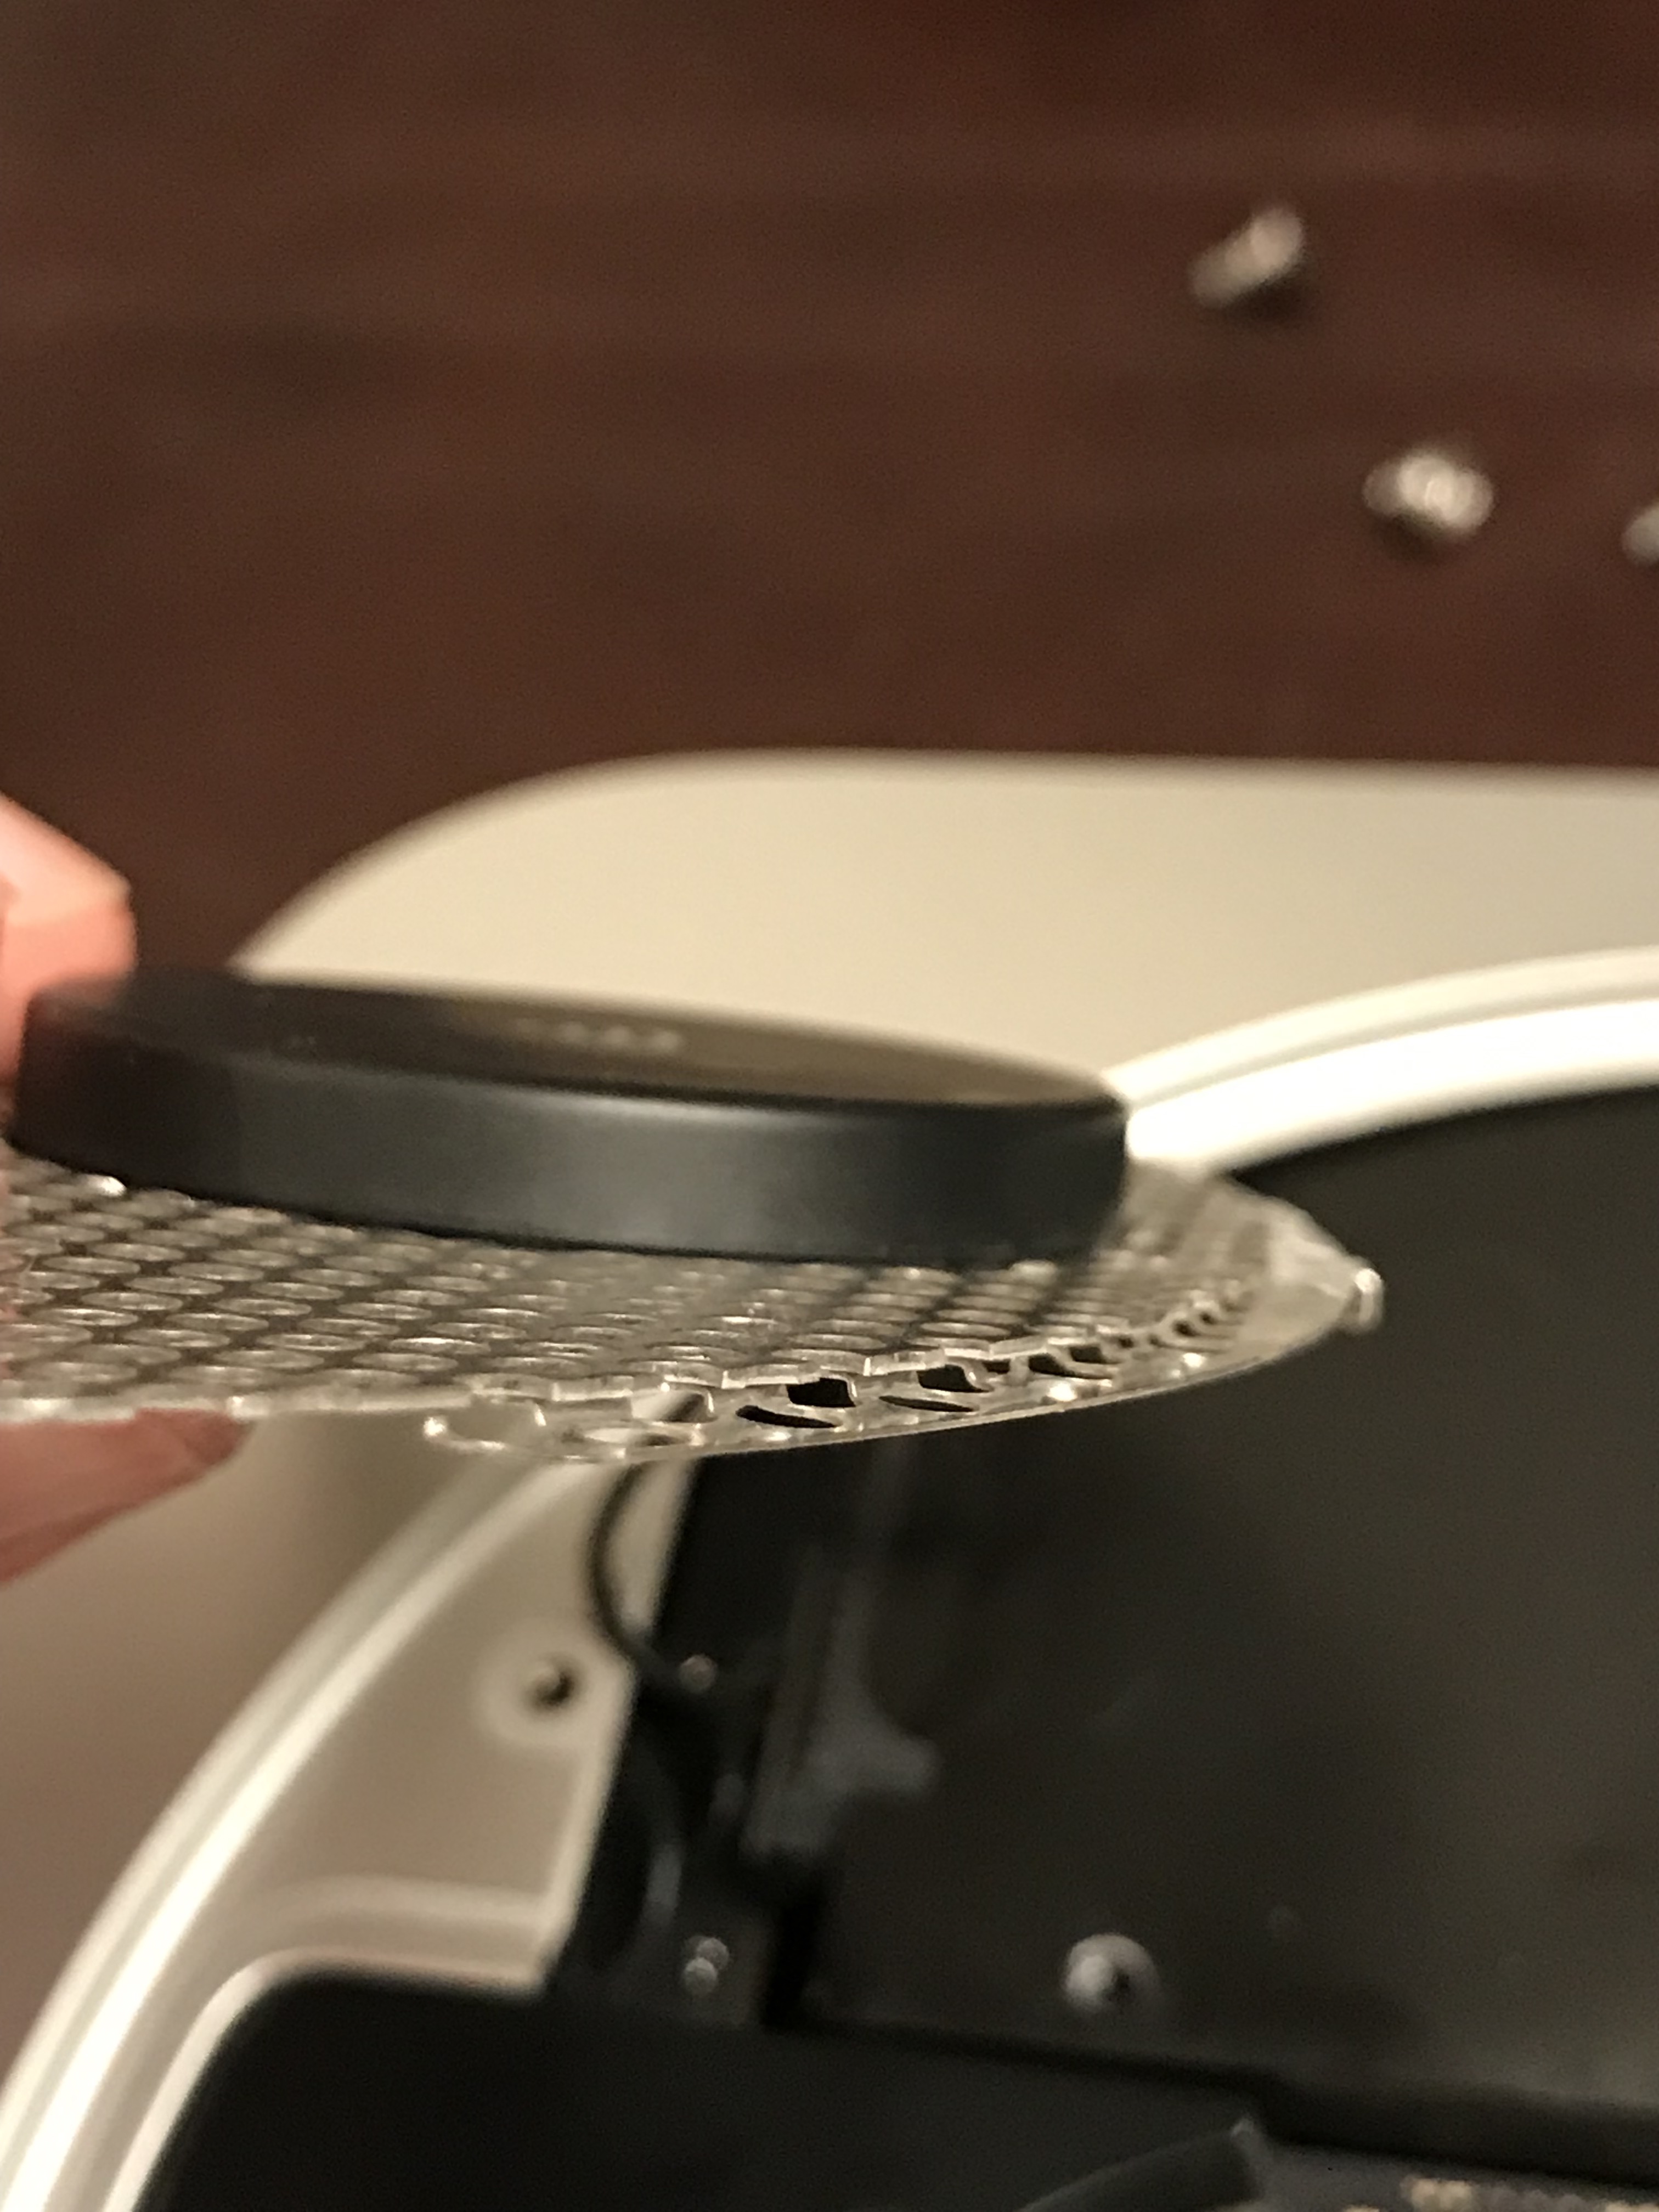
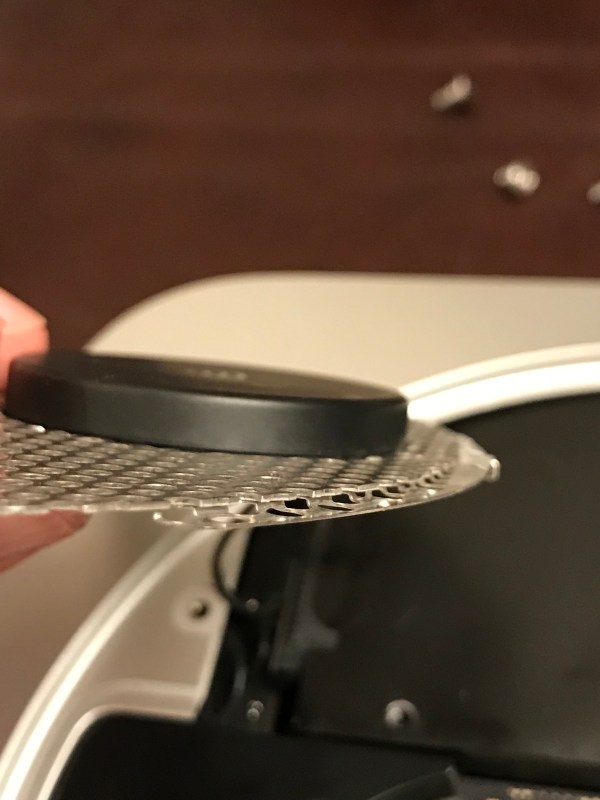
and the antenna plate. Oh wow, the antenna plate was a chore to work back in… It has to fit in just right, hugging the inside edge of the case with an indentation made in the wire mesh from which it’s constructed, and for some reason, it just didn’t want to go back in properly. It was off by less than 1 mm, yet it meant that I couldn’t put the screws back on. Be careful with that one!
When it was time to boot it up, the Mac Mini refused to do it. I stared at a black screen for a minute or two, wondering if I’d forgotten to connect some cable inside it, and then it occurred to me to re-seat the AC cable, which is notoriously hard to plug and unplug on this machine, because its slot is too tight. That turned out to be the problem. Whew.
Another wrinkle that I ran into was the Fusion Drive. This machine has an actual SSD inside of it, not a blade SSD, which is what you might find in an iMac or a MacBook. That was a bit of a surprise to me. Anyway, come time to reformat the drives, I figured I could re-enable Fusion Drive and end up with a single volume that used both the Apple SSD and the new ADATA SSD. Nope. While you can run the commands in Terminal to “marry” the two SSDs into a Fusion Drive (see this post for the details), checking the resulting volume with Disk Utility gives an error and Mojave refuses to install on it. So… no Fusion Drive for my wife, I guess. Then I figured I could create a software JBOD in Disk Utility to end up with a single volume once more, and I did that, and it worked, but once again, Mojave refused to install on it. So I had to simply format each SSD as a separate drive and use the 1TB SSD as the system volume, leaving the 128GB Apple SSD as a secondary volume to be used occasionally.
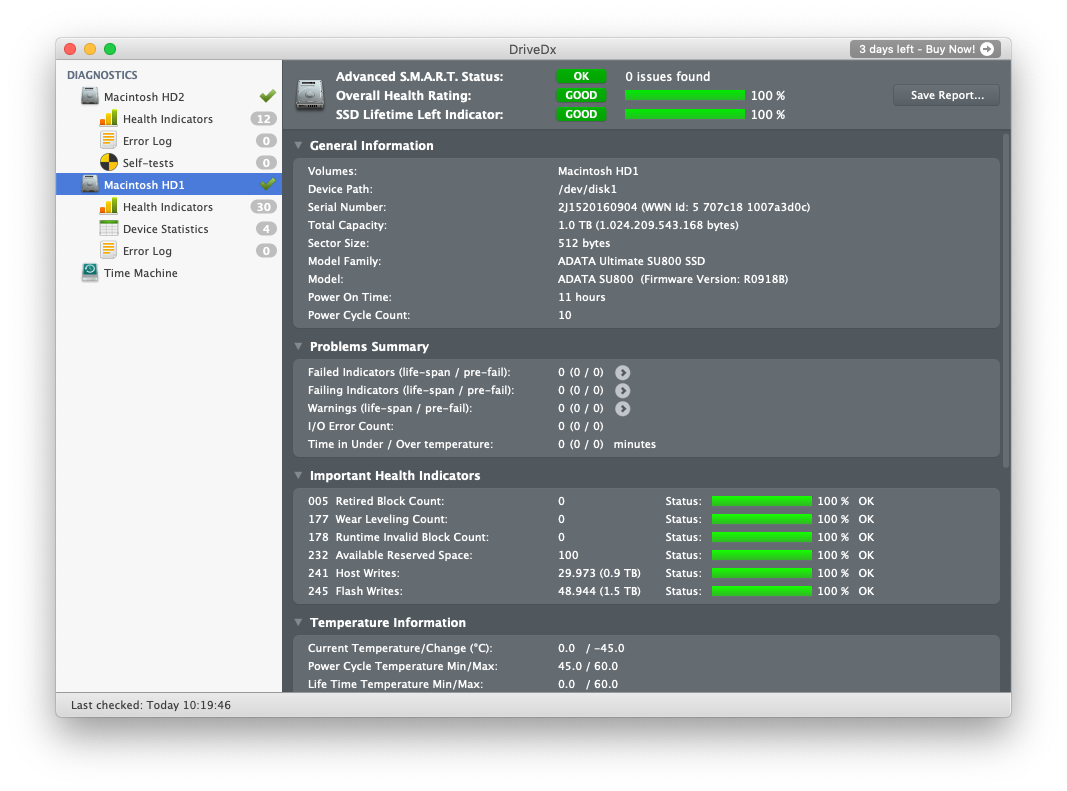
A quick check with DriveDx showed me that the new SSD was doing just fine.
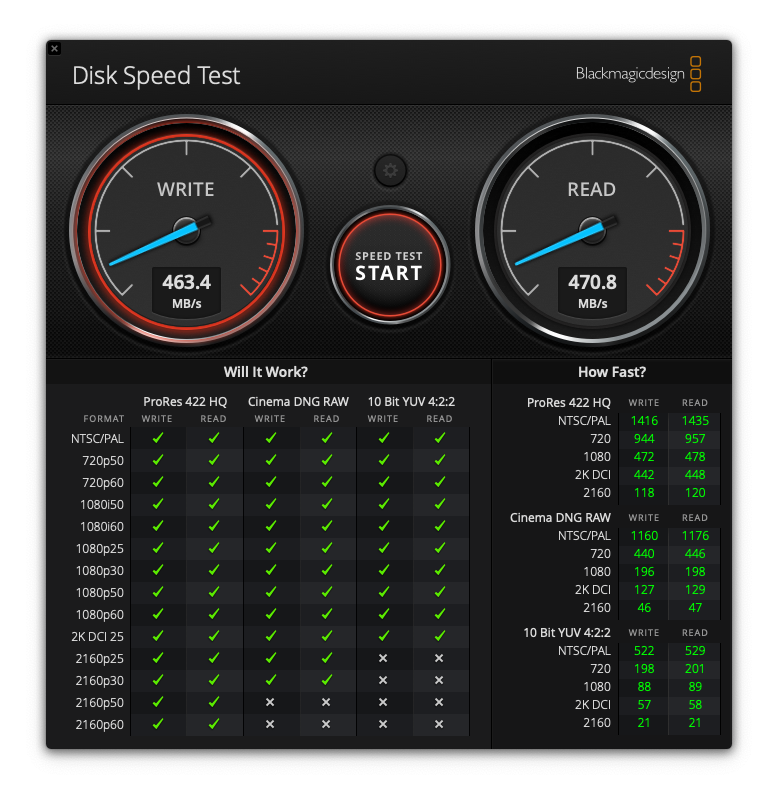
And a disk speed test showed things were humming along nicely.
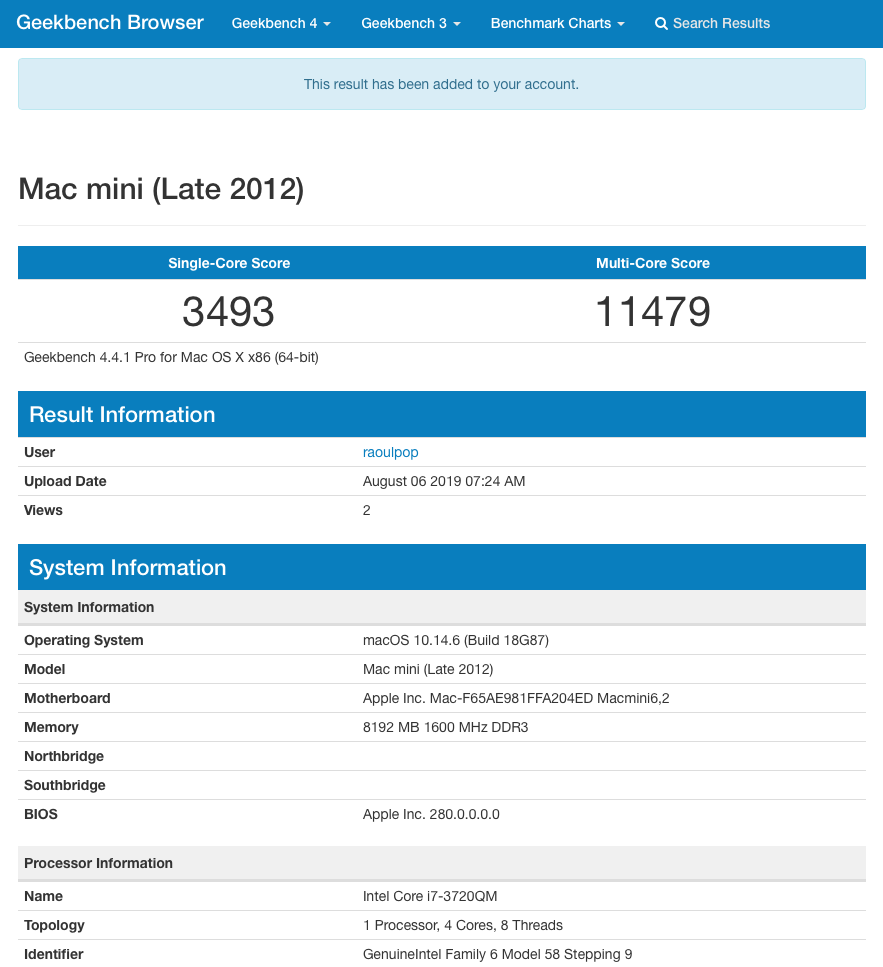
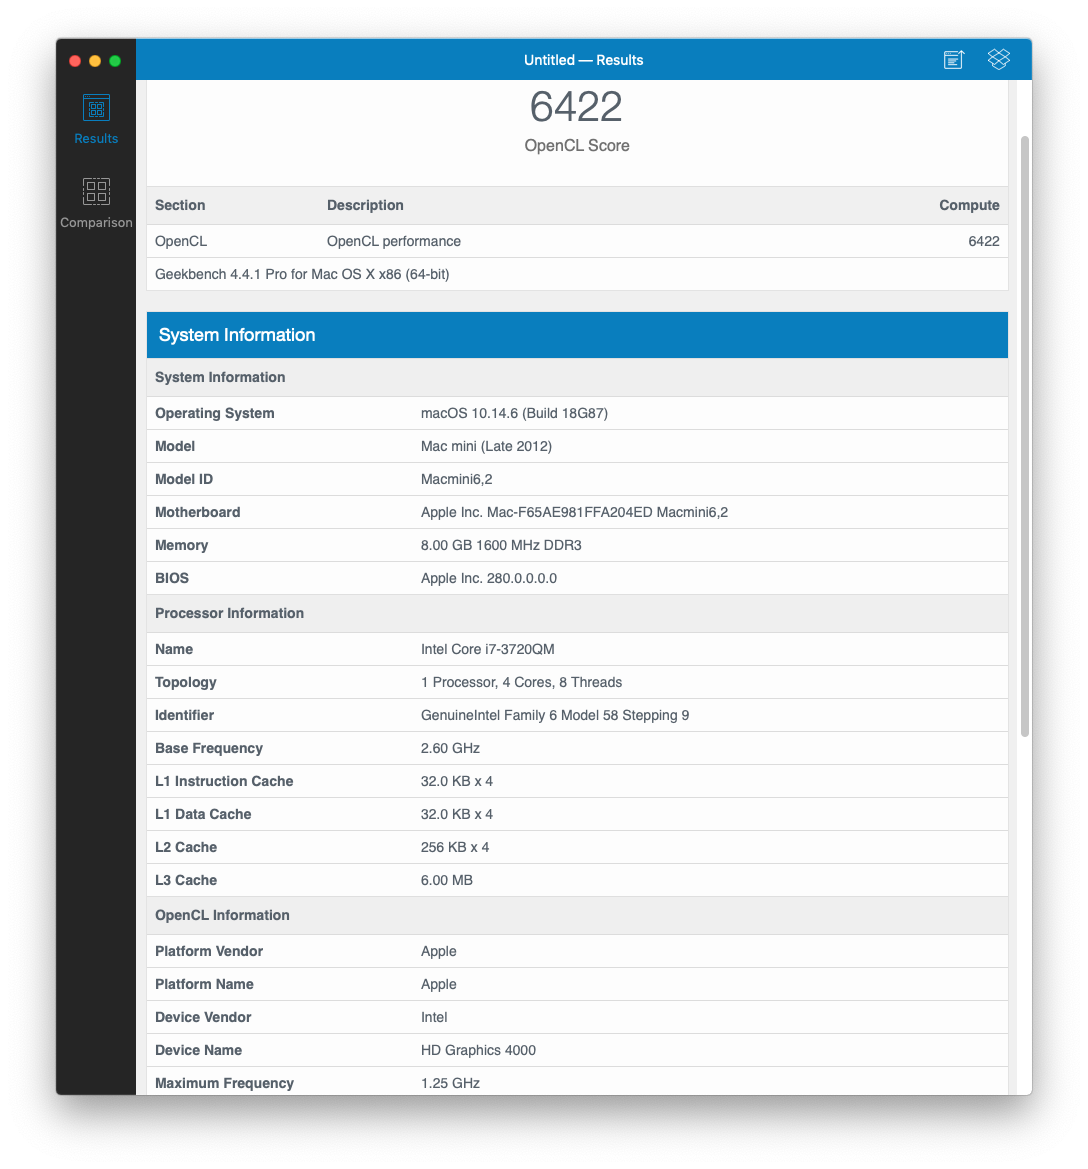
Here are some Geekbench scores for good measure.
My wife’s pretty happy with it now, she says it is faster than before and it doesn’t crash anymore, which it used to do every now and then. And if my wife’s happy, then I’m happy.