Events

The Olympus E-3 Launch Party

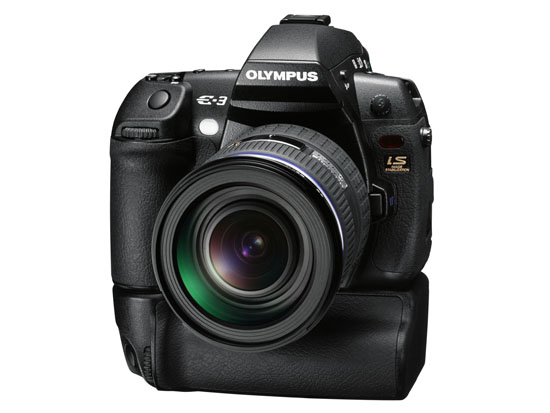
Back on August 15, I wrote about the “new E-1”, the Pro DSLR from Olympus that would replace the existing E-1. I had the wonderful opportunity to attend the launch party for that new DSLR, officially called the E-3, on October 16. The party was held at the Museum of Natural History in NYC, and it started at 5:30 PM EST.

This post is rather long, so I thought I’d summarize it for your benefit:

  • First part: my thoughts on the event and the E-3, with photos of the camera
  • Second part: video from the event
  • Third part: my photos from the event

Olympus E-3 DSLR (front view with battery grip)

I was impressed with the quality of the event. Olympus rented an entire wing at the Museum of Natural History, and set up stations where we could talk with specially-chosen pro photographers about the E-3 and try out beta units of the camera. (The firmware isn’t yet finalized, so actual review units weren’t available.) There were food and drink bars (the cheese was fantastic) and all sorts of other goodies were spread all around (like a timeline display of all of the representative Olympus digital cameras, starting with their first model, and ending with the E-3). The event went nicely according to plan, and there was even a drawing where a lucky winner got an E-3 Pro Package (camera, speedlite, lenses, etc.) plus an all-expenses paid trip to India with one of the Olympus pros. I didn’t win it, unfortunately.

The atmosphere wasn’t one of hard sell. I could chat at ease with photographers and relax while looking at slideshows of photos taken by the pros or snacking on food. Ligia and I enjoyed ourselves. The weather was gorgeous. It had been sunny all day, and as evening descended on the city, the sky stayed clear, and a cooler breeze made it feel like a proper autumn night.

The E-3 surprised me in several ways:

  • It didn’t differ much from the concept photos I’d seen earlier, which was interesting. It means Olympus had been working on it for a long time, pretty much had the form factor down, and were simply perfecting it.
  • It was bigger and heavier than I expected. Having worked with the E-500, E-510 and E-410, I expected the body to be lighter and smaller. It wasn’t. The weight of the E-3 is exactly the same as the weight of my Canon 5D: 810 grams. It’s also as big as my 5D – actually, a little taller.
  • It felt very solid. When I gripped it, there was no mistaking it: I held a Pro DSLR in my hand.
  • The ISO sensitivity went all the way to 3200. What’s more, the camera’s Auto ISO function also varied the ISO from 100 to 3200. That’s a rarity. There’s usually an upper limit (something like 800) to Auto ISO on other cameras.
  • The camera uses an 11-point AF system. I complained about the 3-point AF on the E-510, and it looks like that’s not a problem on the E-3. It could focus very fast in lower light conditions, even at f/4.
  • The CMOS resolution is 10.1 megapixels. I honestly expected it to be 12 megapixels, just because everyone is pushing the envelope on resolution these days. I have a feeling this may be a limitation of the sensor’s surface area. The more megapixels one crams onto a sensor, the more chance there is for noise in lower light. It’ll be very interesting to watch and see how Olympus deals with the need for increased resolution in their Four-Thirds system.
  • The LCD screen swivels out, just like on the E-330.

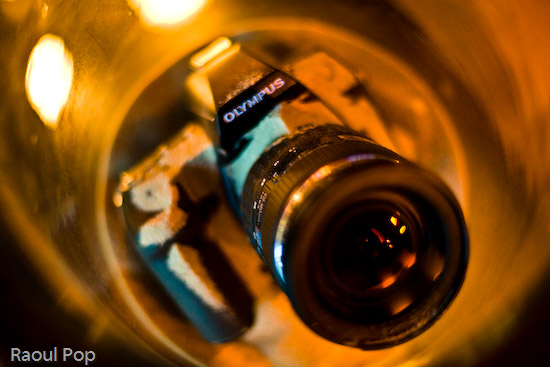
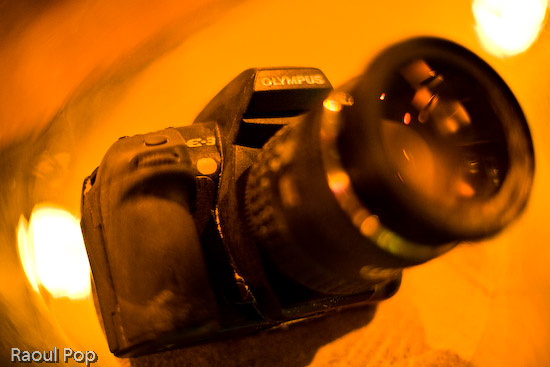
Here are some more photos of the E-3, from various angles. The E-3 was launched with a brand new lens, the 12-60mm f/2.8-4. The effective focal range of this lens is 24-120mm, because of the 2x crop factor of the Four-Thirds system sensors.

I didn’t get a chance to play too much with the controls on the camera. One thing to say here is that Olympus built in a lot of buttons to allow for one-touch access to the camera’s most-used functions. I did find it a bit awkward to change the mode and ISO settings. To change the mode, I had to press the Mode button on the camera’s top left side, then rotate the back dial. To change the ISO, I had to press the ISO button on the top right of the camera, then rotate the front dial (located underneath the ISO button). Both movements felt odd, and I wondered how this would work out in the field.

To be fair, I don’t know if that was the right or only way to change those settings, and I can’t really judge the placement and ergonomics behind the controls after only a few minutes of trying out the E-3. I did like the idea of having two dials, one for the thumb and one for the index finger. I look forward to trying out a review unit for my usual 30 days, and then deciding if the controls work well or not.

I took a few photos at high ISO (1600 and 3200) and was pleasantly surprised by the low noise visible on the camera’s LCD screen, even at f/4. Since I used my own CF card to take the photos, I really looked forward to examining those photos closer when I got home. Unfortunately, one of the Olympus representatives present at the event saw me do it and erased my card. His reasoning was that the camera’s firmware is not yet final, and he didn’t want me to get the wrong impression about the E-3’s capabilities. Sounds logical, and he apologized profusely, but I still couldn’t help feeling it was a pretty stinky thing to do to me, right after I’d talked with an Olympus engineer from Japan who had no problem whatsoever with the photos I’d taken, and who actually encouraged me to go home and have a look at them on my computer. I have to say I was pretty disappointed about that, but I didn’t let it ruin my evening.

Olympus launched three new lenses with the camera. Two were new (12-60mm f/2.8-4 SWD and 14-35mm f/2.0 SWD), and one was re-engineered (50-200mm f/2.8-3.5 SWD). They also launched a re-engineered FL-50 speedlite. I realized once more the big advantage of the Four-Thirds system when I looked at their lens line-up, which was on display at the event. They have a 150mm f/2.0 lens, and a 300mm f/2.8 lens. You may not think that’s much until you realize their crop factor is 2x. That means that they’ve really got a 300mm f/2.0 lens and a 600mm f/2.8 lens. Let that sink in for a bit. That’s pretty spectacular. No one has lenses with that focal reach and at that large aperture on the market. To think that you can get f/2.8 at 600mm effective focal length is mind-boggling to me. Wow.

Overall, the E-3 is truly the new flagship camera from Olympus. It represents the culmination of their efforts in many areas: the Four-Thirds system, AF, durability, ruggedness, optics and image processing. Now that it has arrived, I’m sure many people, including myself, can’t wait to try it out and see what it can do.

I put together a short video (about 4 minutes) of the party. It ends with the lens line-up and a cross-section of the E-3 with the 12-60mm lens mounted on. It’s pretty cool, and it gives you a unique look at the camera from the inside out. You can watch it below or here.

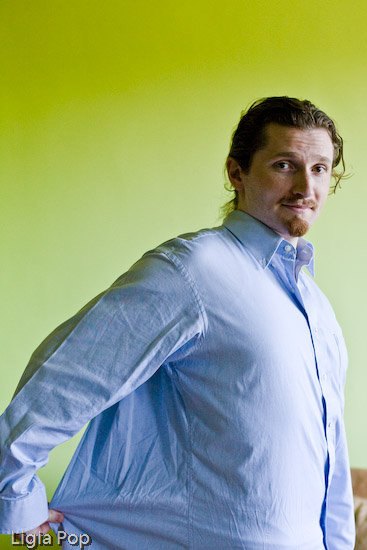
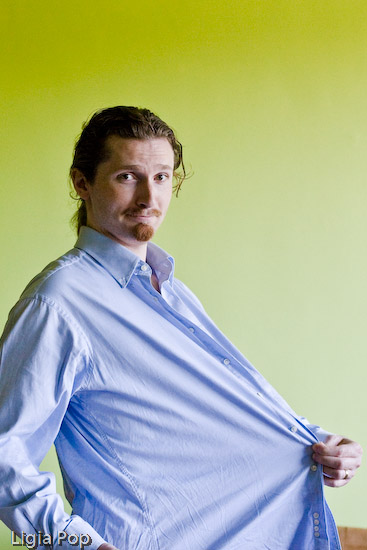
I’ve also got more photos from the event below. They were not taken with the E-3 (for the reason given a few paragraphs above). They were taken with my Canon 5D.

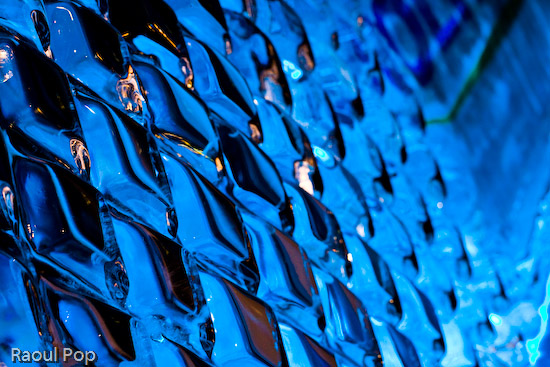
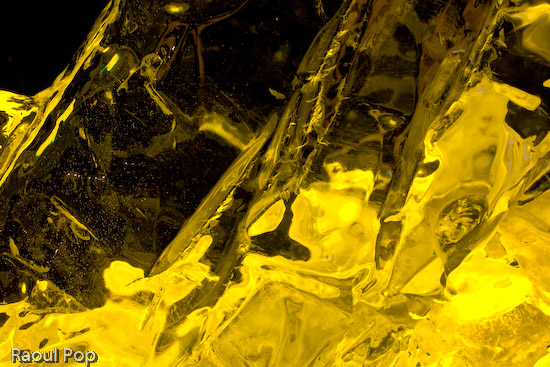
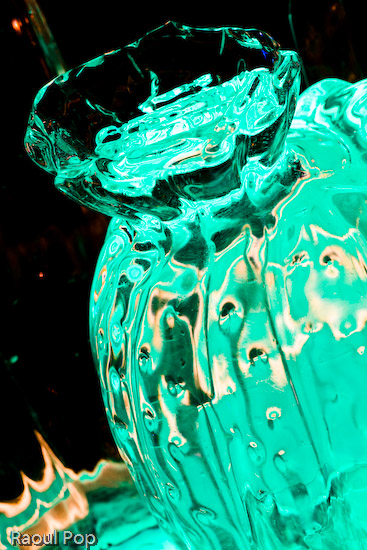
There were some really, really cool ice sculptures on display at the event. There was even a bar made out of ice, with the Olympus logo embedded in it.

Rhomboid

Mellow yellow

Ice sculpture

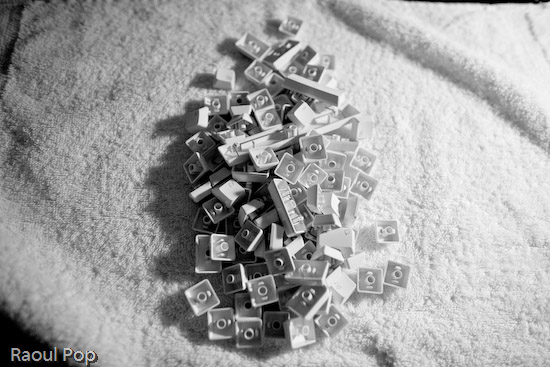
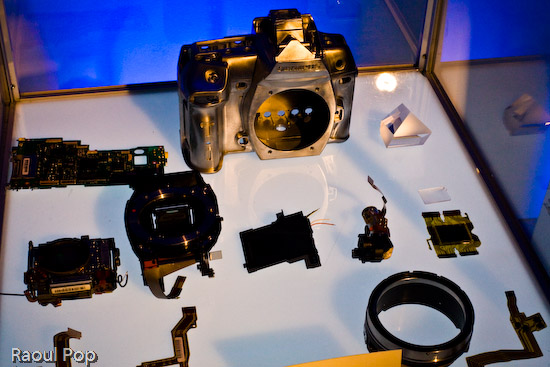
The guts of the E-3 were on display.

The components of the E-3 DSLR

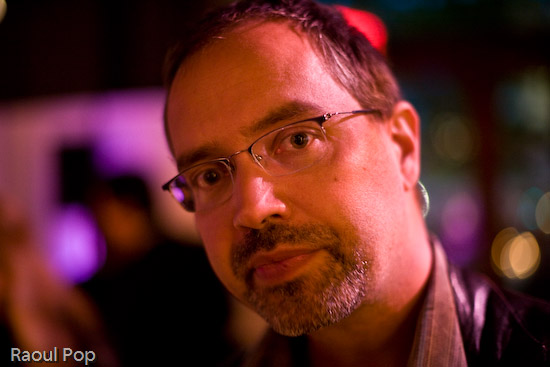
Gene Hirschel of Internet News was there. I met him at the previous Olympus PR event, which announced the E-510 DSLR.

Gene Hirschel

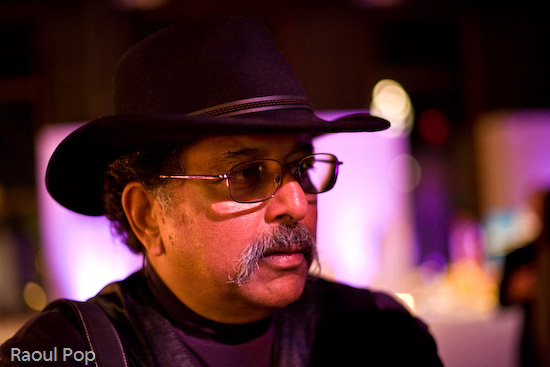
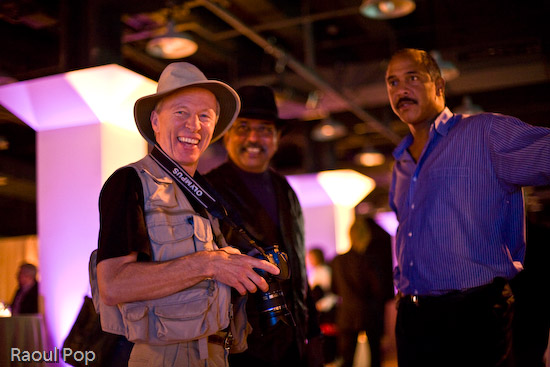
John Isaac is one of the Olympus Pro photographers, and he’s currently specializing in wildlife. He worked at the UN for 30 years as an official photographer.

John Isaac

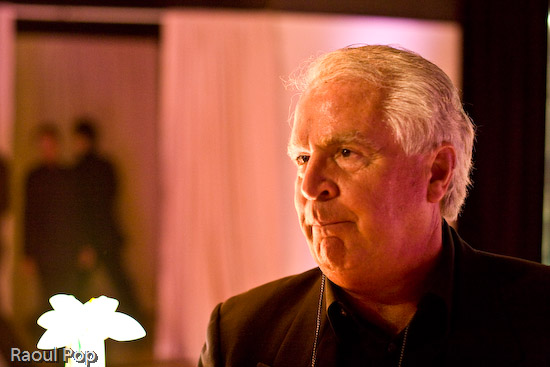
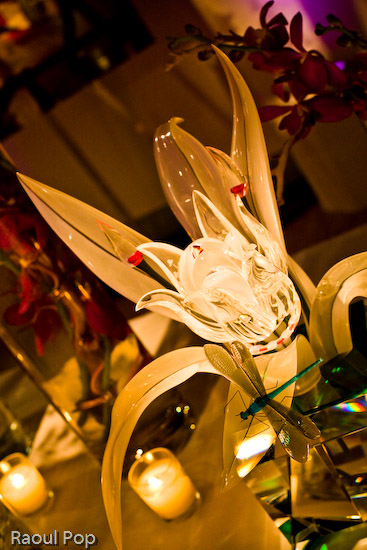
The man below is the sculptor of the many amazing crystal figures on display at the event. I have a photo of one of them below, and they’re also featured in the short video I made. I’m terrible with names and I didn’t catch his.

Crystal sculptor

One of the crystal sculptures

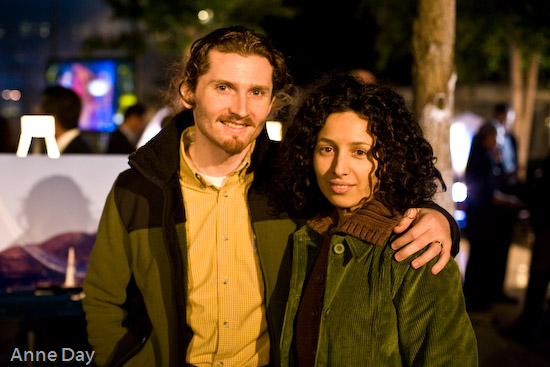
Guess who took this photo of us? It was Anne Day, and she used my 5D. I consider it a privilege, especially after I saw some of the other people whose photographs she’s taken. Have a look at her site and see what I mean.

Ligia and Raoul

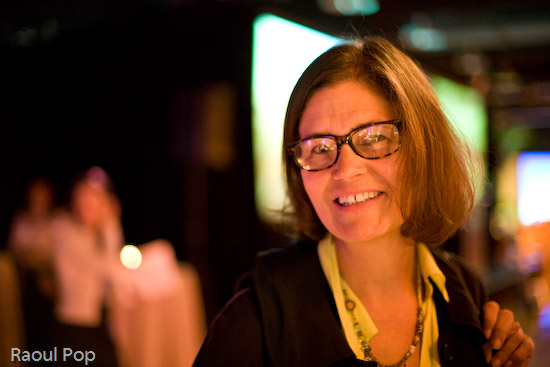
Here’s Anne Day in person:

Anne Day

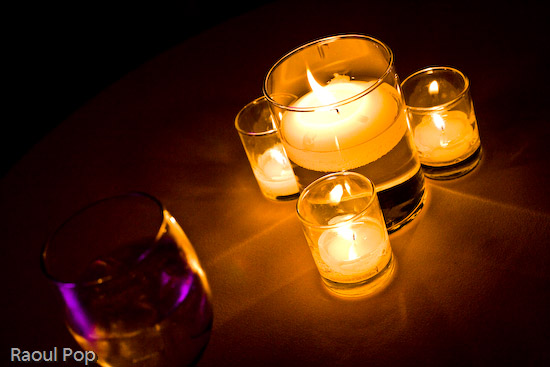
I took this as I rested on a table, watching slideshows of travel photography. The blue light of the LCD projected reflected in my glass of tonic water.

A glass of tonic water by candlelight

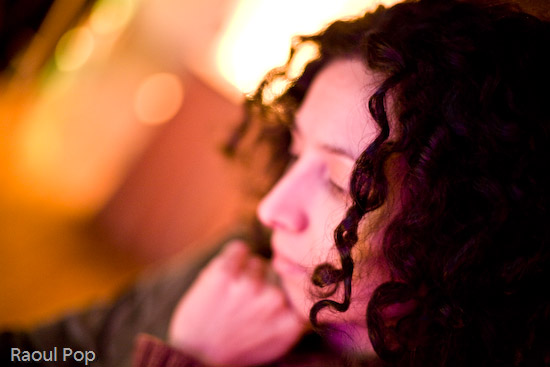
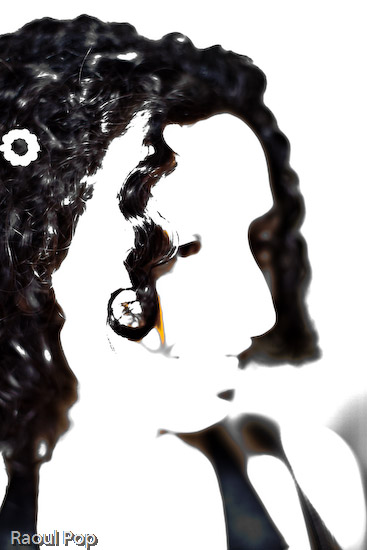
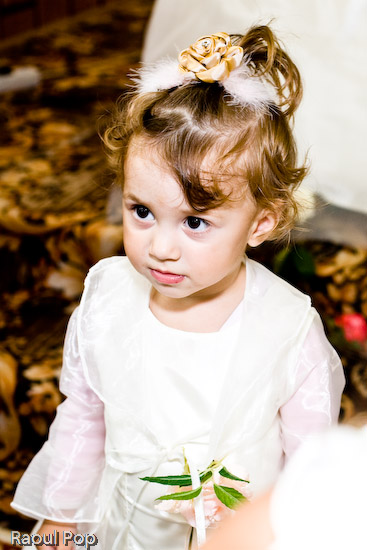
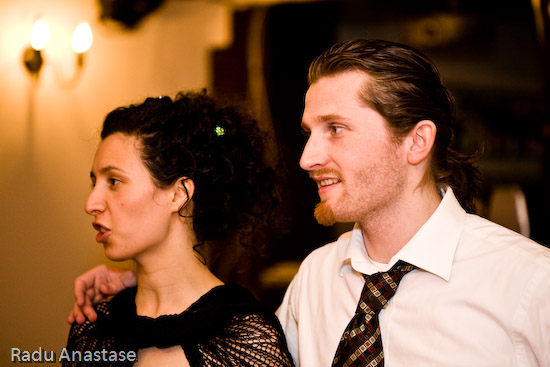
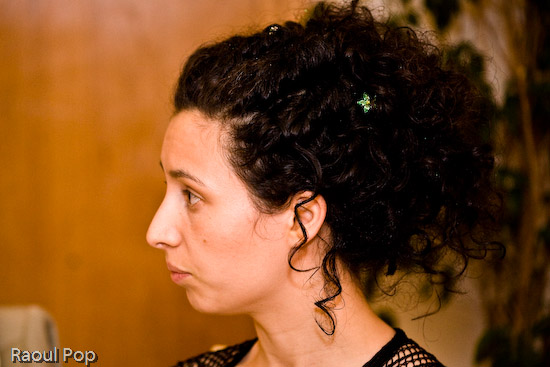
I caught Ligia thinking about something when I took this.

Ligia

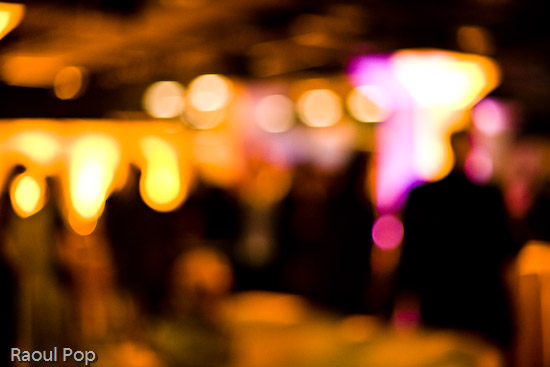
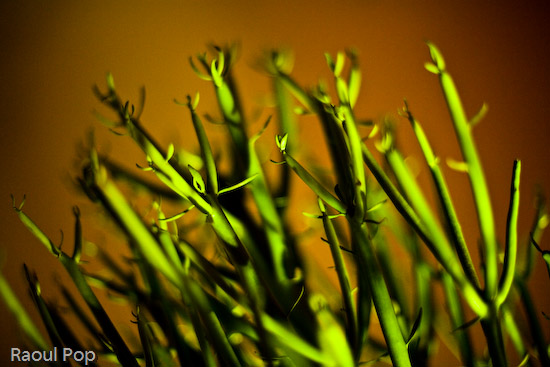
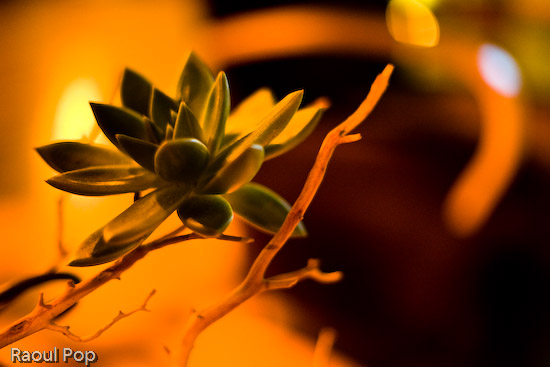
If you thought Ligia’s photo was out of focus, you’re going to get a real surprise out of the next one. The thing is, I LOVE out of focus photographs. There’s a certain sweet spot that varies with lighting, distance and focal length, but if you get it just right, the colors really pop, and the shapes become very interesting. These are people at the launch party. I’m probably going to share more of my out of focus photographs in the near future. I’ve been accumulating a lot of them within the past several months.

People at the launch party

To demonstrate the E-3’s dust proofing, they buried two cameras in sand. They’re supposed to still work without any problems after this happens to them. I didn’t try them out, but it’s very likely that they worked just fine afterwards.

Olympus E-3 buried in sand

Olympus E-3 buried in sand

Gary Kralle (one of the other Olympus Pros), John Isaac and a friend were talking when I took this photo. Gary came up to me afterwards and we chatted a bit about cameras.

Gary Kralle, John Isaac and friend

I love abstract shots that emphasize bokeh. Here are a few that I took at that night.

Grow

Cactus

Four lights

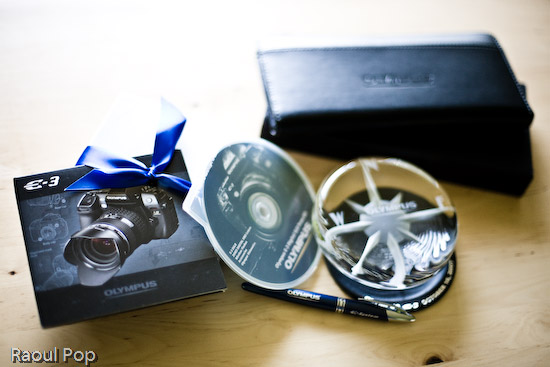
When we left, there were swag bags ready for us. Here’s what was inside: a travel document holder, a pen, a paperweight, a coaster, and lots of details on the E-3. All were emblazoned with the Olympus logo. Pretty nice!

Swag from launch party

Michael Bourne, thank you very much for the invite! I look forward to reviewing the E-3 properly when it becomes available.

More information:

Standard
Events

The reason behind our trip to Romania

You may recall that I mentioned a recent trip to Romania in a few of my posts. The occasion for our trip was a joyous one, thank goodness: my wife’s sister got married. I would have loved to post a few photos of them, but she and her husband would prefer to stay off the Internet, at least for now. Still, I did the next best thing. I put together a list of my favorite photos from the wedding that are okay to show in public.

This is an overexposed photo of Ligia, processed in Lightroom. I like the way it came out.

Ligia

My little niece was one of the bridesmaids.

One of the maids of honor

Ligia’s singing in the choir. The bride and bridegroom are in the bottom left corner. I think this photo’s alright to show, since they’re facing away from the camera. 🙂

The bride and bridegroom

One of my nieces and her friend is giving me the tilted head look. I love how this photo came out, in spite of the lens flare visible near my niece’s right eye. The pose was completely spontaneous, and yet they both managed to tilt their heads and bodies at parallel angles. Lovely!

The tilted look

The bride takes a walk outside the restaurant where the wedding party took place.

The bride

I loved this simple yet dramatic chandelier, and the cloth ribbon draped across the ceiling was a great touch.

Chandelier

The bride and bridegroom cut the wedding cake, hand in hand.

The wedding cake

Here we are. My brother-in-law (not the one getting married) took this photo. It came out really nice, don’t you think?

Ligia and Raoul

My lovely wife. I never get tired of photographing her.

Ligia

We had a really wonderful time at the wedding, getting to know the groom and making new friends. It all went just as planned, and came out even better!

Standard
Reviews

Windows Family Safety

Windows Family SafetyWindows Family Safety (WFS) is a new offering from Microsoft that aims to offer protection from questionable or indecent websites to families or individuals. I tried it out for a couple of weeks, and found it to work fairly well, except for a few hiccups here and there.

It is a software-based internet filtering mechanism. The difference between a software-based internet filter and a hardware-based one is that the software needs to be installed on every computer where filtering is desired. A hardware-based internet filter is usually self-contained in a box or appliance that gets placed between the user’s internet connection and the internet. The benefit of such an appliance is readily seen. There’s nothing to install on client computers. Unfortunately, hardware-based solutions have been fairly expensive, historically speaking.

Software-based internet filtering has also cost money, until now. As a matter of fact, Microsoft used to offer one such software-based solution with its premium MSN service. Windows Family Safety may be that same offering, repackaged as a free service.

Having used other software-based internet filters, I can tell you Windows Family Safety is a lot easier to use, and much less annoying than paid products. Those other services, who don’t even deserve to be called by their names, were just plain awful. I had to authenticate every time I tried to access a website, and logins didn’t even take at times. What’s worse, if a single website called out to other websites to display information, as is so common these days, I had to authenticate for every single request. They were a nightmare, and I quickly uninstalled them.

Windows Family Safety requires a simple install, and the selection of a master account which can set the level of access for that computer. It uses Microsoft Passport sign-ons, which means I was able to use my Hotmail account to log in. After that, it was a matter of logging in every time I turned on my computer or came back from standby. This was one area where I encountered a hiccup though. The software had an option to allow me to save my username and password, so I wouldn’t have to enter them so often, but that option didn’t seem to work. I was stuck logging in much more than I cared to do, but still, this was nothing compared to the torture I went through with other software-based filters — as already mentioned in the paragraph above.

Just how does WFS work? It turns out that it uses a proxy to filter the traffic. It means that every time you make a call to a website, that call first goes through the WFS servers, where it gets matched to their content database and the website deemed to be appropriate for the level of safety that you’ve chosen. Here’s where I encountered two hiccups.

The first was that at peak times, the speed of my internet connection was slowed down to a crawl until it could pass through the fairly busy proxy servers and be filtered. That was really annoying, but I assume that’s going to get better as MS dedicates more proxy servers to the service. Perhaps it might be better to download content filters directly to each computer and filter the traffic locally, so the chance of a bottleneck is reduced or eliminated.

The second was the seemingly arbitrary designation of some sites as inappropriate. I chose to filter out adult, gambling and violent websites. Somehow, both of my blogs (ComeAcross and Dignoscentia) didn’t meet that standard, which was very surprising to me. Neither of those sites can even remotely be classified under those questionable categories. Fortunately, there’s a fairly simple process for requesting that a site be reconsidered for proper classification, and it’s built into the Windows Family Safety website. I followed the procedure, and within days, my sites were properly classified. But the fact that I had to go through all of that makes me wonder how they’re classified in the first place.

Overall, I found that WFS still hasn’t gotten proper branding. What I mean by that is that it’s not clearly identified as a product by Microsoft. The Windows Live OneCare Family Safety website is part of the Live Family of sites, true, but it’s not even identified on most of the other sites in that family (Hotmail, SkyDrive, etc.) I also found that configuring one’s WFS account can be pretty unintuitive, as the navigation on the WFS site is cumbersome and lacking focus (much like the Windows Live OneCare site, come to think of it.) I even got code errors when I tried to surf through it recently, which is not what I expected from a public MS site.

On a general note, Microsoft really needs to do some work in associating each MS product with the Windows Live account that uses it, and making it easy for each user to access the online/offline settings for each product. Google does a great job with this, and MS could stand to learn from them here.

Windows Family Safety is a good solution, and it works well considering that it’s free. If you’re looking to set up some easy internet filtering at your home, it could turn out to work great for you. Give it a try and see!

Standard
A Guide To A Good Life

Fat clothes for fat people

This post is a bit of a rant, but it’s something that’s bothered me for some time. Now that I’m married, I’ve found that Ligia has the same problem as me. We have a really hard time finding clothes that can fit us. It seems that clothing manufacturers out there have geared all of their clothes production toward fat people. I would even go so far as to say that we (and by we I mean thinner people) are being discriminated against. (I’m grinning as I write that…)

Every time we go to a department store, we can’t find clothes our size. For example, my pant size is 30″ waist x 32″ inseam. There is no such pant size in most places. I kid you not, try finding it. My shirt size is 16-16 1/2″ neck with 34-35″ sleeves. At that size, the shirt’s waist is gigantic. Somehow, they must think only extremely fat people wear those sizes. Have a look below to see how one of those shirts fits me. It’s absolutely ridiculous.

A shirt made for fat people

Ligia took these photos. As you can see, any way you look at it, there’s a ton of extra material around the waist, and on the sleeves. That material doesn’t belong there. I’m trying my best to manage a goofy expression, and yeah, I look pretty goofy…

A shirt made for fat people

I always have to find all sorts of creative ways of tucking my shirts in my pants, and I’m fed up with it. If I want well-fitting shirts and pants, I have to pay more. I shouldn’t have to pay 40-70% more for a piece of clothing simply because clothing manufacturers think everyone’s fat. Not everyone is fat!

Ligia has it even worse. She wears XS or size 2 clothing, but most of the time, those sizes are much too large for her in adult clothes. She has to go hunting around in the children’s department to find clothes that fit her. She’s a full-grown woman, past 25 years of age. She shouldn’t have to do that just so she can dress herself. We’ve honestly tried all sorts of stores. We’ve been to more expensive stores, including specialty petite stores, and still we have a hard time finding clothes in her size at reasonable prices.

I realize the trend these days is to get fat and fatter. We Americans have it too good. We’ve all got our particular excuses, but that doesn’t excuse our nation’s collectively huge waistline, and the lack of clothes in anything but large sizes.

Some people, like us, choose to remain thin, and it seems we’ve been forgotten by mainstream clothing manufacturers. We’re a persona non grata, an unpleasant reminder of what a waistline could look like. We have to shop in children’s departments to find clothes in our sizes and to get decent prices. Is it so hard to make clothes that fit us? It wasn’t so long ago when things were different. Clothing manufacturers, remember, it takes less material to dress us…

Standard
How To

How to properly clean your keyboard

I found myself needing to clean our iMac’s keyboard a few days ago. I remembered watching a video recently that suggested we should simply stick the keyboard in the dishwasher. I wasn’t about to do that. I doubted the circuitry would have worked afterwards, particularly the Bluetooth link between the keyboard and the computer.

The safer route was to simply remove the keys, wash them separately with warm water and soap, then wash the keyboard base with a cloth moistened with water and a mild soap solution. Ligia also got some cotton swabs and rubbing alcohol ready, just to make sure we’d be able to get into all of the keyboard’s crevices.

This solution should work for all keyboards. A word of caution: before you start doing anything to your keyboard, take a couple of photos of the key layout! You don’t want to find yourself with a bunch of keys in your hand, clueless about where to stick them… Take photos of the keys and have them ready to display on your computer, or print them out ahead of time.

Removing the keys is quite simple. You take a quarter or any larger coin, put it under a key, and pry upwards. The key should pop right out. Be careful though, you don’t want to break them — that would render the keyboard quite useless afterwards.

After the keys are removed, the keyboard should look something like this:

Apple keyboard with keys taken off

Please excuse the distortion caused by the camera lens. I used my 24mm prime to make for fast work.

Once the keys are off, Ligia cleaned the keyboard, and I got to work cleaning the keys. I used a basin filled with warm water and I poured in some detergent, then gave each key a light scrubbing with a brush. You can also use the sink directly, but you’ve got to be very careful there. Sinks have drain holes under the top lip, and your keys might just run into them, since they’re plastic and they float. Once they go into the drain, good luck getting them out. You can open up the P-trap and see if they’re there, but chances are that they’re already gone. So be very, very careful as you wash the keys. You want to make sure that you don’t lose any of them.

After the keys were washed, I put them in an absorbent cotton towel and shook them around a bit to get drops of water dislodged from the keys’ undersides, then, while keeping them bunched up in the towel, I ran a hair dryer in there to make sure they got dry a little faster. Here you’ll need to make sure all of the corners of the towel are raised up, otherwise your keys will start flying around… You can also leave them on a towel overnight if you don’t want to bother with the hairdryer.

Keys from Apple keyboard

You also want to be careful that you don’t get excess liquid on the keyboard itself. The last thing you need after you go through the trouble of cleaning it is some problem with the circuits in there. Use a moistened cloth or paper towel, and clean it carefully, making sure you remove any debris or gunk or crumbs or whatever you find in there. Use cotton swabs moistened with rubbing alcohol to get into the tighter spots. When you think you’re done, examine it carefully under a strong light, to make sure you got everything off. Sometimes keys will stick because you or someone else in your house/office spilled sticky liquids on the keyboard, and if you don’t get that sticky gunk cleaned off, the keys will continue to stick even after you think you’ve cleaned them.

After Ligia got the keyboard base cleaned up, we stuck all of the keys back on the keyboard, and it looked quite beautiful when we got done. It was as if we’d gone out and bought a brand new keyboard. Just think of it! We did our part for the environment by re-using a piece of perfectly good hardware, and we also saved about $60. Pretty cool!

Apple keyboard after thorough cleaning

Standard