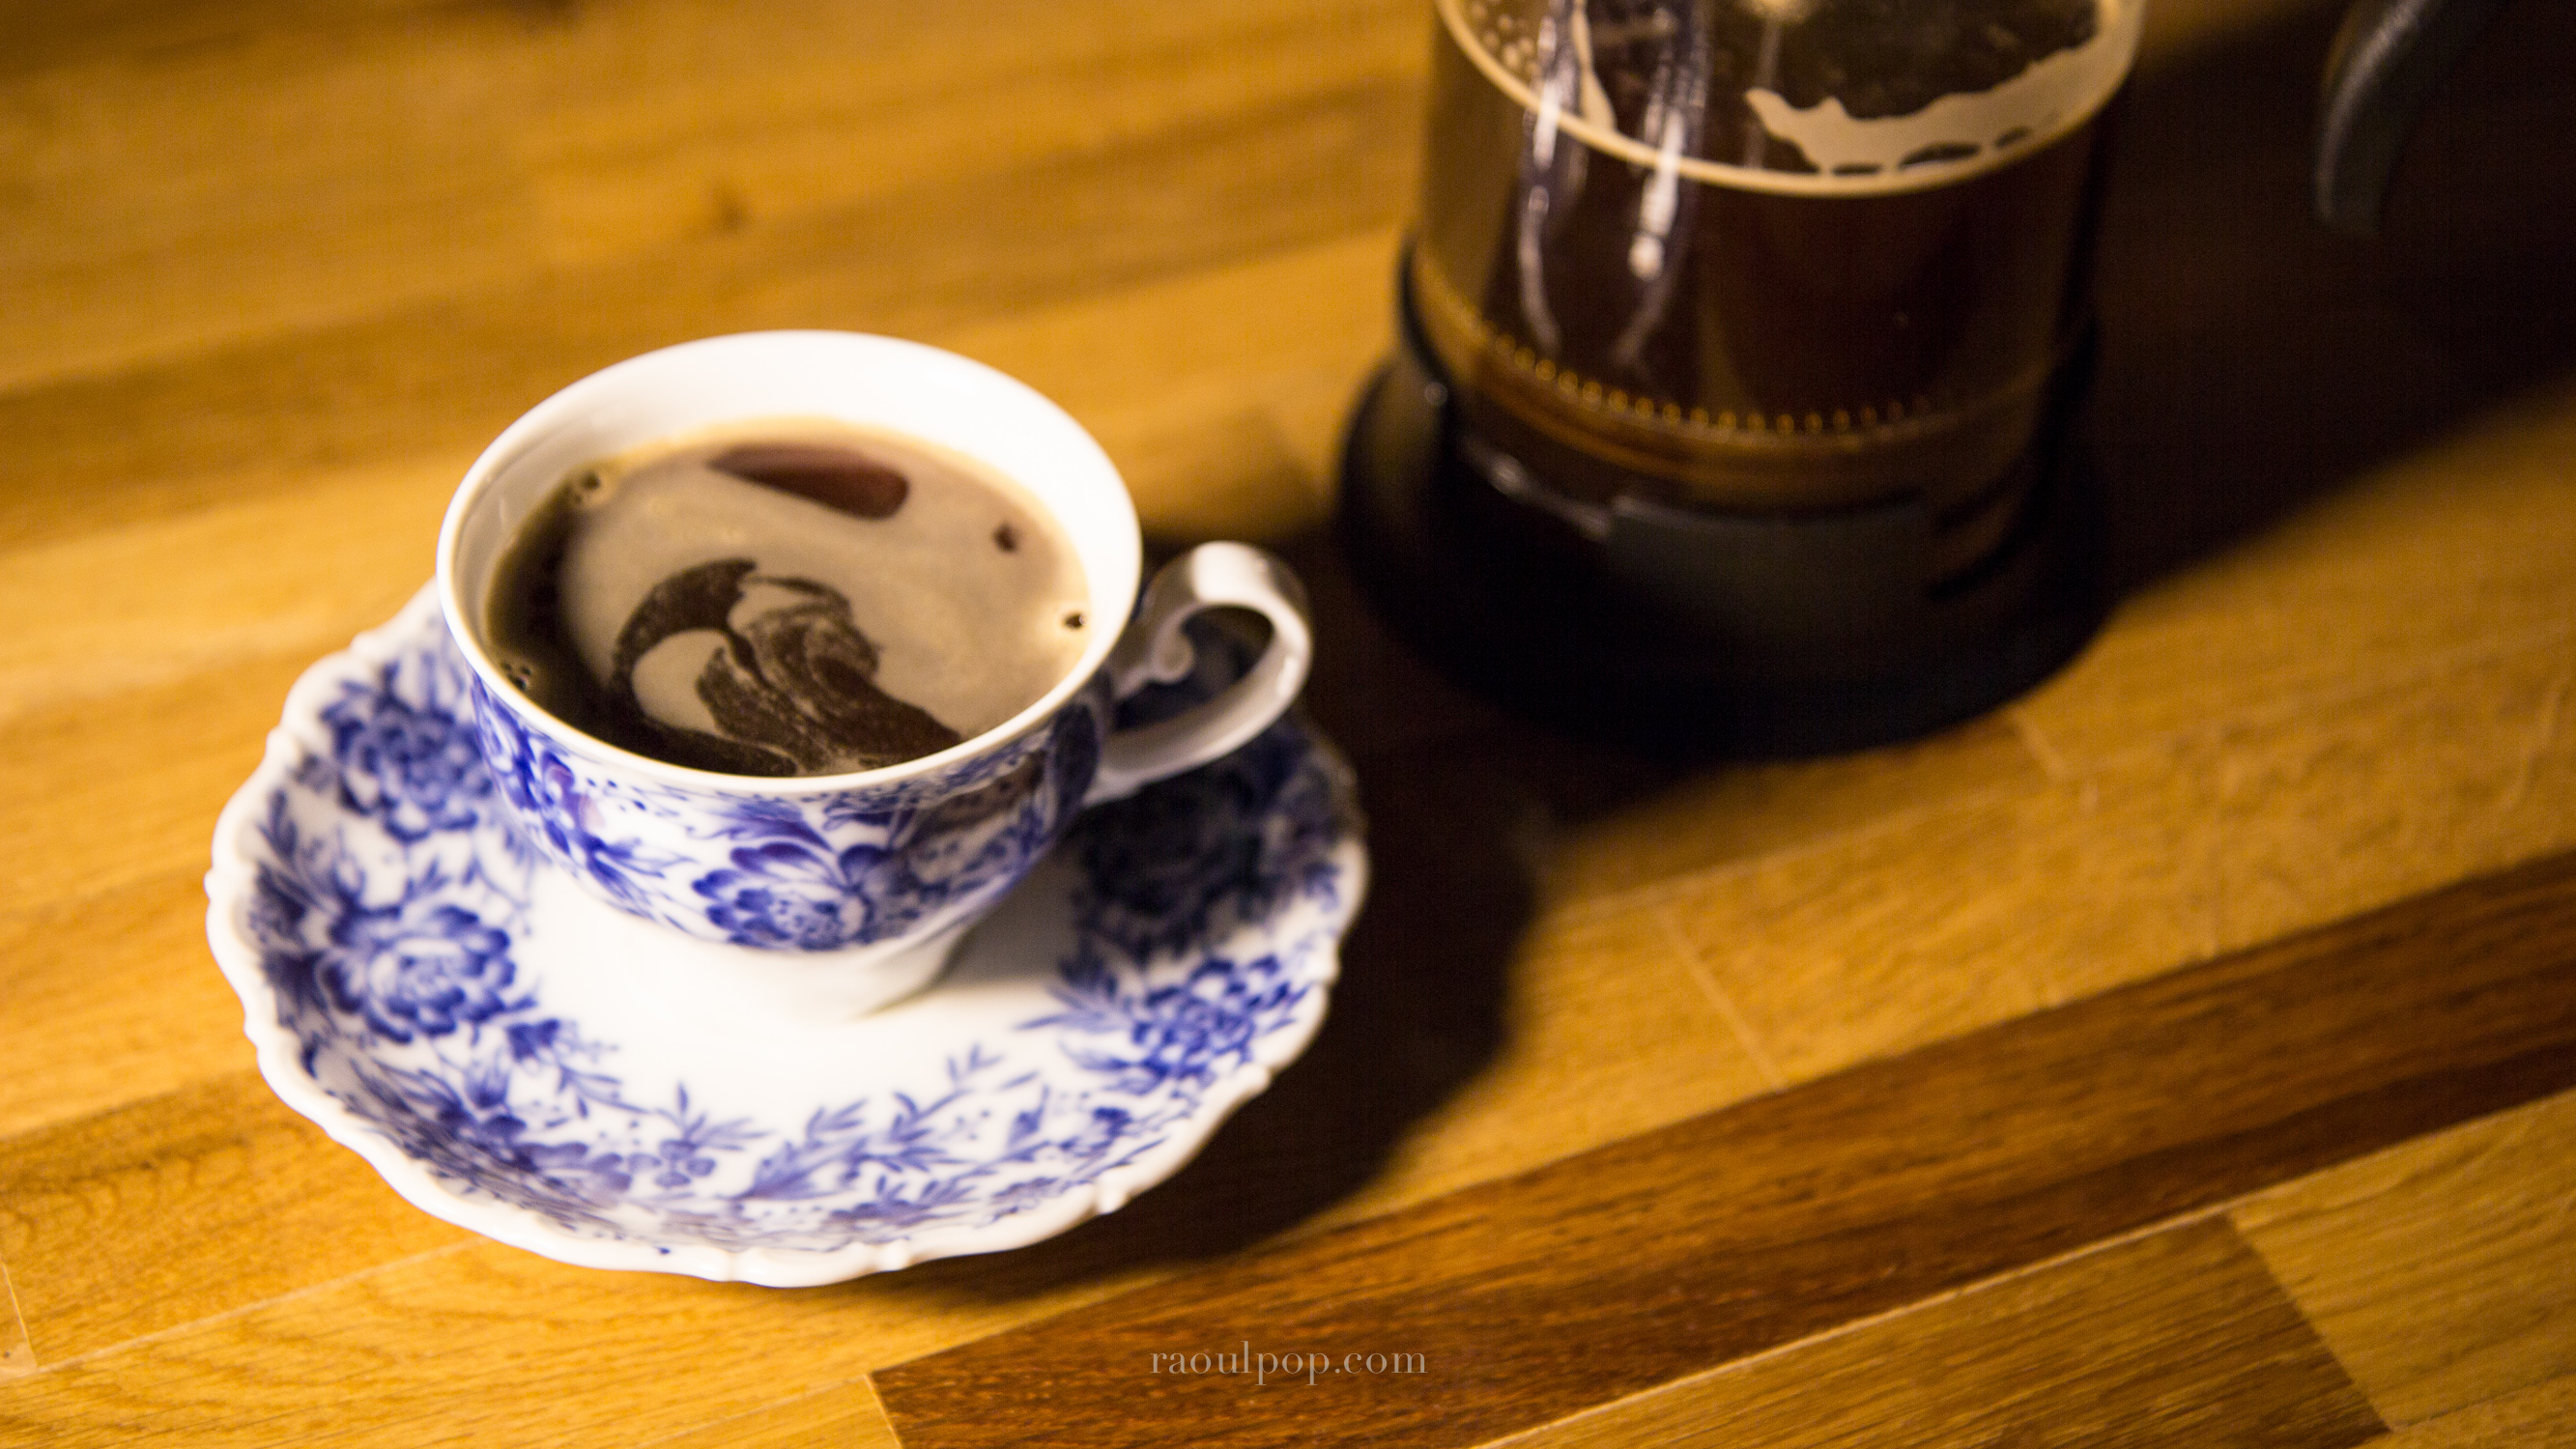
With the warmer spring weather, I tried something different when making my coffee one day: I decided to brew it using the sun’s heat. I was hoping for a different, milder taste and I was right!
The basic coffee-making equation doesn’t change: use your favorite coffee, use as much or as little of it as you prefer — but instead of putting it in the coffee machine, put it in a glass pitcher and add cold, filtered water. Then, cover the pitcher to stop insects or dust from getting into it and set it on the window sill or somewhere outside, in direct sunlight.
Monitor it periodically. Once it gets hot to the touch, the coffee’s done. You can leave it out a little longer if you want a stronger coffee, or leave it less if you don’t. I live in a temperate climate and in moderately warm spring weather (18-25° Celsius), my coffee was ready in 1½ – 2 hours. If you live in a warm climate, it should be ready even faster, maybe even in 30 minutes or so.
The taste of sun-brewed coffee is unique: it’s mild with no bitter aftertaste and there’s a distinct caramel flavor to it.
A few pieces of advice:
Use alkaline water, it will make it taste even better
Use a French Press, it’ll make it much easier to pour the coffee out of the pitcher once it’s ready
Use regular filter-ground coffee even though you’re using a French Press… it doesn’t make sense at first, but know that the water temperature in the sun will only be about 40-50° Celsius as compared to 90-100° Celsius with boiling water. This means you’ll need a finer grind in order to get more flavor out of the coffee.
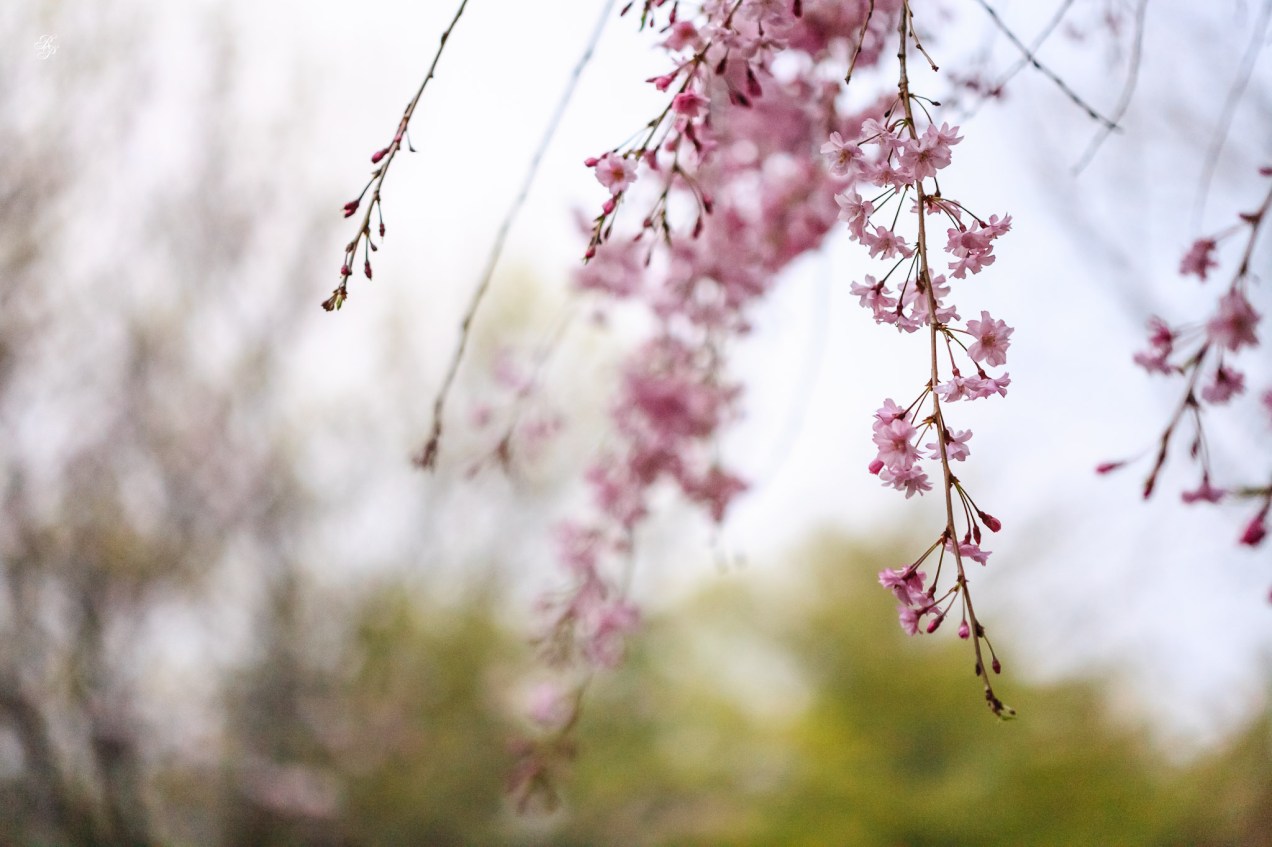
It was touch and go for a while this year, wasn’t it? We weren’t sure when Old Man Winter would go and Spring would finally be here to stay. I think we’re pretty safe now that the first blossoms are starting to come in.
Our apricot tree is in full bloom. The sweet cherry tree is also starting to blossom. No sign yet on the sour cherry trees. And of course the spring flowers are out, as you’ll see in the photos from our garden.
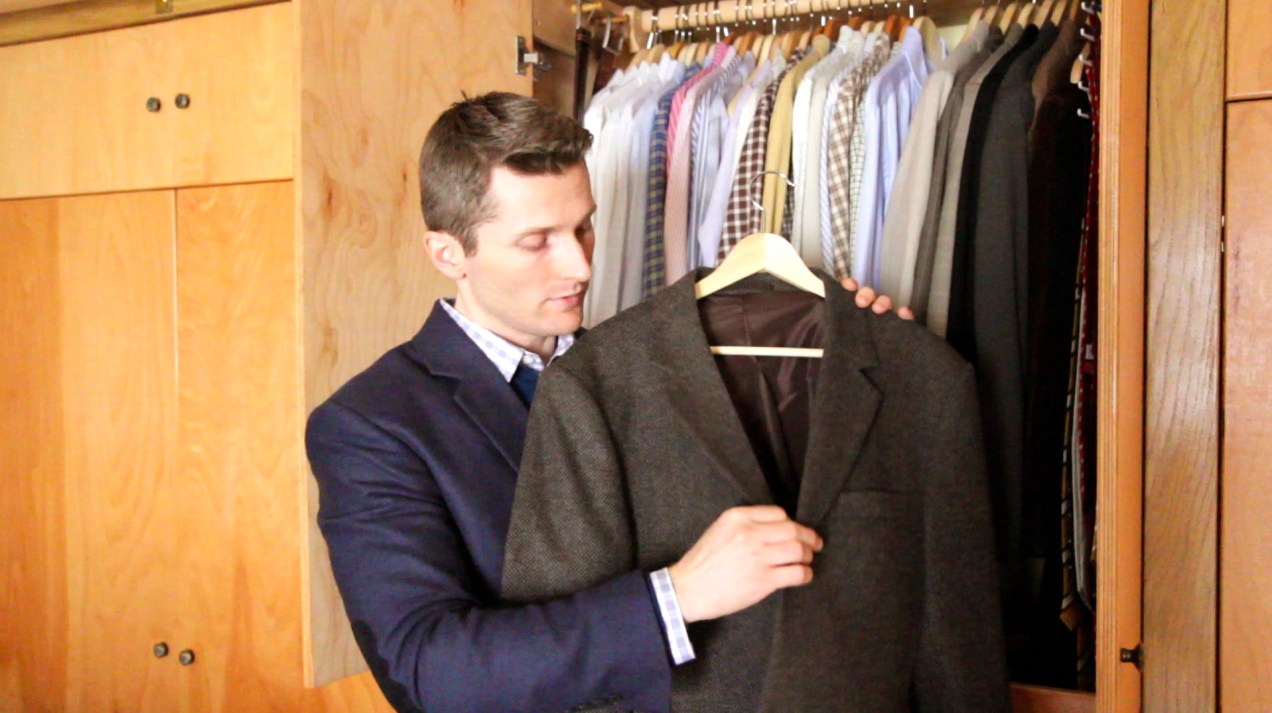
In this video, which is part of The Elegant Gentleman series, I talk about the following topics:
The importance of a proper fit (also known as a cut) for your clothes, which only a good tailor can do. It matters because it not only makes you look good, but it allows for fluctuations in body weight and/or mass. A great suit will hide these changes in your body to a certain point, beyond which it will either start to show them or you’ll start feeling uncomfortable in the clothes, signaling that alterations or a new suit are in order. A poorly cut suit will generally not accommodate fluctuations in body weight, showing them right away, in unflattering ways. This ties into my second point, which is…
The differences between bespoke (custom-made) suits and store-bought suits, one of those differences being a proper fit (discussed above). Bespoke suits fit better, naturally, since they’re made for your body from the start. Store-bought suits will feel like they’re off-the-rack 95% of the time and in my case, 100% of the time. Because my body is of an athletic build, whenever I go to the store to try on a suit, either the coat or the pants won’t fit me and in either case, any alterations that would have to be made are so significant that the suit would no longer look good.
The importance of finding good materials cannot be overstated, since they are the stuff from which suits are made. They cannot be an afterthought. I suggest you go to fabric warehouses in your area (it may take some effort to find them) and pick out materials that you like. Educate yourself on the fibers used in the materials, then on the texture, the colors, the patterns and then you’ll be properly equipped to shop for fabrics. (Or you can find an honest and knowledgeable salesman who’s willing to explain that to you.)
The price of a good suit isn’t set in stone and will vary widely, first based on where you live (larger, more famous cities bring up the price) and second based on what your tailor decides to charge. For example, where I live, in a small town in Southern Transilvania, I can get a good bespoke three-piece suit for about $175 – 250, and that includes the price of the fabrics, buttons and zippers, too. I hear that prices back in the US are somewhere in the area of $750 – 1,500 and there again they’ll vary based on the city and tailor shop.
The one important characteristic that will make a suit much more expensive and rightfully so is whether it is sewn or glued together. You probably cringe when you hear “glued together” but it isn’t as bad as all that. This is also referred to as canvassed vs. fused. Suits have been glued together for decades. Basically, the outer and middle layers of the suit are pressed together with a hot iron and a special coating on the middle layer makes it stick to the outer layer. The lining is usually canvassed (or floating) on all suits. This allows the tailor to shape the suit much easier once it’s been cut, rather than sew it all together to give it its shape, which is laborious, requiring much more skill and time and therefore rendering the suit more expensive. There are actually three levels of quality: there is a fully floating canvassed jacket, a half canvassed jacket (where only the lapels and upper construction around the chest is fused) and a fully fused jacket. My suits are half canvassed, simply because my tailor doesn’t know and isn’t interested in working on fully floating canvassed jackets.
Here are selected photos from the 2008 Cherry Blossom Festival in Washington, DC. They’re taken at various points around the Basin, which is where you’ll find the greatest number of cherry trees and conversely, the greatest concentration of people. The crowds were out in numbers that year!
Be sure to go through all the photos below. I picked them out of hundreds taken at the event. Enjoy!
First I’d like to say this: for those of you uninterested in bodybuilding and wondering why I write about the subject on my site, it’s for three reasons:
I began weight training in 1994-95 and am still passionate about it, many years later. My interest in weight training and bodybuilding pre-dates this website by about seven years.
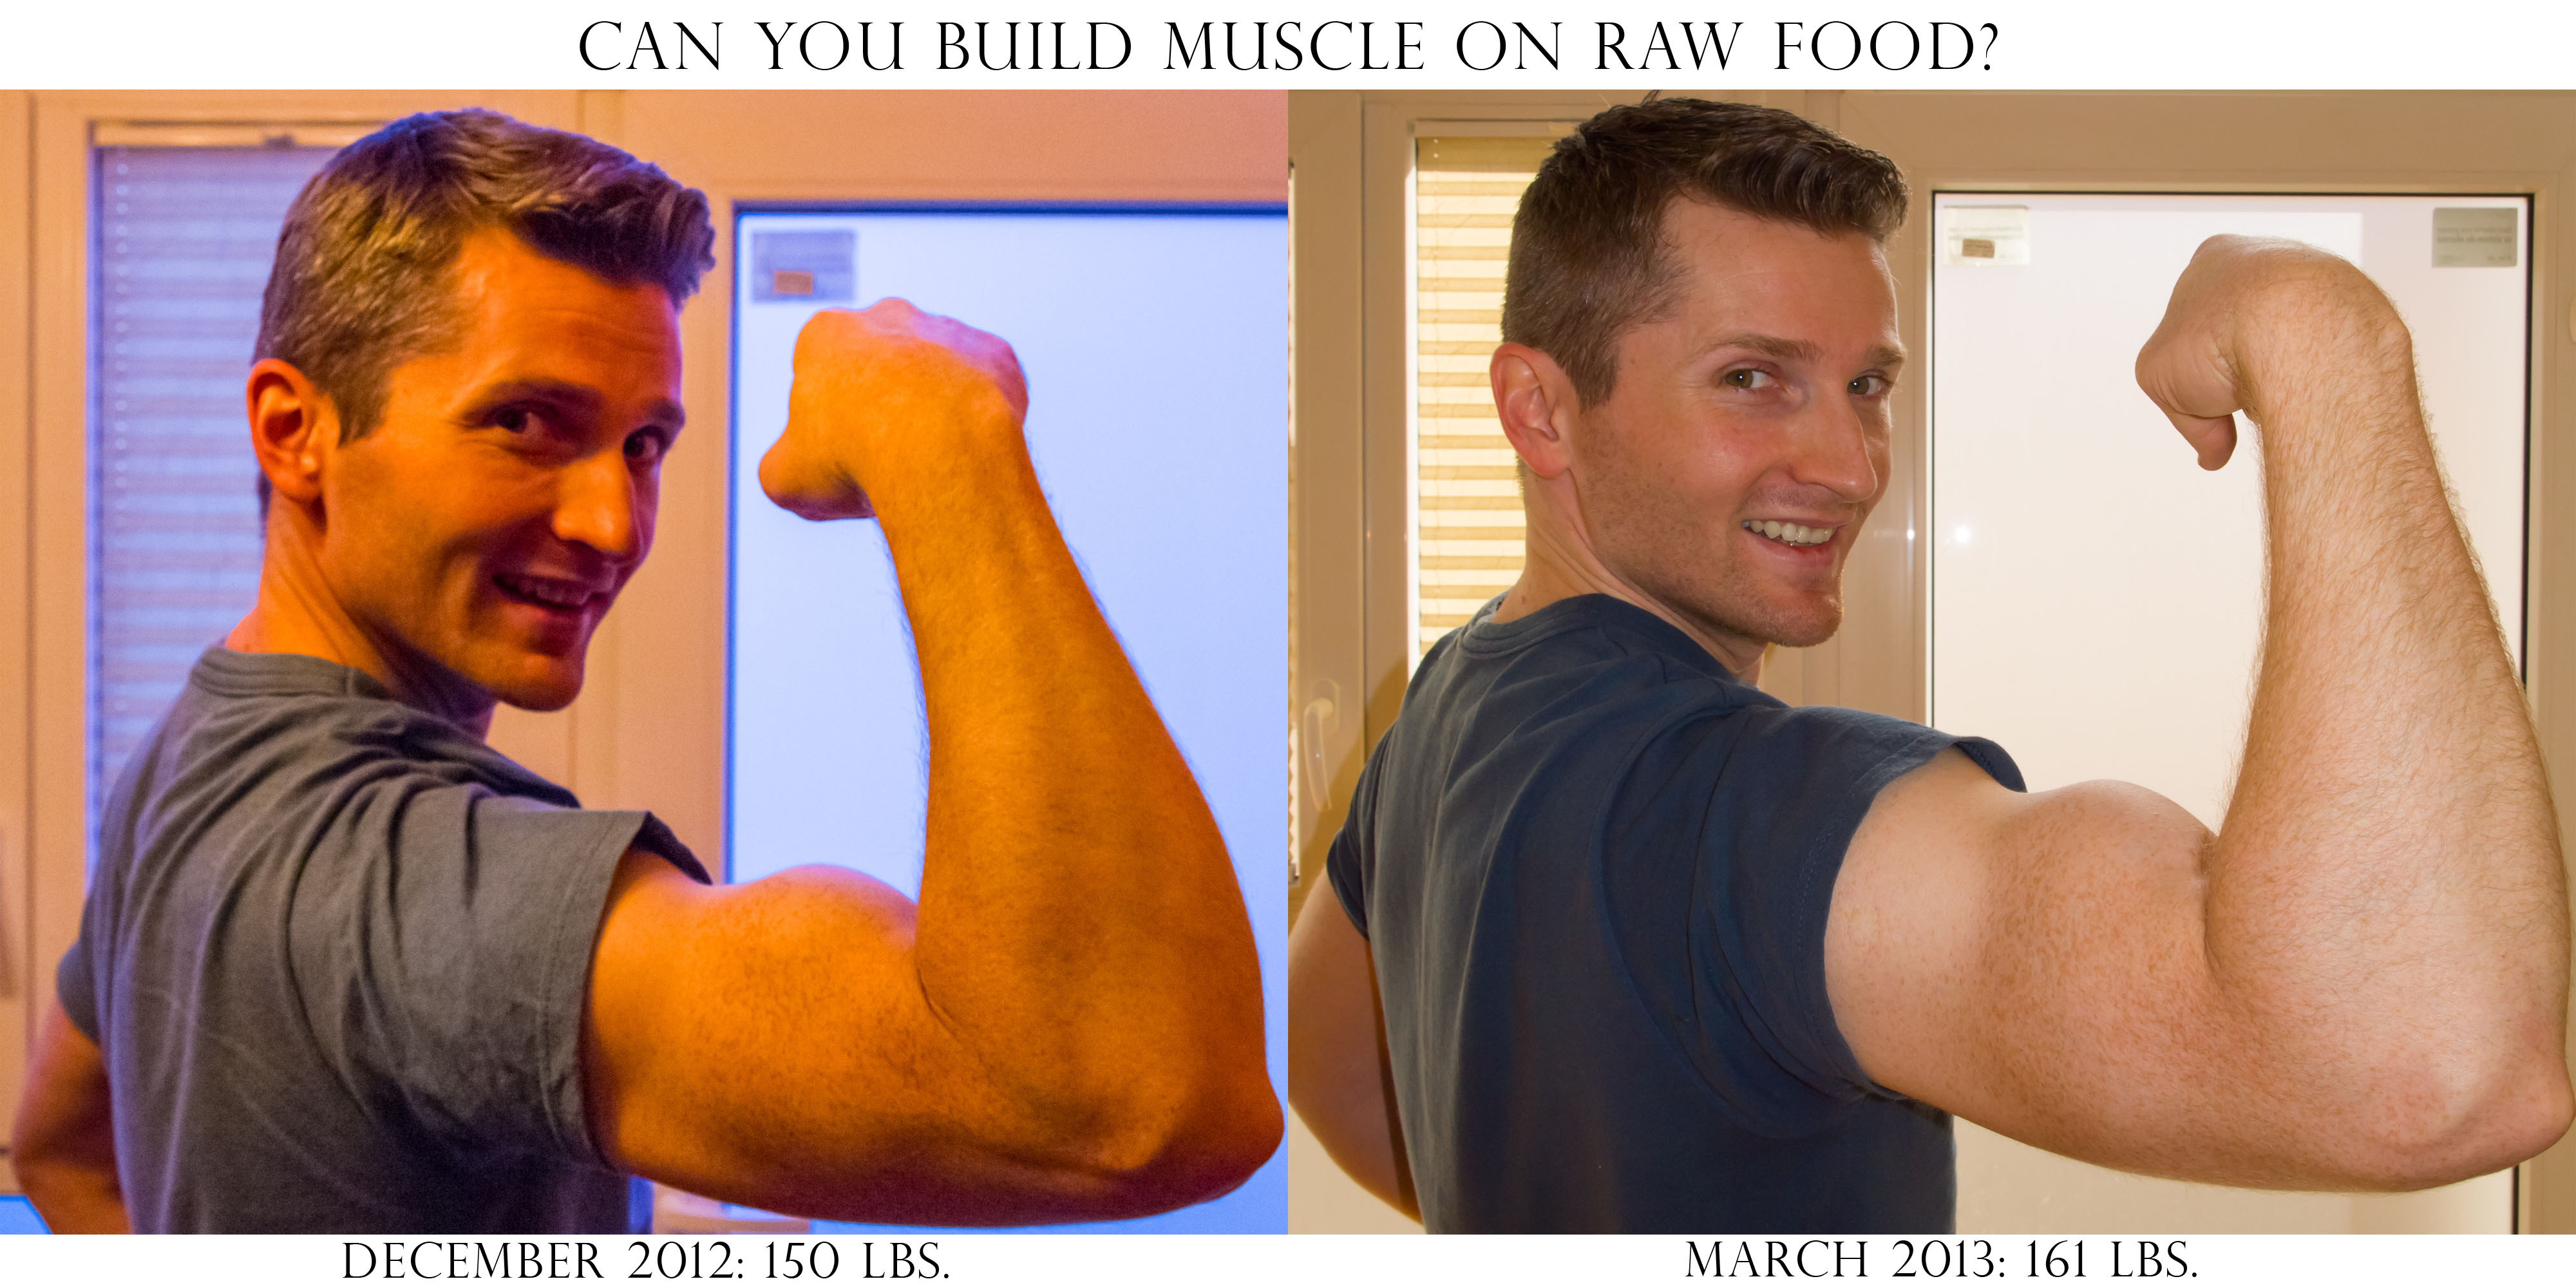
I am a raw foodist and I want to prove that you can build serious muscle on raw food. For me, raw food means a mix of 20-40% cooked vegan food, with the rest made up of raw vegan food and superfoods. My protein supplementation is about 75% raw vegan and 25% vegan.
I’ll turn 37 this year and I want to prove that one can build muscle at this age and even beyond it.
Last autumn, I started going to the gym regularly once more, with the specific purpose of building muscle. All summer long, I’d been exercising at home, using Arnold’s 1% Workout, getting my body ready for weights. And that’s one thing I’d like to stress right now: if you’ve been off weights for a while, years maybe, like me, you’ll need to get ready for weightlifting with a few months of bodyweight exercises. Don’t just go to the gym and start lifting, you’re asking for unnecessary inflammation, pain and potential injuries.
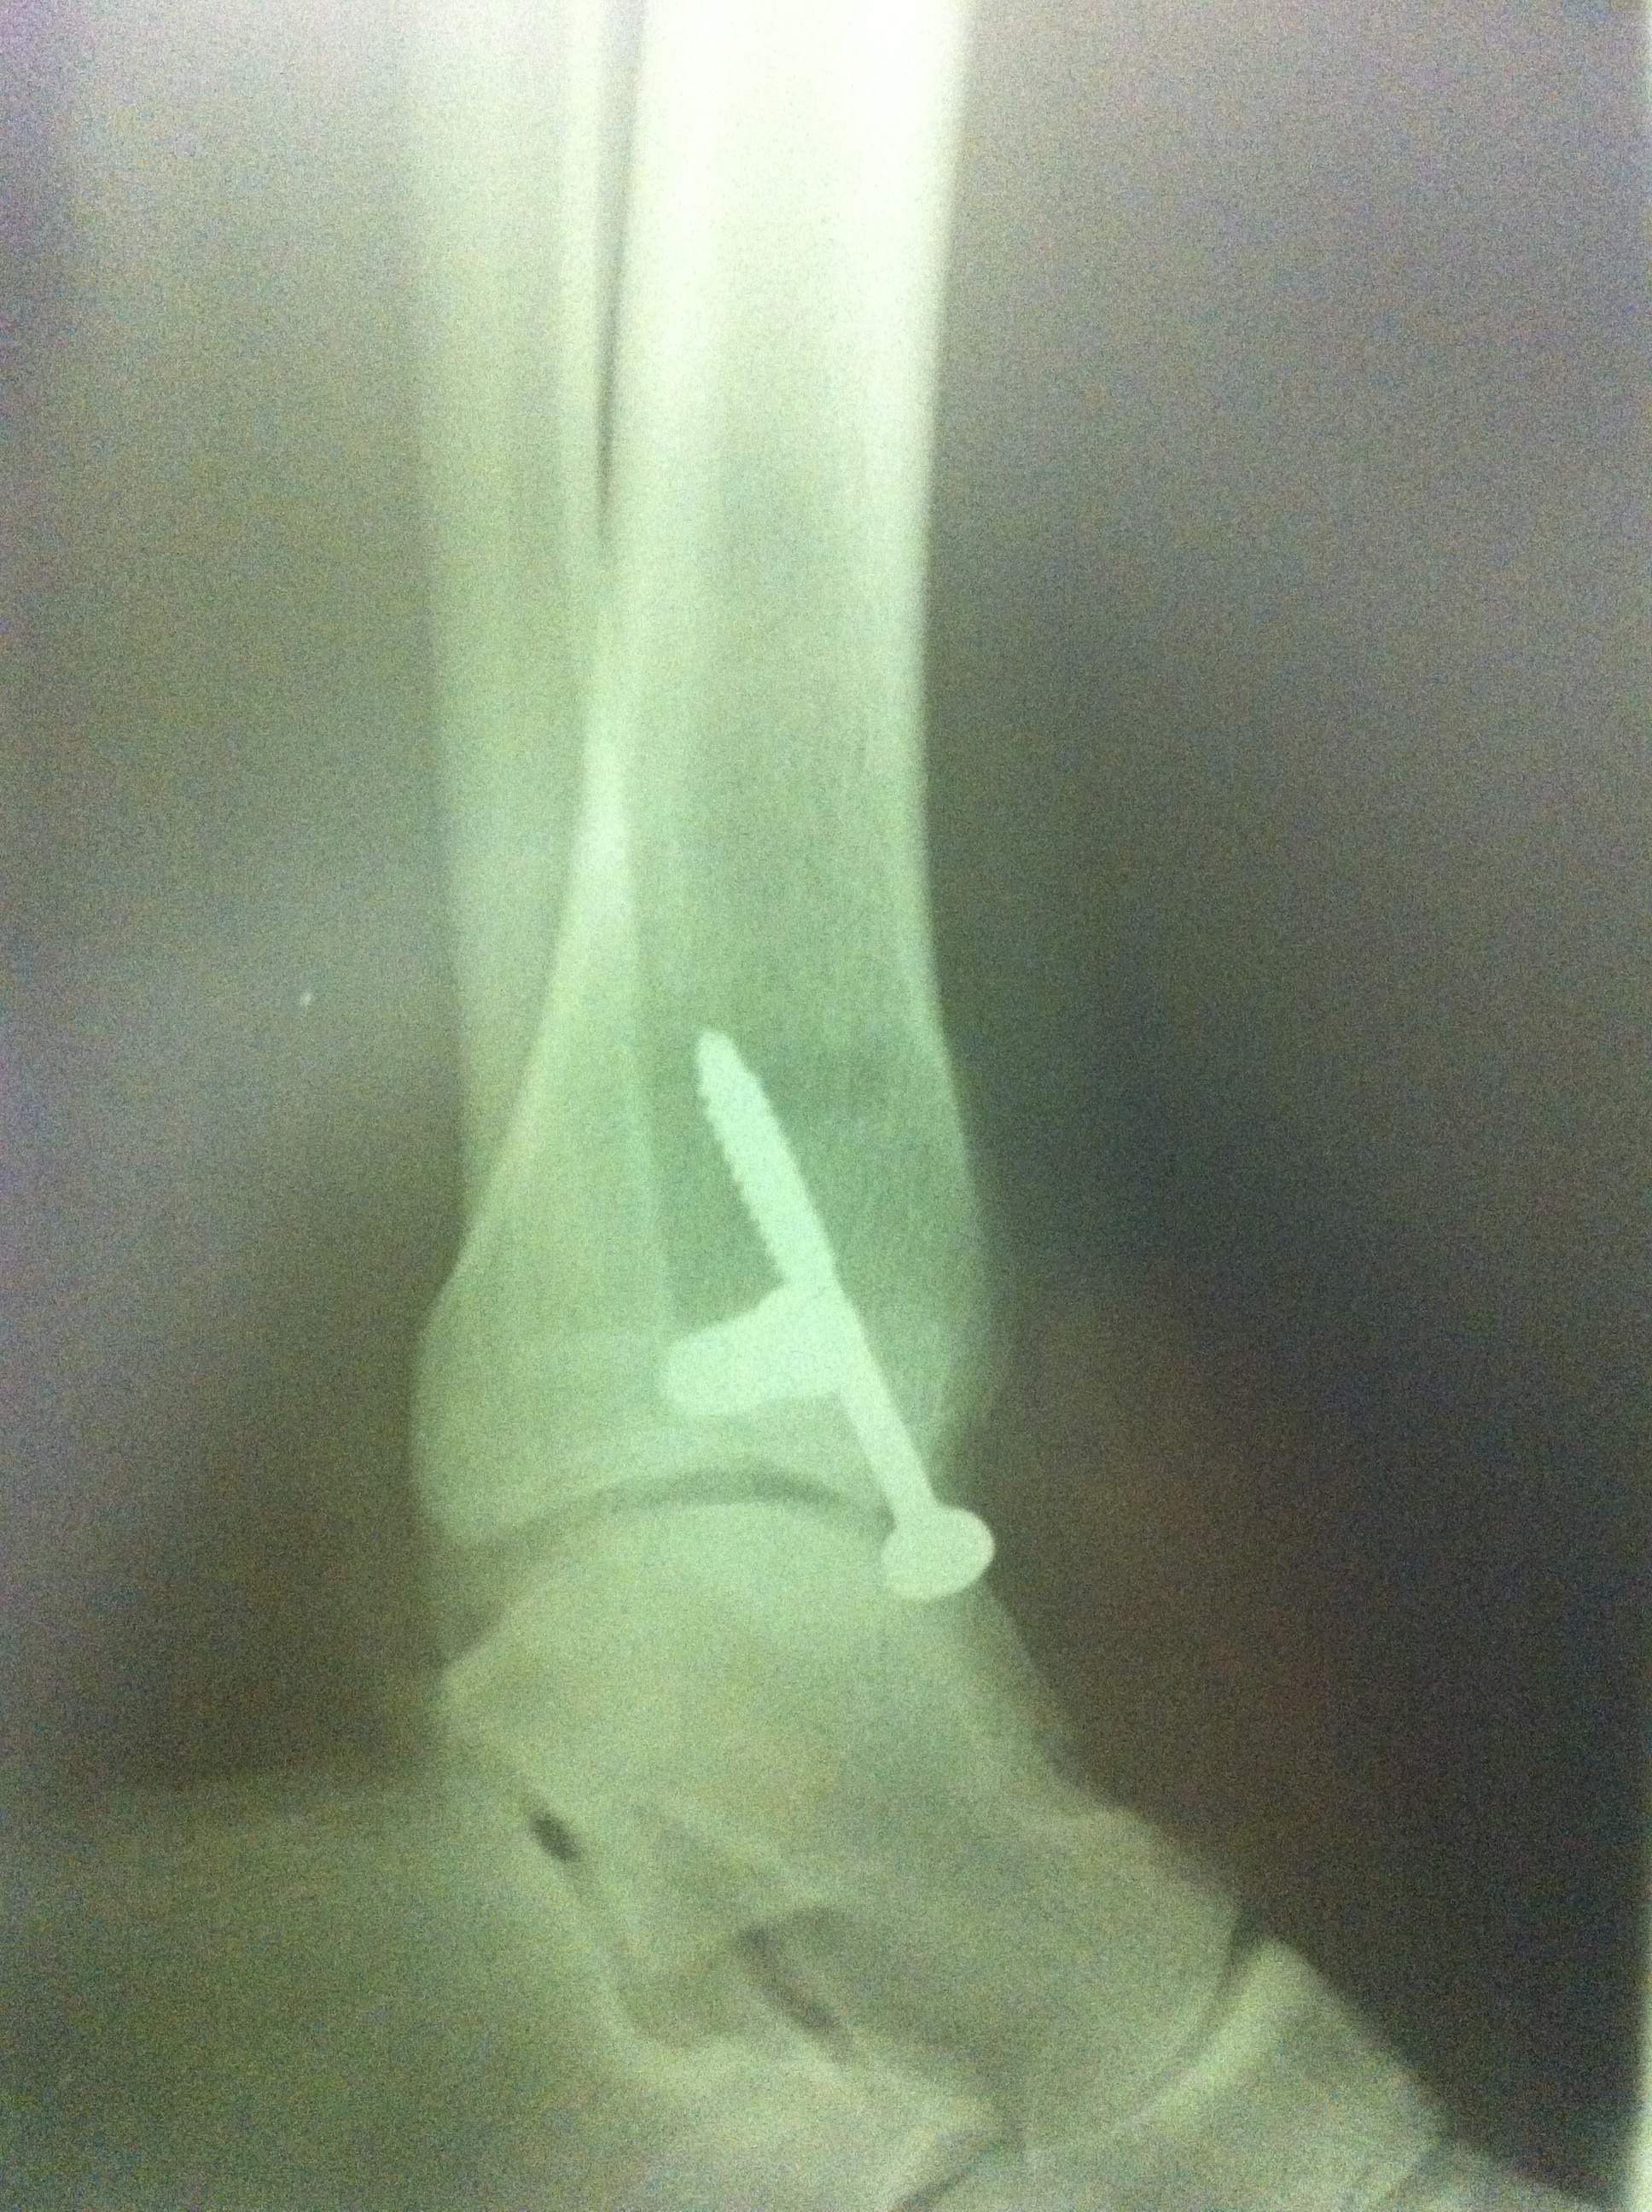
From September to the end of October, I made great progress. My muscles started remembering their previous size and began to grow again. I was on my way to wonderful results, sooner than expected, until an unexpected injury sidelined me, right at the start of November. This was completely unrelated to bodybuilding. We were doing renovations at home, and the workmen had dug a trench in the garden to lay some new pipes. They forgot to tell me. We came back home at night from an out-of-town trip, I took a walk through the garden in pitch black darkness and fell right in. It was a strange feeling, stepping into a void… When my foot hit bottom, I heard a terrible crunch and then the excruciating pain began… The force of the impact pulled on my ankle ligaments so much that it fractured both the tibula and the fibula at their ends. (The medical term is bimalleolar fracture.) It snapped one of them clean off and the other managed to hang on. Let’s just say I have a nice zipper-shaped scar on my ankle and a couple of extra titanium screws in there. I’m thankful that the ligaments didn’t tear, because the recovery would have been more painful and would have lasted longer. Here’s the x-ray after surgery.
I was told to take it easy after the surgery, so two months of what would have been fruitful weight training went down the drain. I finally couldn’t take it any longer after the holidays and went back to the gym on crutches, hopping around on one leg from machine to machine, training what I could train without affecting my ankle.
Things got better soon after that. I also went to physical therapy, did acupuncture and my ankle is almost fully healed now. There’s still some soreness in the mornings, some swelling still has to disappear but I can use it: I can do standing and sitting calf raises, I can walk normally and will soon be able to run and jump as well.
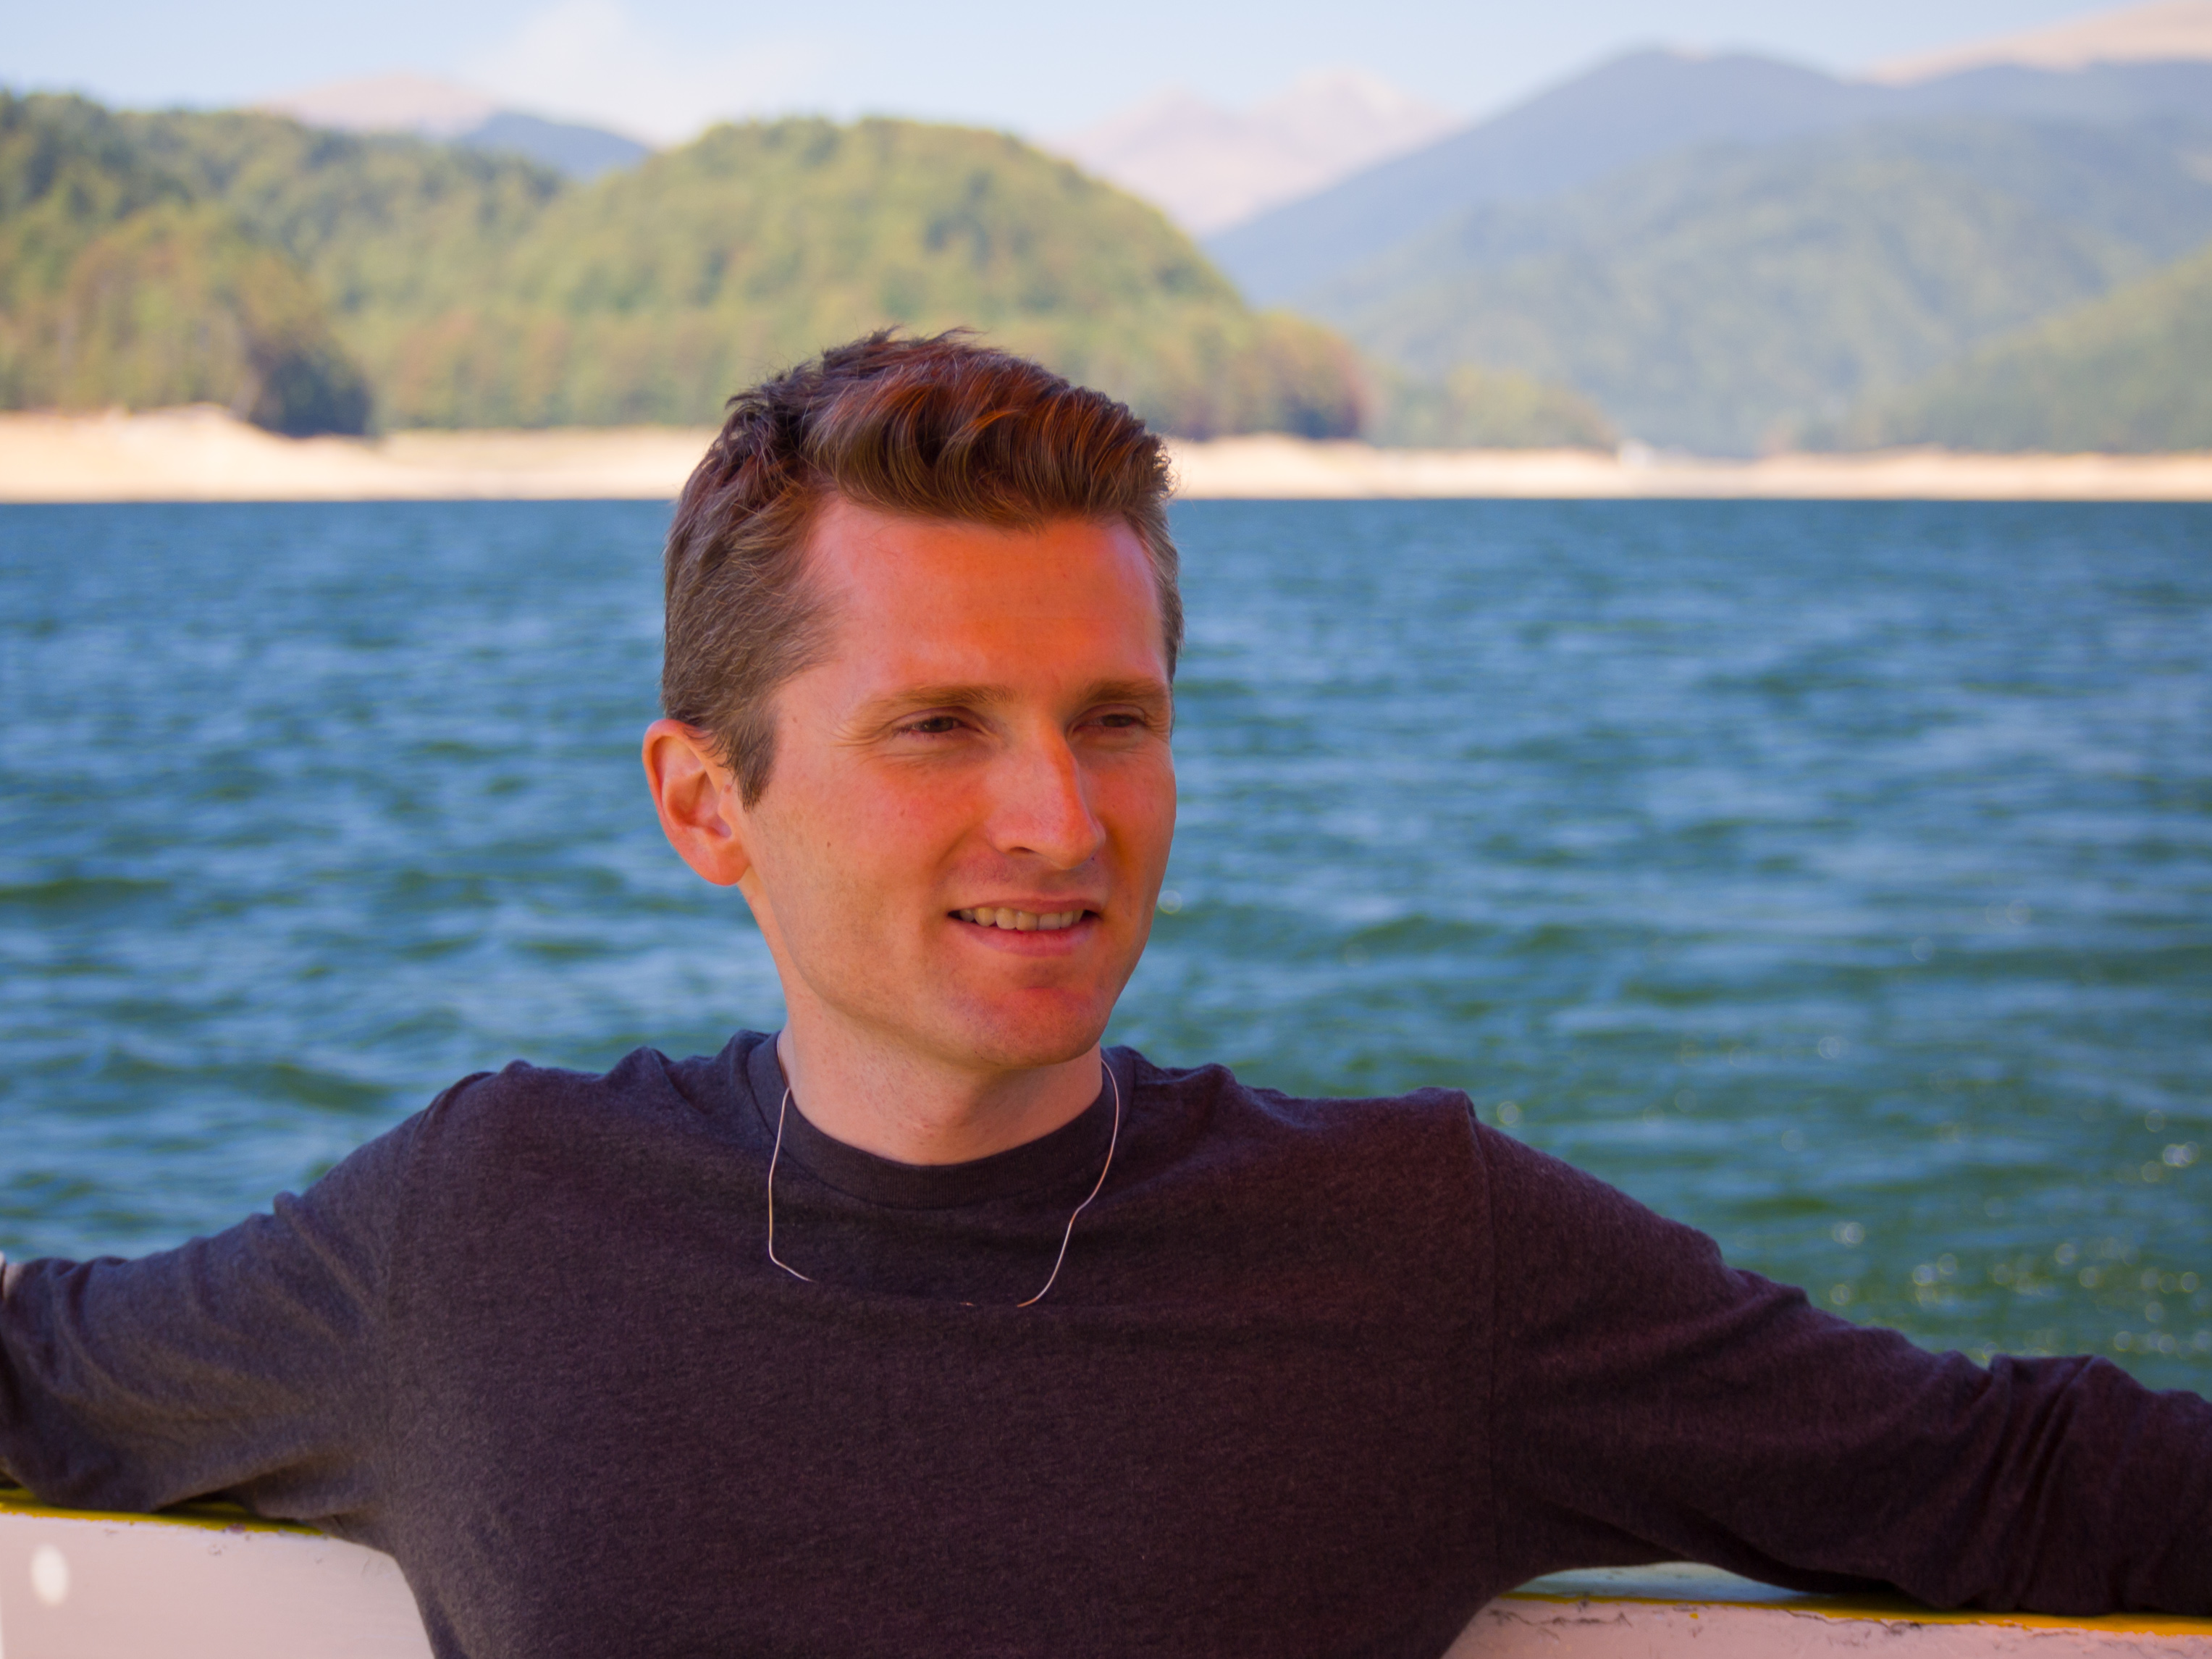
It’s now March and I wanted to show you the progress I’ve made since the start of December. I do wish I’d have taken a photo of my body earlier, at the start of my weight training, but I didn’t. The best I can do is this photo, taken in September on a trip to Lake Vidraru. You can clearly see that I have little muscle mass and my arms are pretty thin.
Now let me show you a much better example of my progress.
Here you can clearly see that my arms are much thicker and my back is thicker, justifying the ~10 lbs. of weight I put on. And I can assure you that it’s all muscle; if anything, my body fat is lower now.
This is only the beginning. I plan to add muscle mass until I get to 200 lbs. It’s not so far-fetched as you might think. In college, I went from a skinny ectomorph of 135 lbs. in my freshman year to a muscular mesomorph of 195 lbs. in my senior year. Granted, I did it on a traditional diet of meat, dairy, eggs and vegetables, but I know it’s also doable on raw foods. If I got to 195 lbs. once I can do it again and I can go beyond it as well. I can do it on raw foods and more importantly, I can do it without steroids or other illegal substances. My body is perfectly capable of secreting all of the hormones it needs, as it did so in the past and will continue to do so in the future.