How To

An upgrade to my mom’s 2007 iMac

If you thought my MacBook Pro was old, then you’re going to be surprised to hear that my mom has a 2007 iMac 24″ (model A1225) that’s still fully functional. Nothing has ever gone wrong with it, in spite of sending it to Romania via a shipping container (on one of those big ships) when she moved here, in spite of wild electricity fluctuations both in the US and in Romania, and in spite of being buried in paperwork all these years on her desk. It’s been working just fine and now that I’ve upgraded it, it’s working even better.

I saw an even greater difference in performance after the upgrade, as compared to my 2008 MBP. Not only was it slower than my MBP before the upgrade, but it’s now faster than it. I couldn’t understand why until I realized that the MBP’s hardware caps off at SATA I (150 MB/s) speeds while the iMac’s hardware is SATA II (300 MB/s). Yup, it was made a year before my laptop and yet it’s faster than it. It was also less expensive. There’s a lesson in there somewhere…
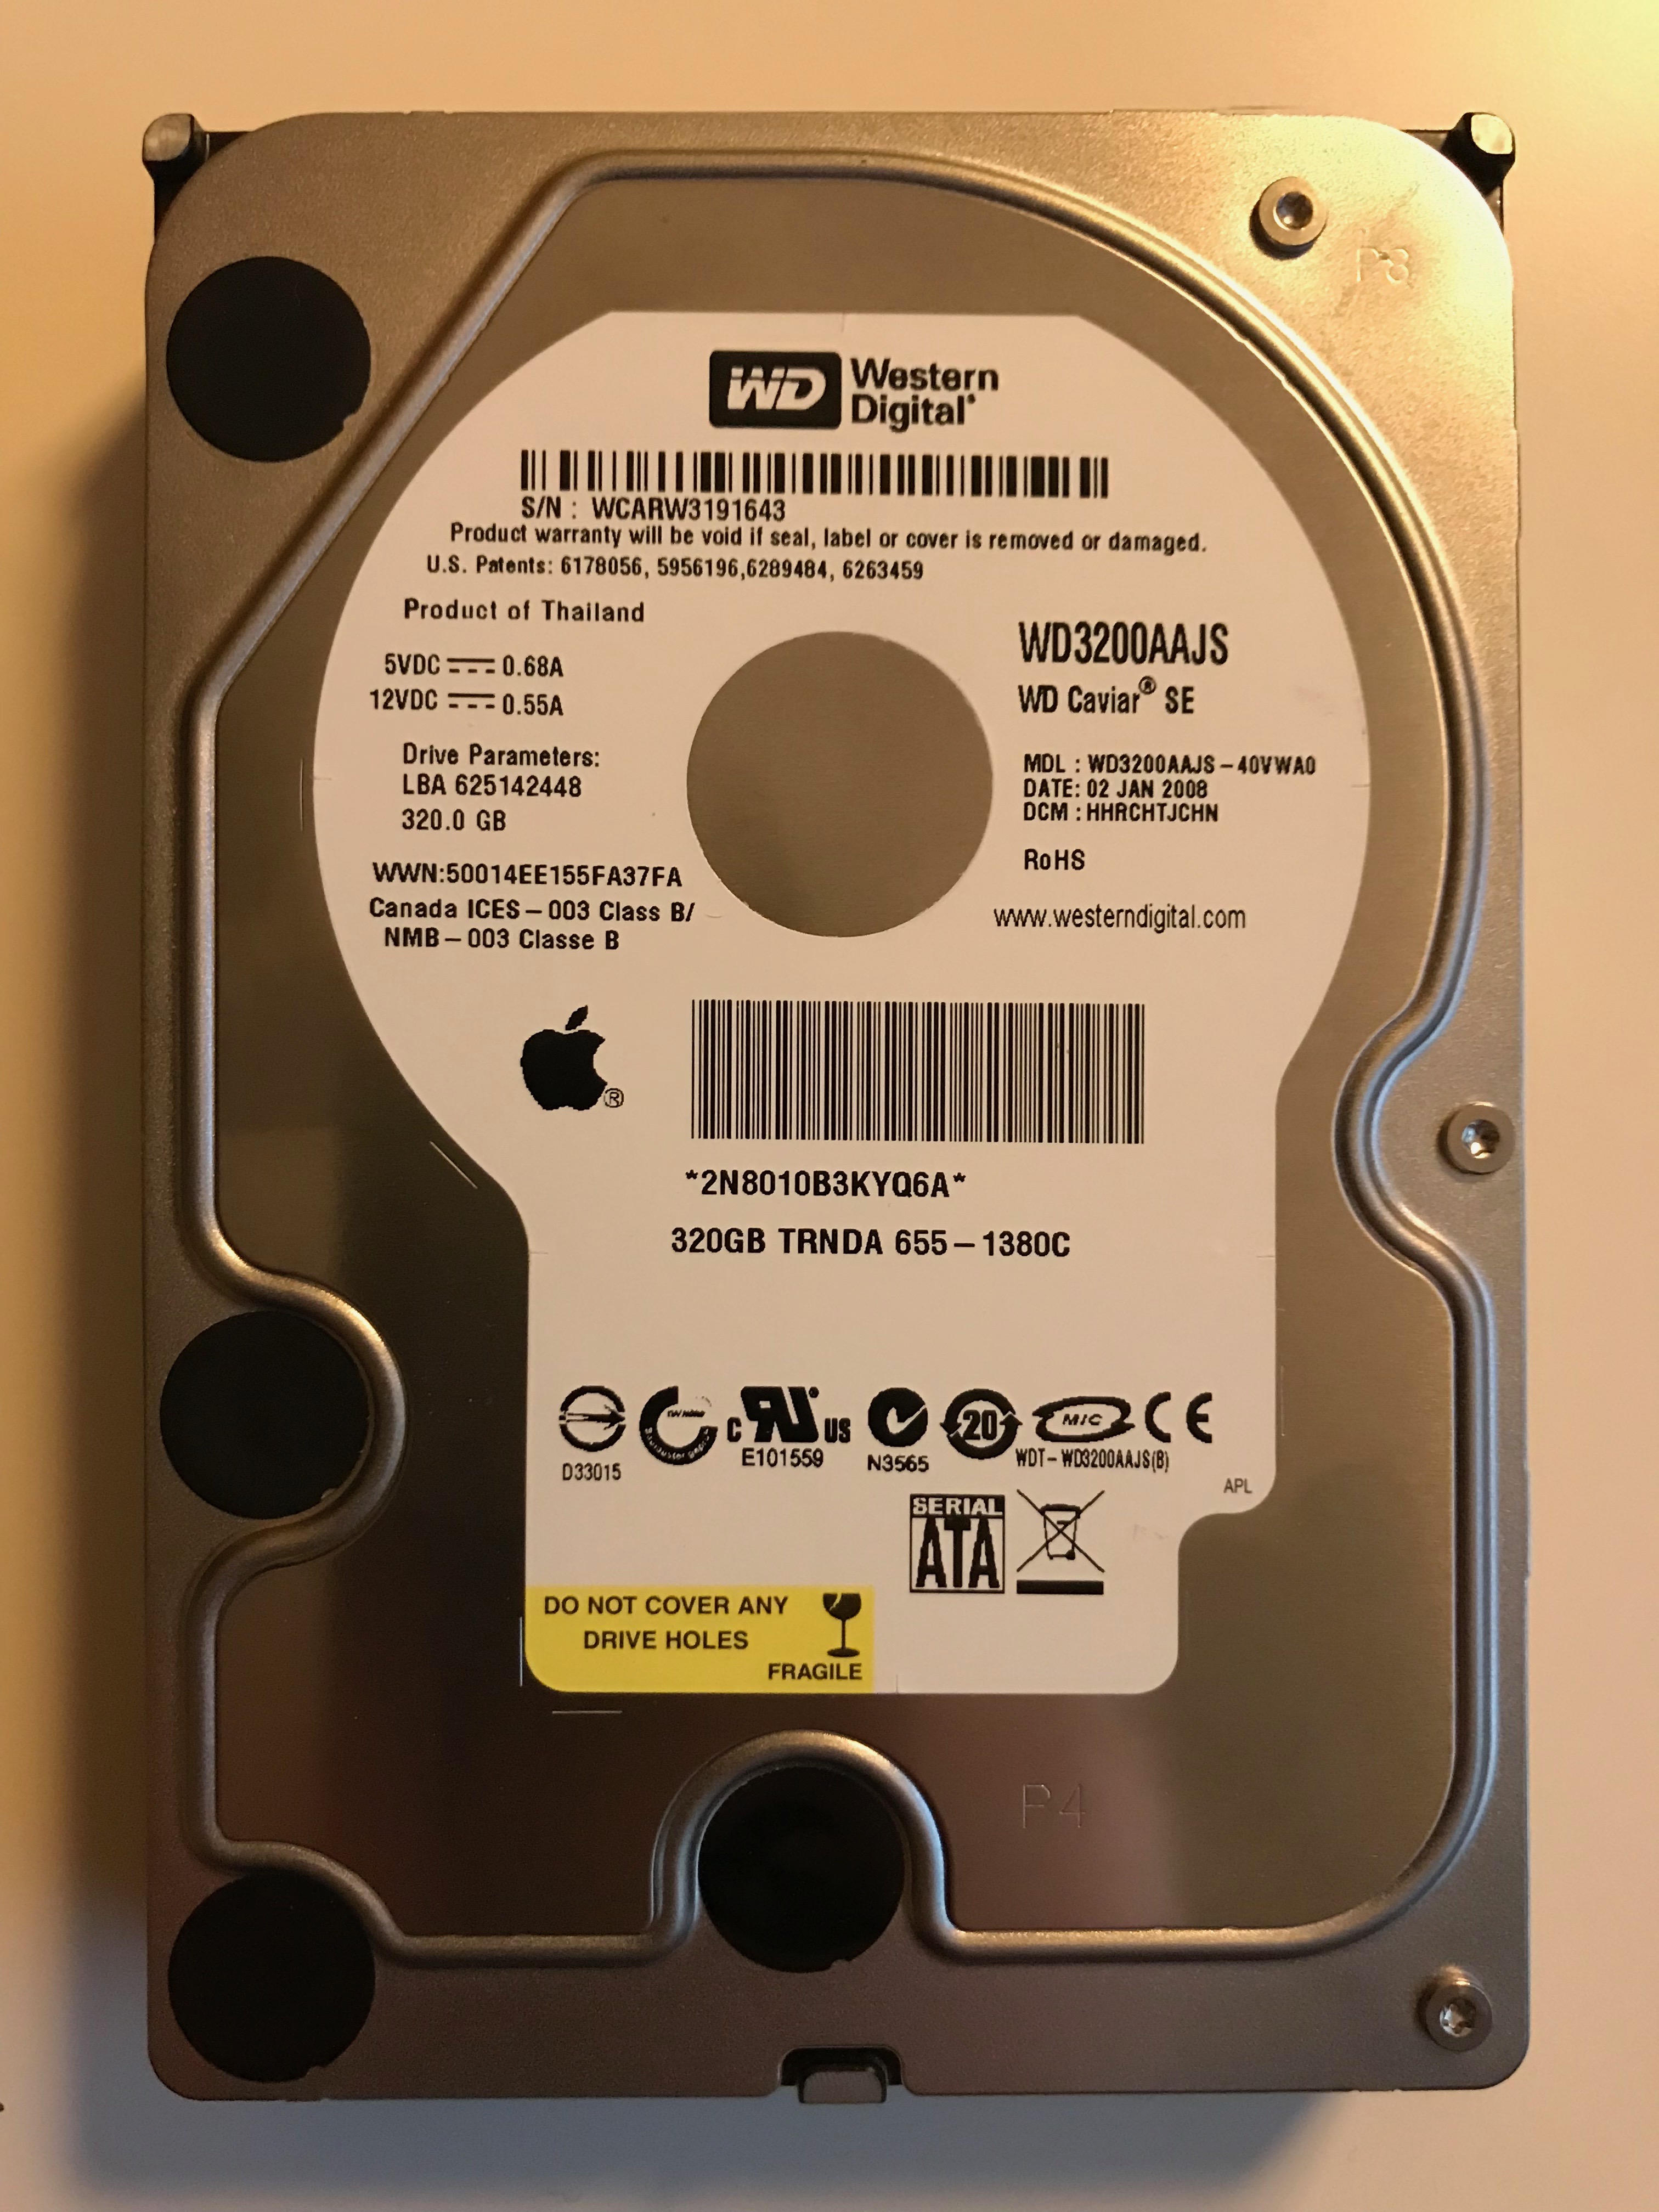
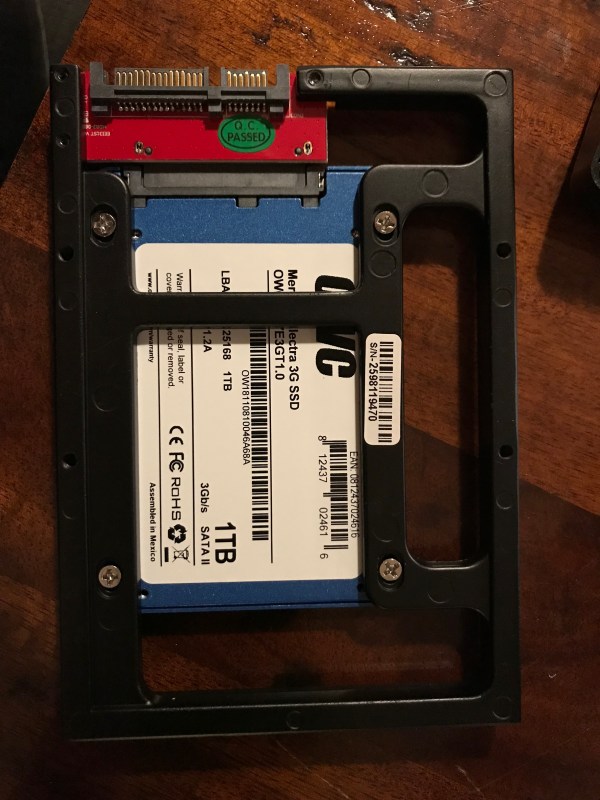
I’d upgraded this iMac’s RAM to the max it could handle (6 GB) a couple of years after she bought it, so the only upgrade I could make now was to swap out the HDD with an SSD. I opted for a 1 TB SSD that would replace her aging 320 GB HDD. Yup, this was the original HDD that shipped with the computer, and it worked just fine for 11 years!

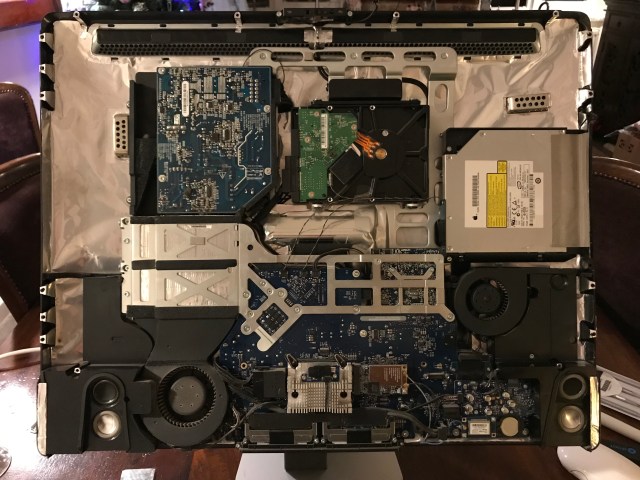
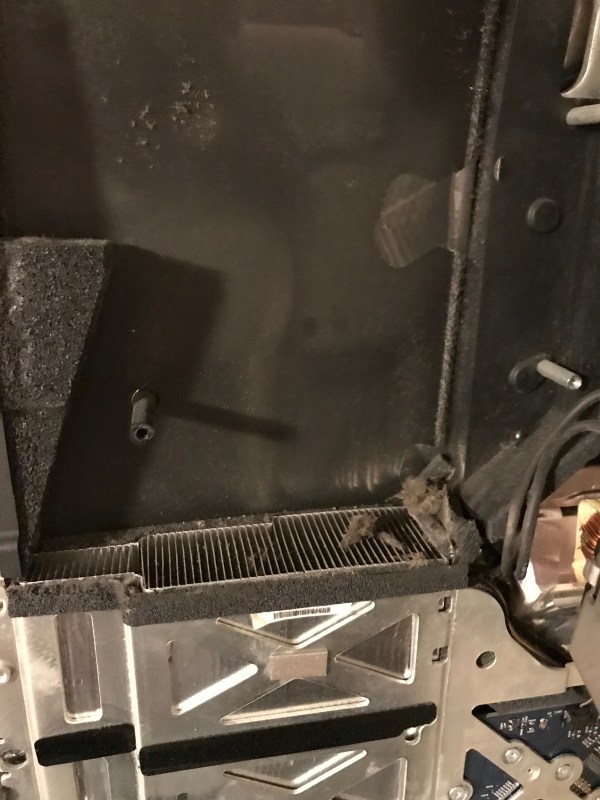
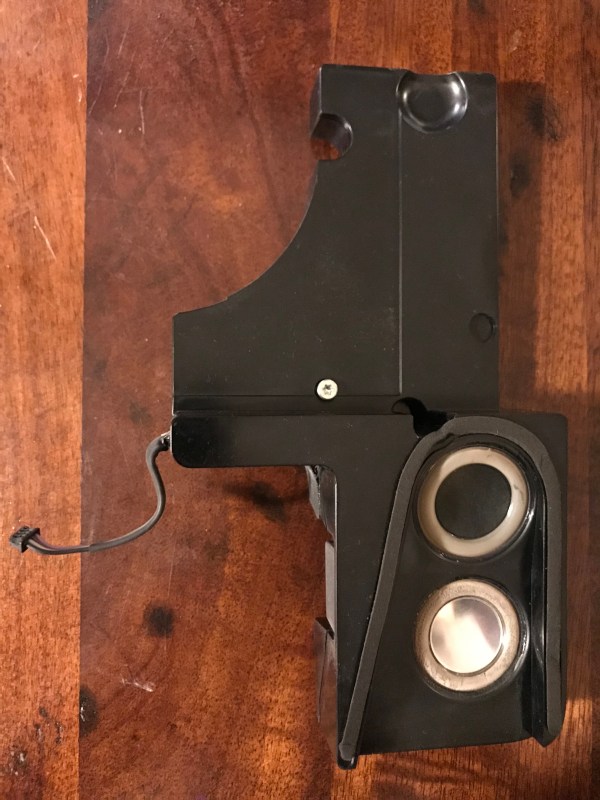
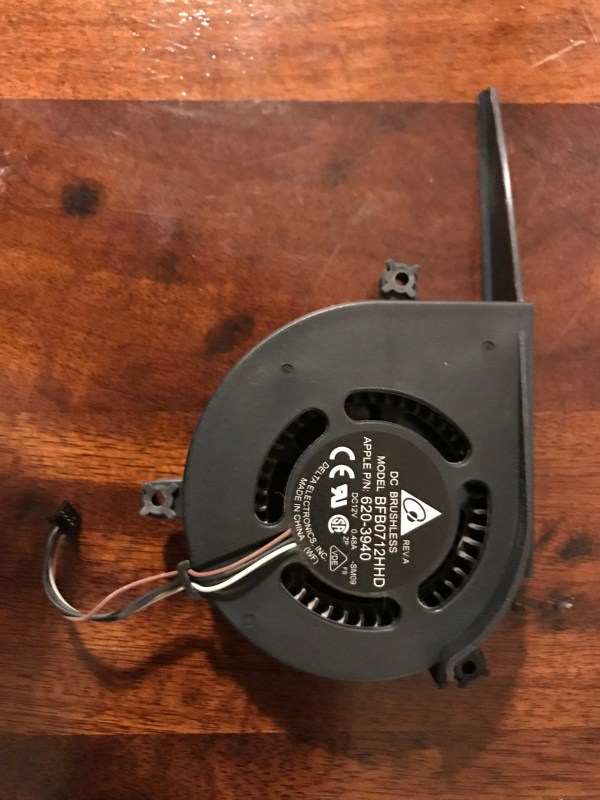
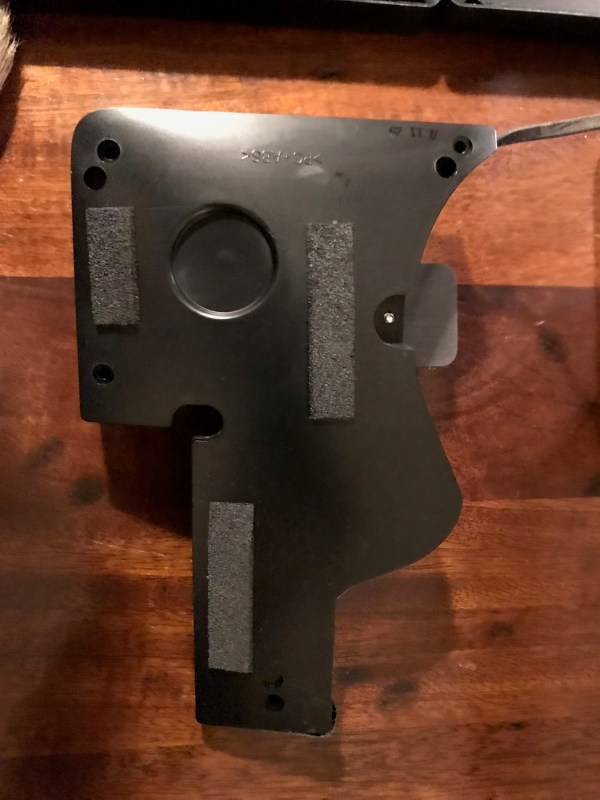
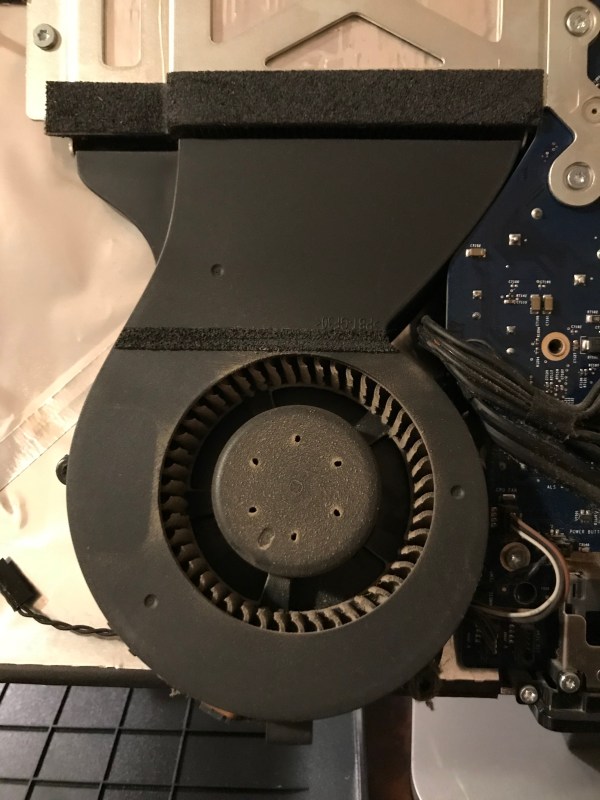
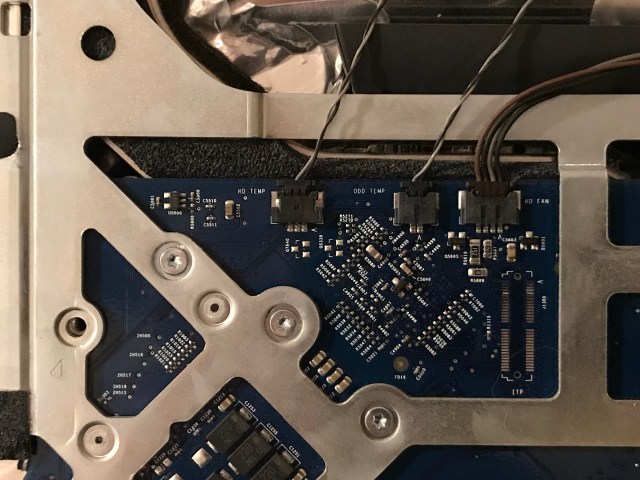
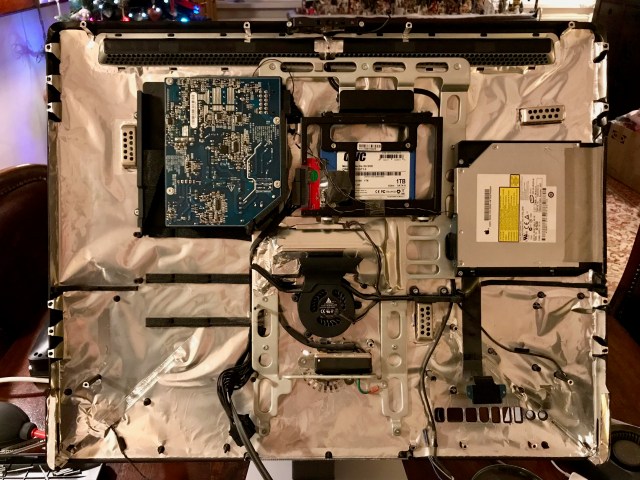
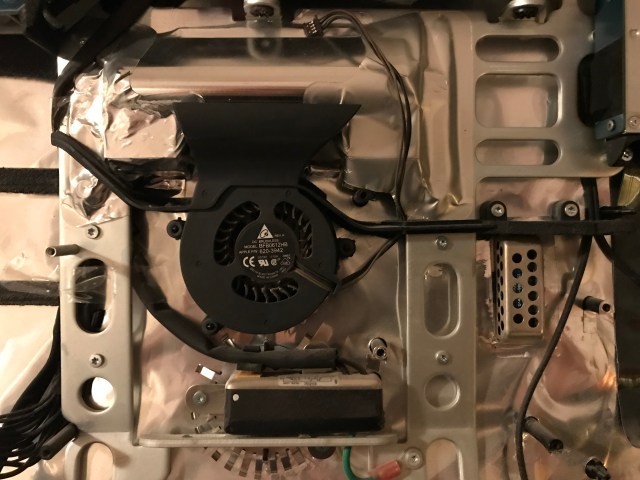
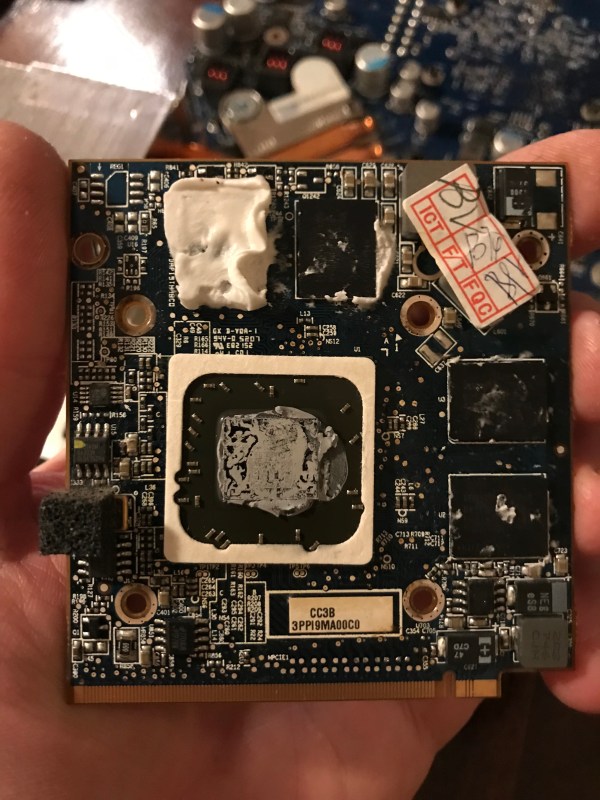
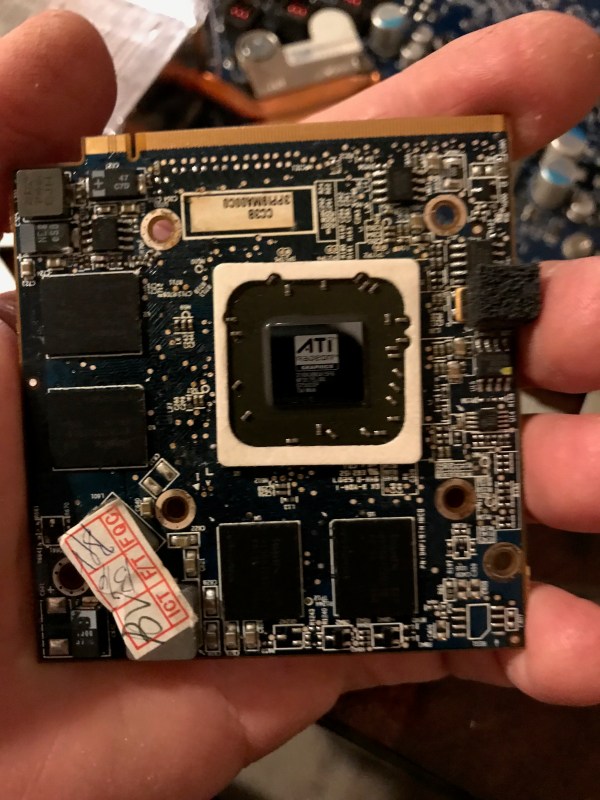
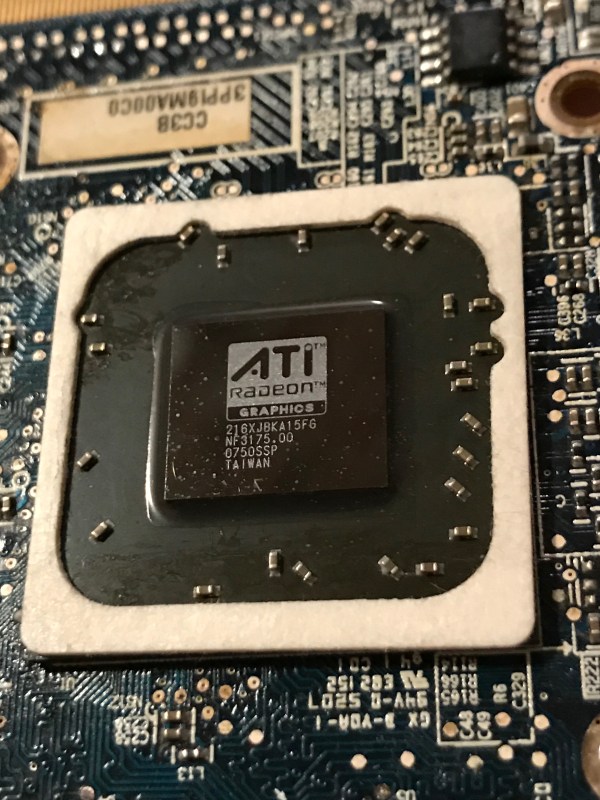
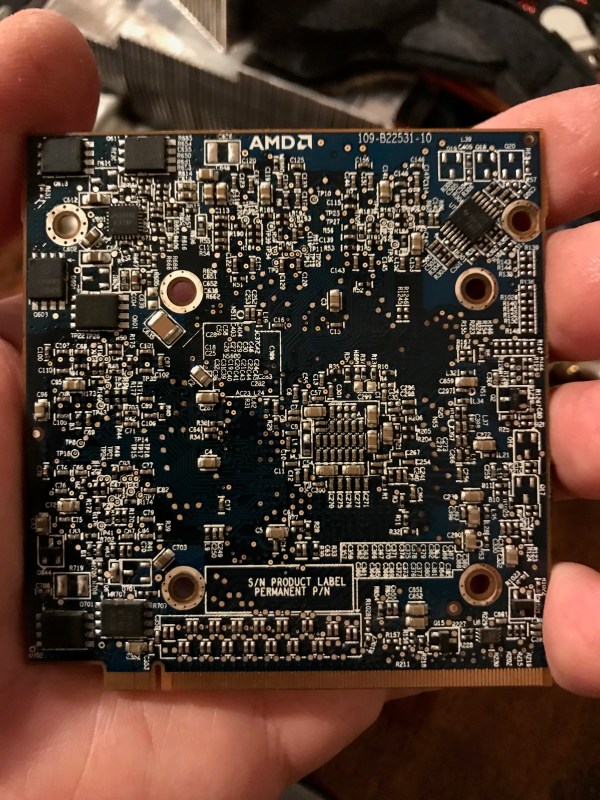
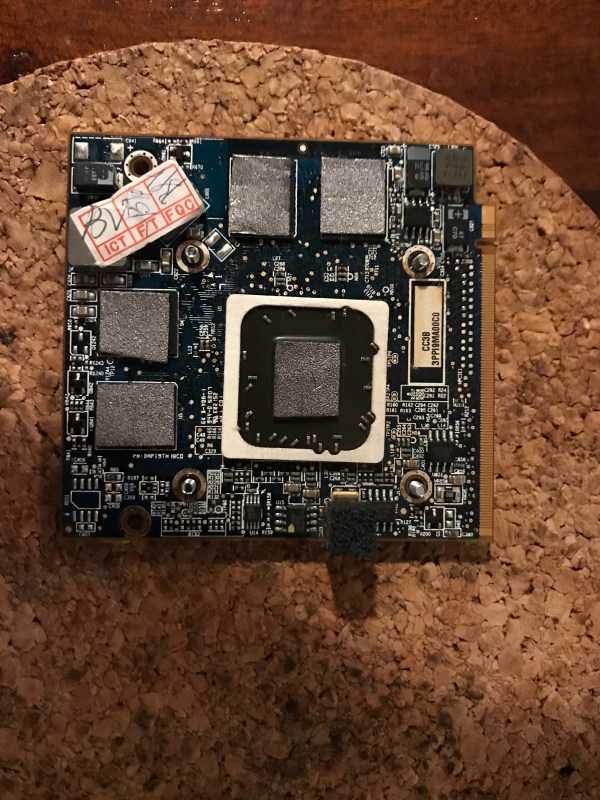
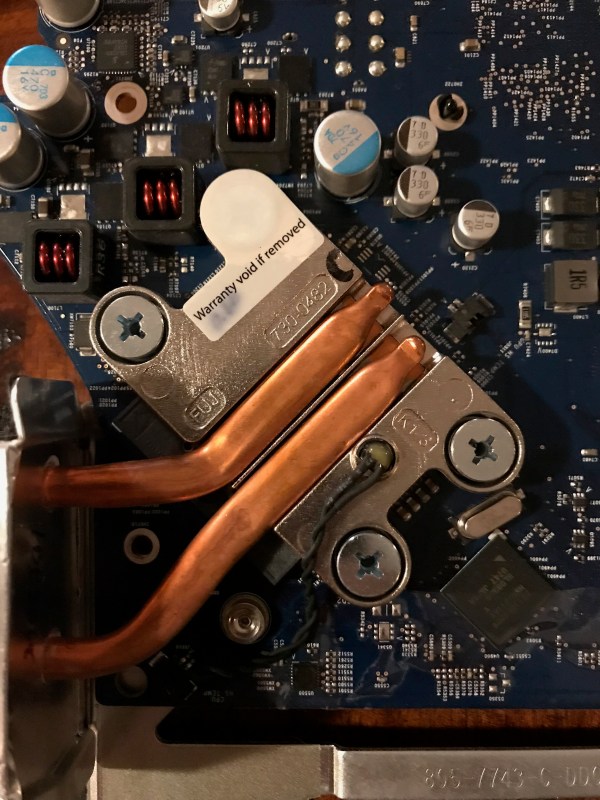
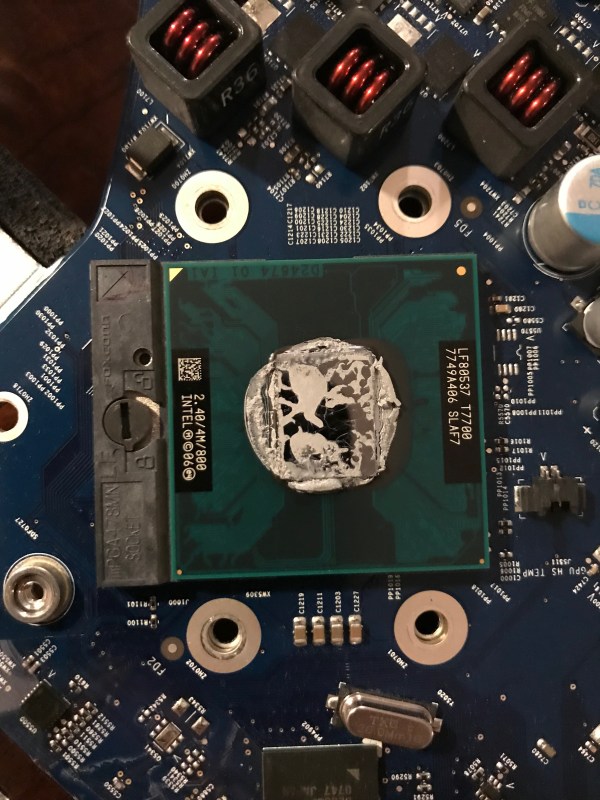
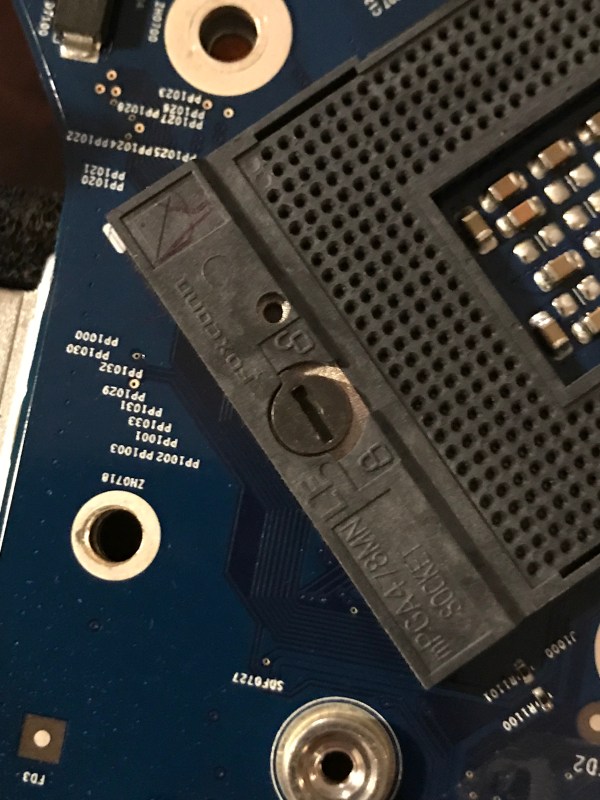
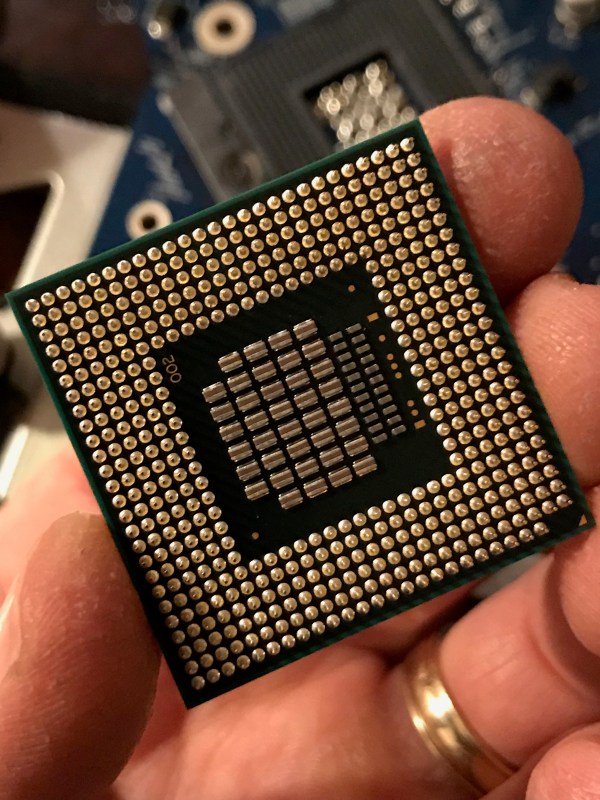
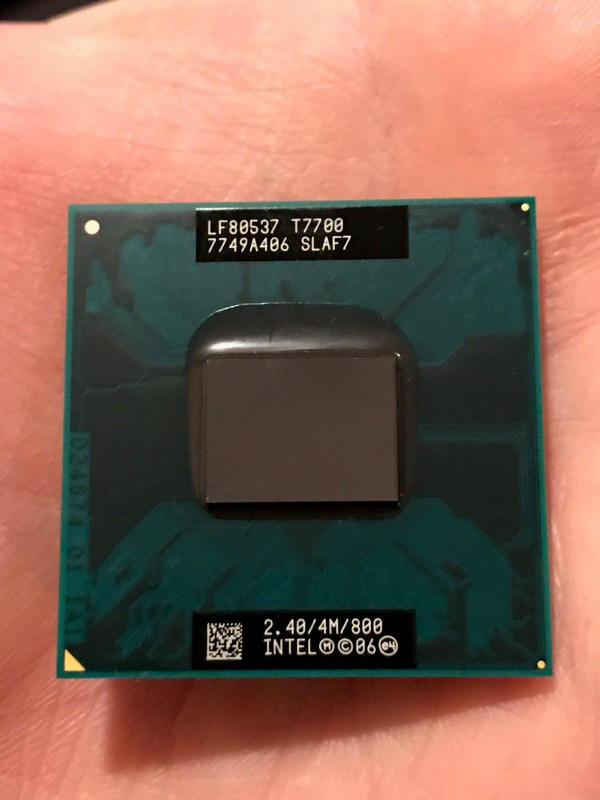
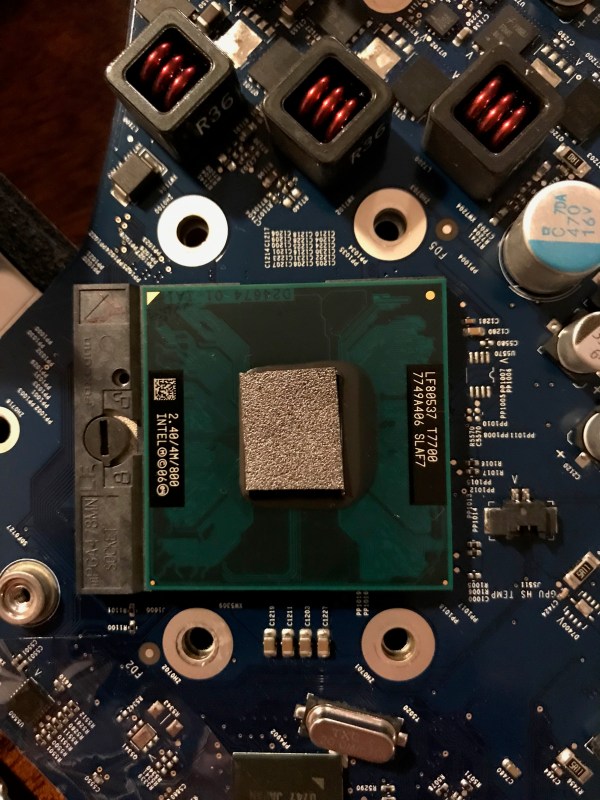
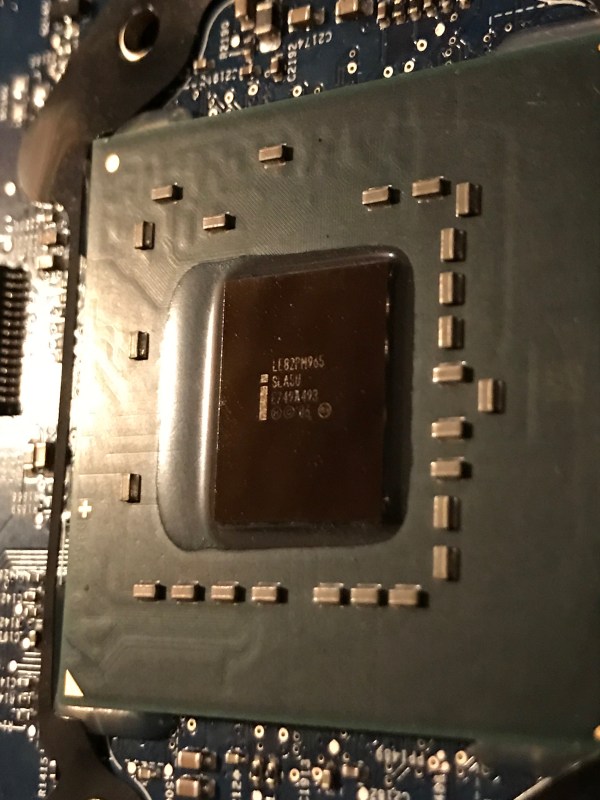
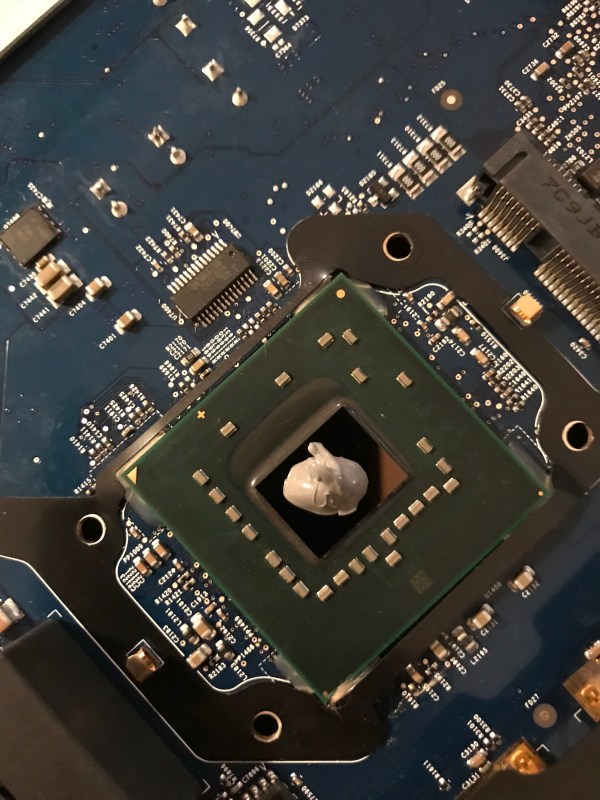
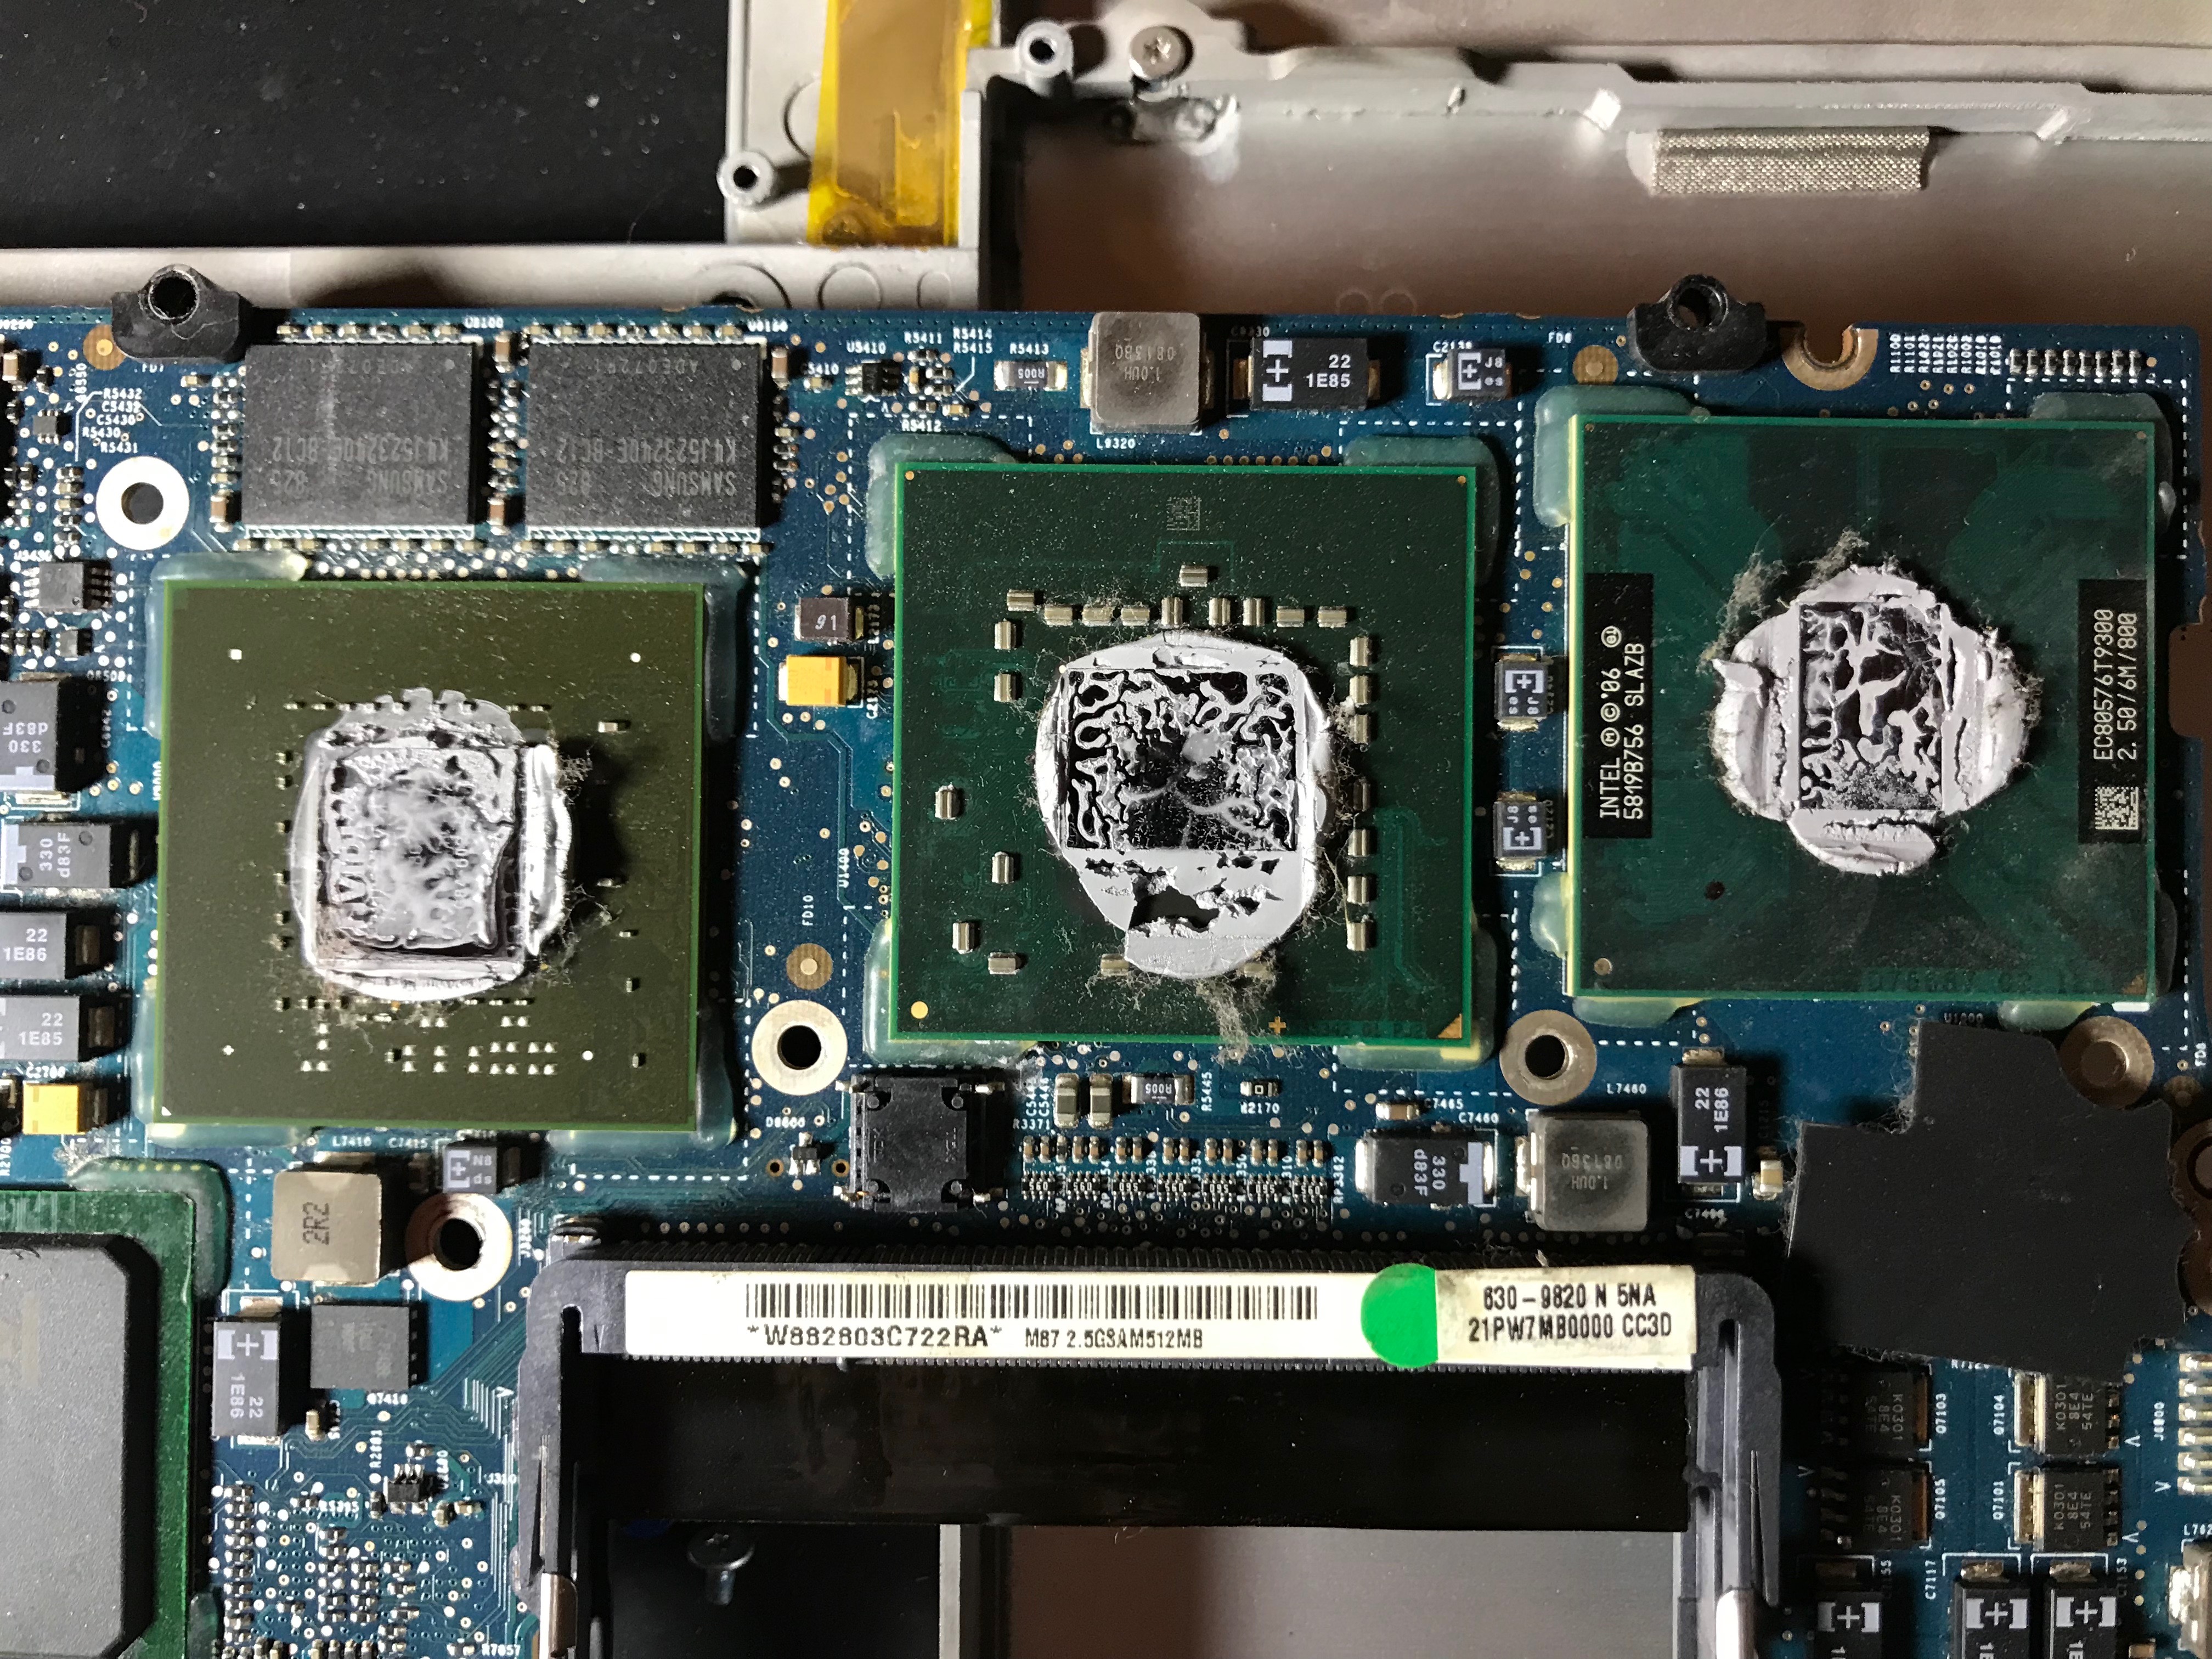
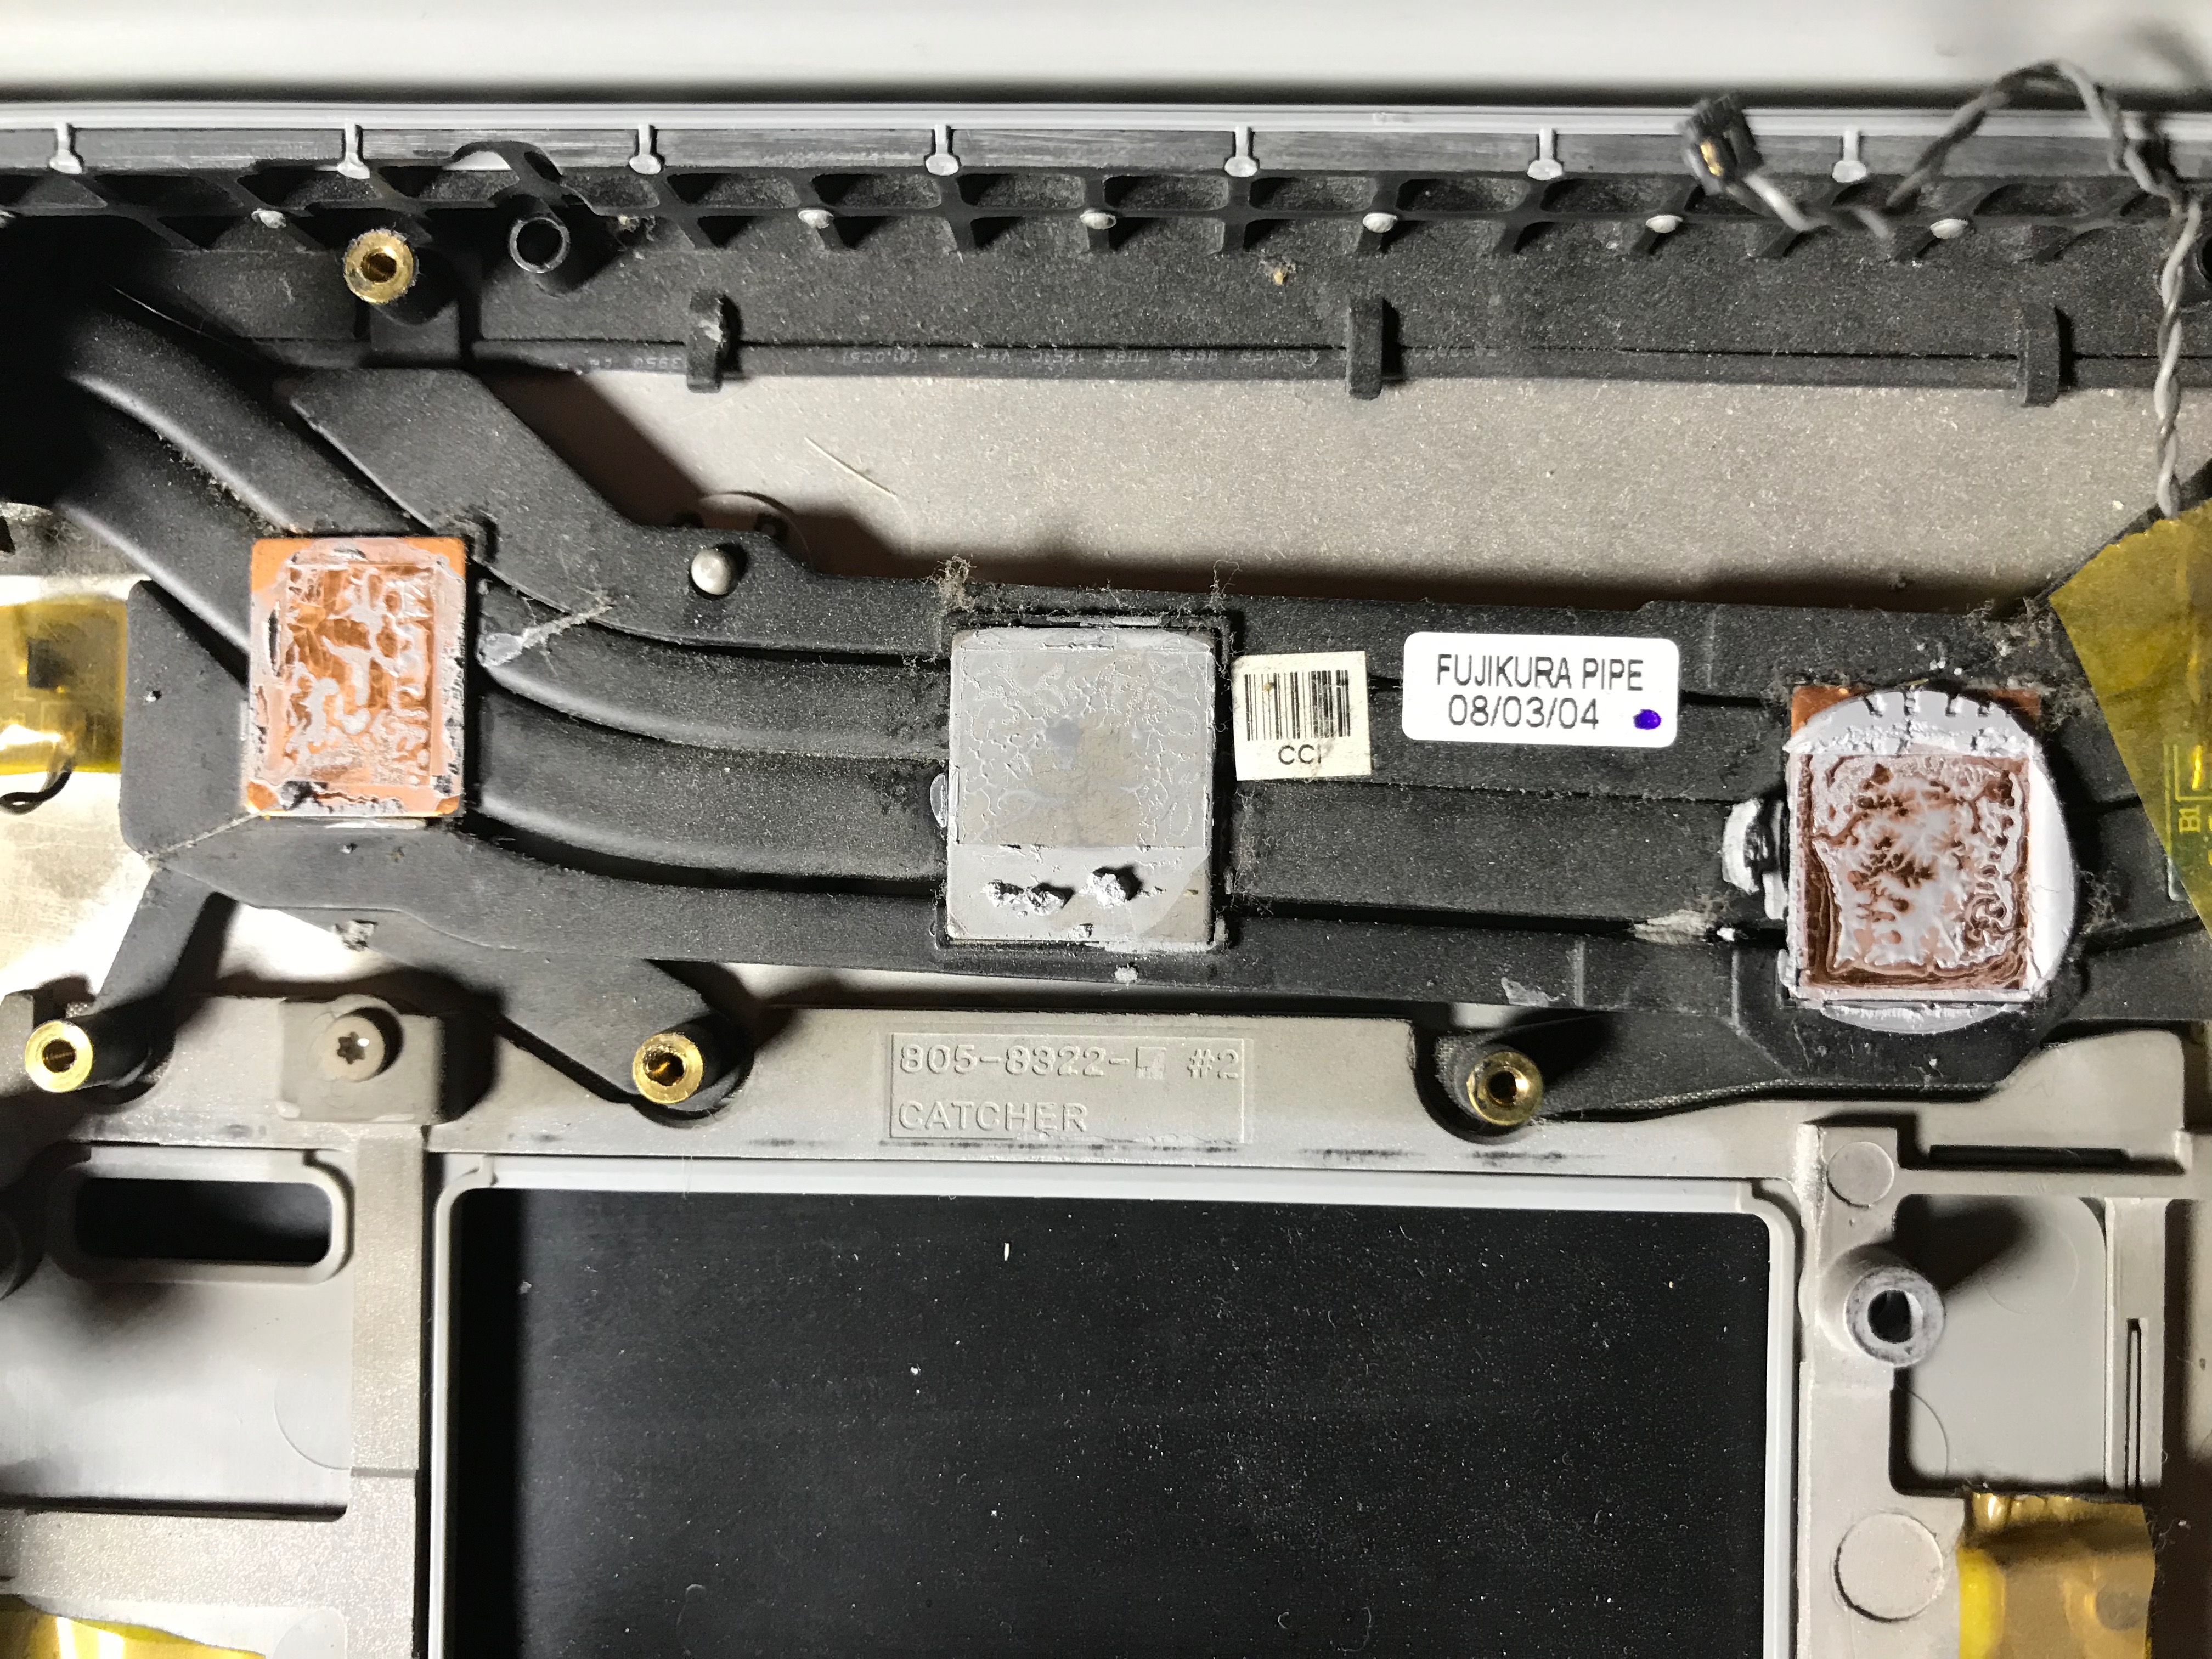
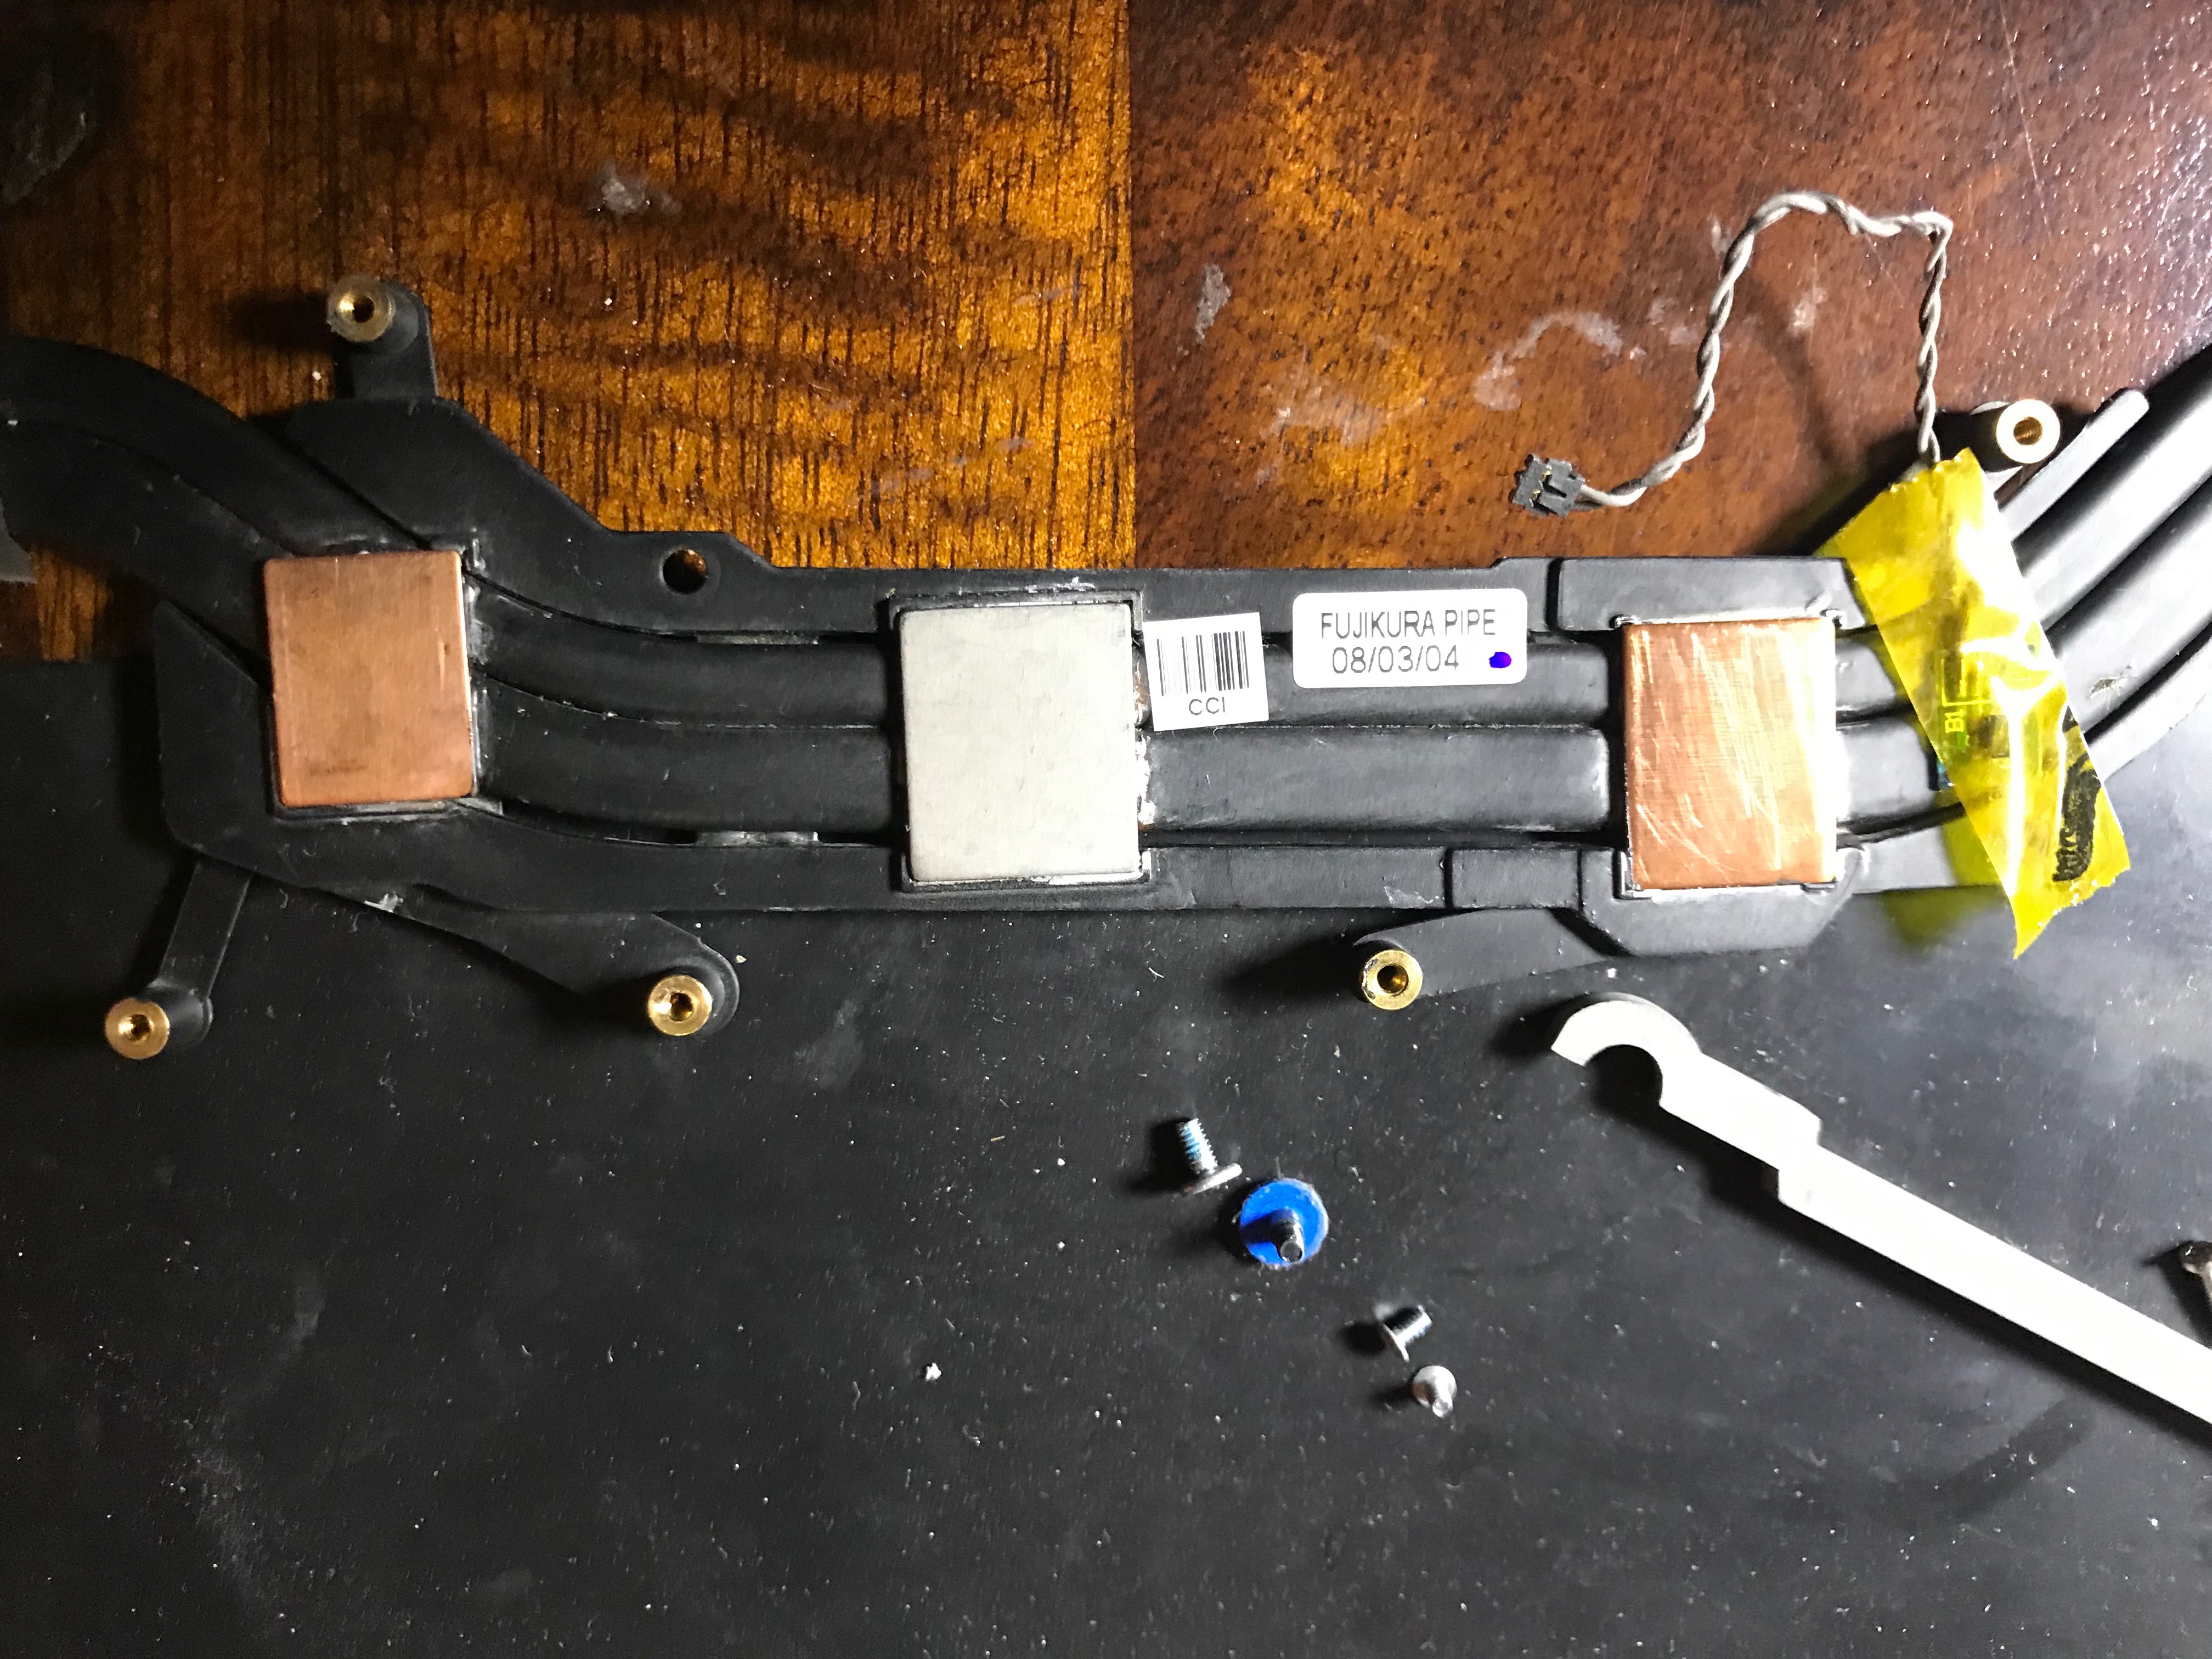
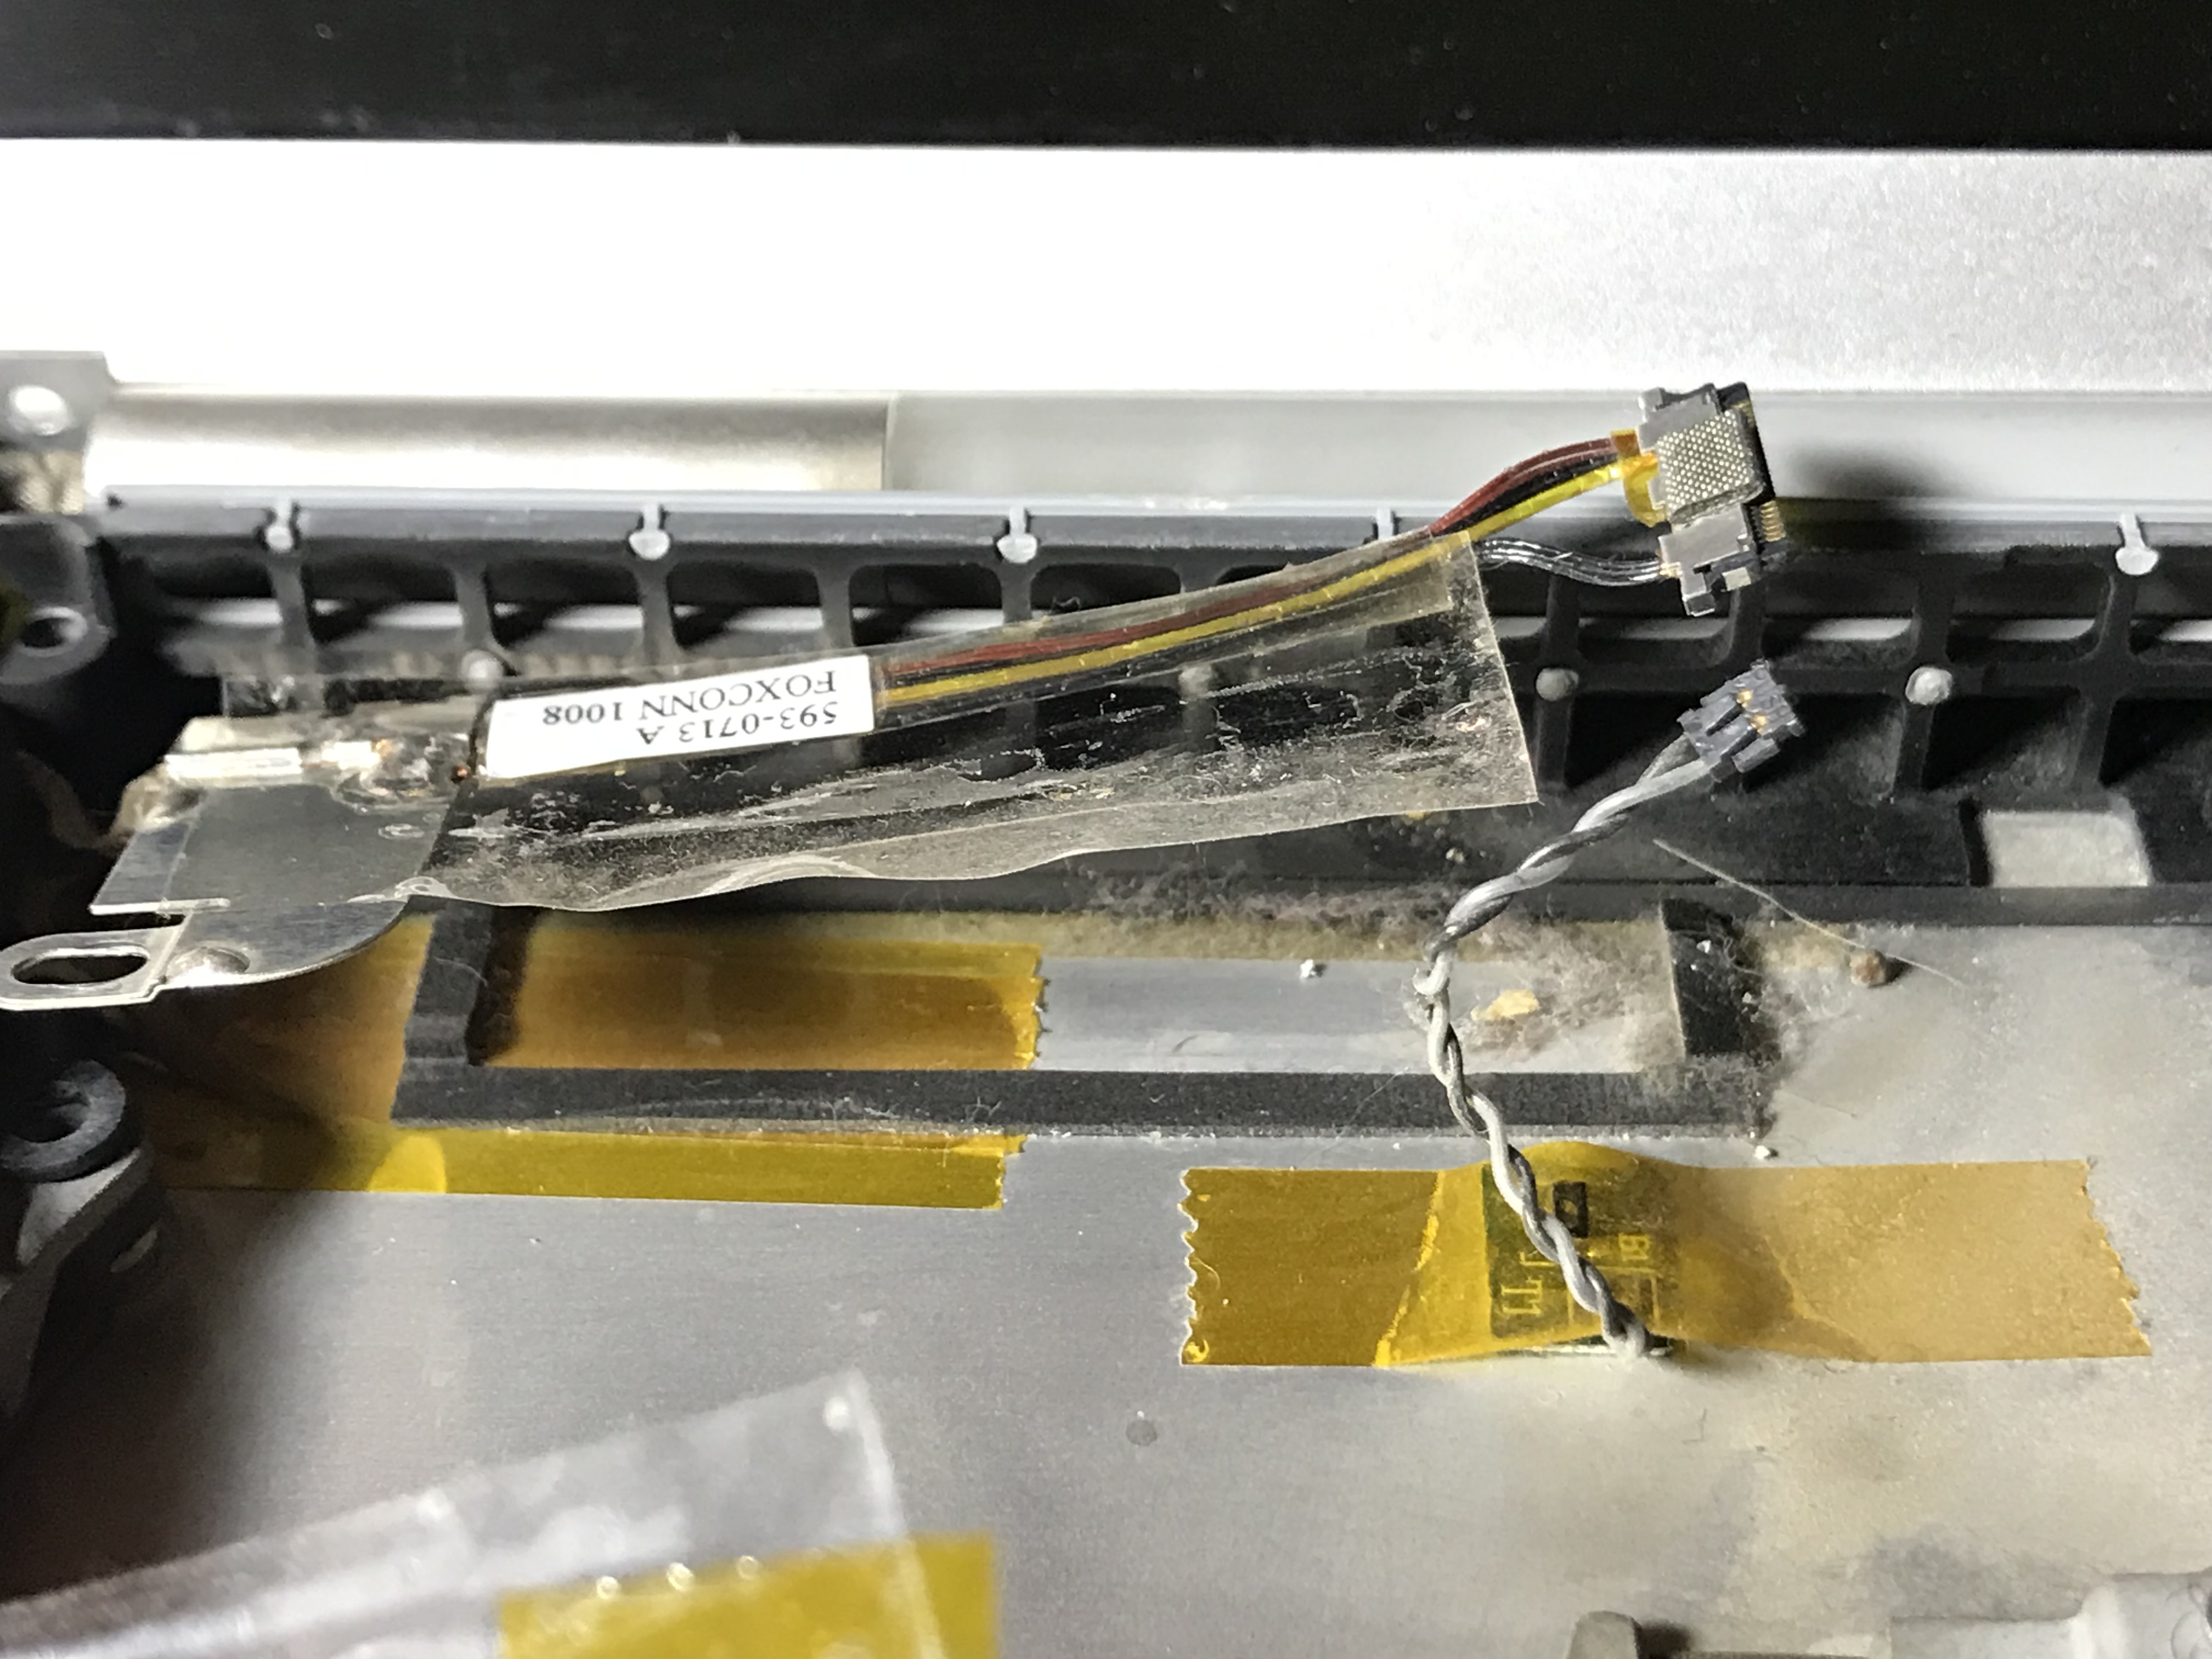
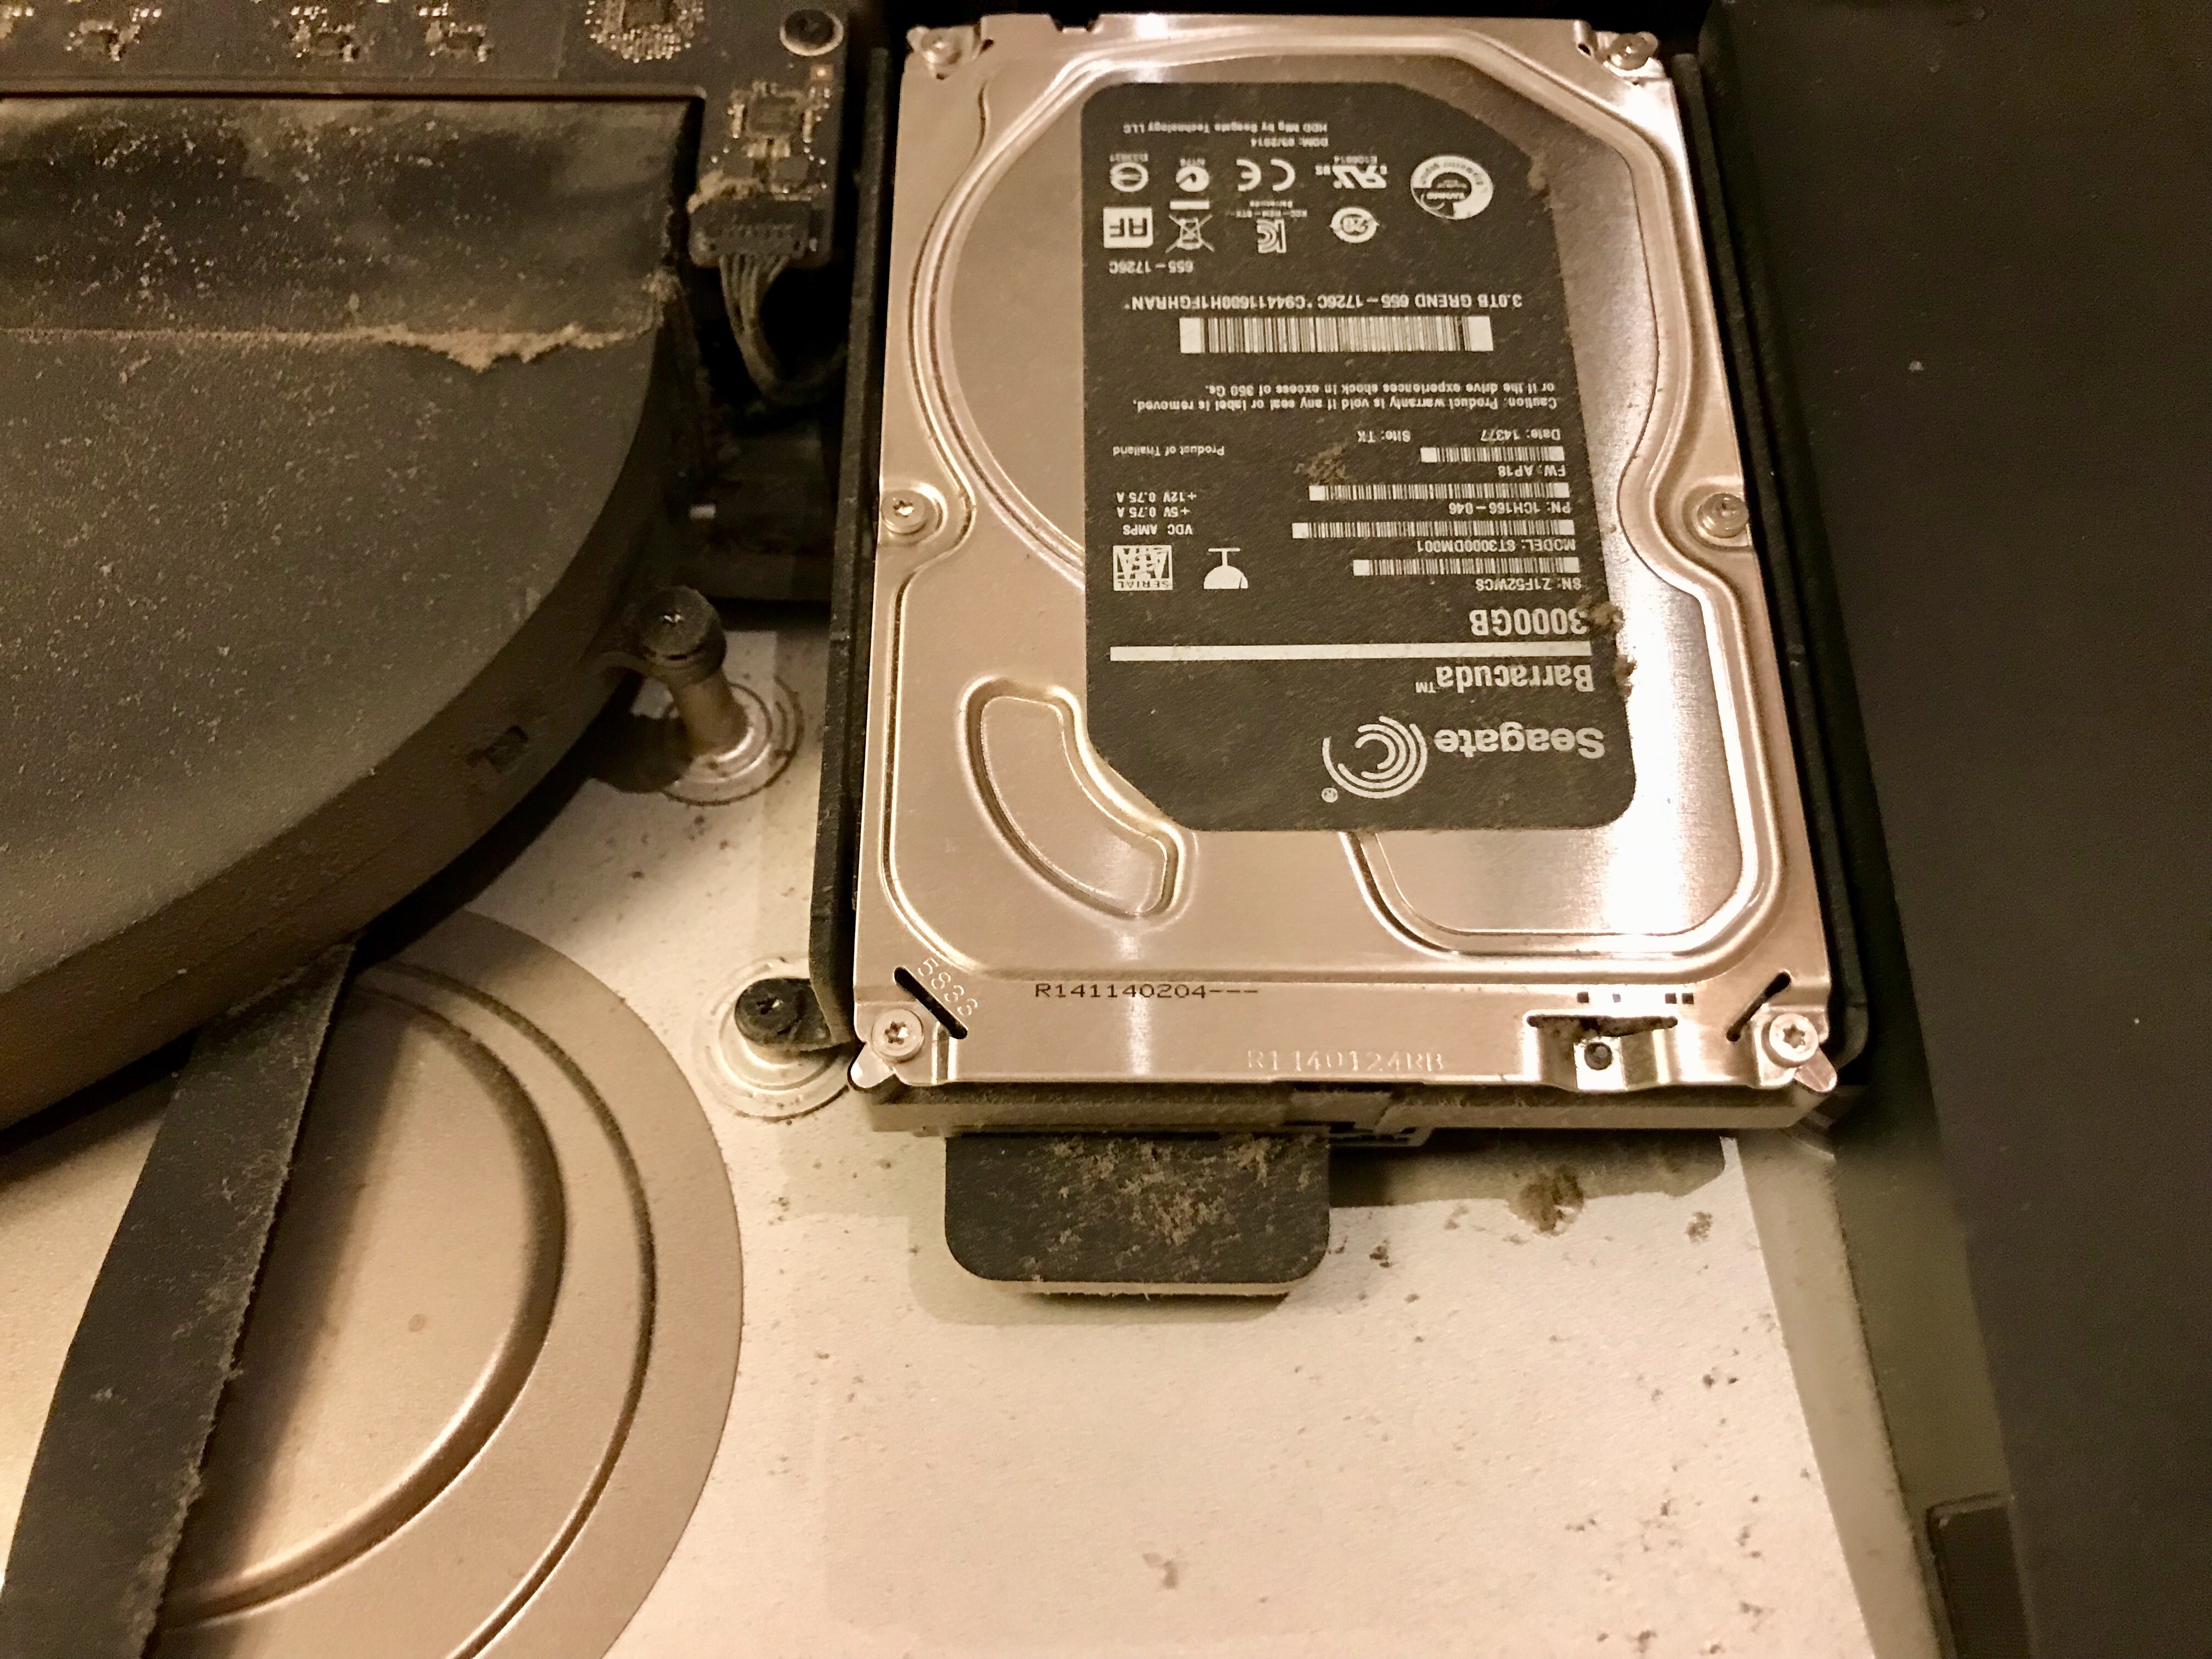
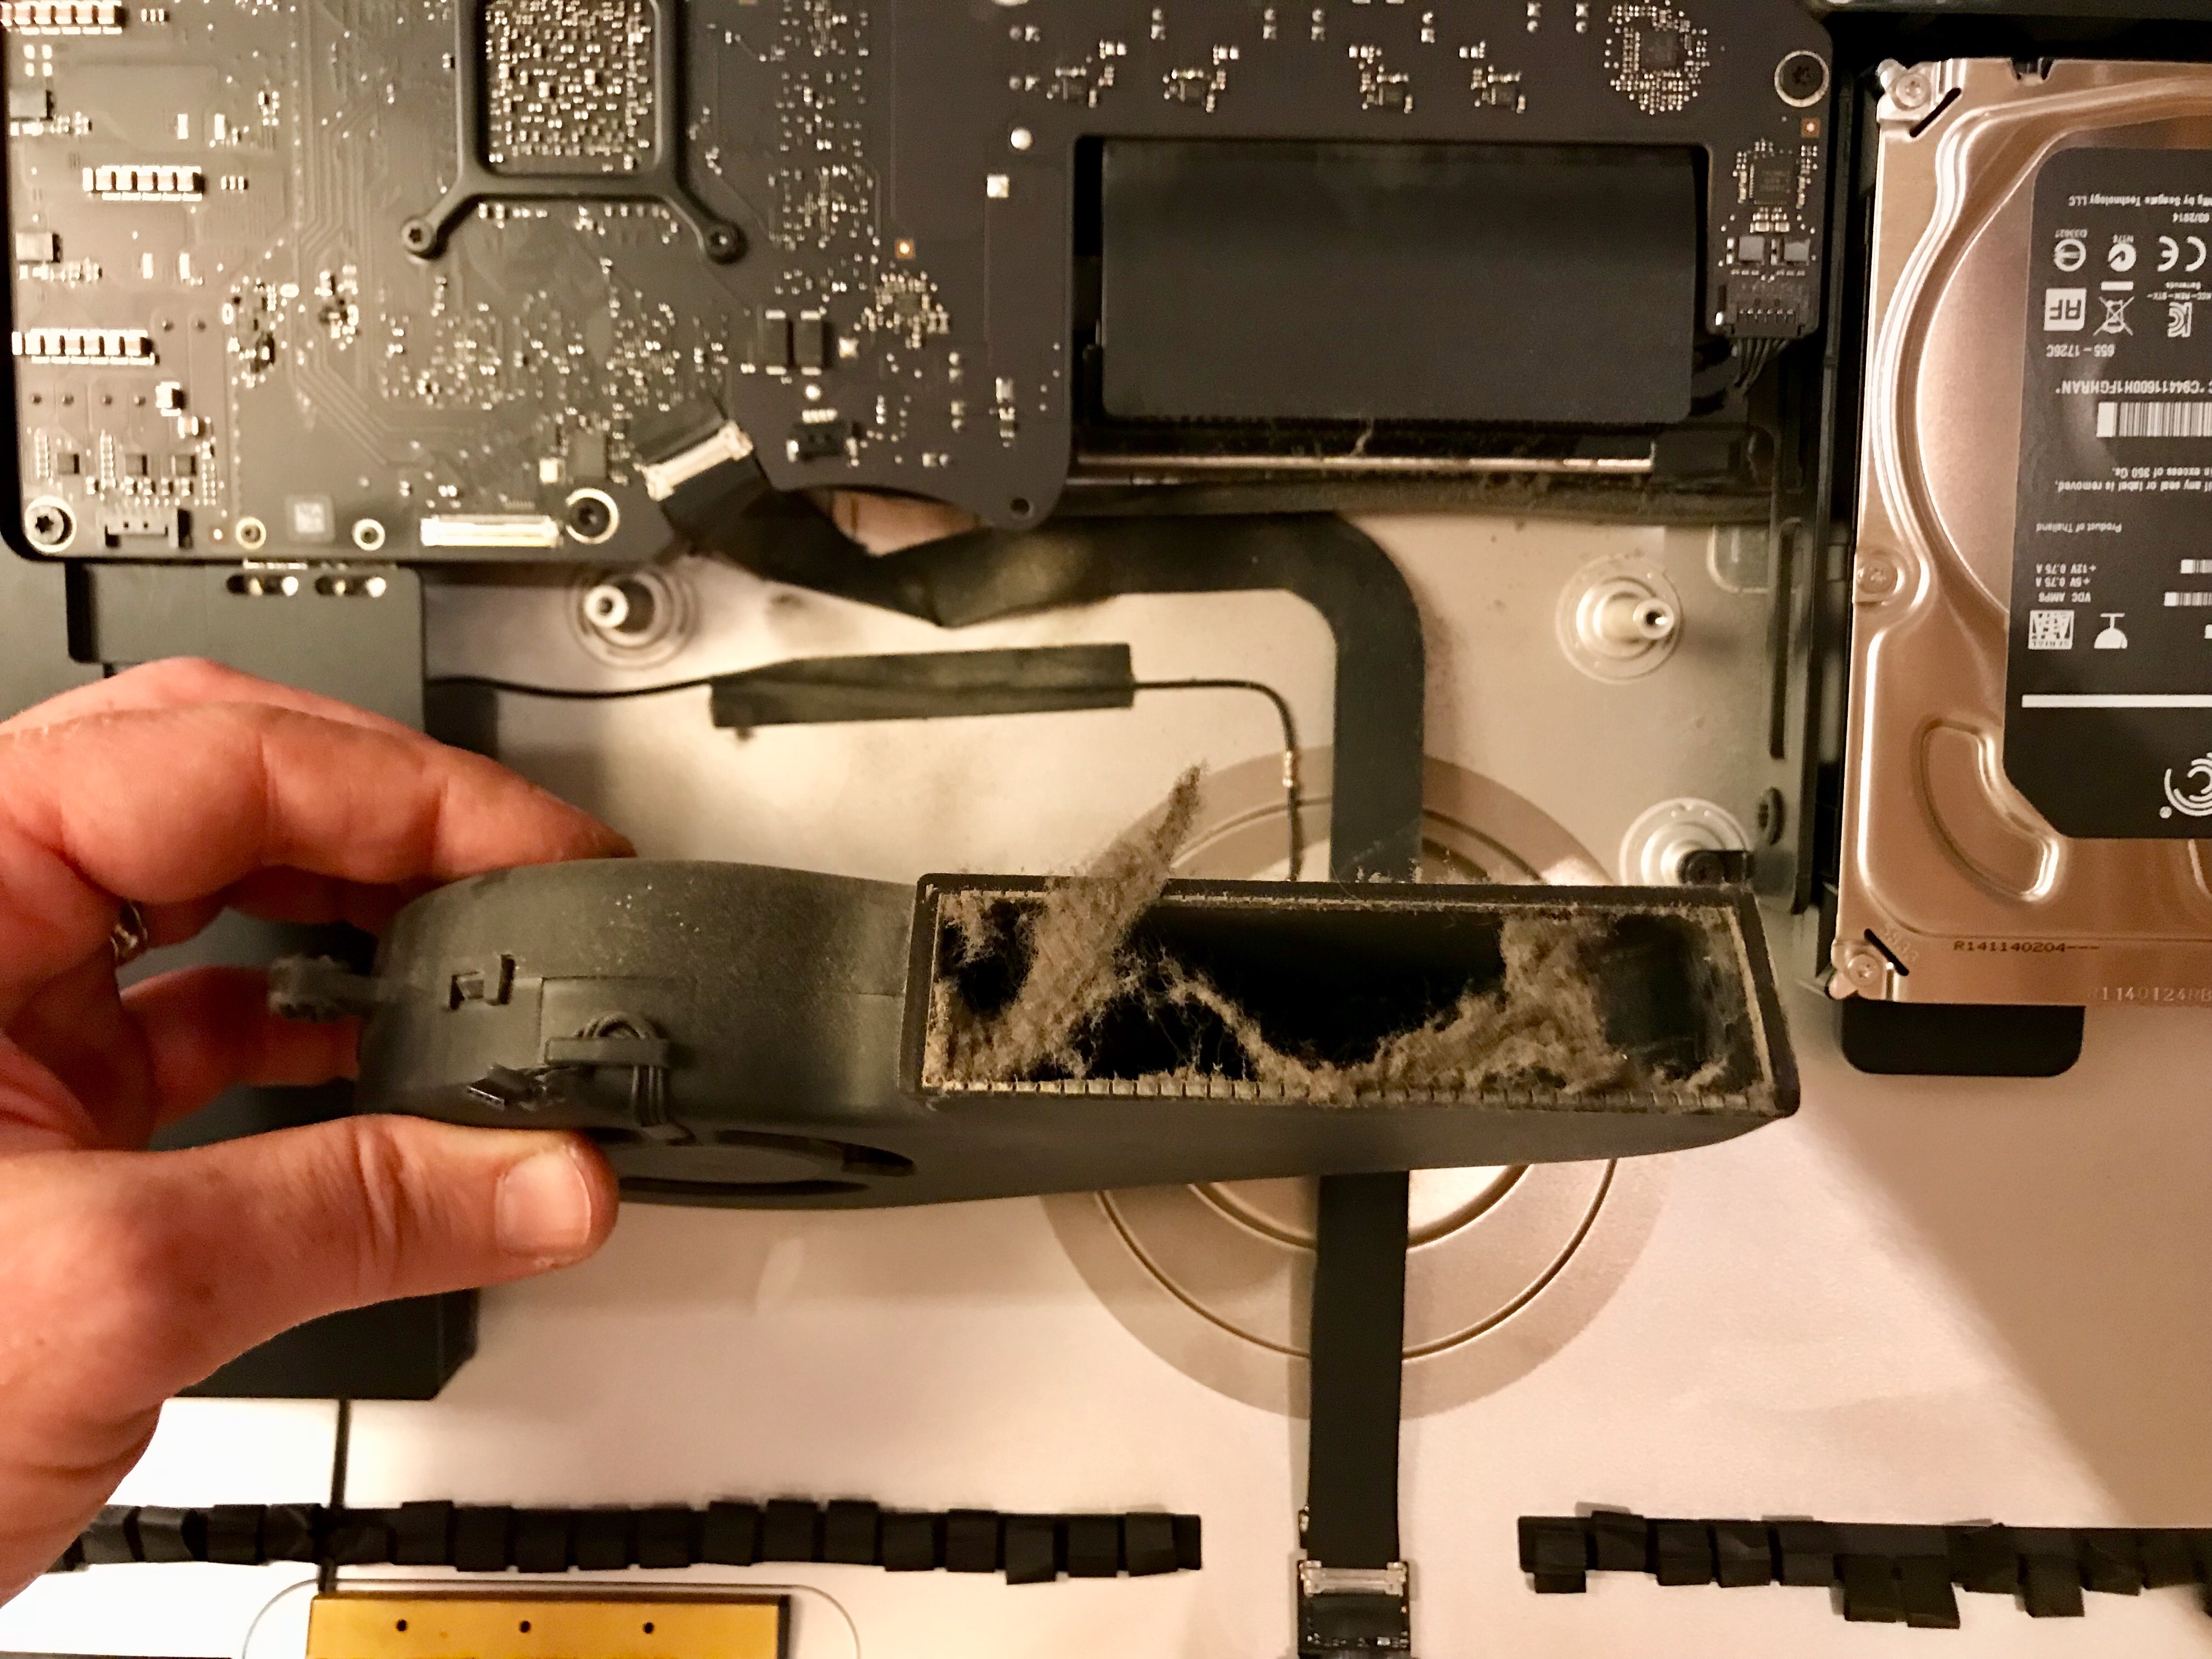
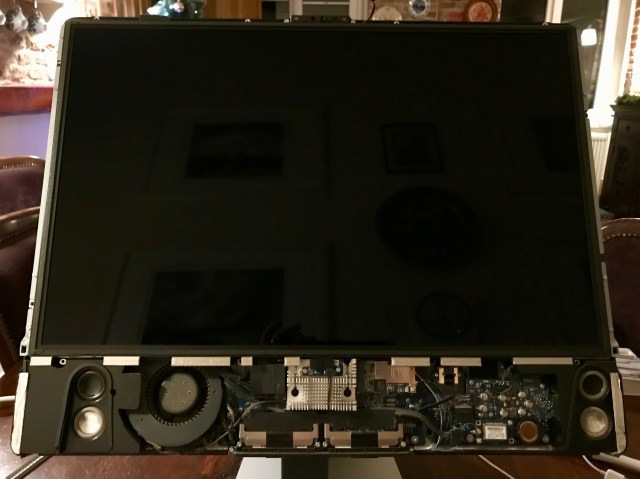
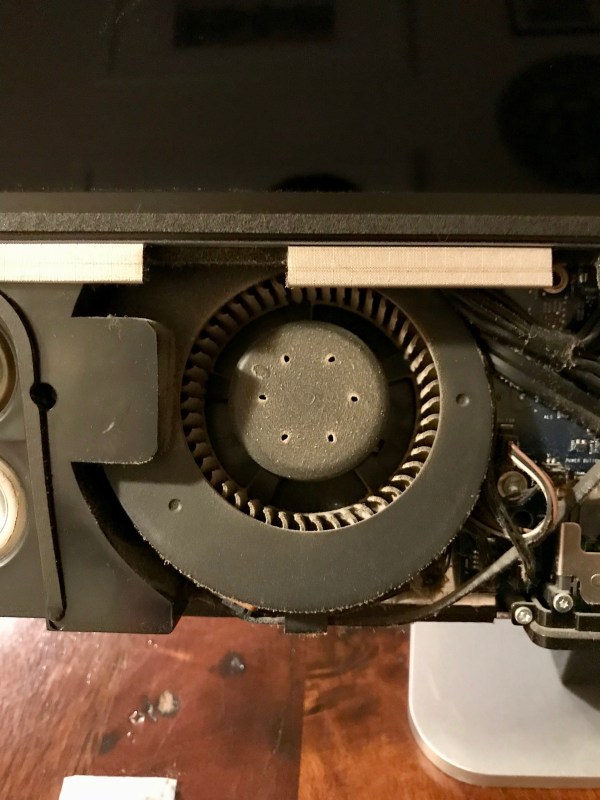
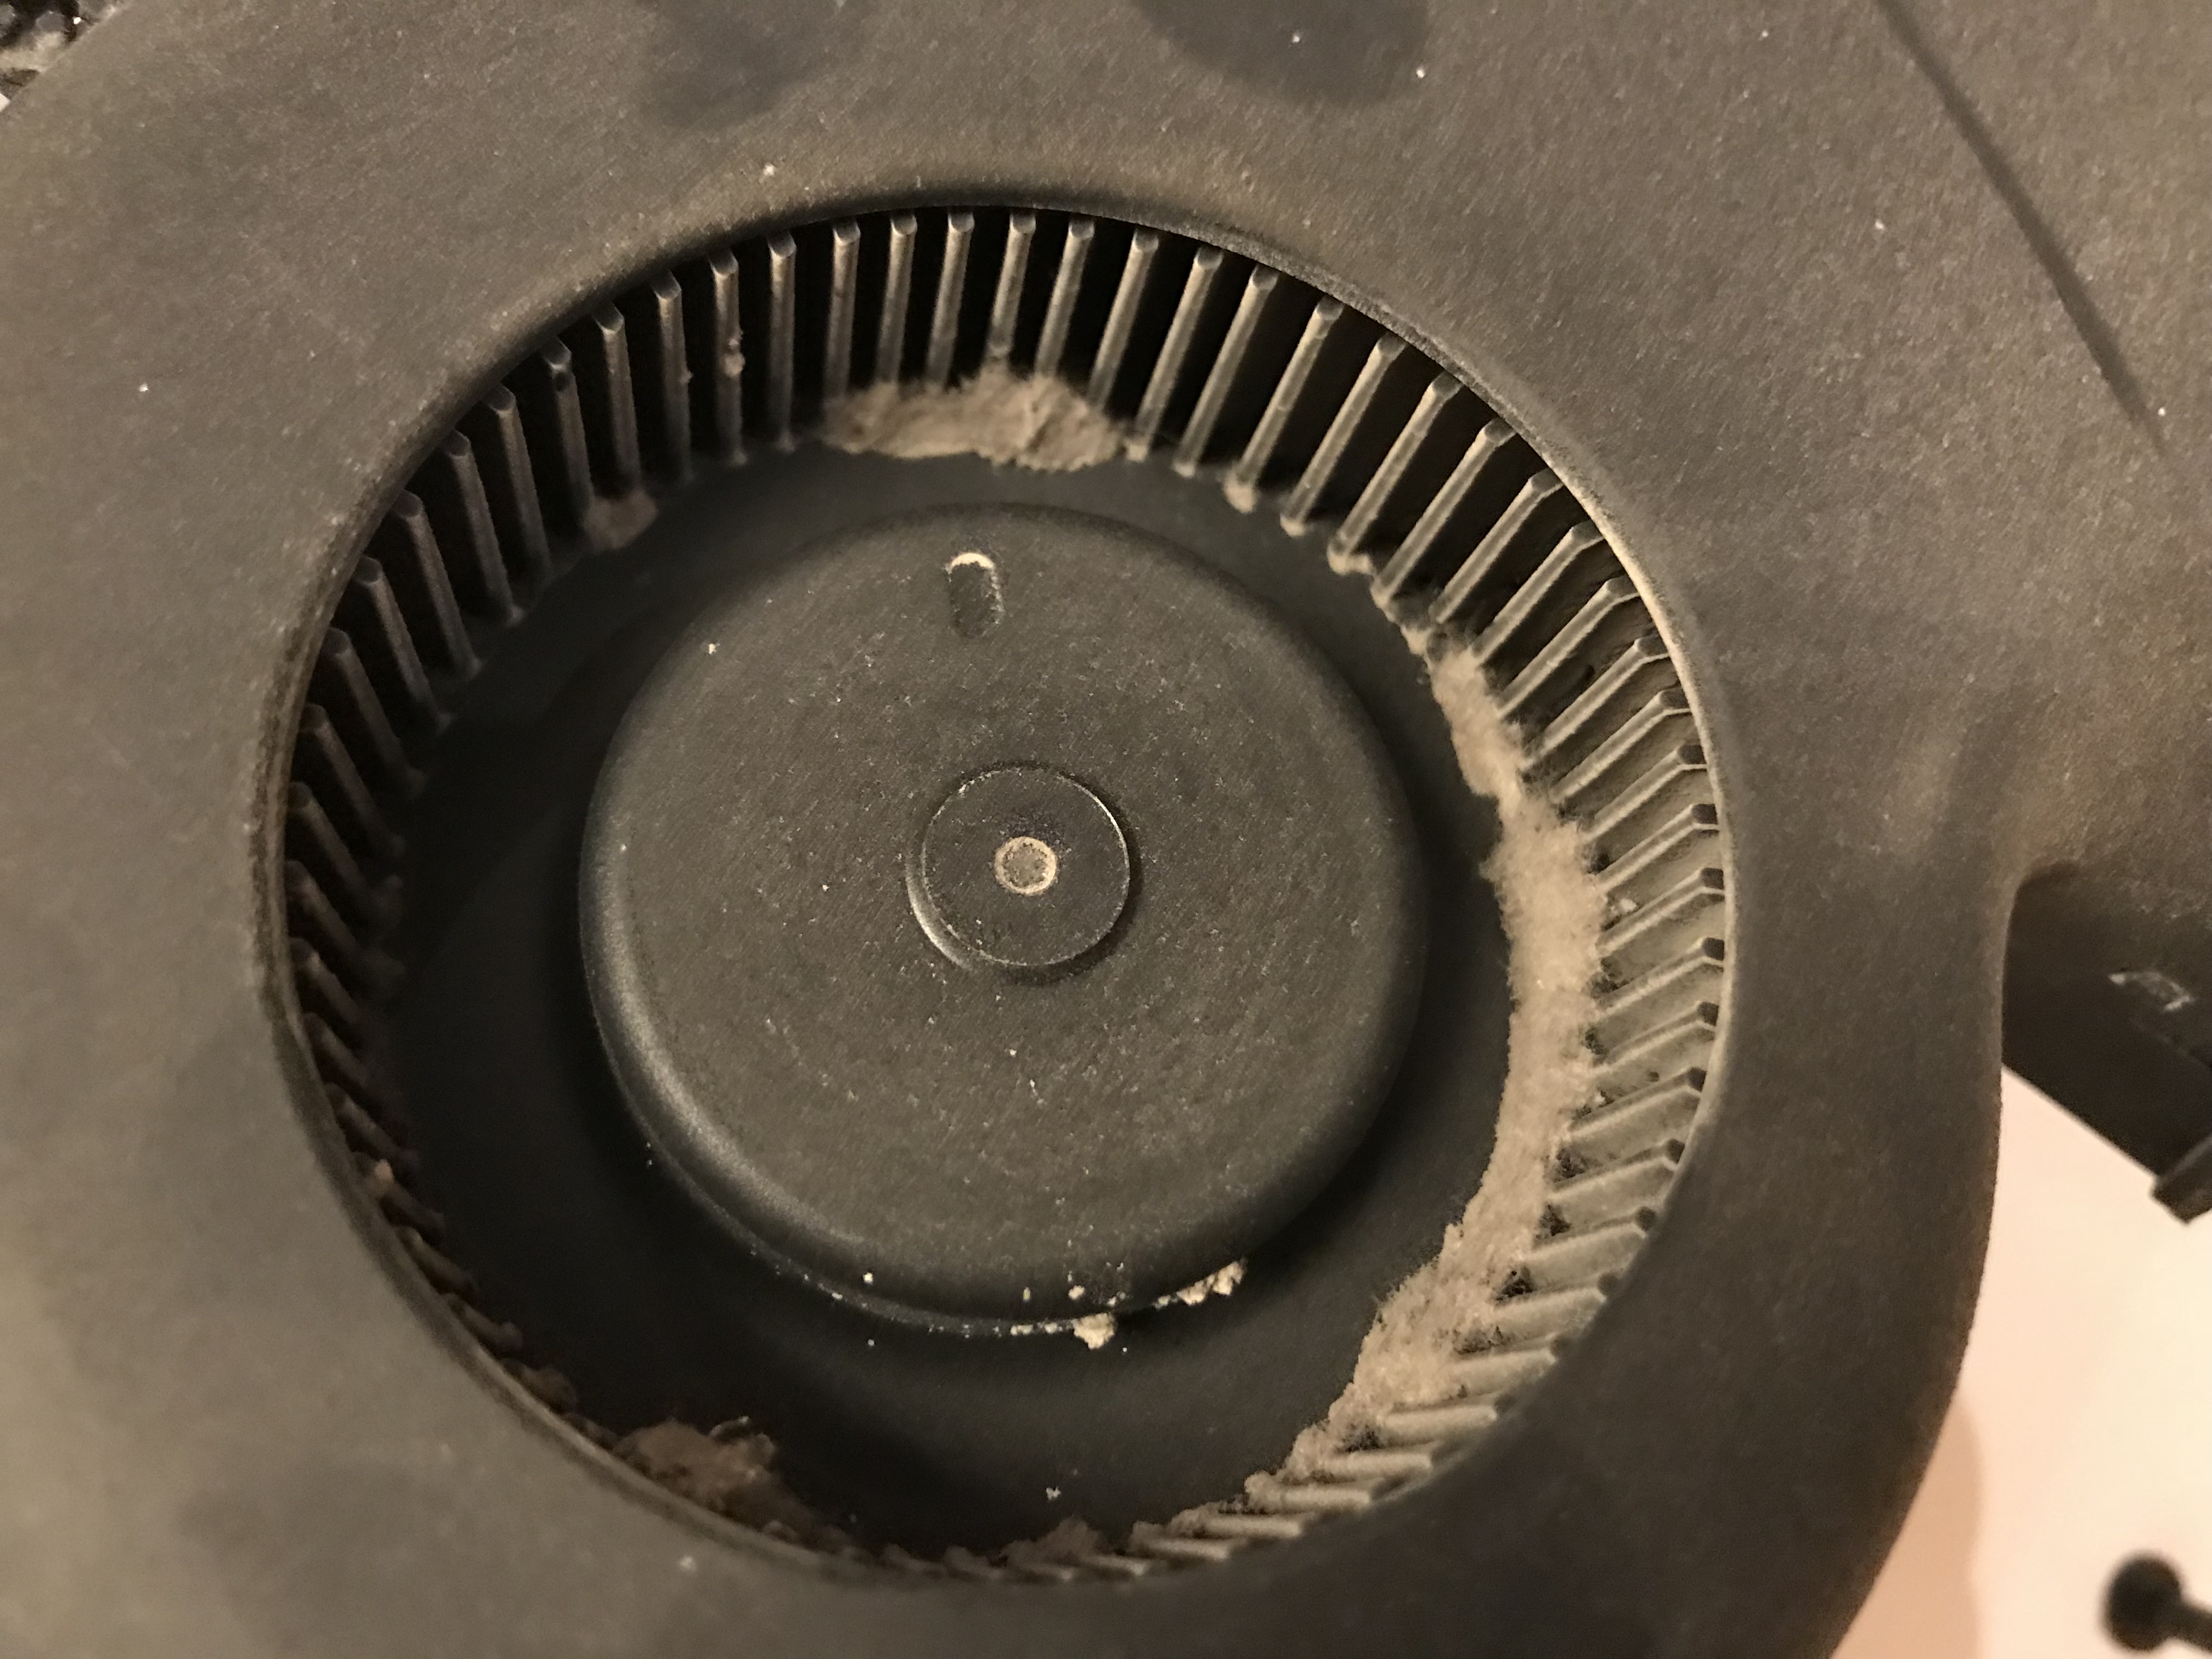
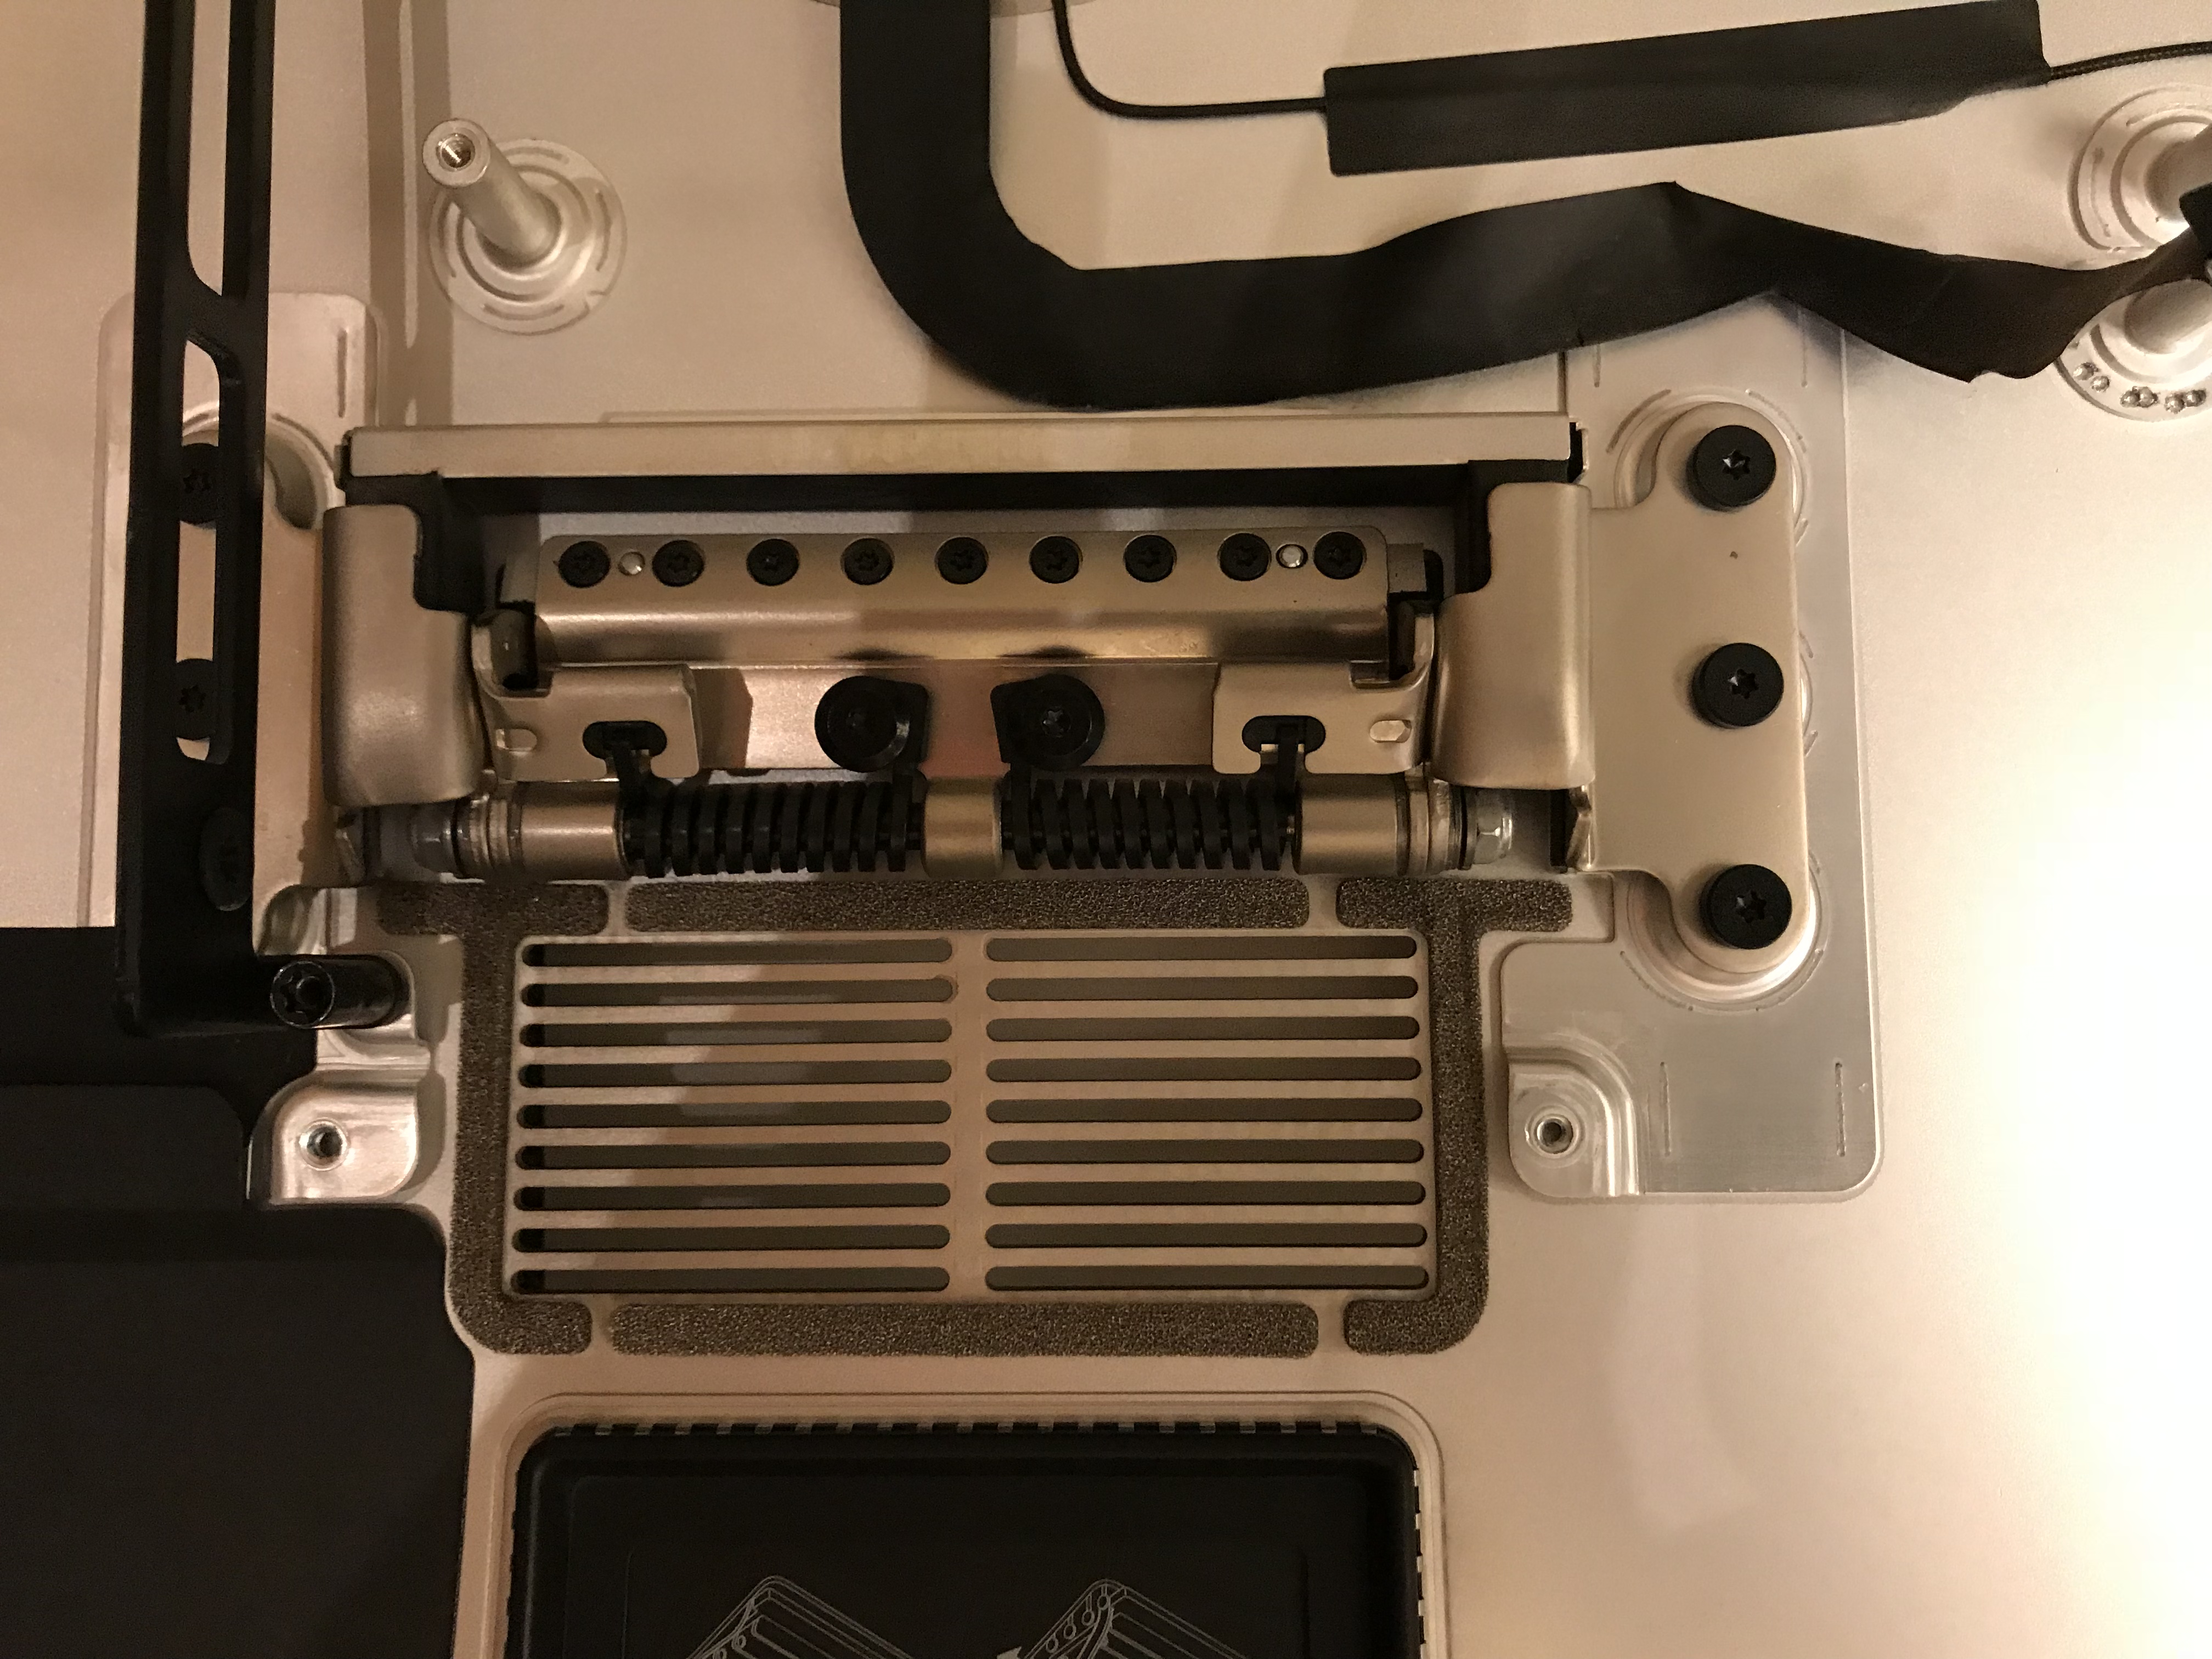
Here is a set of photos taken during the upgrade. Since I’d never opened this iMac, I figured it was due for a thorough cleaning and a replacement of the thermal paste. I used this guide from iFixit to help me out. I’m glad I cleaned all of it; even though it didn’t have as much dust and lint inside as I’d expected, it needed to be cleaned.

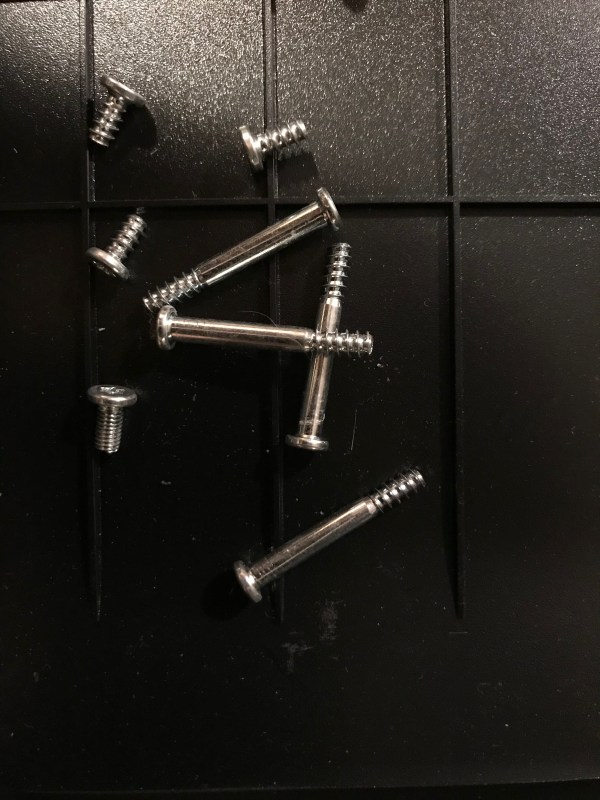
A word of warning: there aren’t a lot of guides for this iMac on the internet, which means I wandered into unknown territory when I took all of it apart. I had to take photos of the screws and their positions, and of the wires and the sensors and oh boy… just be careful and keep track of everything if you decide to take it all apart… The back is plastic and uncharacteristically for Apple, the screw mounts are plastic, and that means you have to be gentle when you’re screwing components into the frame or else you’ll strip the plastic threads. This was the most complicated take-apart job I’ve undertaken so far, even more complicated than my iMac G5. I’ve never seen so many sensors and power cables running everywhere. And once I got it open, it was aluminum foil city… you’ll see what I mean.
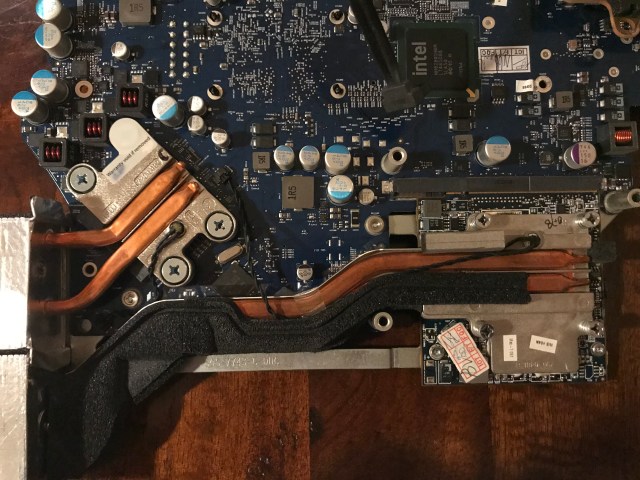
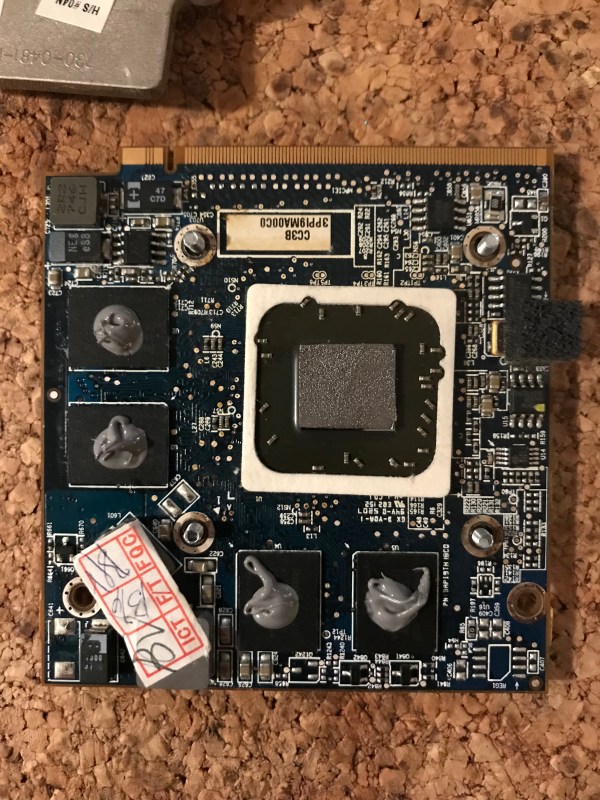
As you’ll see from the photos, I ended up not using graphite pads. I went ahead and cut up pads for its chips, but when screwing back the heat sink assembly I noticed that one of the pads had fallen out, which meant that it just wasn’t making proper contact between the chip and the heat sink. I couldn’t risk having the other pads fall out as well and ruining my mom’s computer in the process, so I ended up using thermal paste for all of the contact points except for the GPU, where the pad seemed to stay in place securely. You’ll see a piece of cork under the graphics card below. It’s actually helpful when you screw the heat sink on top of the card, because the screw heads will dig into the cork and not turn, up to a point.
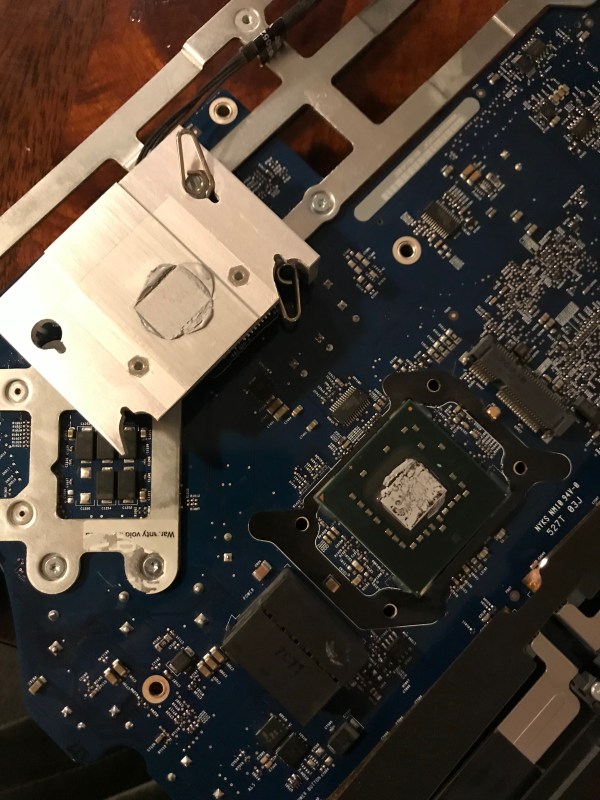
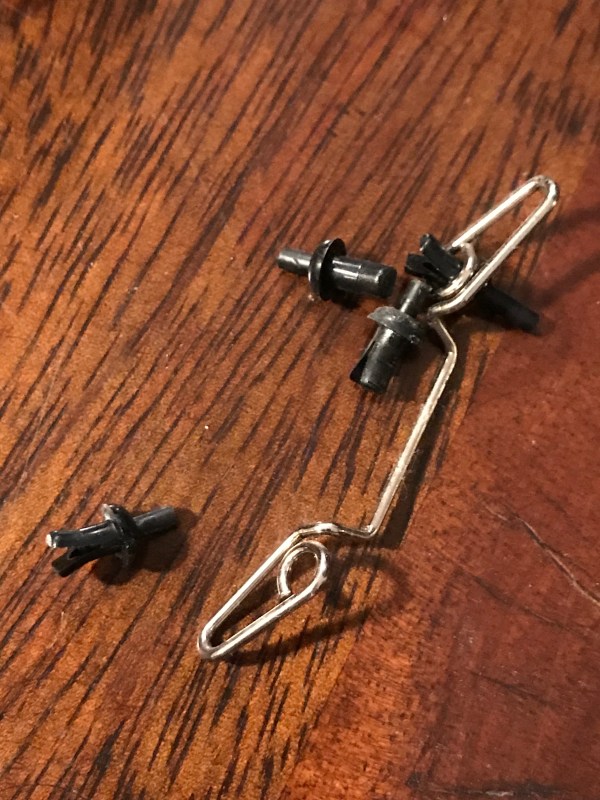
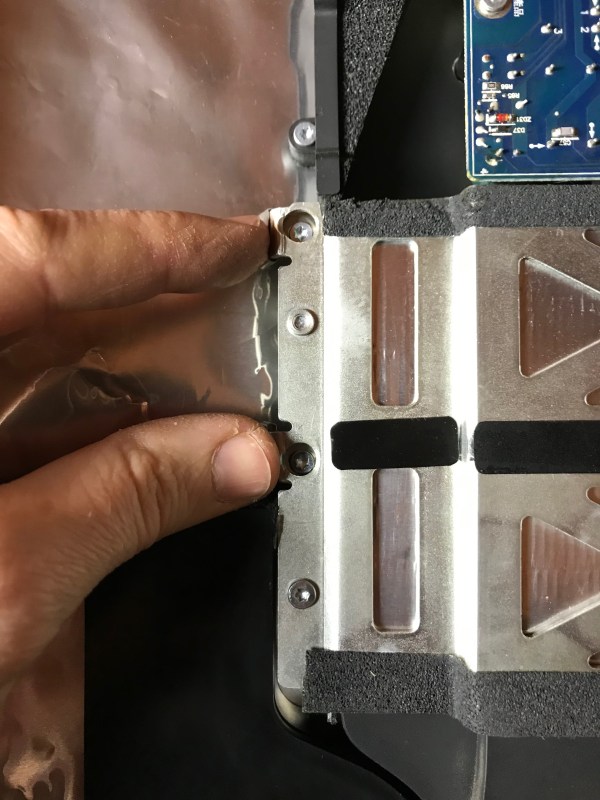
Be careful with this heat sink assembly you see below, the pins that secure it over the chip have to be de-cored (I don’t know if that’s the right word for it) so you can pull them out safely. Then you’ll have to push the cores back in place to secure the pins; if you break one… good luck hunting one down.
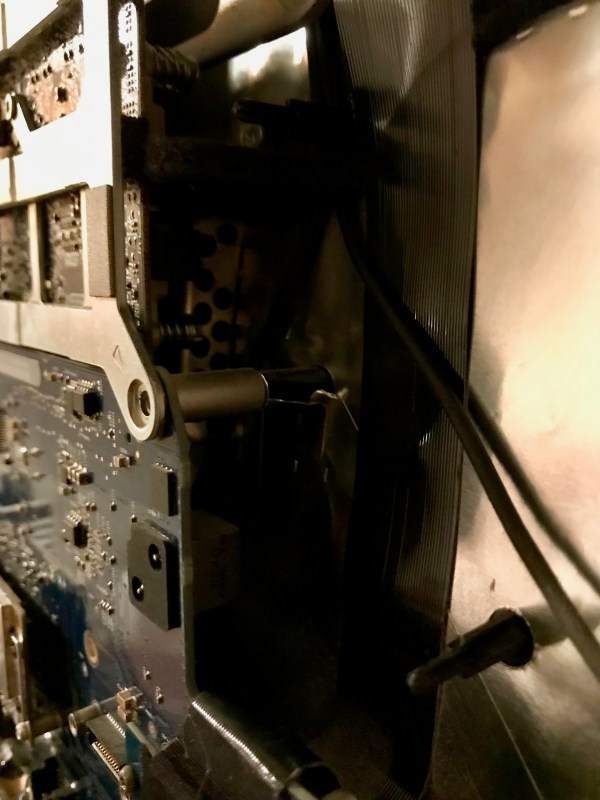
When you put the whole thing back together, leave these two screw mounts unused.
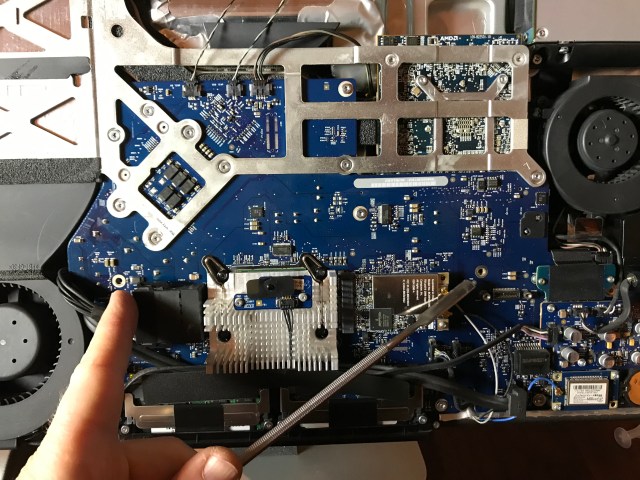
The two screws that you think go there, actually go here.
I know now why Apple has decided to make their display assemblies one-piece. While it might be easier to take apart a magnetic glass top that sits over the display instead of prying apart an assembly stuck to the case with adhesive strips, you only get to appreciate that design change when you polish the display for half an hour at the end of the upgrade, trying to remove the smudge marks that you left on it when you took it apart, and when you blow away every single particle of lint with a lens blower before you put the glass back on top, only to discover that you needed to clean some more spots, but you’re too tired to do it over. You might be tempted to cuss at that point… On the other hand, when your one-piece display assembly somehow sucks in fine dust that decides to settle into a spot in the middle of the display and in a corner and is quite visible but you can’t do a thing about it, as is the case with my 2013 iMac, you are also tempted to cuss.

I still say the newer iMacs are easier to service than this older iMac and also than my old MacBook Pro. They’re also more beautiful inside. I can clearly see the attention to detail and design that went into something few people will ever see, simply for the sake of doing good work. That’s something I appreciate more and more and I get older.
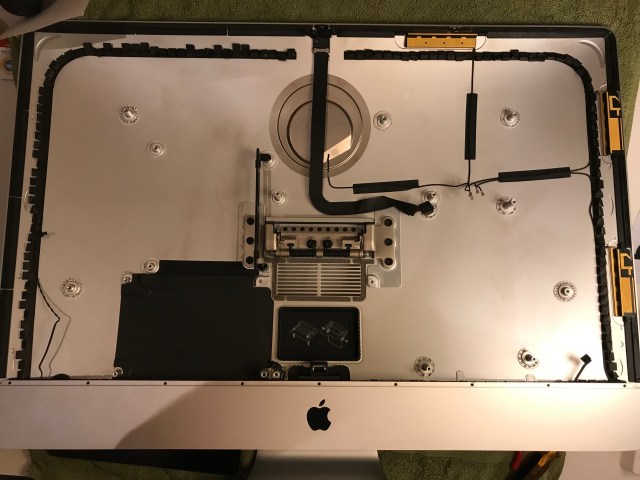
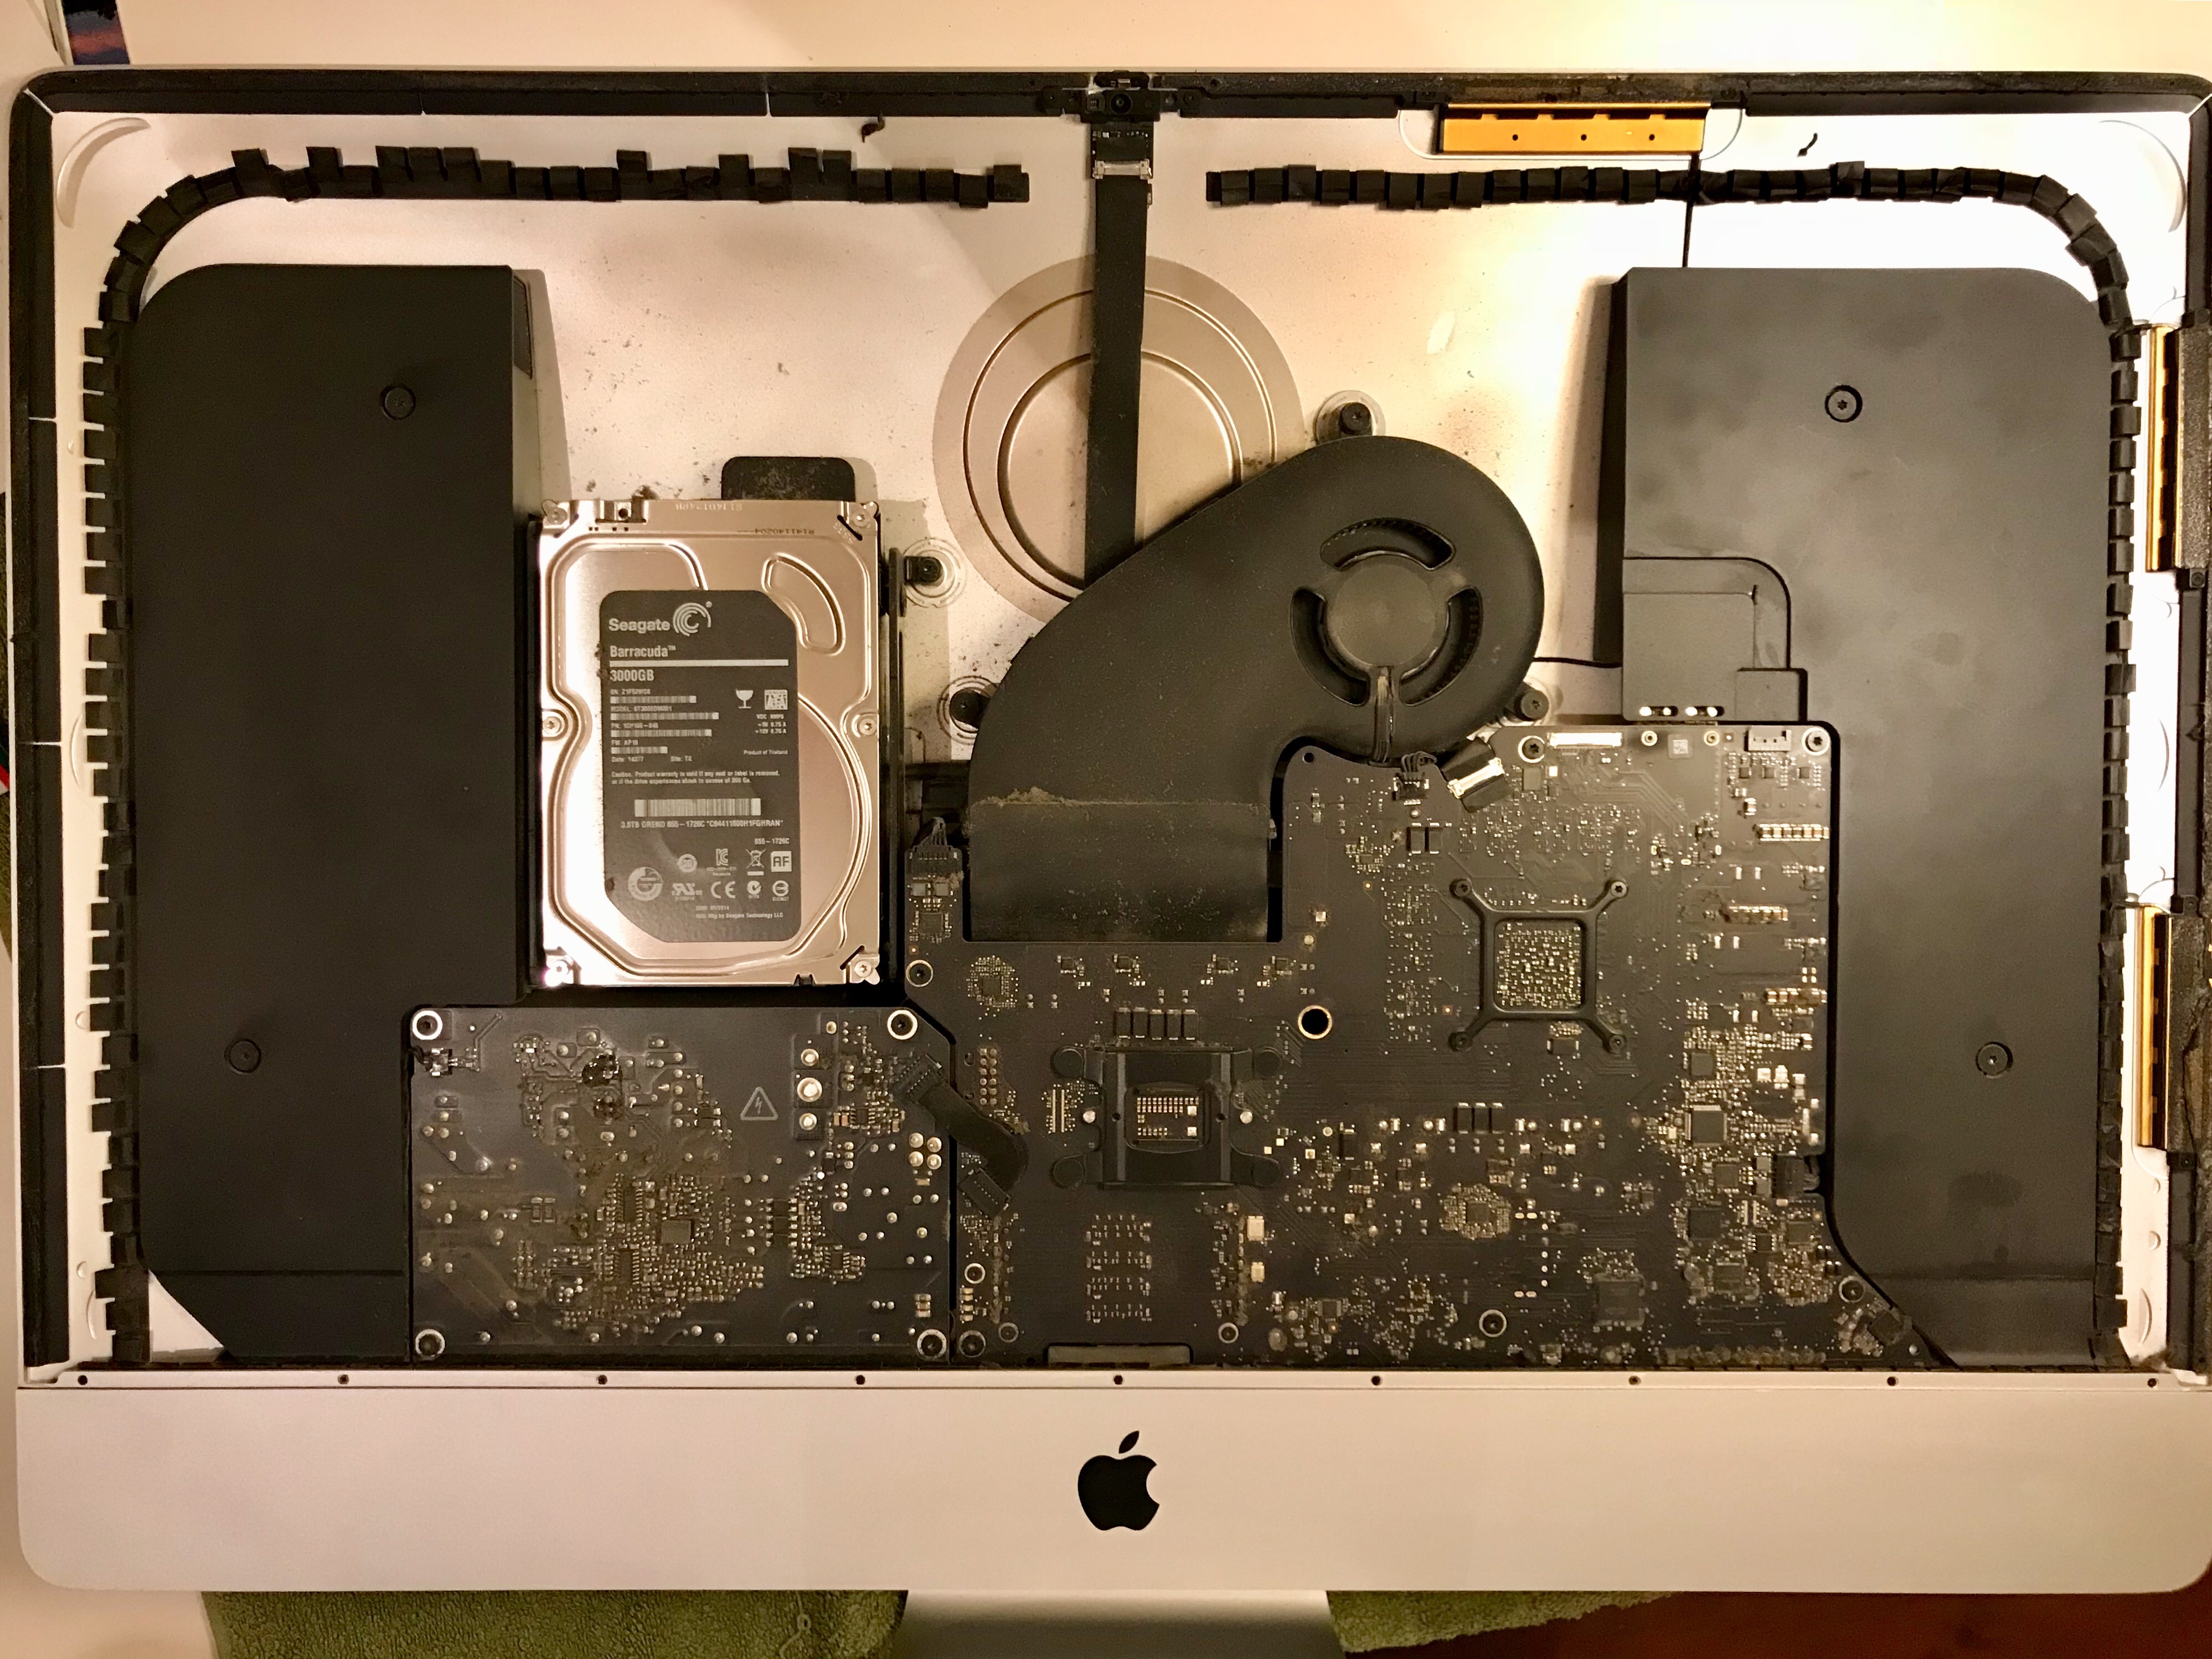
The inside of my 2013 iMac

Here are some screenshots that show the specs of the upgraded computer. You’ll see that the disk write speeds went up from about 40 MB/s to 240 MB/s. It’s not exactly 300 MB/s, which is the theoretical max of SATA II, but it’s still a huge jump in speed and the computer shows it in real world use.
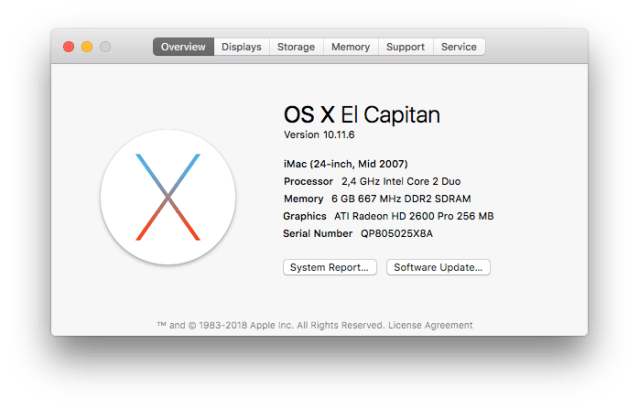

The highest version of macOS I could install was El Capitan. The App Store still bugged me to install Mojave but when I tried, it told me I couldn’t do it. I know Apple wants everyone who can upgrade, to upgrade to Mojave, but they might want to check their notification code to exclude those with older hardware that can’t upgrade. I get the same notifications on my 2008 MBP, which I also can’t upgrade to Mojave.

I’d like to encourage you to explore upgrade options for your older computers. An SSD will probably make the biggest difference in performance and their prices have really come down during the last couple of years. From an environmental standpoint, upgrading an older machine to keep it working well is always going to consume less resources than making a new one. And there’s something to be said for keeping a good machine well maintained: if it’s served you well, it deserves a bit of TLC from you, a bit of regular maintenance to keep it working, as was its purpose from the start.

Standard
How To

An upgrade to my 2008 MacBook Pro

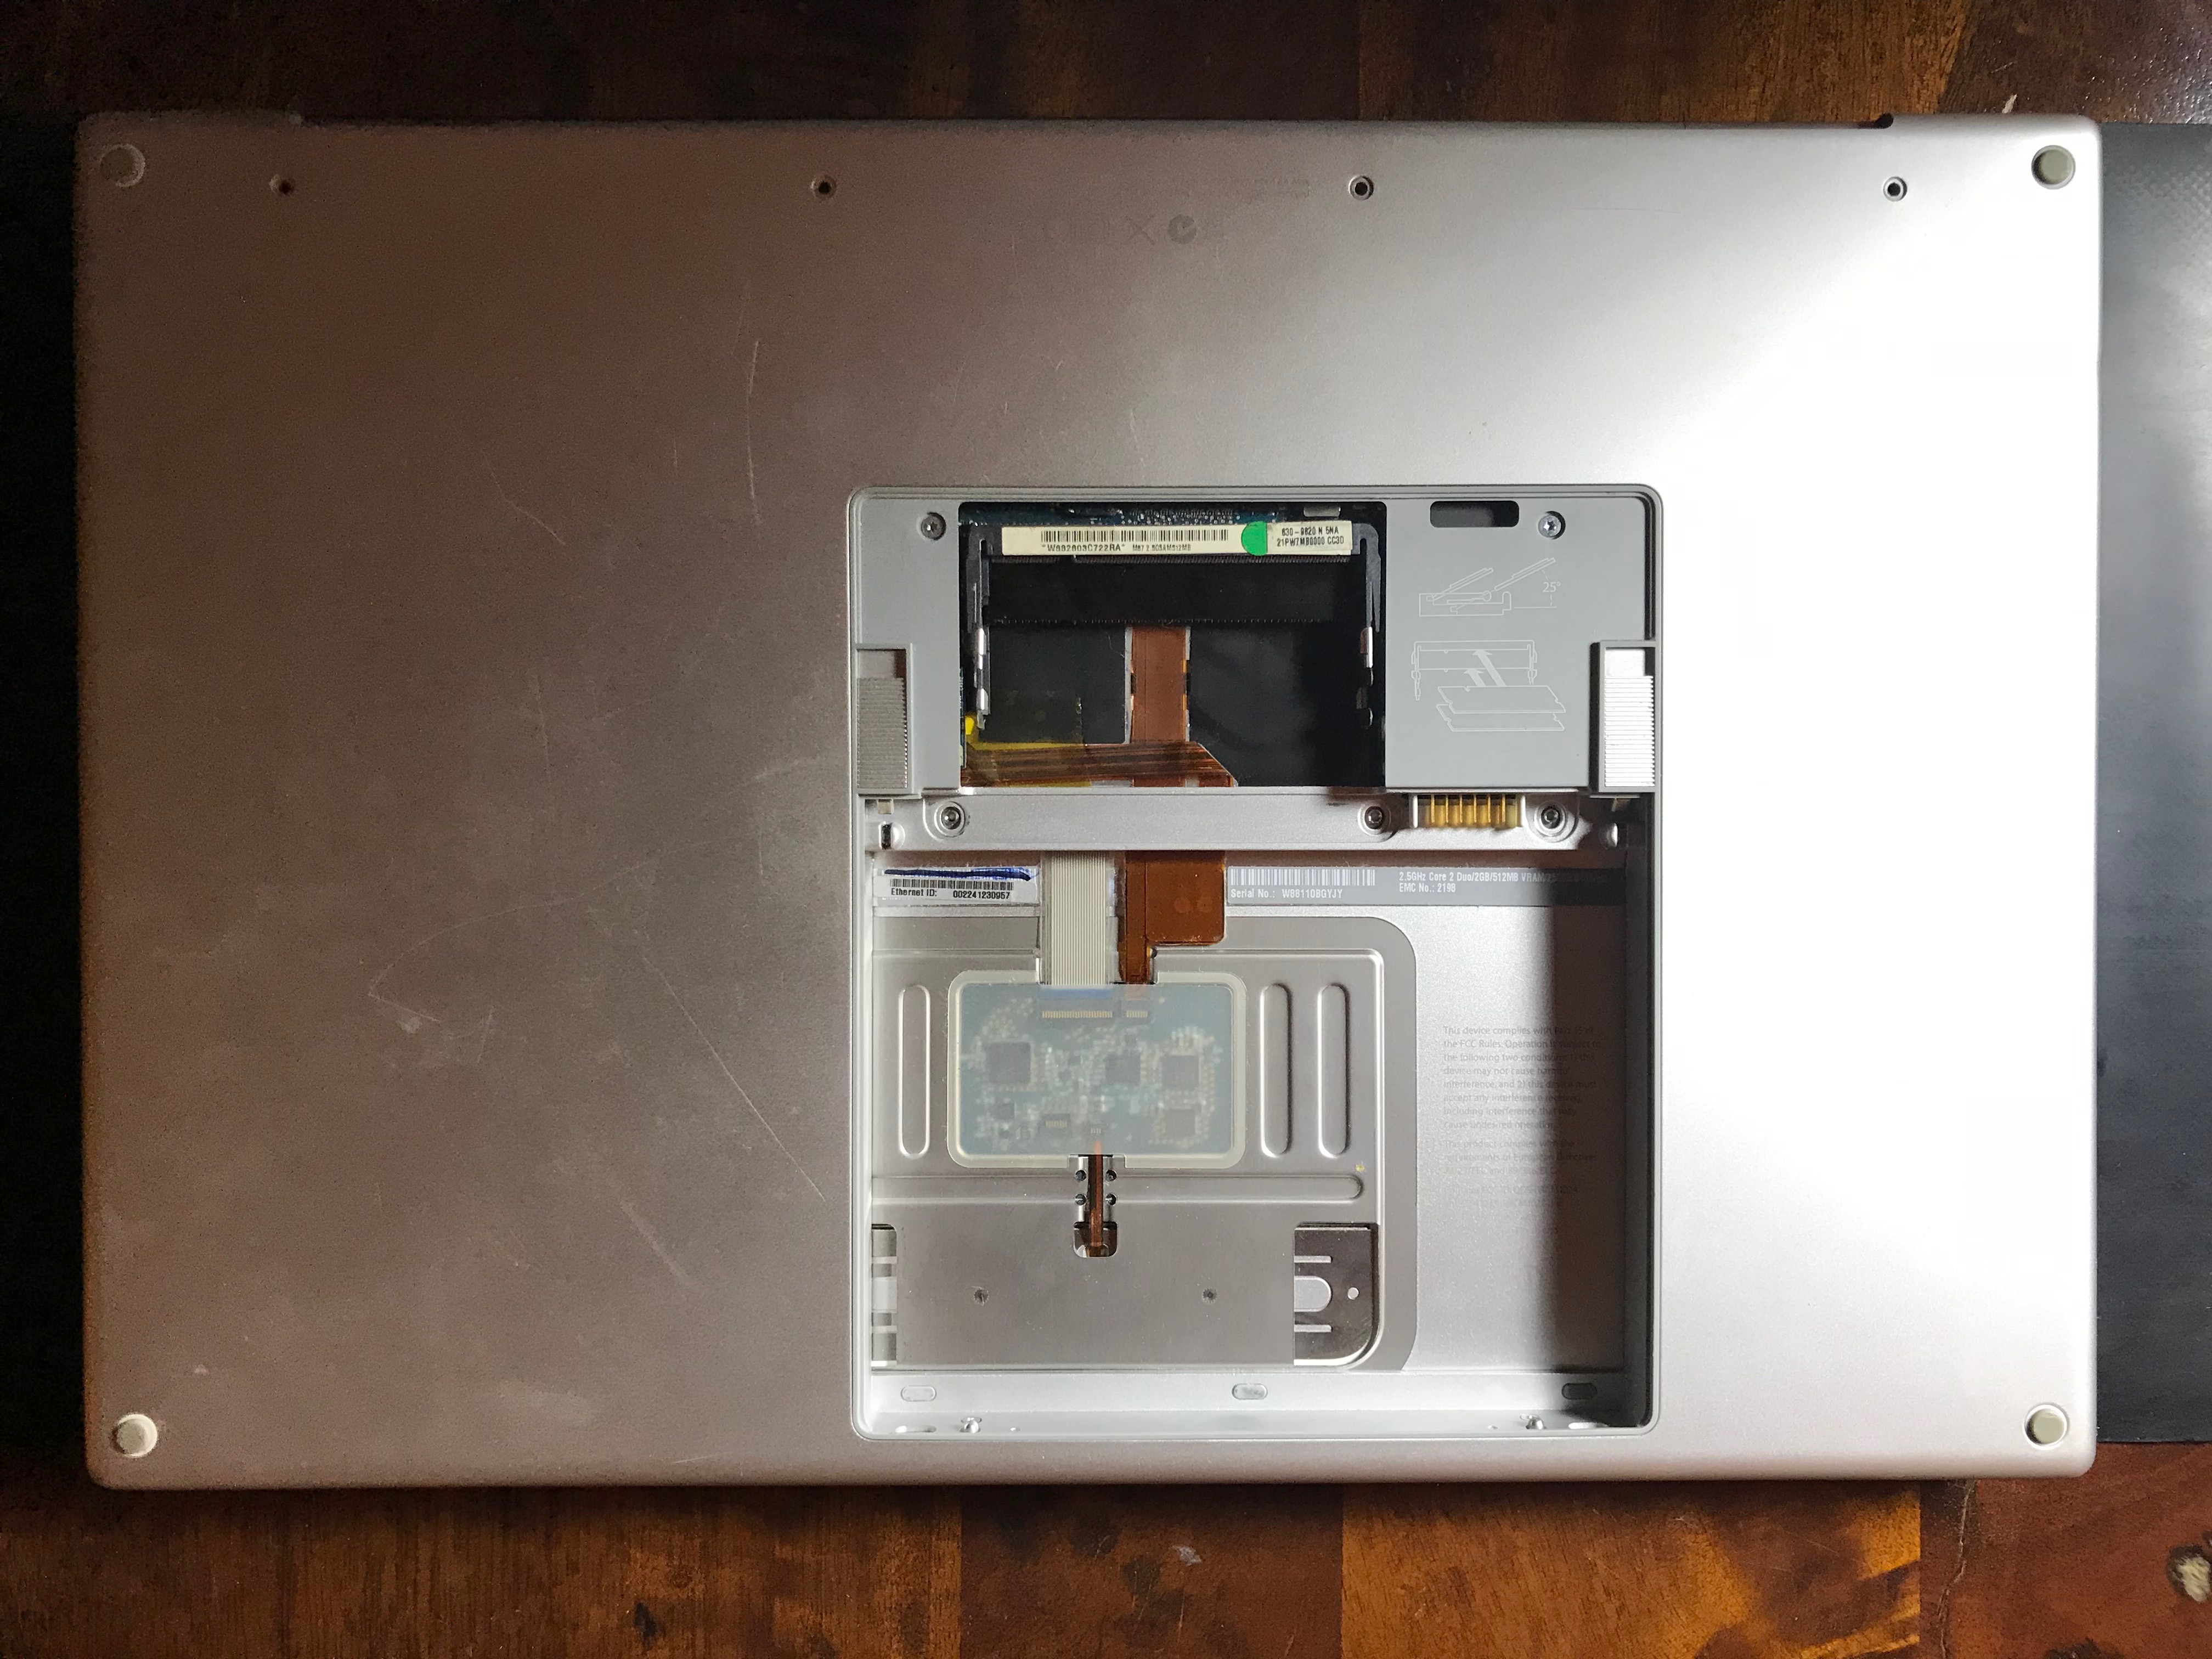
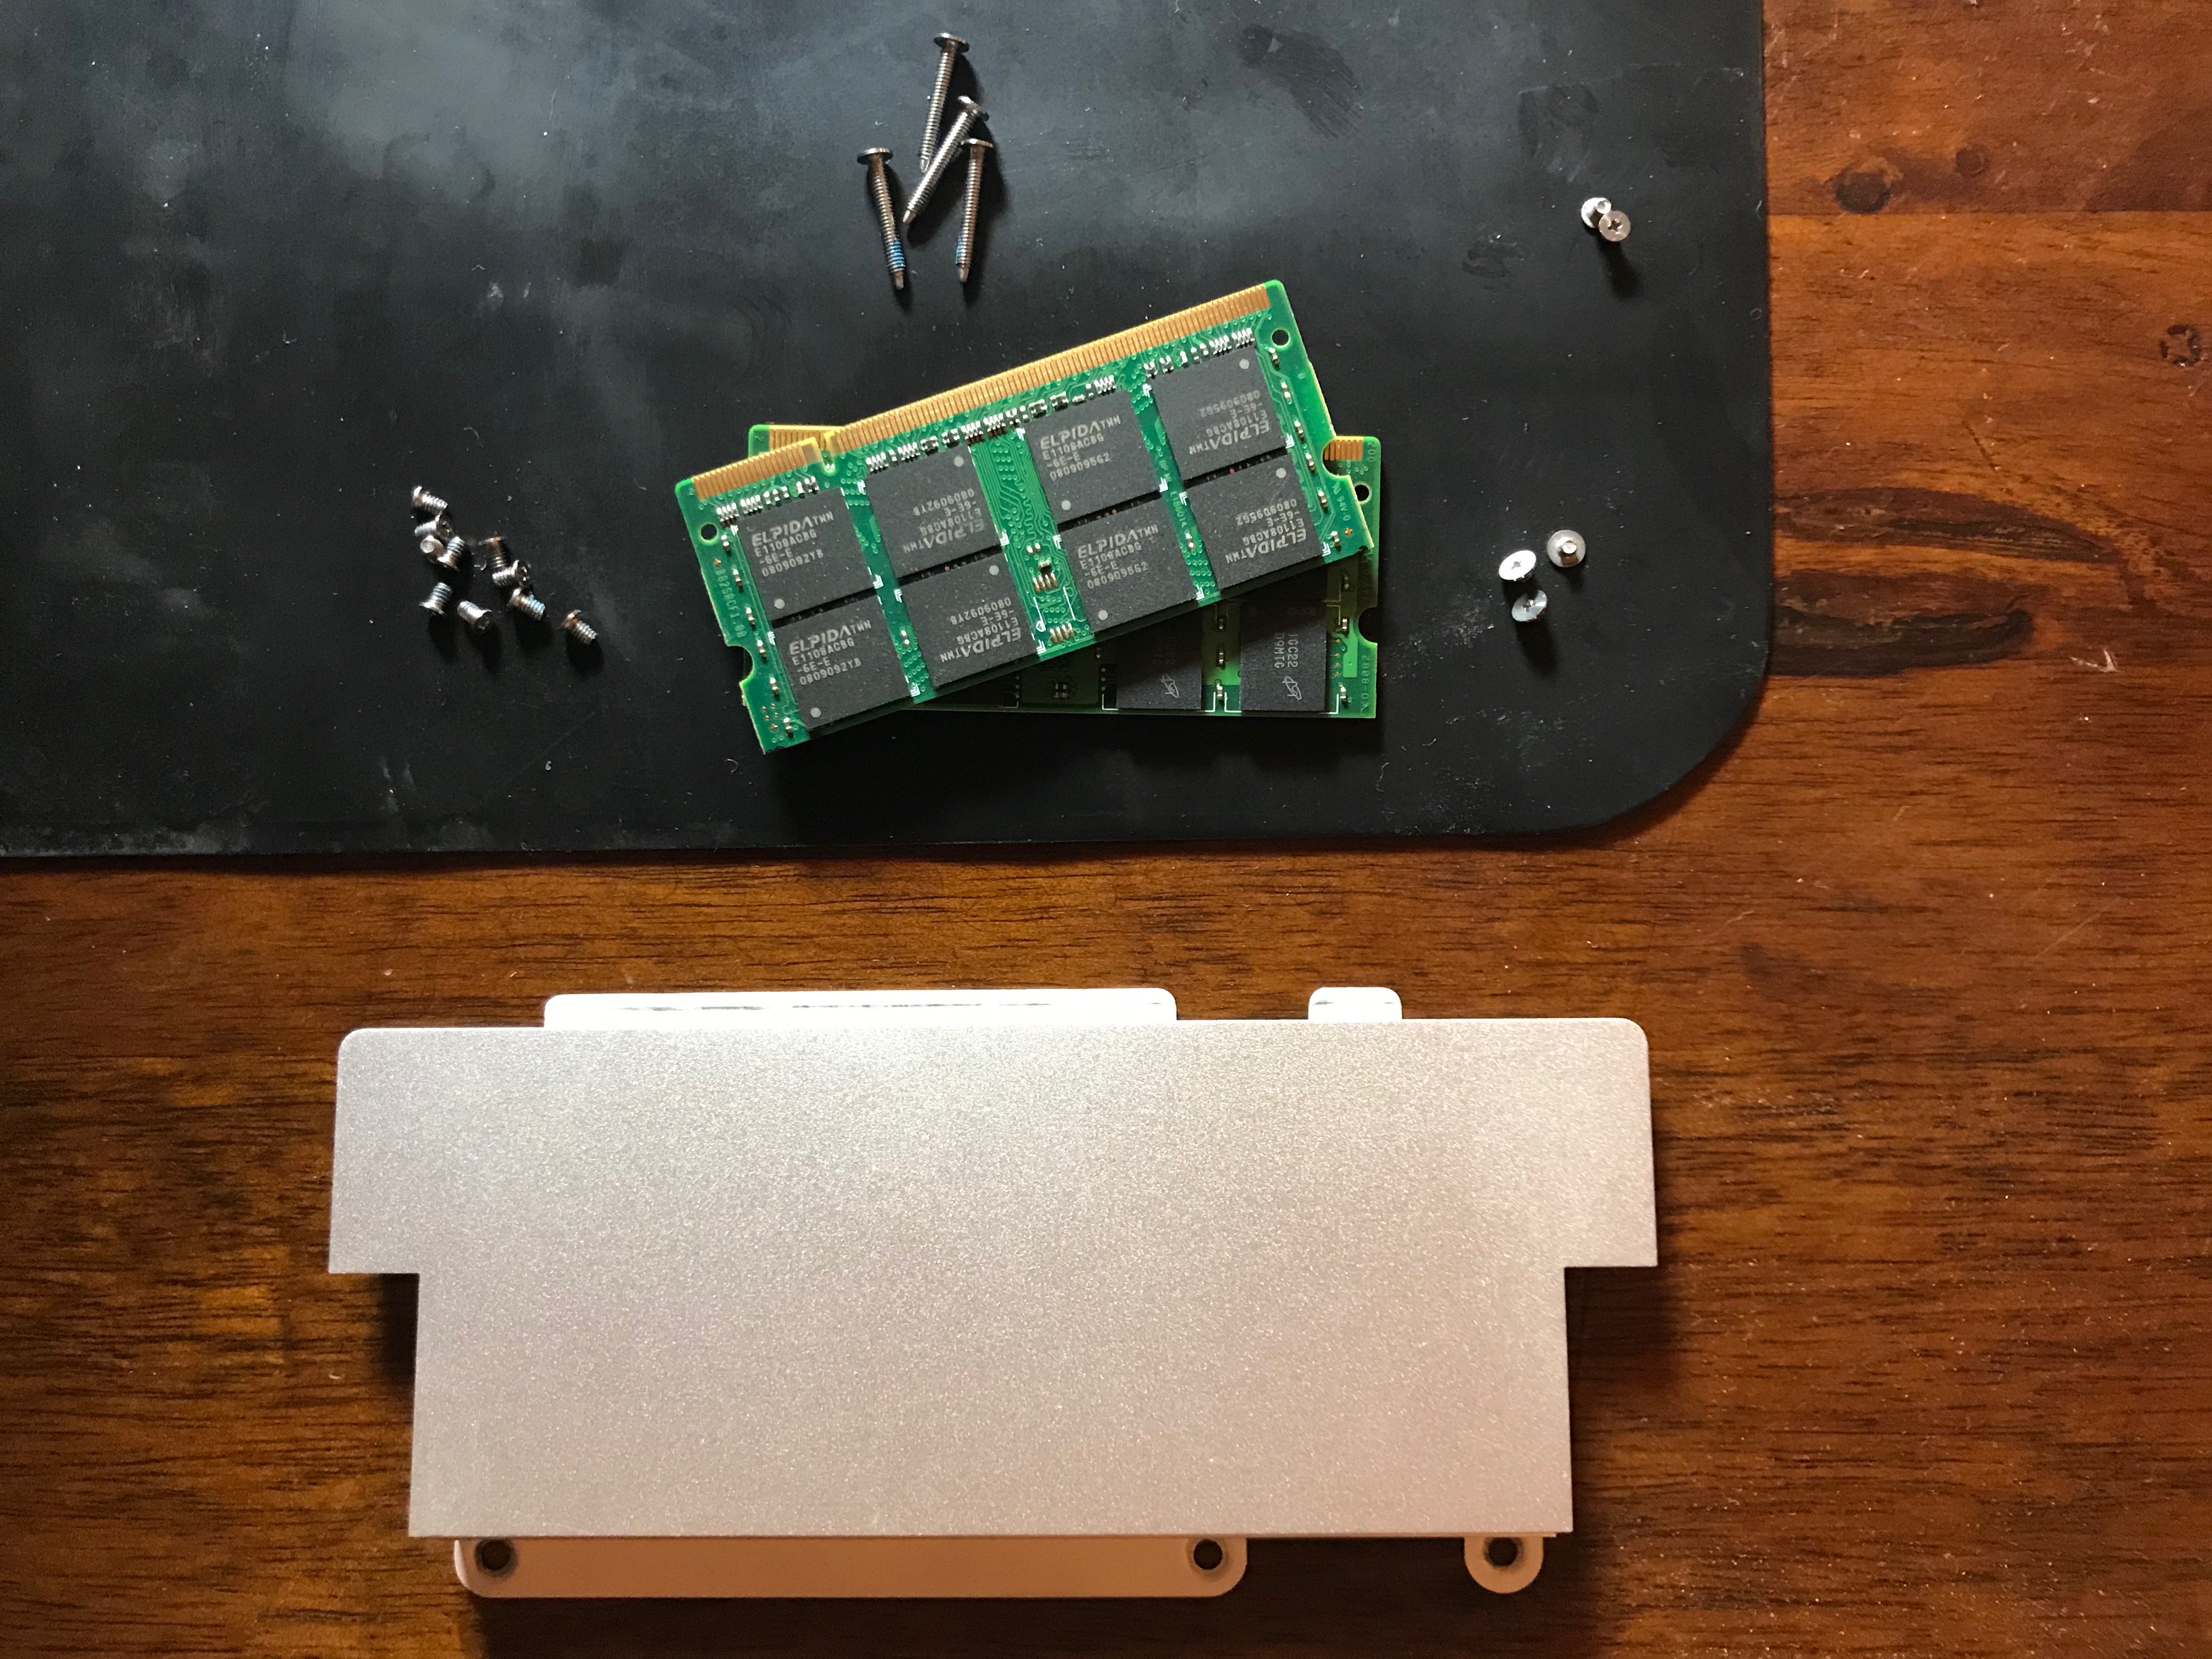
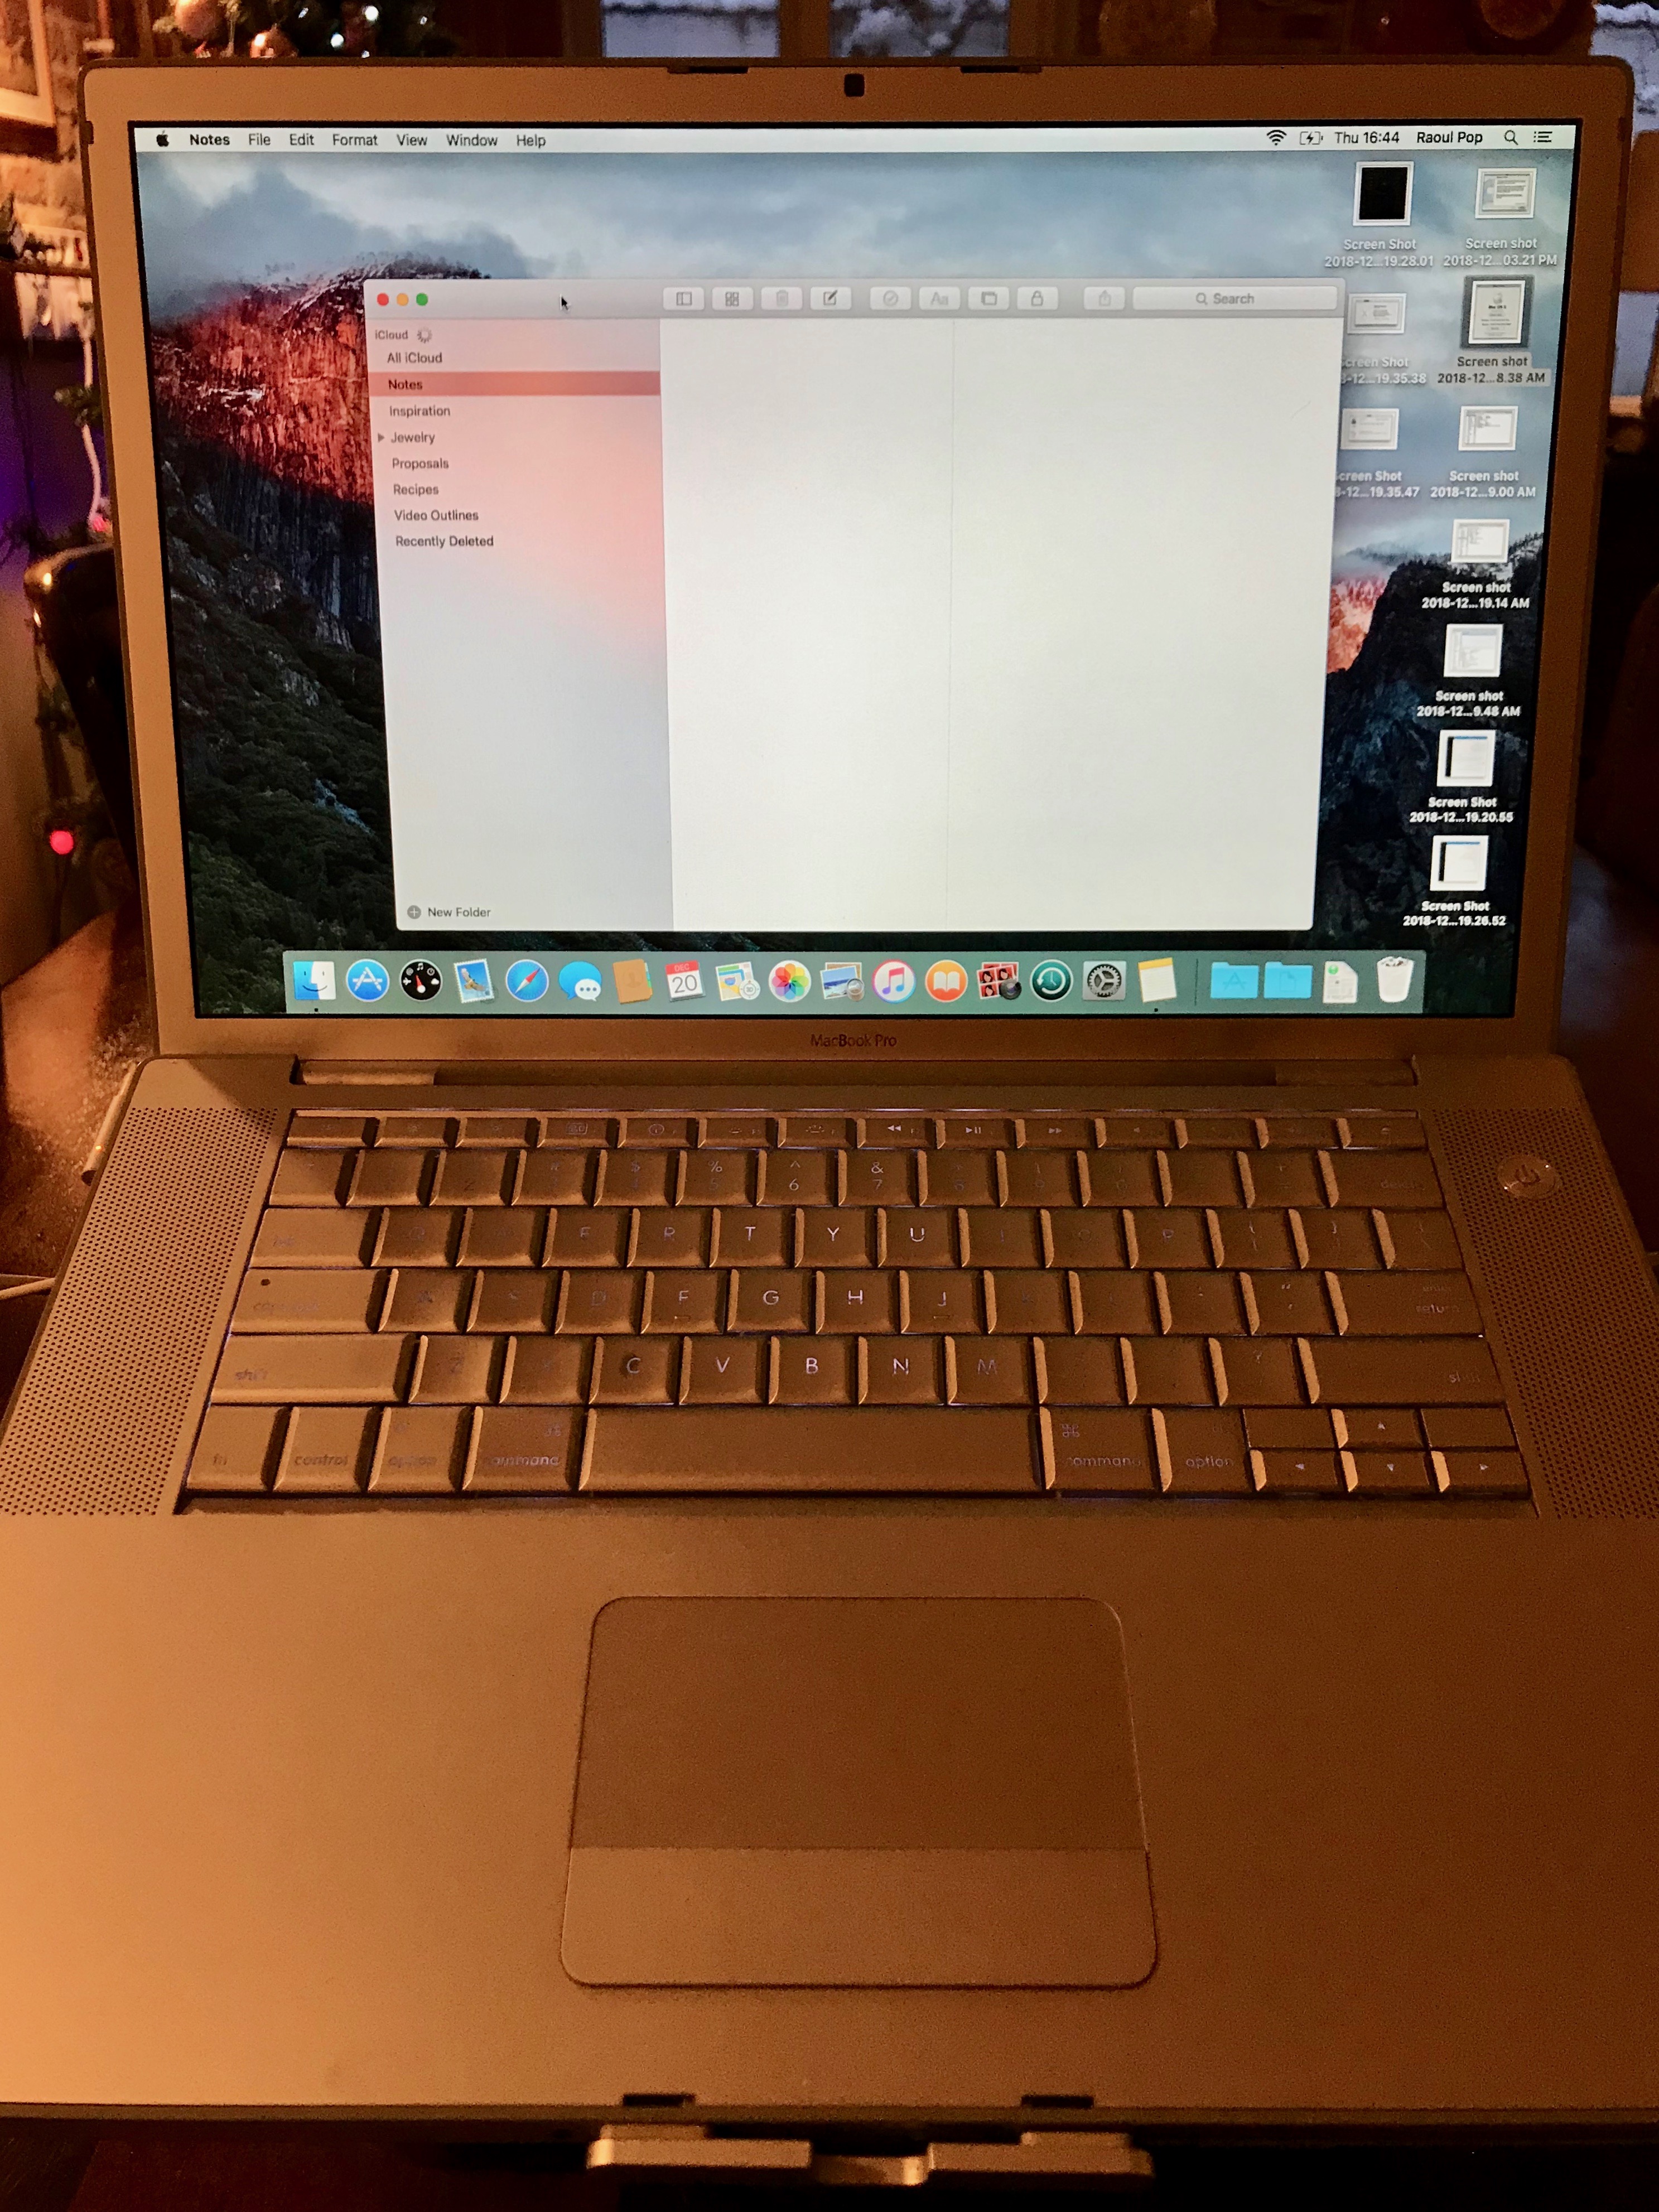
I have a fully functional MacBook Pro made in early 2008 (model A1260). While it’s fairly slow when editing photos and I wouldn’t try to edit 1080p video on it, it’s just fine for word processing, web and email. It has become slow over time, as is the case with older hardware, so I thought I’d give it an upgrade. Since I maxed it out when I bought it, the only upgrade I could give it now was to switch the HDD with an SSD.

This MBP was my main computer for a number of years. I really put it through its paces during its heyday, and by that I mean the sound of its little fans going into overdrive to cool its chips isn’t a rare memory for me. When I bought an iMac, the MacBook Pro became my wife’s laptop, and she used it to write quite a few of her published books on it. Fortunately, I did something few people do with their laptops: I bought an aluminum stand for it right after I bought it, and we’ve used it (mostly) with that stand through all these years. I believe that’s what’s made the difference in its longevity.
When you use a laptop on your lap, you are shortening its life considerably, in spite of what its name (lap-top) implies. A laptop needs to stay cool, and making it work very hard to achieve that while it’s pulling lint and crumbs from your lap through its air intake, just isn’t going to do it long-term. Its chips will overheat and in the end give out, as I’m sure has been the experience of many people.

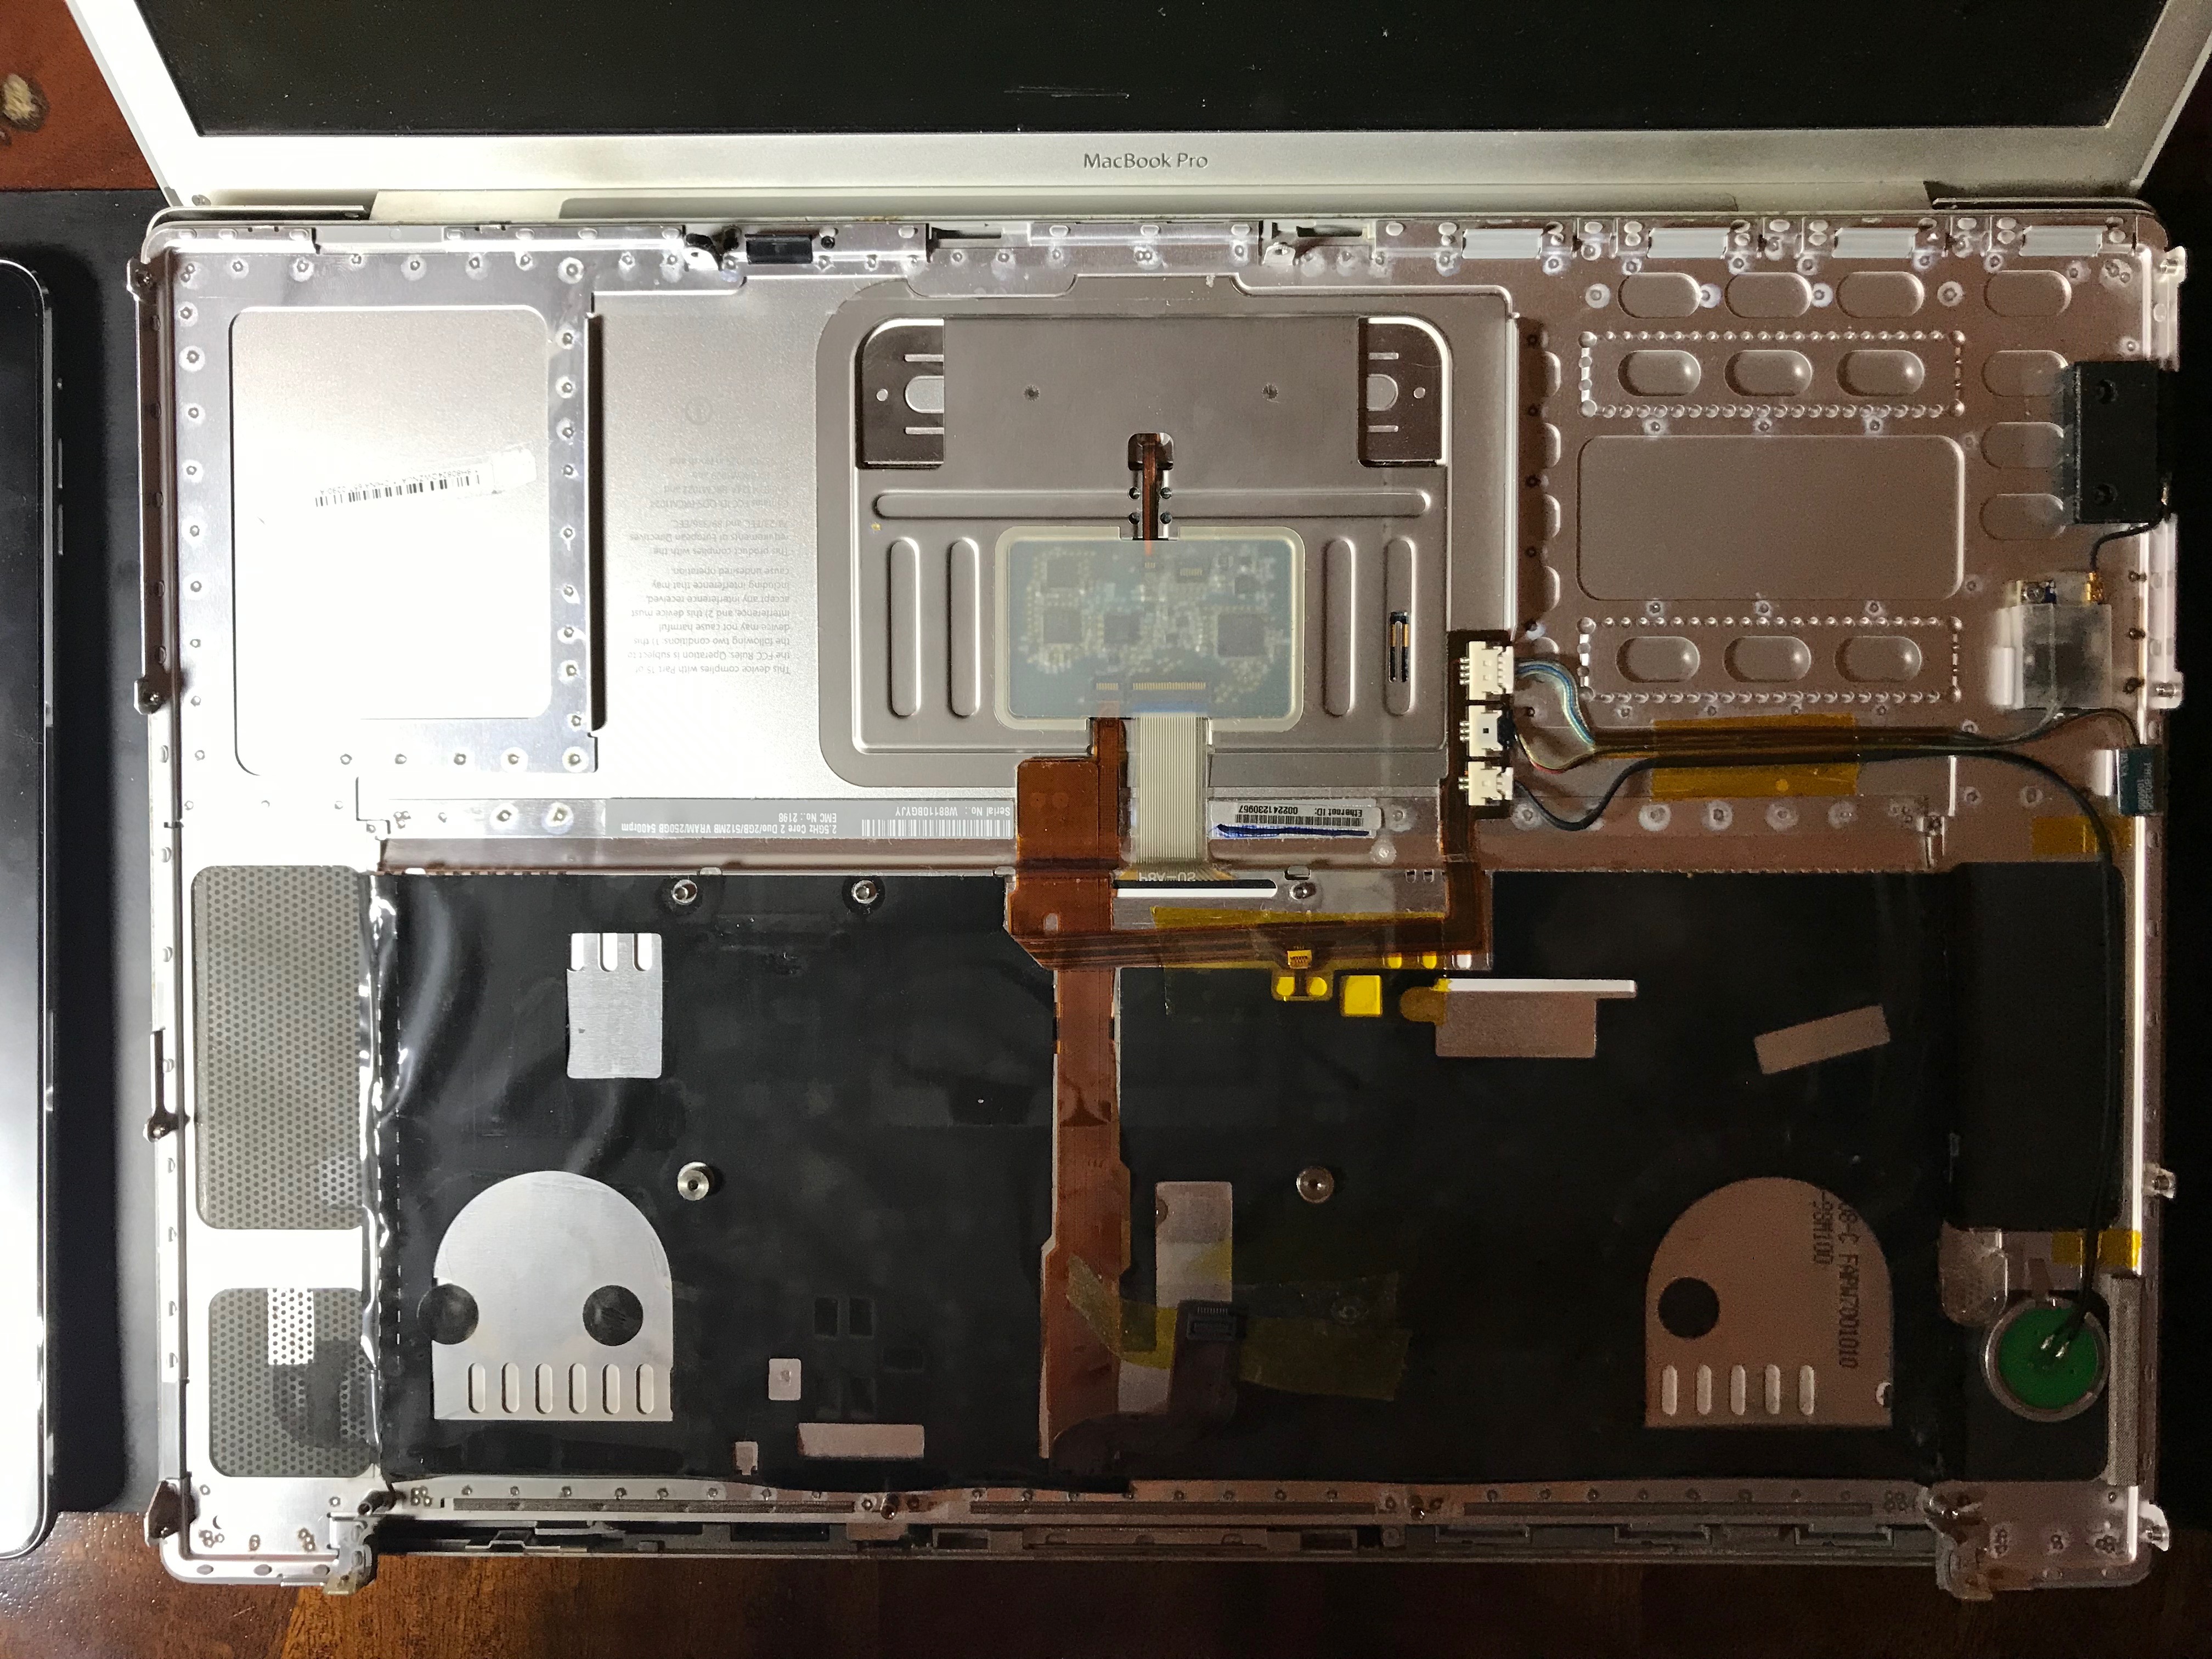
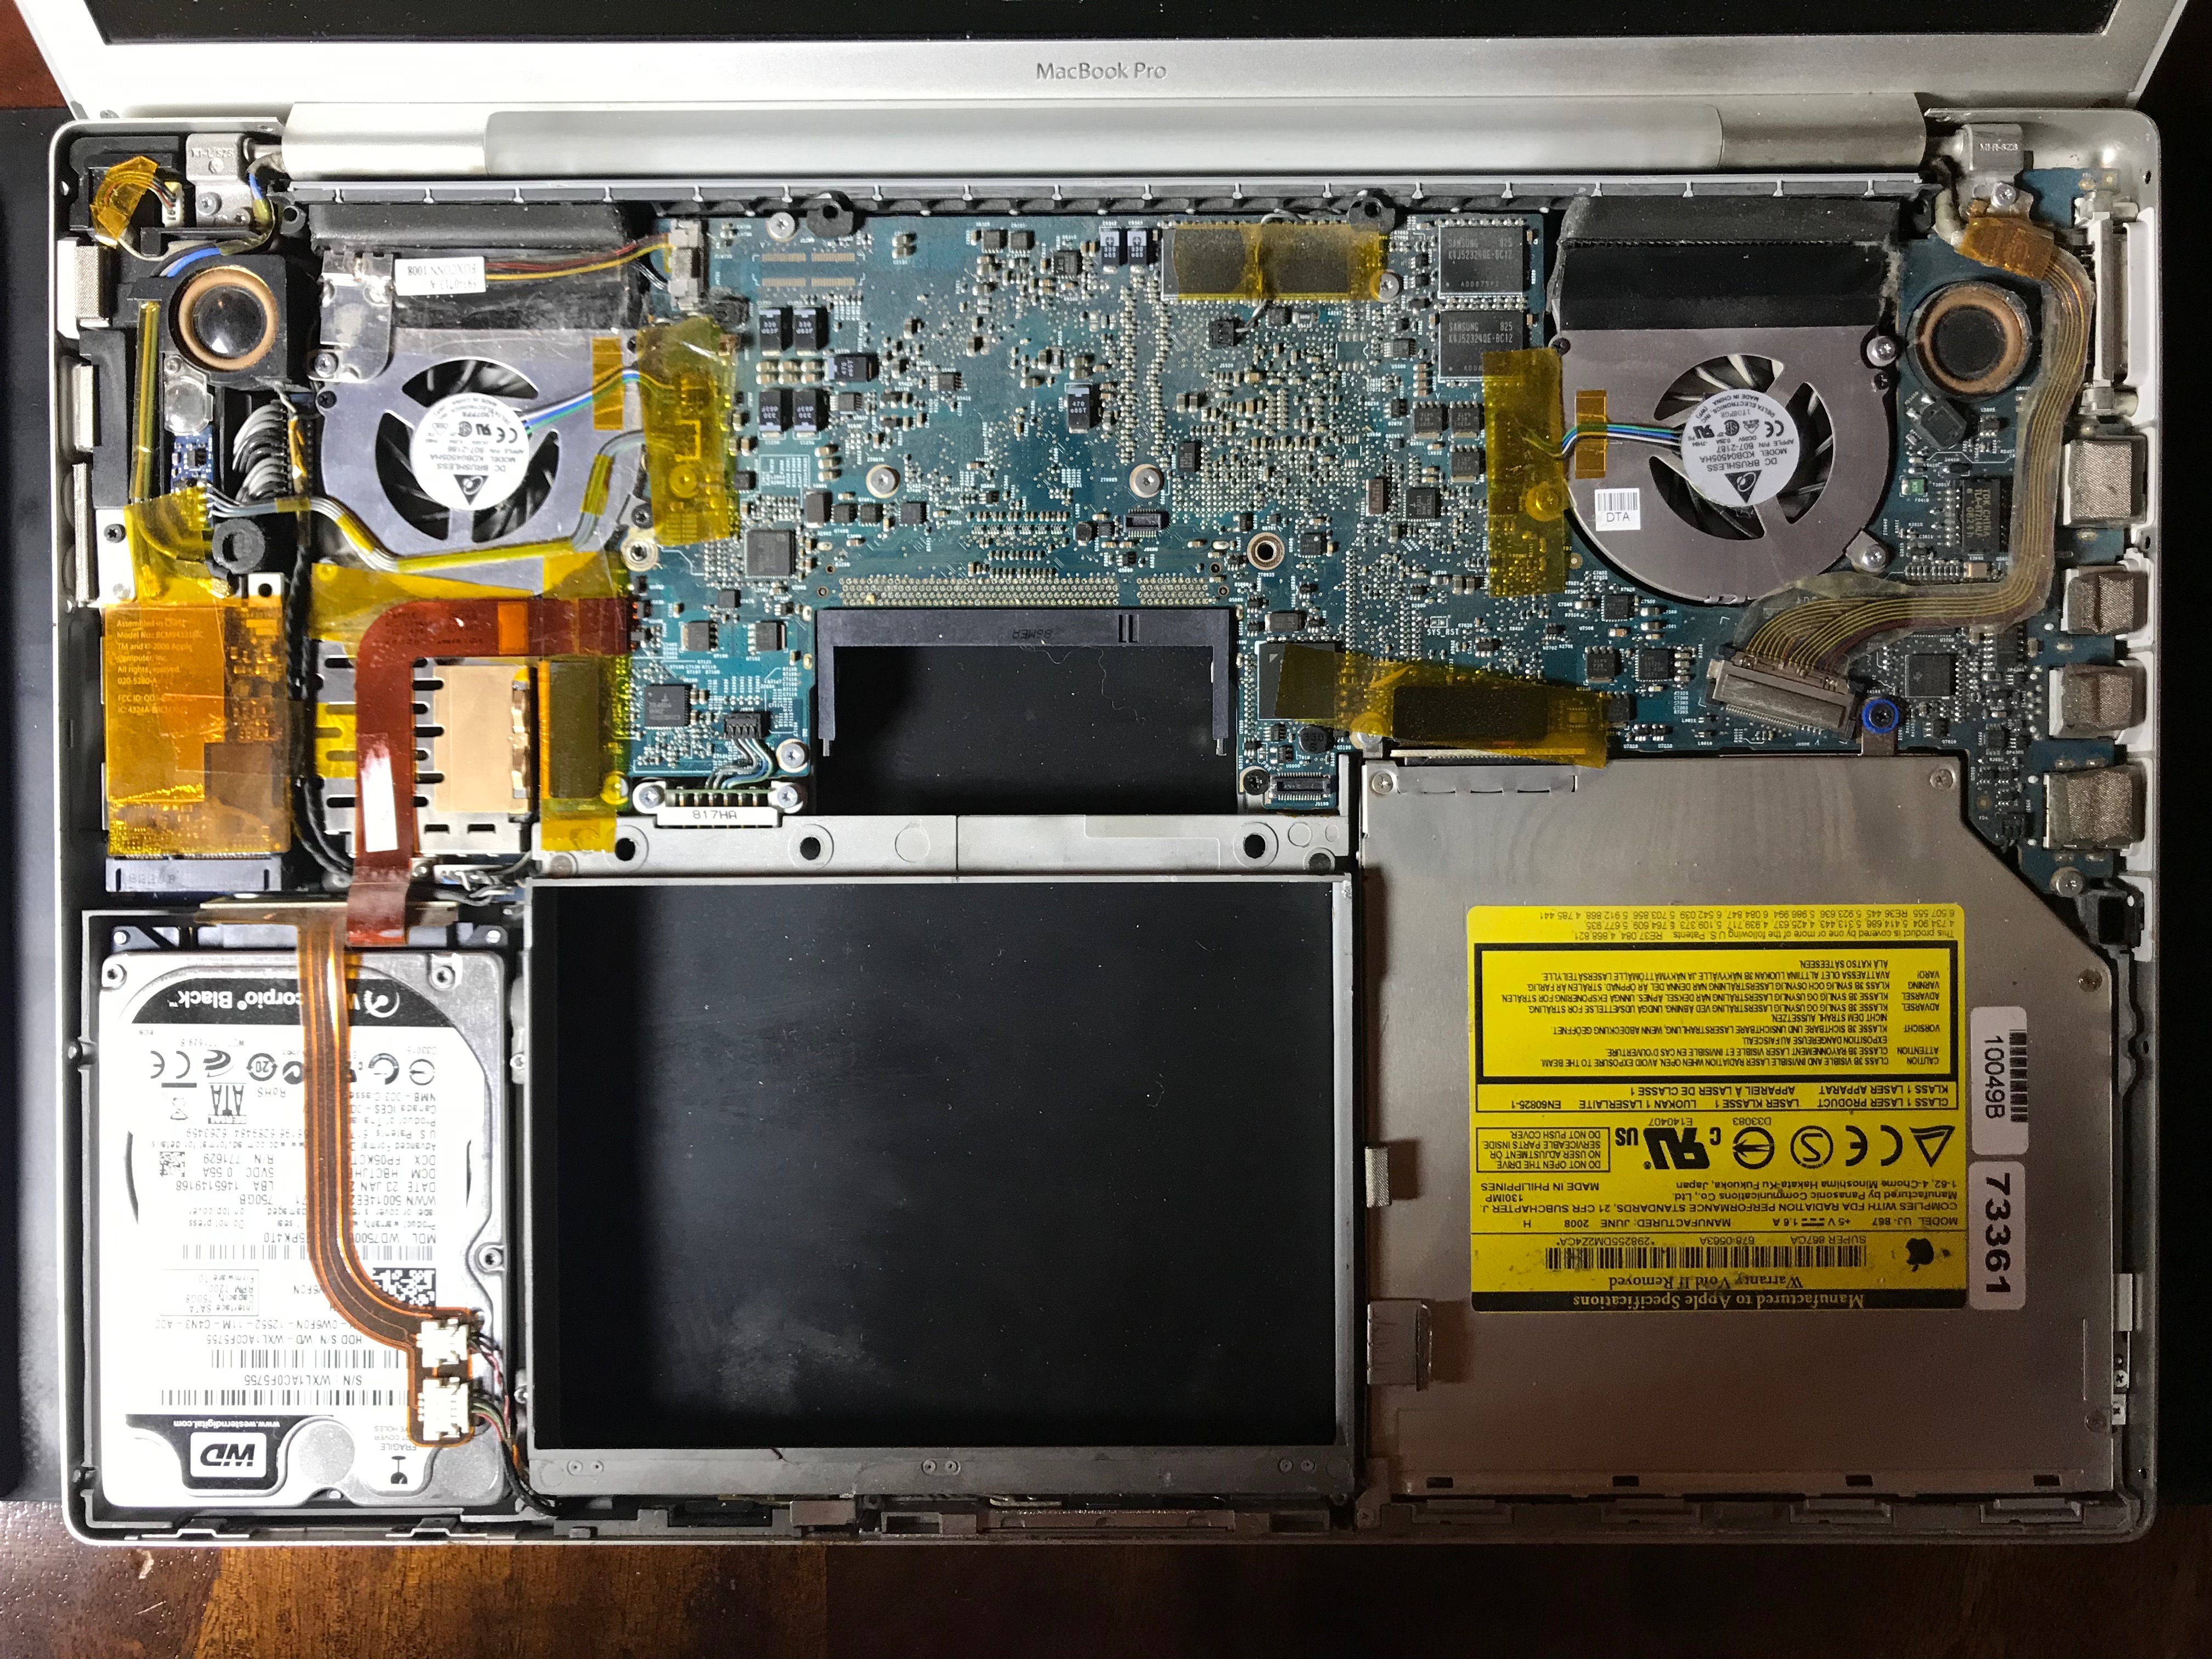
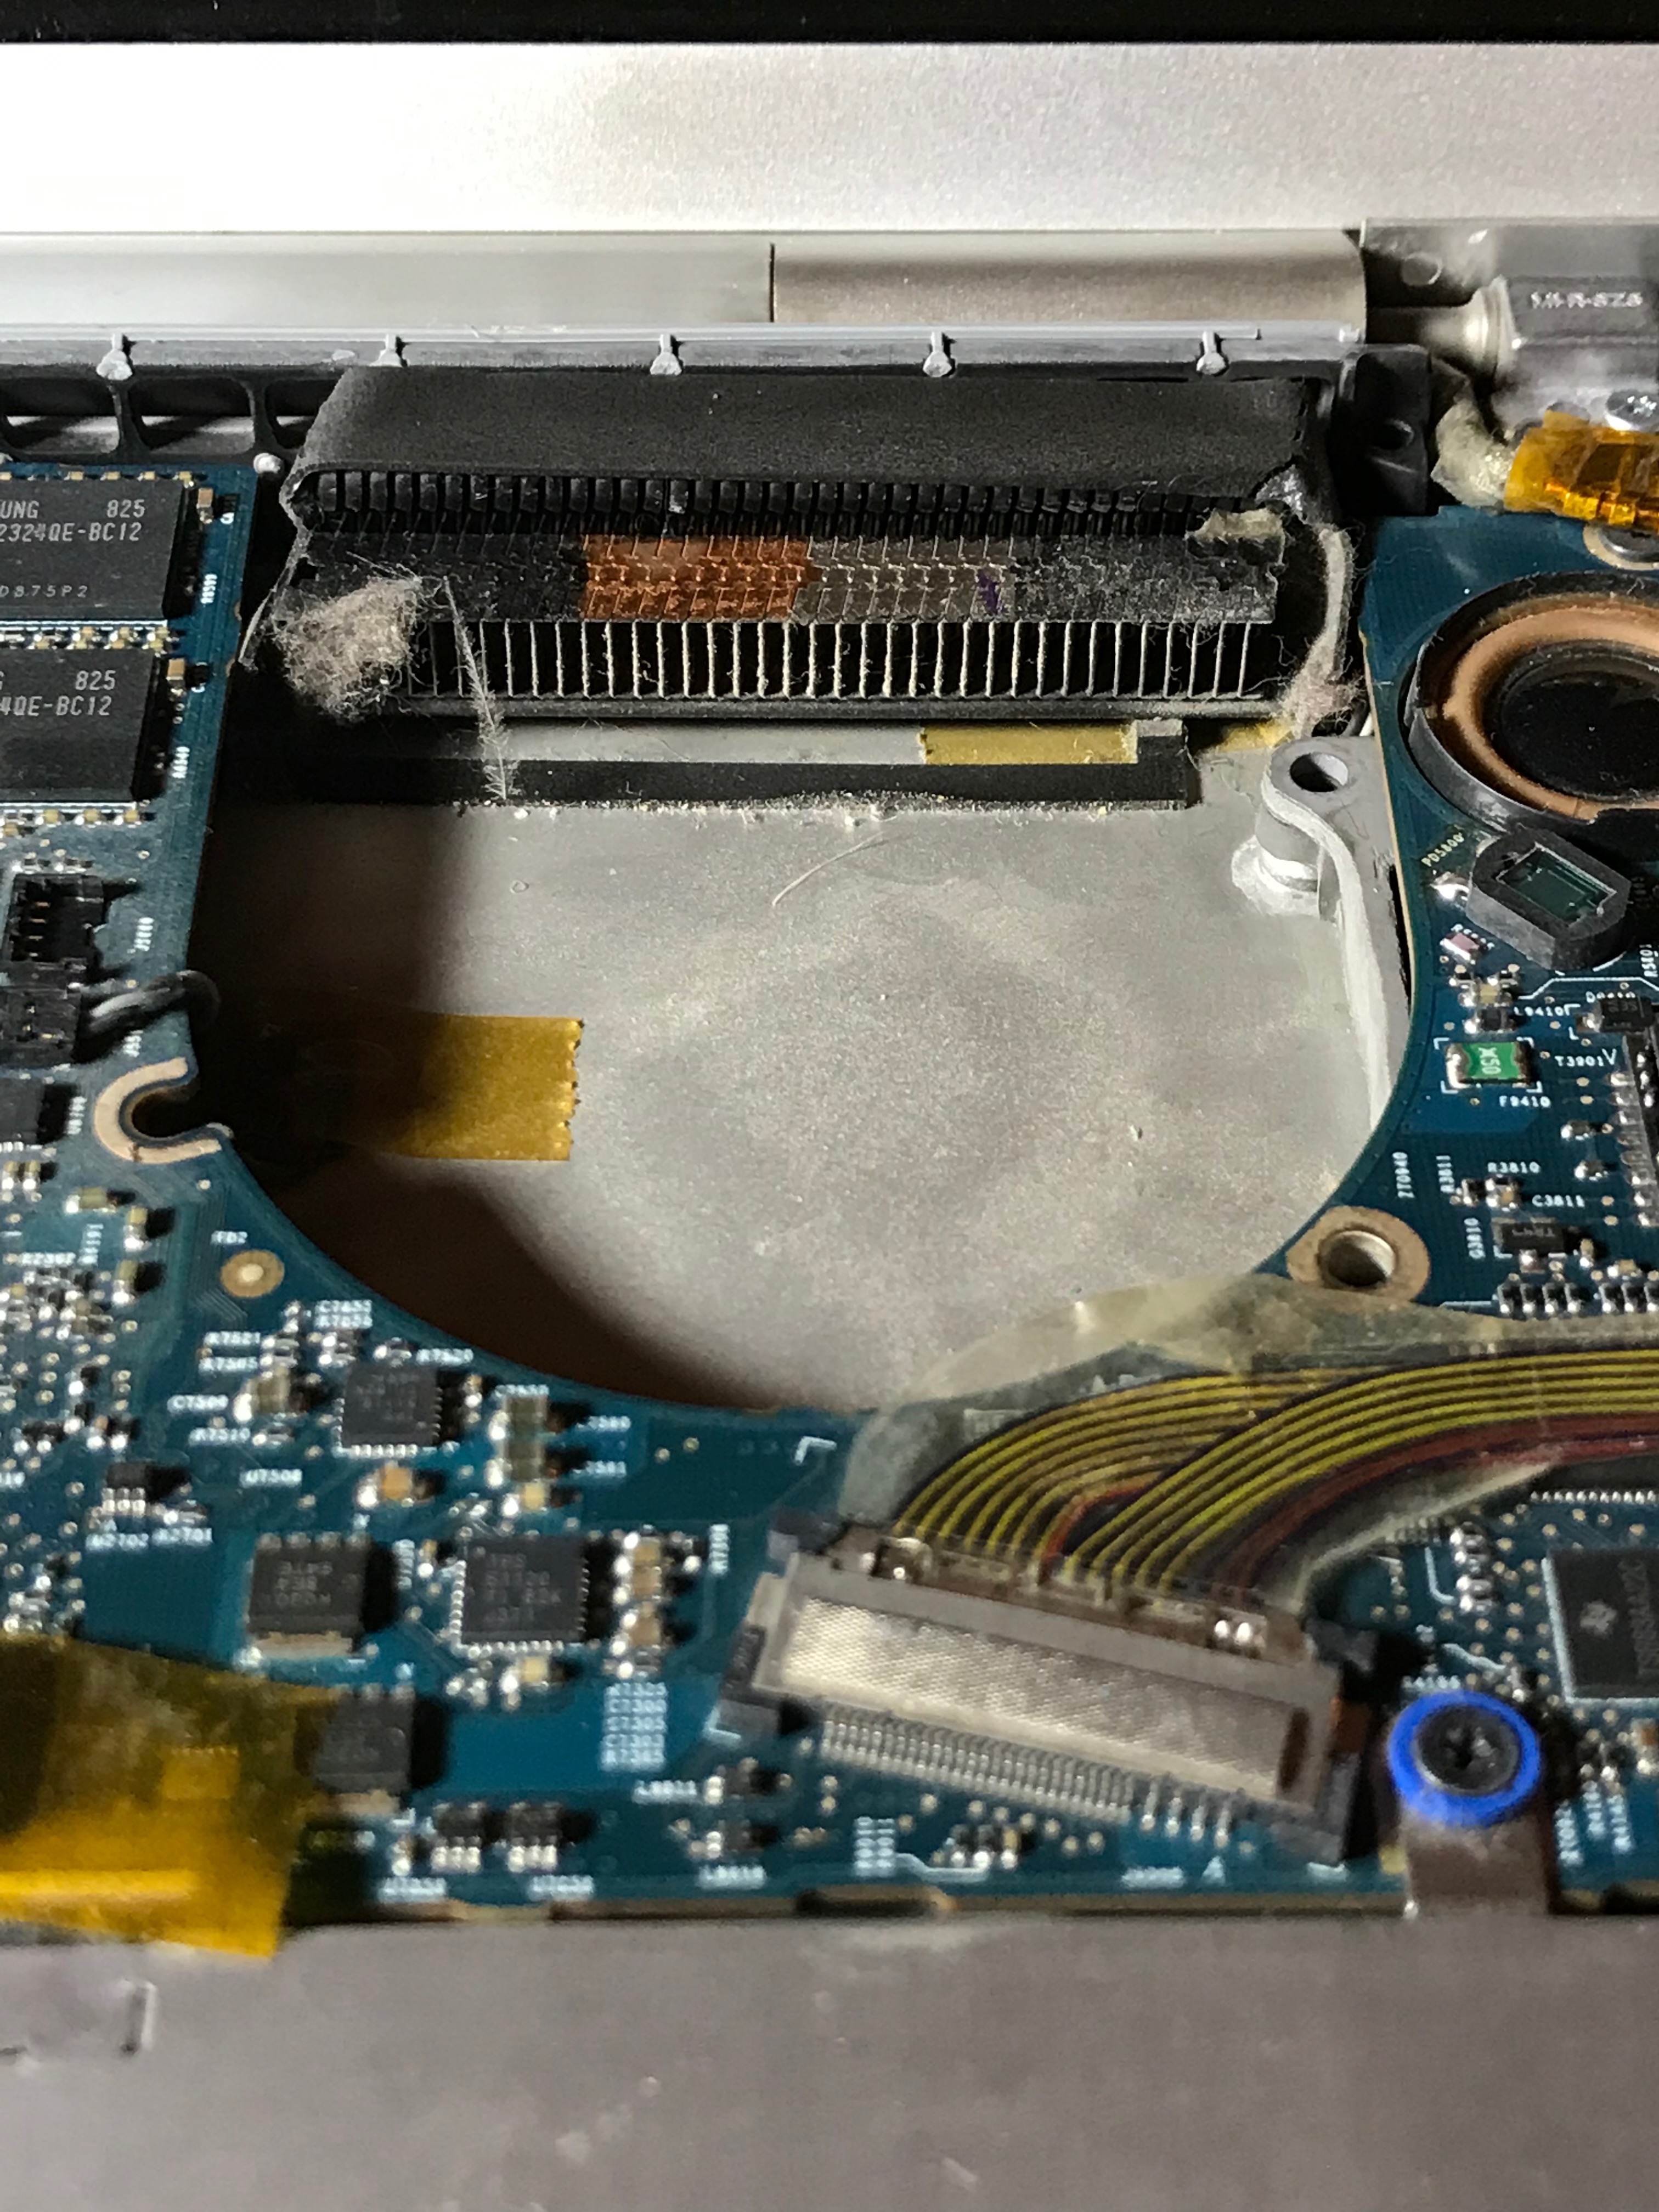
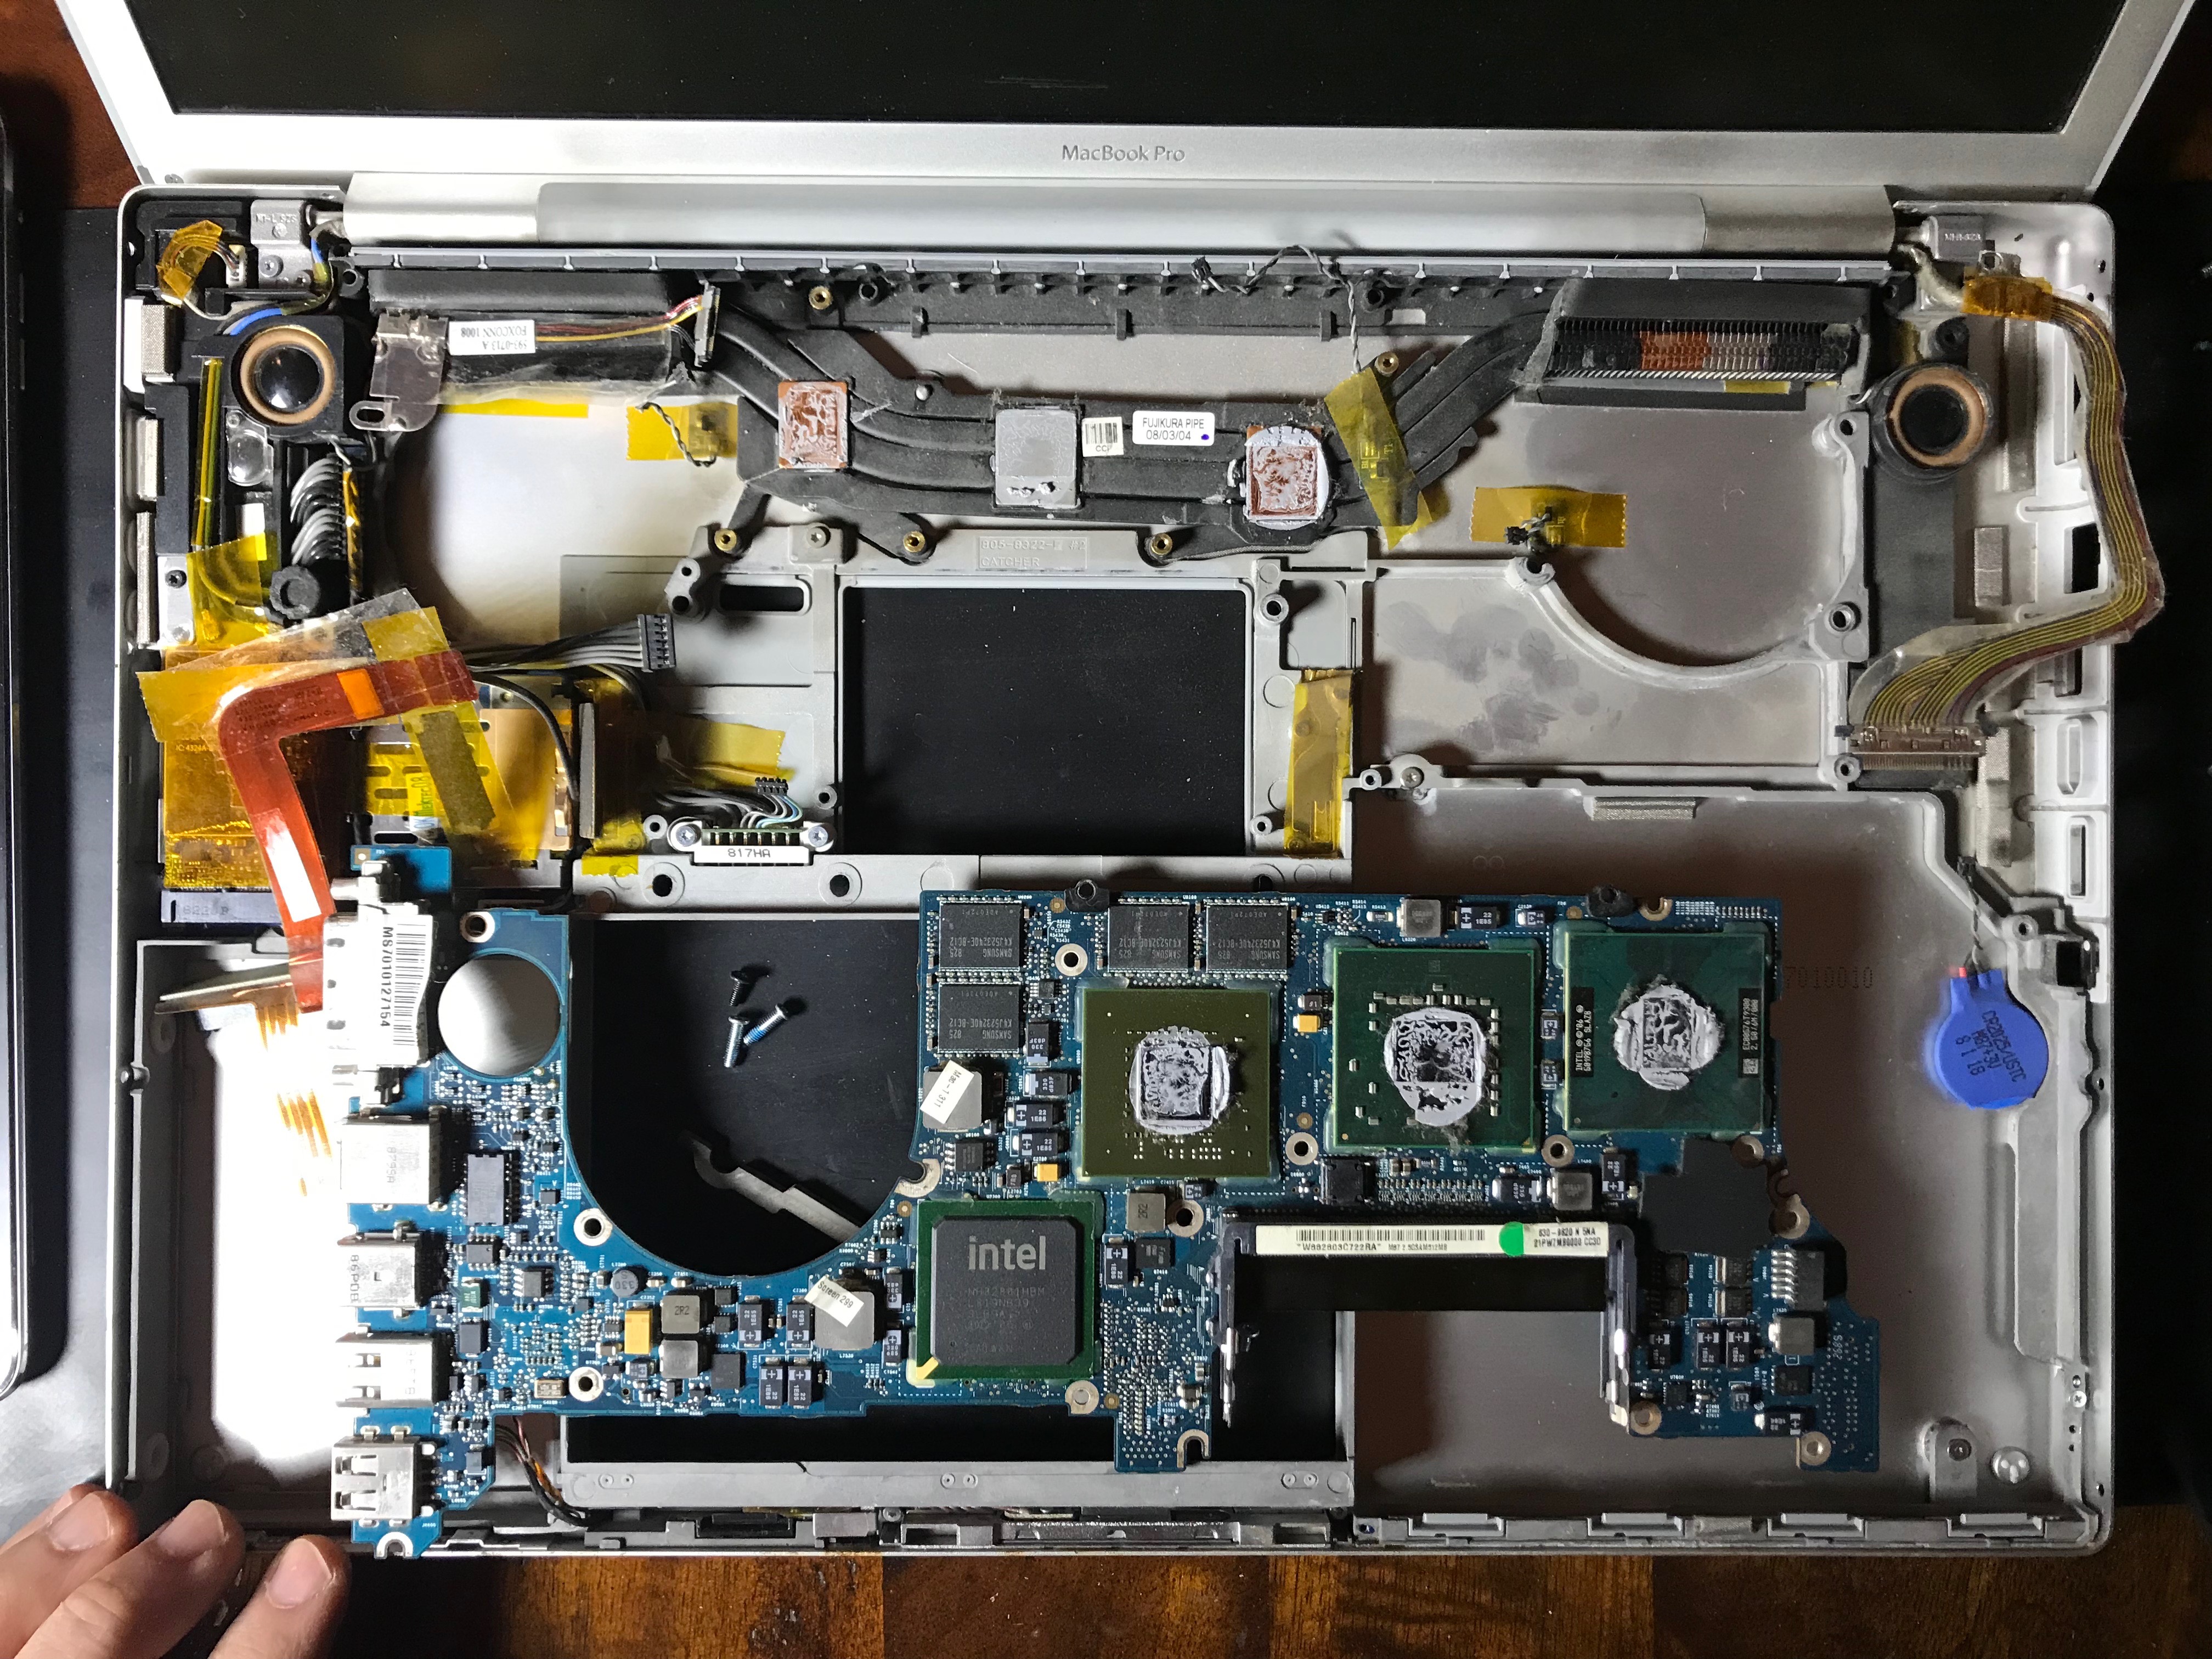
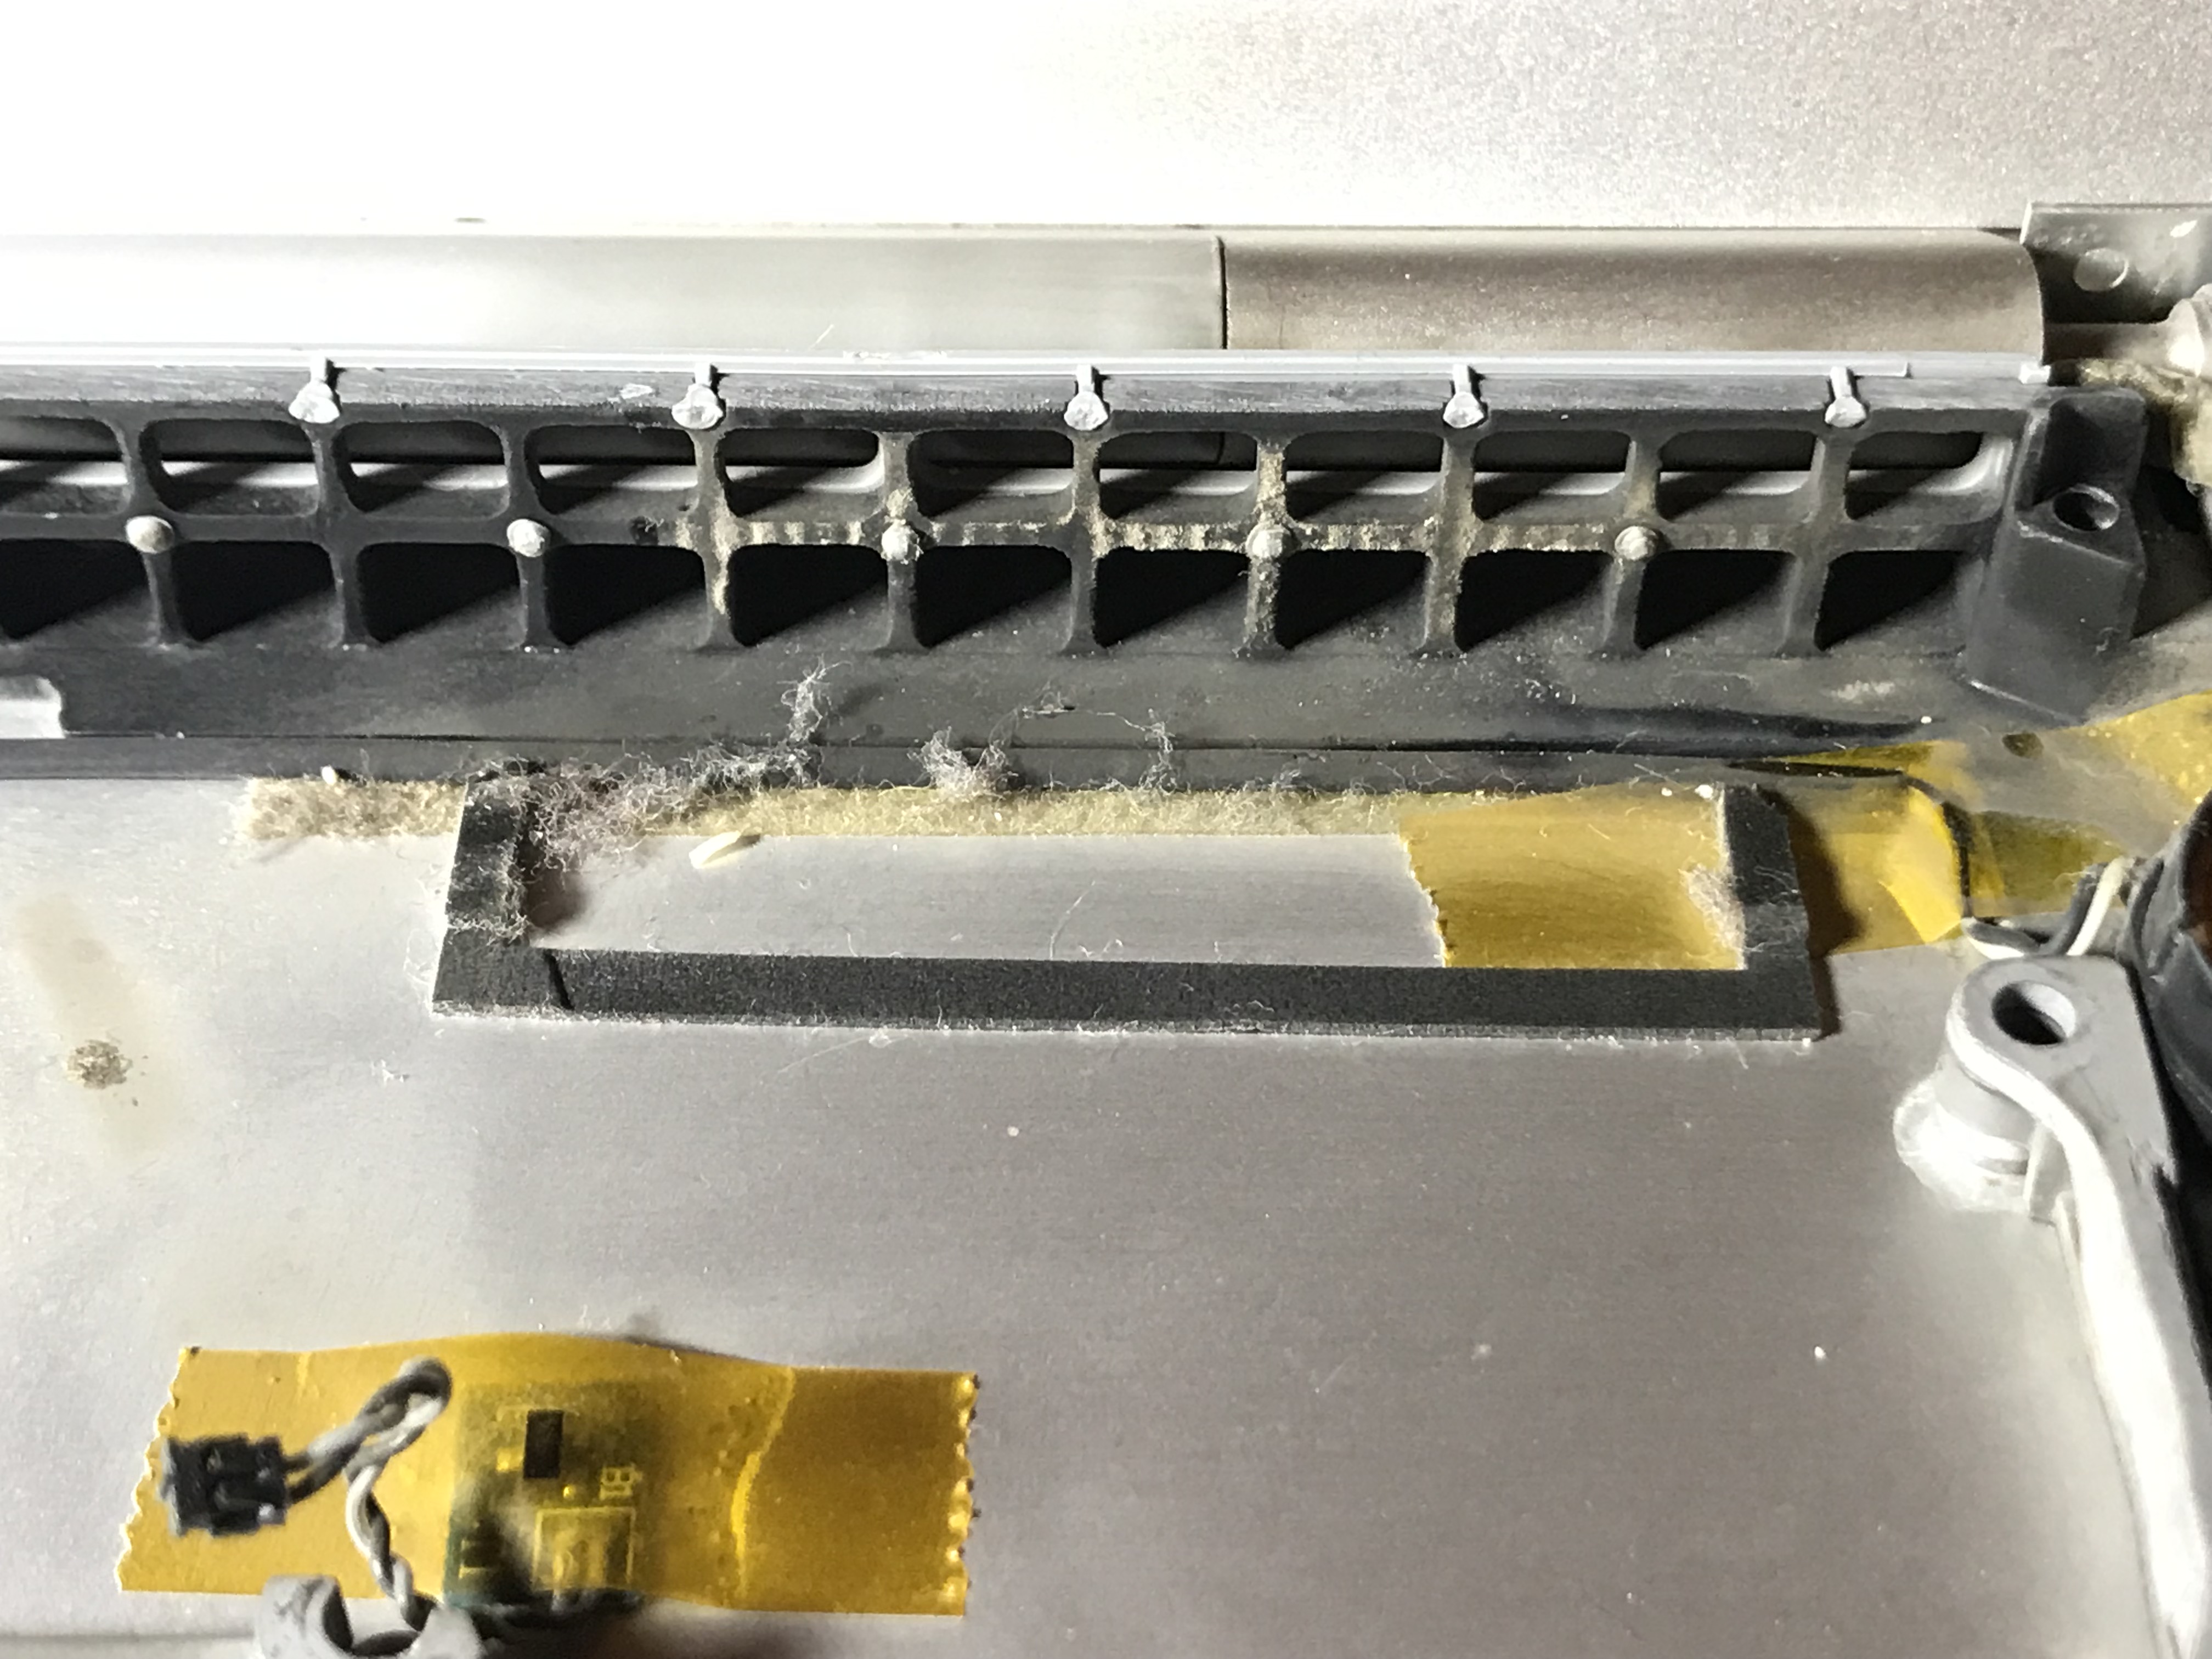
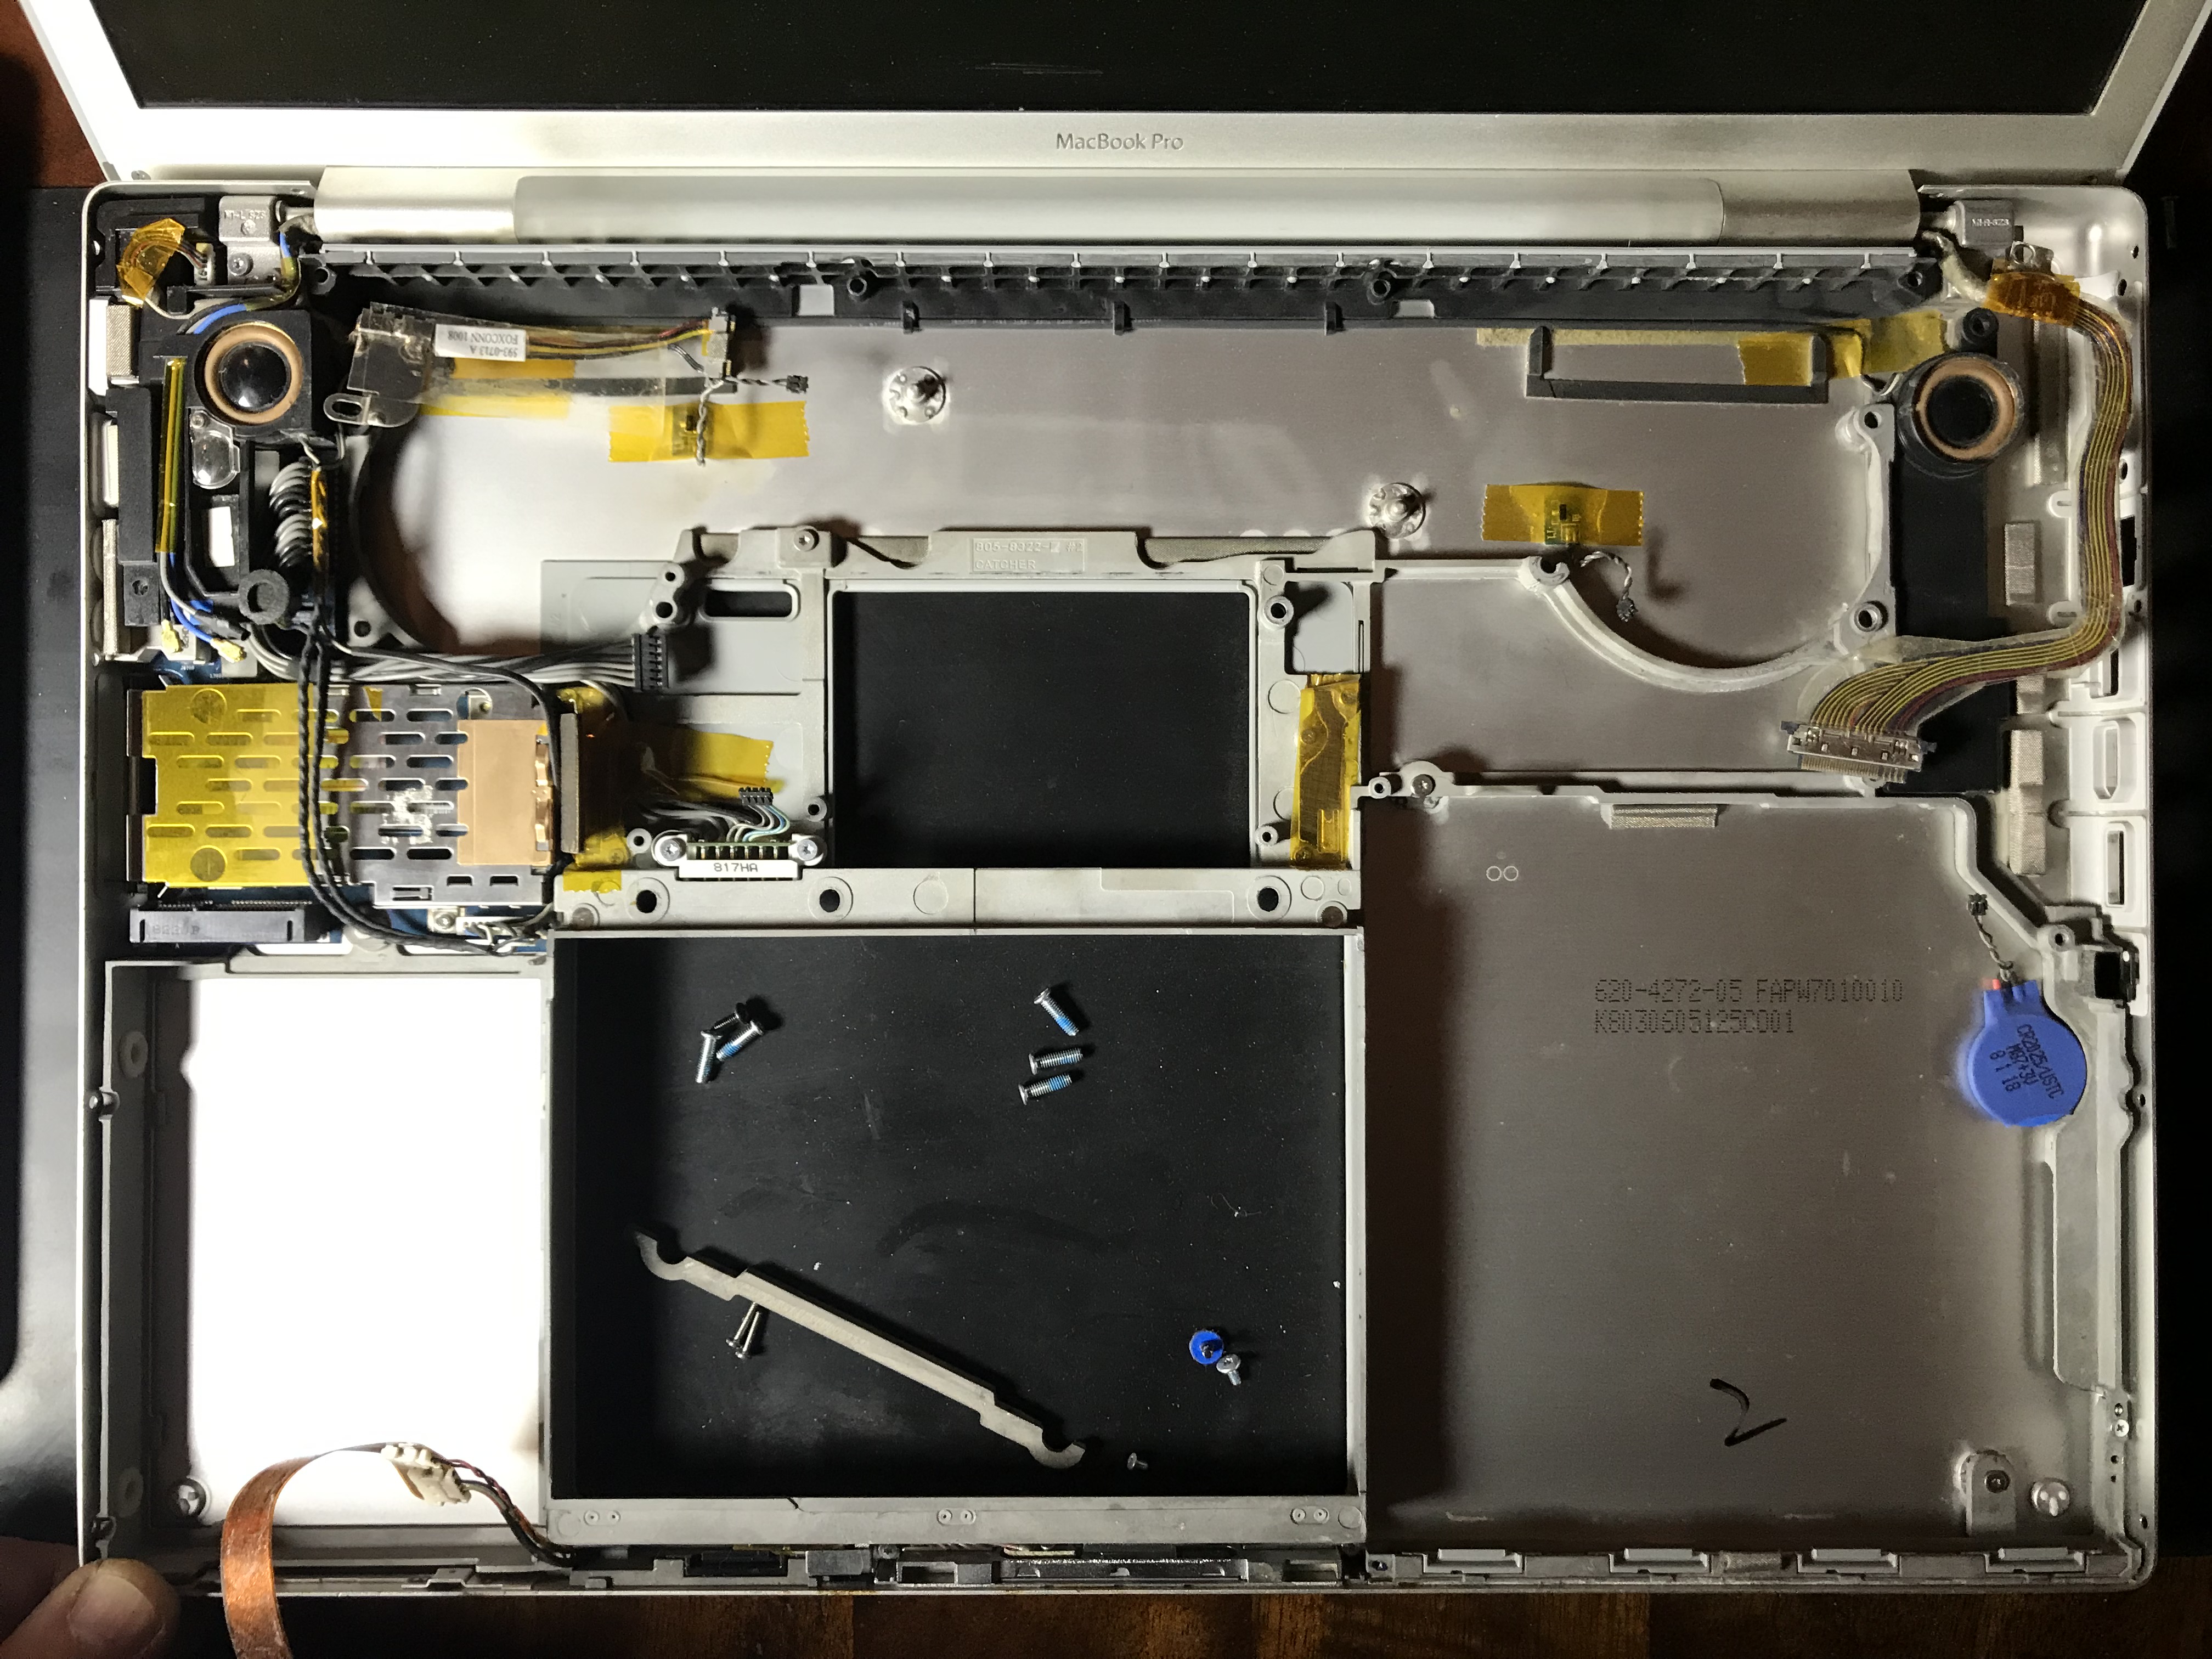
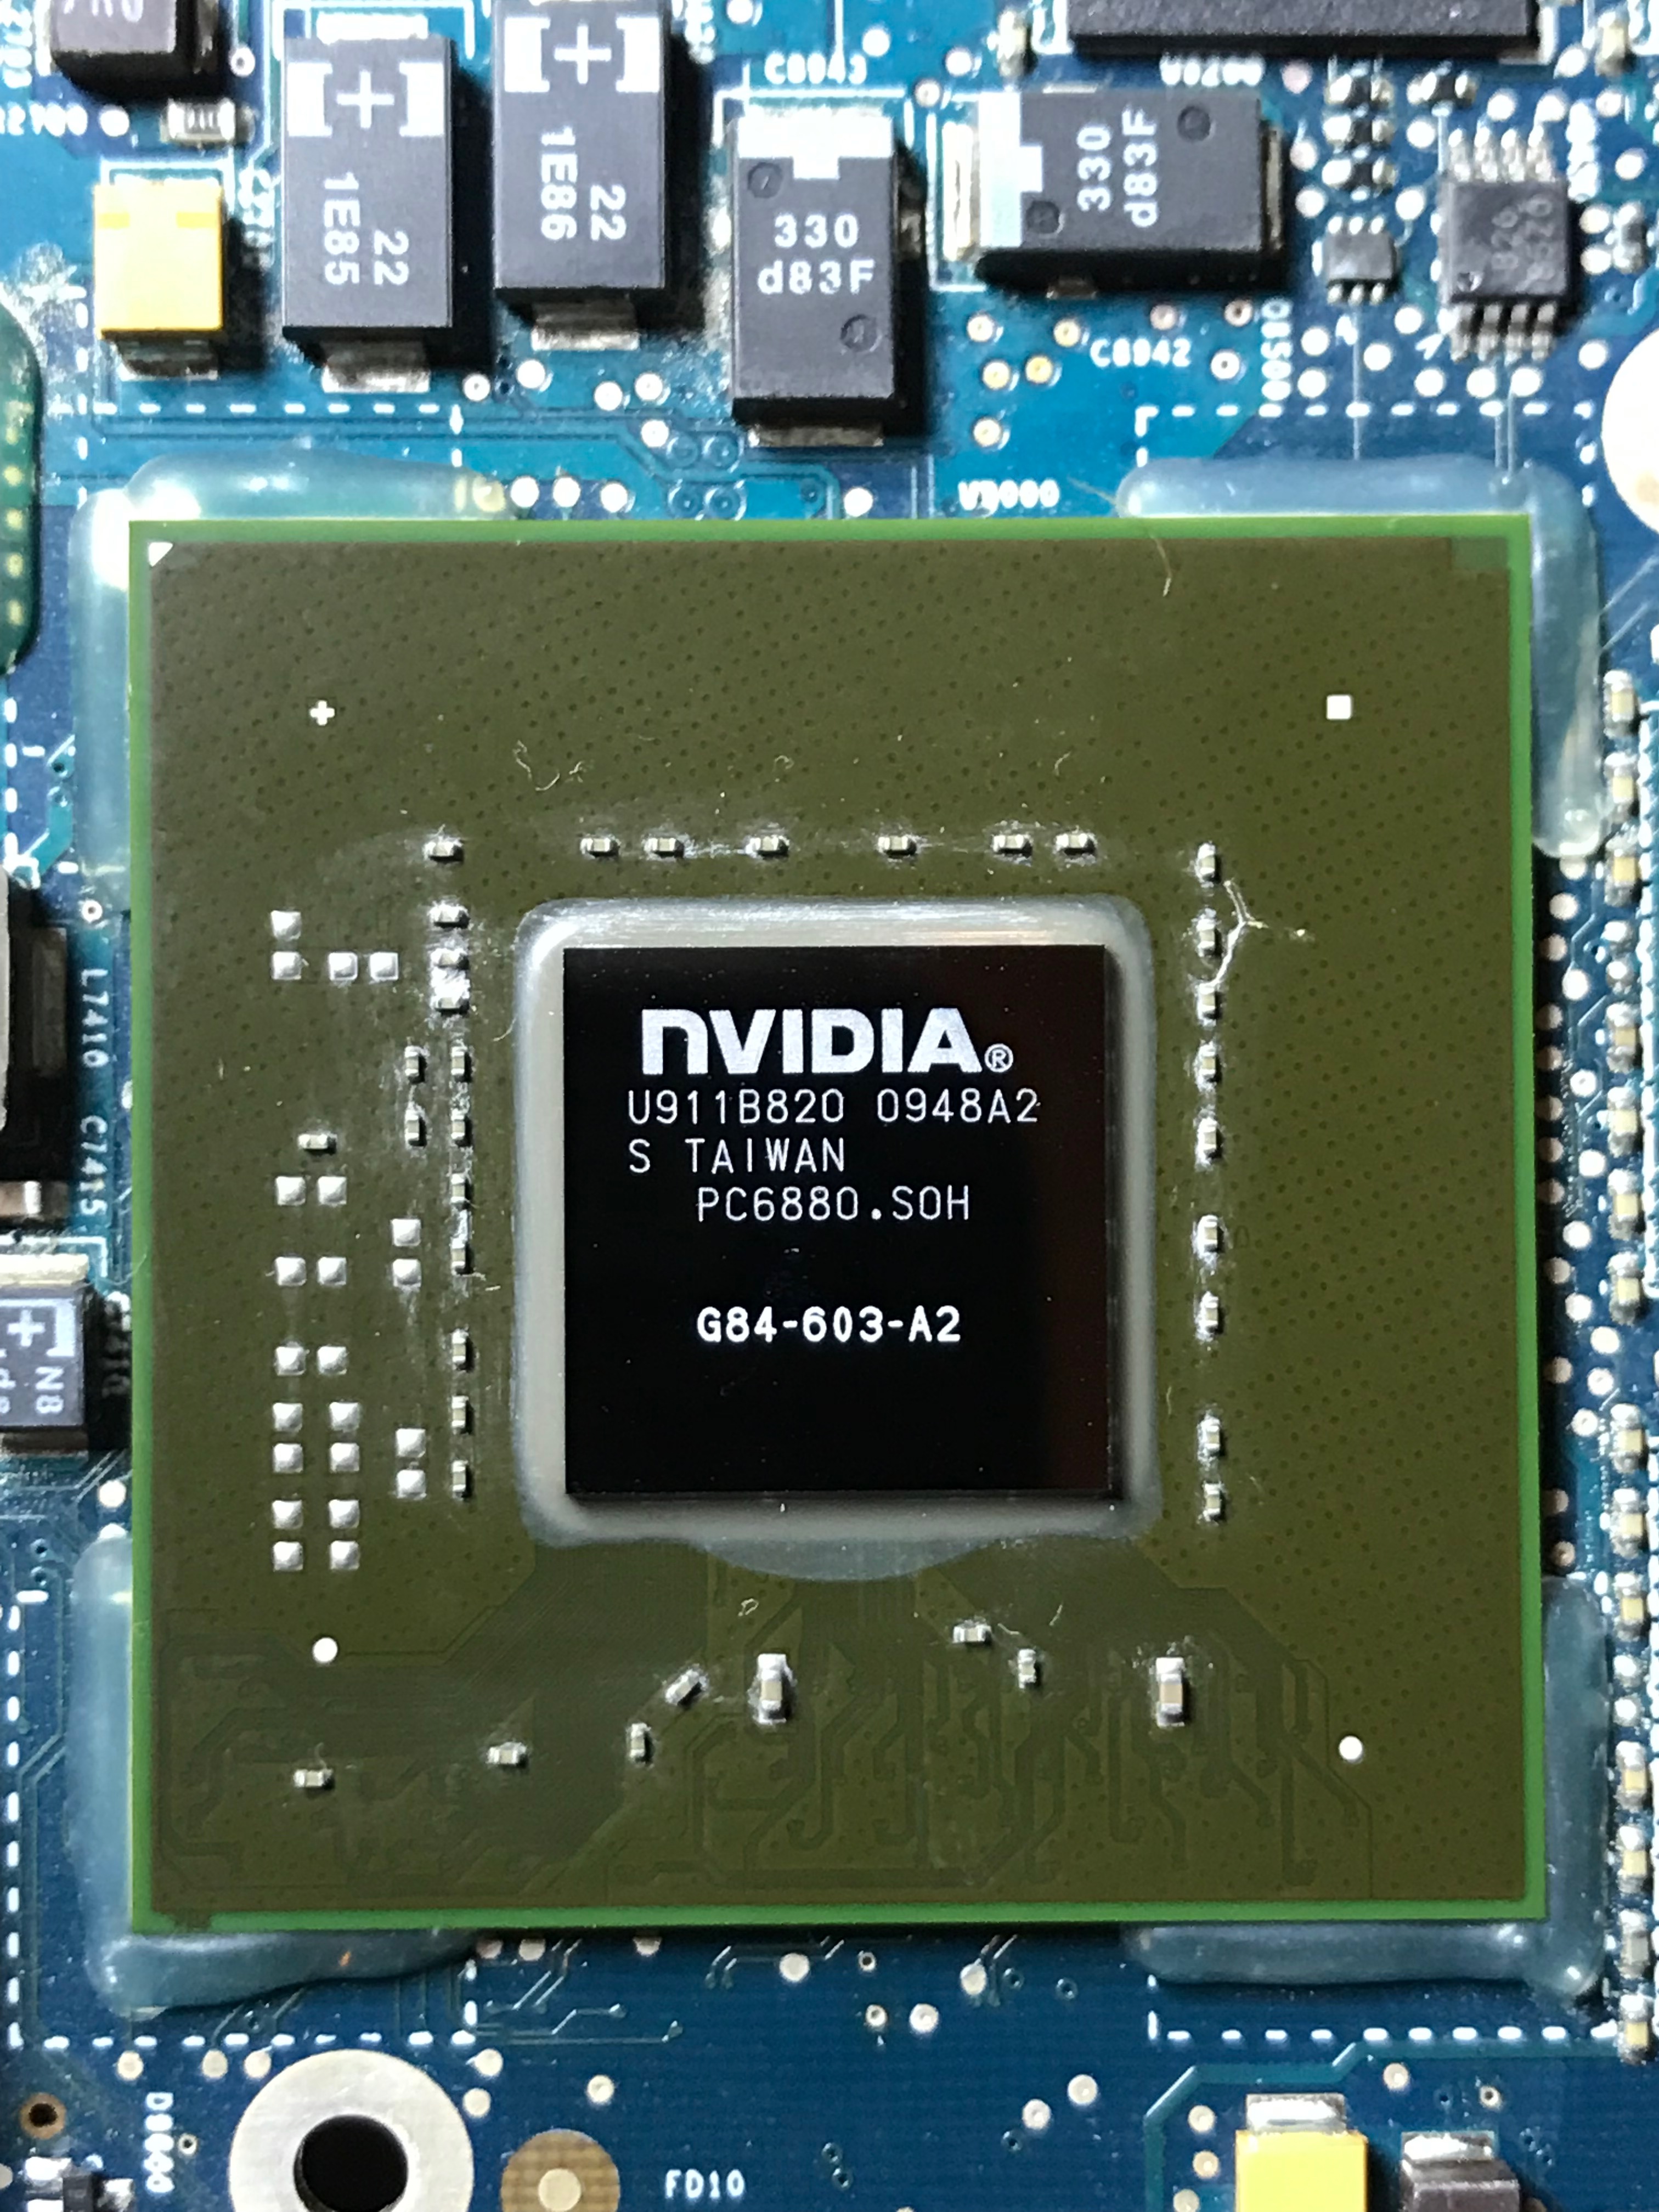
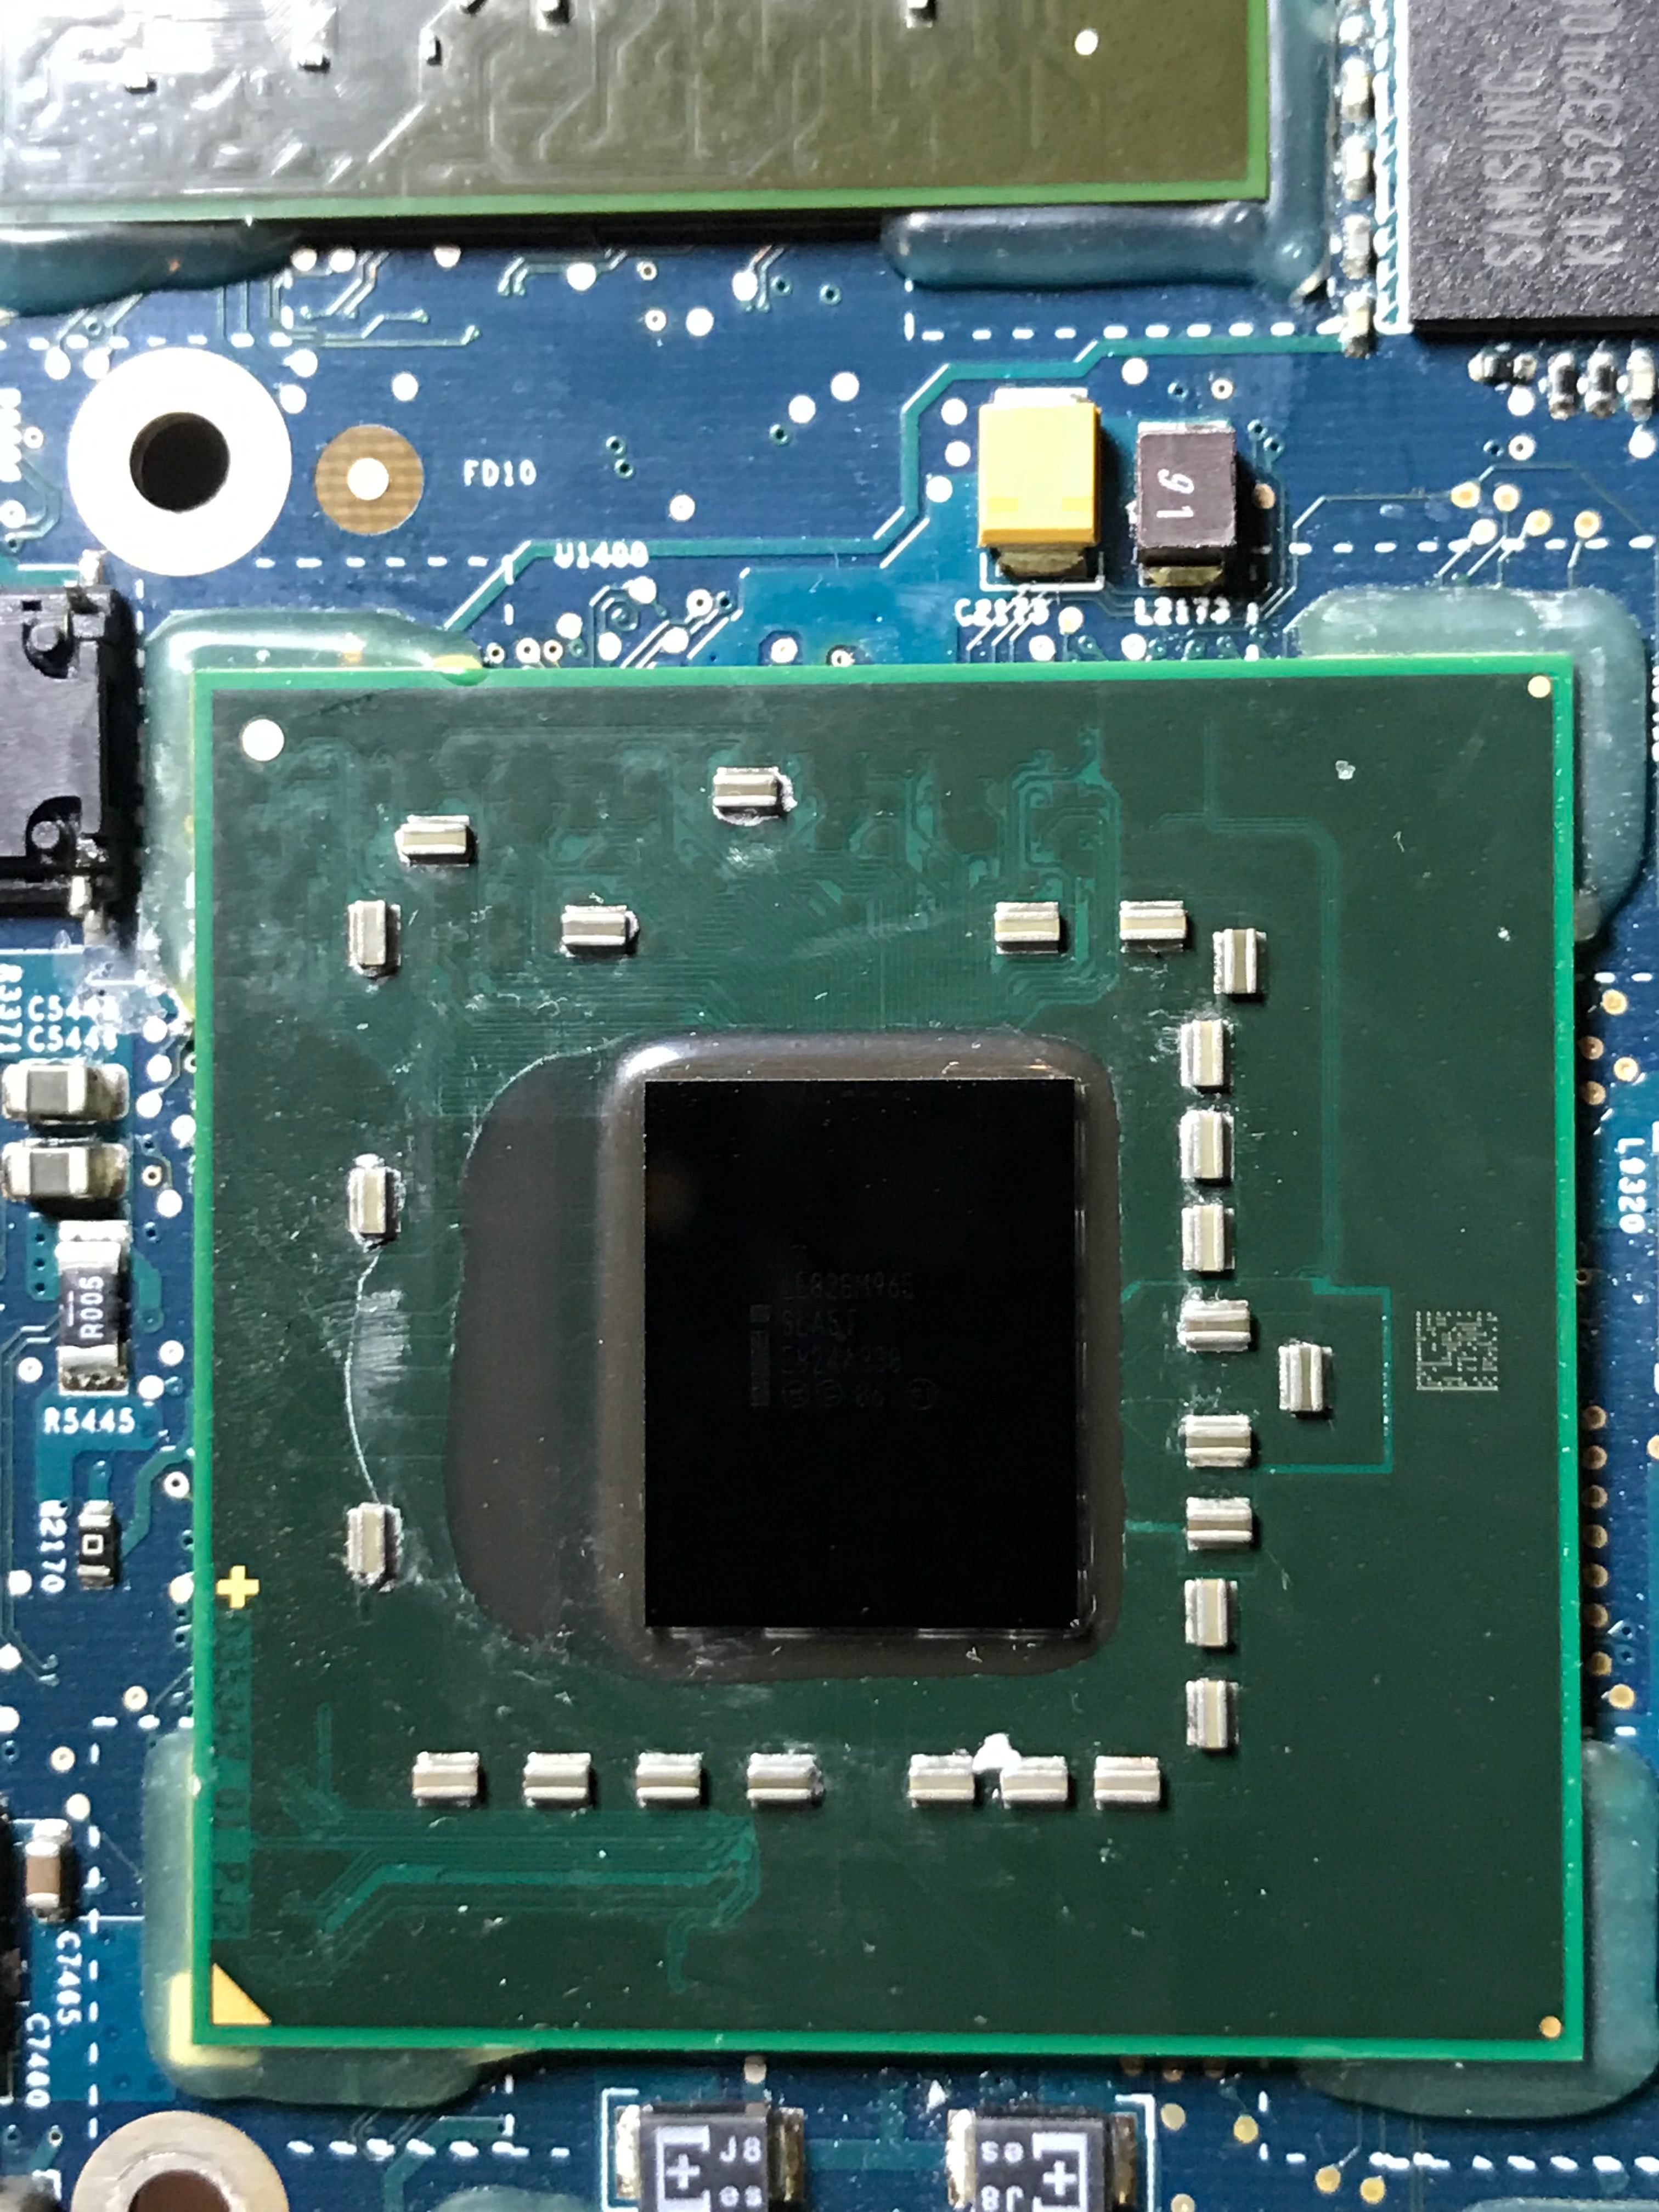
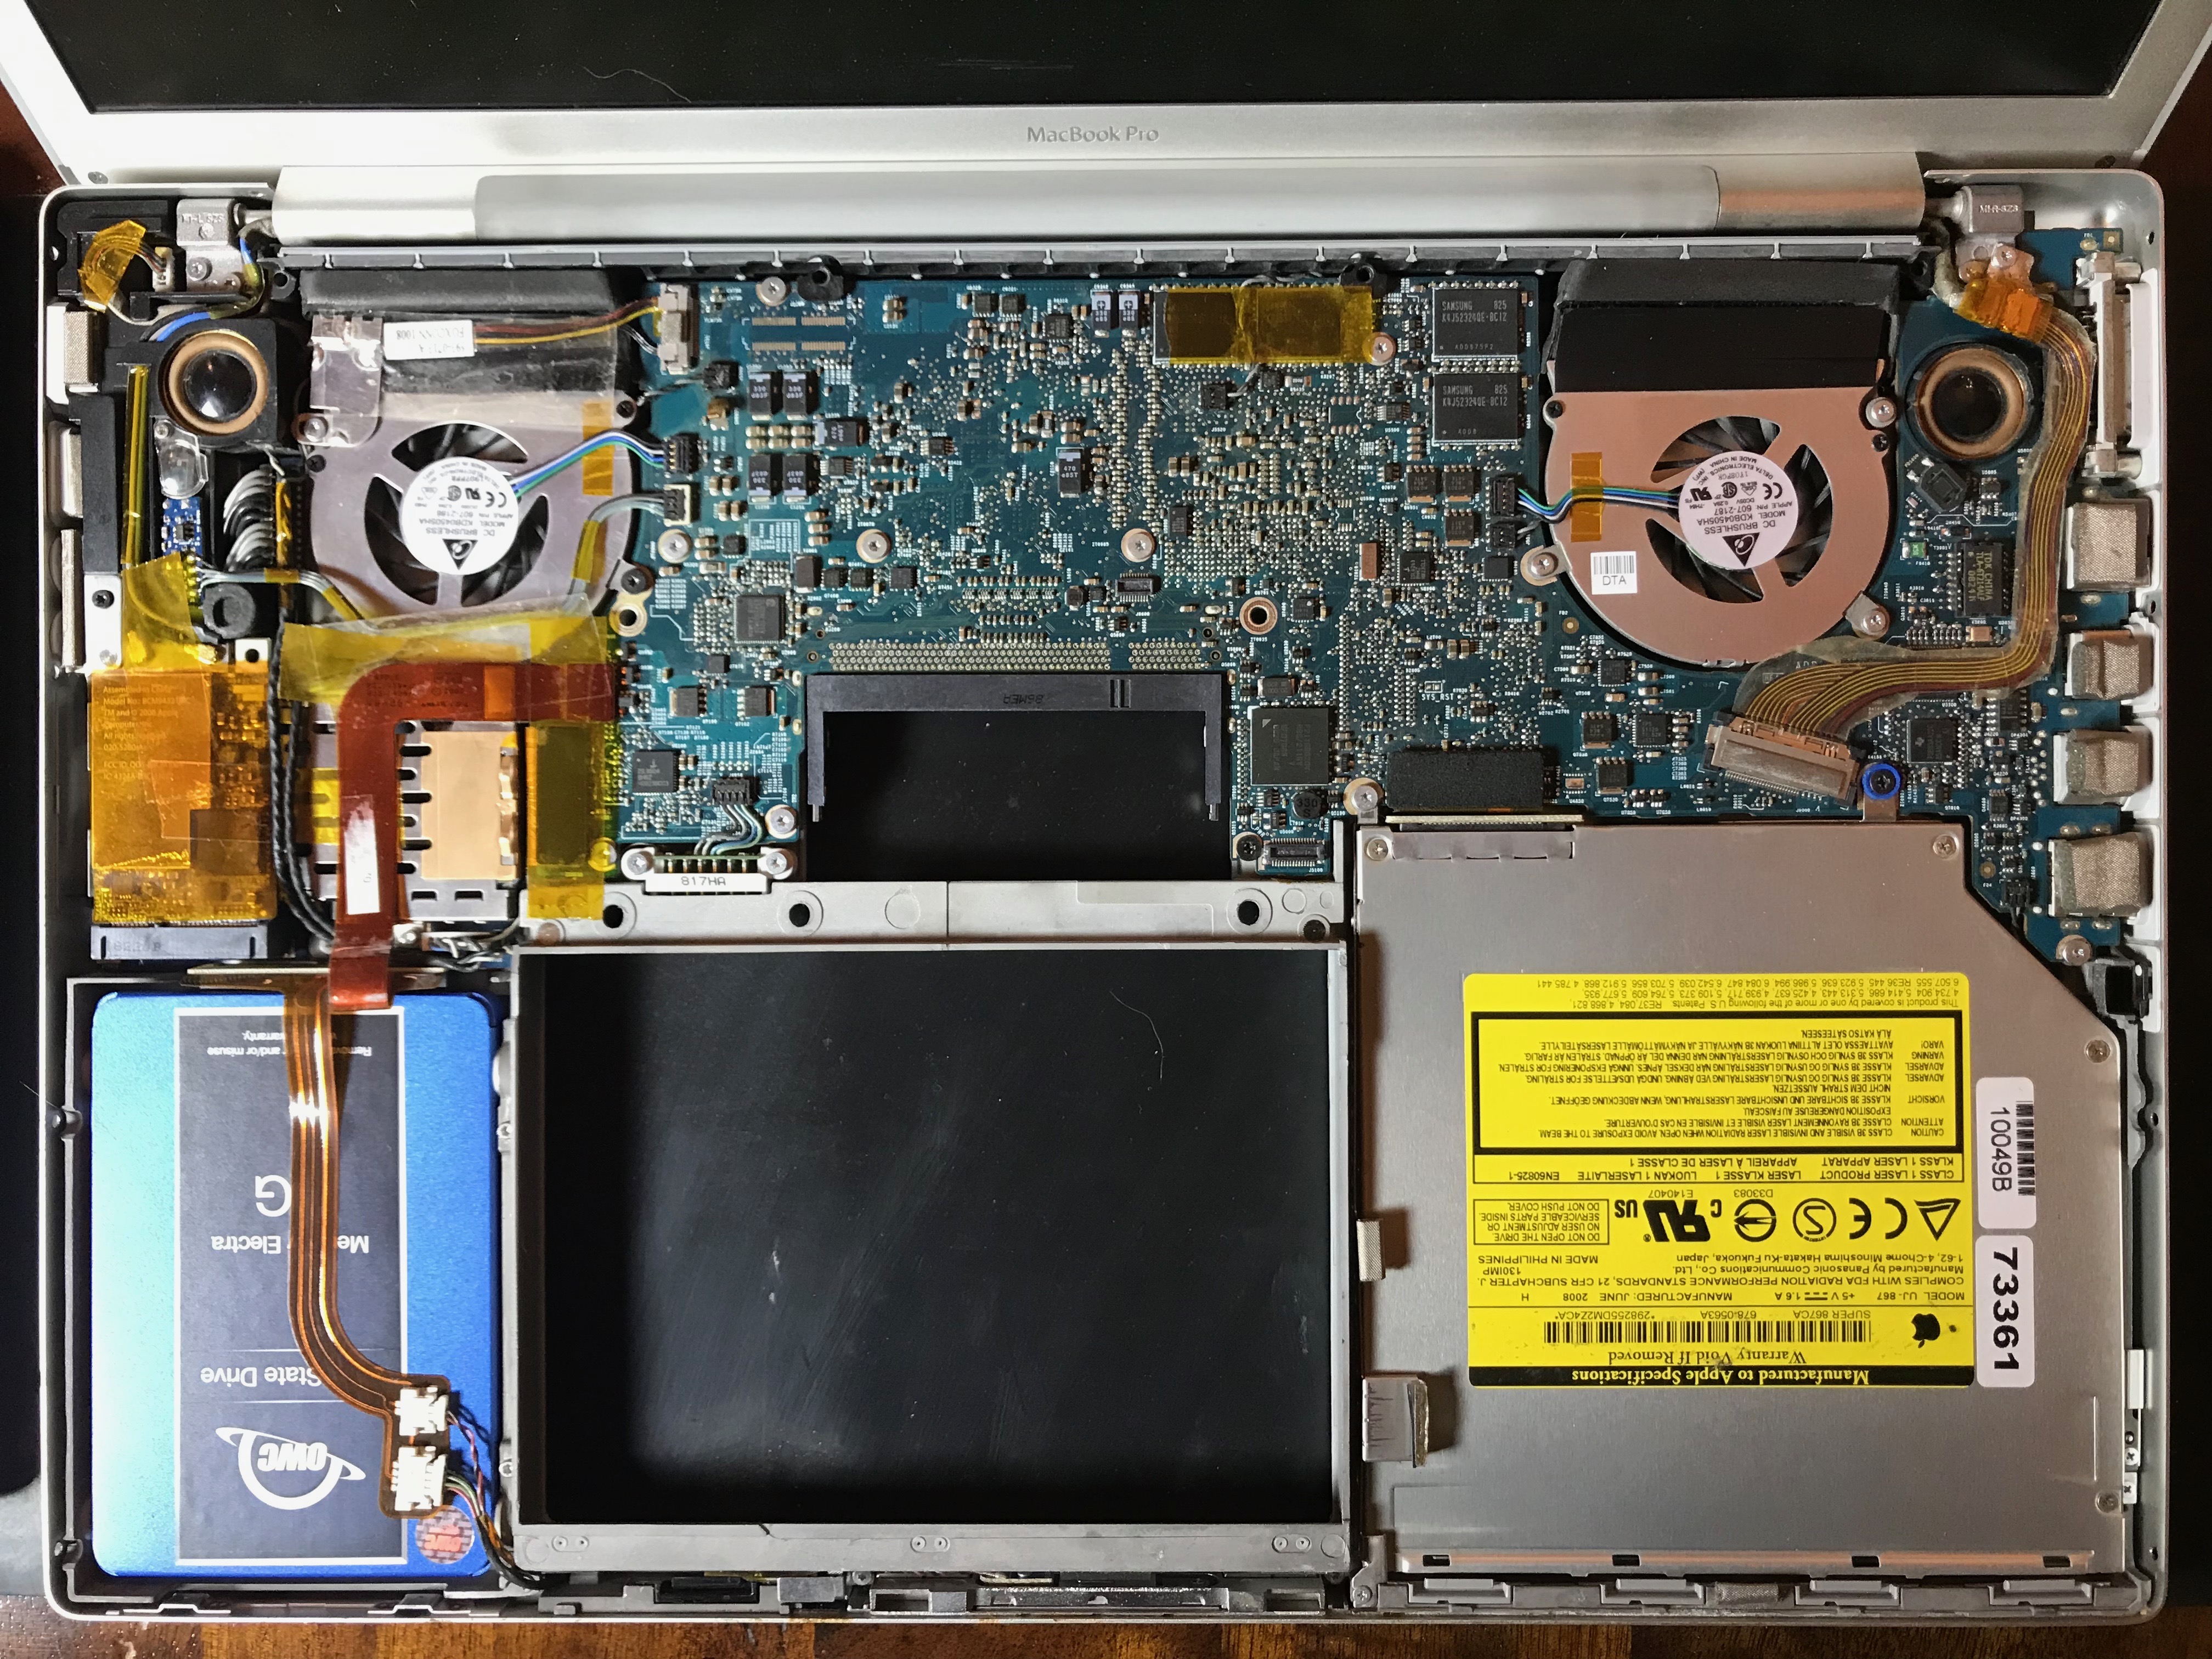
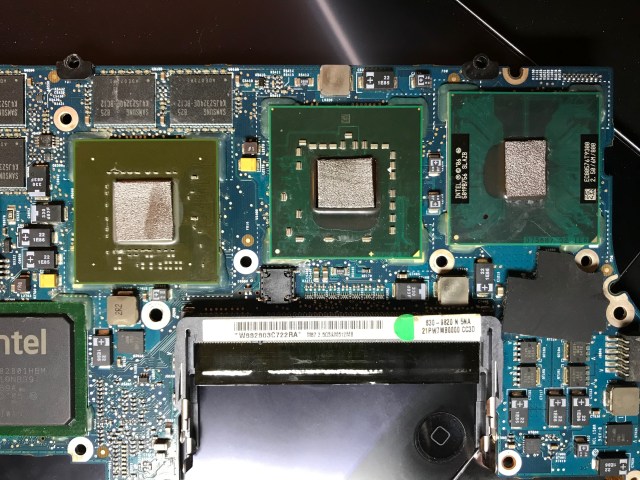
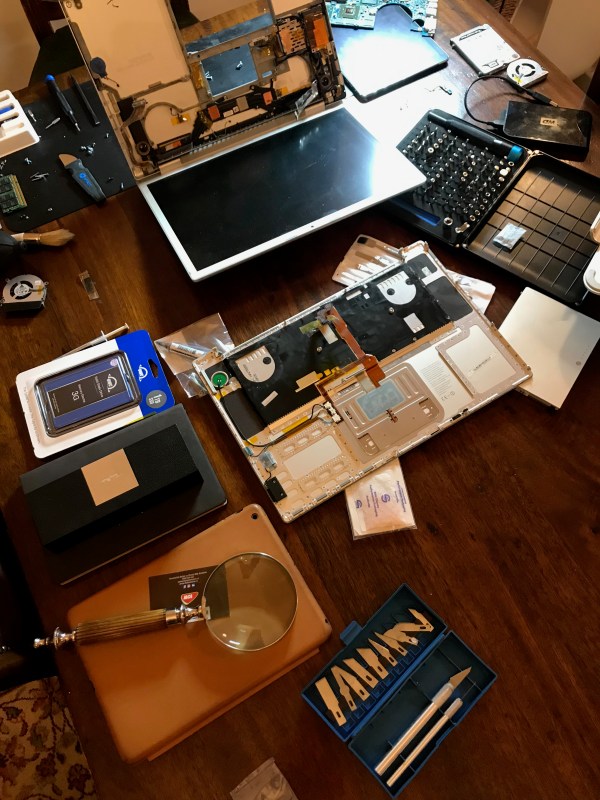
Here is a set of photos taken during the upgrade process. Although I’ve opened my laptop multiple times in the past, once to replace a faulty fan and another to replace a bad wireless card, I referred to this guide from iFixit to refresh my memory. I didn’t just replace the HDD, I also took the laptop completely apart in order to clean out the dust and replace the thermal paste on its chips. I’m really glad I did it, because there was a lot of dust and lint inside (as you can see from the photos) and the thermal paste had become dry and brittle, which isn’t a good thing.

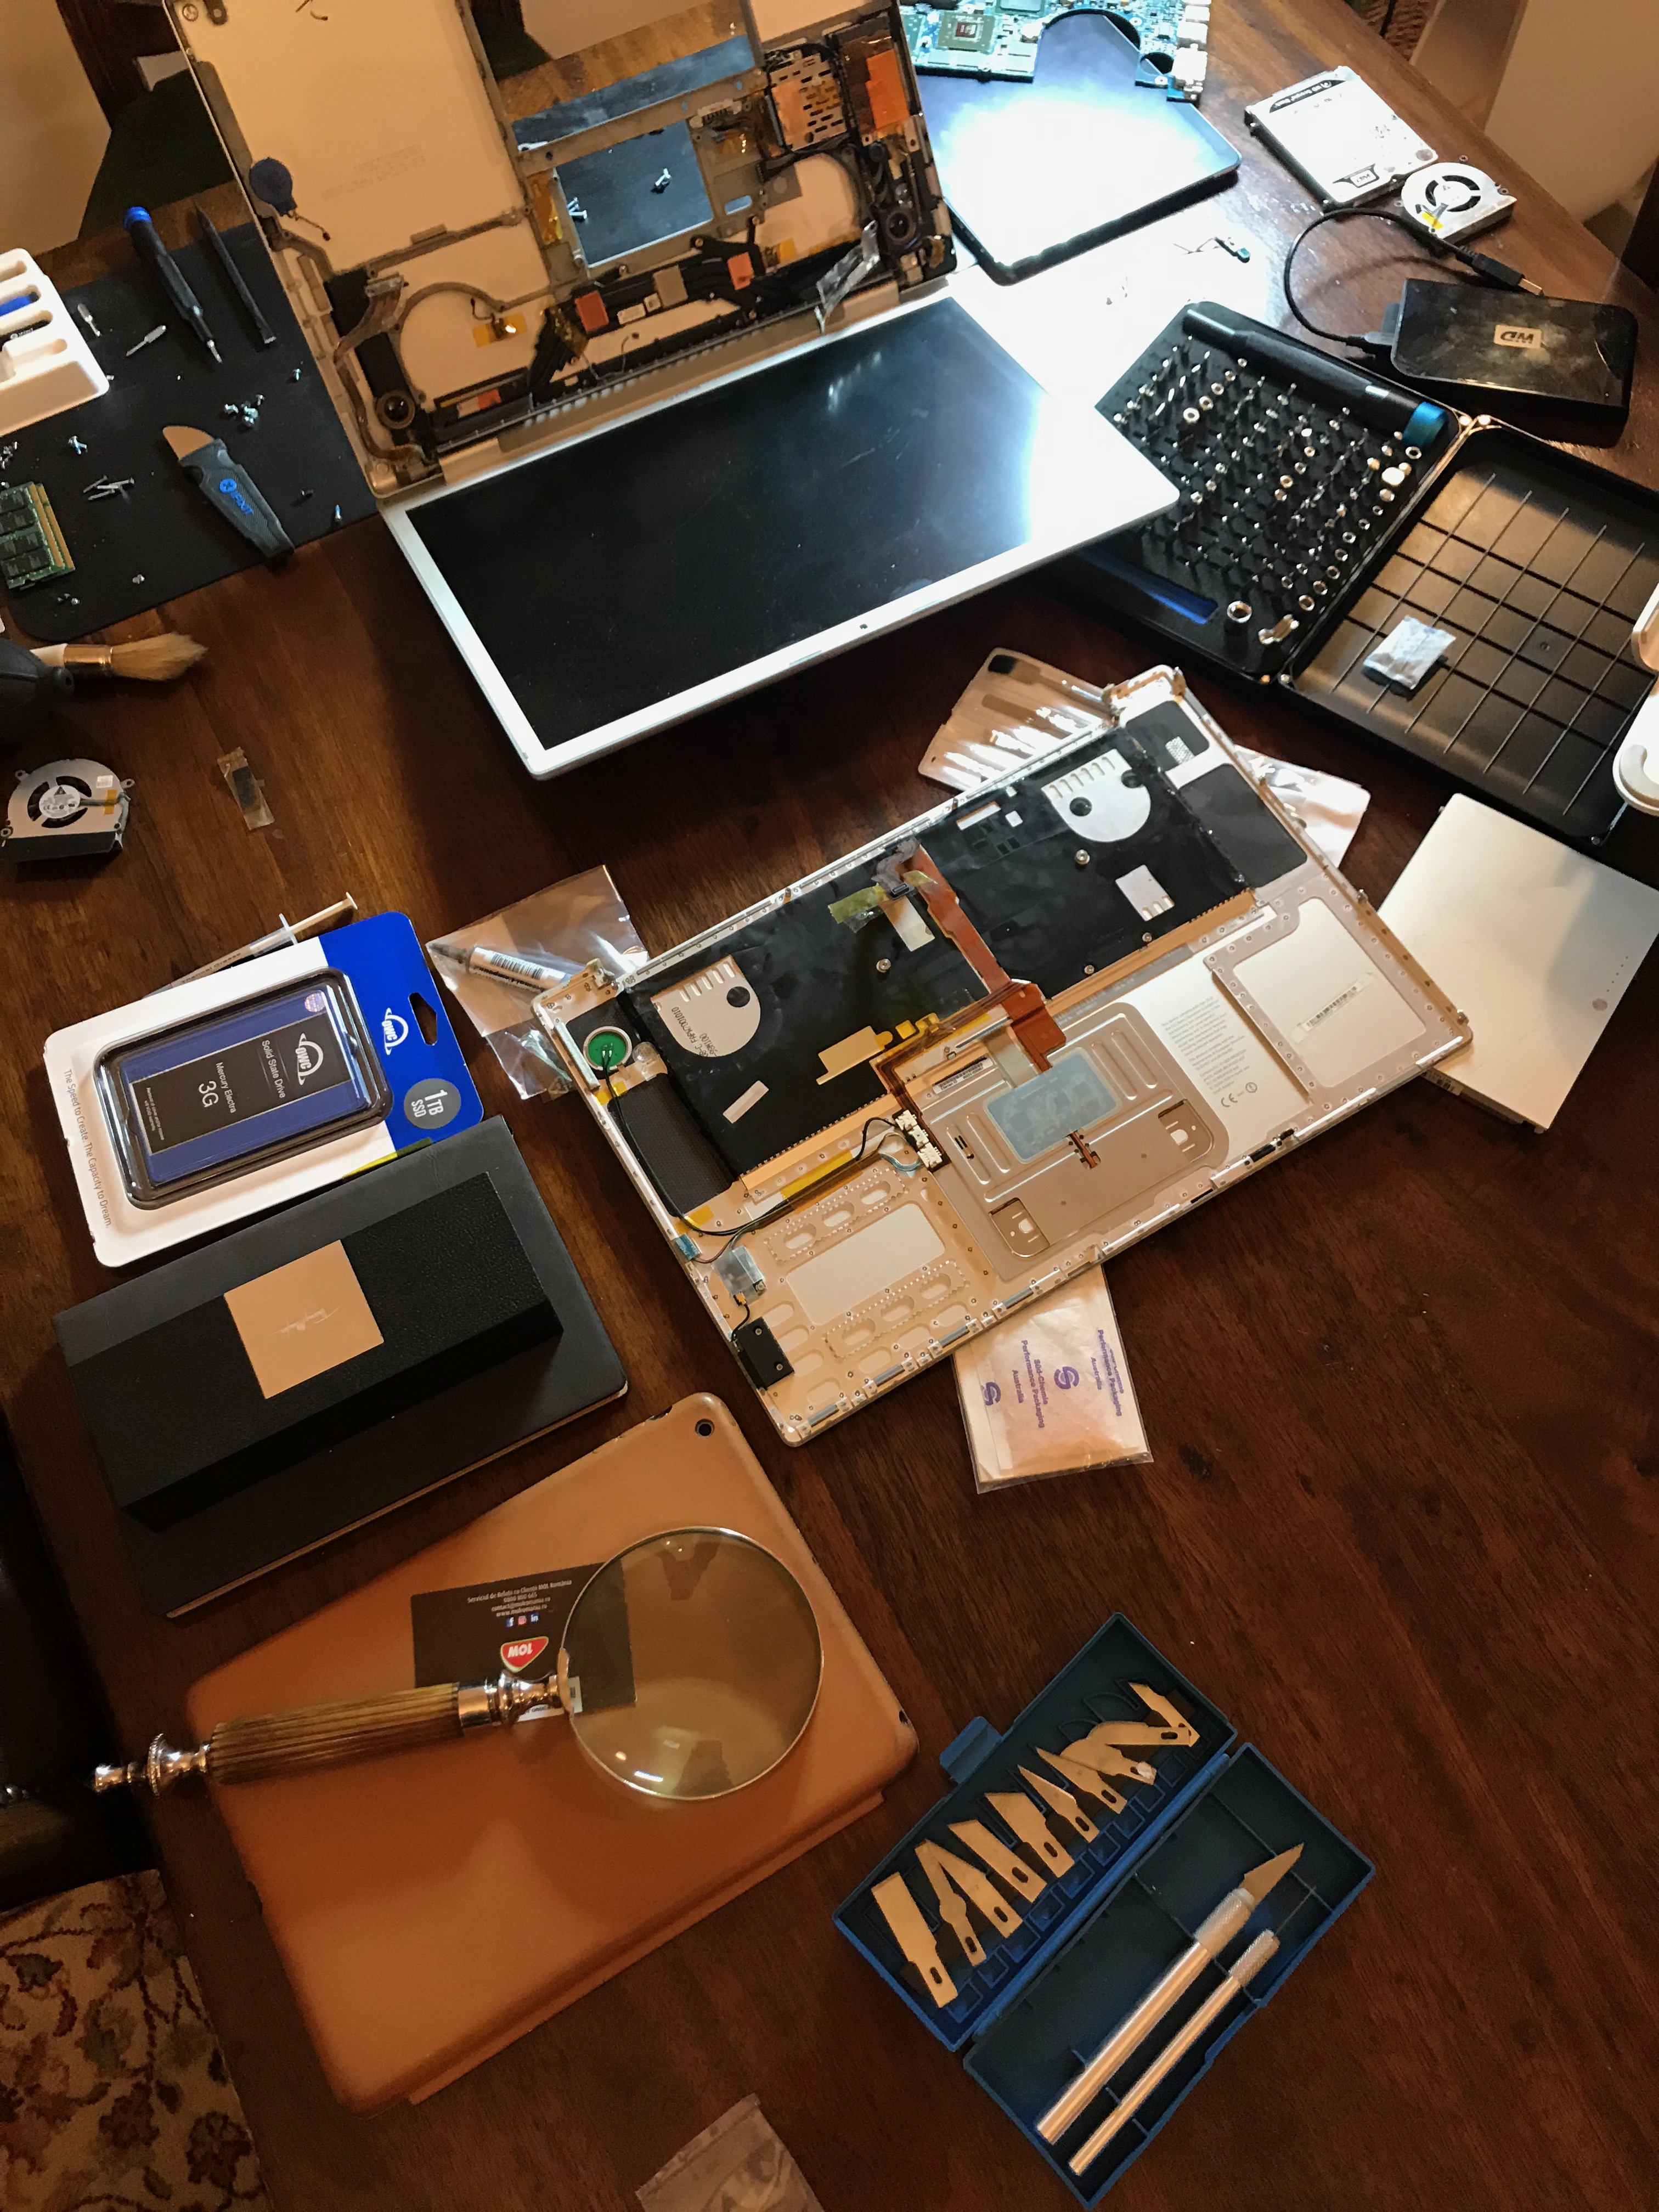
I should caution you first: if your computer is still under warranty, such work will likely void the warranty. Take it to a trustworthy and authorized shop to have it done. Also, don’t expect the job to be as easy or look as clean as it does in the guides posted online. Here’s what my desk really looked like while doing the work. Know what you’re getting into before you open up your computer.

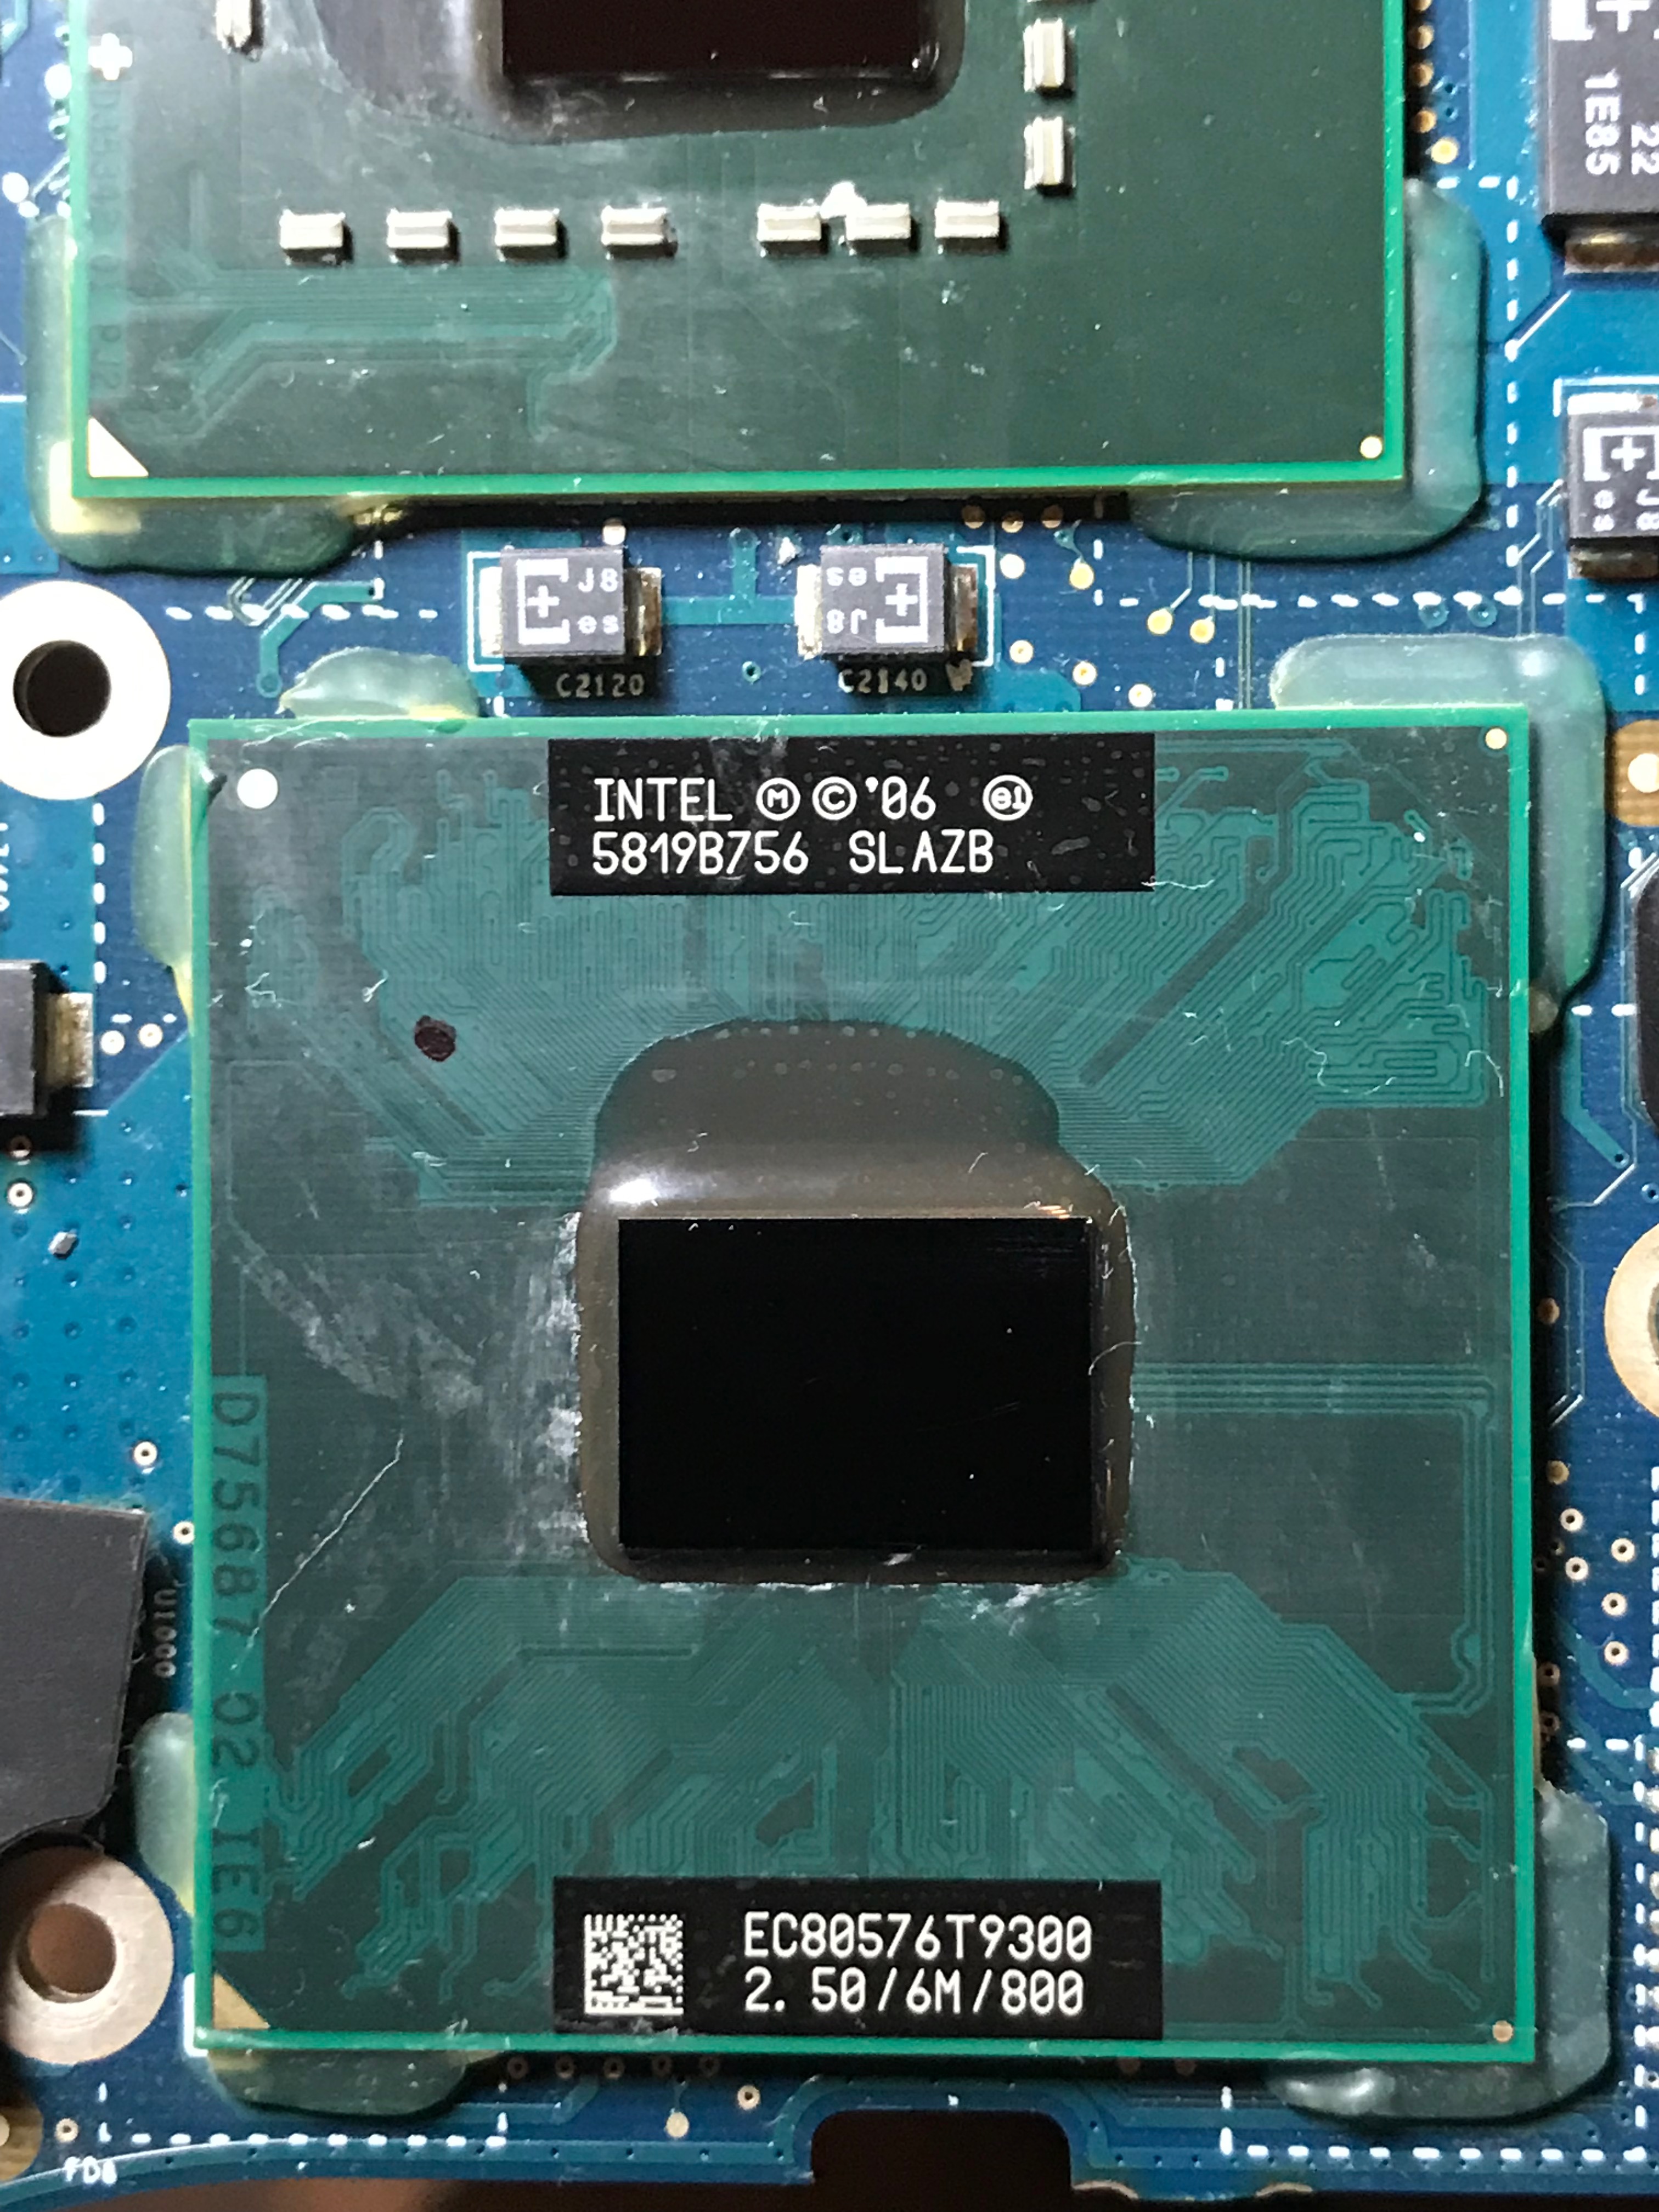
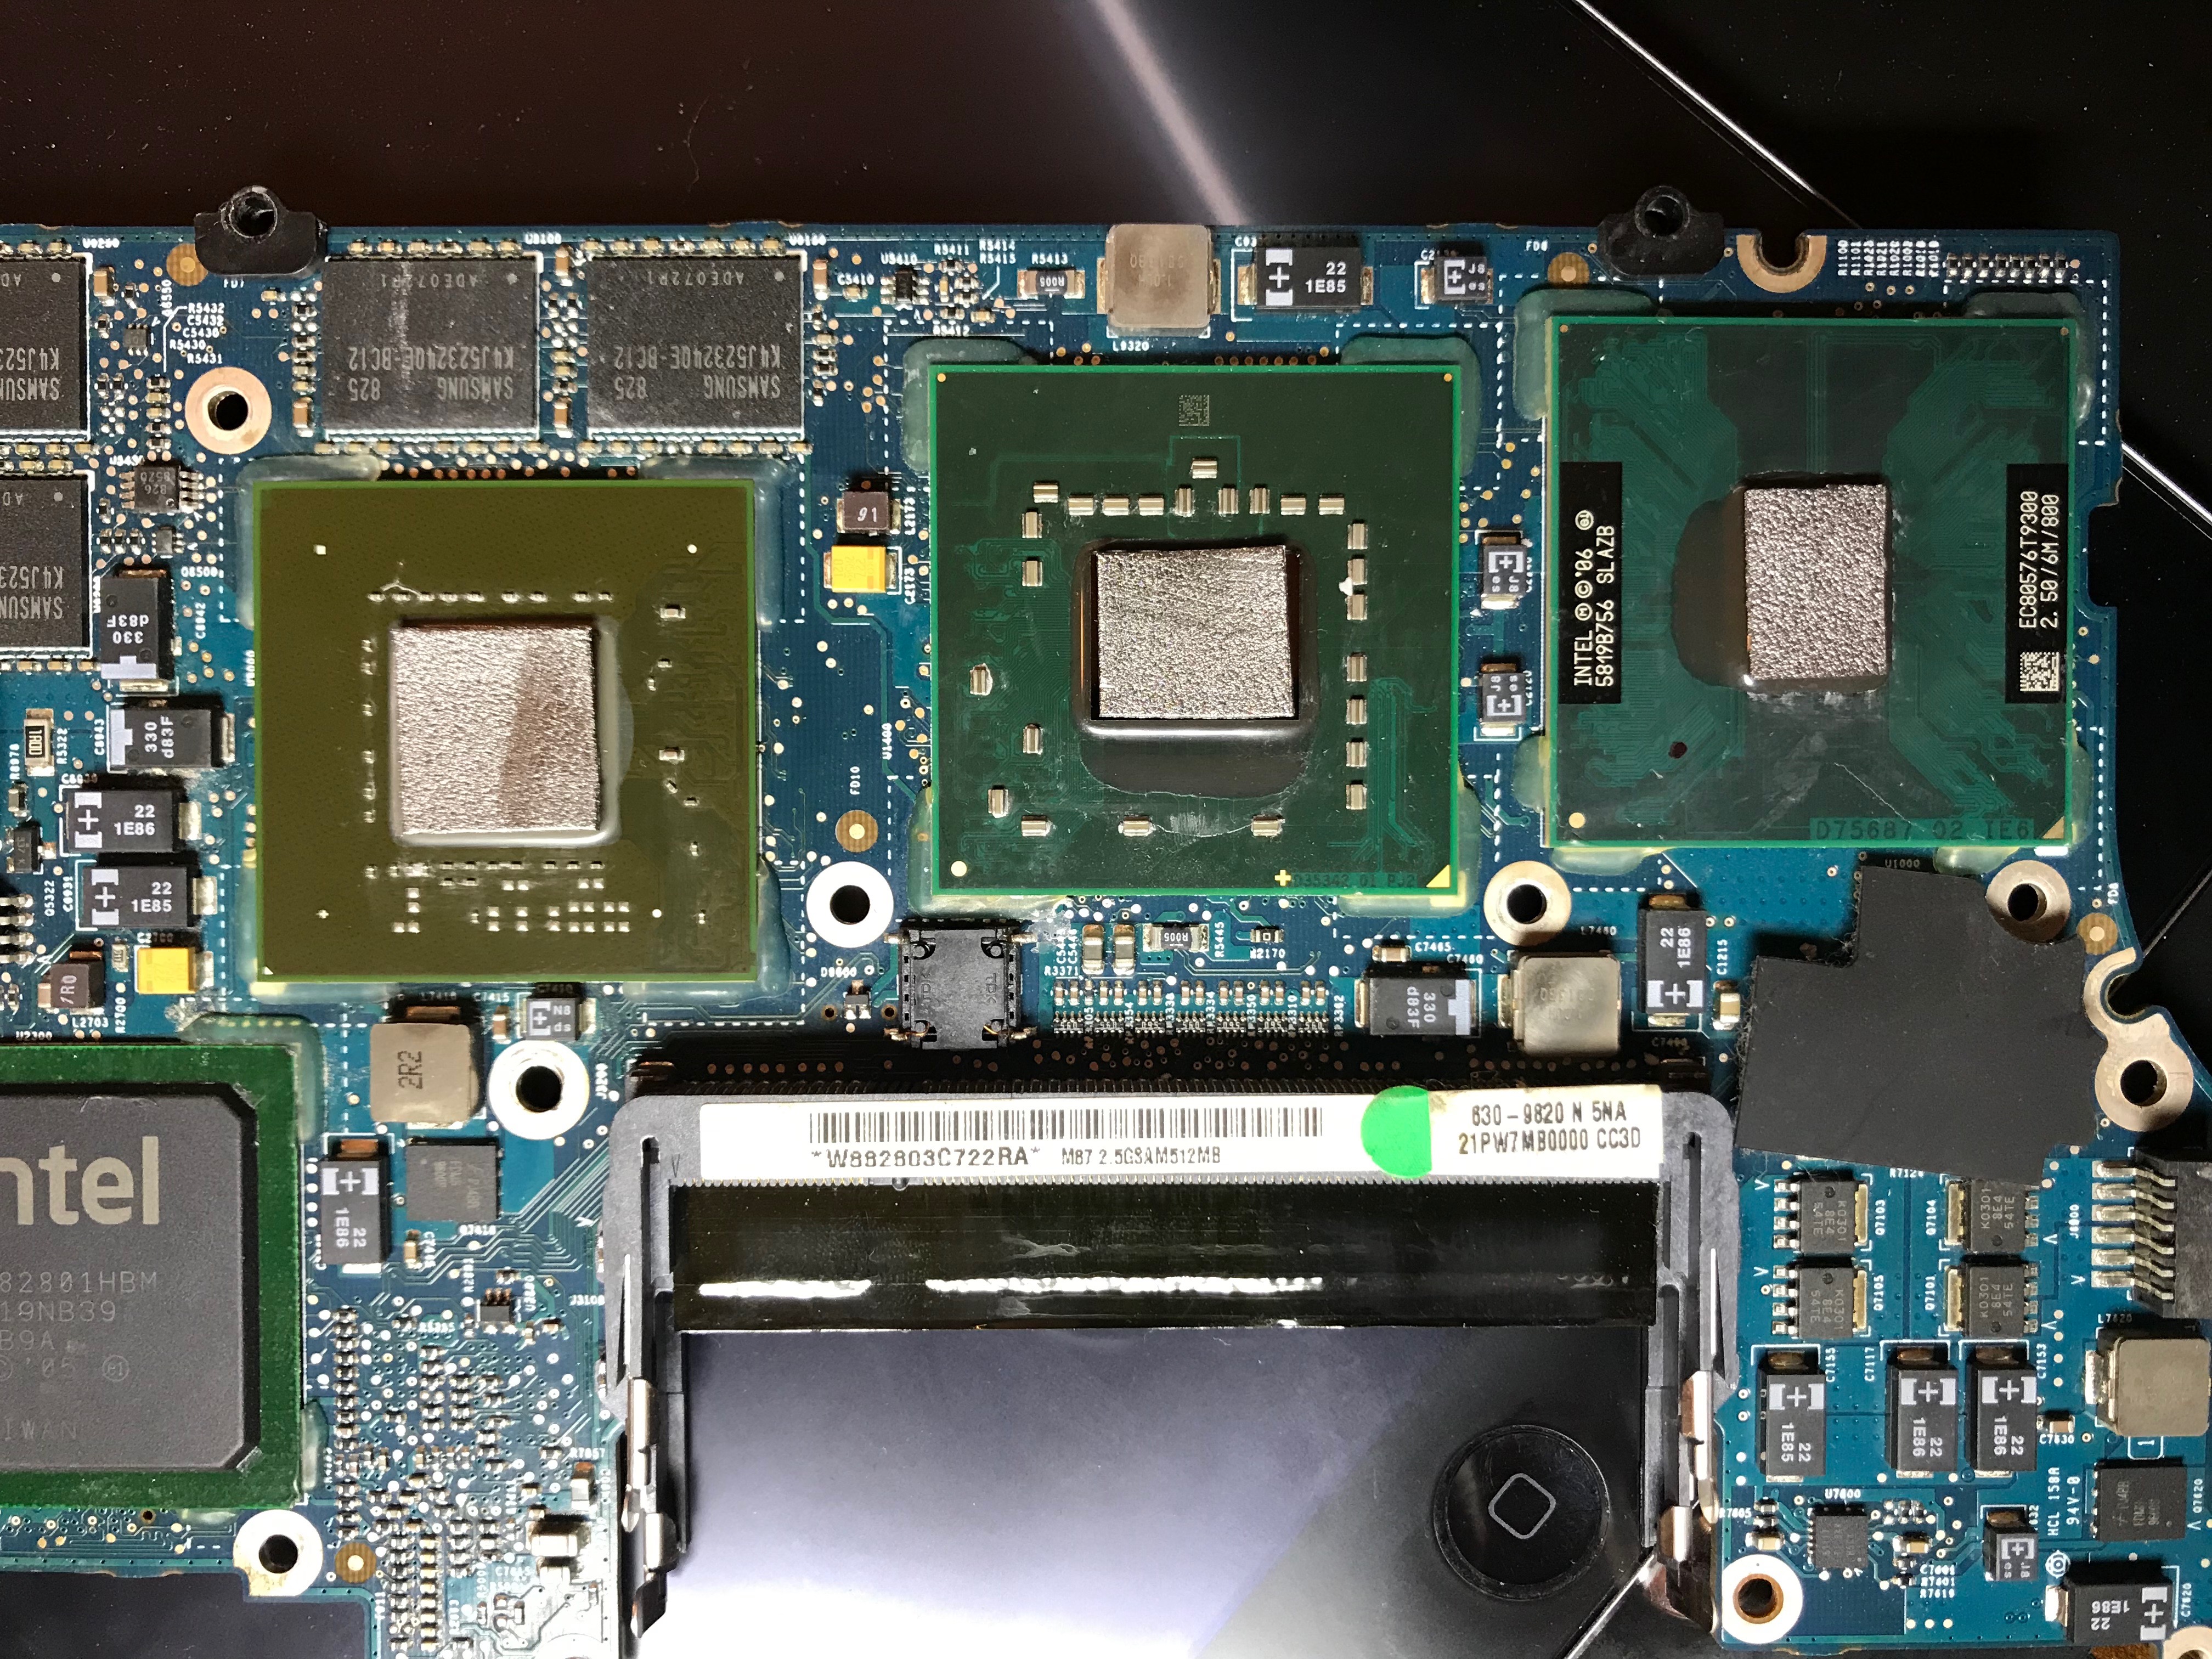
If you’ve looked through the photos and are wondering about the new thermal paste… I ended up not using any. I’d heard good things about a replacement for thermal paste: graphite pads, so I used those instead.

While I’m fairly sure they do what they say they do, which is to enable much better heat transfer than paste without degrading over time, I wouldn’t recommend them for this application, because unlike paste, they don’t stick to the chip at all, and they’re so light even a wisp of breath can blow them away. I was stubborn and did it anyway, but the way you have to fit the heat sink over the chips and turn the whole assembly over in order to tighten the screws means the pads will likely fall out or shift position, and that’s not good in either scenario. If they fall out, you’ll have nothing in place, leading to chip failure, and if they shift and touch other stuff on the board, like the little transistors next to the chip, they can cause a short-circuit, because unlike paste, they conduct electricity. I’m sure they’re great on regular motherboards where you simply sit them over the chip and close the heat sink on top, but not here, where the chips are tiny and you have to fiddle with and turn over the heat sink assembly to get it in place.

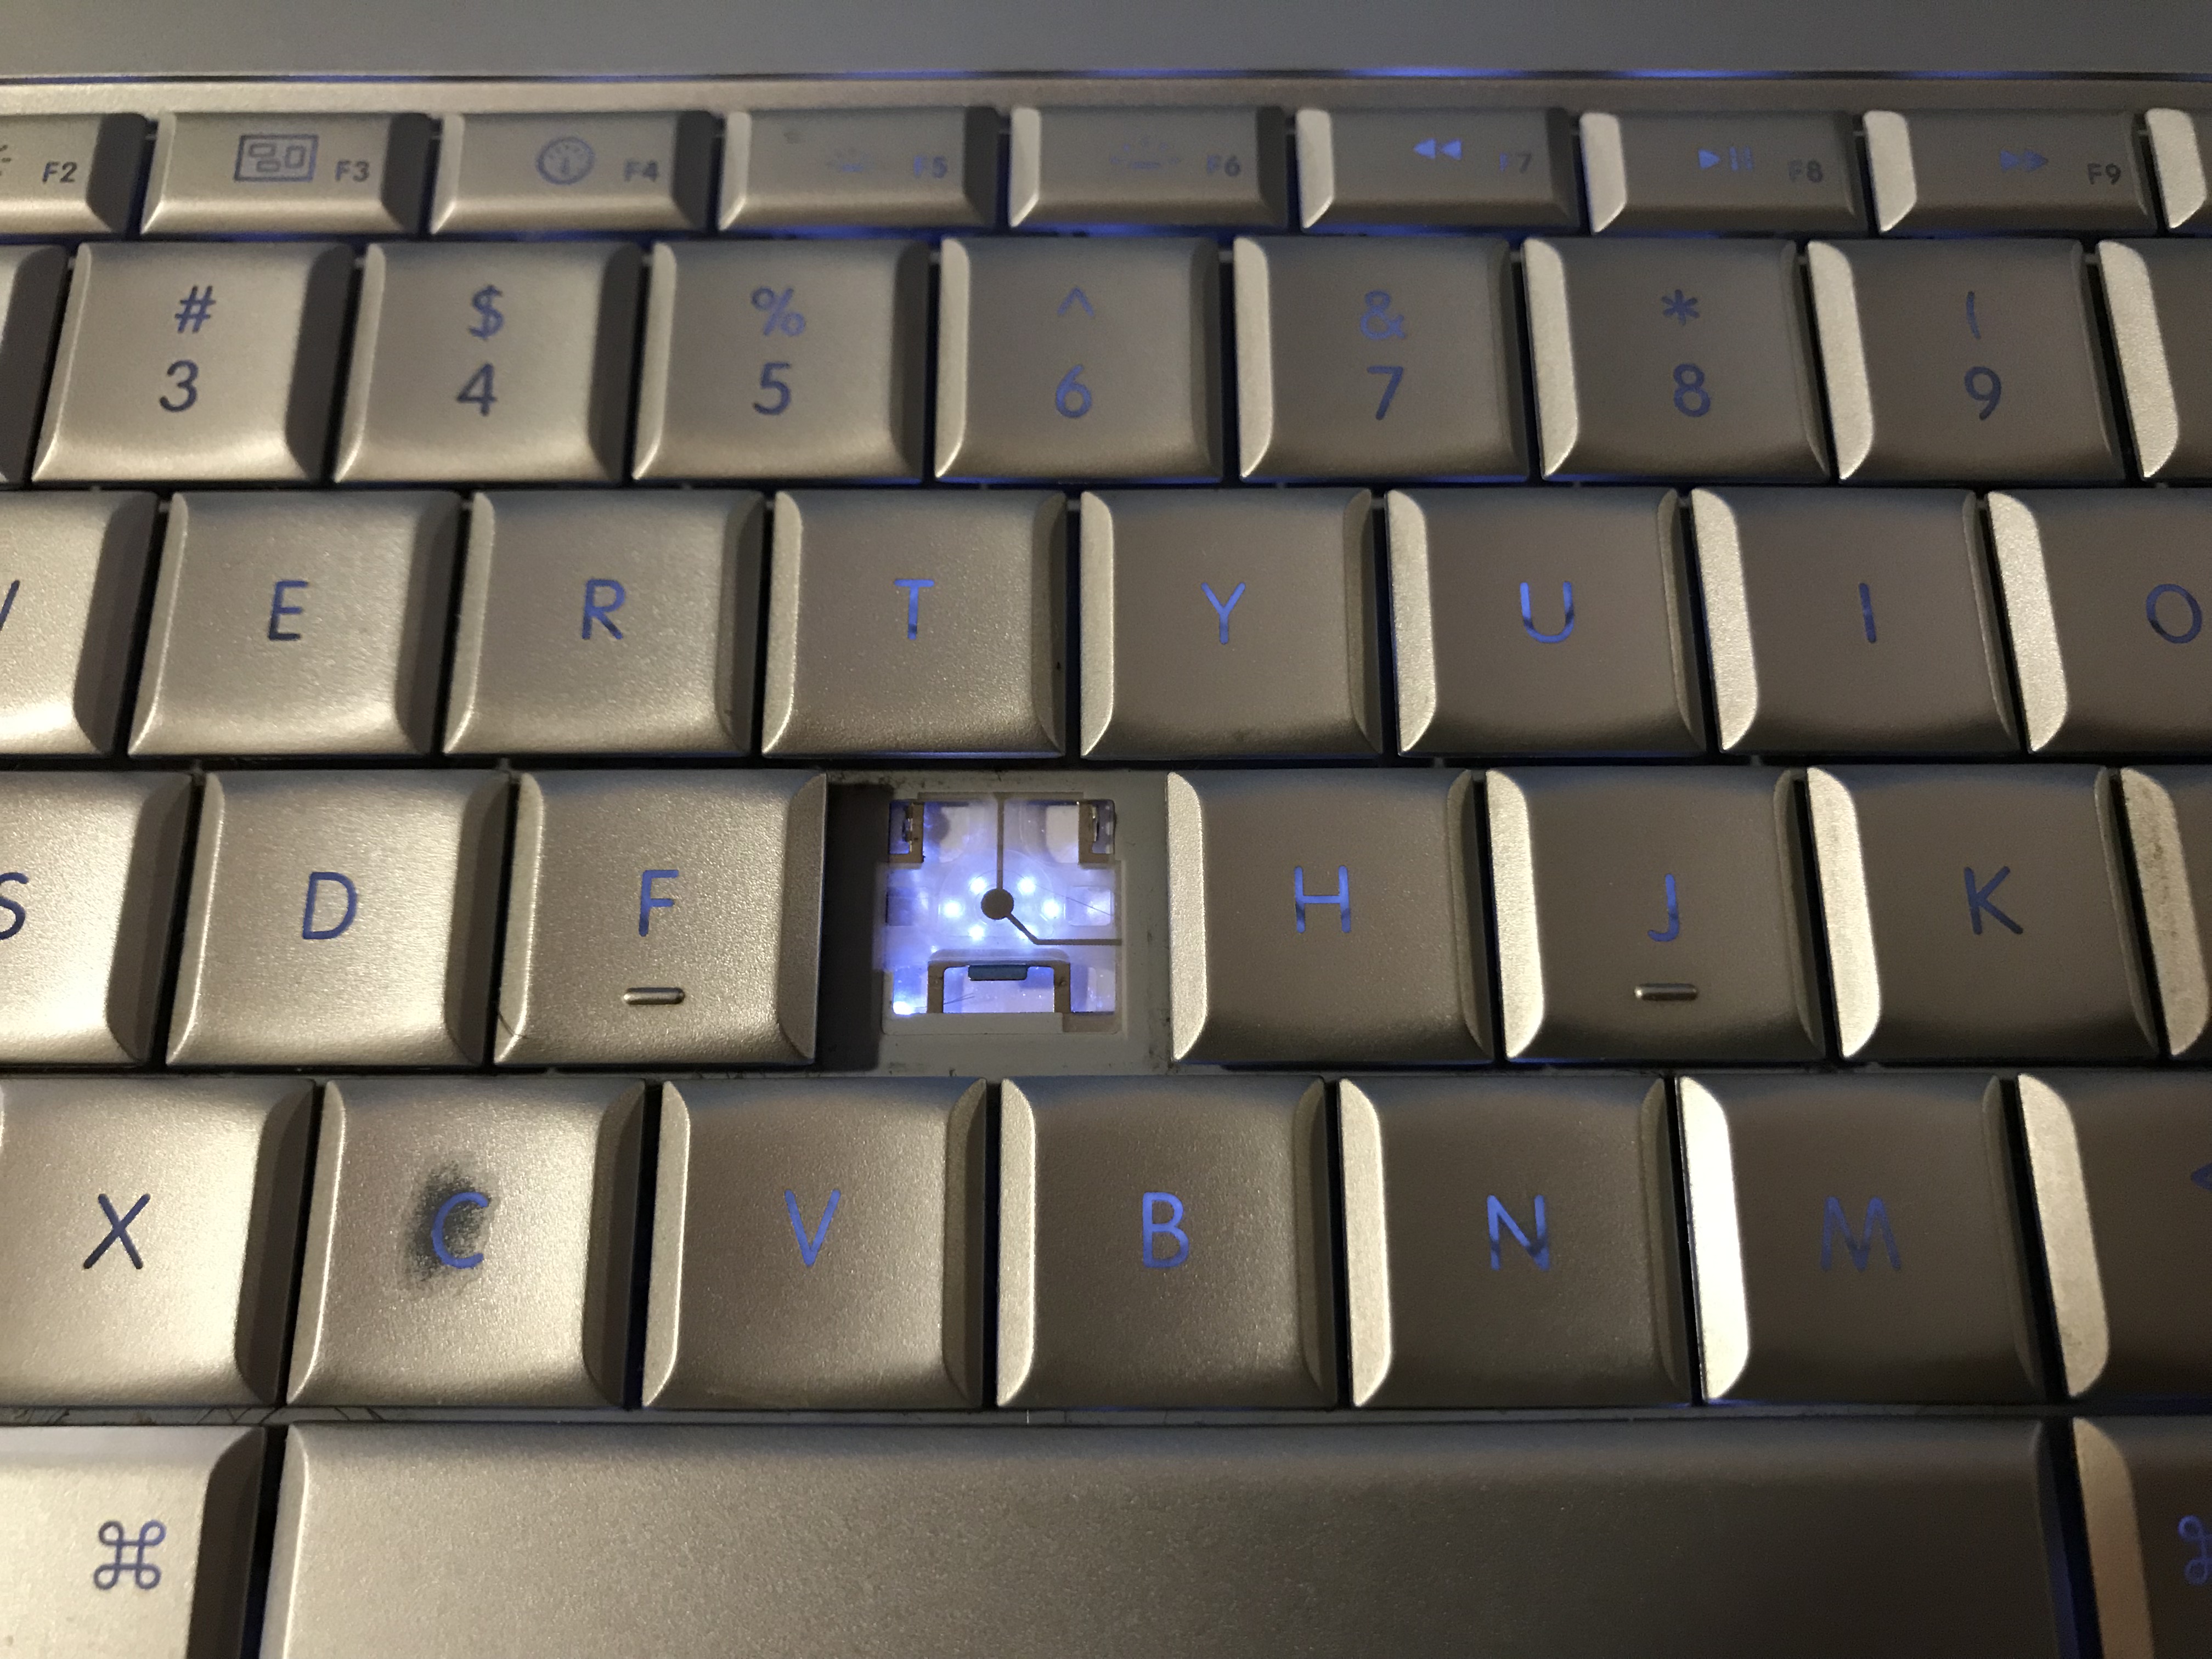
Our daughter had broken off one of the keys a few years ago, so I took this opportunity to replace it. Did you know there are websites that sell individual keys for reasonable prices? I didn’t; that was new to me.

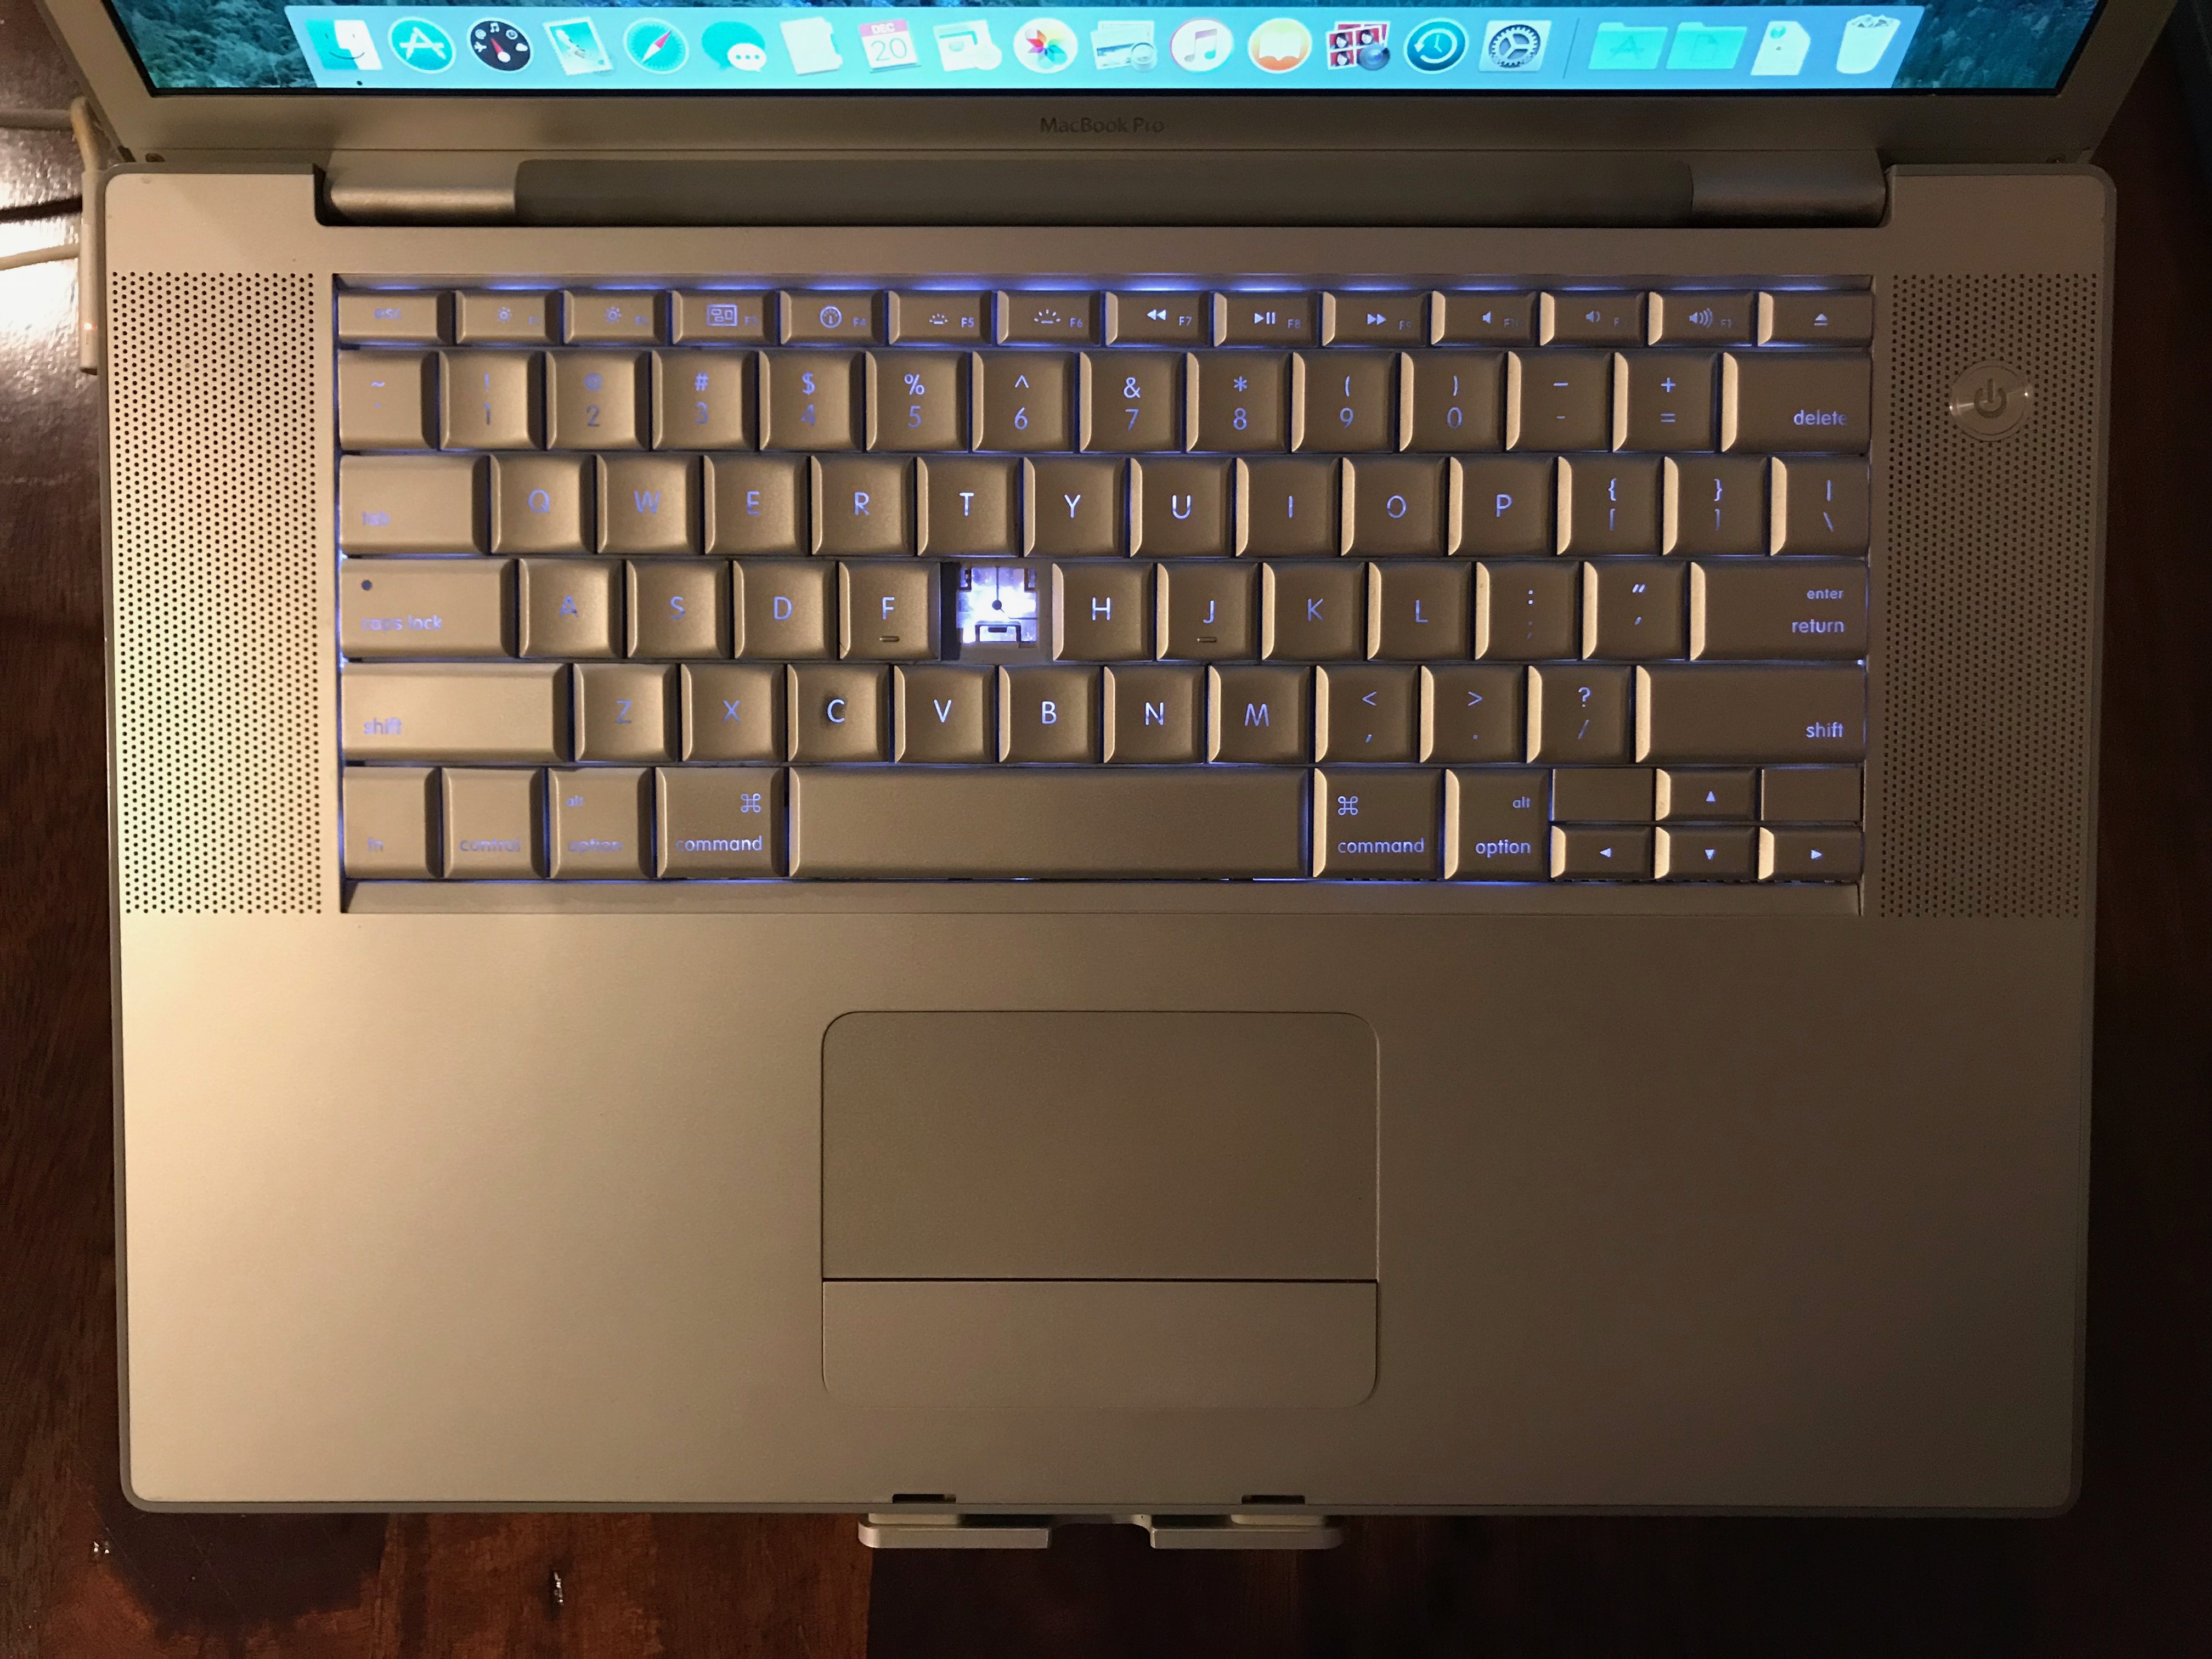
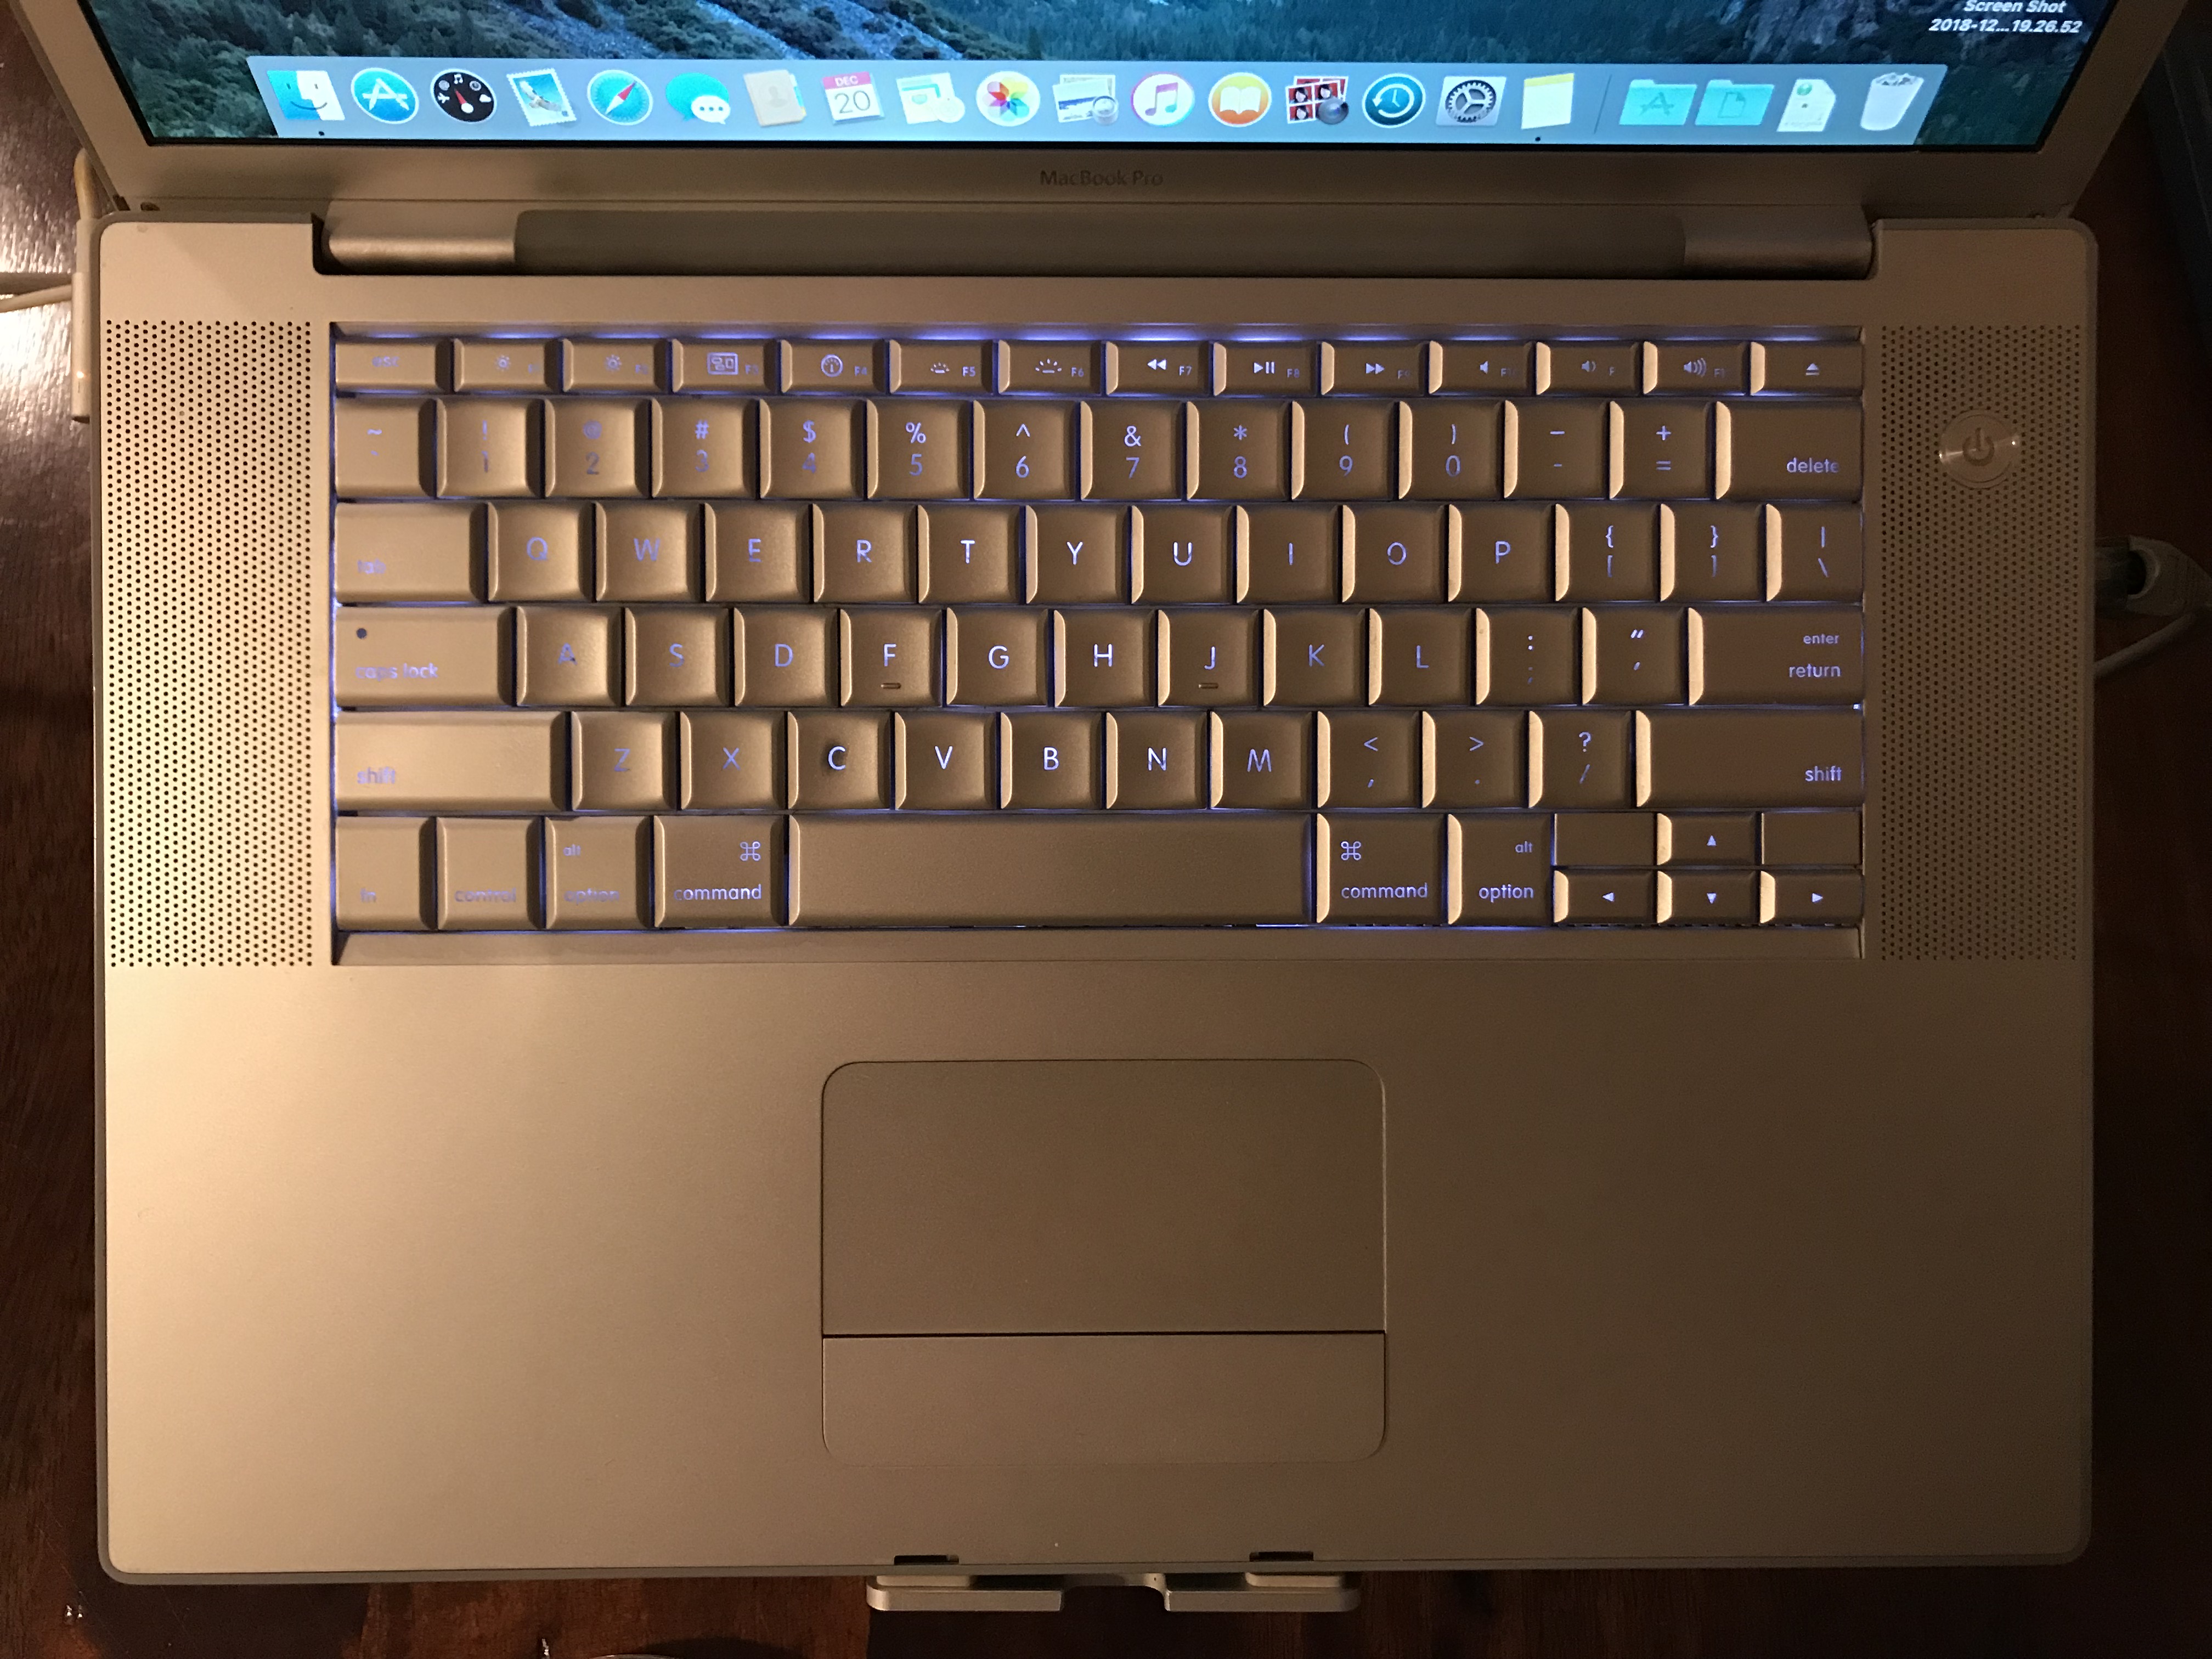
I’d like you to see that there are six lights under each key on this keyboard. This is worth noticing because many laptops nowadays brag about having lighted keyboards and “individual lights under each key” when they mean a single LED, while back in 2008, this MBP had six LEDs for each key!

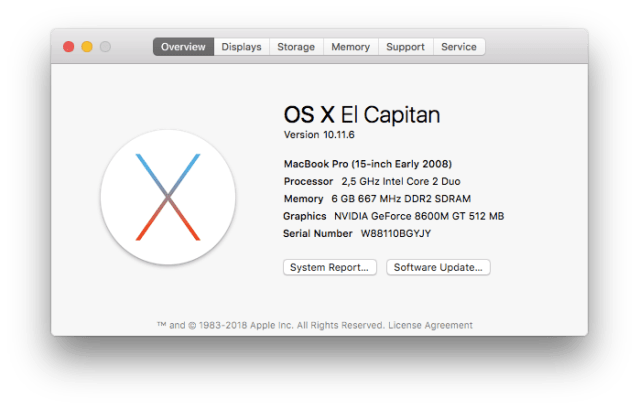
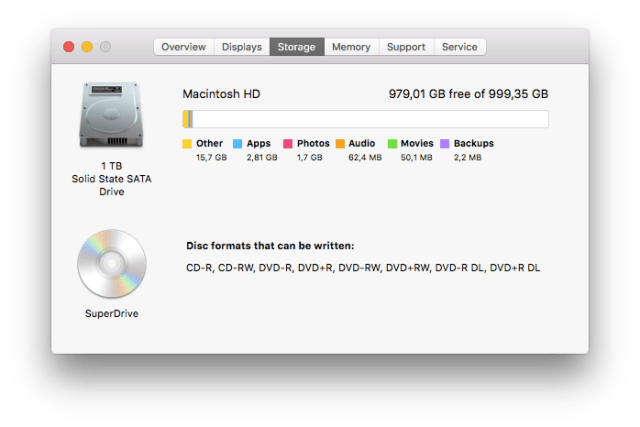
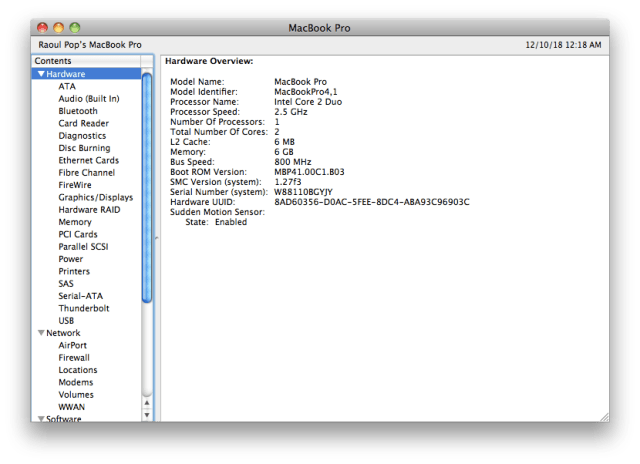
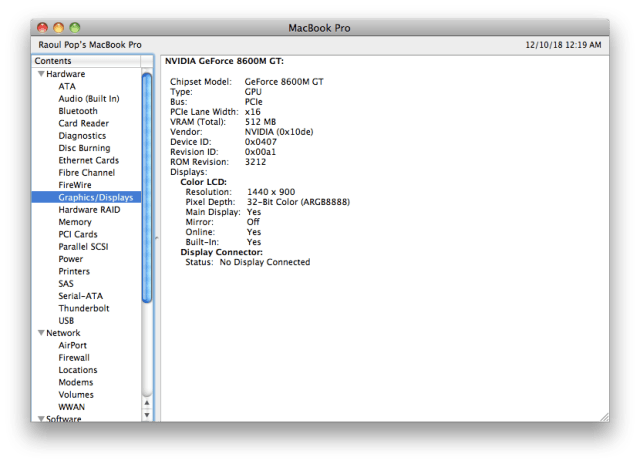
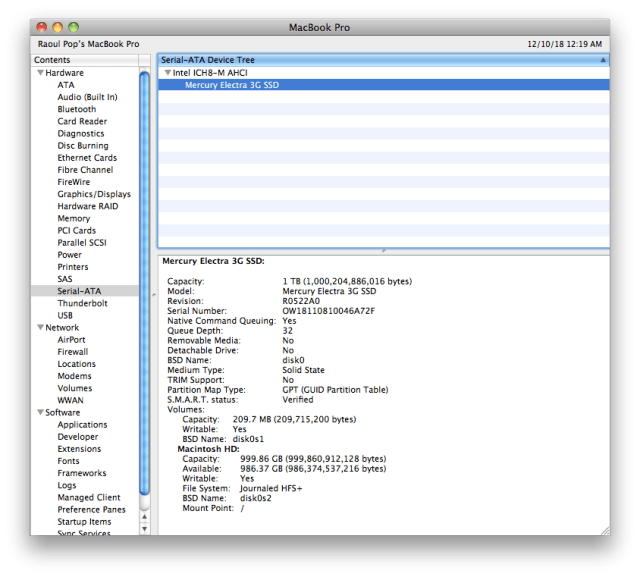
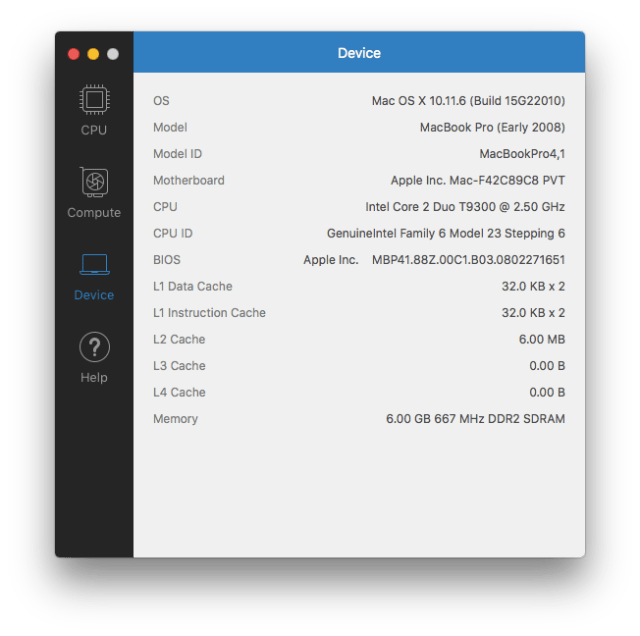
Last but not least, a set of screenshots for the specs. The two specs that are different now are the disk size and speed. The new disk size is 1 TB, which is going to be plenty for this old timer. The speed is capped off at SATA I (1.5 Gb/s or 150 MB/s) by the laptop’s hardware. With the new SSD, I’m getting somewhere between 125-130 MB/s, which is less than the theoretical max but about right in real world speed. Before the upgrade, I was getting somewhere between 40-60 MB/s.

The highest version of macOS that I can install on it is El Capitan, which means it still (sort of) works with iCloud: the photos sync up with my other devices, but the documents and desktop don’t. I know there are hacks out there to enable an upgrade to Mojave, but I’d rather use what’s officially available.

The question that needs a final answer is this: can I see a difference? The answer is yes. The laptop’s gotten a little snappier and for what I need it to do, it works great now. Most of all, I’m amazed that after 10 years, it still works, and it works well.

Standard
How To

On keeping one’s computer tidy…

I recently had to take my iMac apart in order to look at the hardware closely, and after 5 years of intense use in my home office, I got a chance to re-convince myself of the importance of keeping one’s computer tidy inside, not just outside.

Apple doesn’t make it easy for us to service our computers, do they? Gone are the days of the big Power PC or Mac Pro enclosures that could be easily opened for a bit of vacuuming and dusting or the upgrade/replacement of a piece of hardware. Or how about those unique and colorful 1st gen iMac enclosures that were transparent, so you could see at a glance if they needed a bit of inside cleaning? The enclosure of my iMac G5, though impressively thin for its time, with components tightly packed inside, was still fairly easy to open. Even the predecessor of my current iMac, a 2011 model, was easy enough to open, because the display was affixed to the enclosure with magnets. These days, the enclosures of our Macs are sealed with adhesives that make it difficult to get inside…

The IT part of me gets it somewhat: if they’re too easy to open, most people will only get inside and mess something up. Plus, an accidental spill of liquid on the screen, or an overly judicious application of cleaning solution, might get inside and affect the circuits.

It’s easy and natural to assume that if a computer is sealed shut, it’s clean inside, but the truth of the matter is that computers need to be cleaned and serviced regularly. As long as a computer has active cooling (a fan that pulls air in), dust will get inside and settle everywhere. Even passive cooling involves some sort of air current that moves through the machine and dust will follow that current and accumulate inside over time.

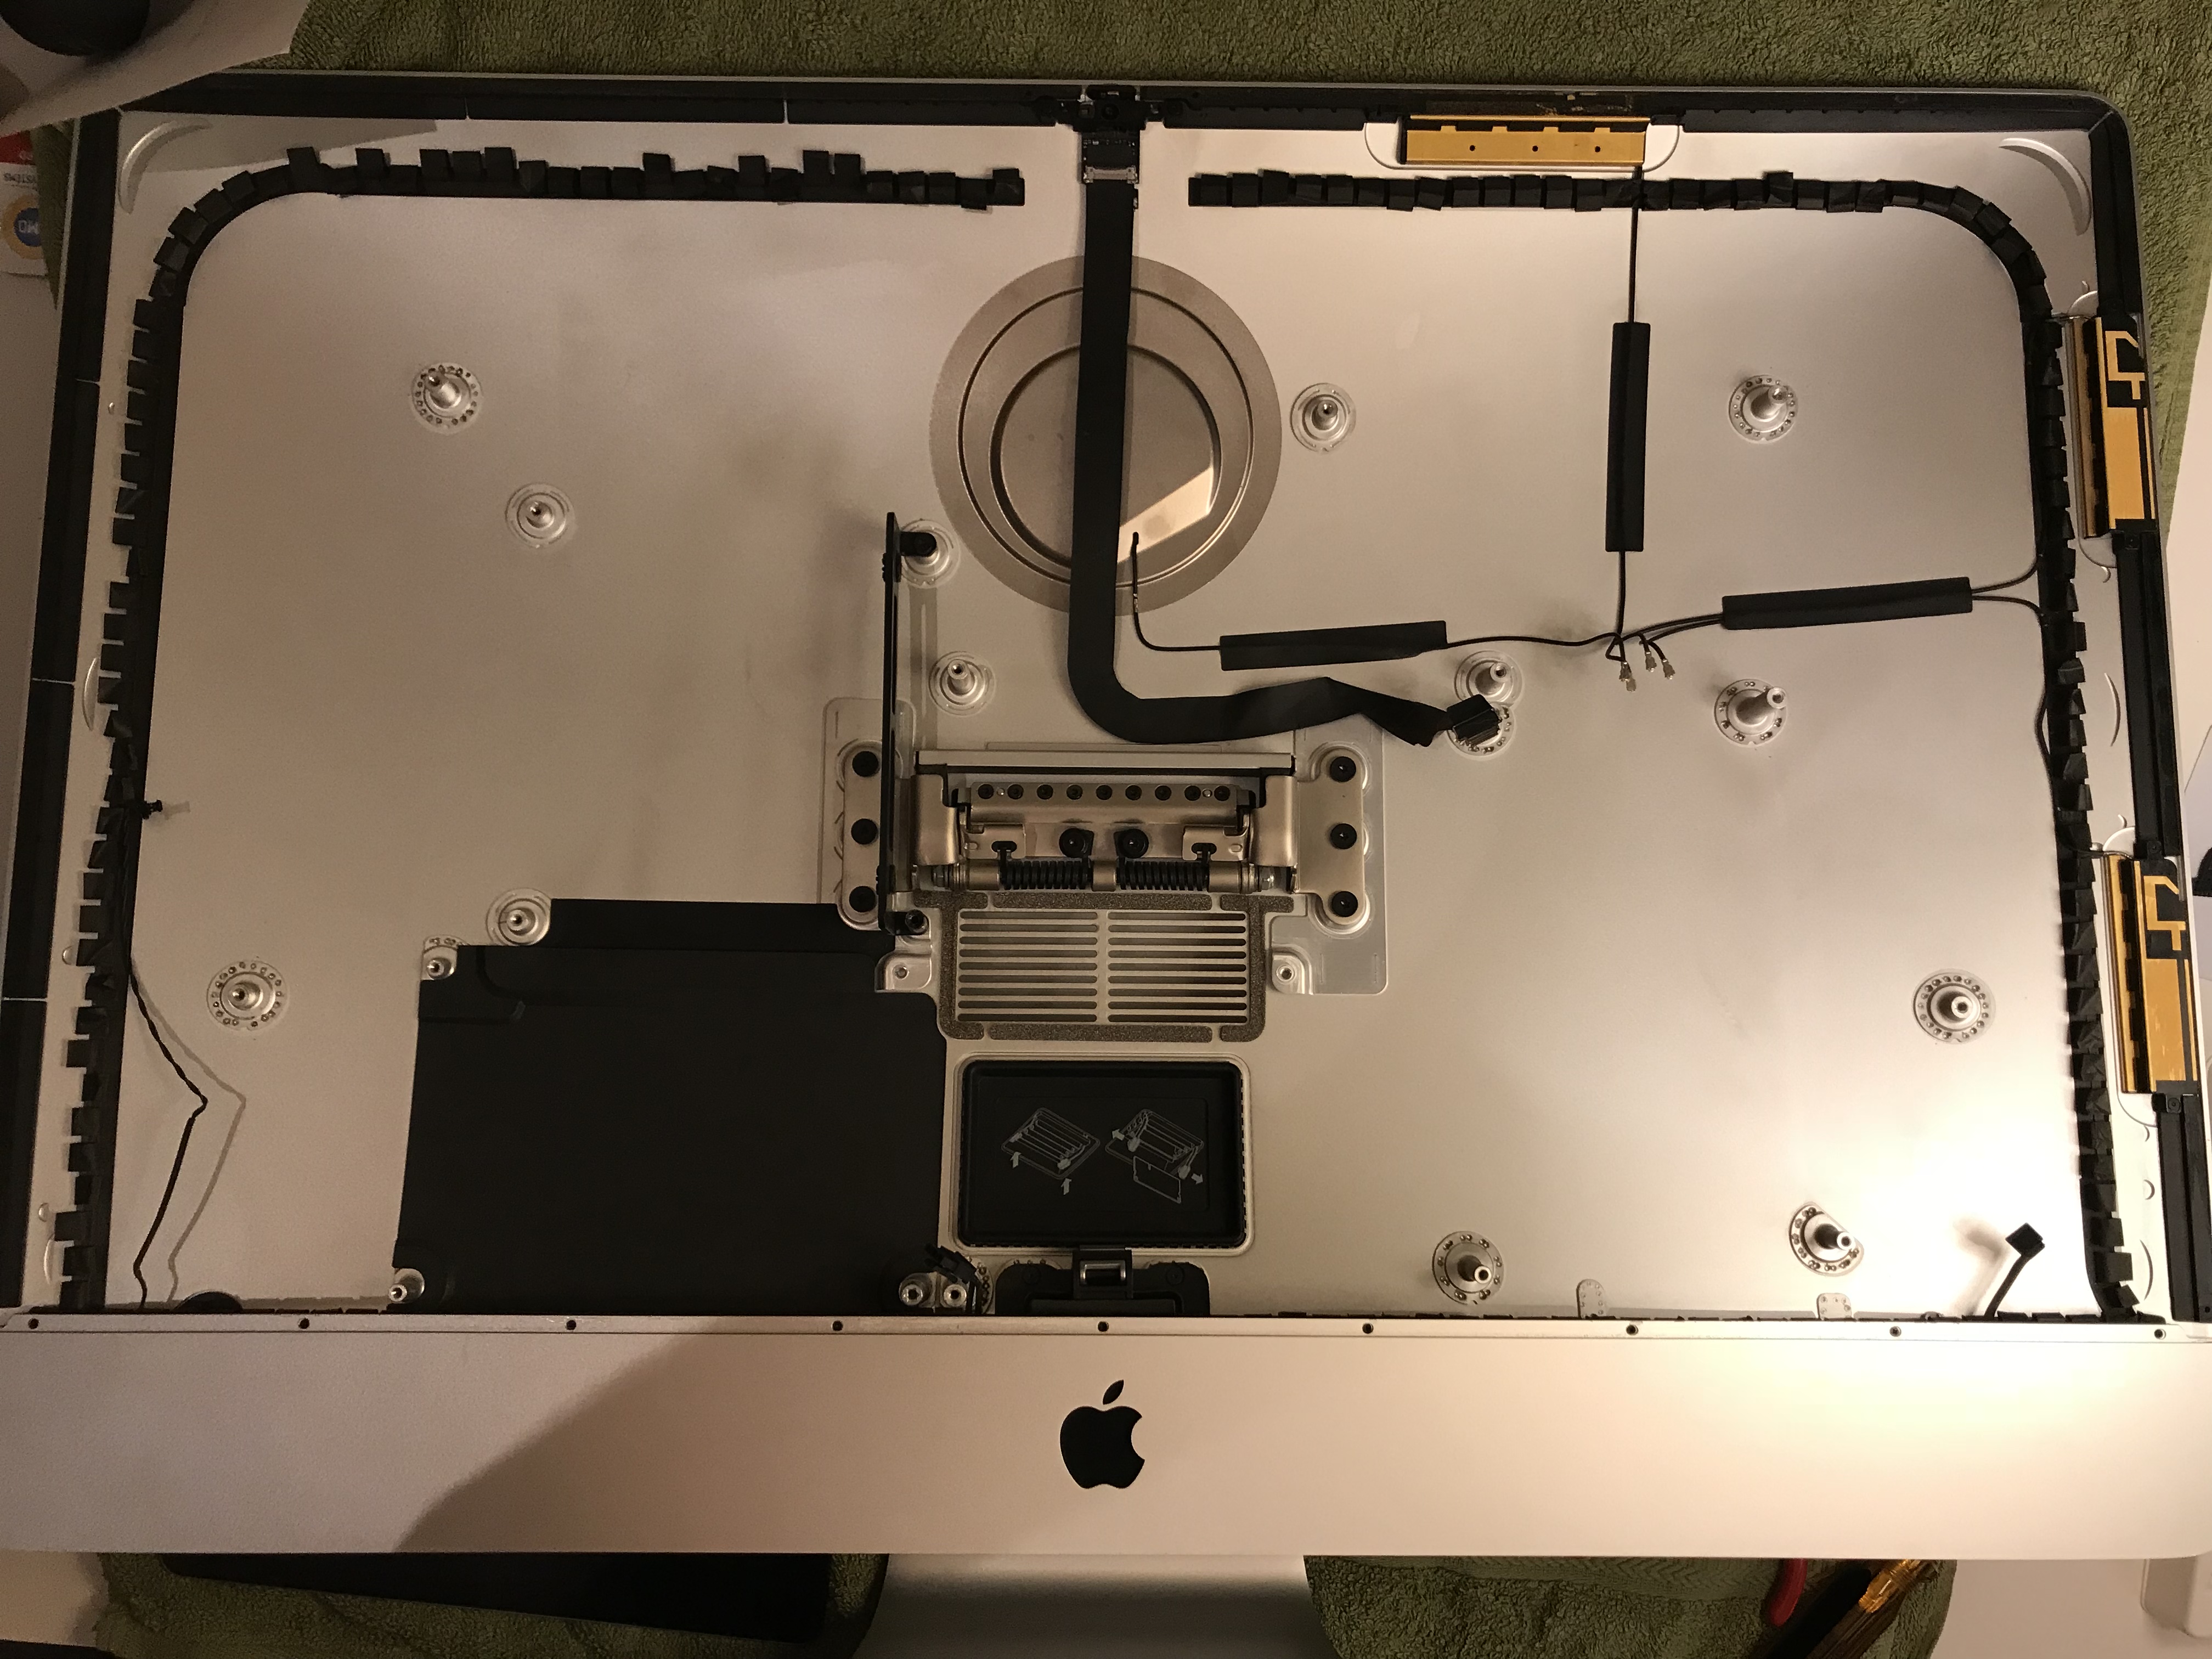
Here’s what the inside of my iMac looked like when I opened it up for the first time.

It may not look too dirty at first glance, but let’s have a closer look, shall we?

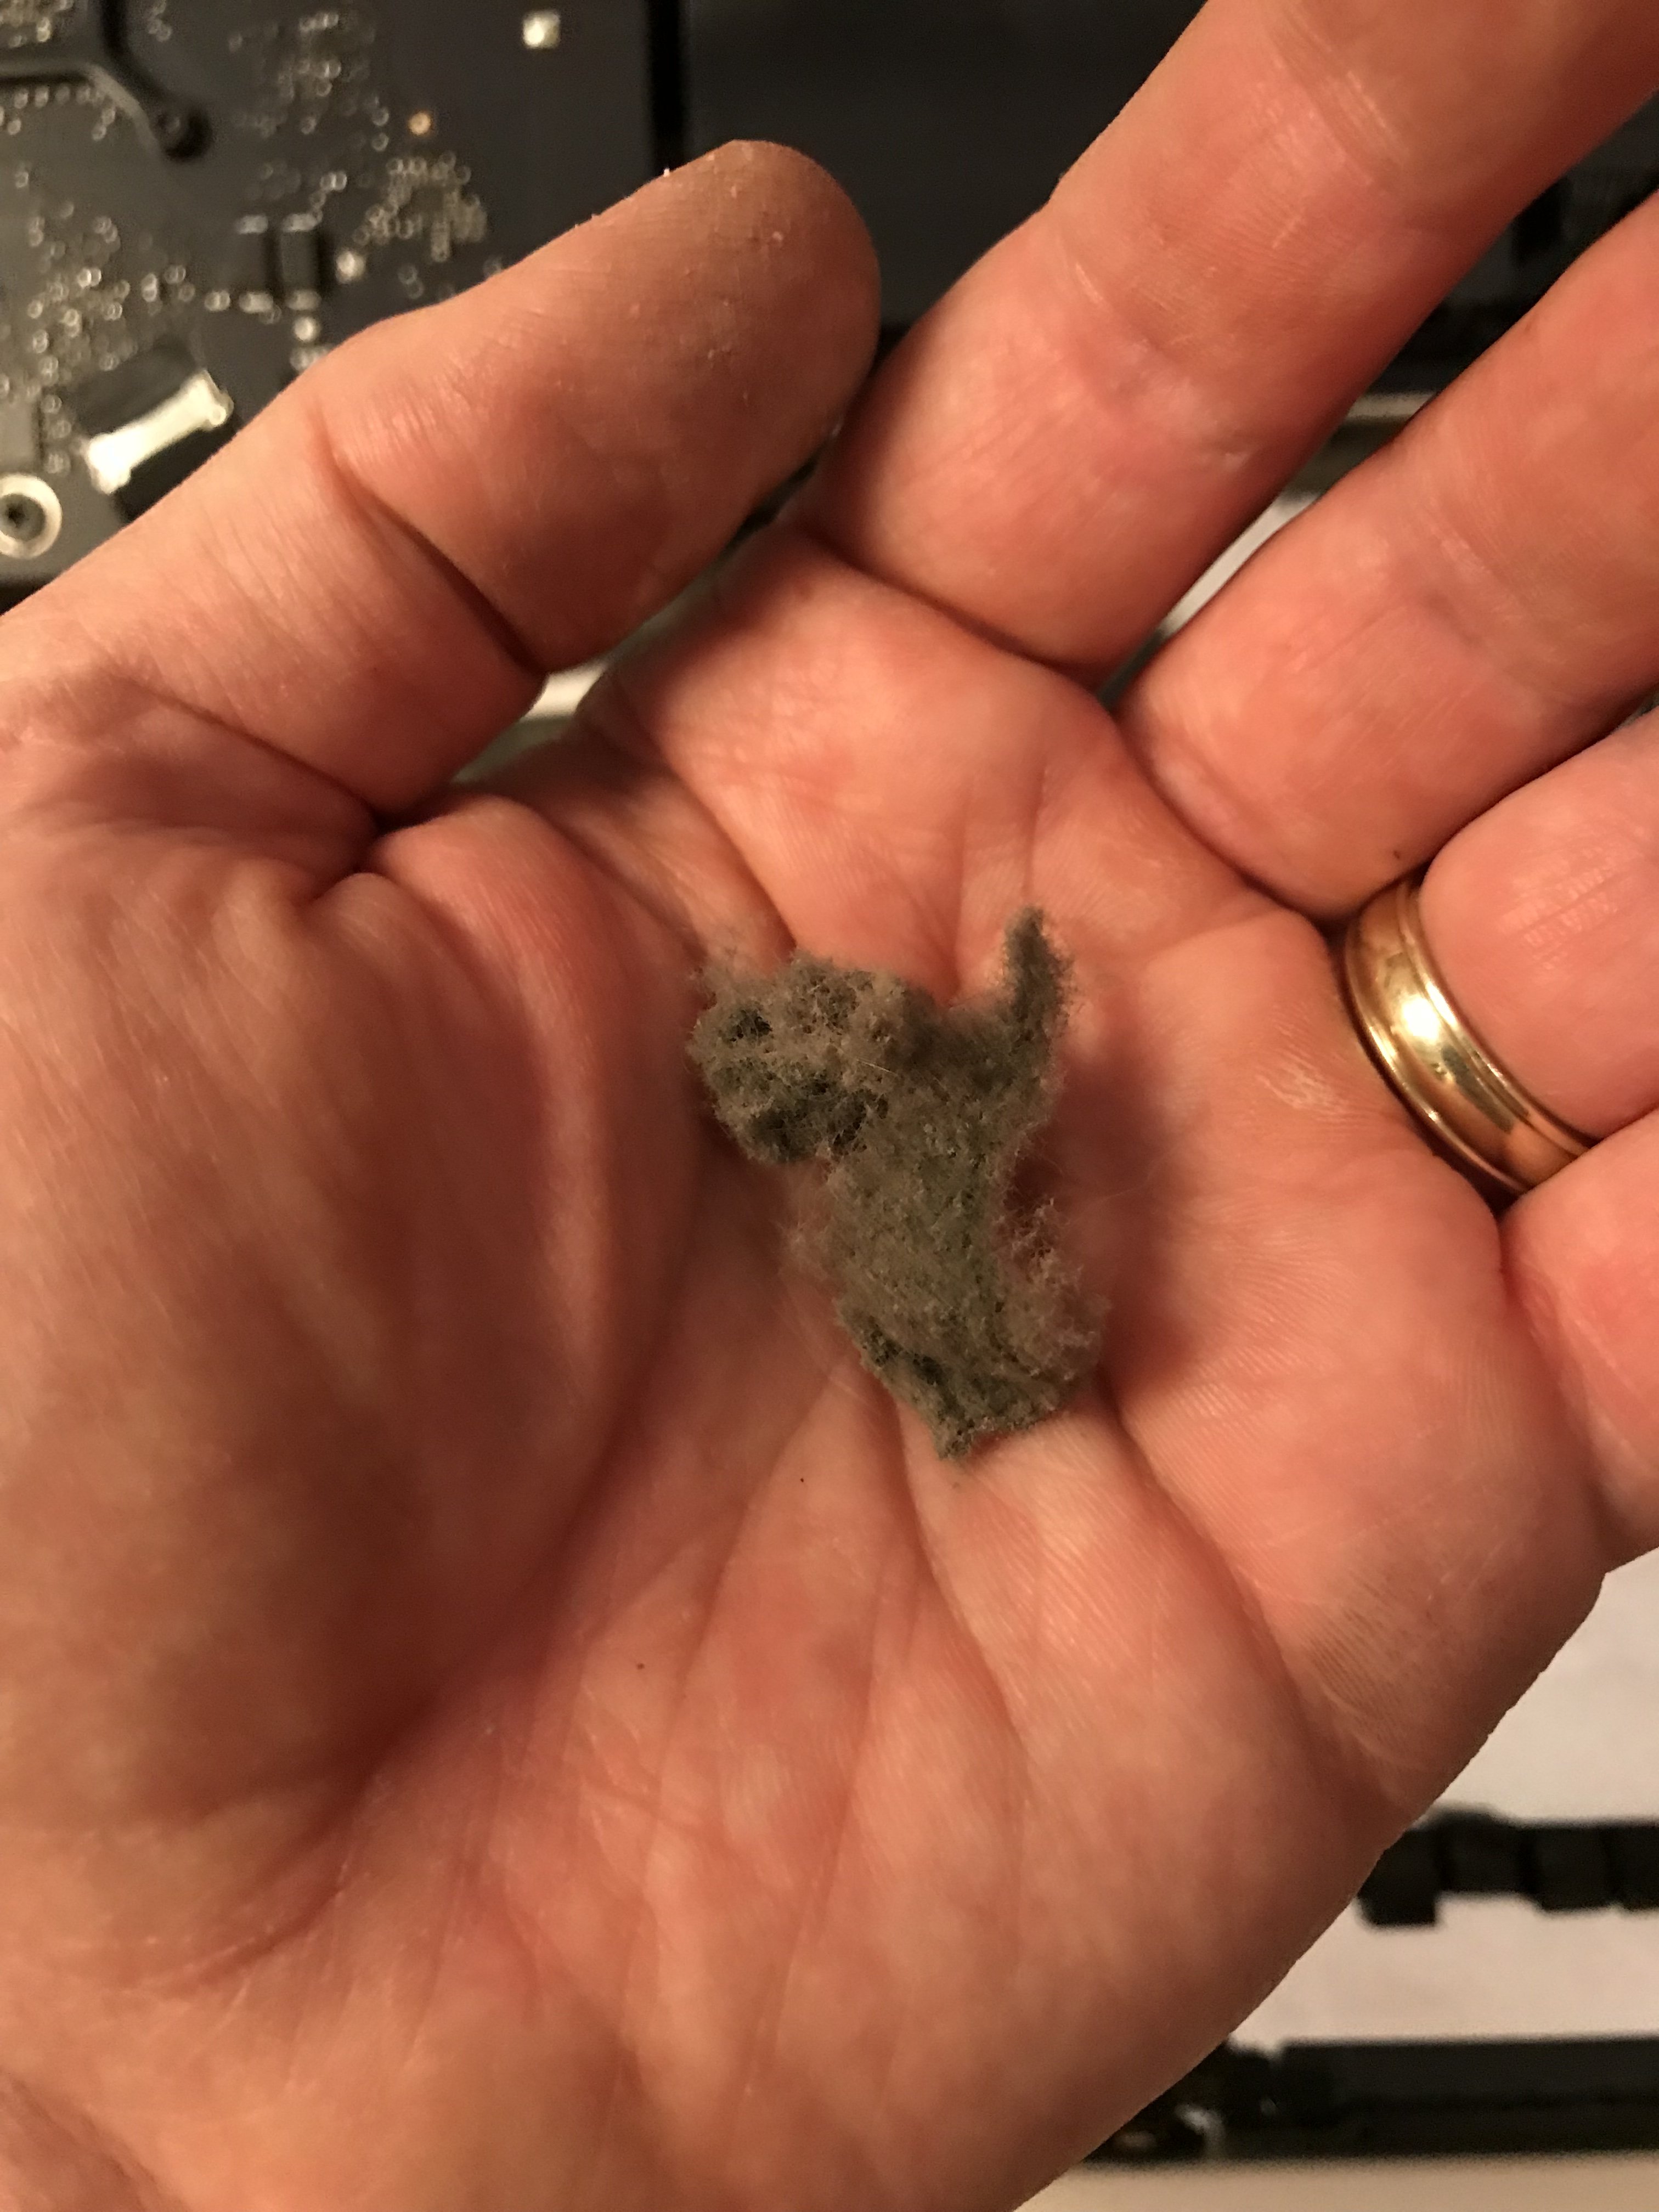
I took every single piece apart, and every piece was full of thick dust like this, dust that would have clogged up the air vents completely and caused an overheat or even a shortcircuit. It was very fine dust that kept getting into my nose and making me sneeze. I couldn’t believe how much of it had gathered inside. This iMac’s always been on my desk, in my office, a room which I vacuumed regularly, but as you can see, five years of moderate to intensive use for 8 or more hours per day, will definitely show up on the inside, even though the outside is shiny and clean. This is why I believe every Mac owner ought to either learn how to clean their computer or take it into a repair shop every few years to have it properly and thoroughly cleaned. We have plenty of resources these days. I used the thorough guide for taking apart my iMac posted on iFixit.com, a resource I definitely recommend.

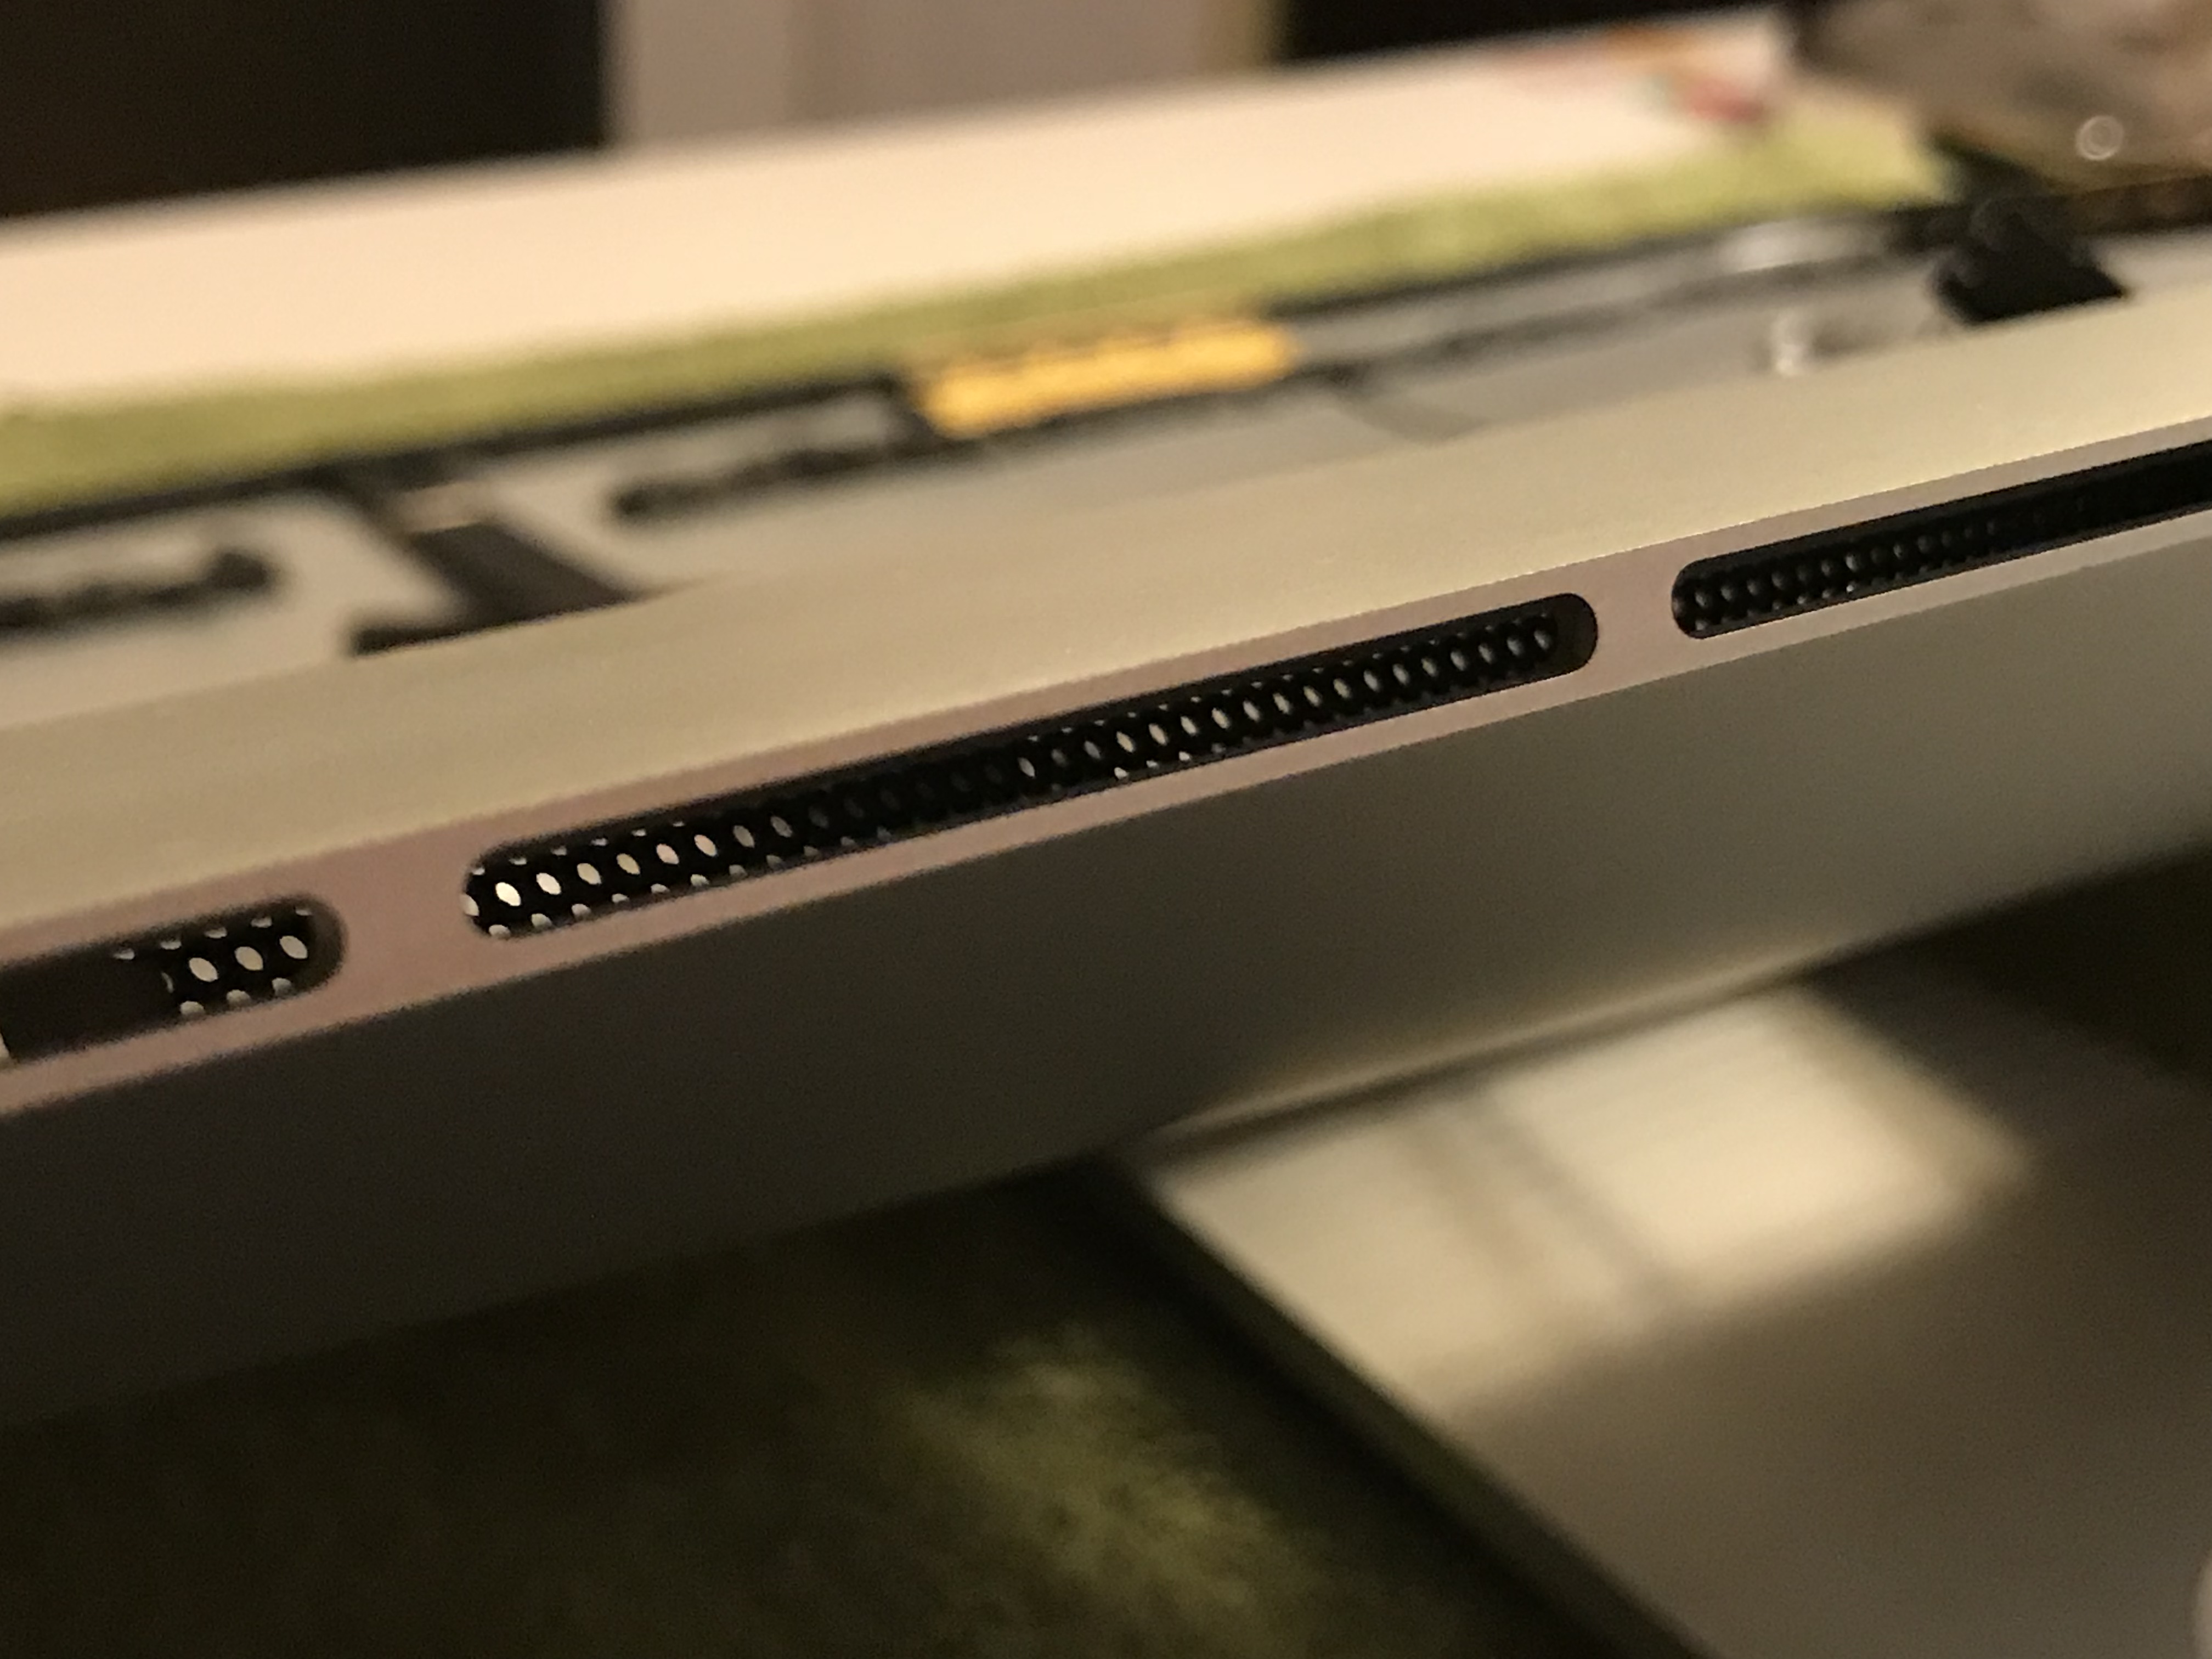
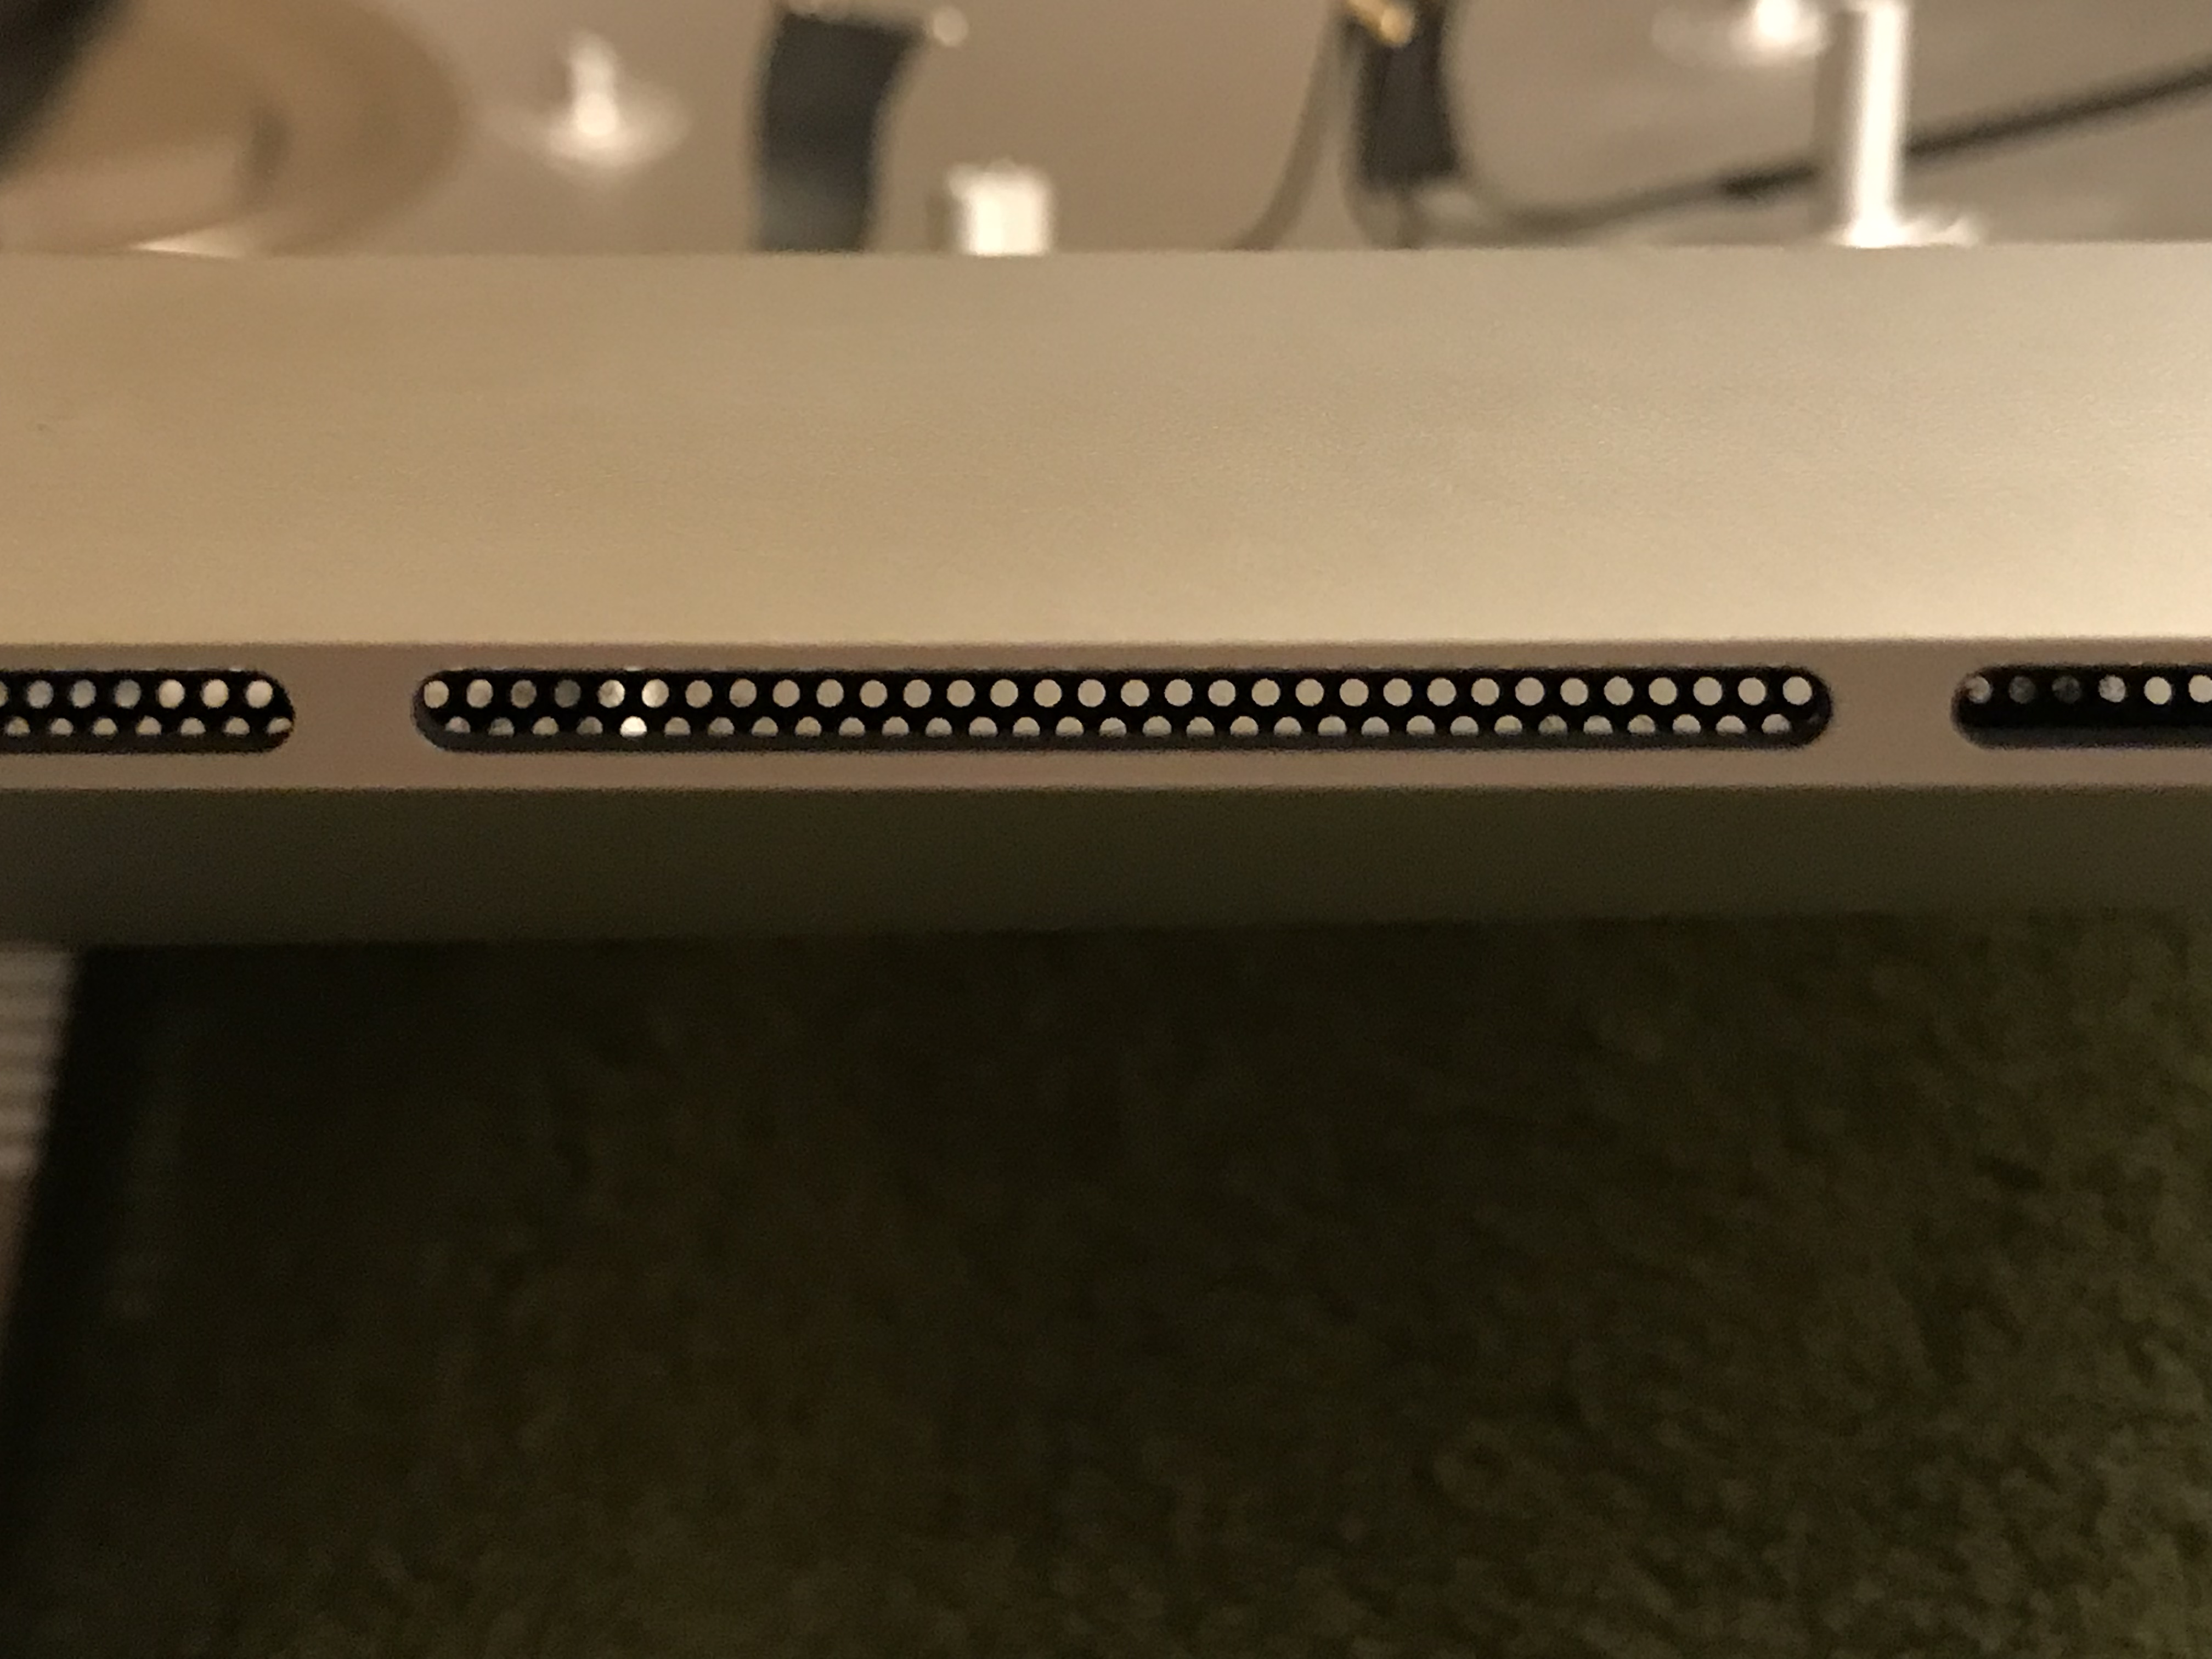
If and when you take your iMac apart, you should definitely check the air intake vents (located on the bottom bezel of the enclosure) and the air output vents (located behind the flex mount of the iMac’s foot, above the RAM bay). That’s where dust will accumulate the most.

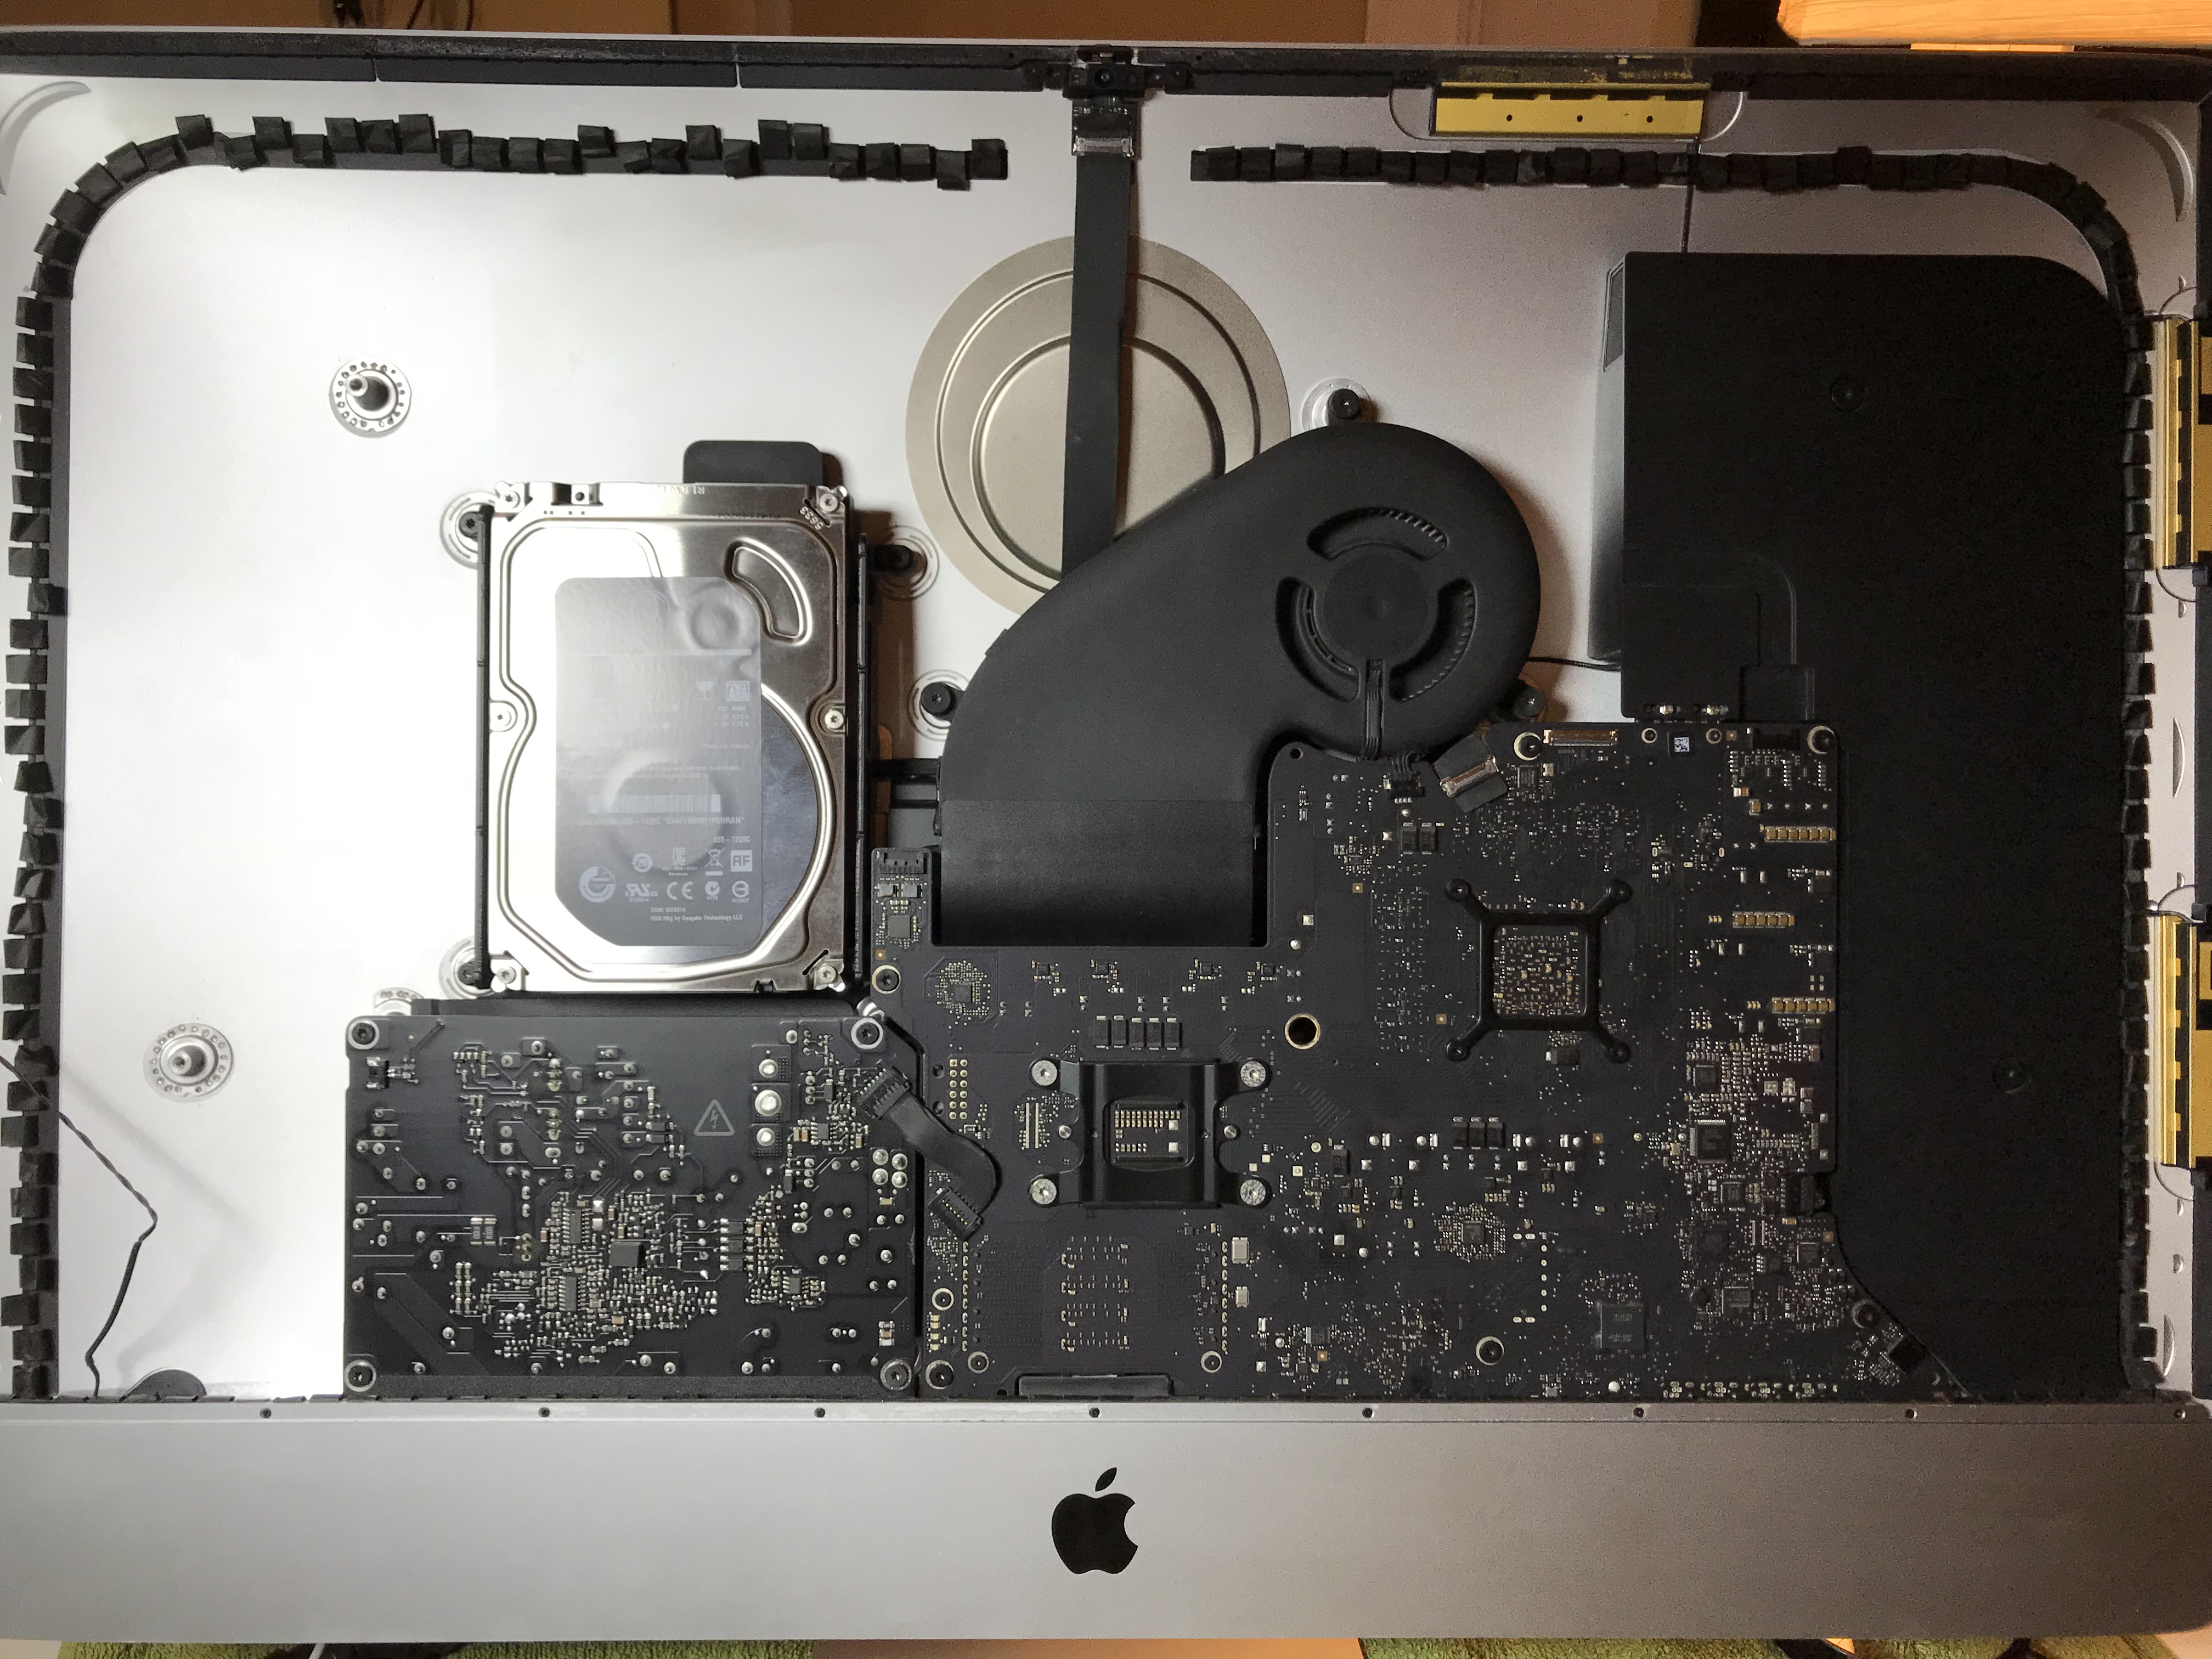
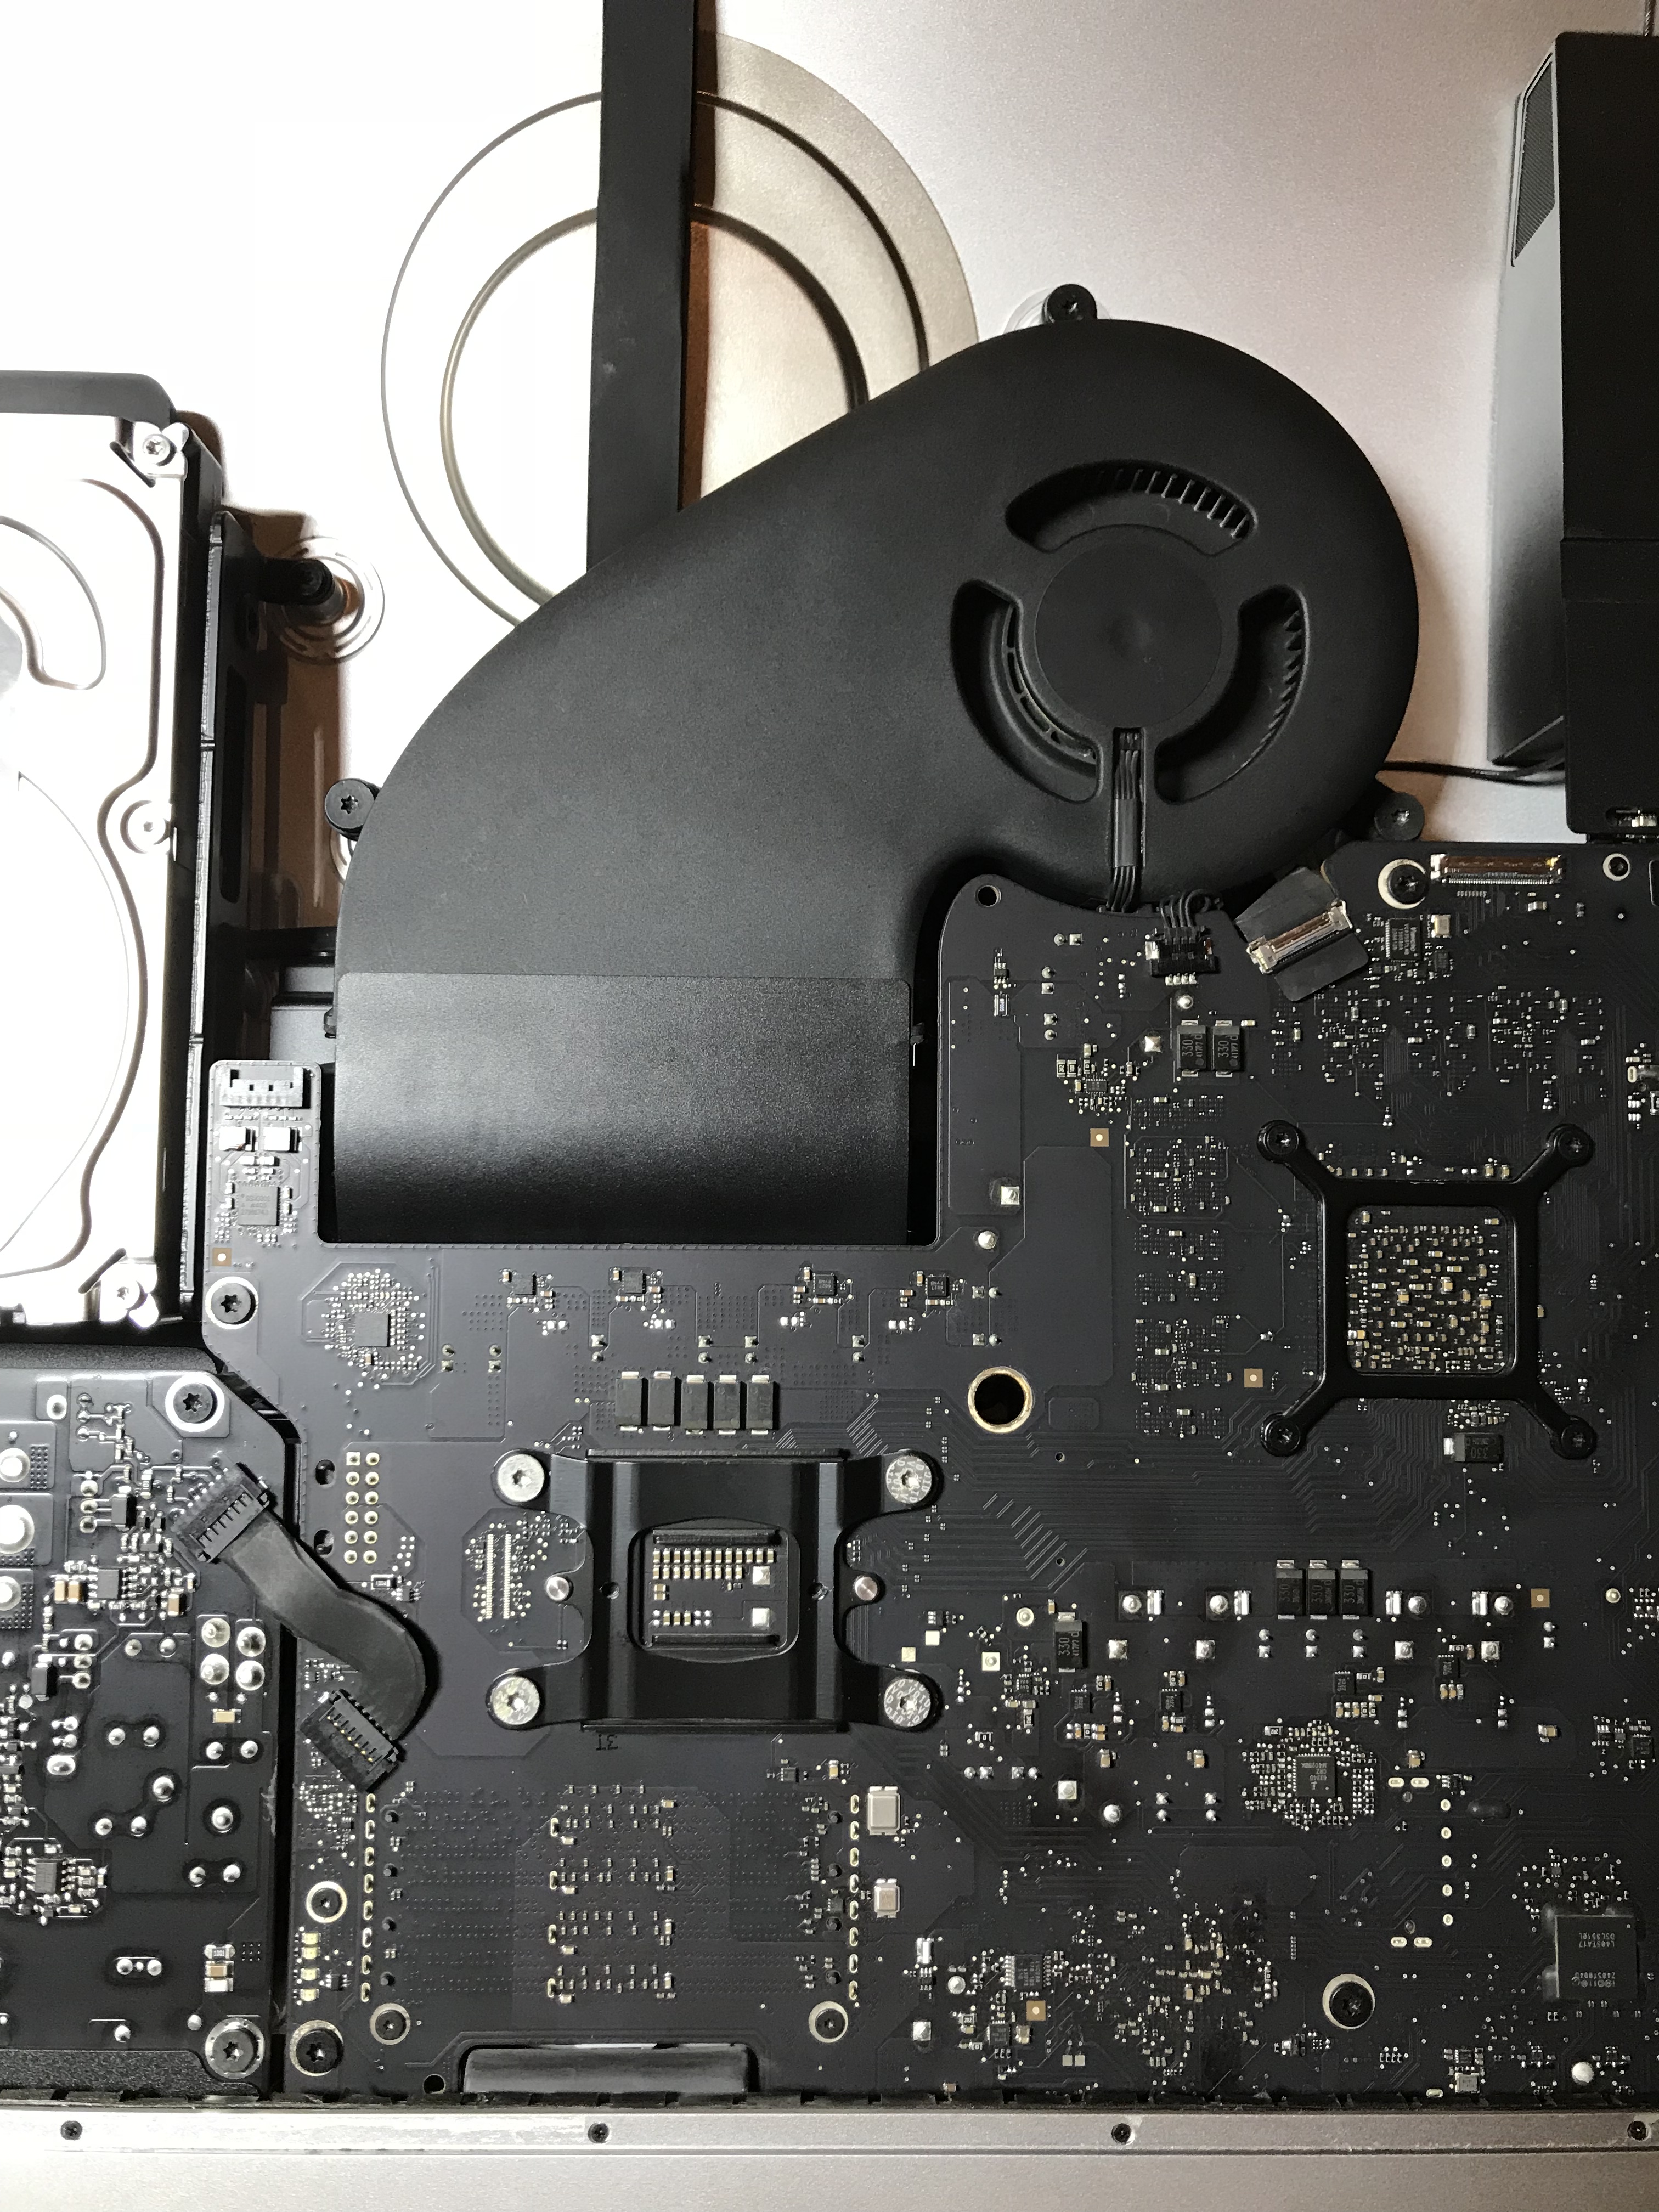
Here’s how my computer looked after being properly cleaned.

Please be careful as you handle the various parts, will you? One wrong move with the screwdriver and you could damage a circuit or worse, if you’re handling the power supply, you could cause a short that could give you a real shock and damage it for good. Unless you work in IT and have handled computer innards before, your best bet is to find a reputable repair shop, hopefully an Apple-authorized one, and have them clean it thoroughly. Just so you don’t have any issues with your Apple warranty and perhaps void it by mistake, do this operation after the warranty runs out (that’s 3 years for Apple Care).

Hope this helps!

Standard
A Guide To A Good Life, How To

How to choose a camera that’s right for you

In this video, I’m going to walk you through a process that will help you choose the right camera for your needs; it’s the same process I use myself as I choose new photo and video gear. Here are the decision-making steps I talk about in the video:

  1. Love what you already have
  2. Learn to use your equipment properly
  3. Don’t stress out about resolution (megapixels)
  4. Don’t get on a tech merry-go-round
  5. You don’t need UHD (4k video) just yet
  6. Be wary of “filler resolution”
  7. Separate the “nice to have” from the “must have”
  8. Get separate photo and video gear in order to obtain the best quality images and video

I hope this helps you!

Released 17-02-2018

It may seem like what I say in this video about camera resolution and about separating the equipment you purchase for photograph and video is contradicting what I say in this post, or in this post, but it isn’t that. I’ve done a lot of research and I’ve given this topic a lot of thought, and I’ve simply become more nuanced in my understanding of many aspects of digital cameras; when I sat down and thought about what kind of advice I wanted to give in this video, the statements I made above rang truest.

Thanks for watching!

Standard
A Guide To A Good Life, How To

Dealing with anger

I’d like to help those of you who like me, are dealing with anger issues, and I also want to add a few original pieces of advice to the growing body of self-help articles and techniques for anger management. That is why I made this video.

What follows is a close transcript of what I said in the video.

First, you’ll want to ask what anger is, because the definition varies based on the kind of anger you feel.

There’s normal anger. It’s normal for everyone to get angry every once in a while. That kind of anger can even be used for good, such as to spur you on to make changes for the better in your life.

There’s also the bad kind of anger, the kind that takes over you, makes you ready to explode and hurt someone. It’s the kind where you lose control and do things you regret afterwards. It’s the kind of anger that scares others and even yourself, because you don’t know what you’ll do once it takes over. This is the bad anger. You have to take care of this anger, you have to fix yourself so you don’t get this angry anymore, before you do something that you might regret for the rest of your life.

The first step when you find yourself angry is to get on top of the anger. Realize you’re still in control. That’s why we have these large brains with a very well developed cortex. We have the power to get on top of our base instincts. It takes a lot of effort but it can be done. If you feel you can’t do it, do the next best thing: get away from the situation. Walk away, get as far away as you need in order to stop feeling the tension of that situation and begin to calm yourself down.

Once you’re calm, you may choose to have a discussion about what caused the anger. Obviously, this only works in situations where the other person or persons are available and amenable to such things. Stay objective, DO NOT BLAME the other but express what triggered your anger and what you and the other person can do to avoid that sort of trigger in the future.

You can also choose to work out your anger through physical exercise. I’ve done this myself but let me tell you, it only works when you’re not that angry. When you’re so angry you’re bordering on mad, you can work out all you want, the anger will still be there and you may also risk physical injury to yourself, because you’ll be tempted to push your body beyond its limits in order to spend that anger inside you.

Anger is disruptive at best and can be lethal at worst — lethal to you or to others. You can easily have a heart attack or a stroke when you’re angry and the effects of those incidents can be temporary or permanent. You can also easily injure or kill others when you’re in a fit of anger, because you’re not in control of yourself, you’re pumped up on fight or flight hormones and capable of greater physical strength than normal.

So it behooves you to control your anger, to find out what triggers it and to work on yourself in order to find out the underlying causes for your anger. It may be that you’re just naturally irritable, it may be that your upbringing caused you to be angry, because you were abused or mistreated or your family dealt just as terribly with anger, giving you a bad example that you’re now mirroring.

Look for a good CBT (Cognitive Behavioral Therapy) practitioner. CBT has been proven, time and time again, to work much better than medication. Something that helped me is Ferasa. It’s an ancient Arabic face reading practice. The Ferasa practitioner is trained to look at the subtle movements of the muscles in your face and to sense what you are feeling, then he will ask you questions that will cause you to eventually find your problems and face them. The thing is, you can’t hide what you’re feeling or thinking from a knowledgeable Ferasa practitioner. He will continue to ask you probing questions until you are forced to deal with your problems.

The point is not to ball up in a fetal position and cry about how much of a victim you are. That’s not productive and it won’t solve your anger. The point is to find out what’s causing your anger and acknowledge that cause to yourself, fully. You want to own that cause and you want to say to yourself, over and over, until it sticks, that what happened is in the past, that you accept it, that you forgive yourself and the others involved, and that you’re moving on. That you’re an adult now, that you have a good life, that you are a good person and that you are choosing to behave rationally and considerately, each and every day.

It will also help to have a regular physical exercise schedule, at least 2-3 times per week, and it will also help you to meditate at least 5 minutes in the morning. It’s much better to do it in the morning, because you’ll be starting your day by calming yourself down. And you may also find that you’ll want to do a 5 minute meditation at night, to close out the day, where you acknowledge the good and the bad situations that happened that day and you promise yourself to do better the next time.

Standard