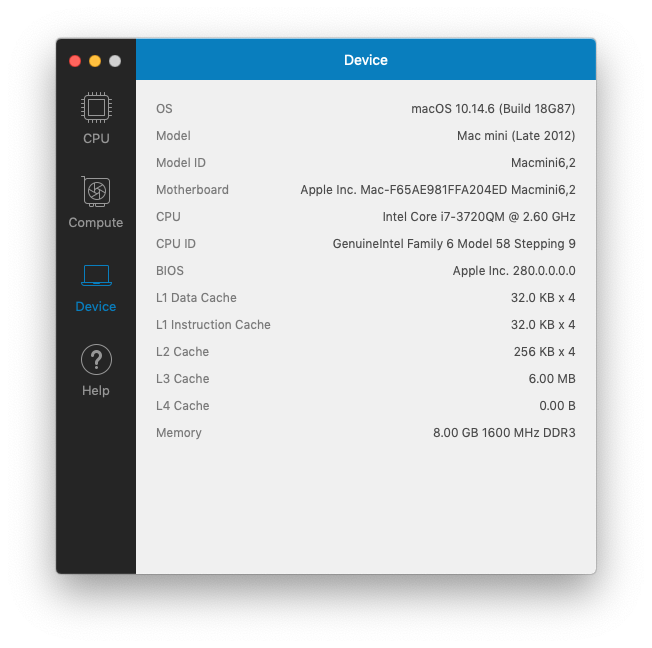
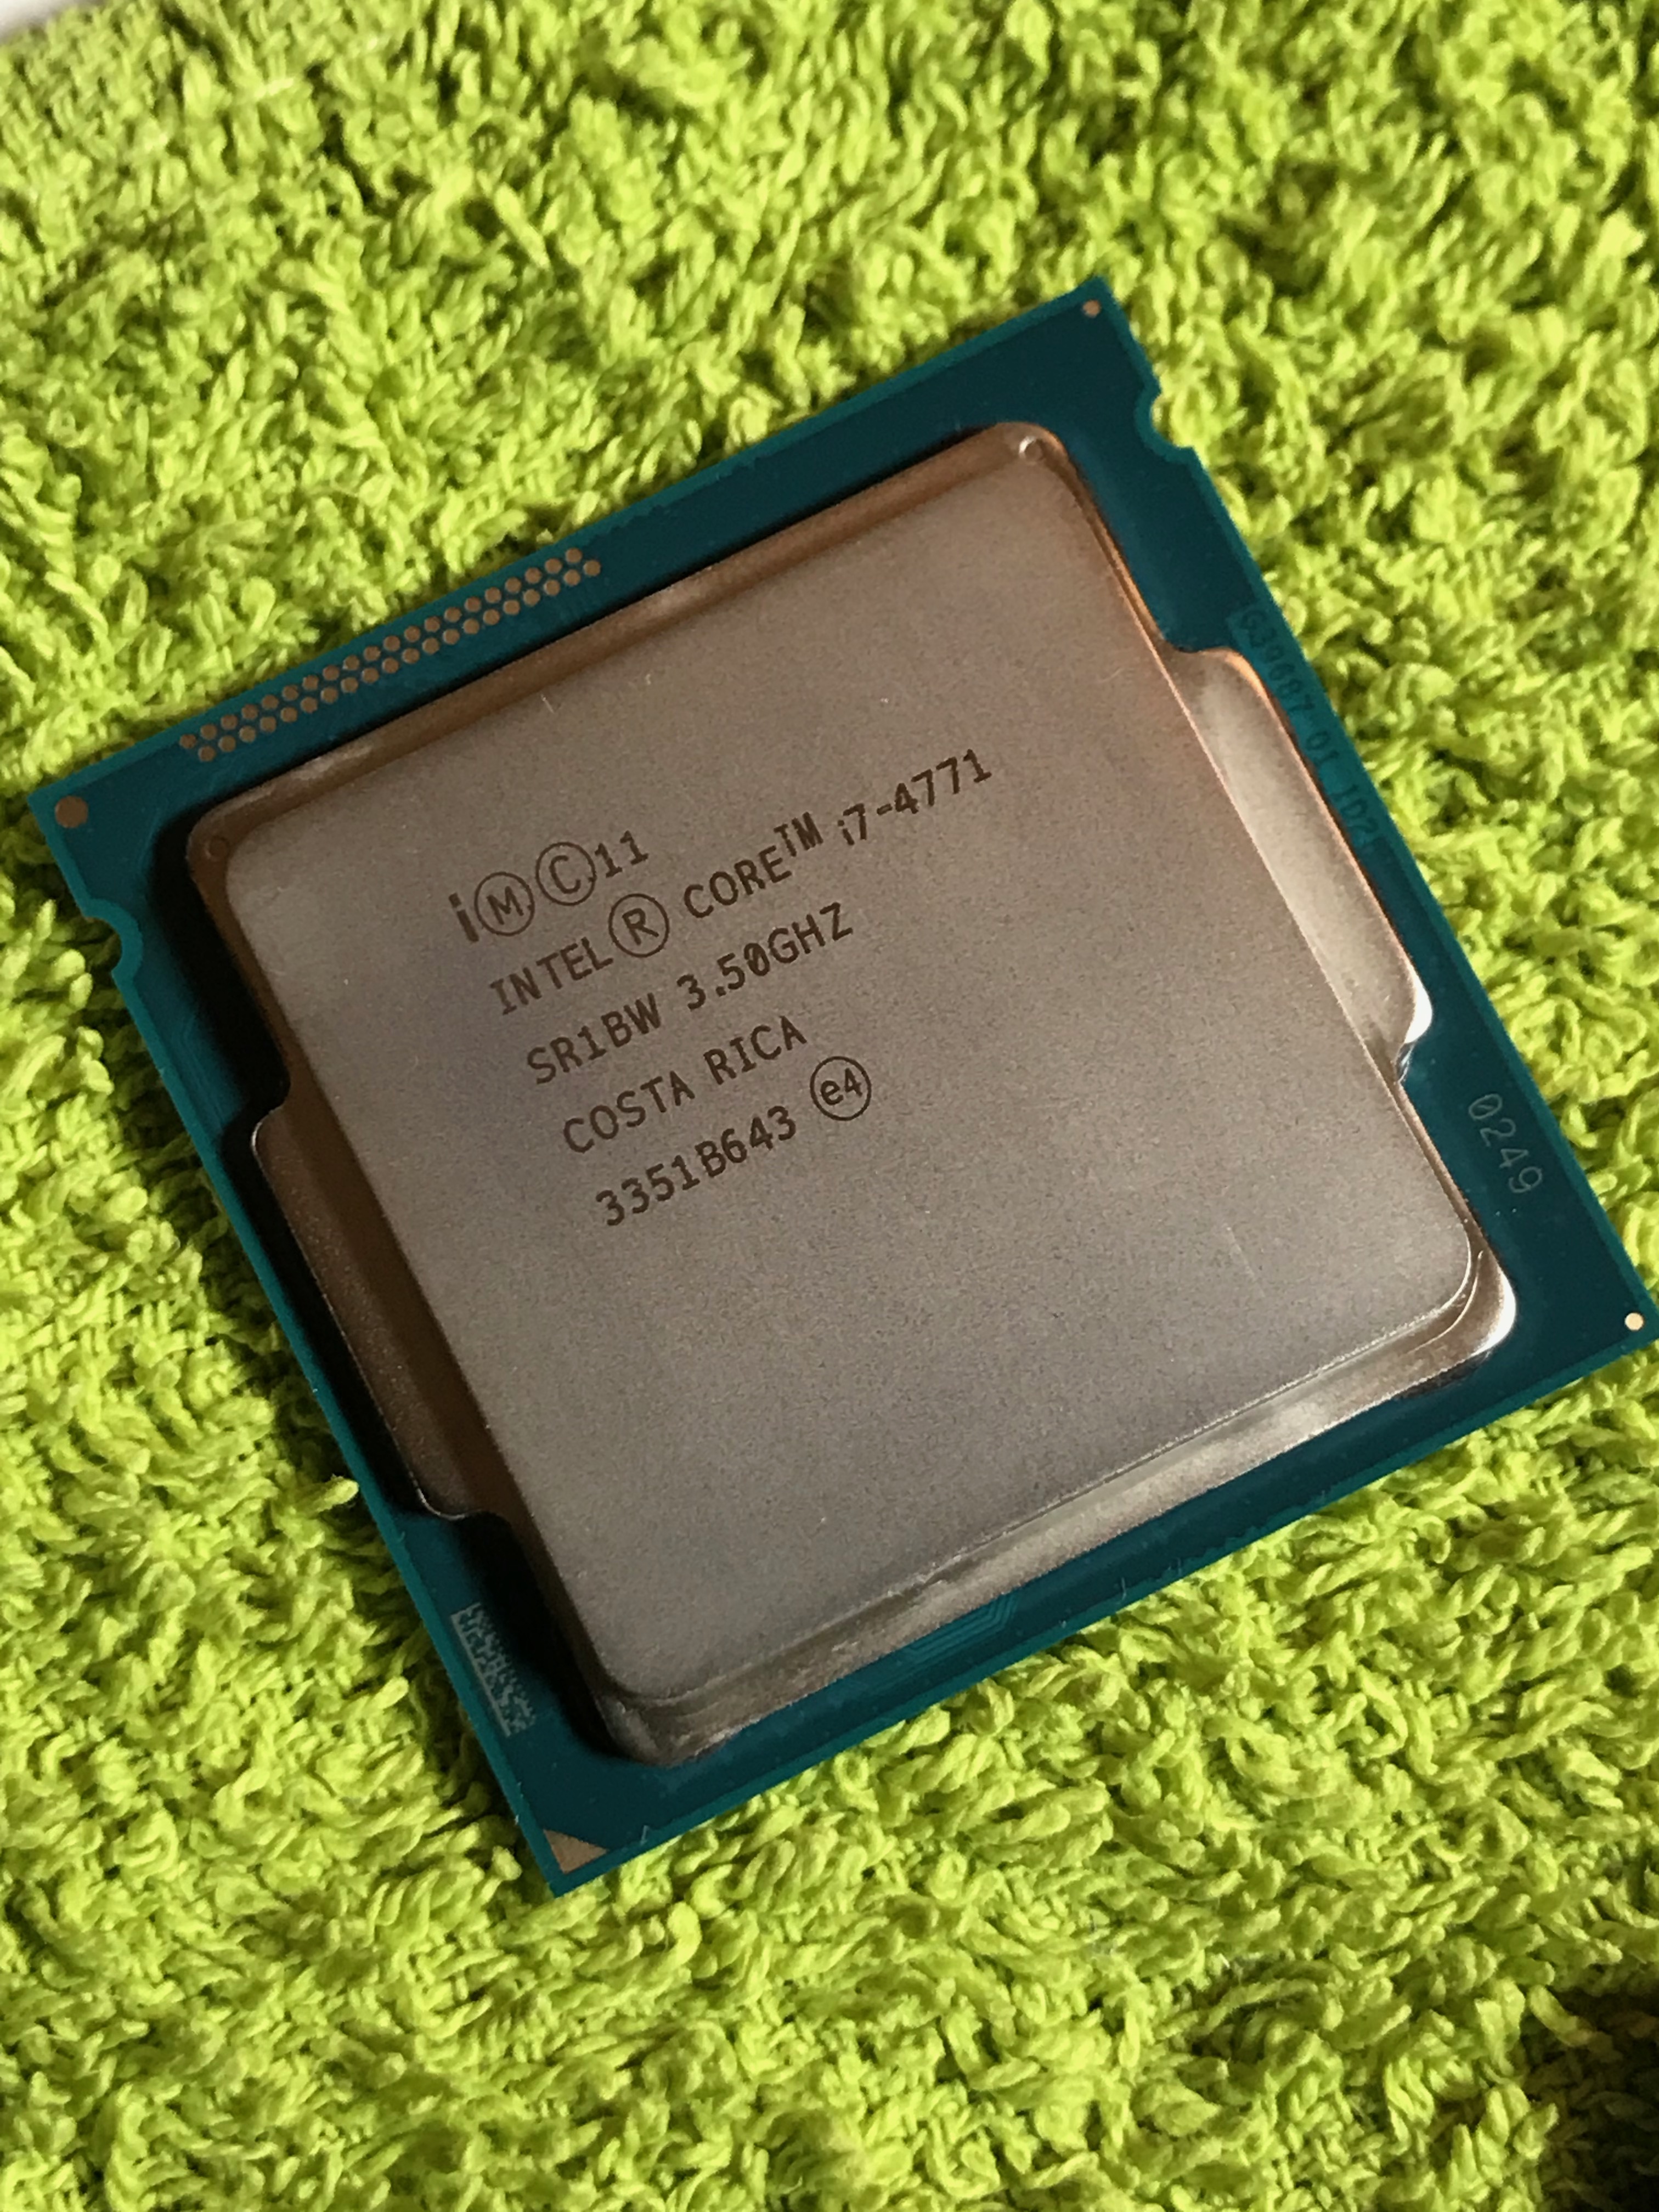
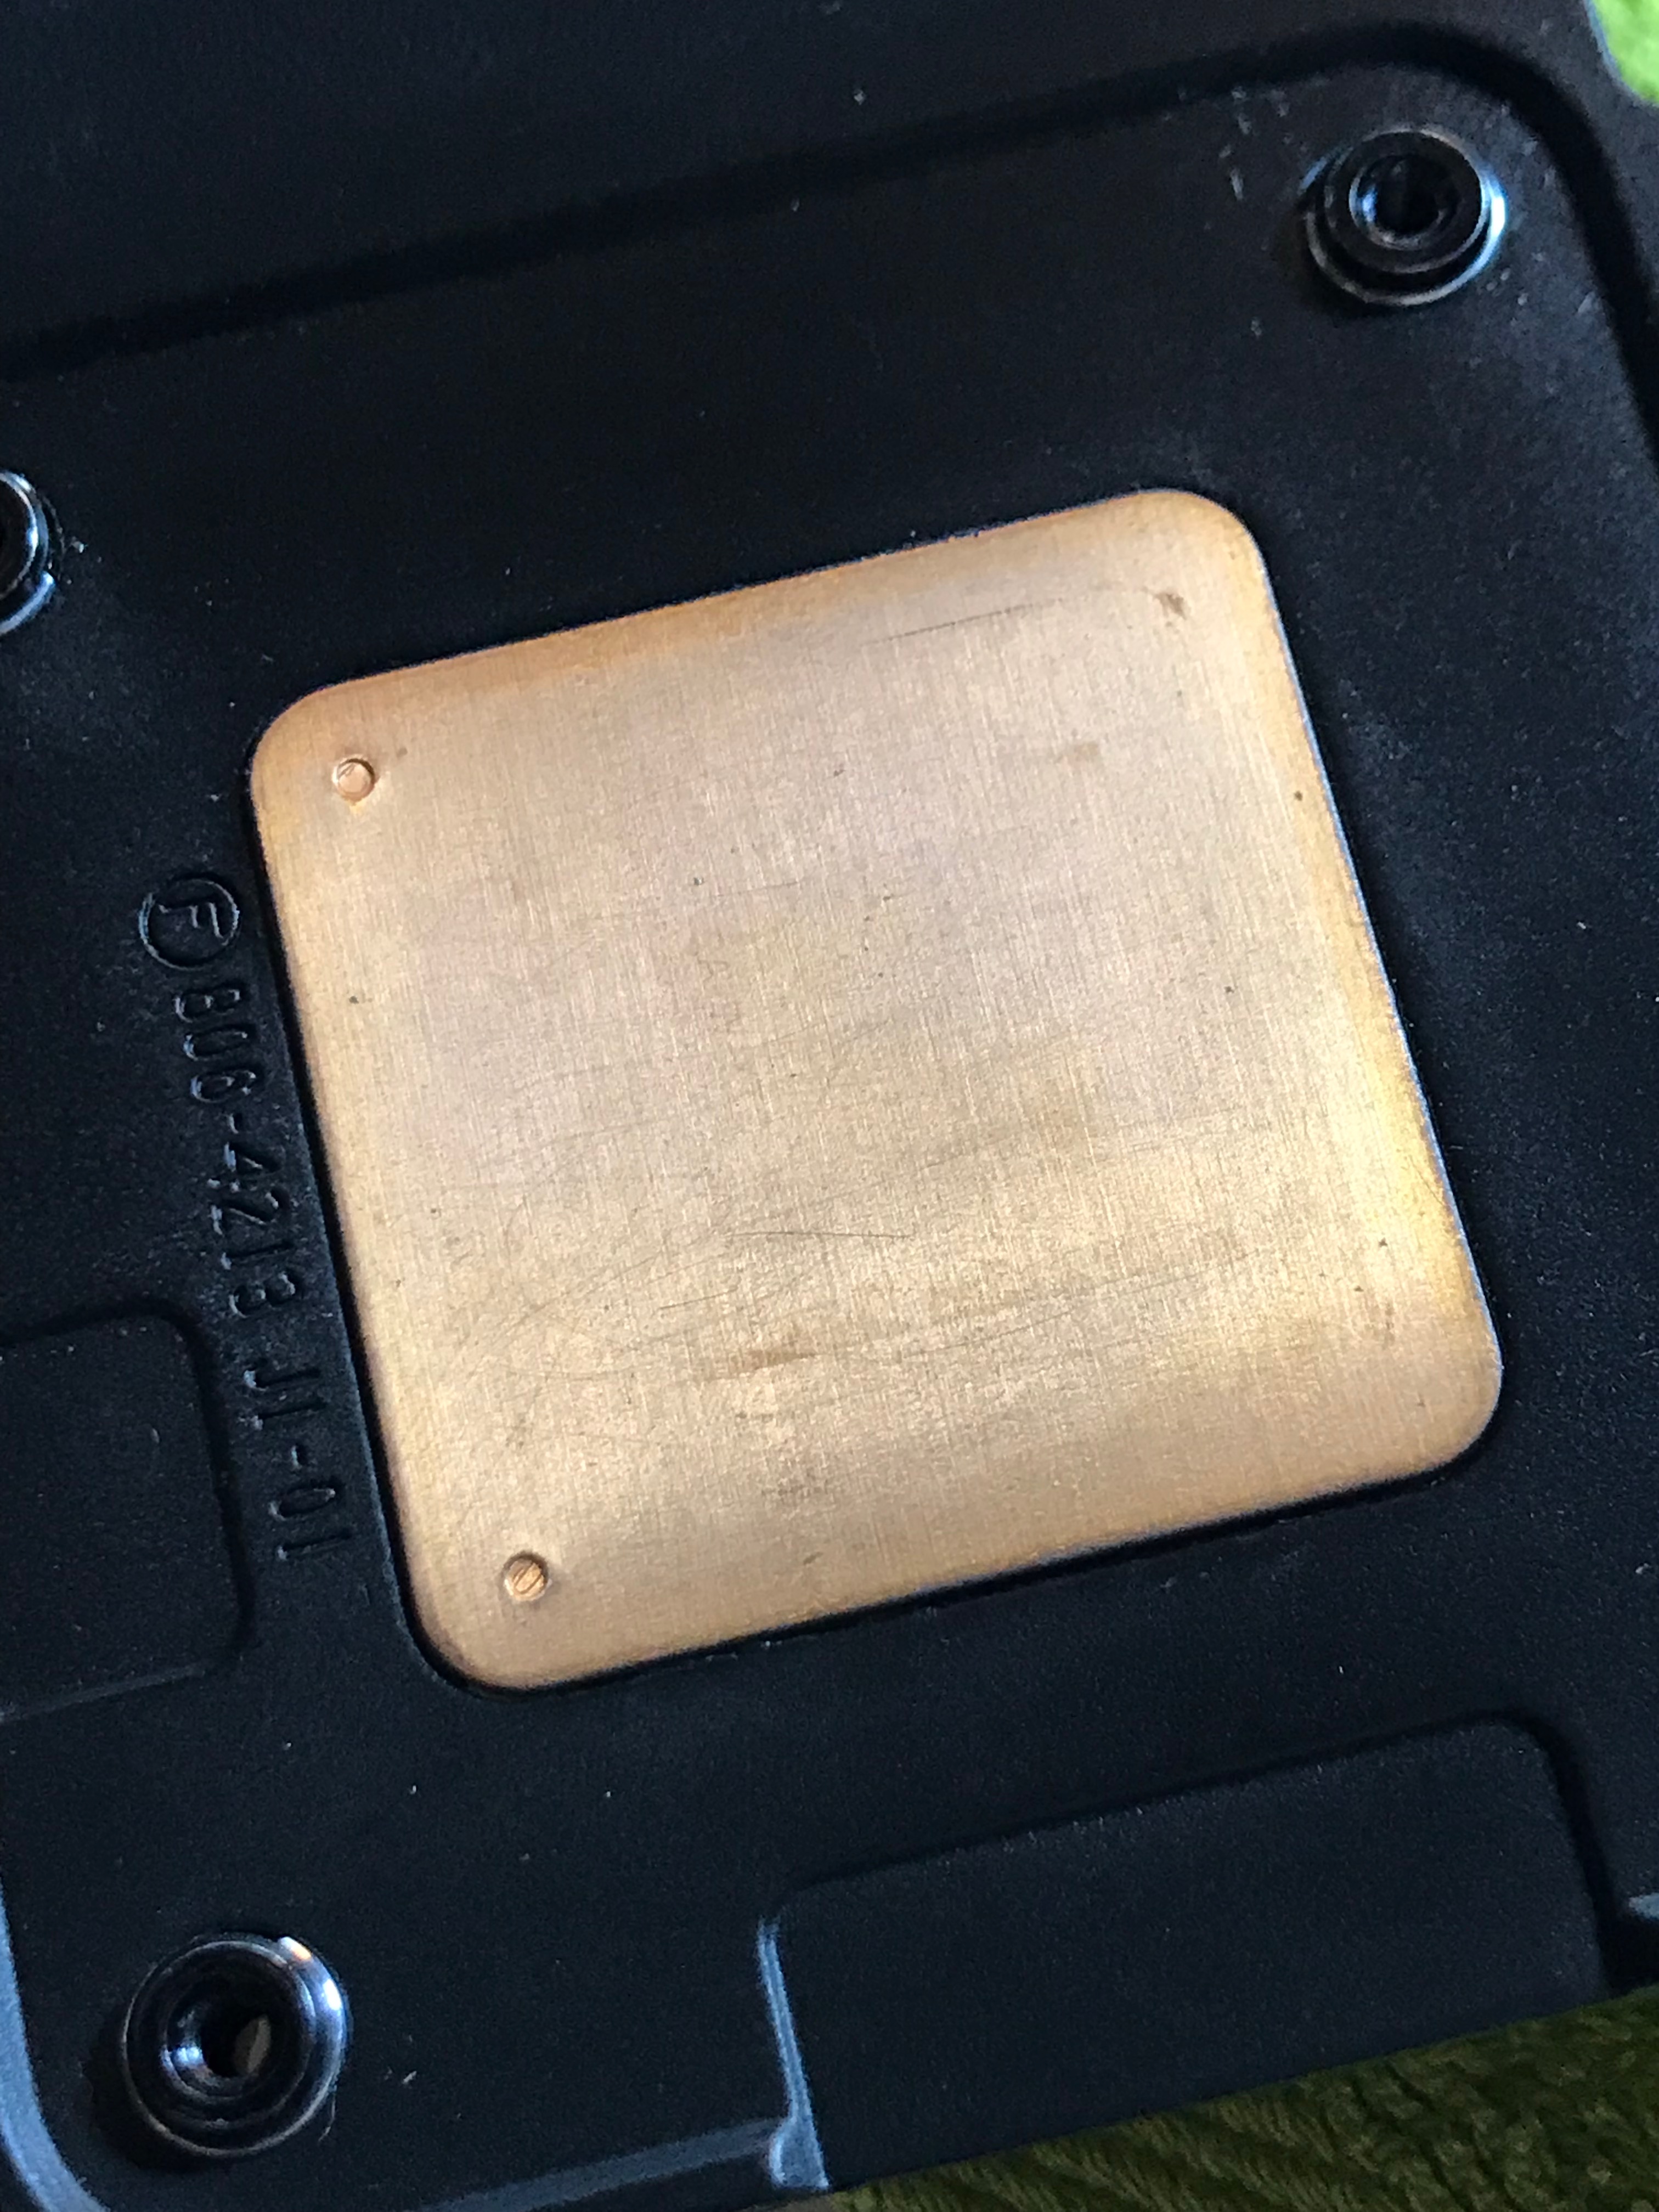
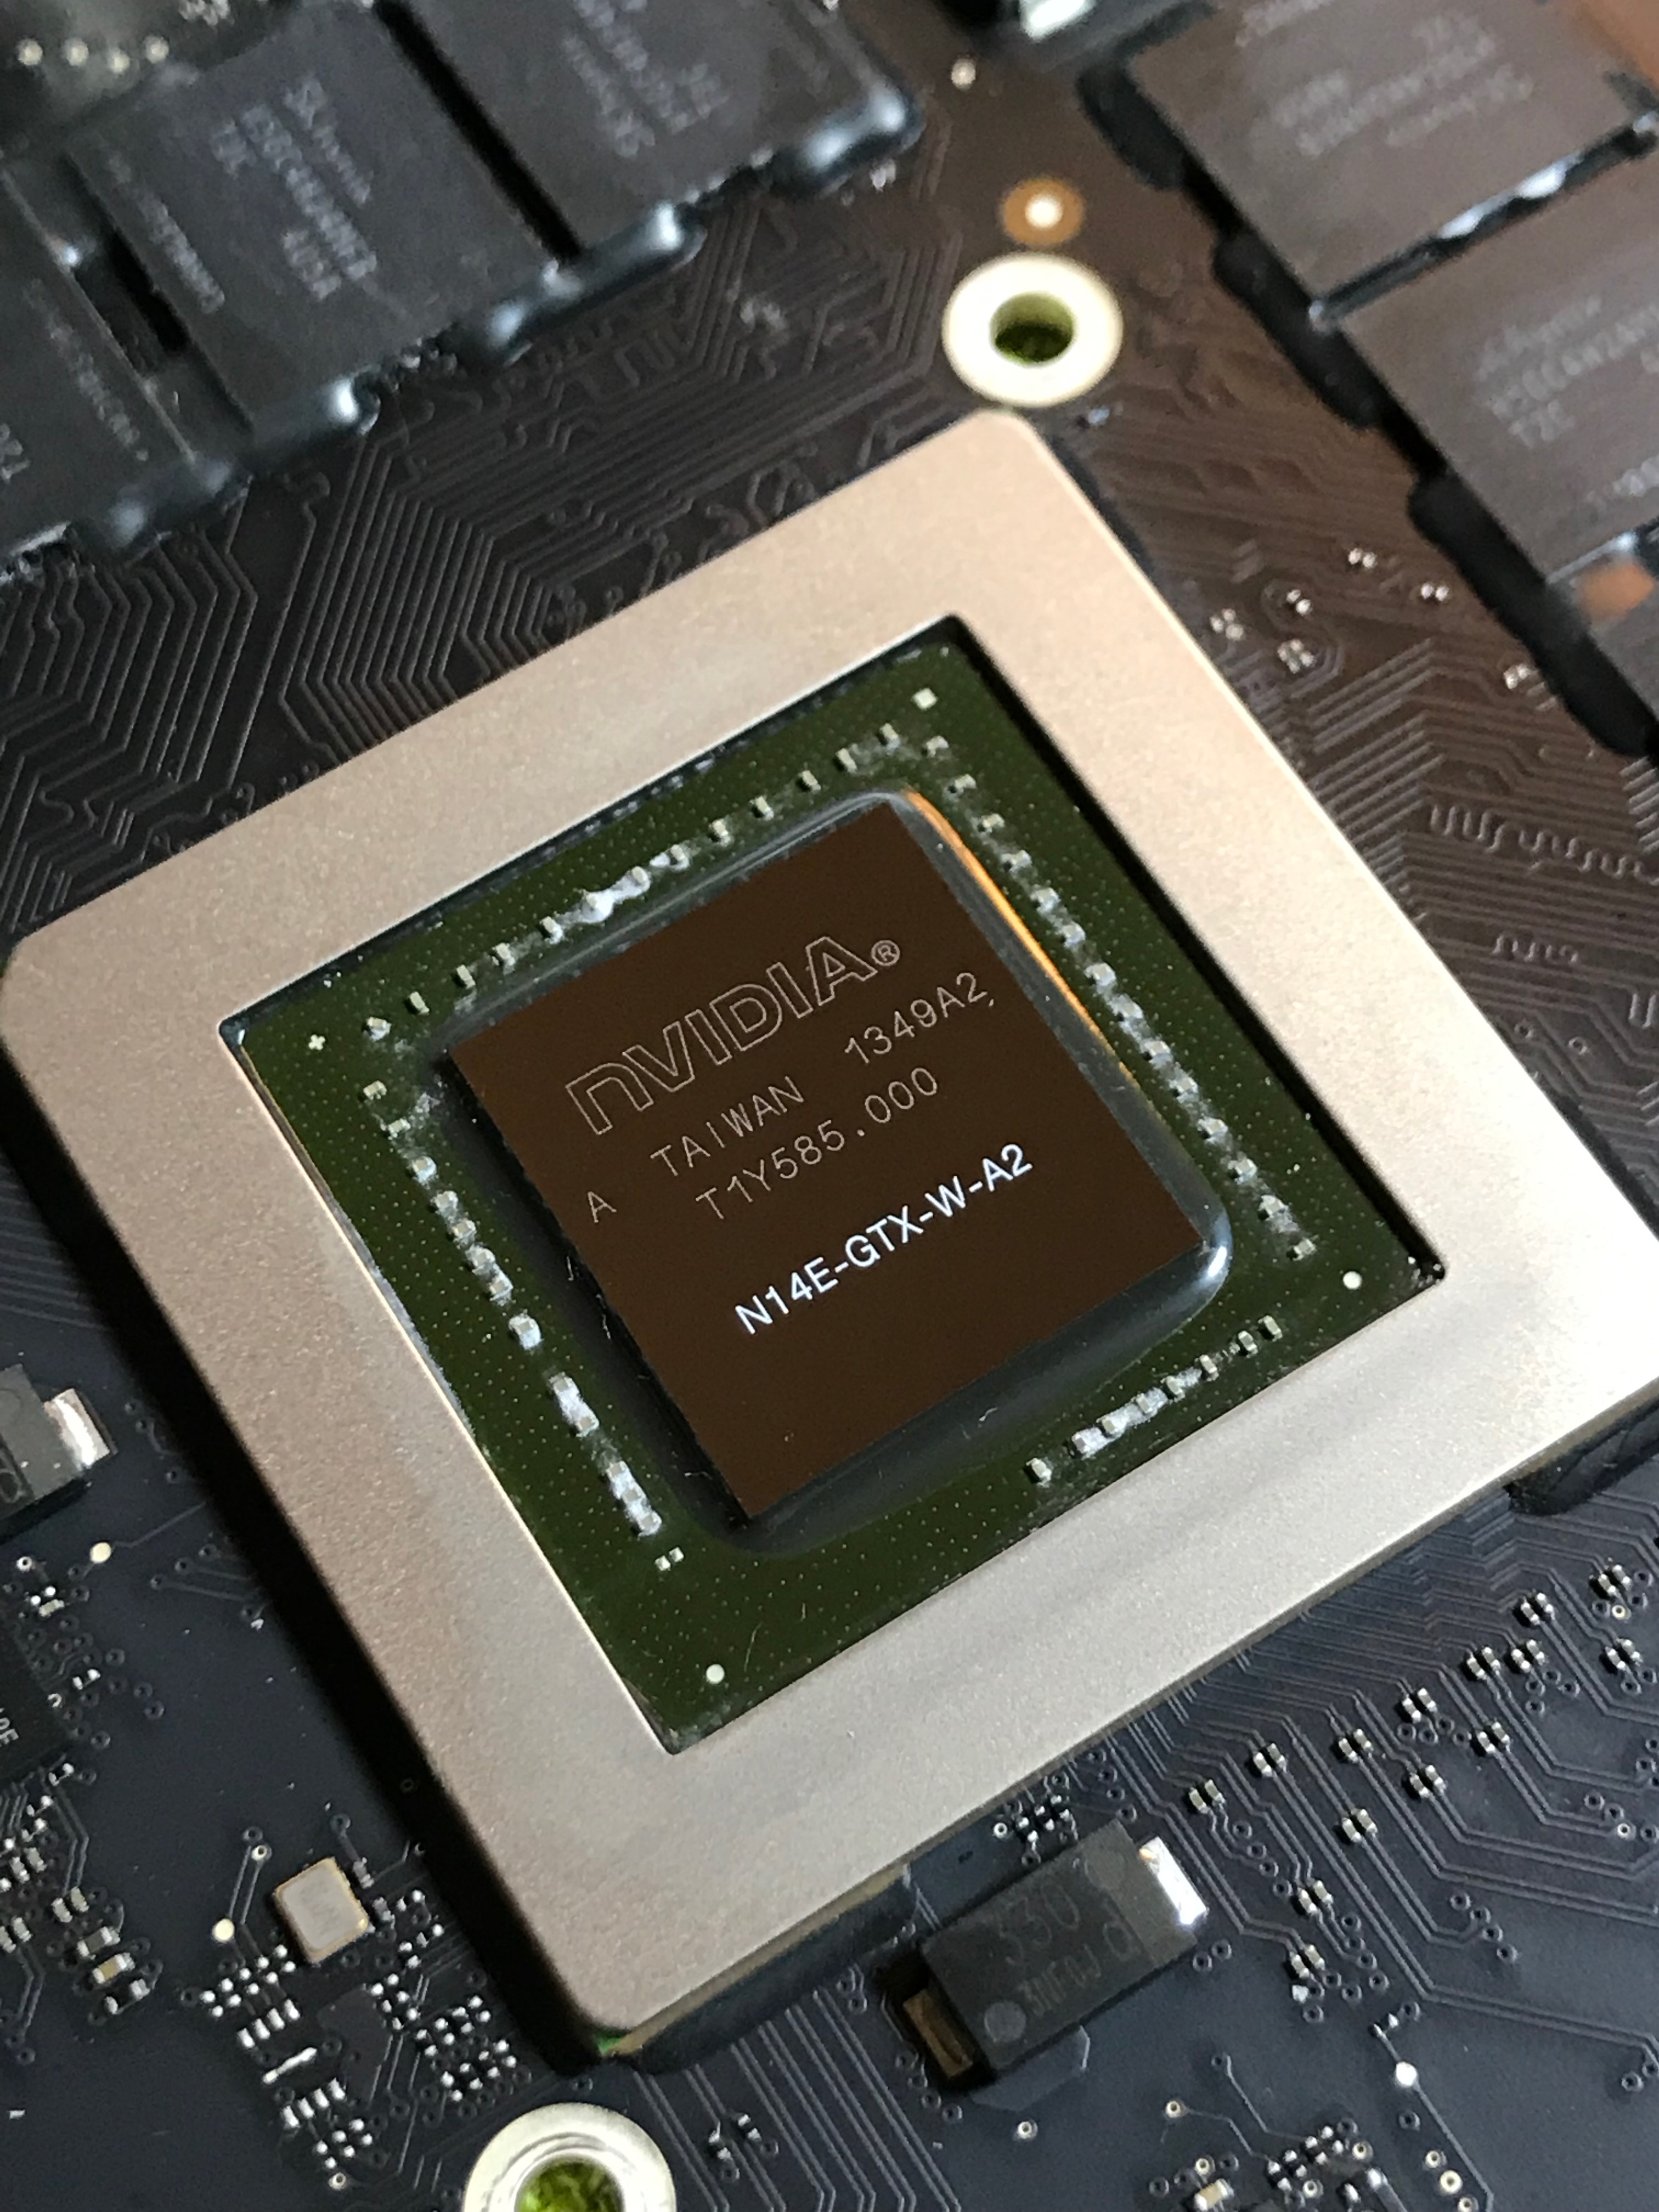
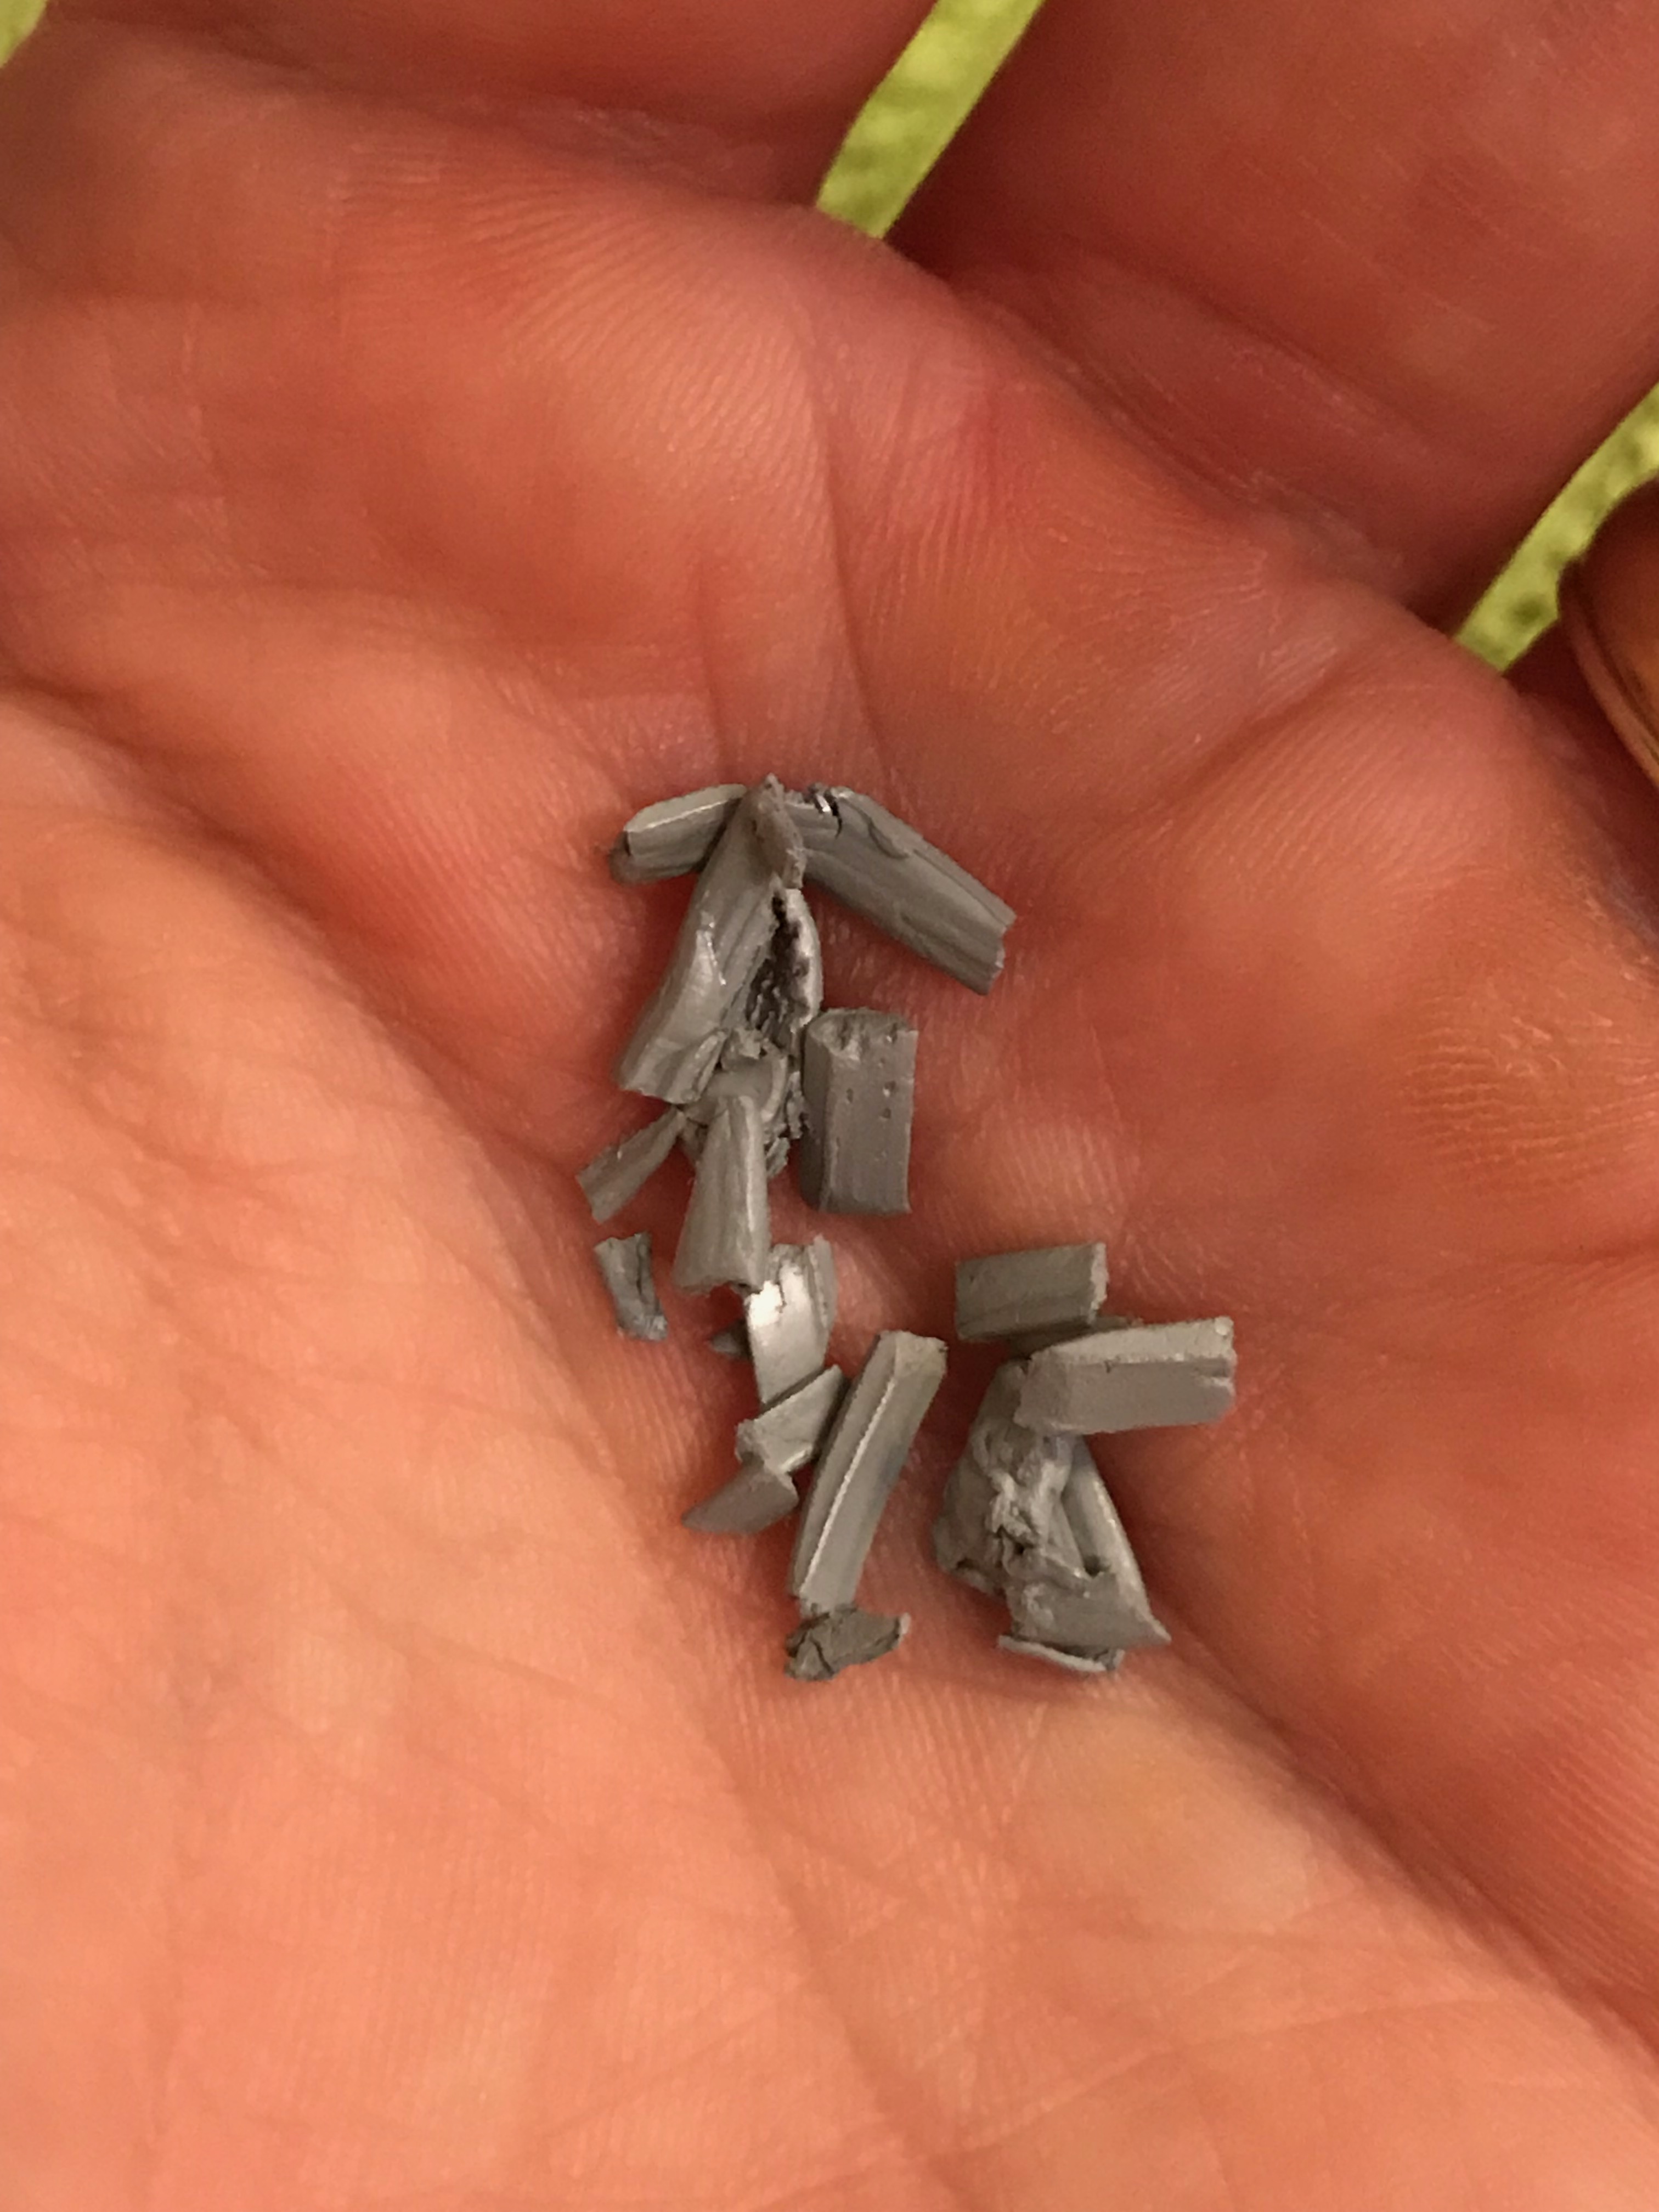
My wife’s computer is a unibody, late-2012 Mac Mini, model A1347 with Fusion Drive, which we’ve had since then, having ordered it to our specs directly from Apple. We’re happy with it. It’s a lovely little computer with more than enough oomph for my wife’s needs (she is an author).
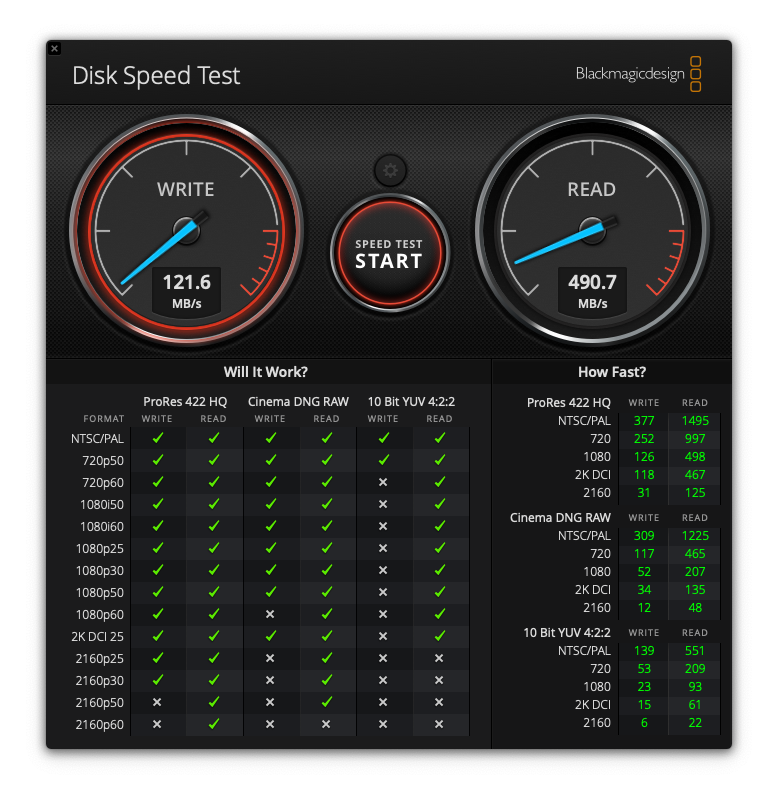
The HDD on her Mac was silently failing and her computer was getting slower. A quick disk speed test revealed that its write speeds had decreased by about 75%.
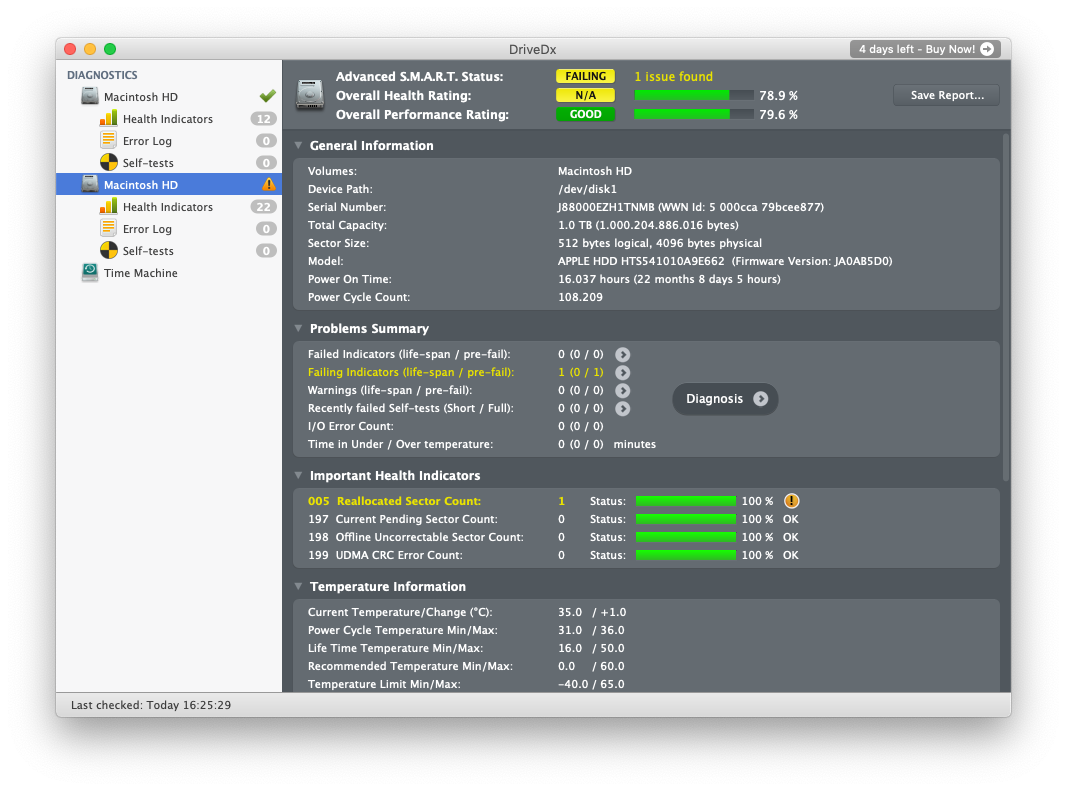
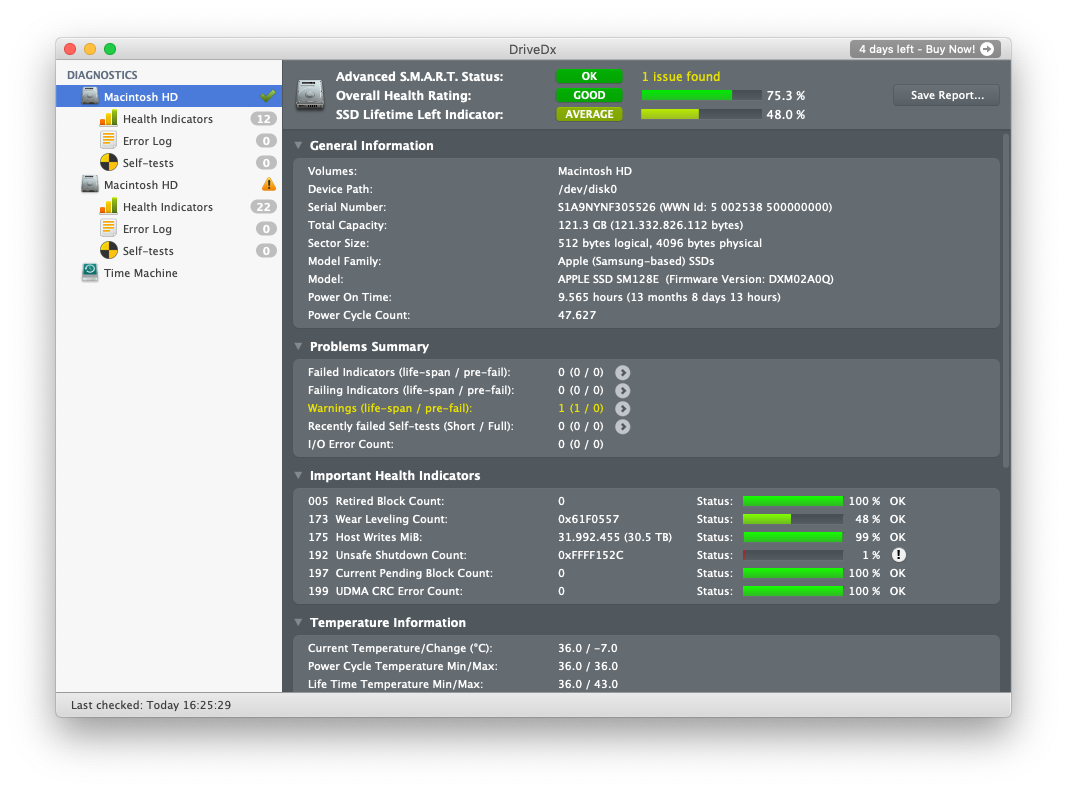
Running First Aid on the system volume did not yield any insights into the HDD’s true state. Thankfully, there’s a little app called DriveDx, which I talked about in a previous post. Running that app revealed the HDD’s problems.
The SSD wasn’t doing too well either, but at least its lifespan was at about 50%.
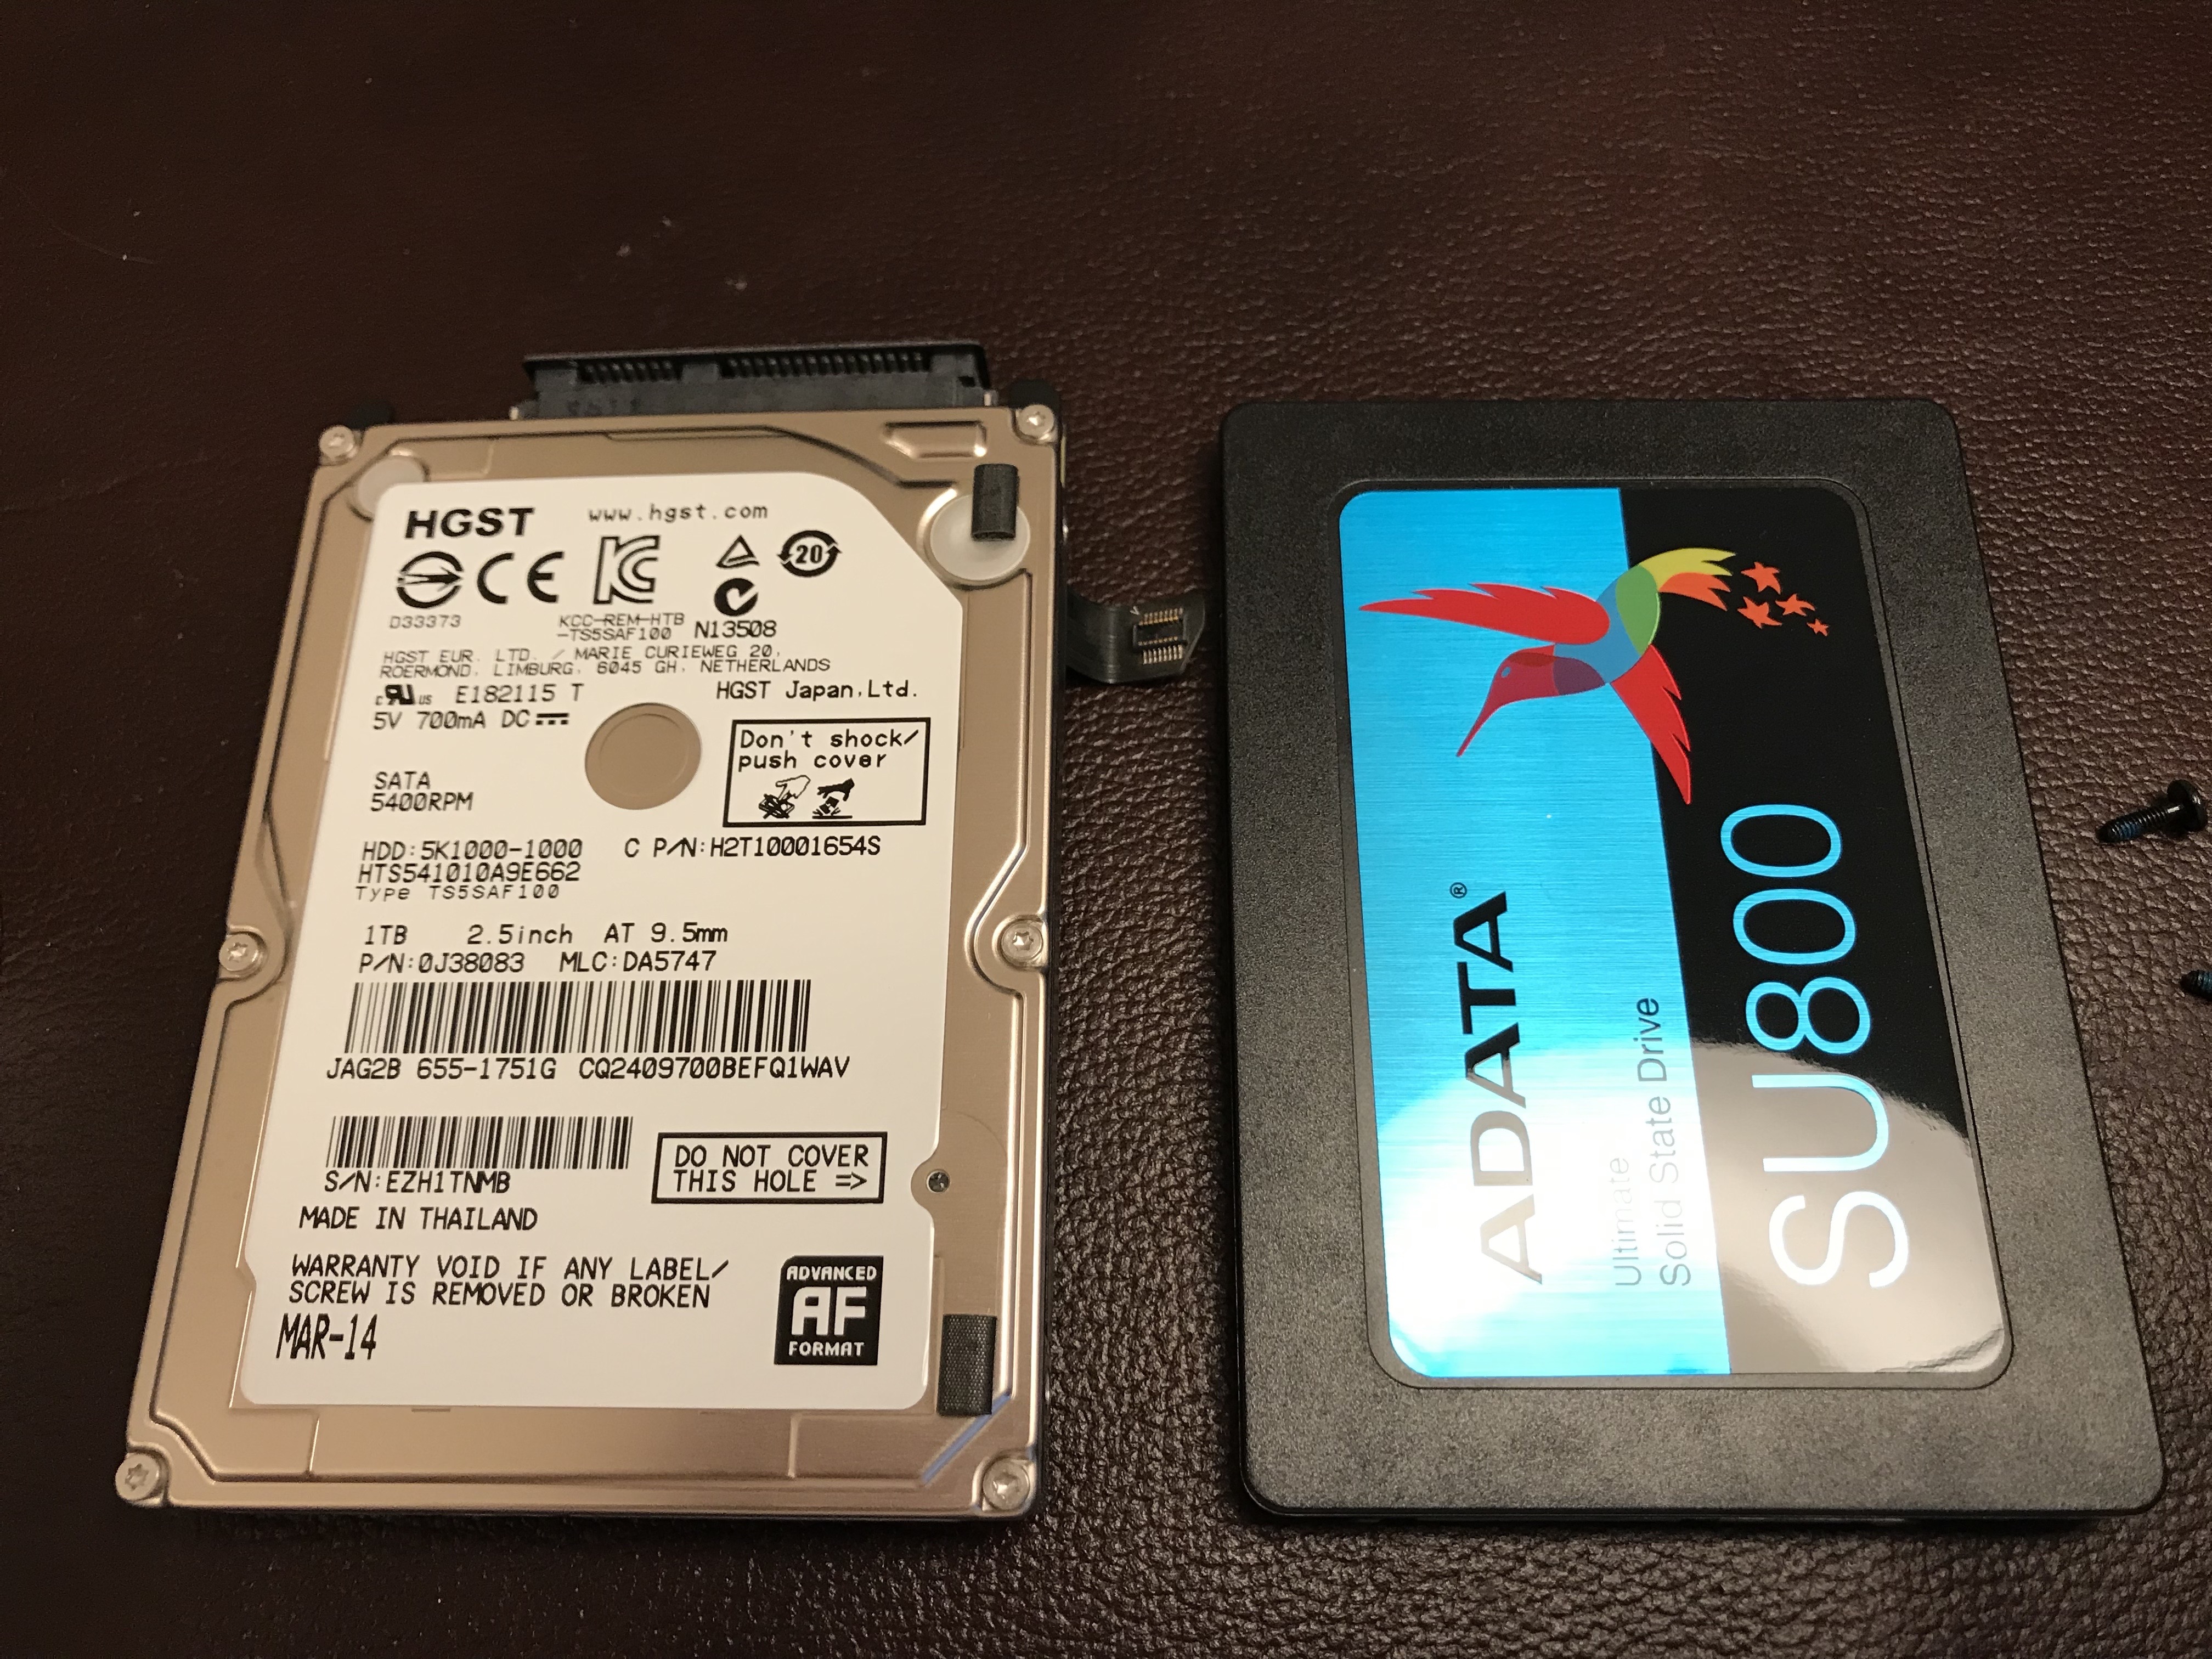
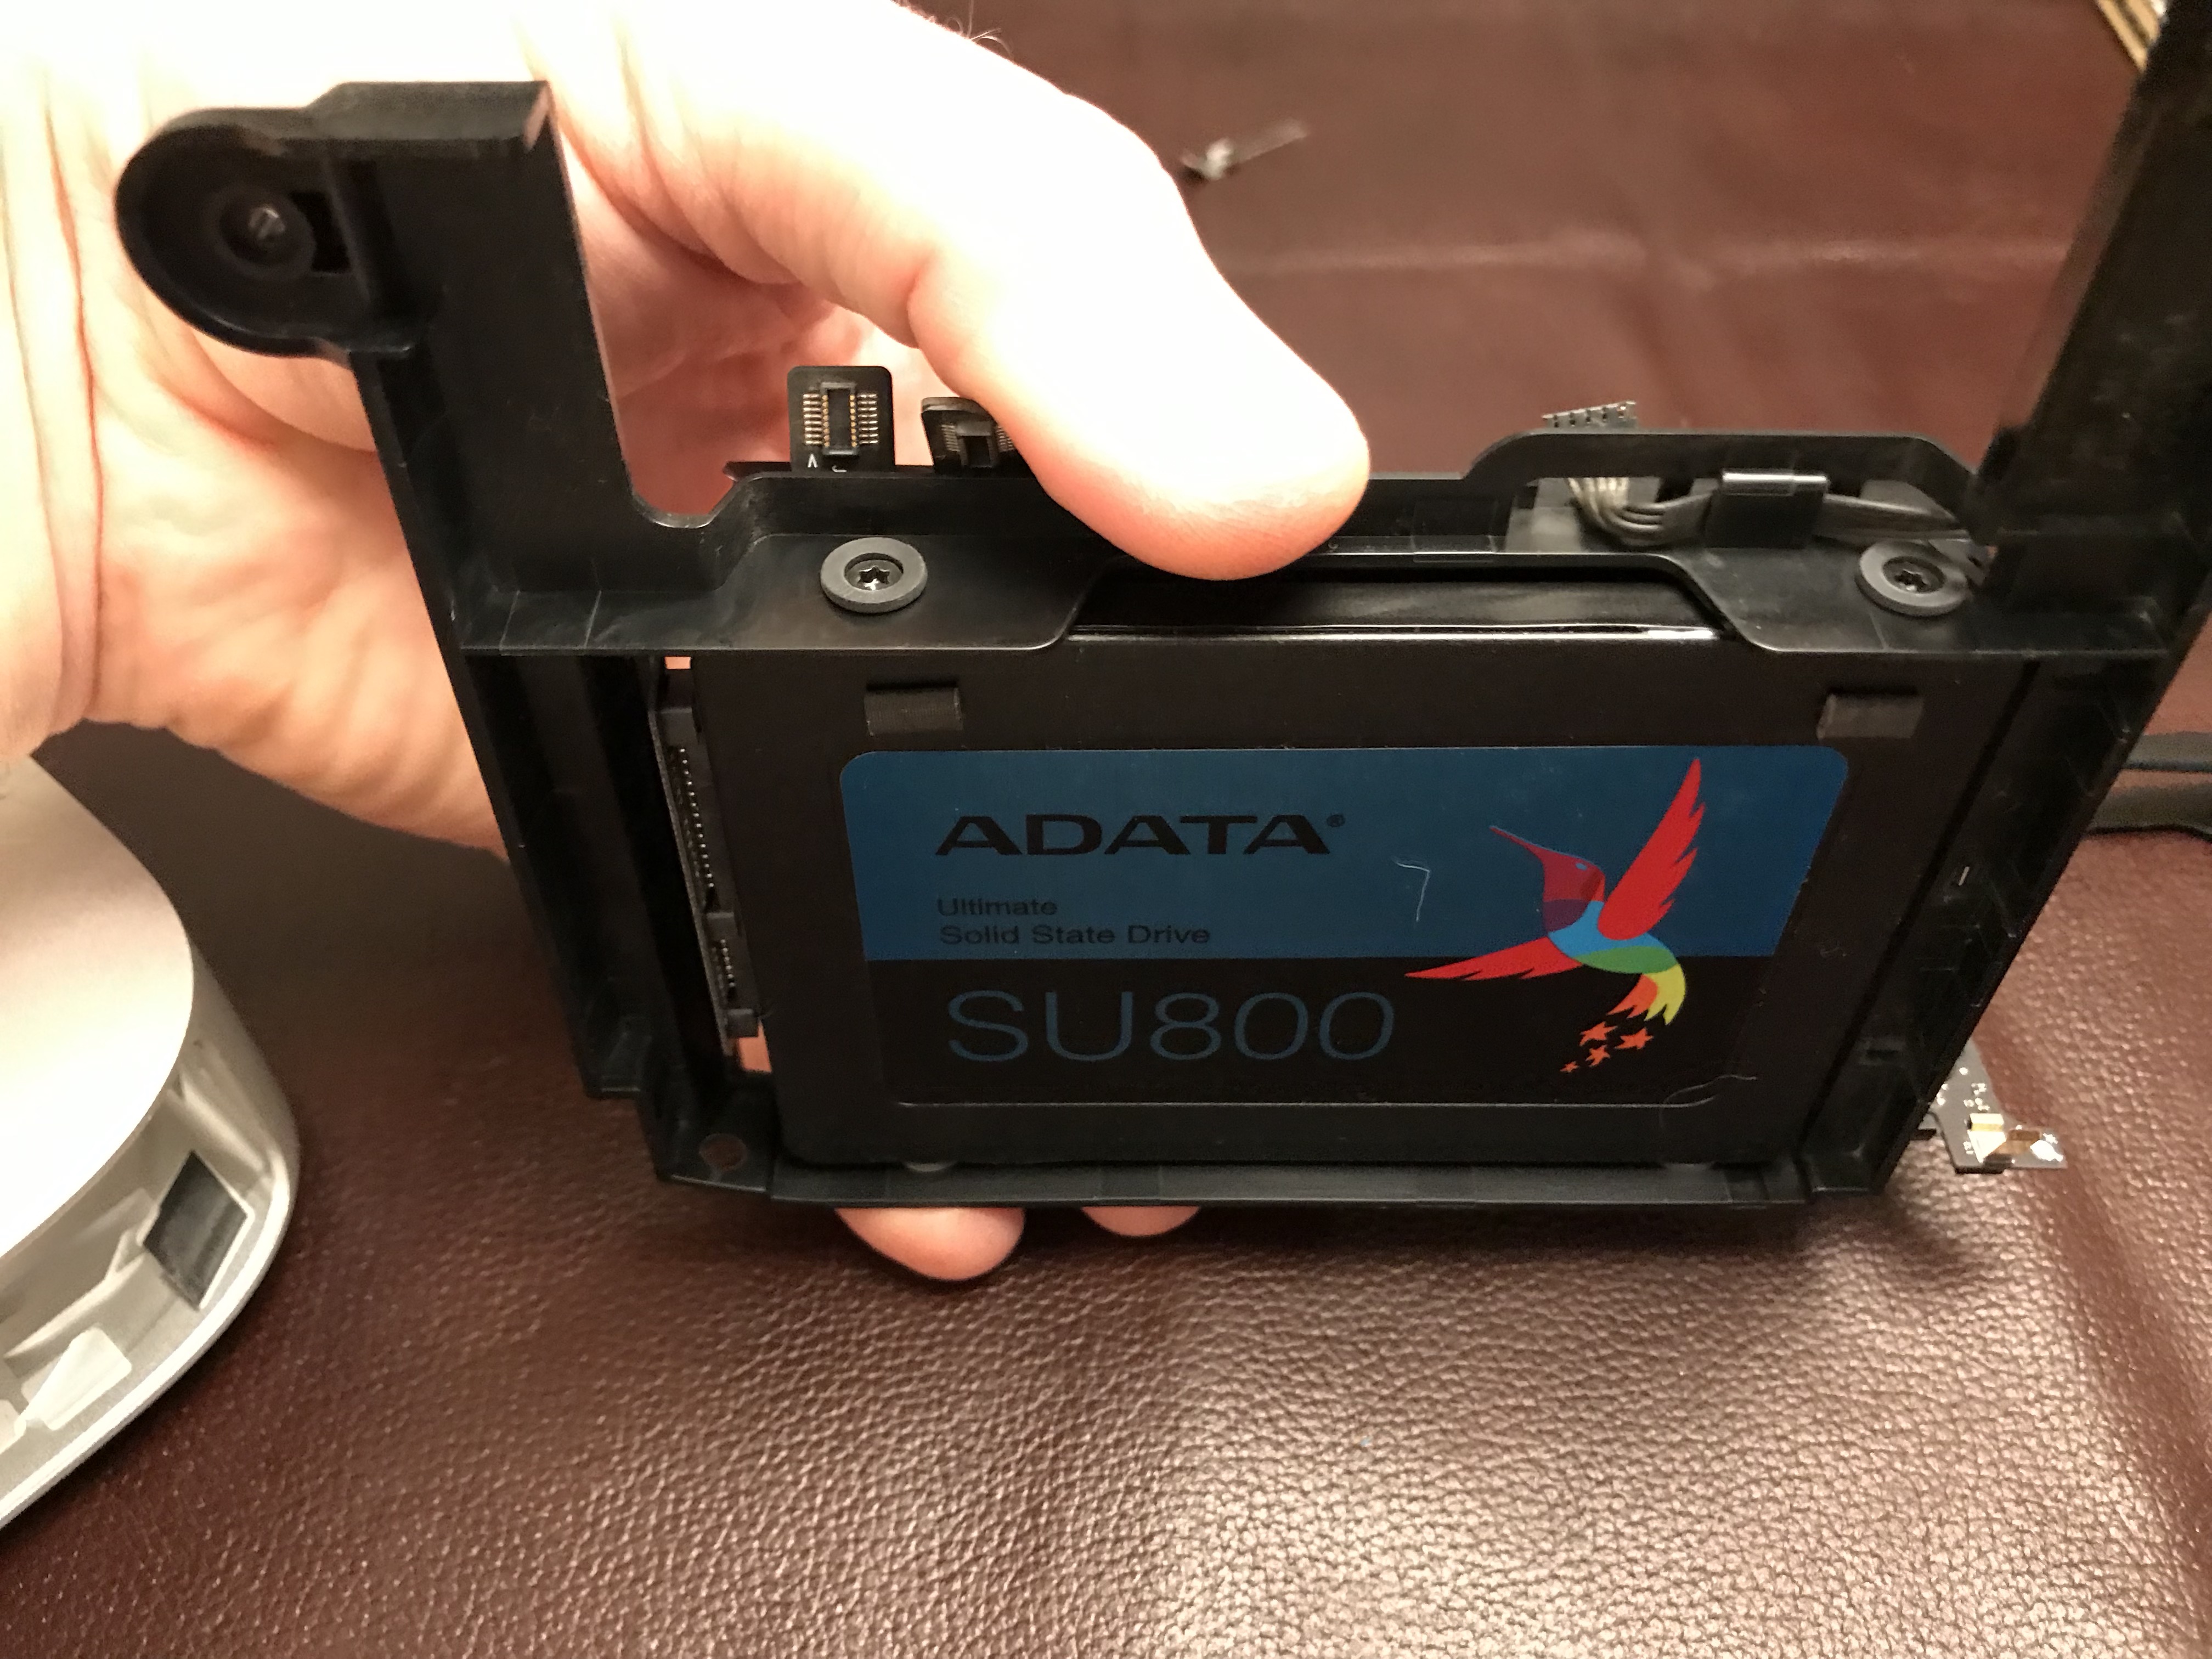
The solution was simple: I needed to replace the HDD. A 1TB SSD would suffice, so I ordered one (an ADATA SU800 1TB SSD). My wife continued to use her computer as usual, since it was still working, although I made doubly sure that it was backing up to Time Machine. I would restore her data from those backups after I replaced the HDD.
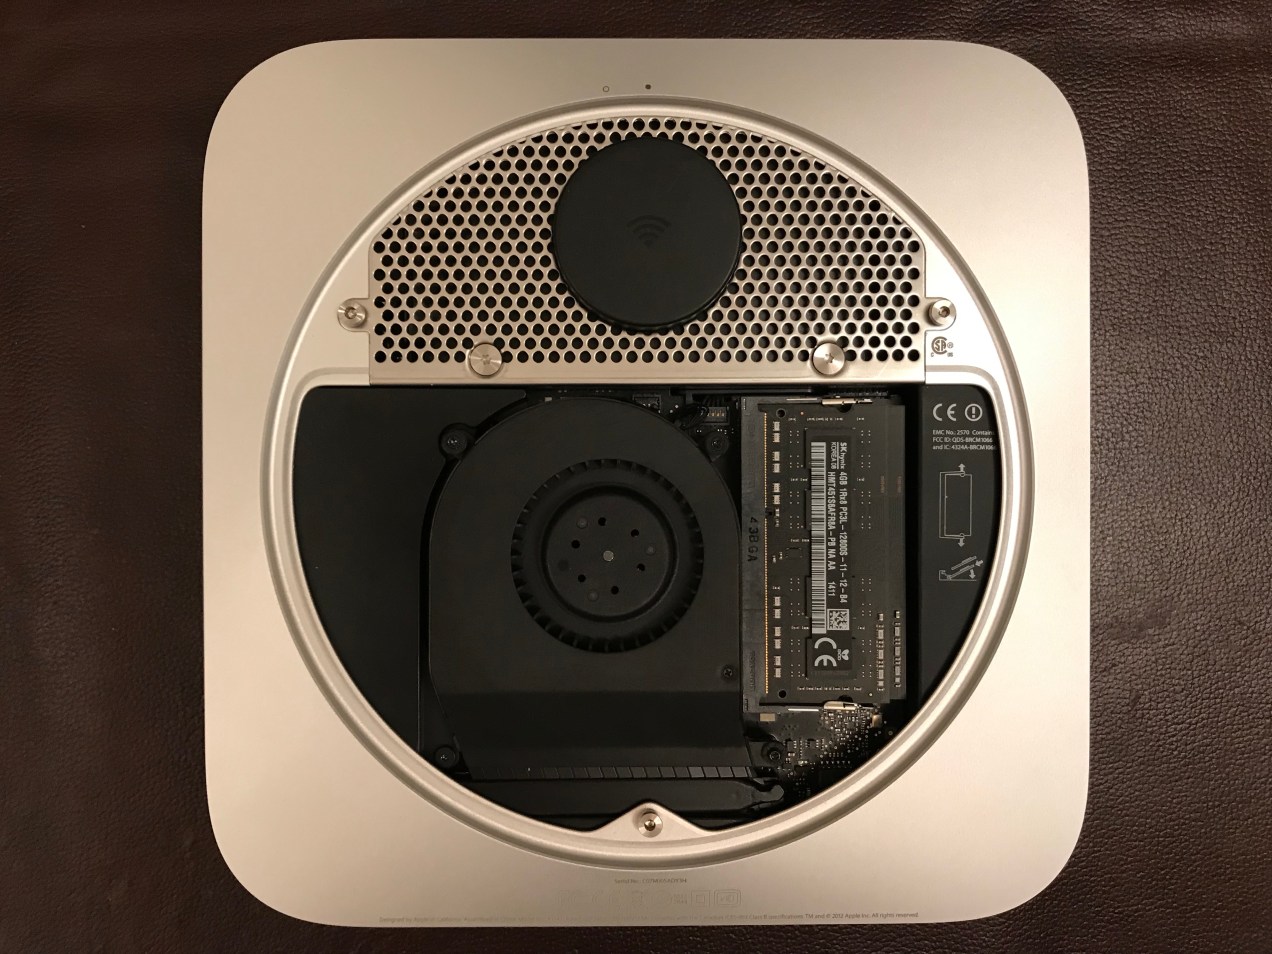
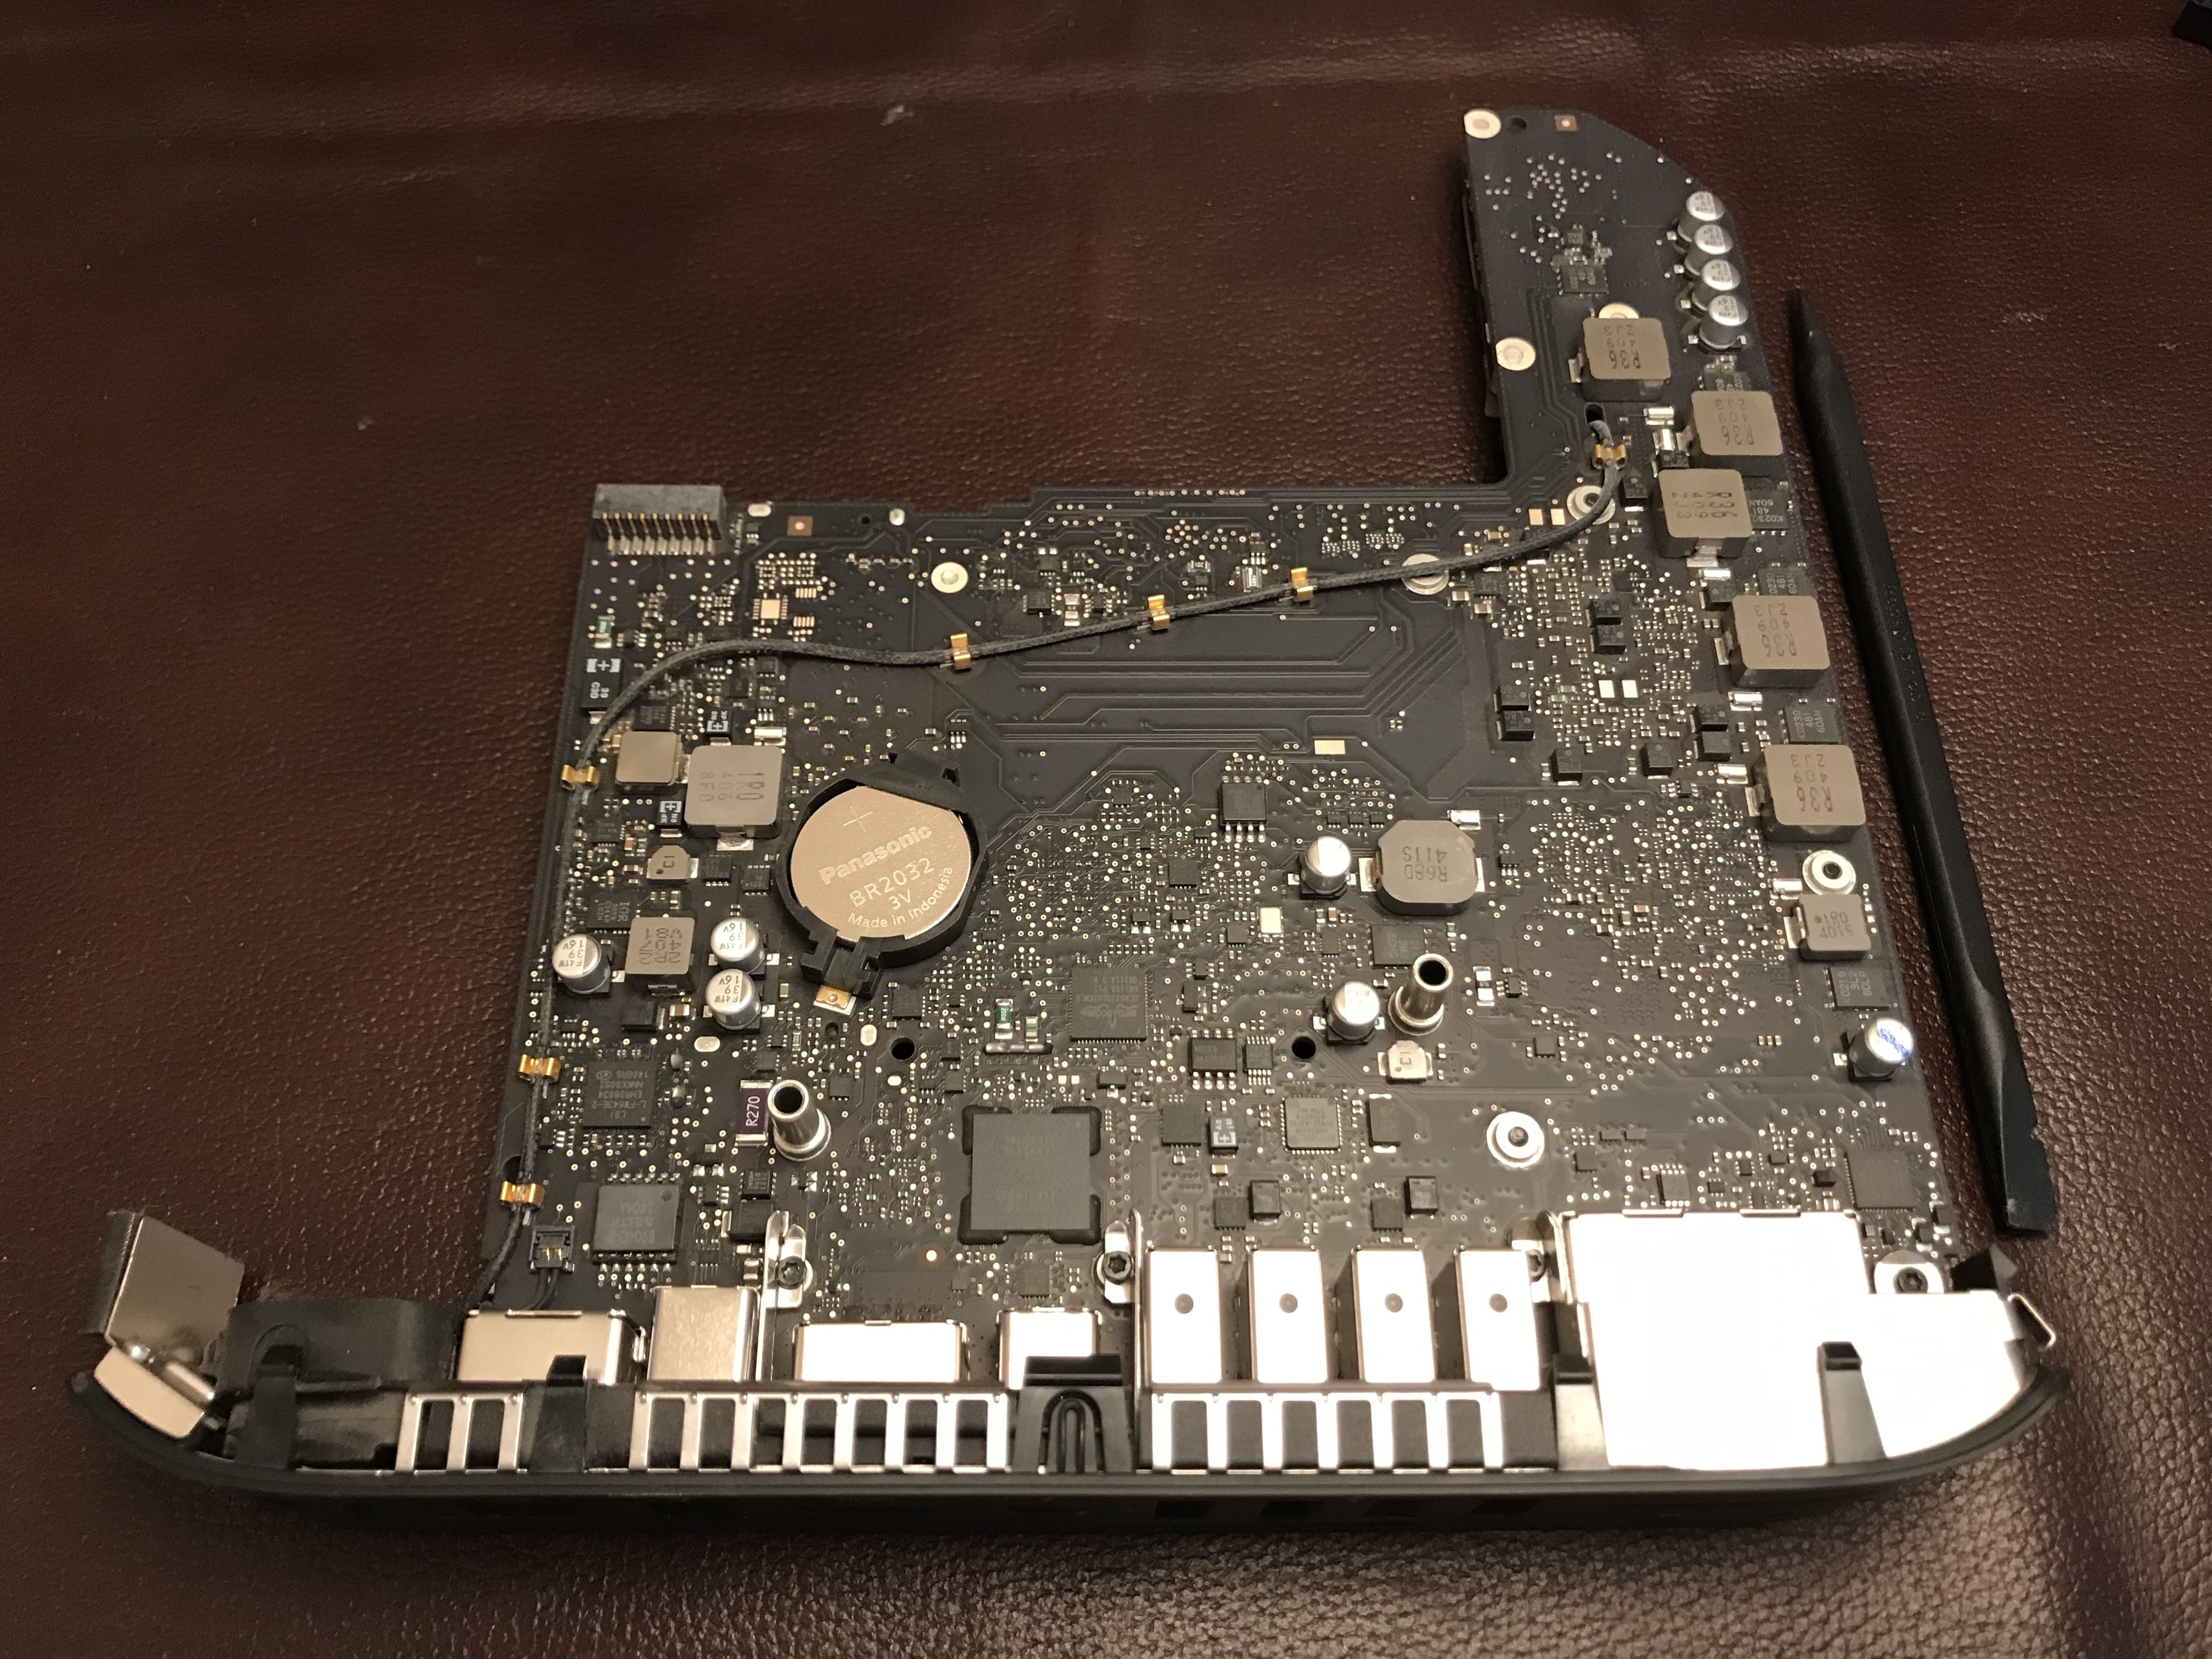
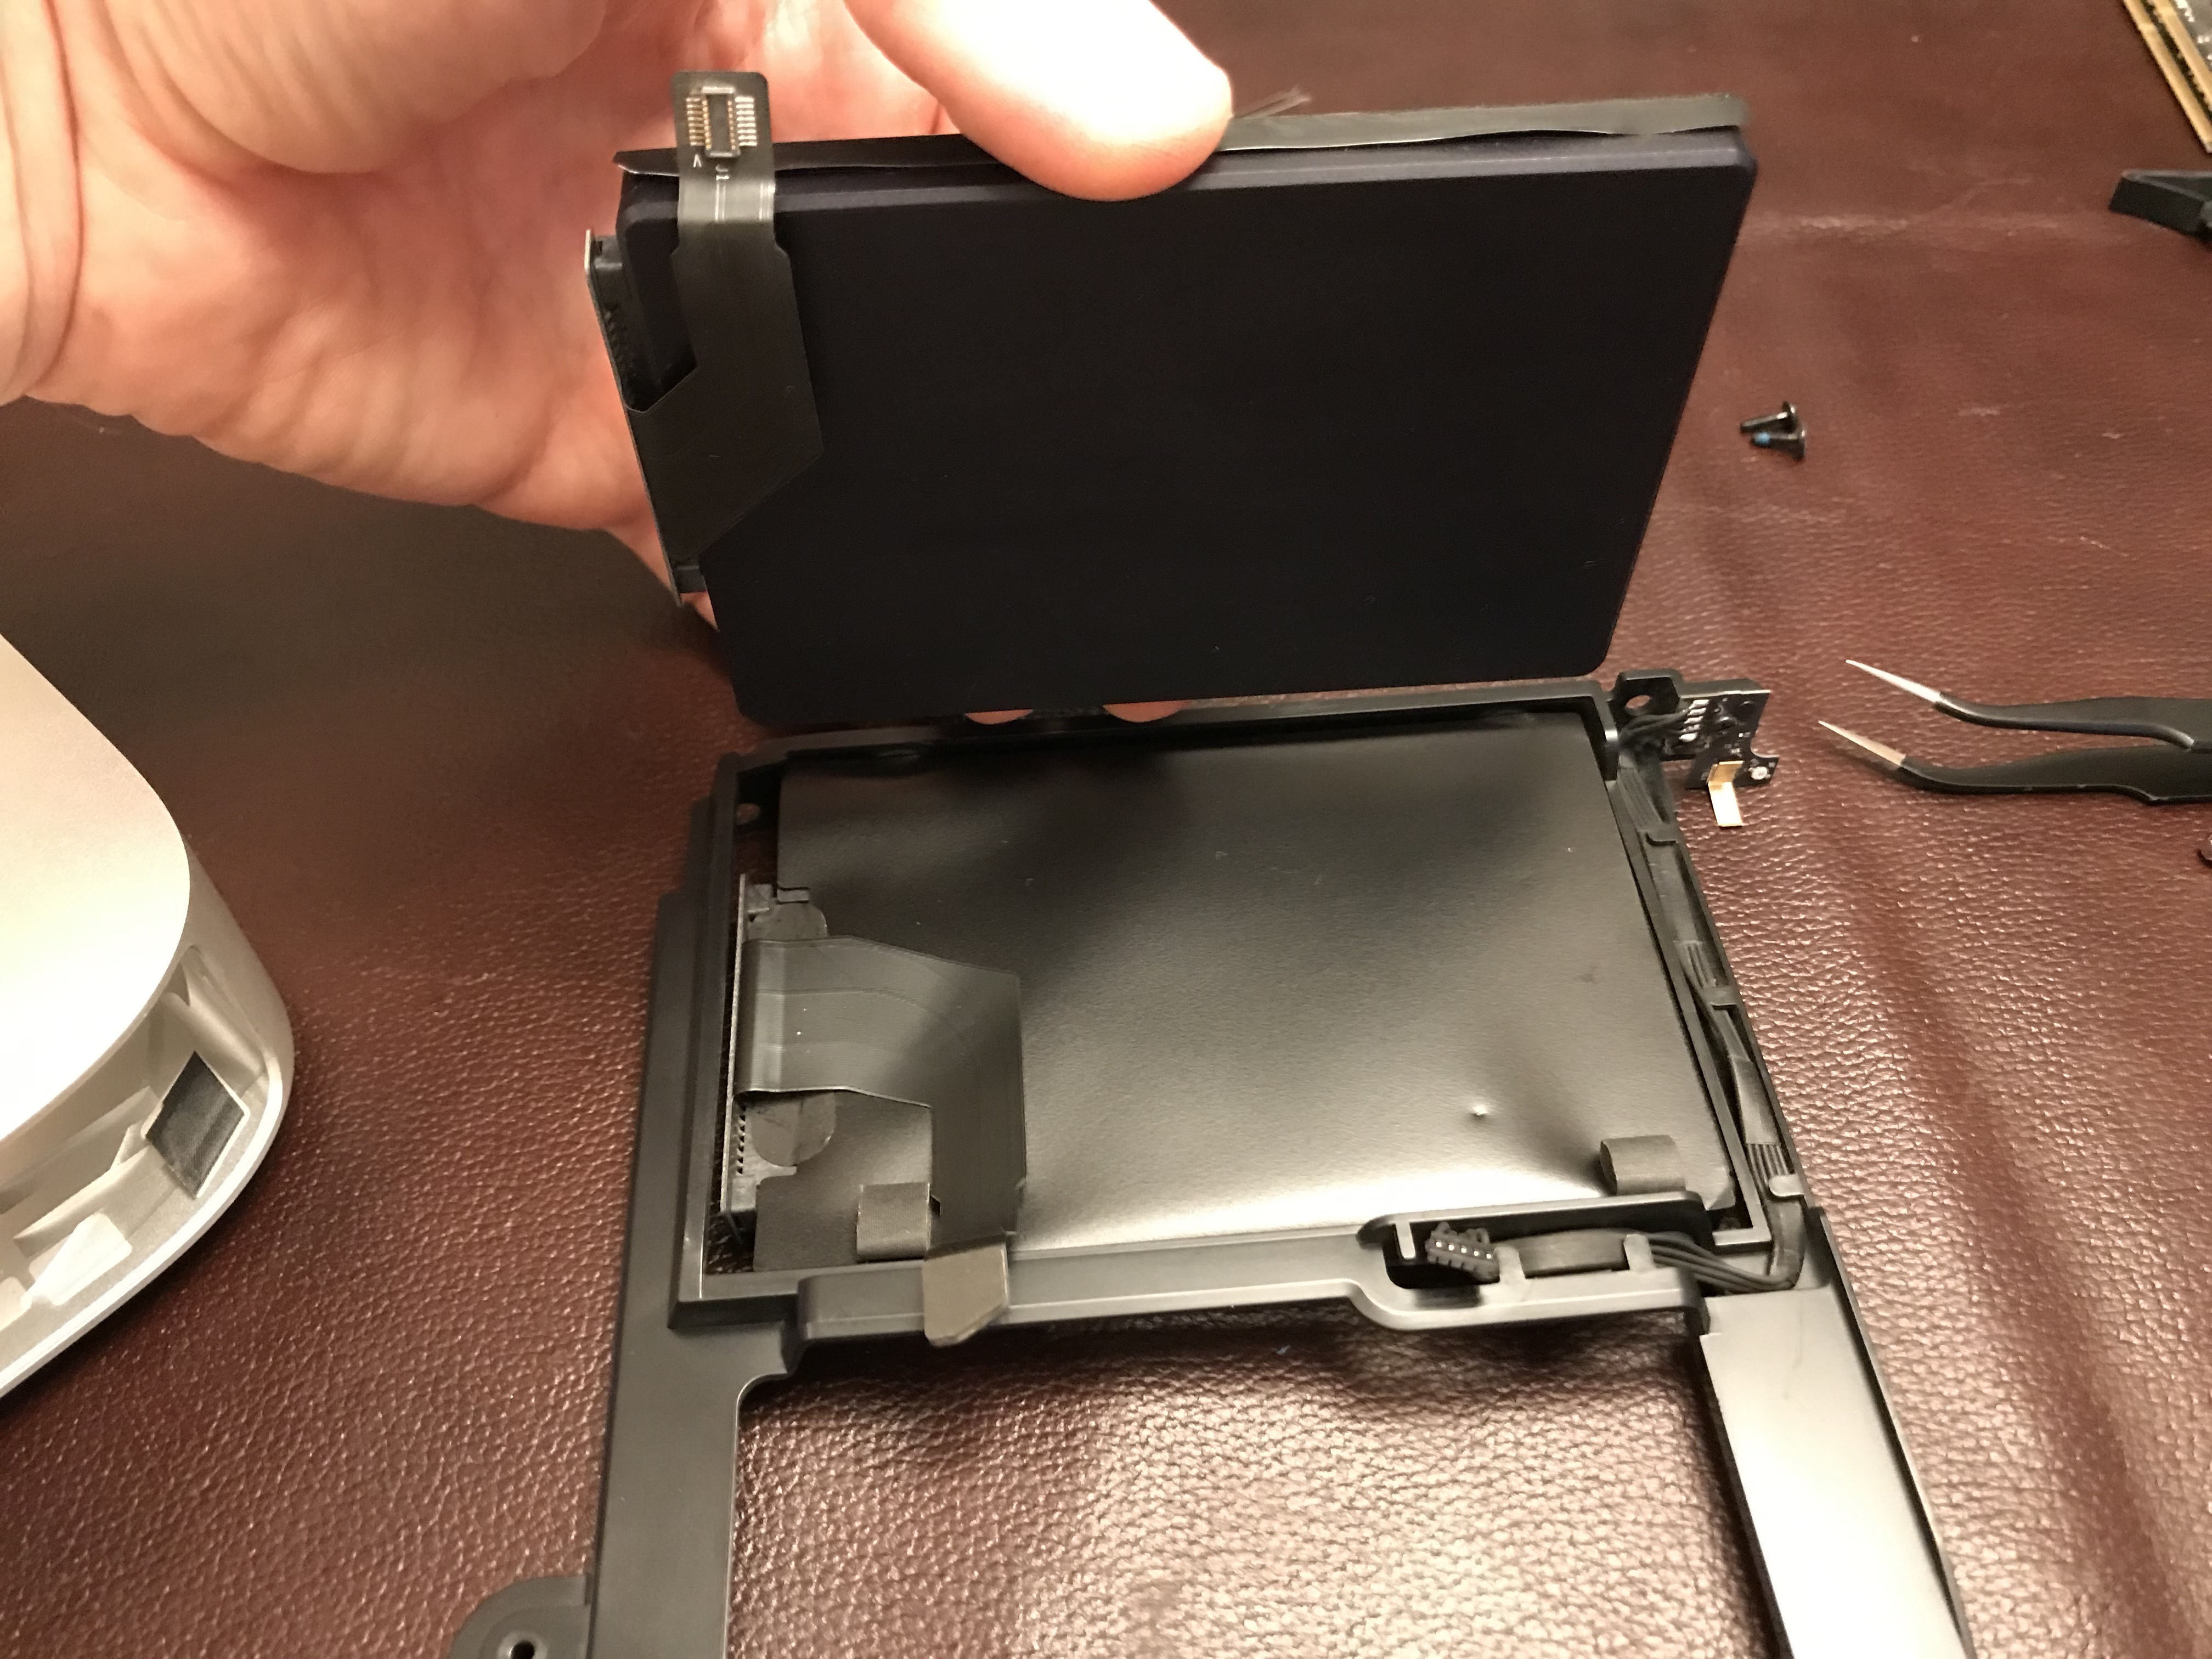
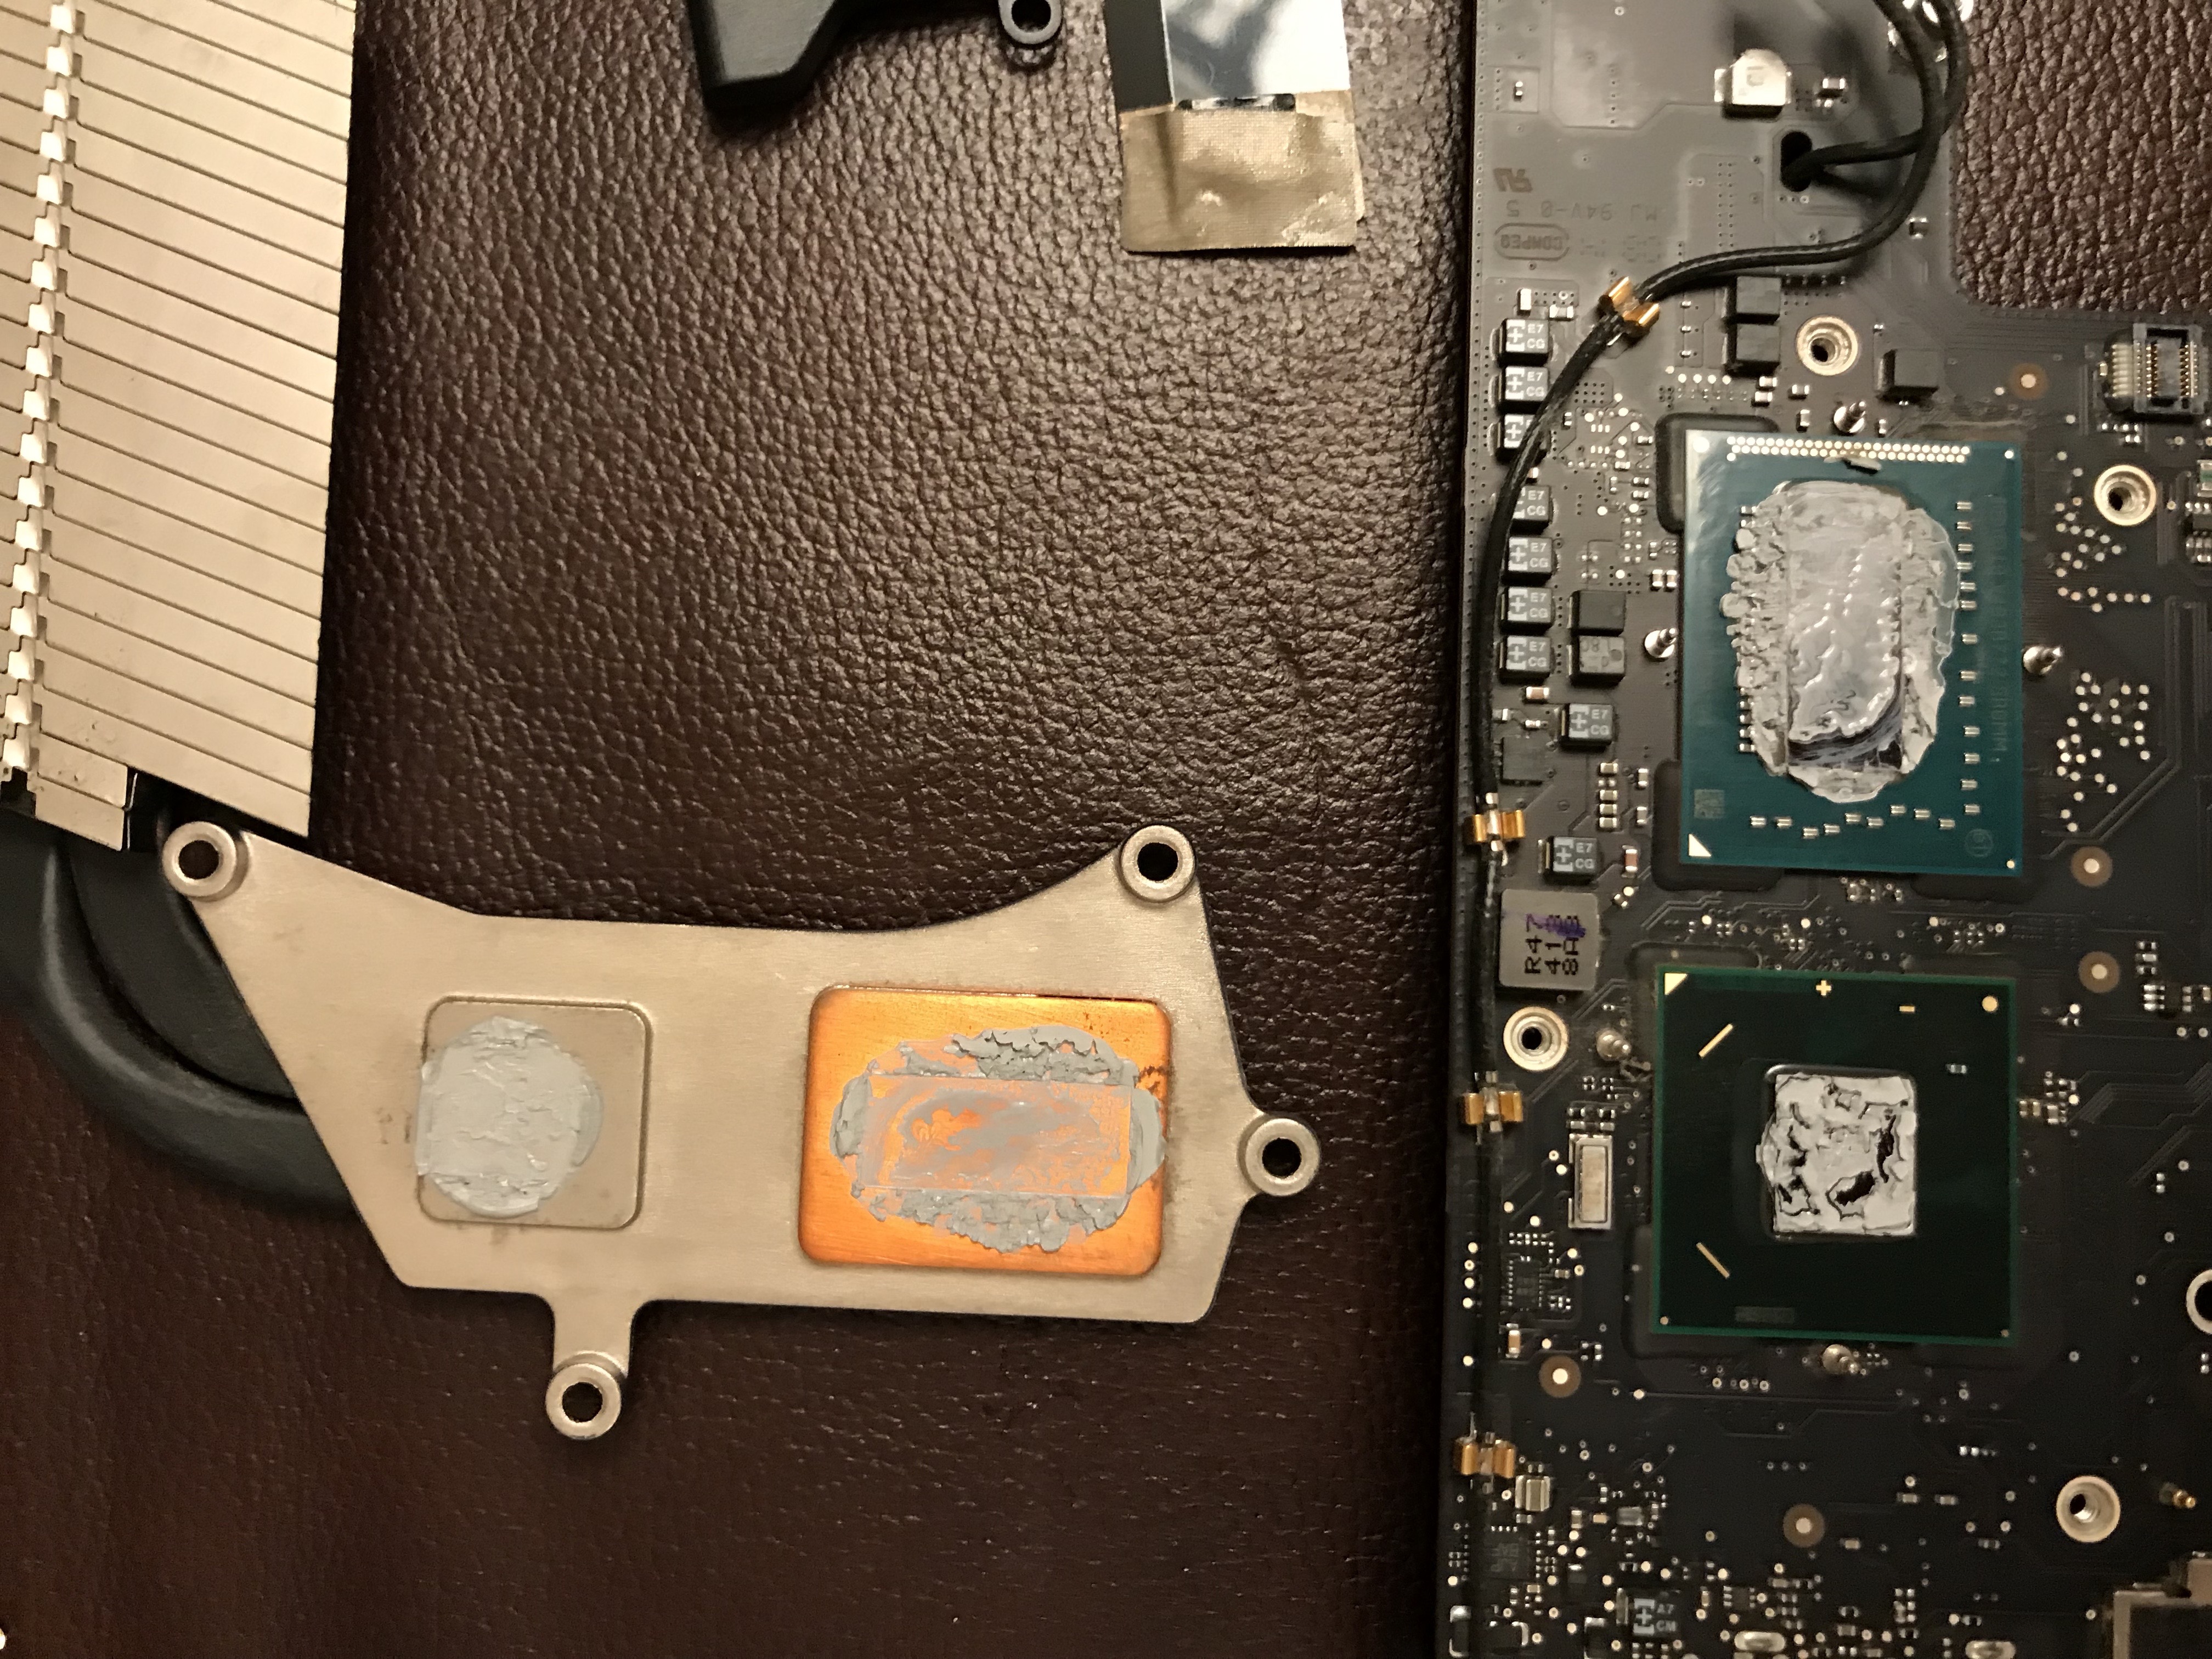
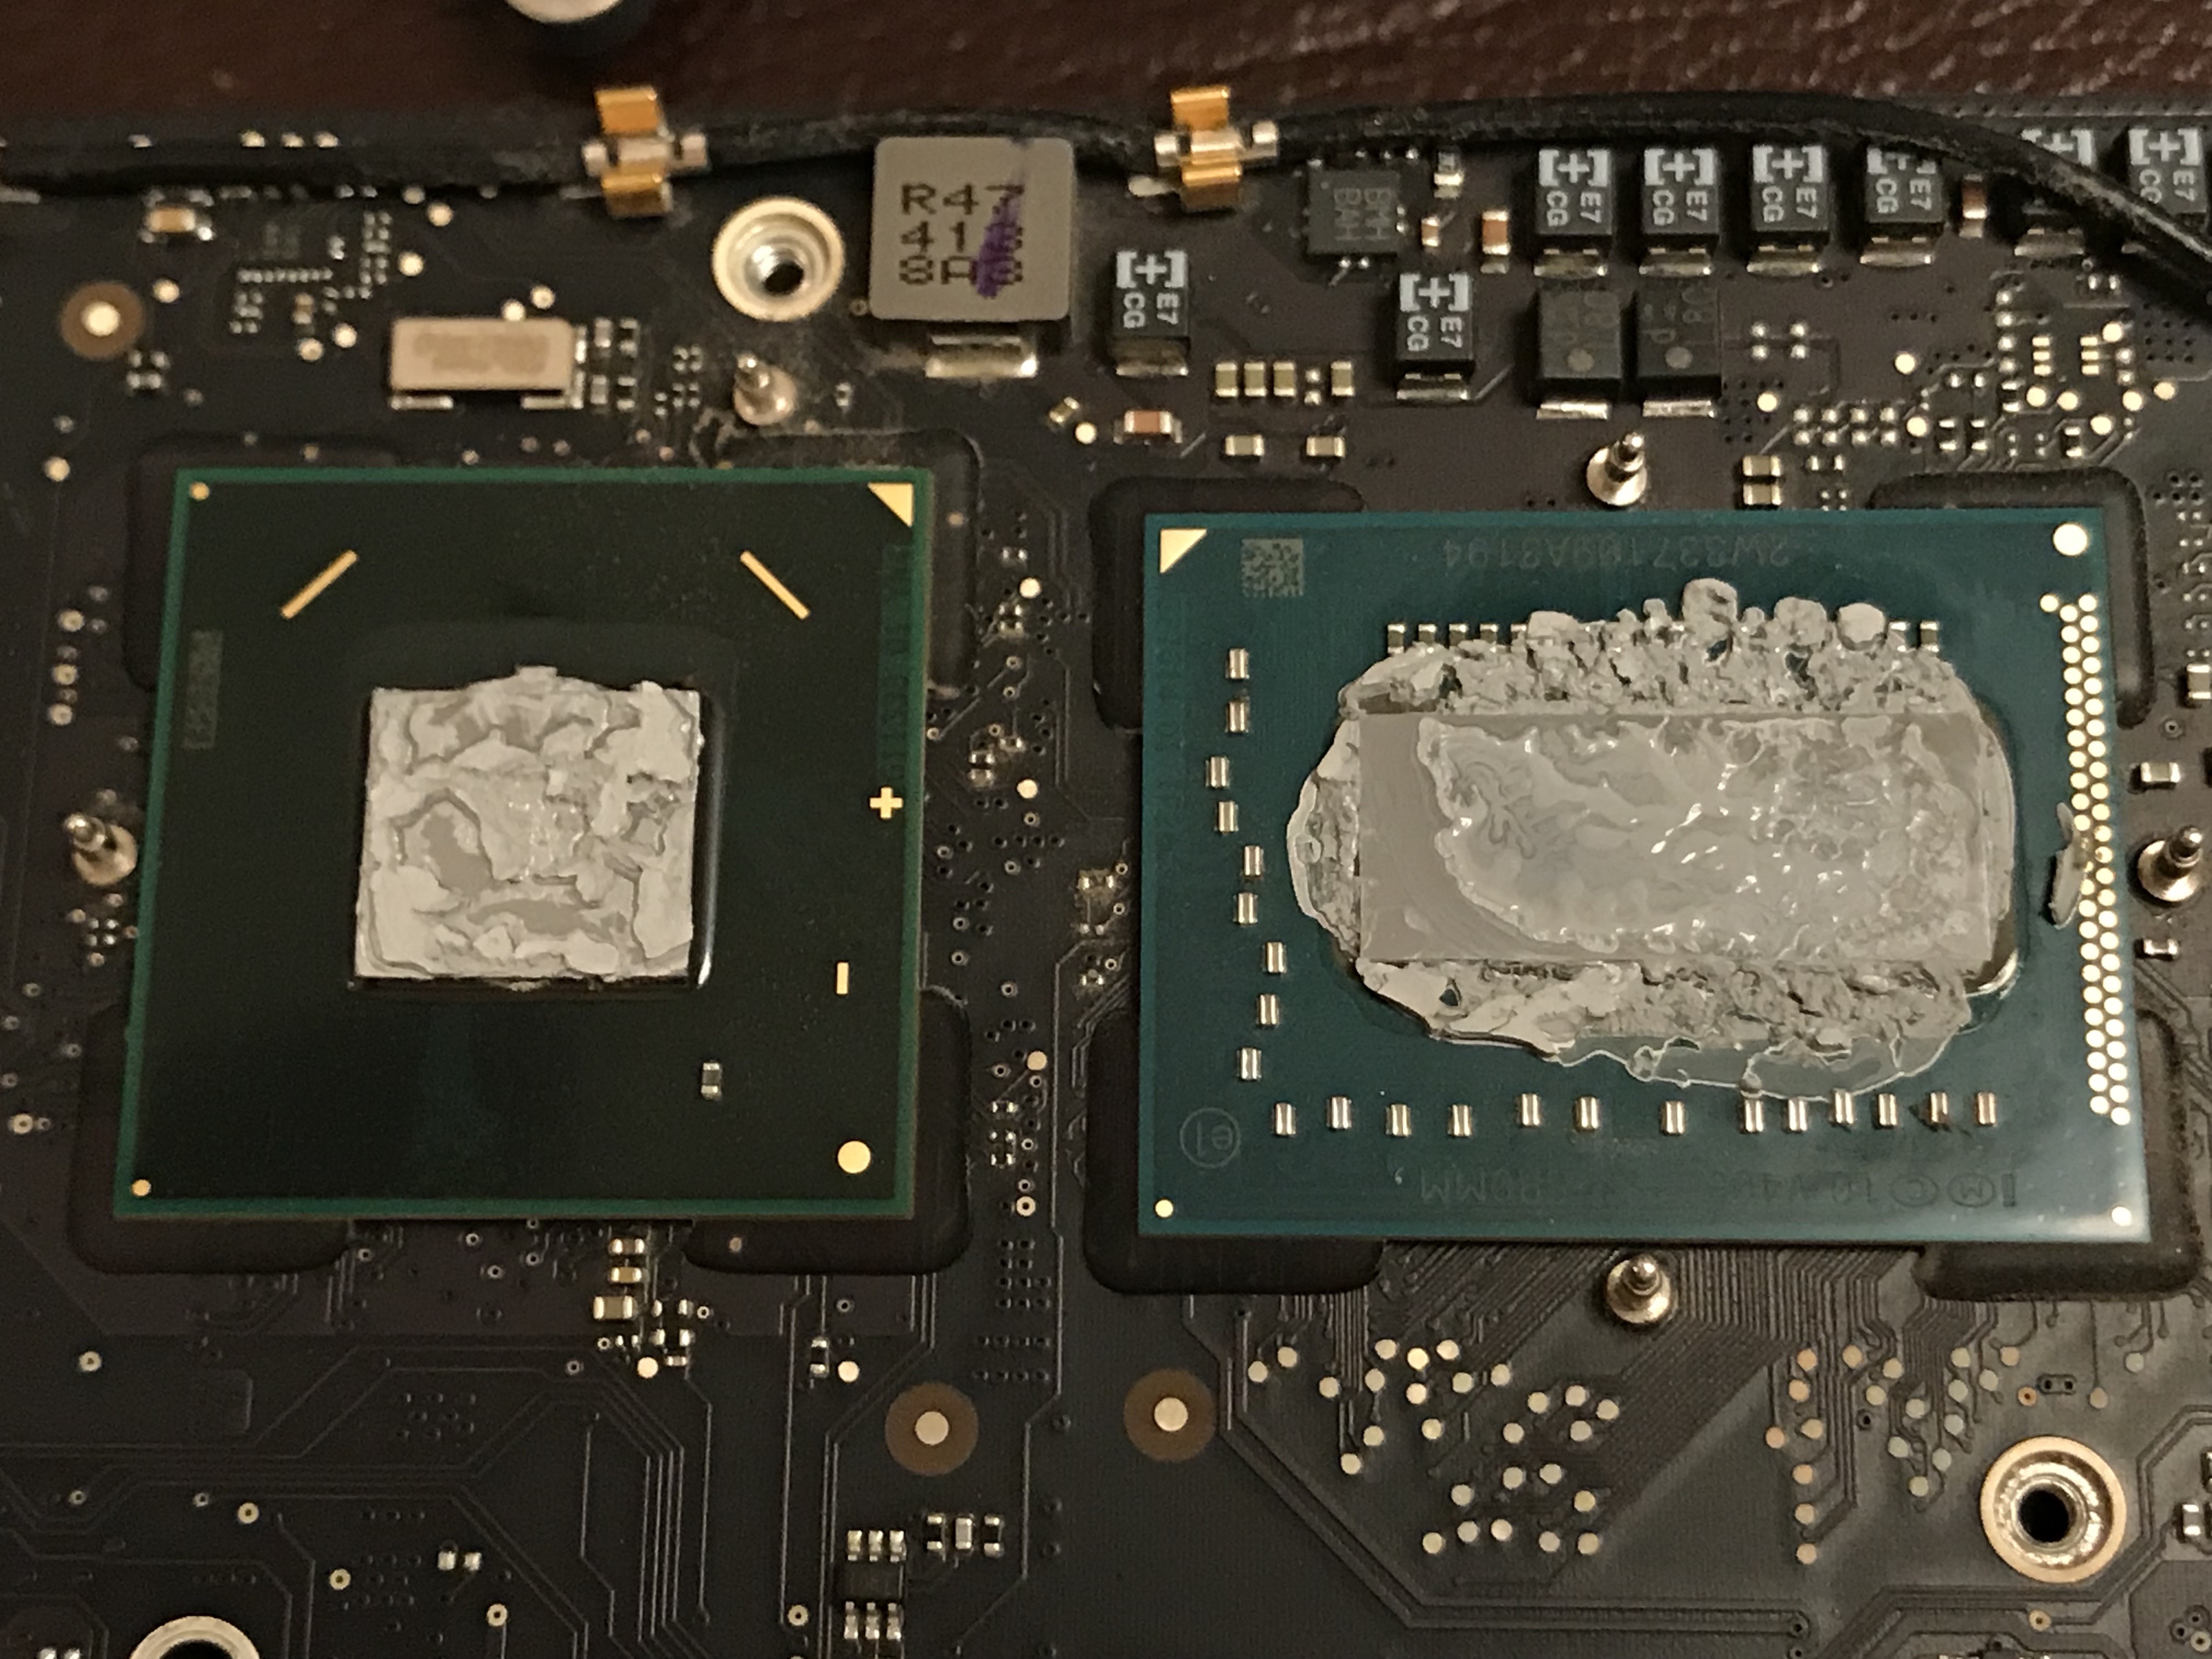
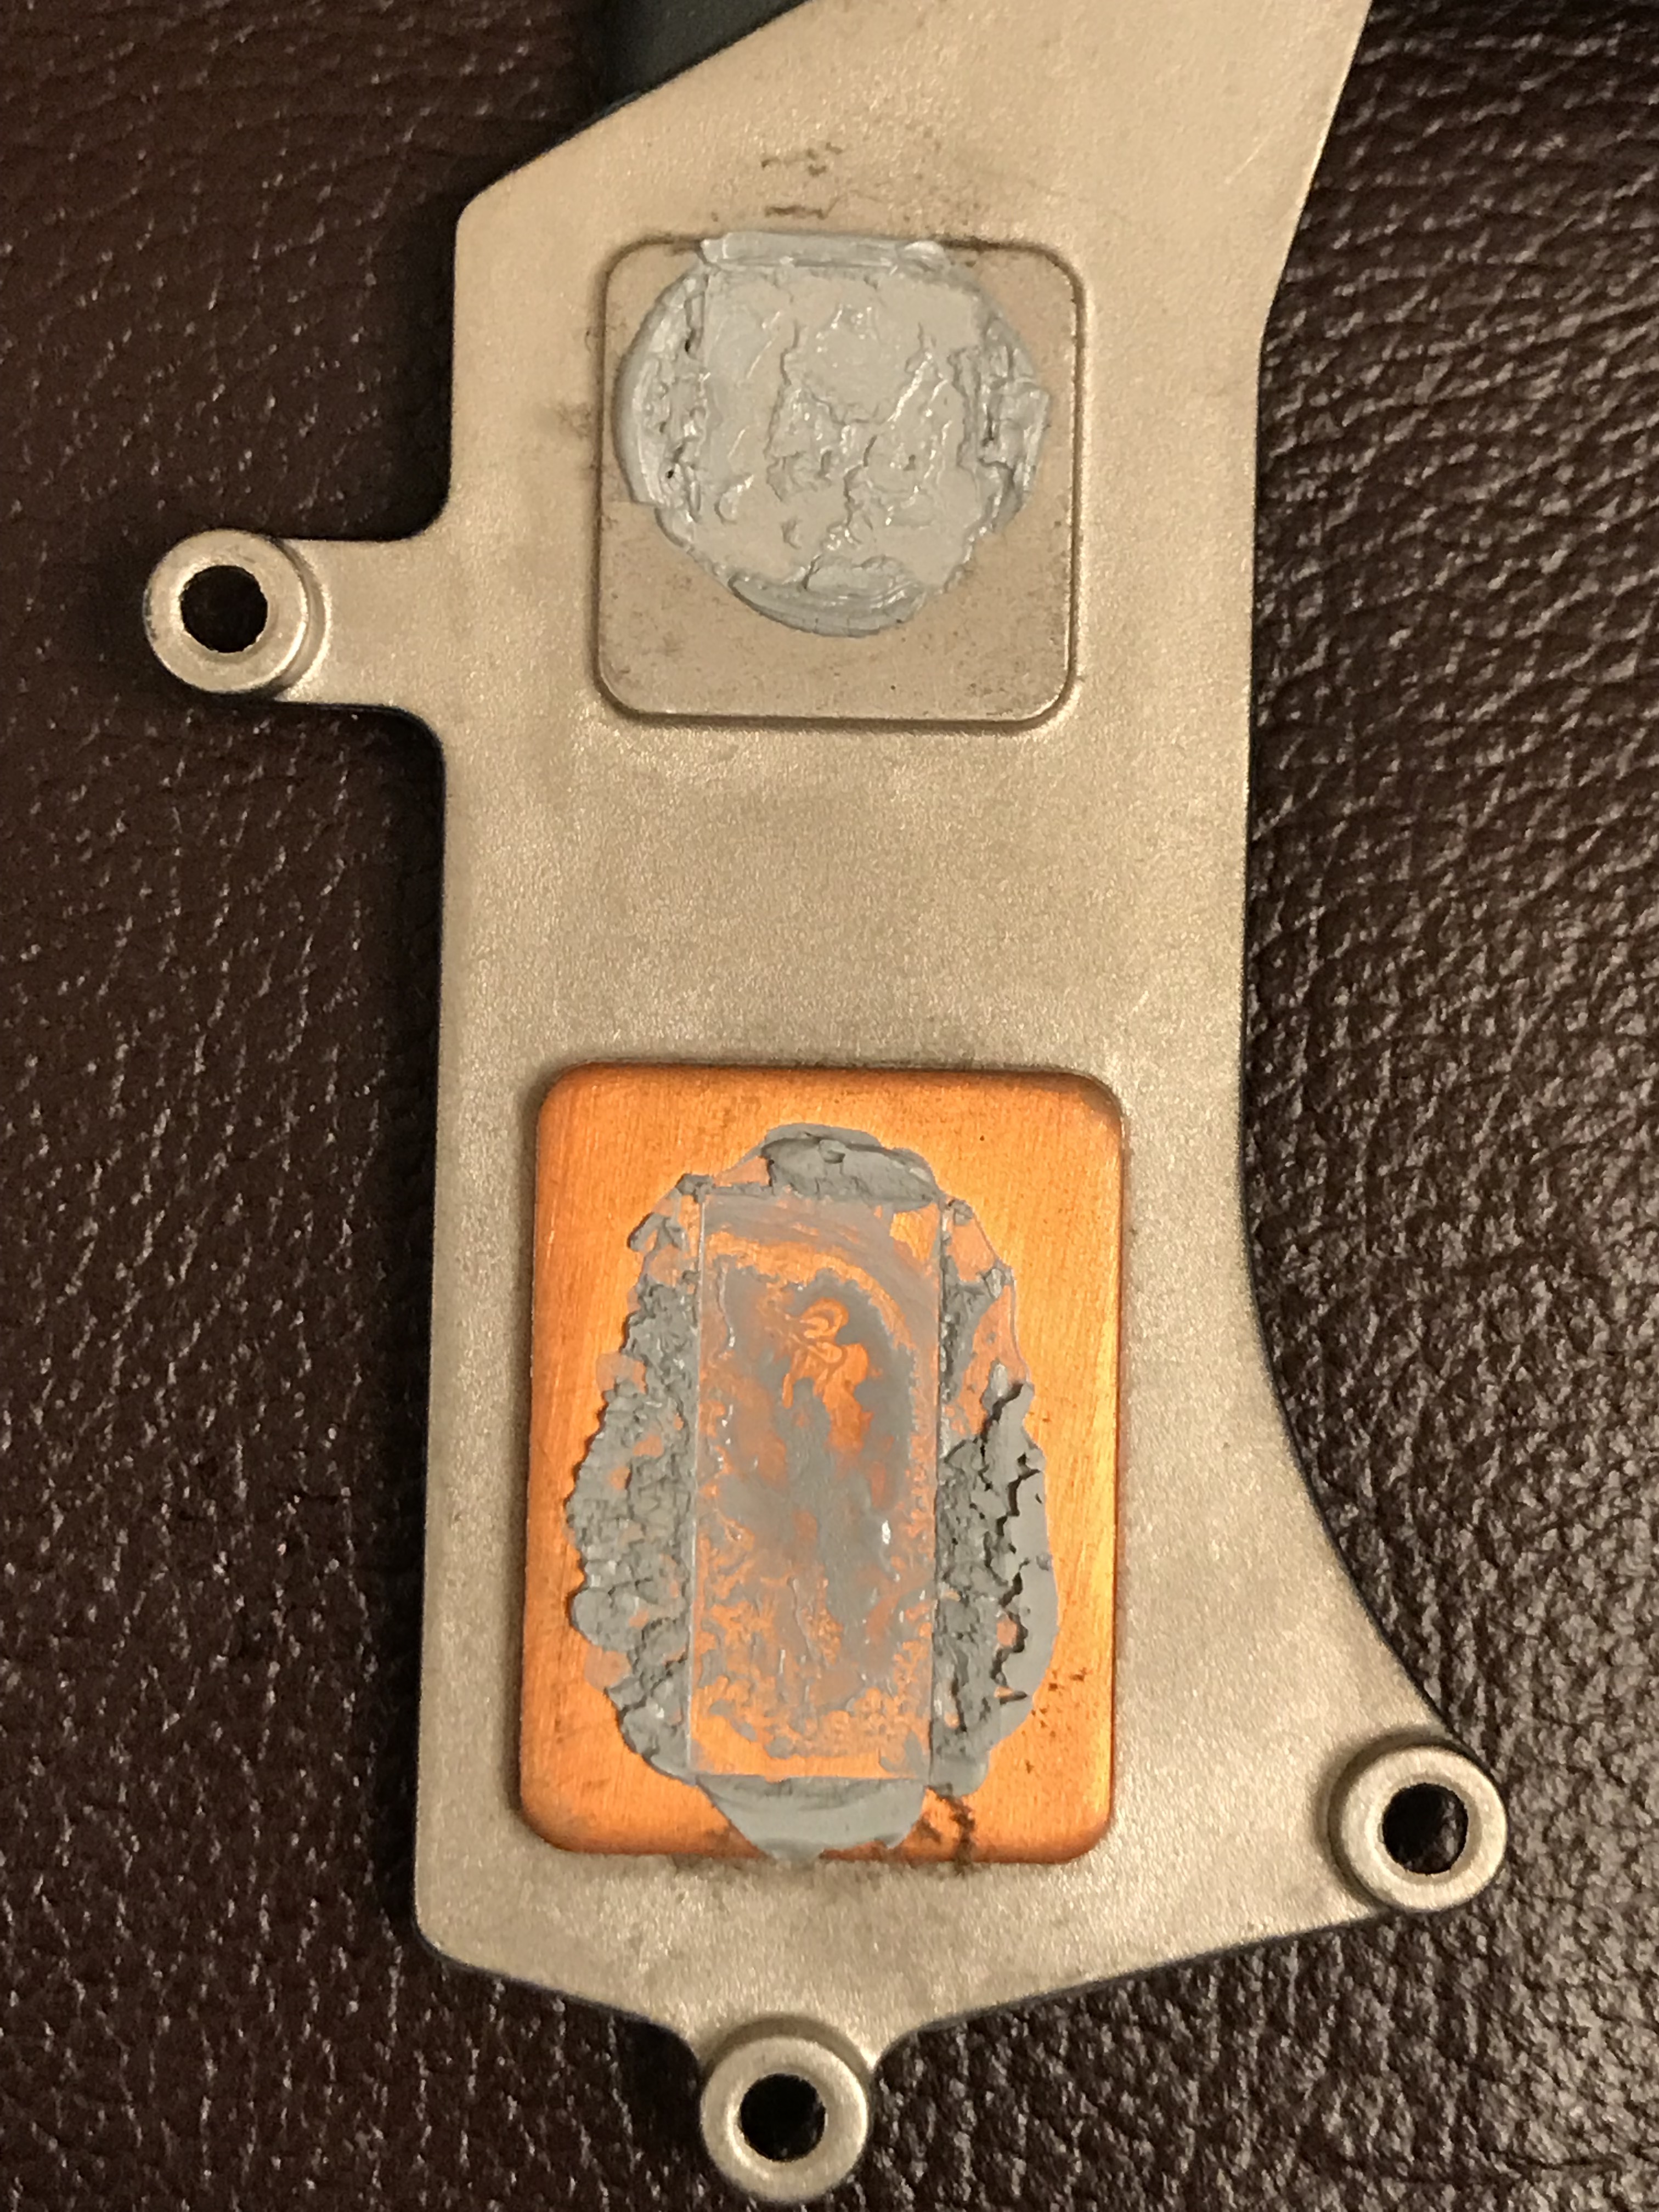
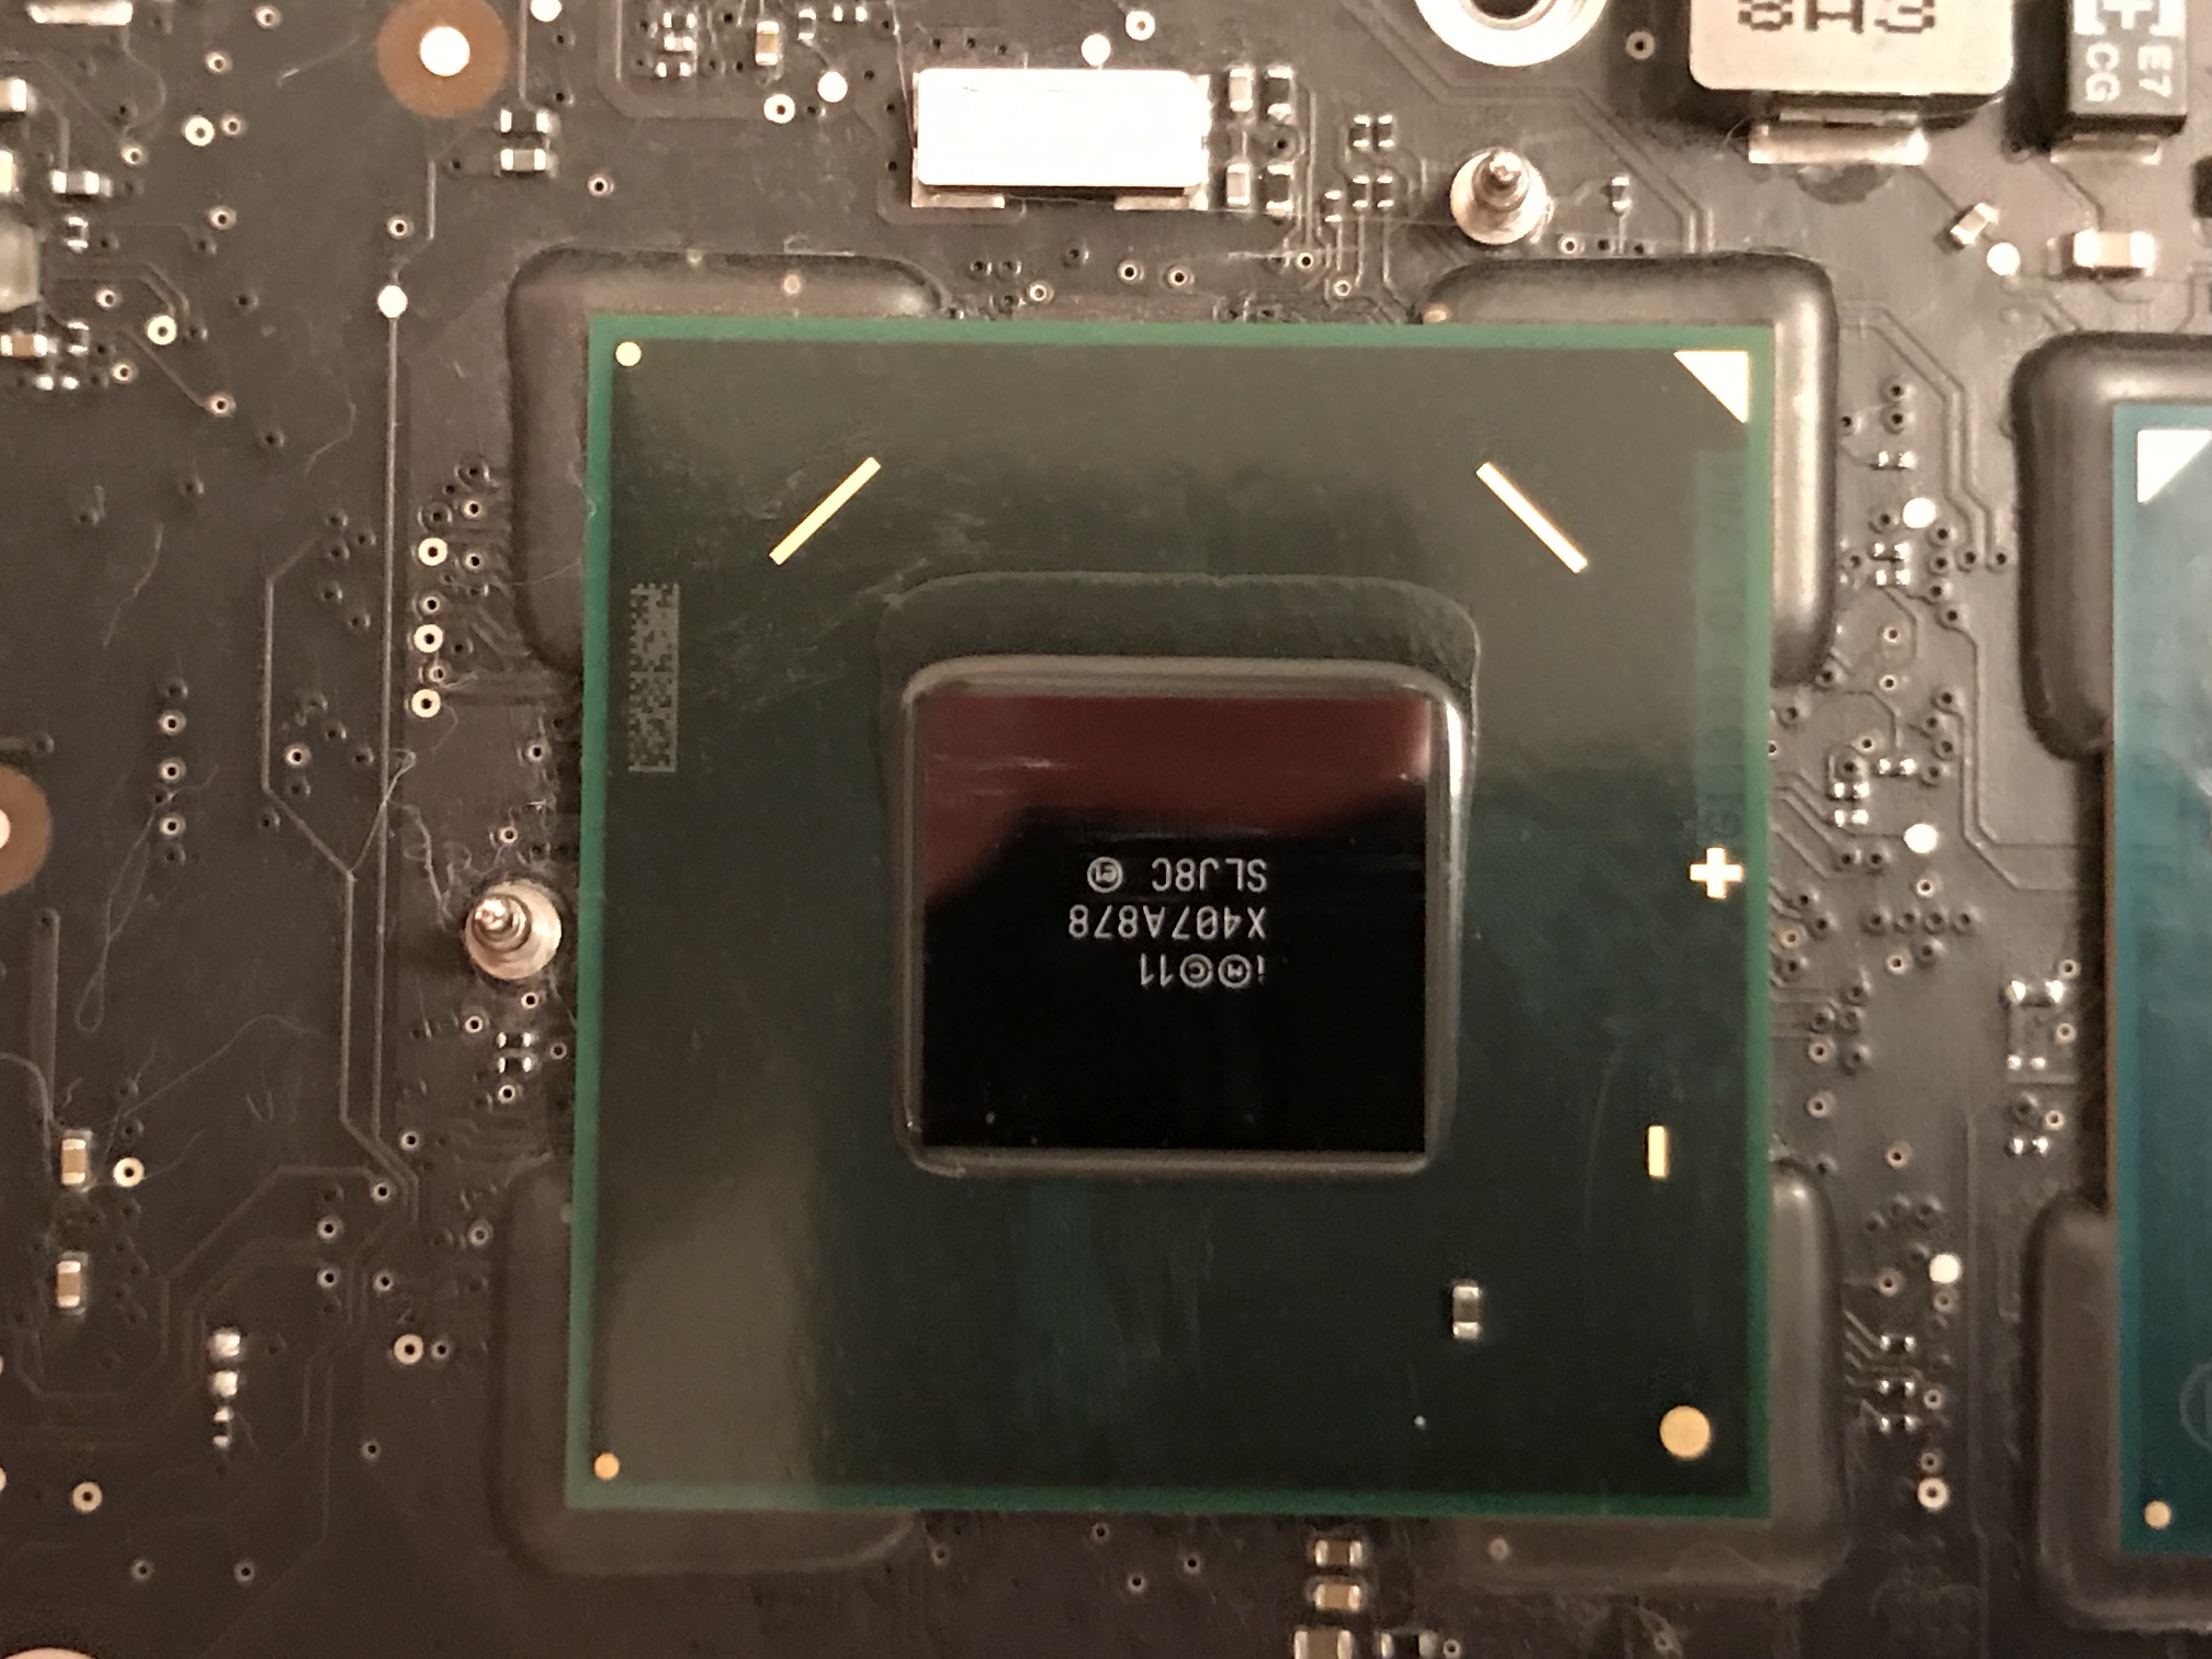
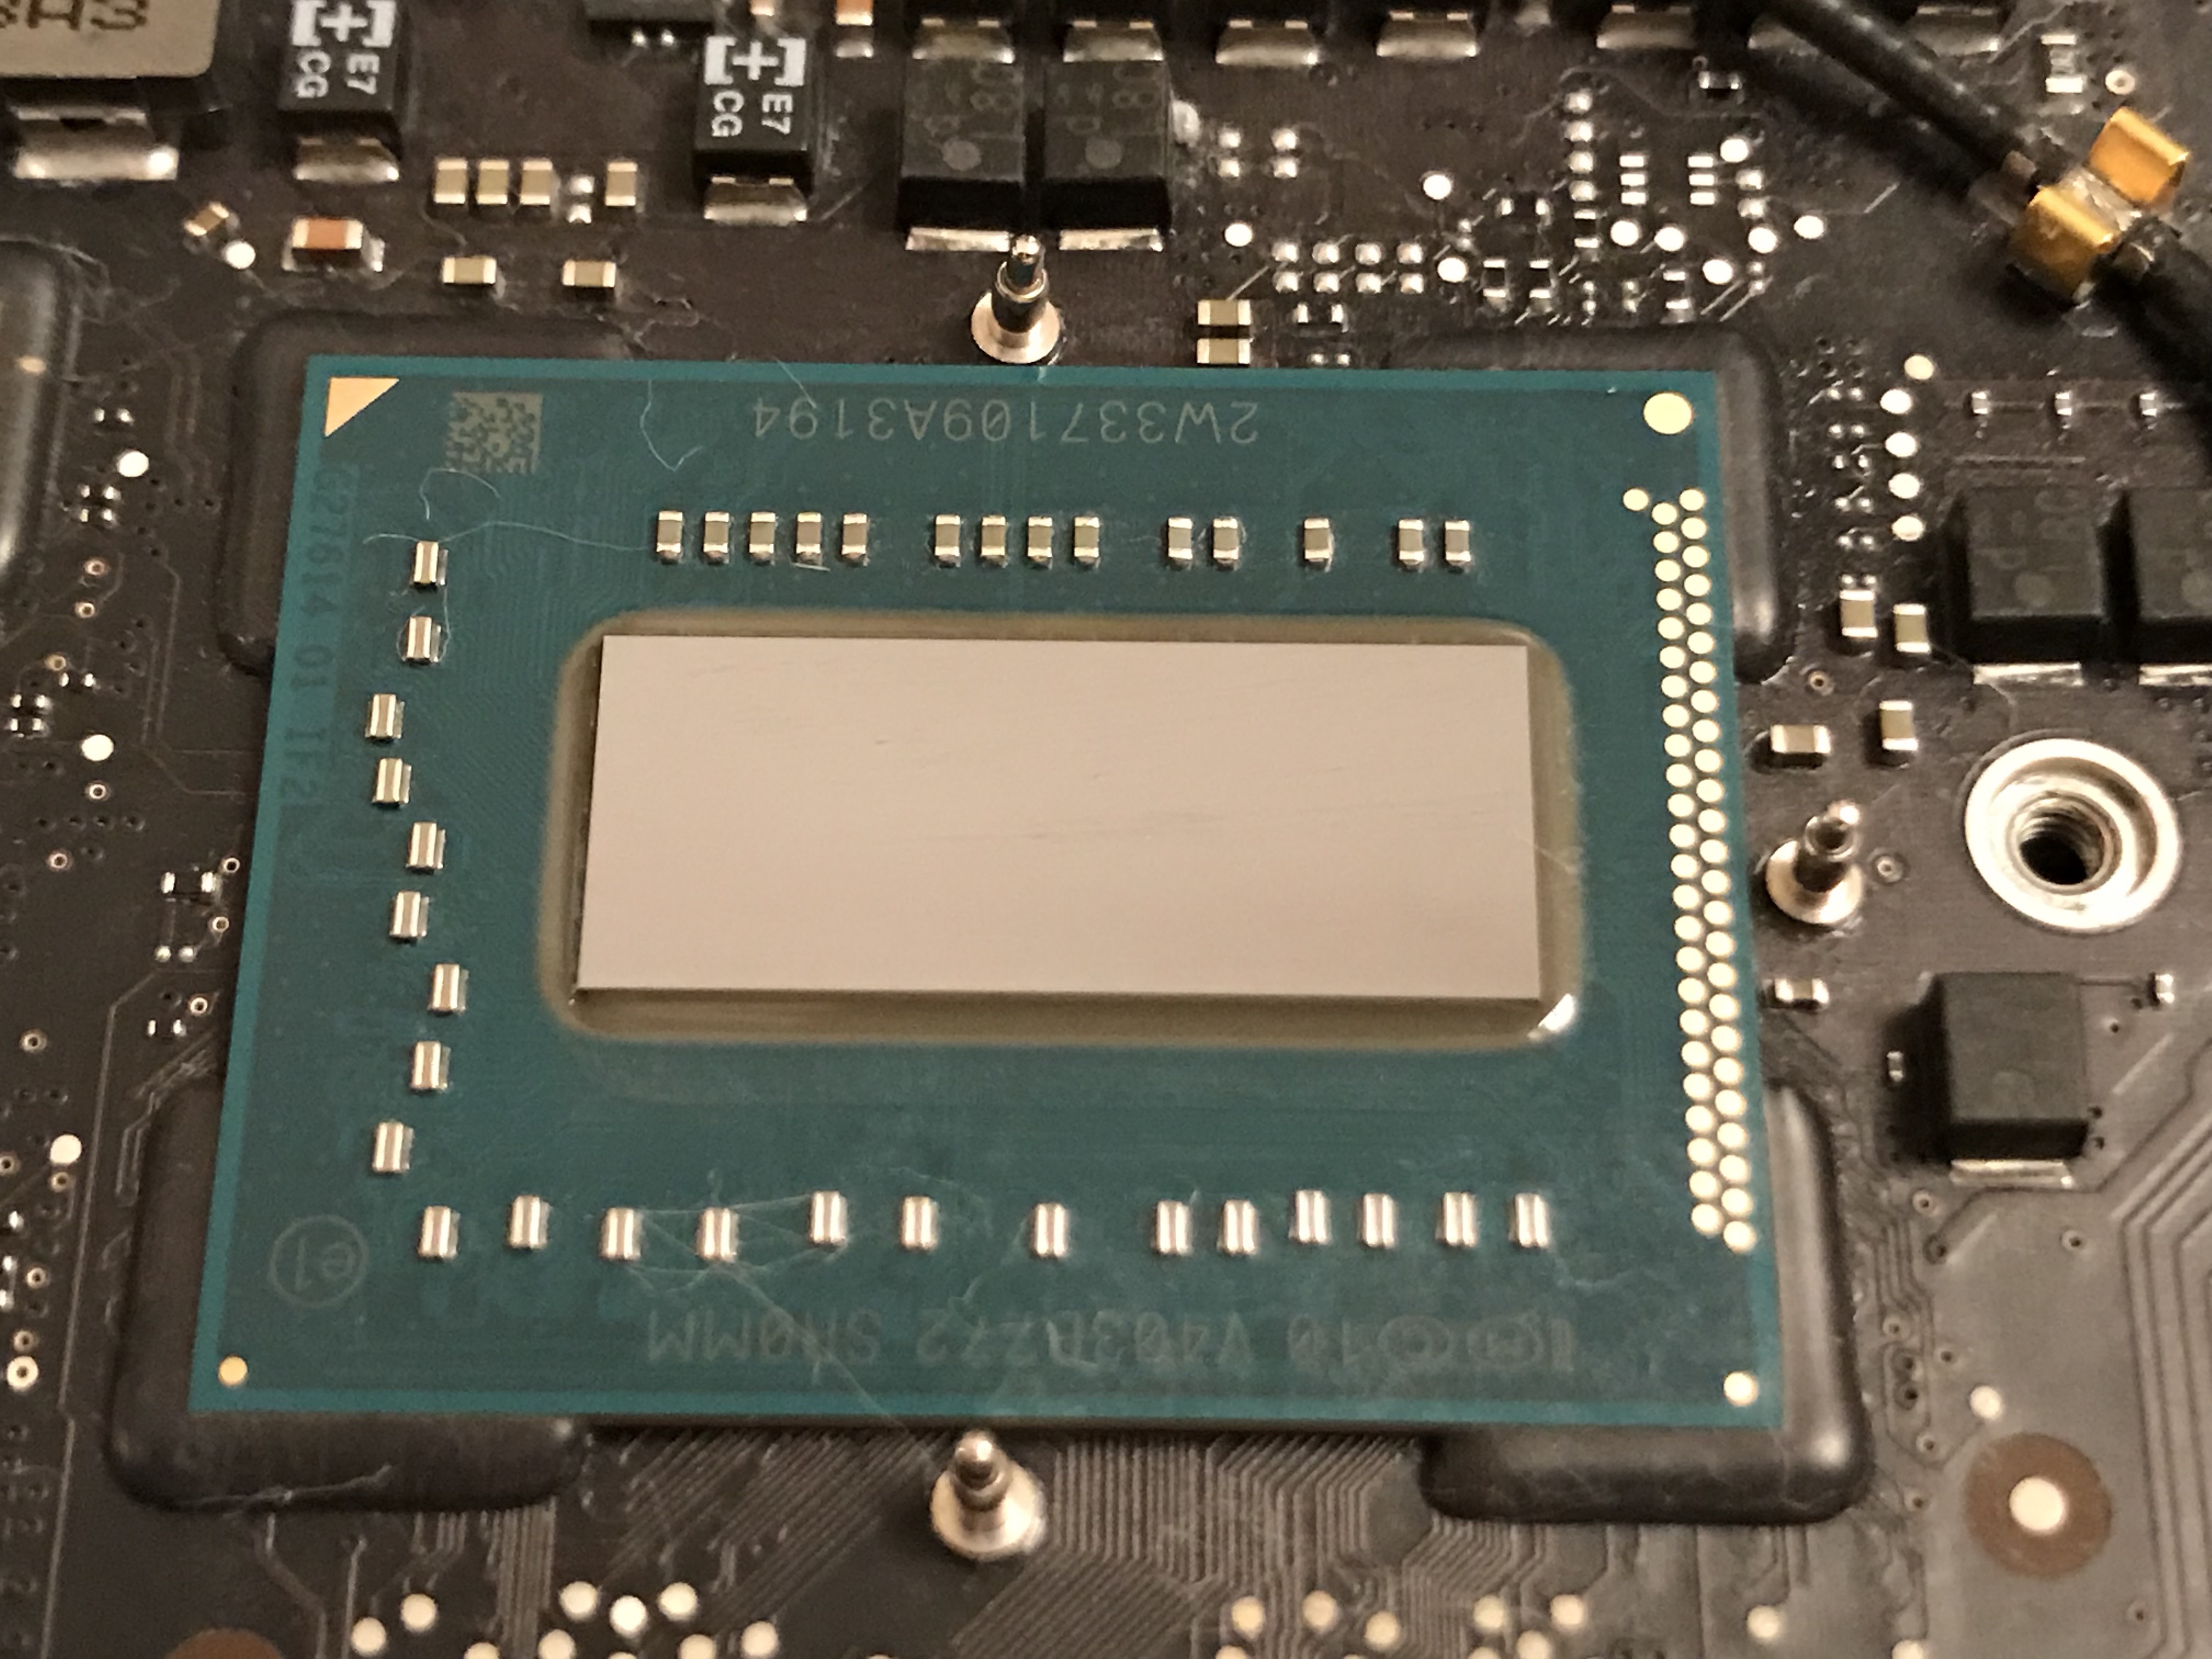
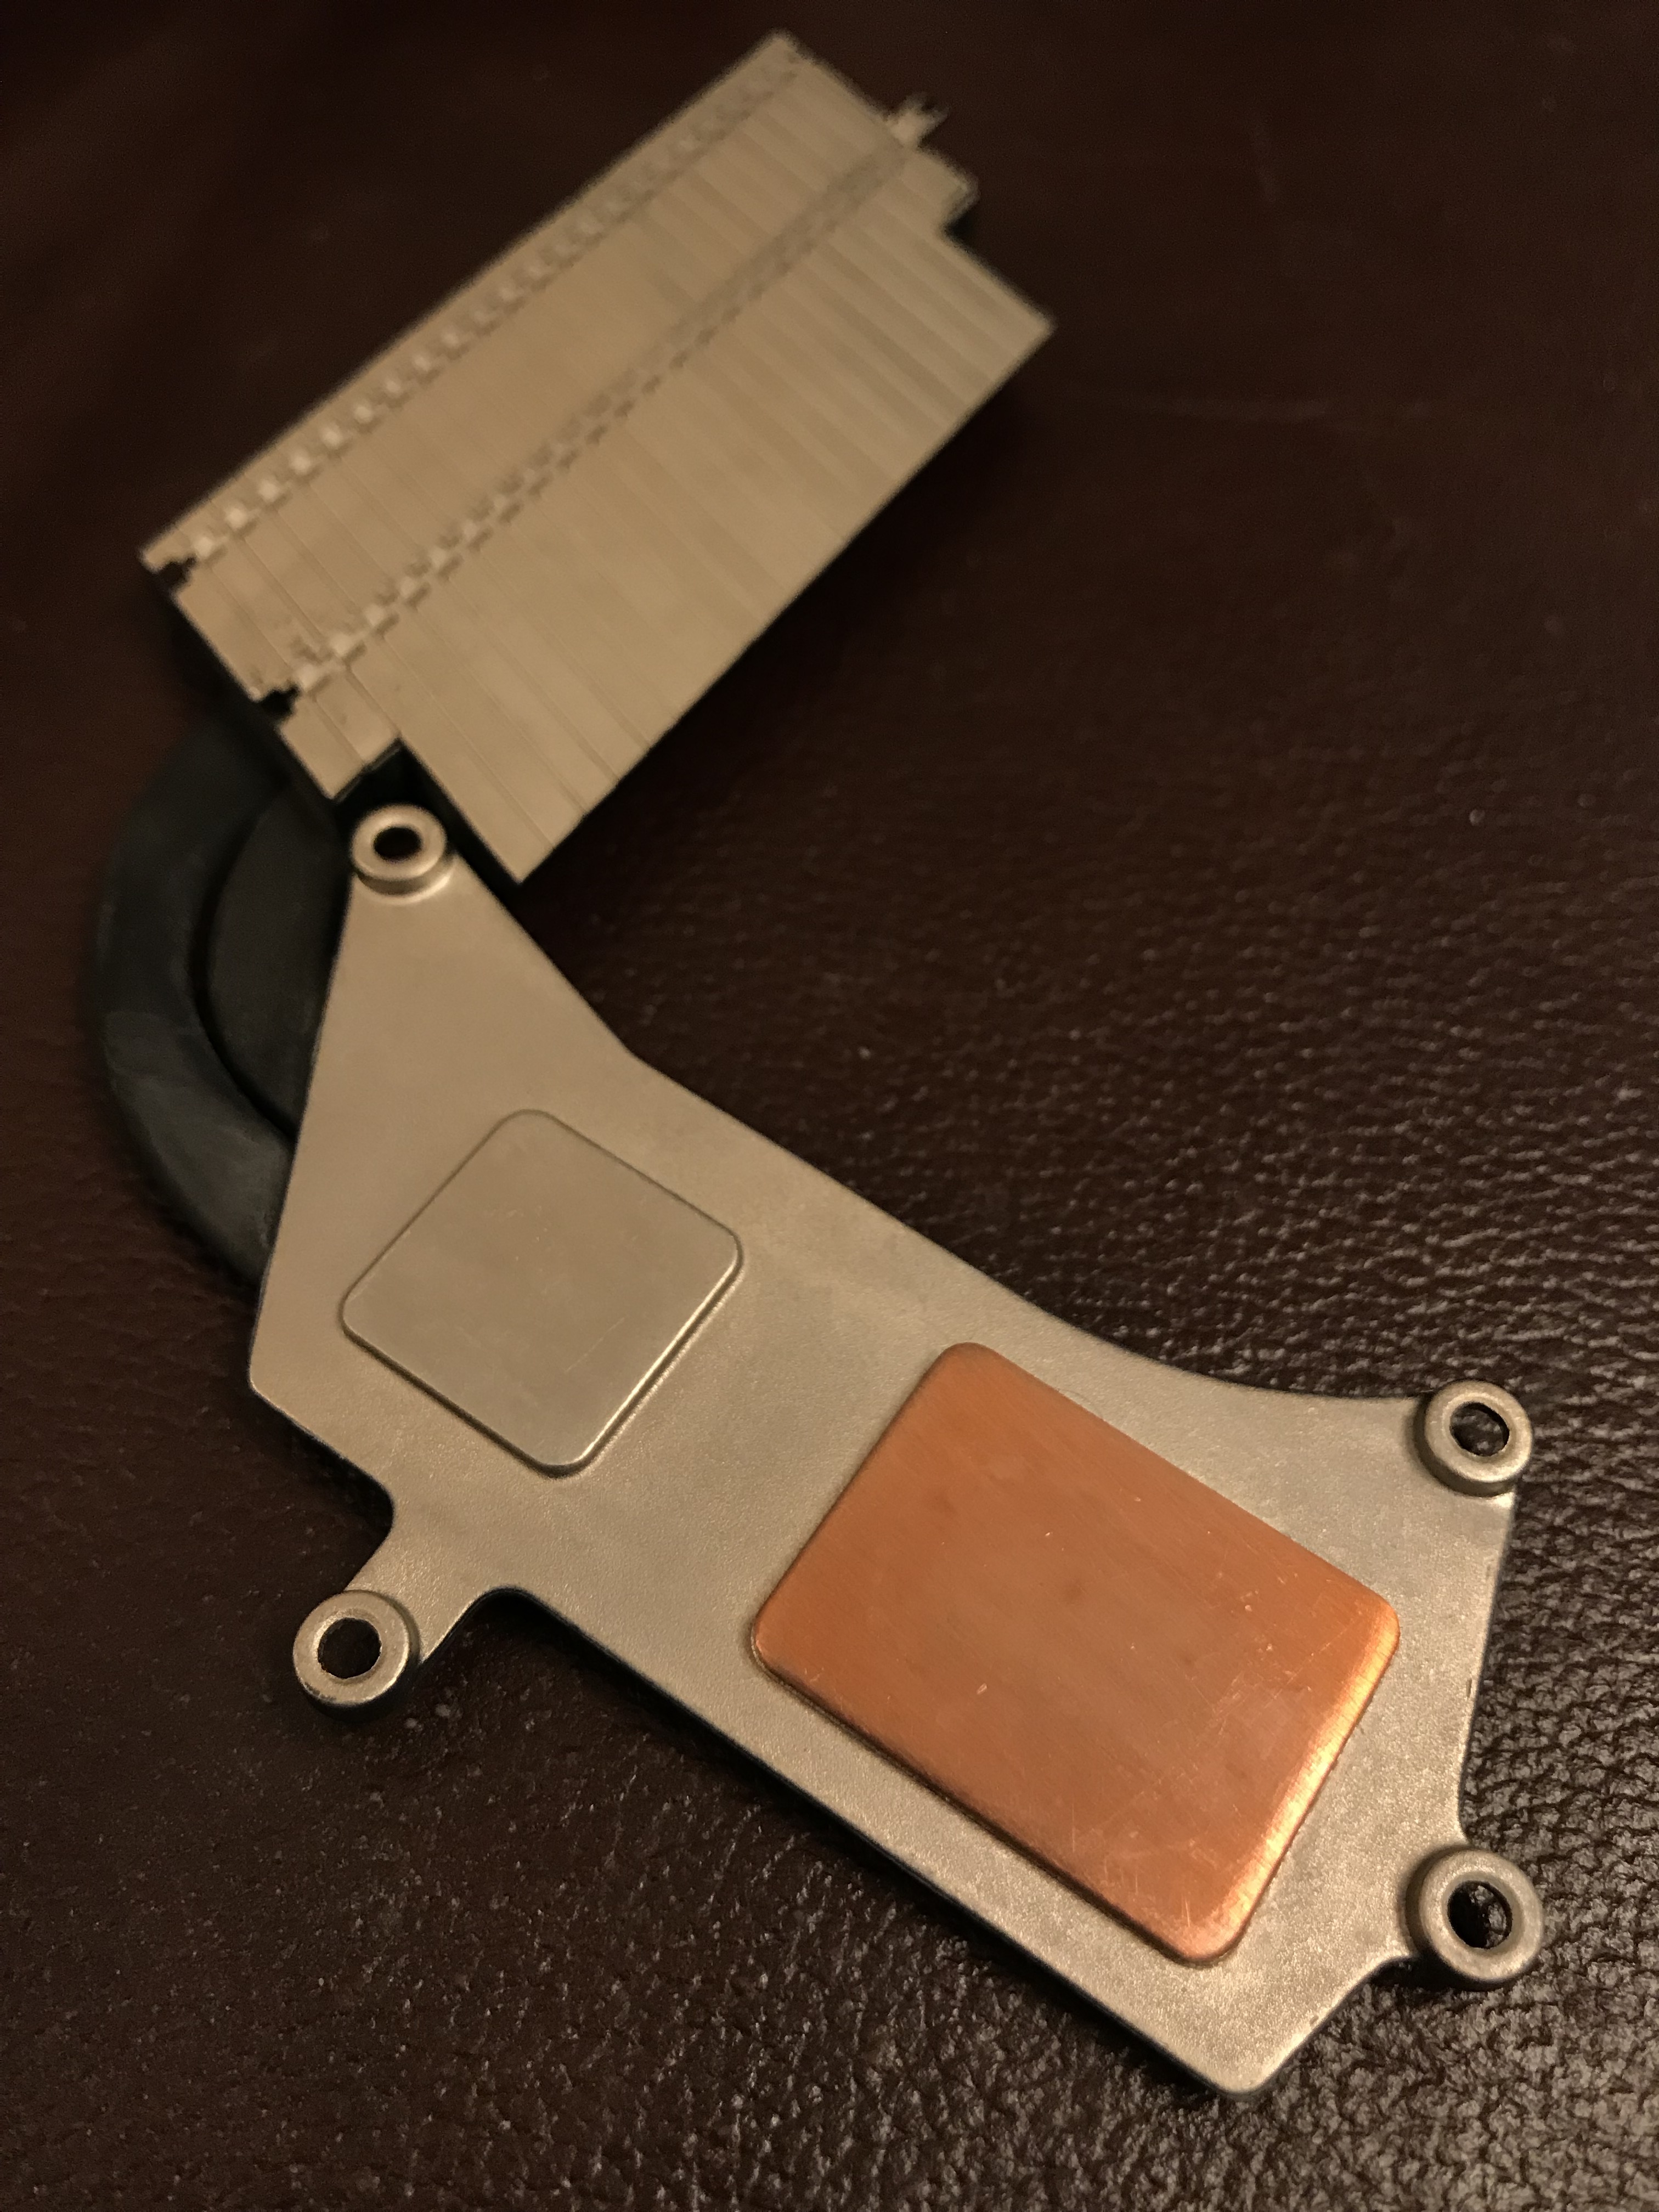
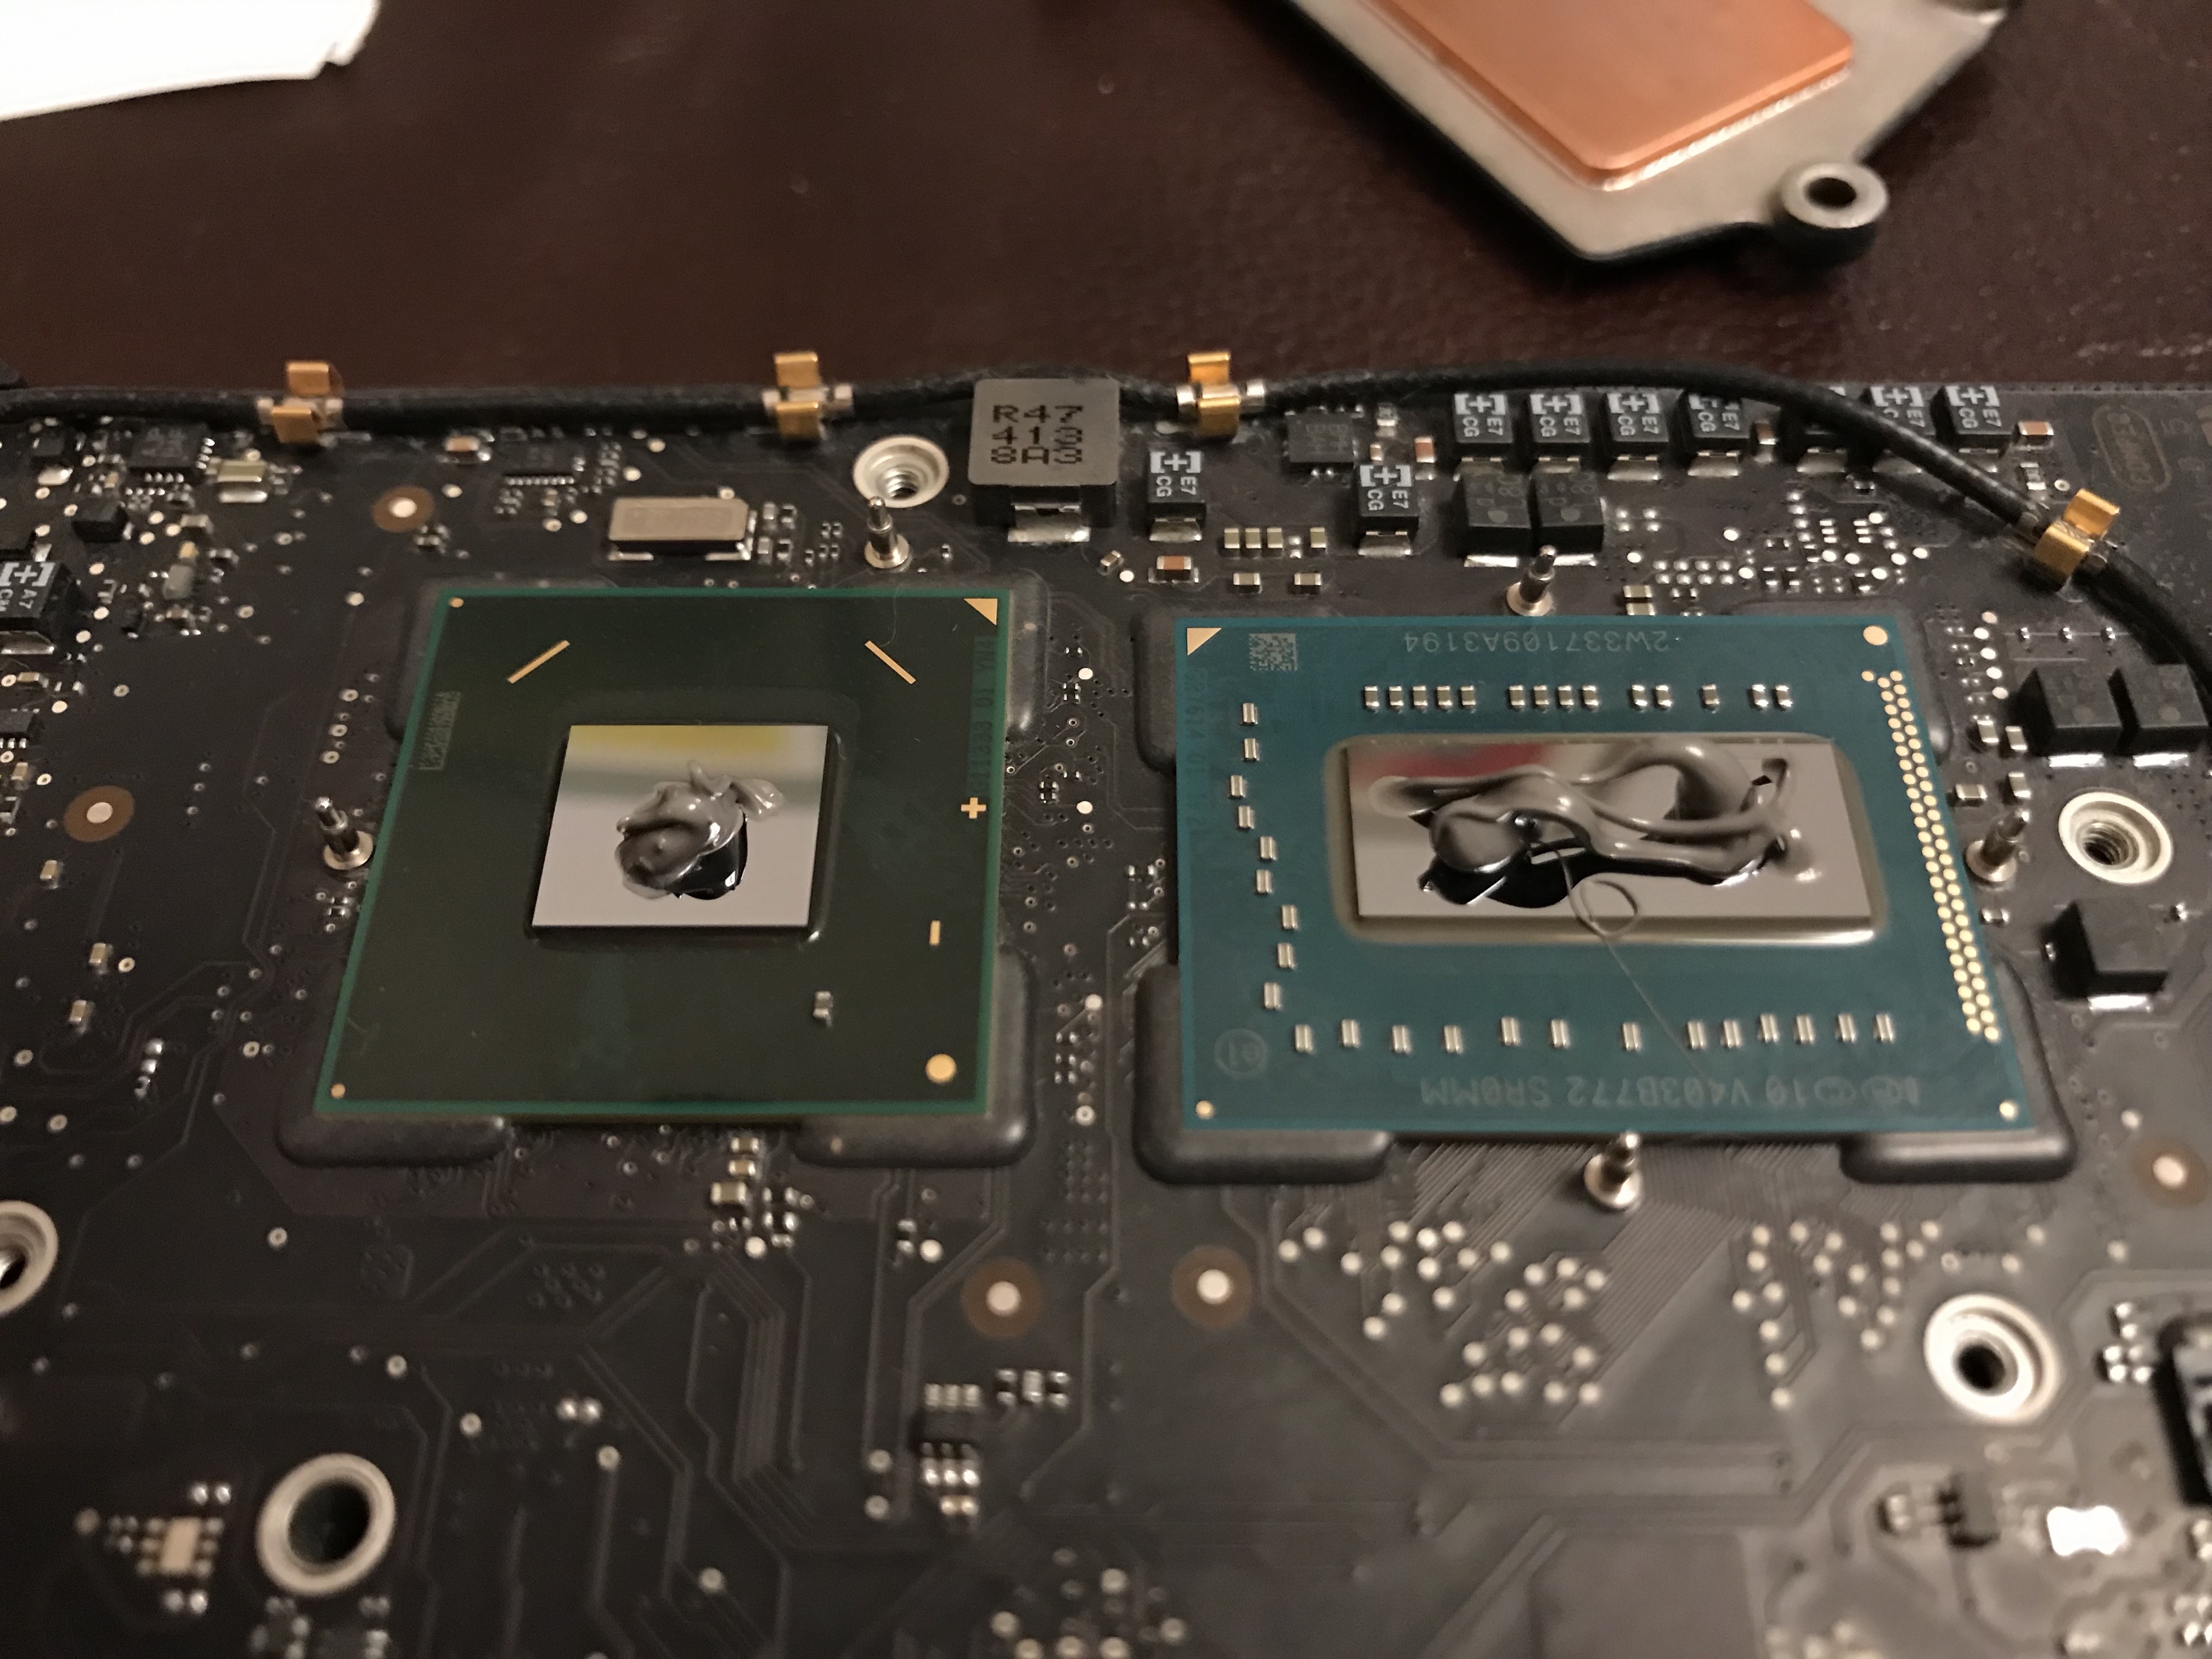
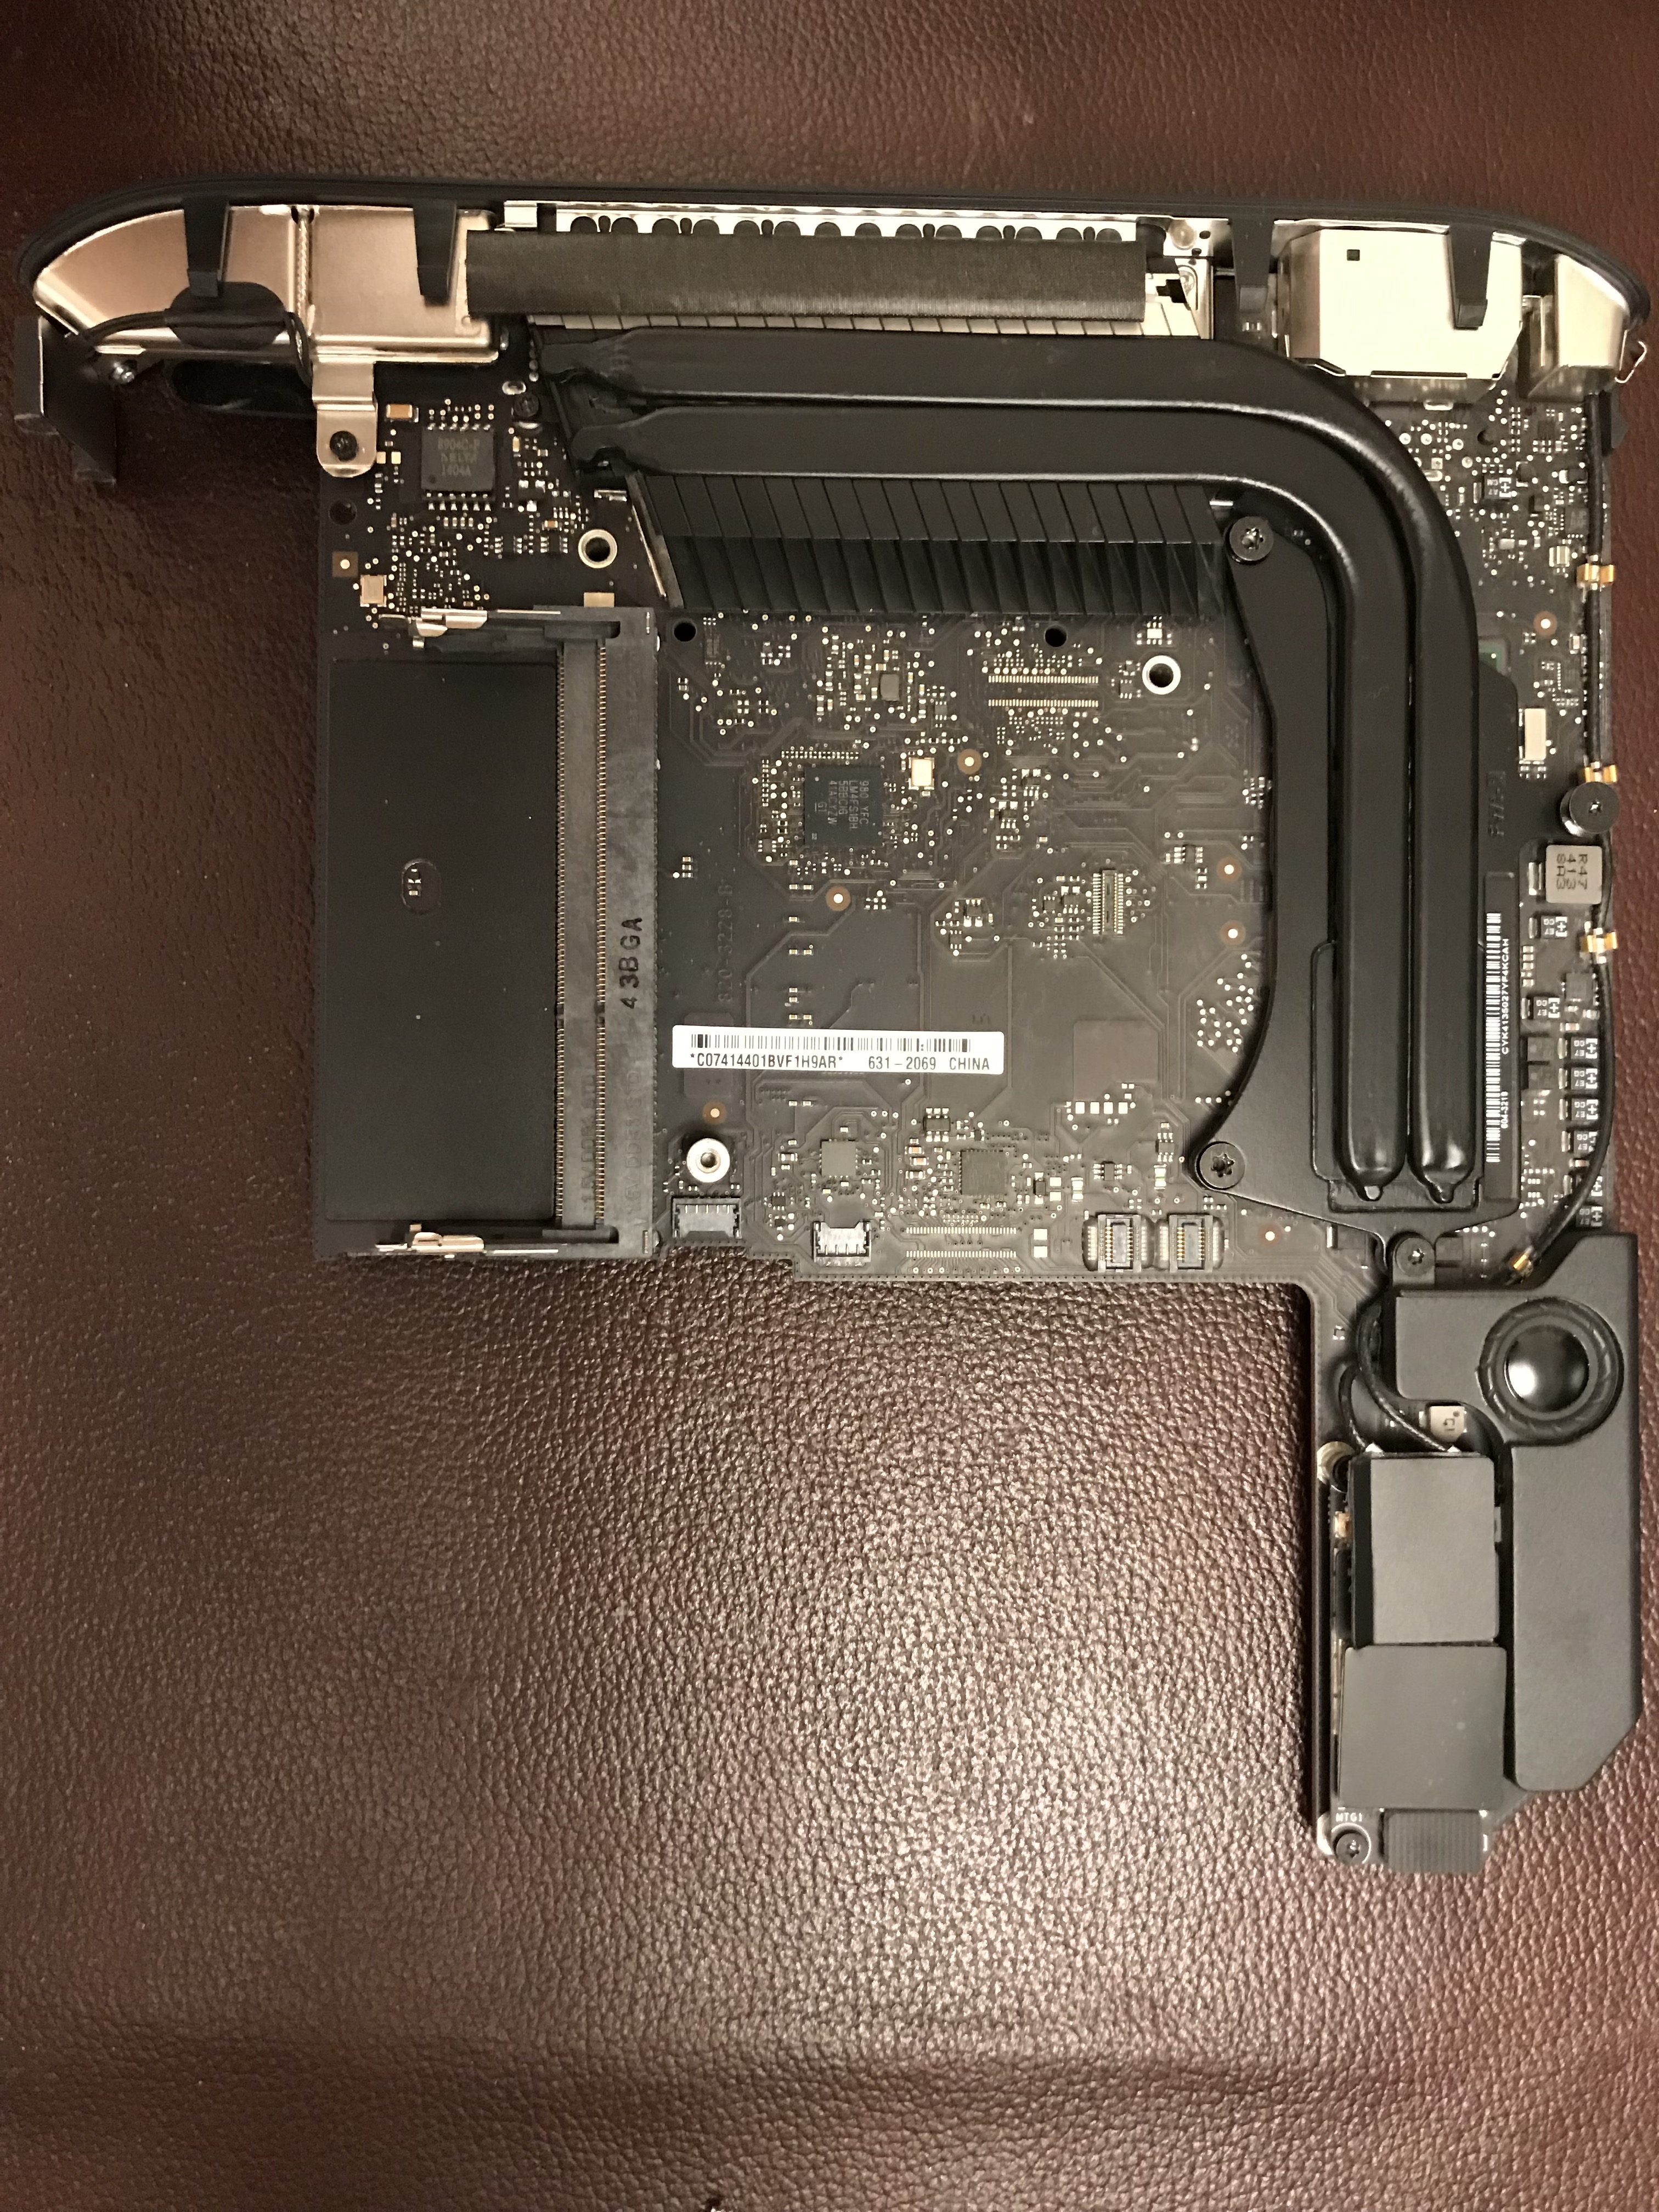
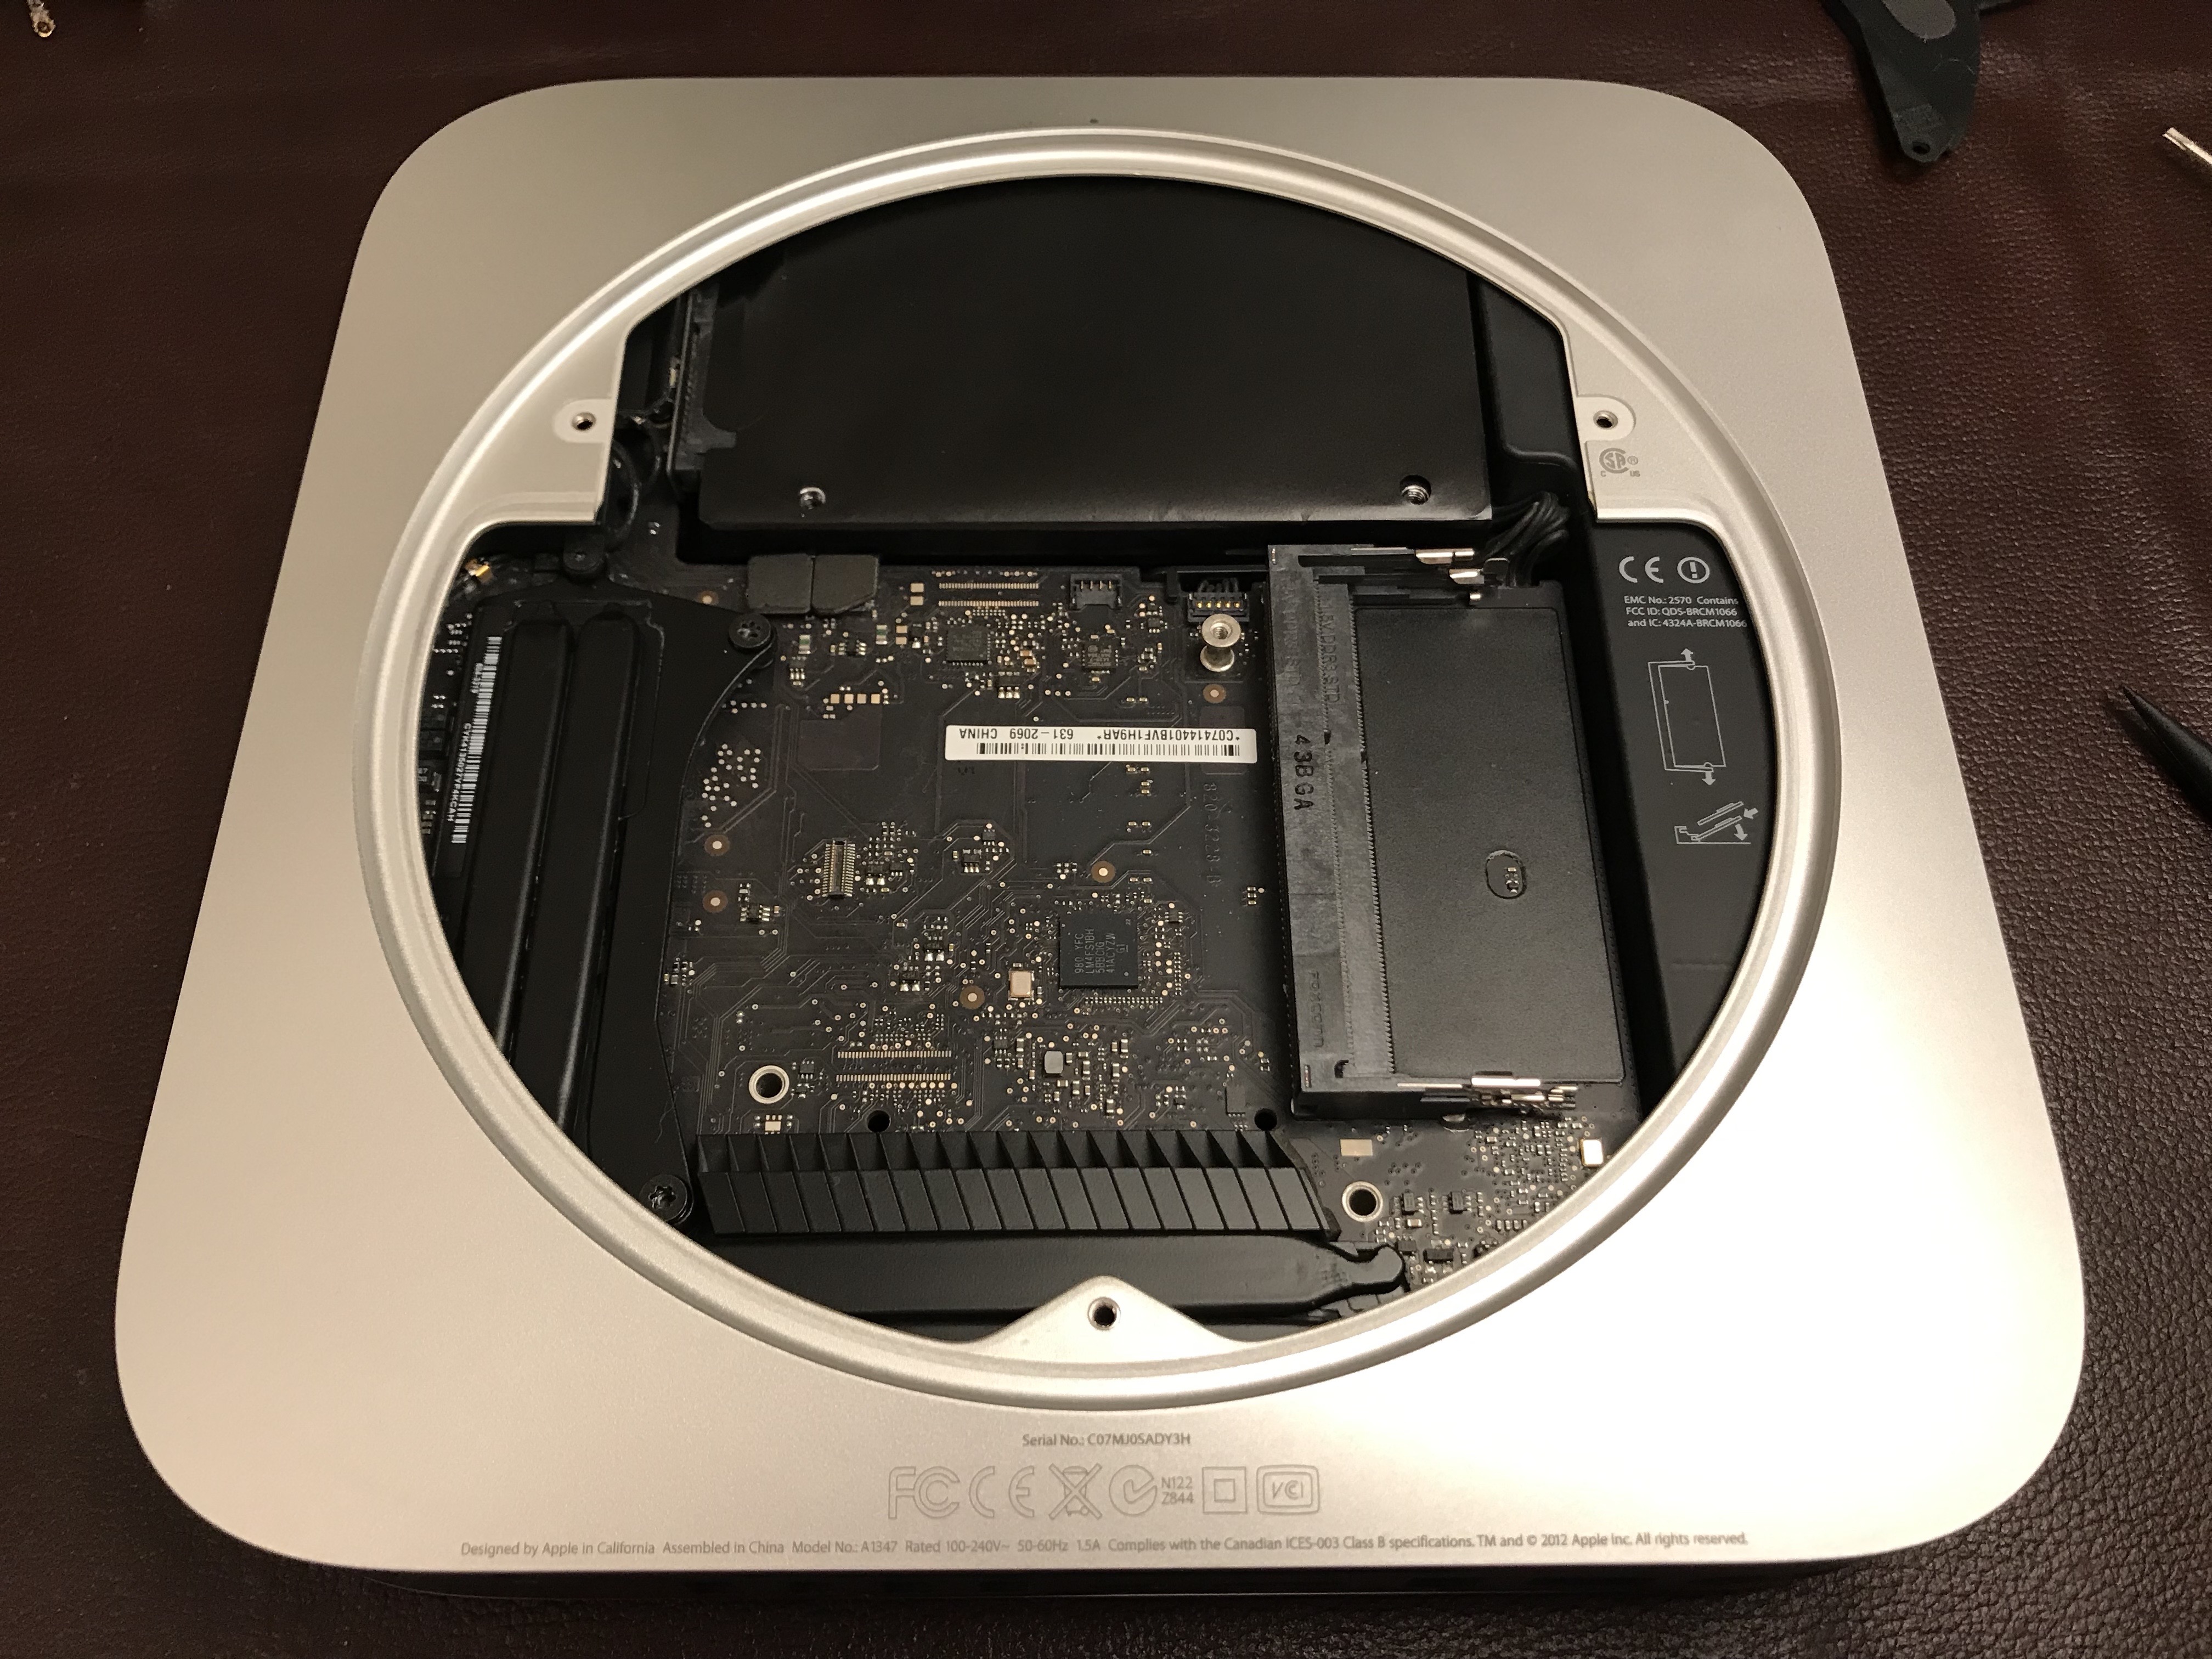
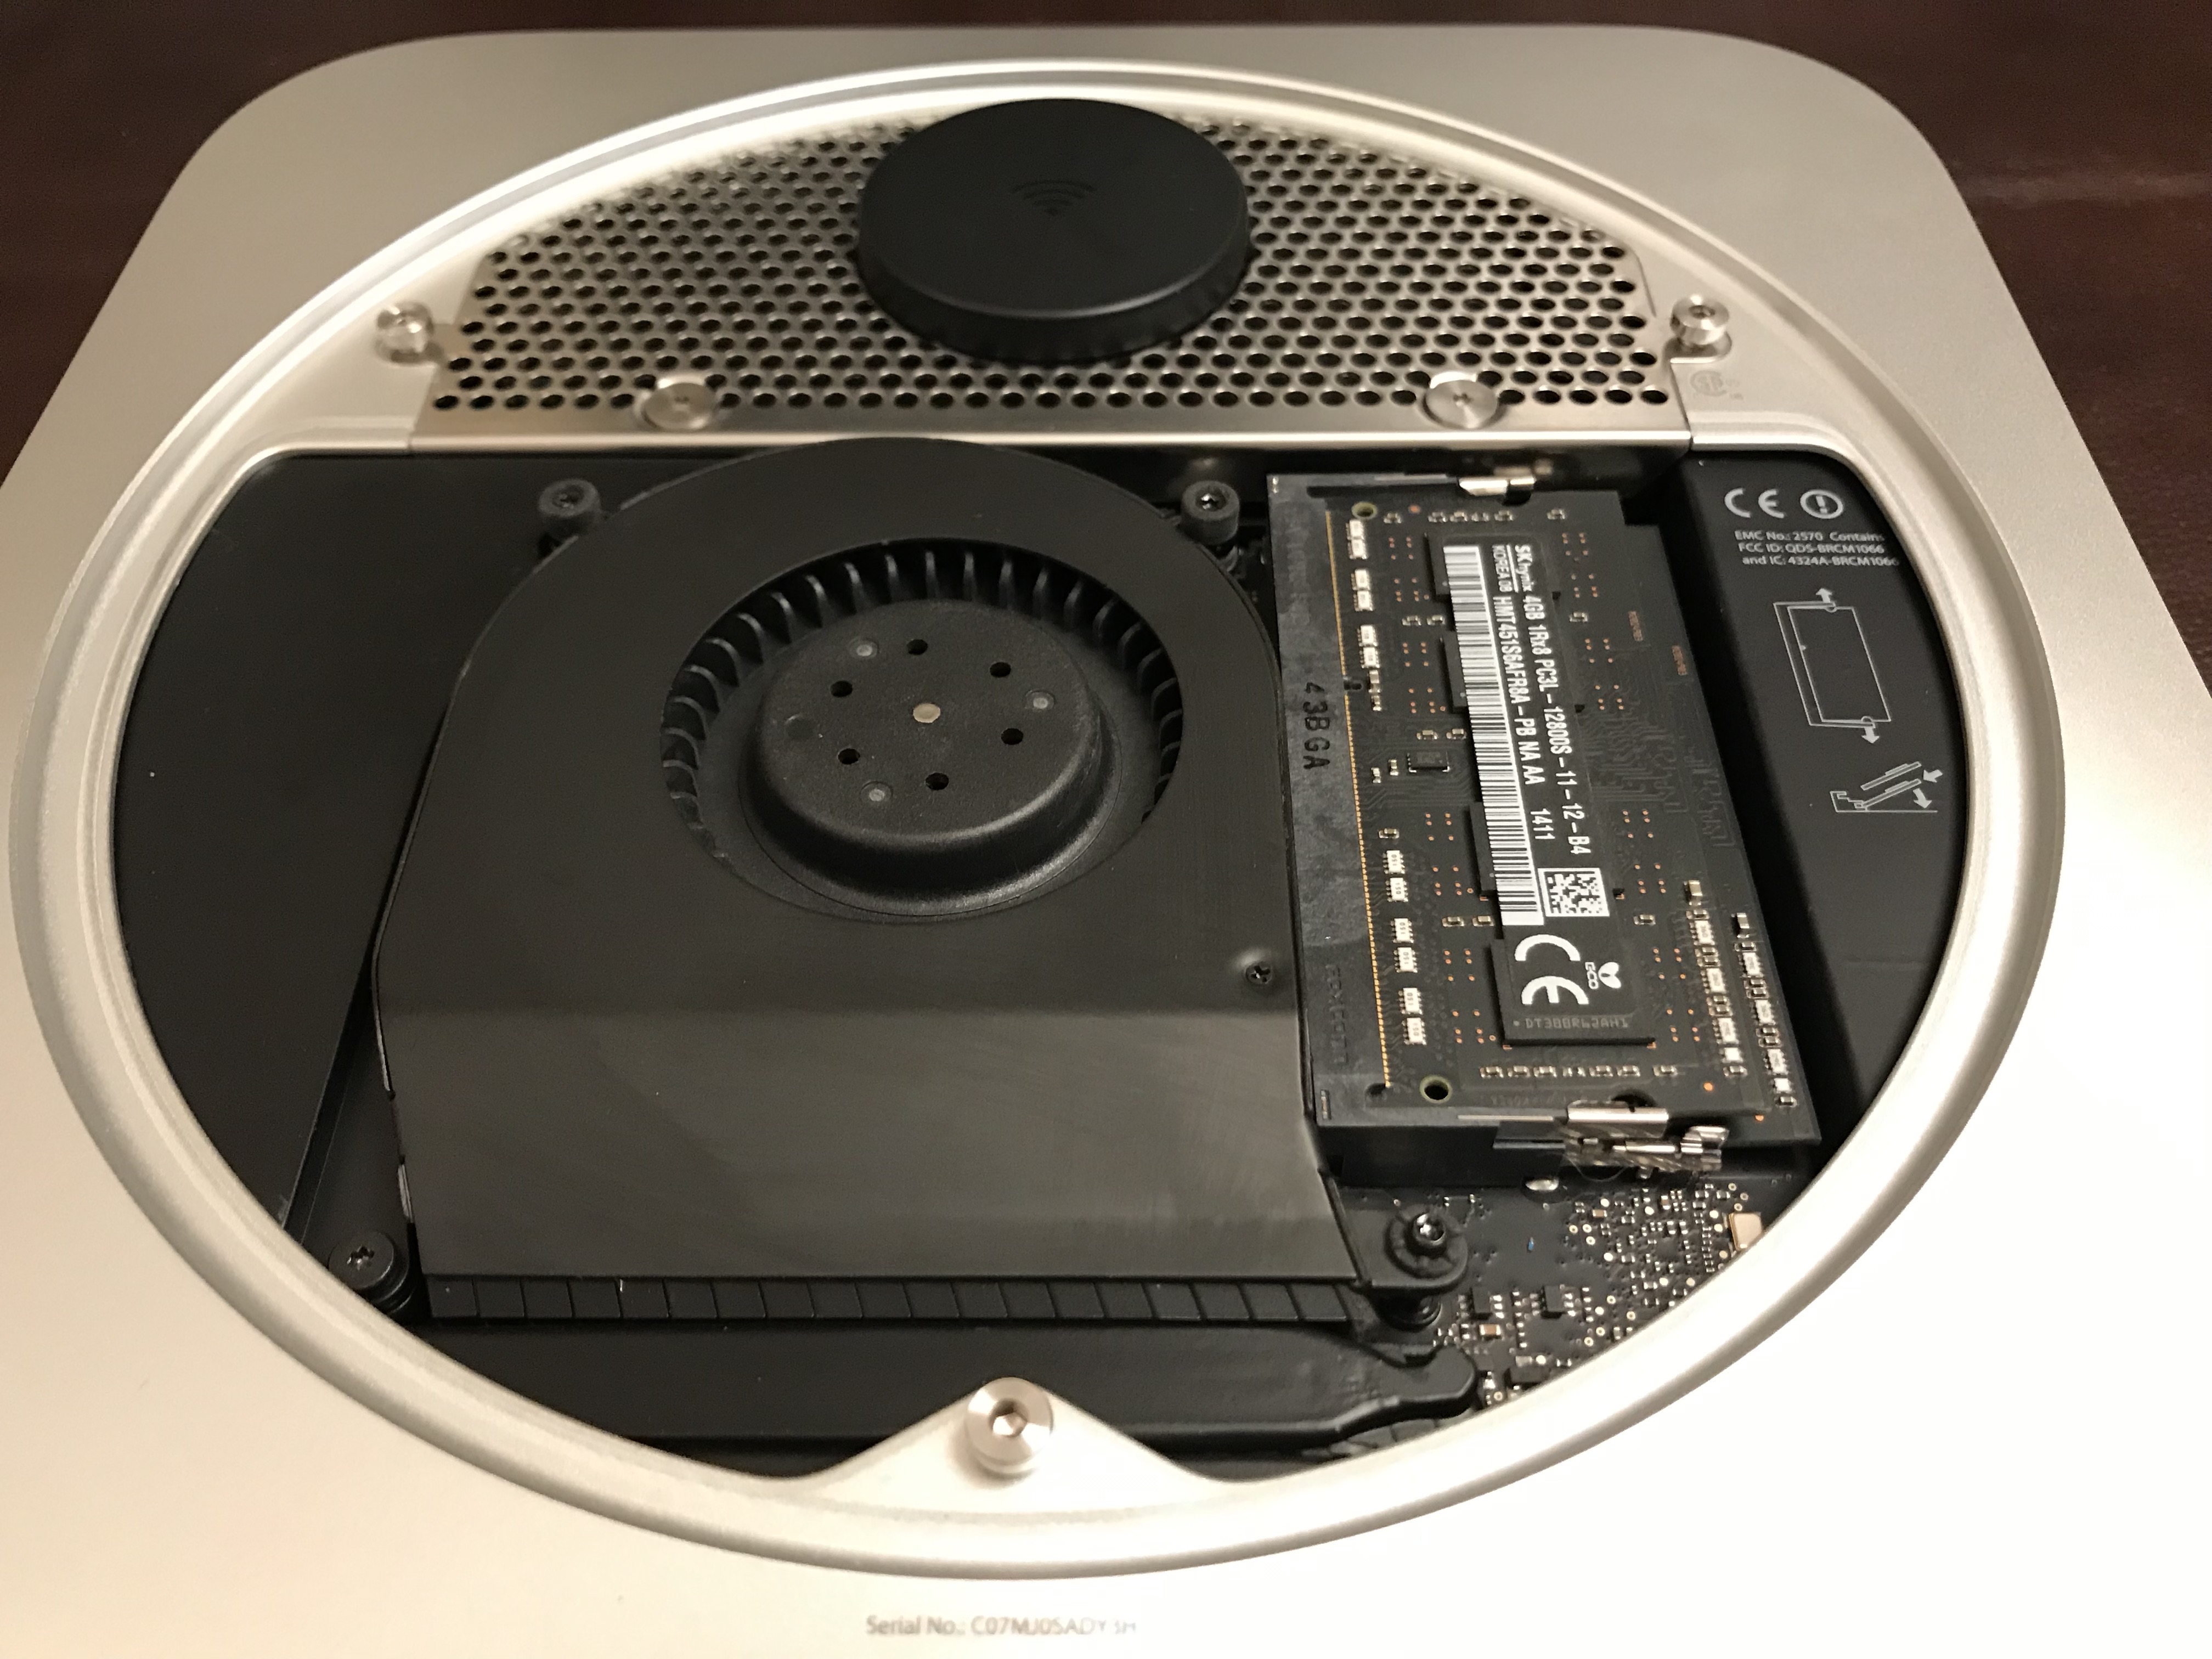
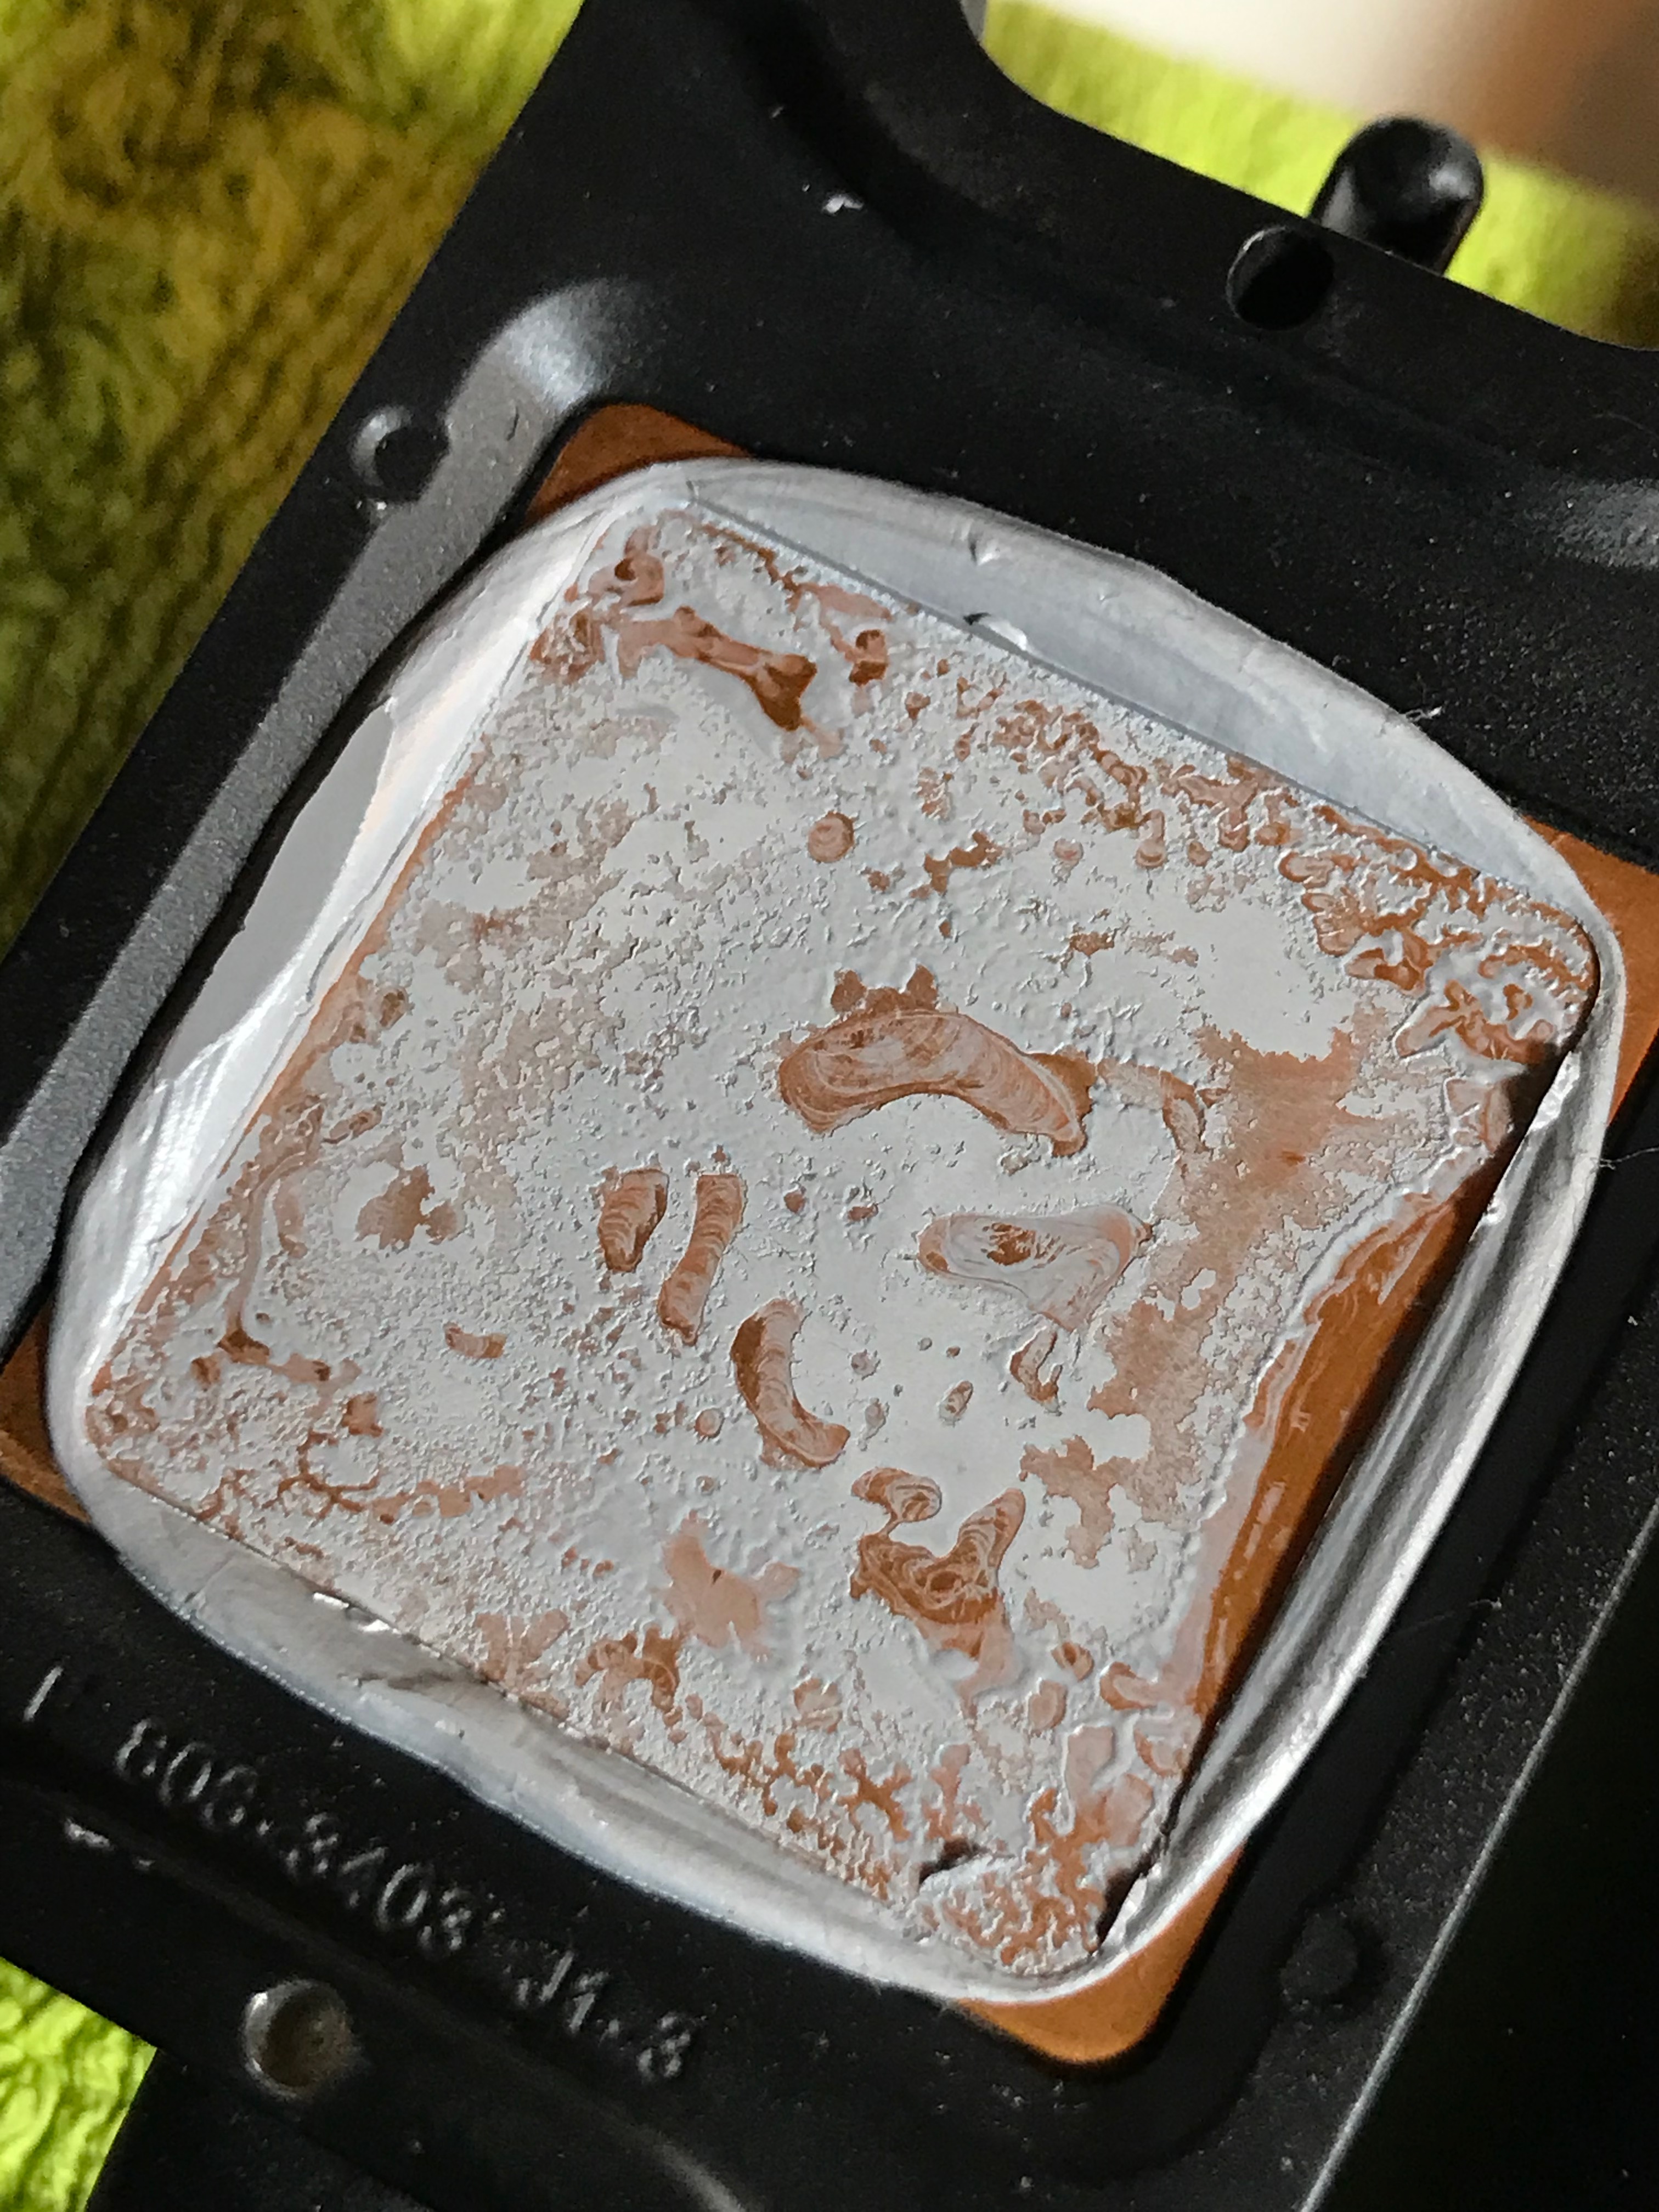
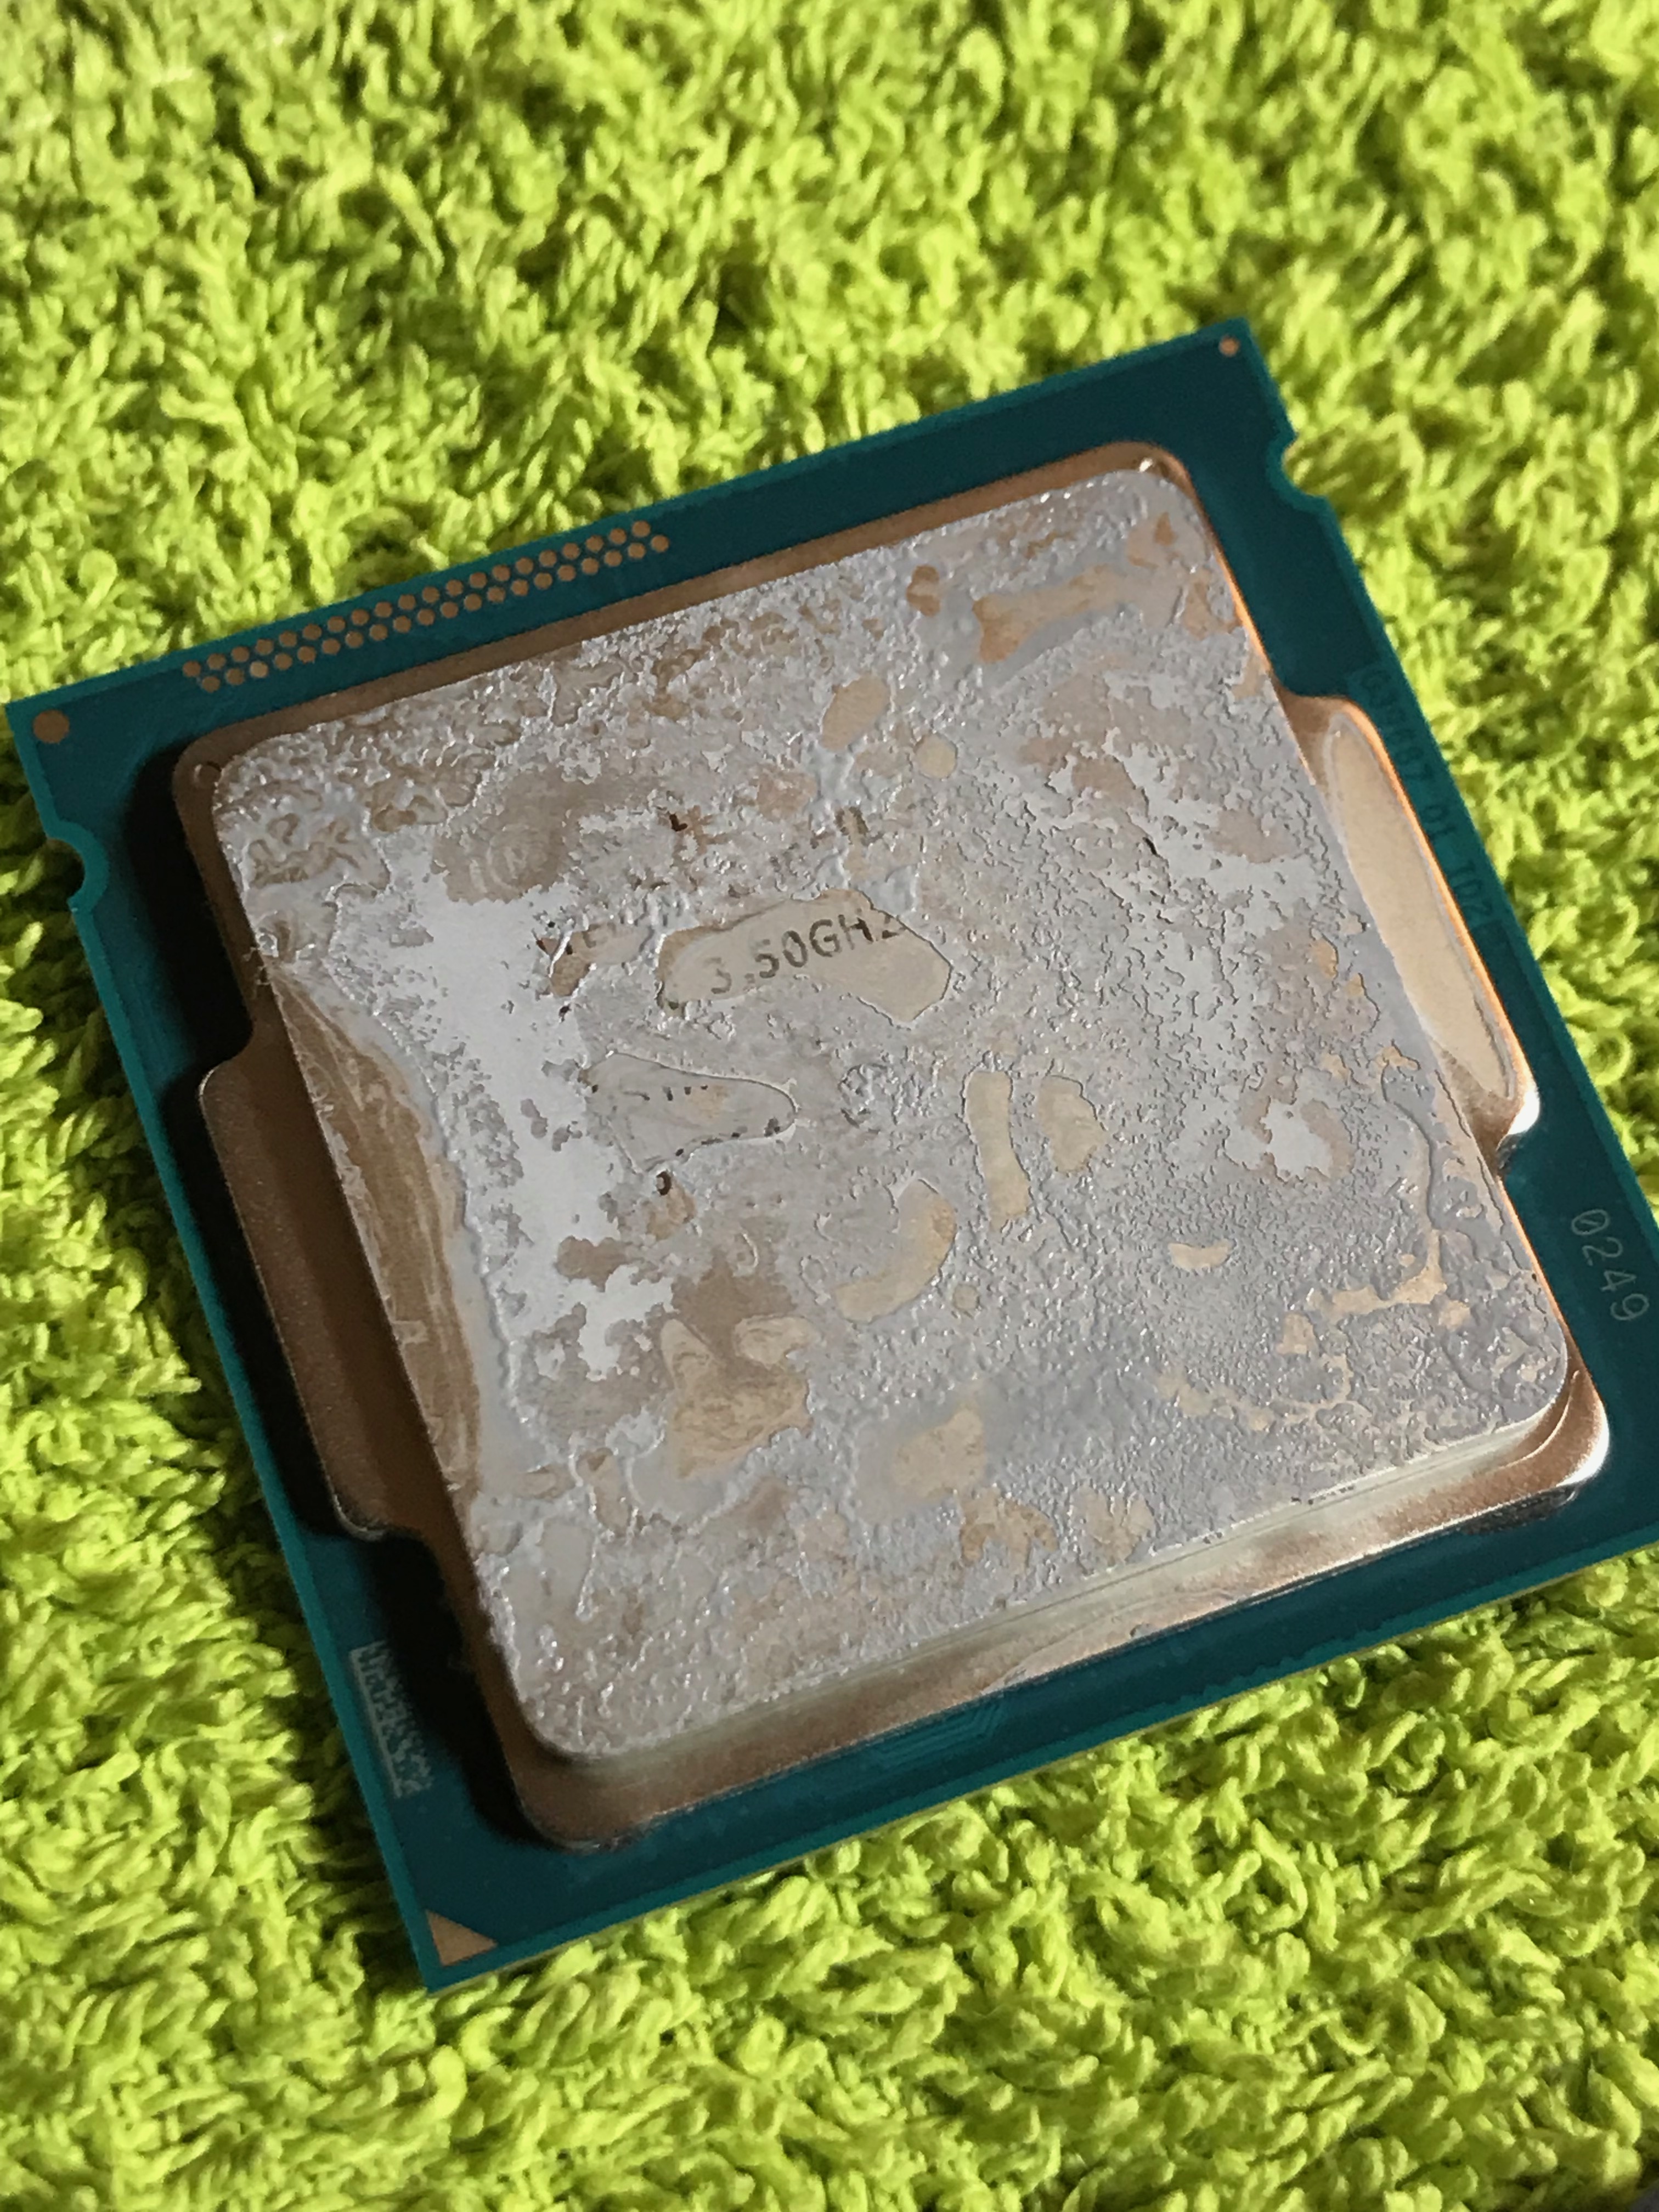
Once the SSD arrived, I got to work. I didn’t want Ligia to experience an outage longer than a few hours, so the pressure was on. My plan was to open up her machine, clean the insides thoroughly of dust, replace the thermal paste on the CPU and GPU, then replace the HDD with the SSD. After putting it back together and booting up, I would need to do a data restore.
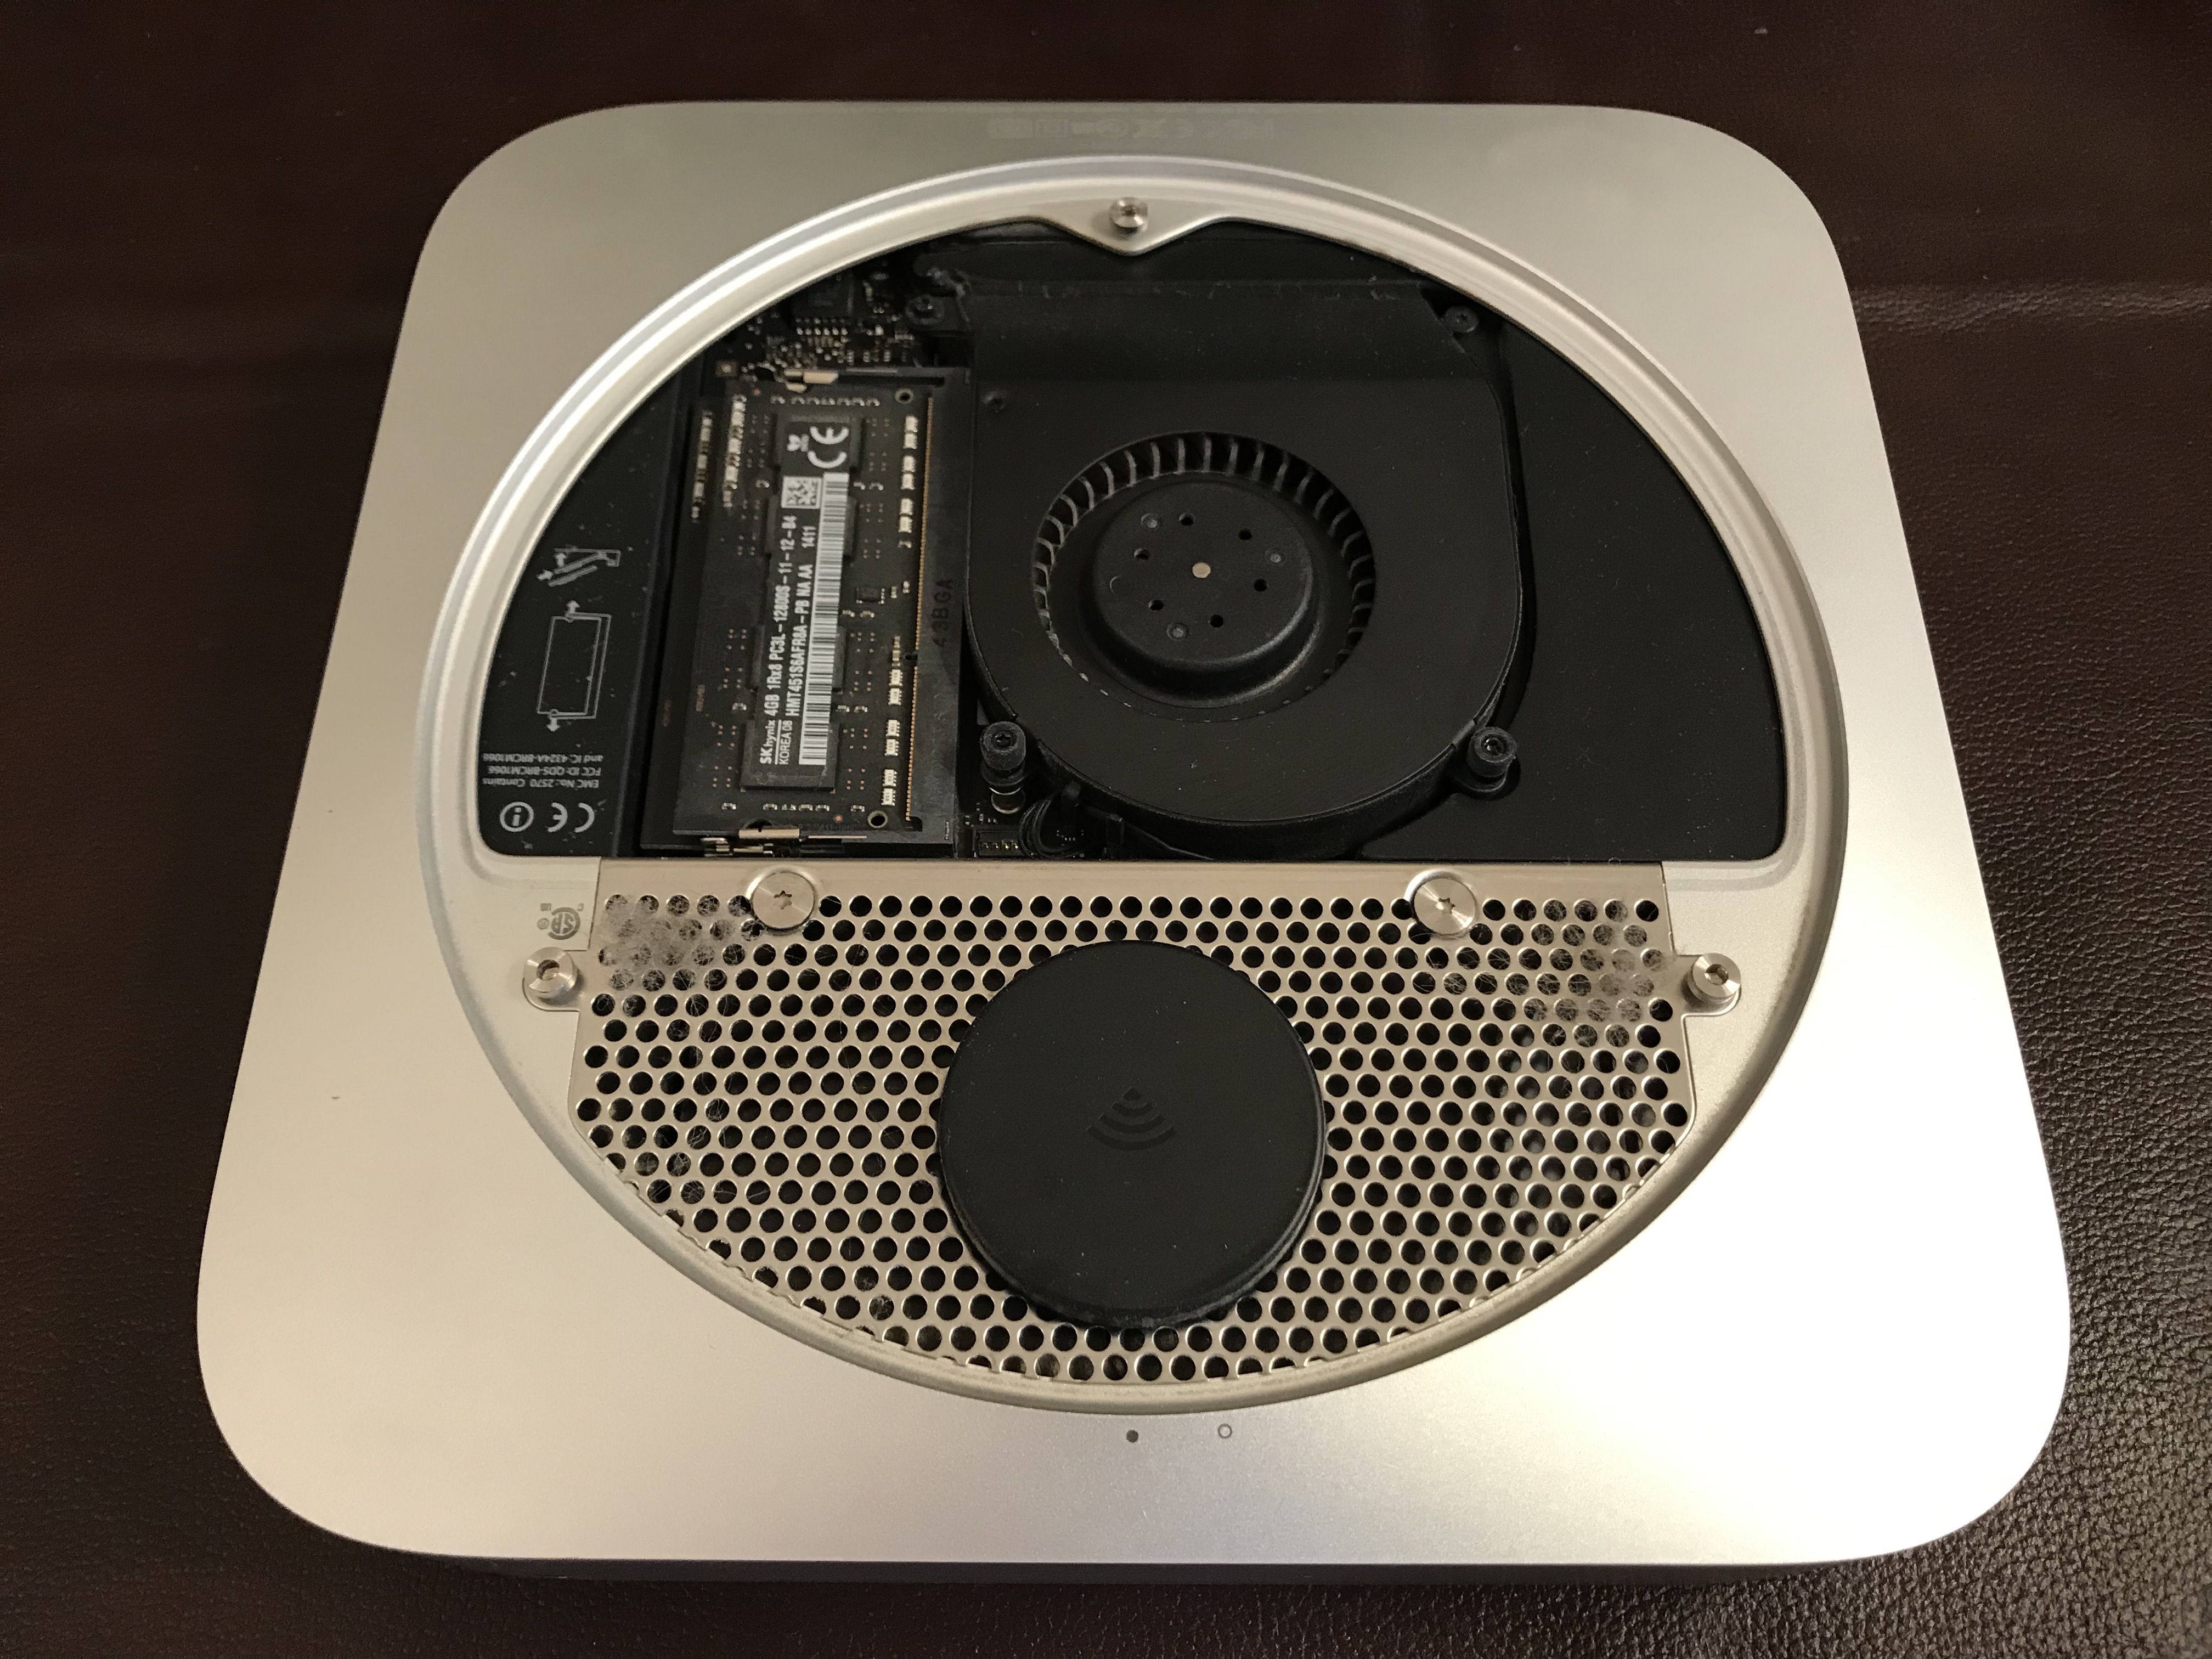
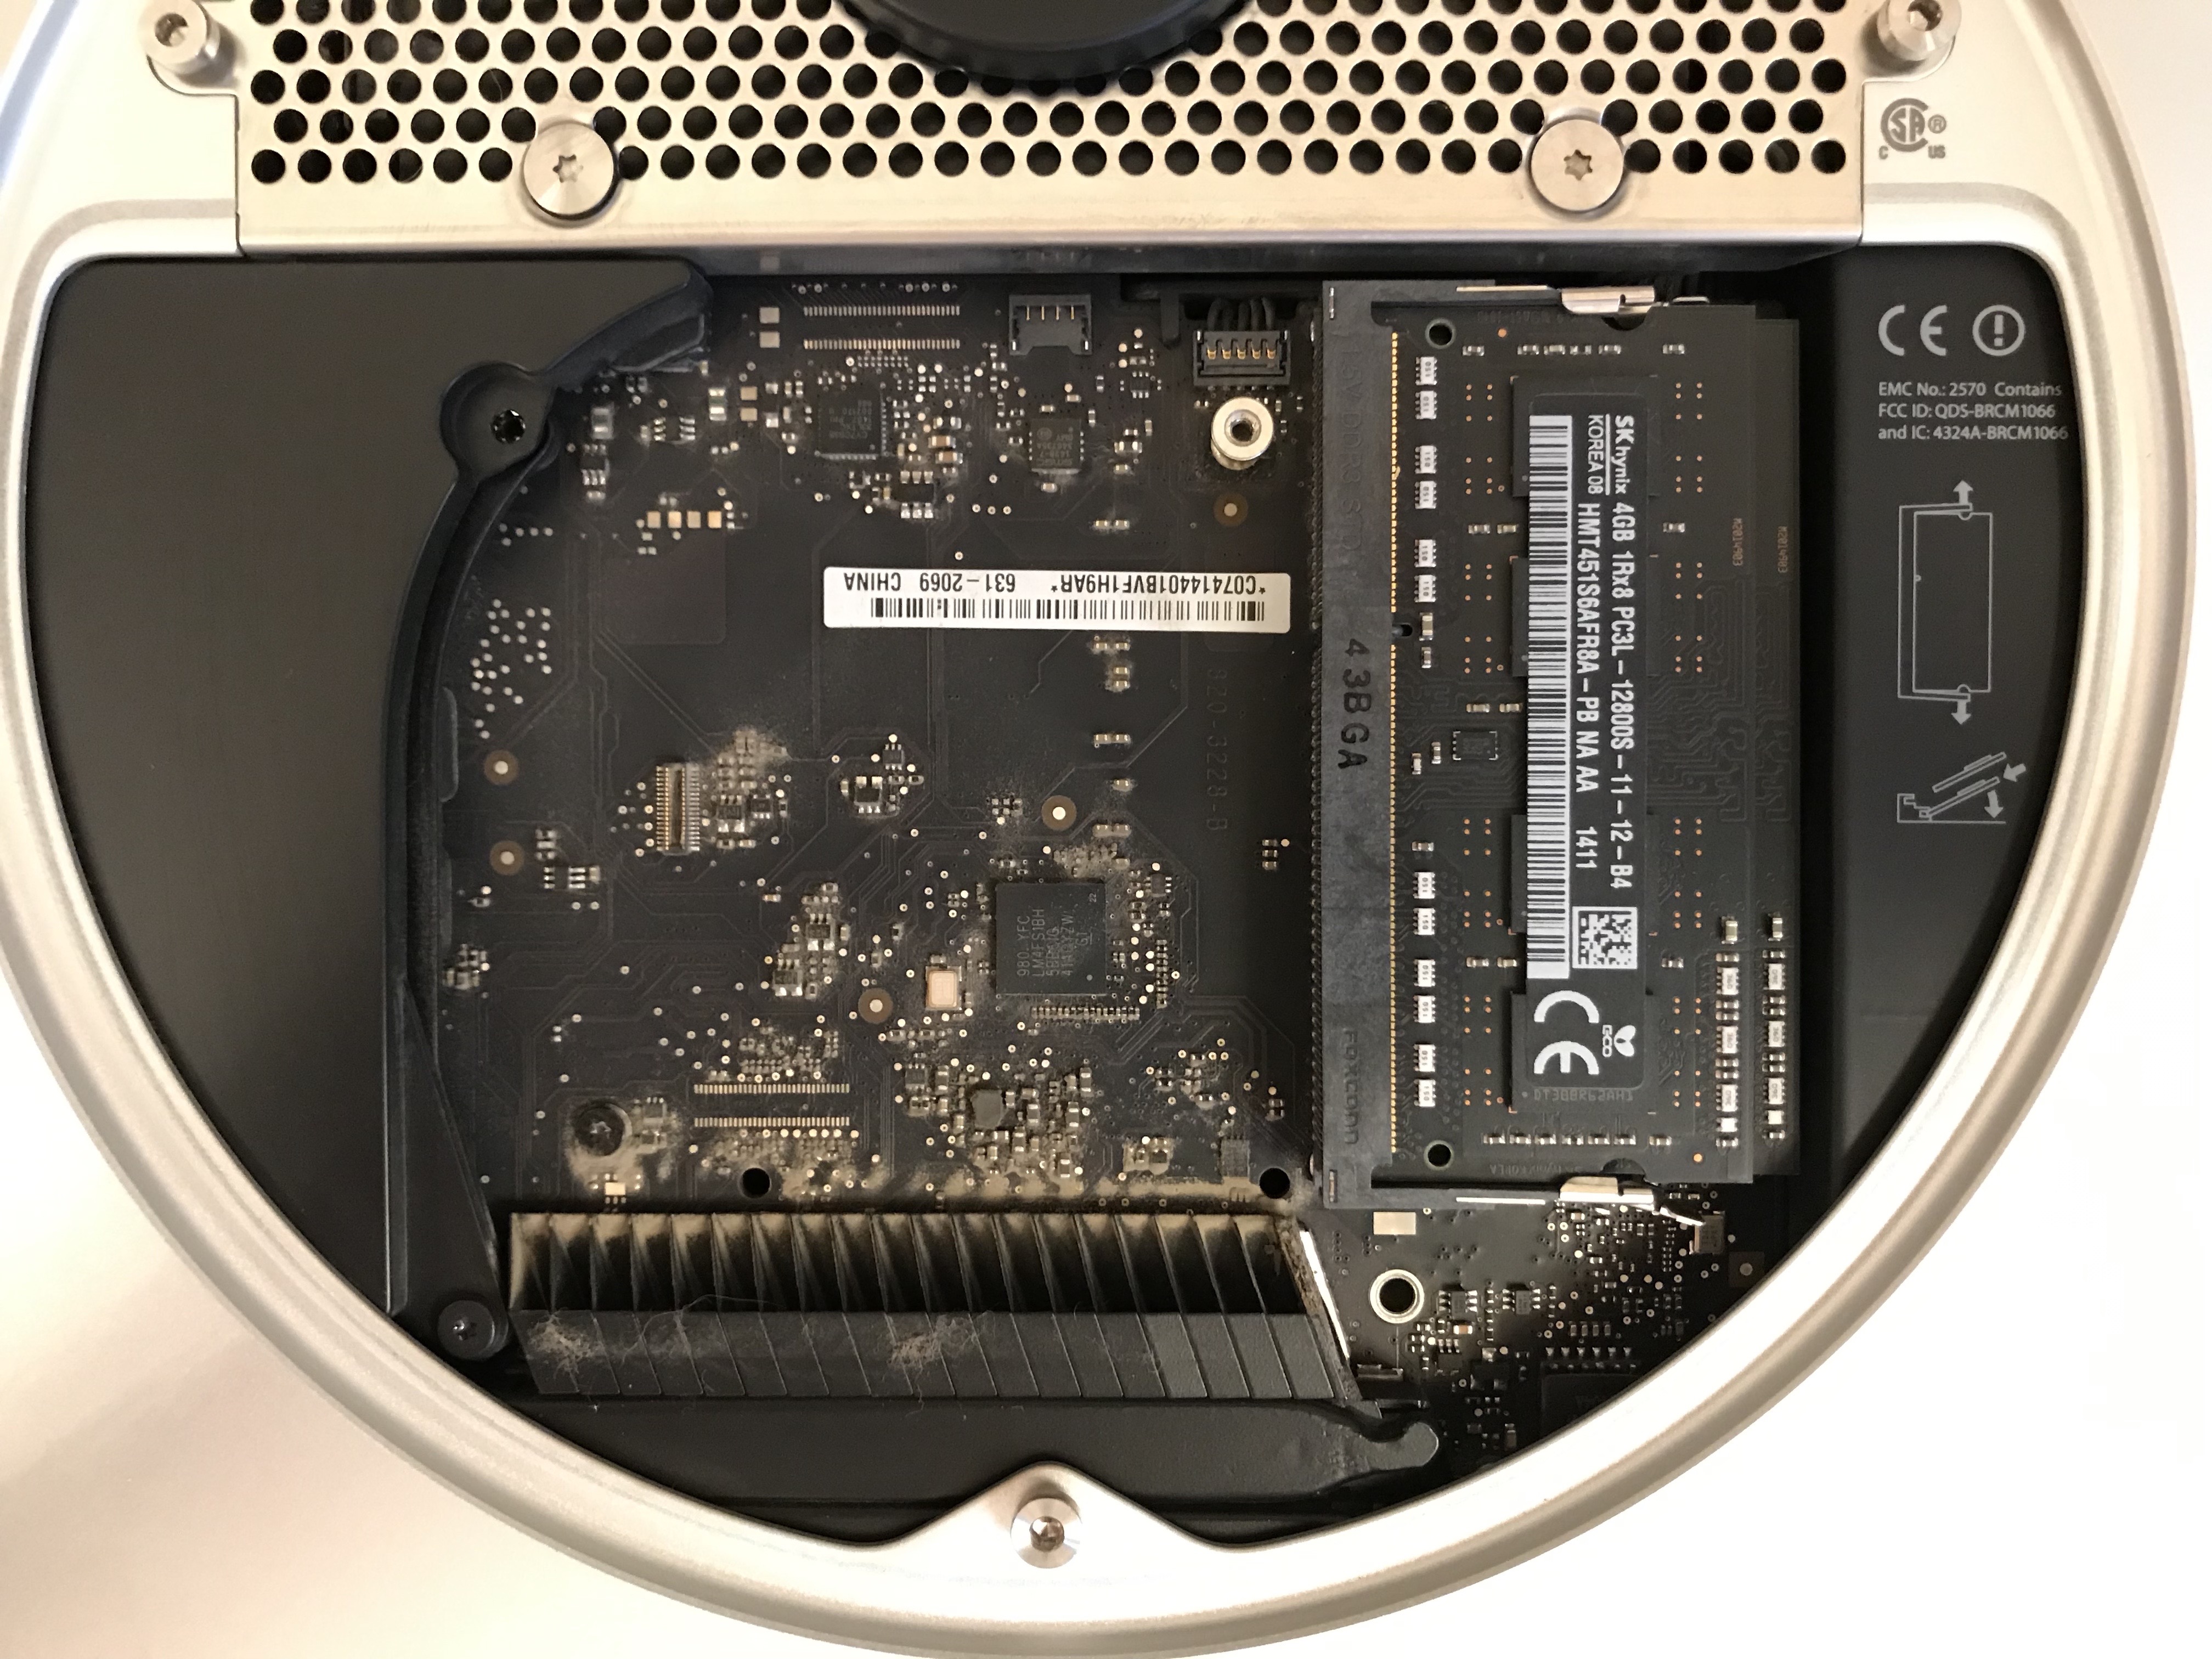
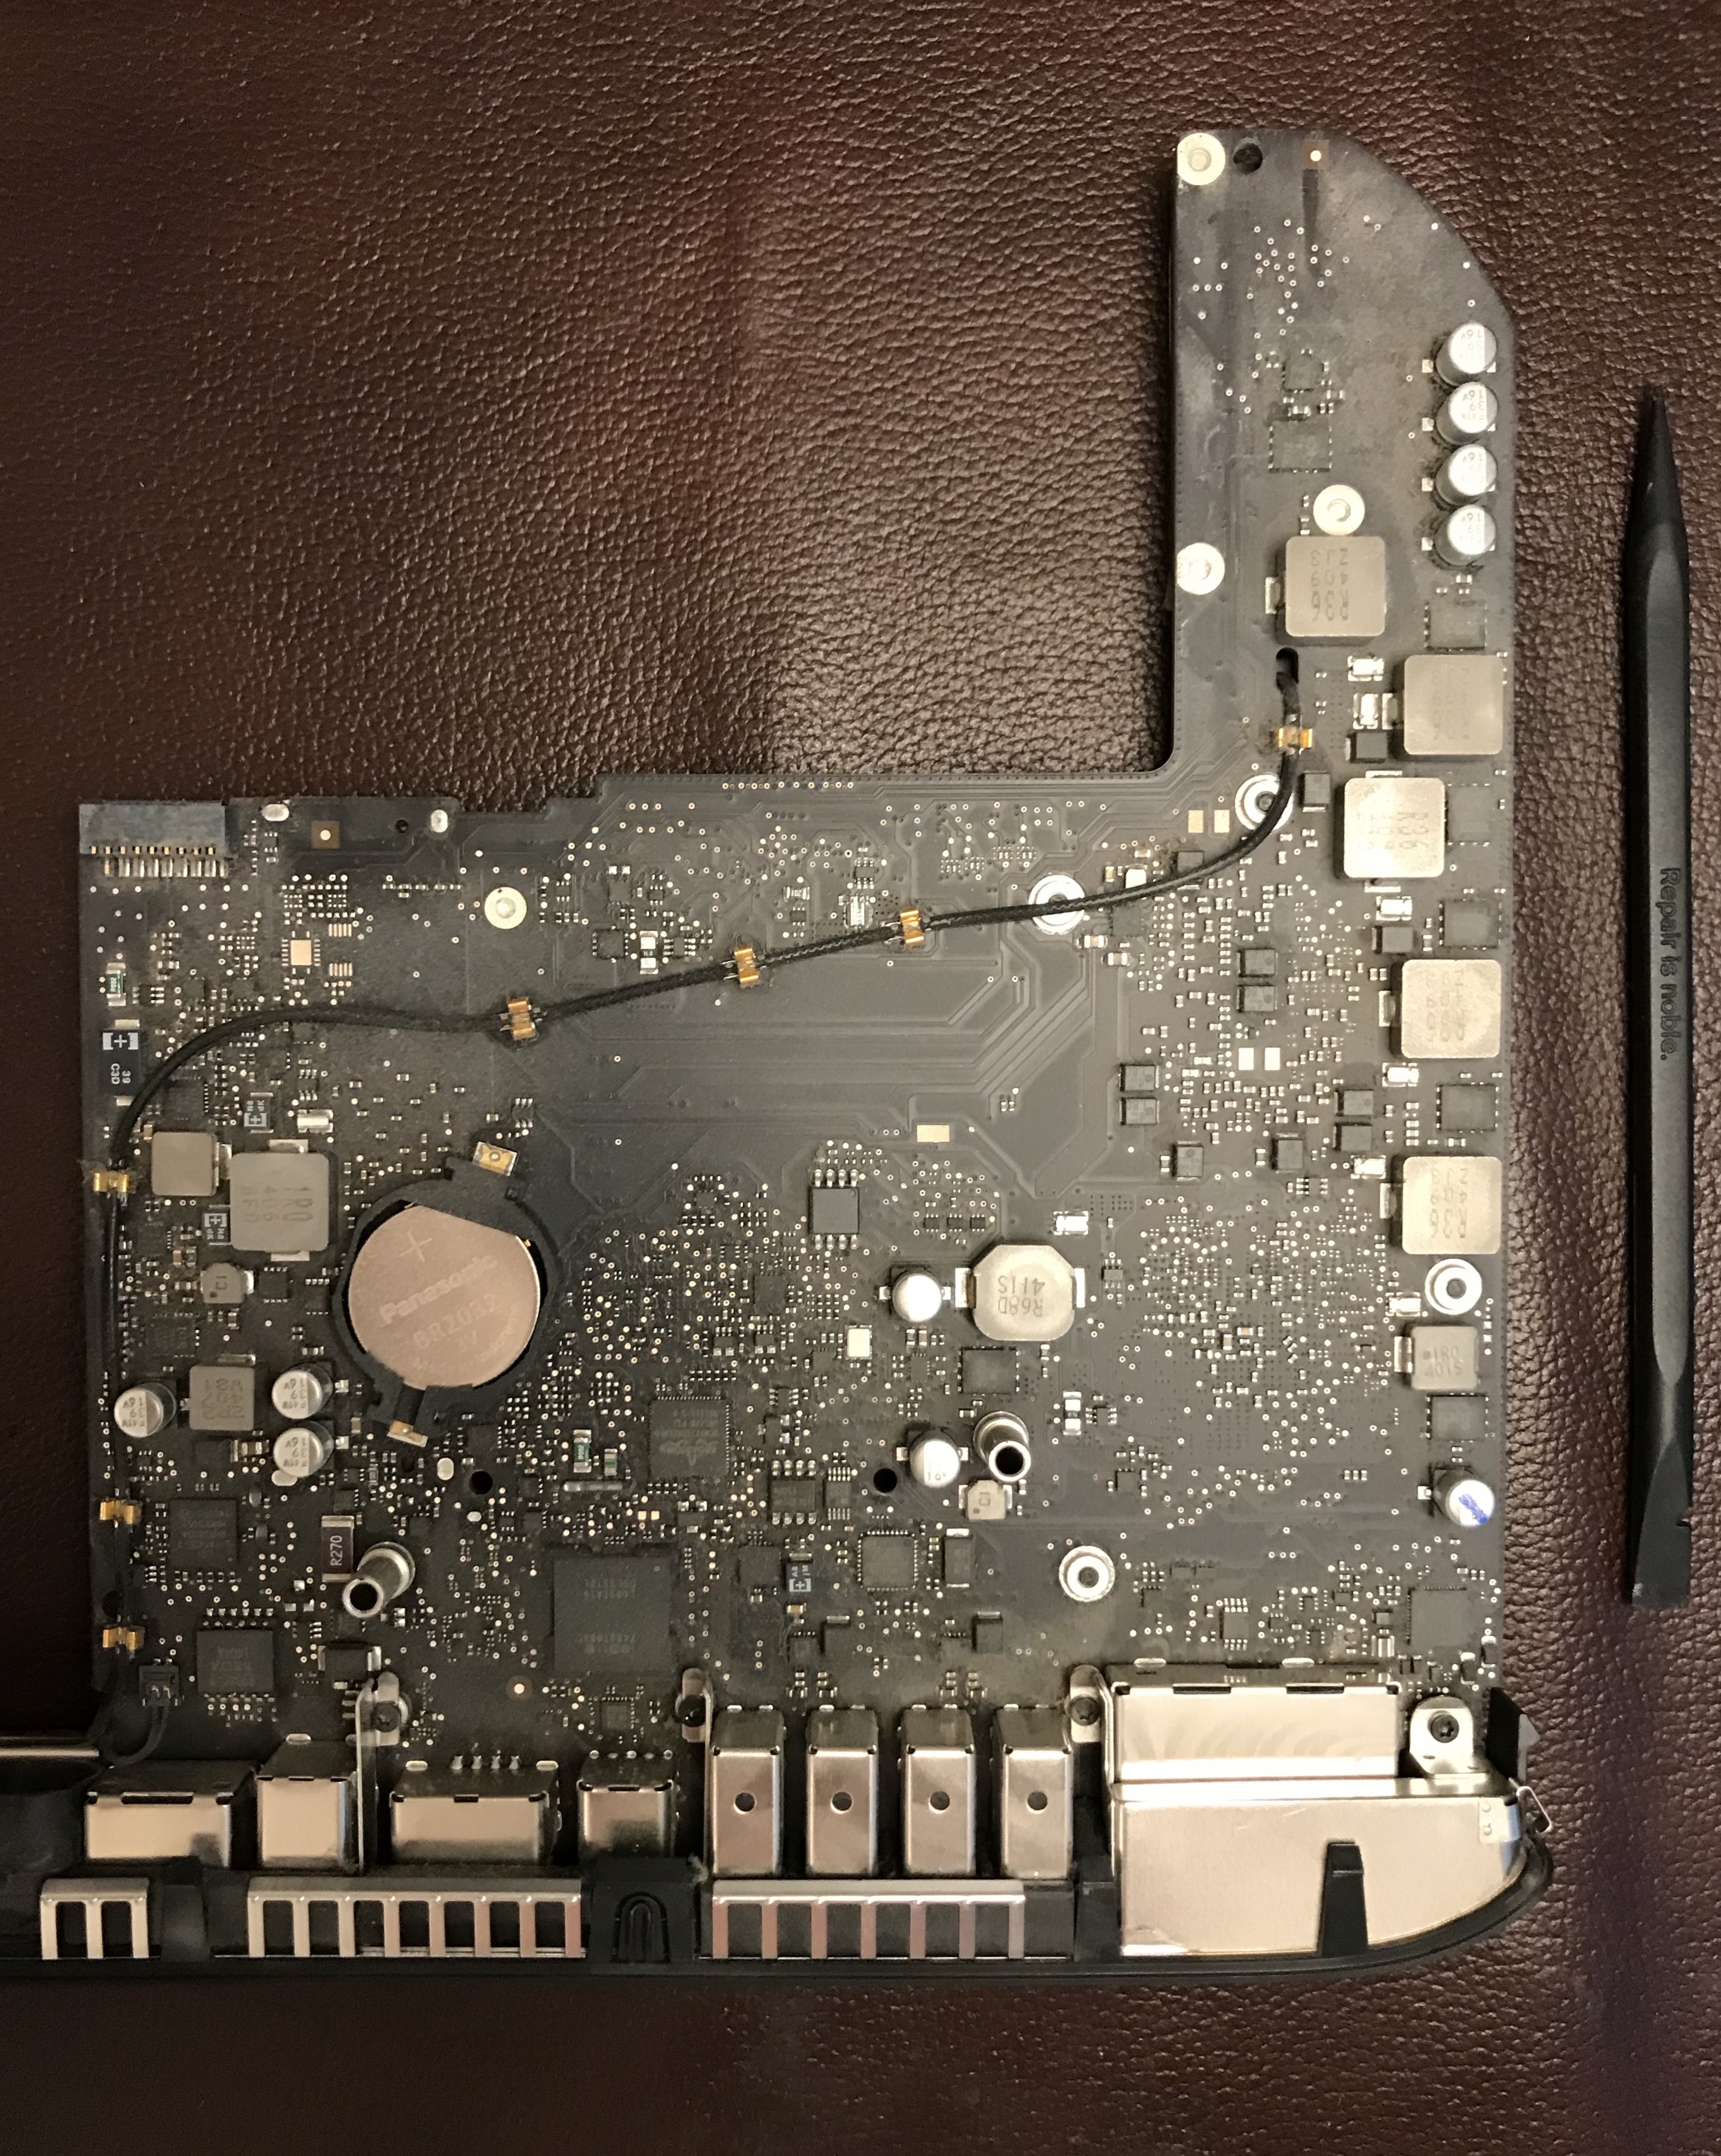
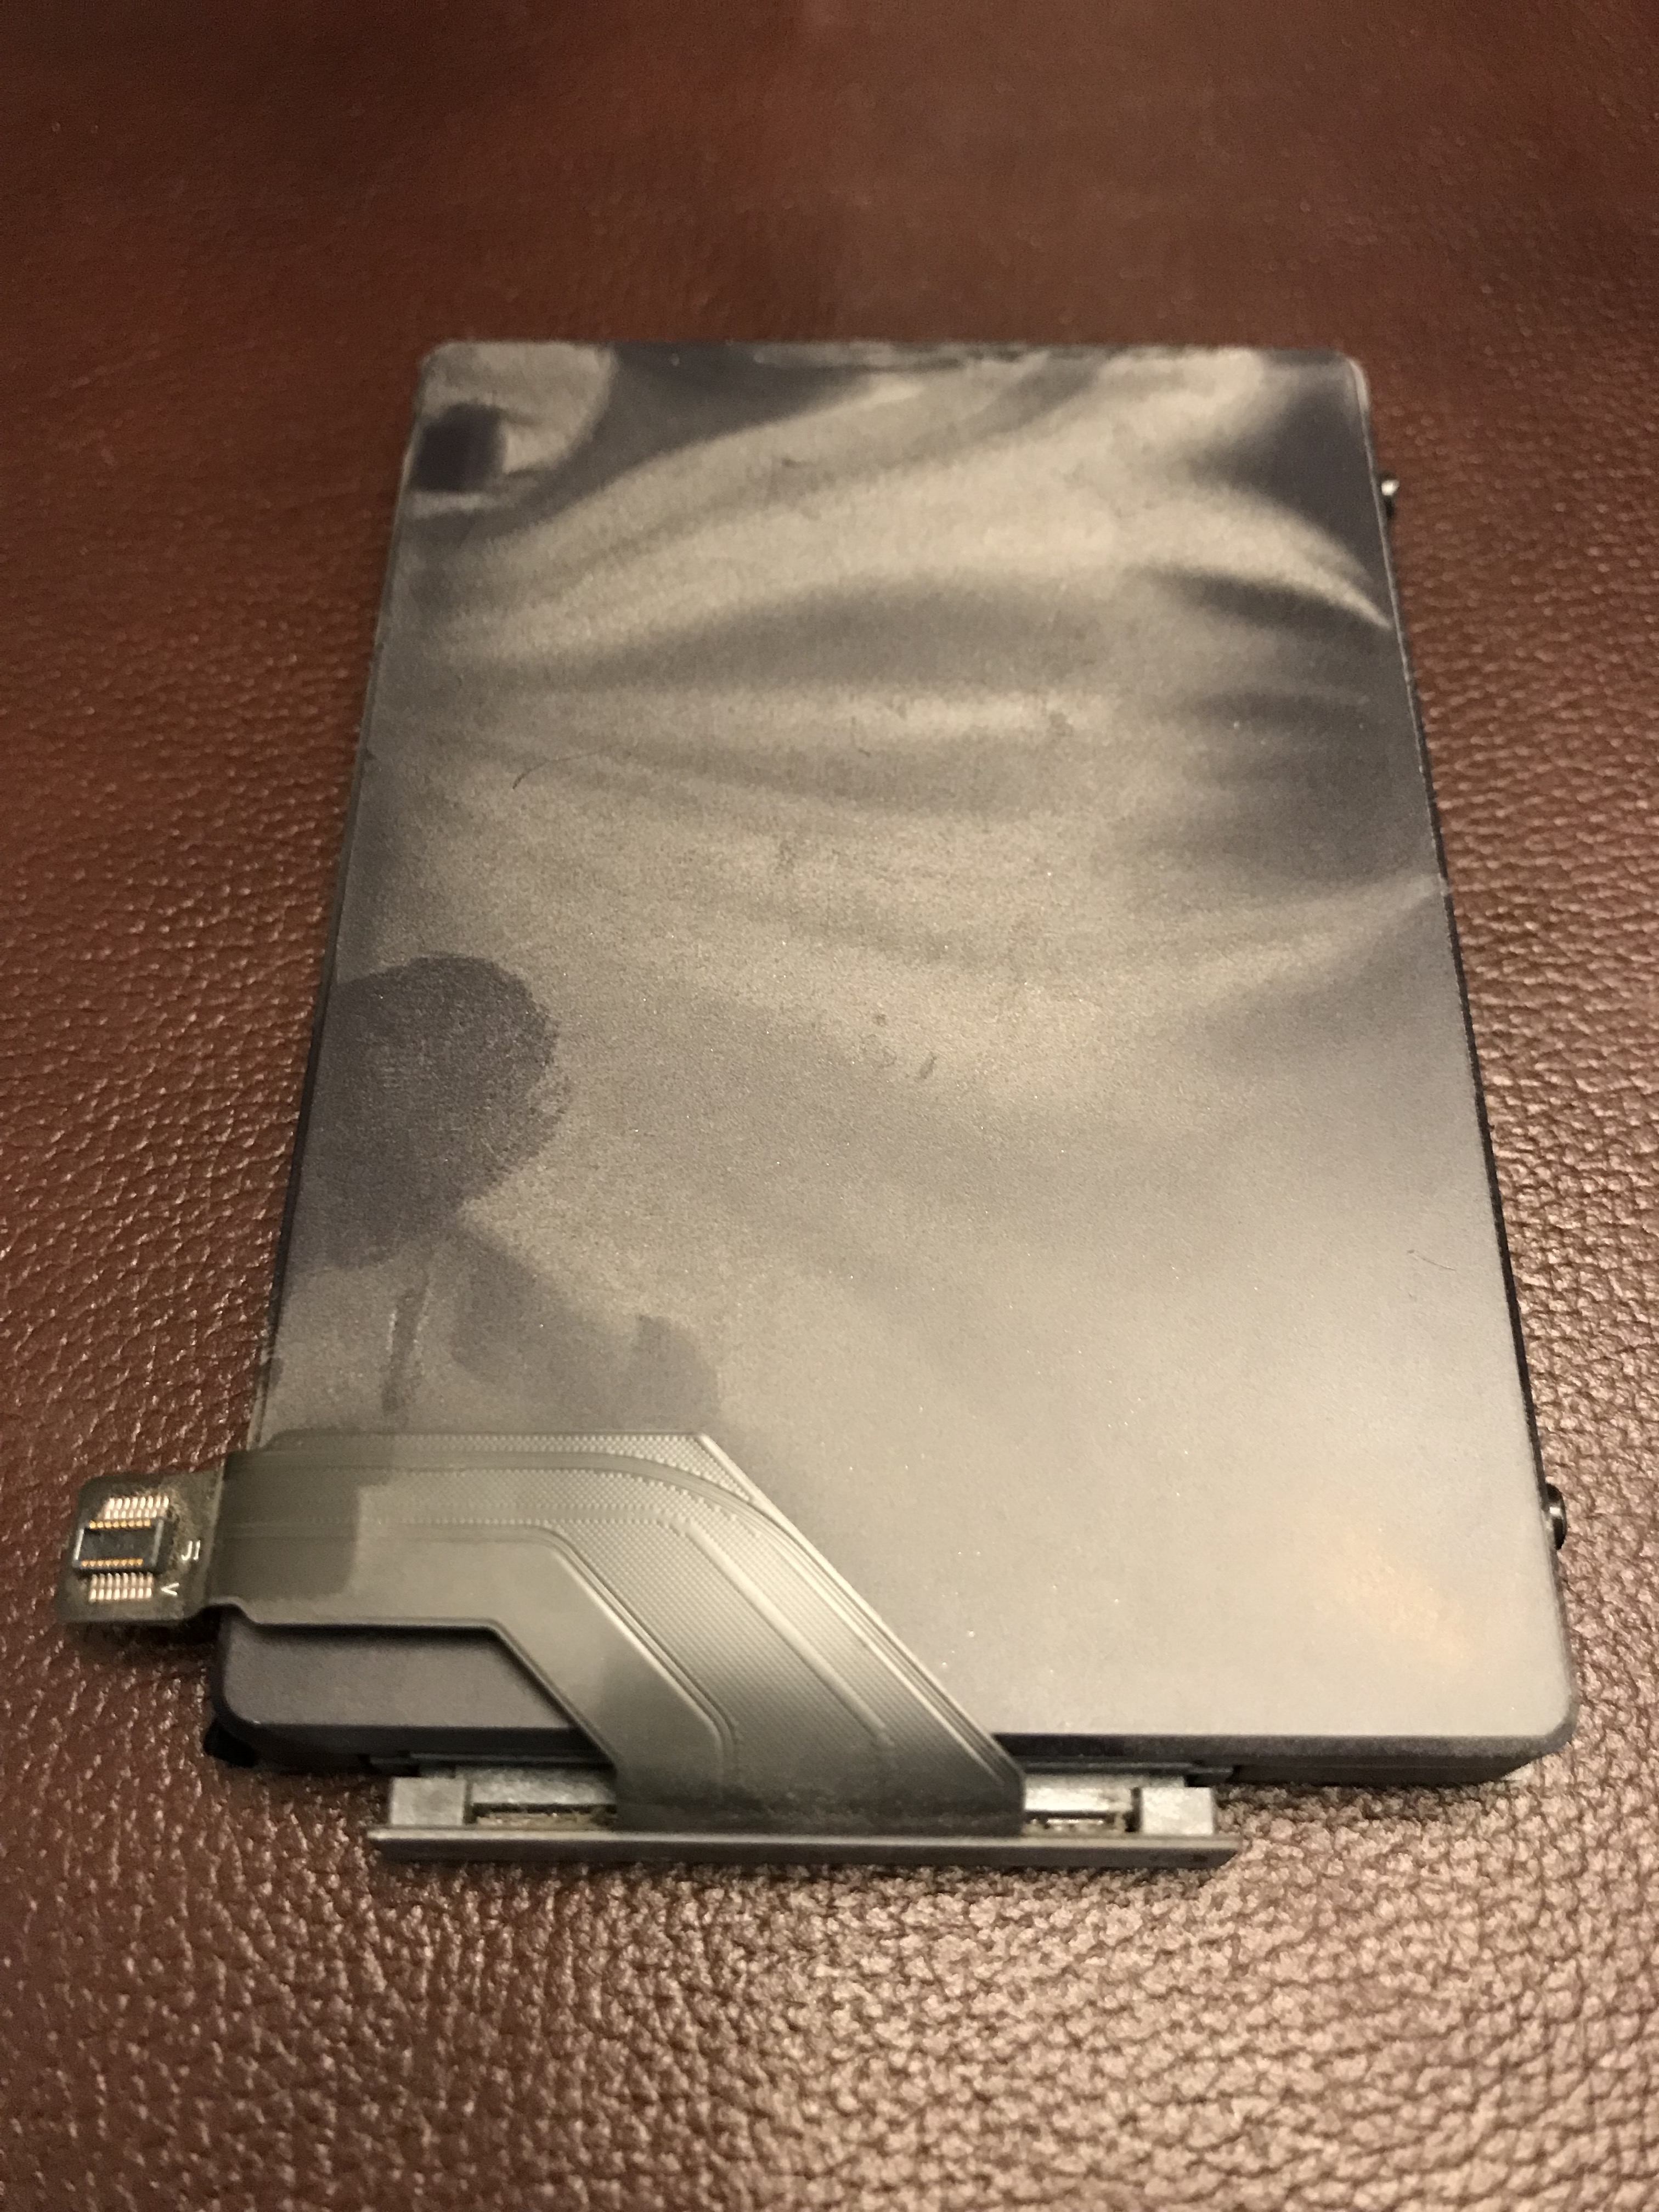
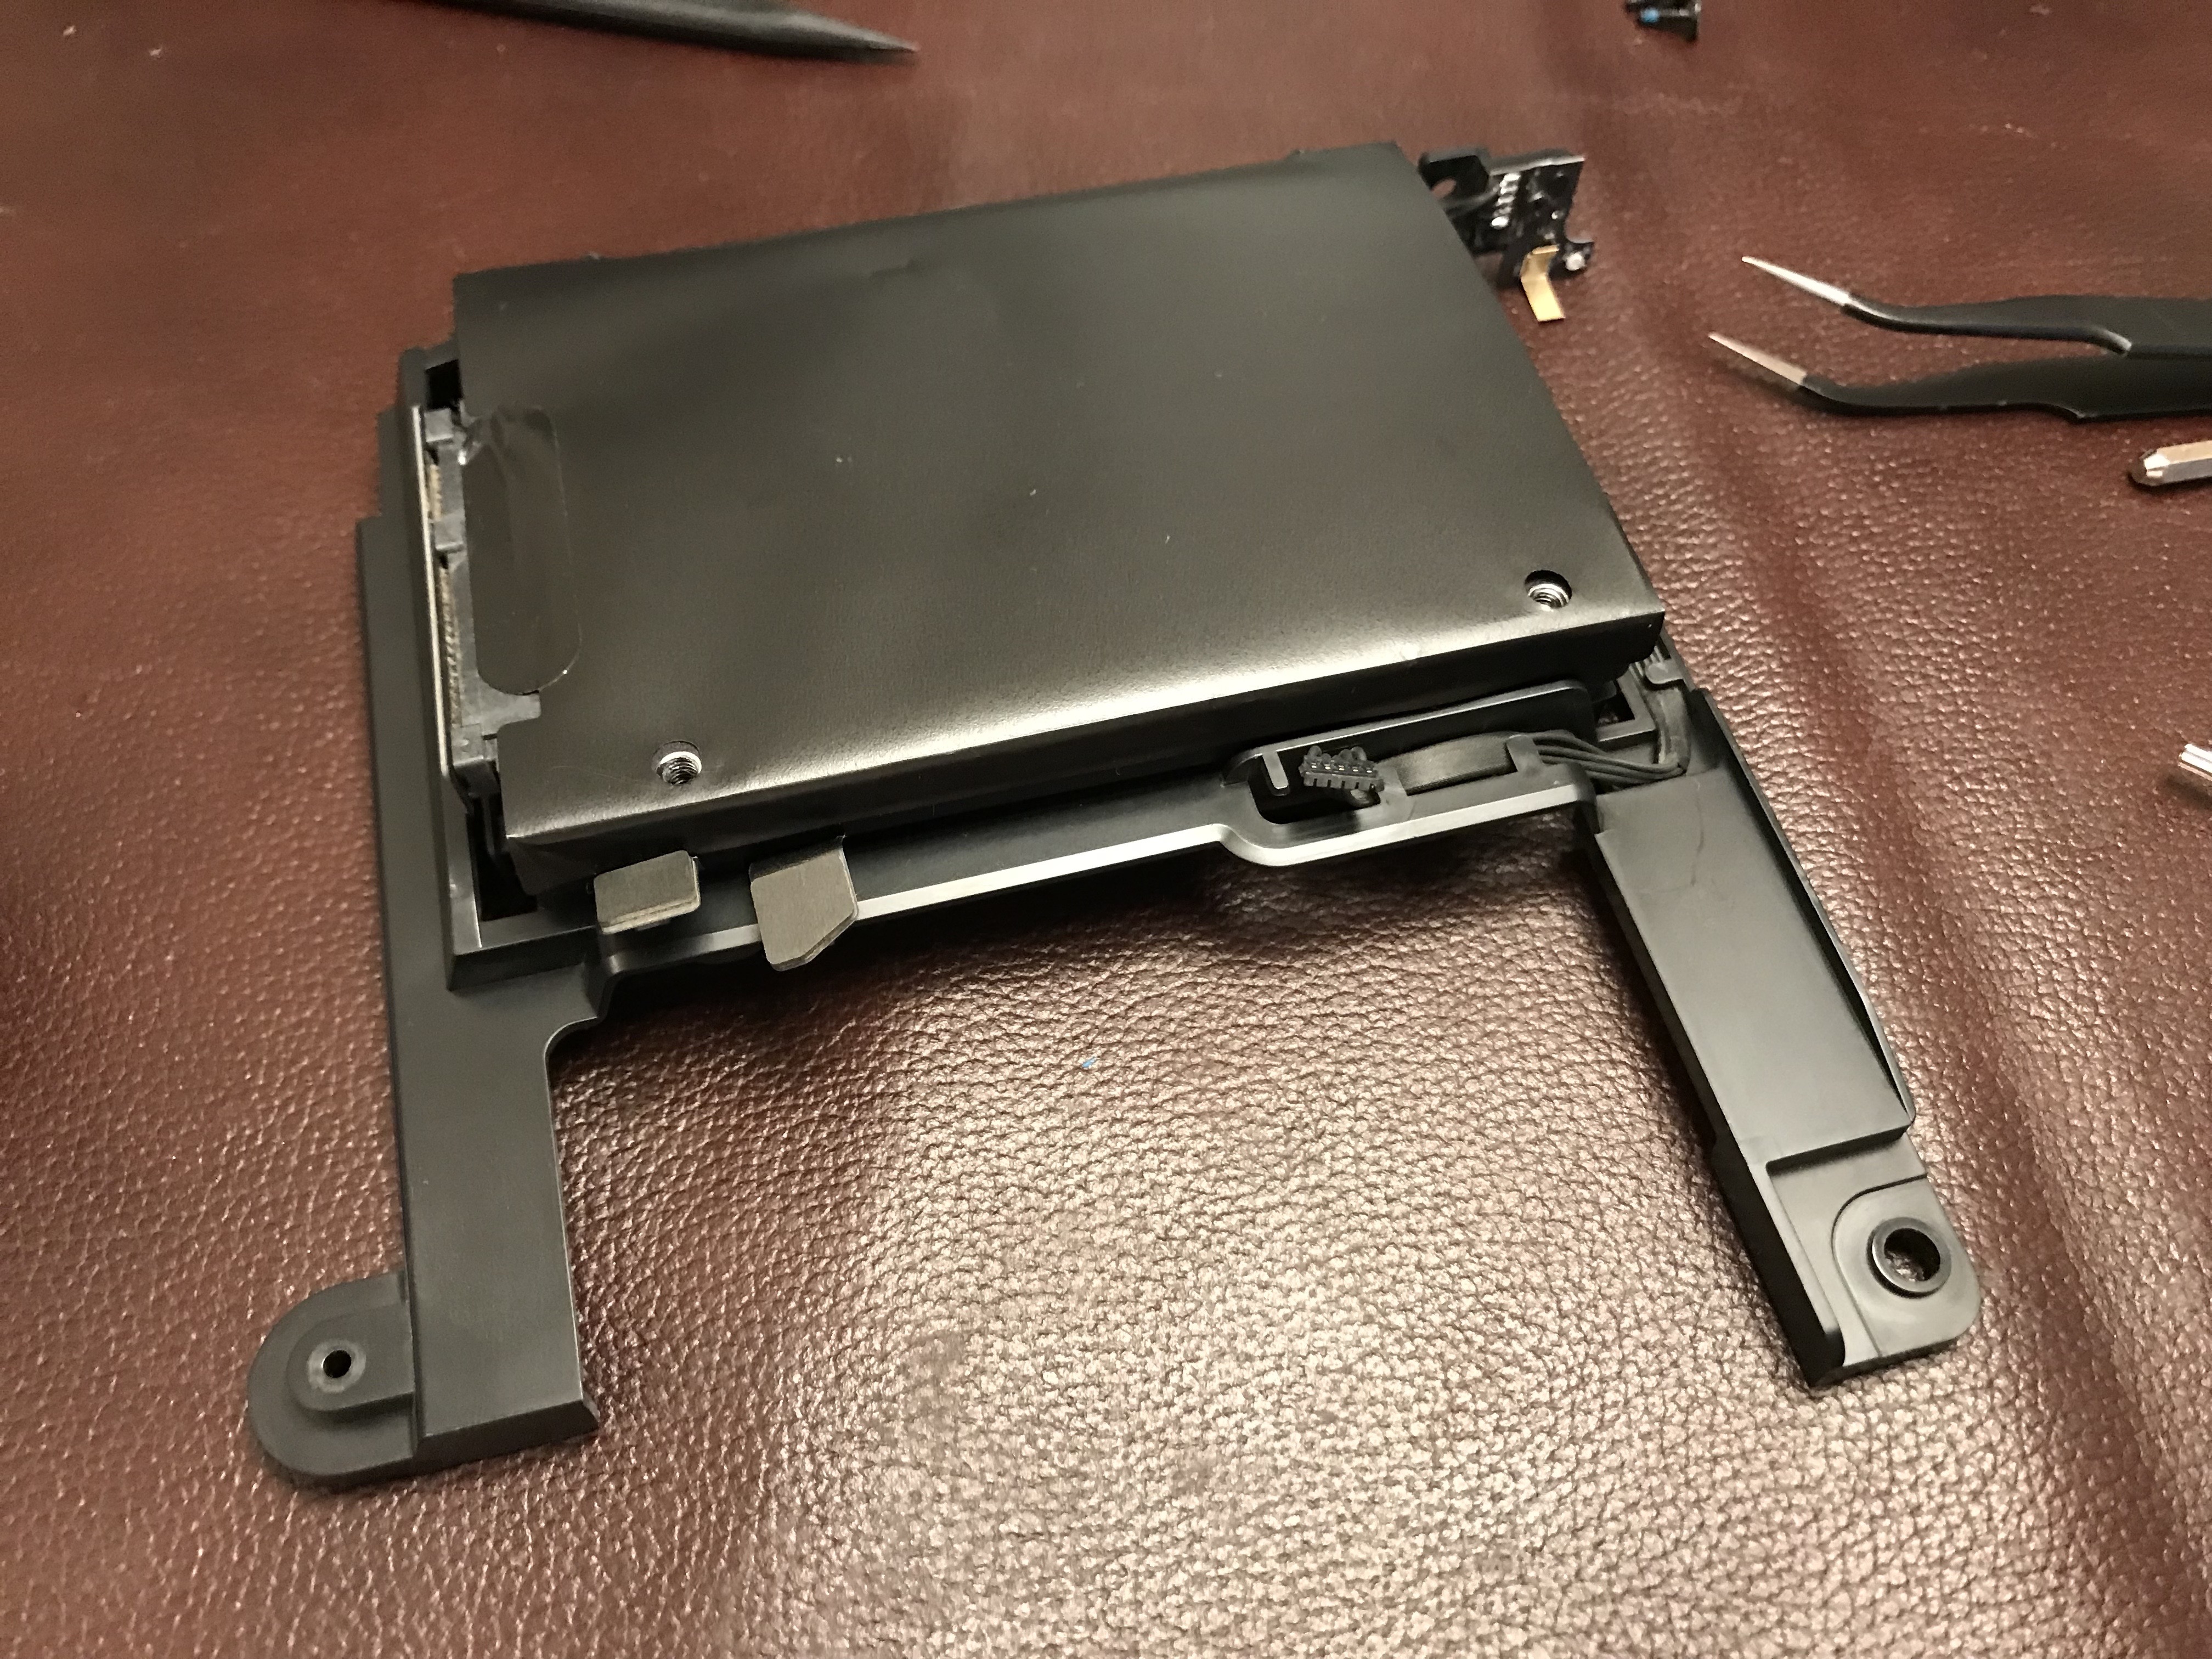
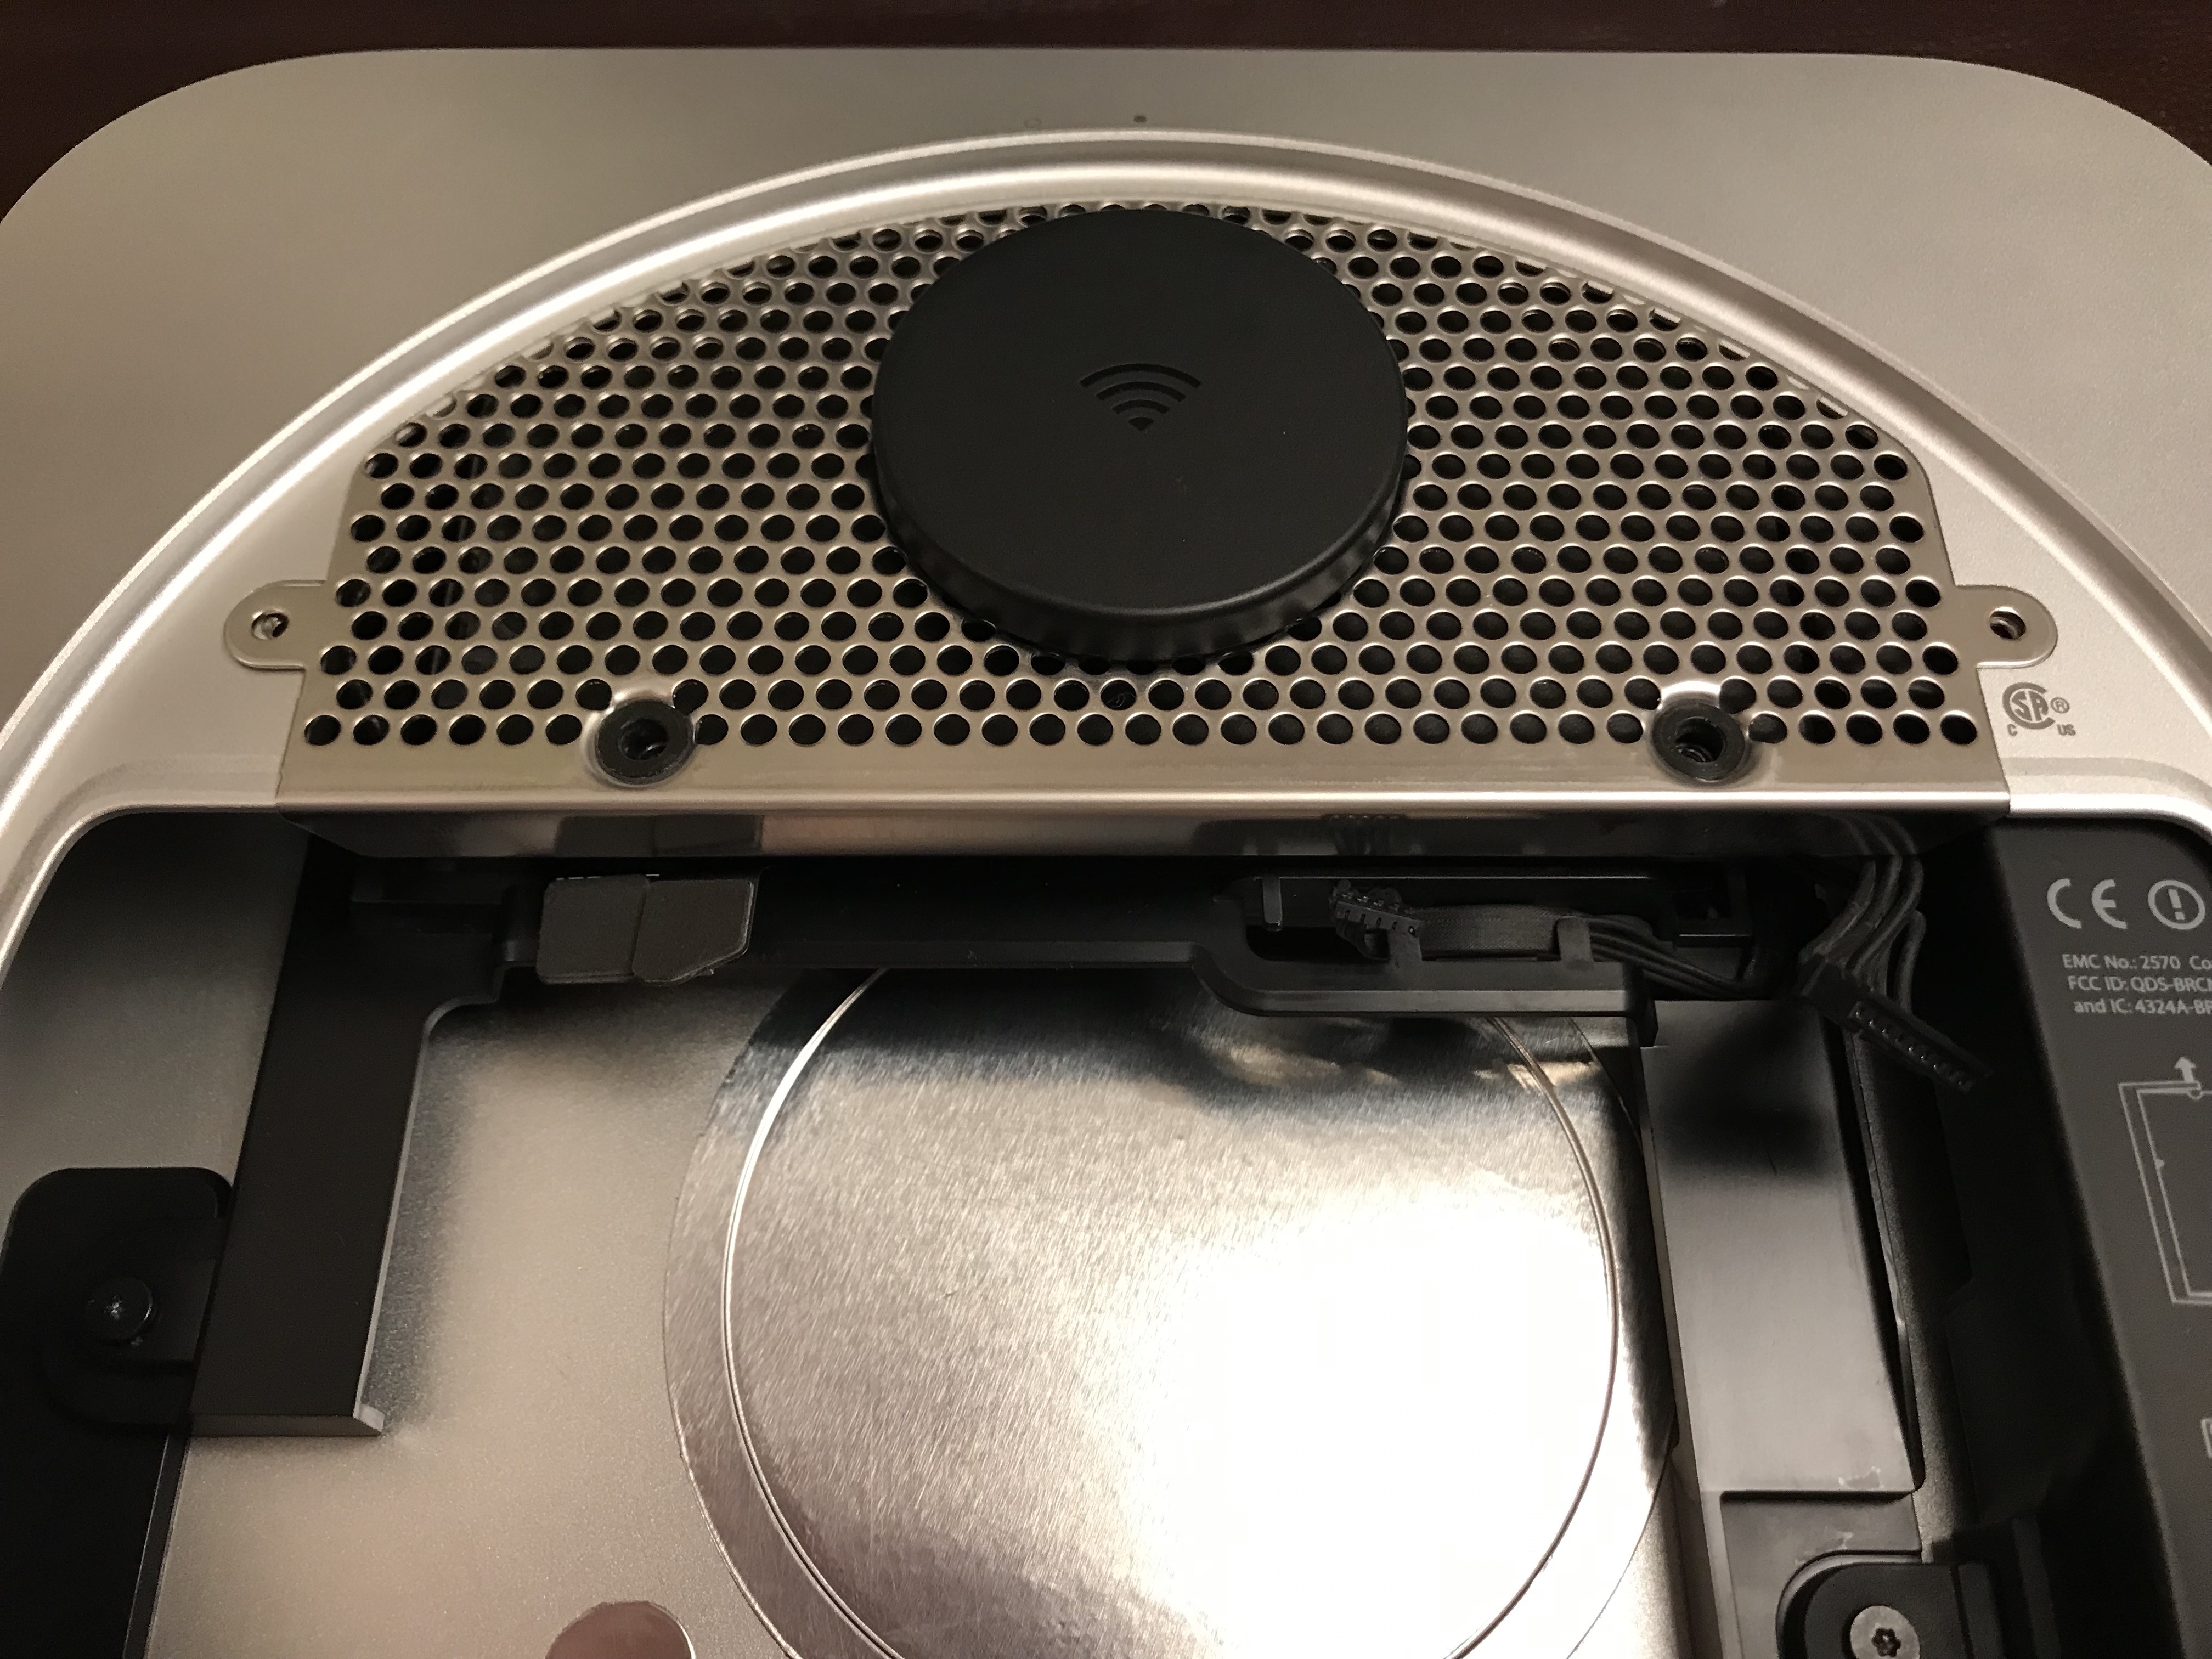
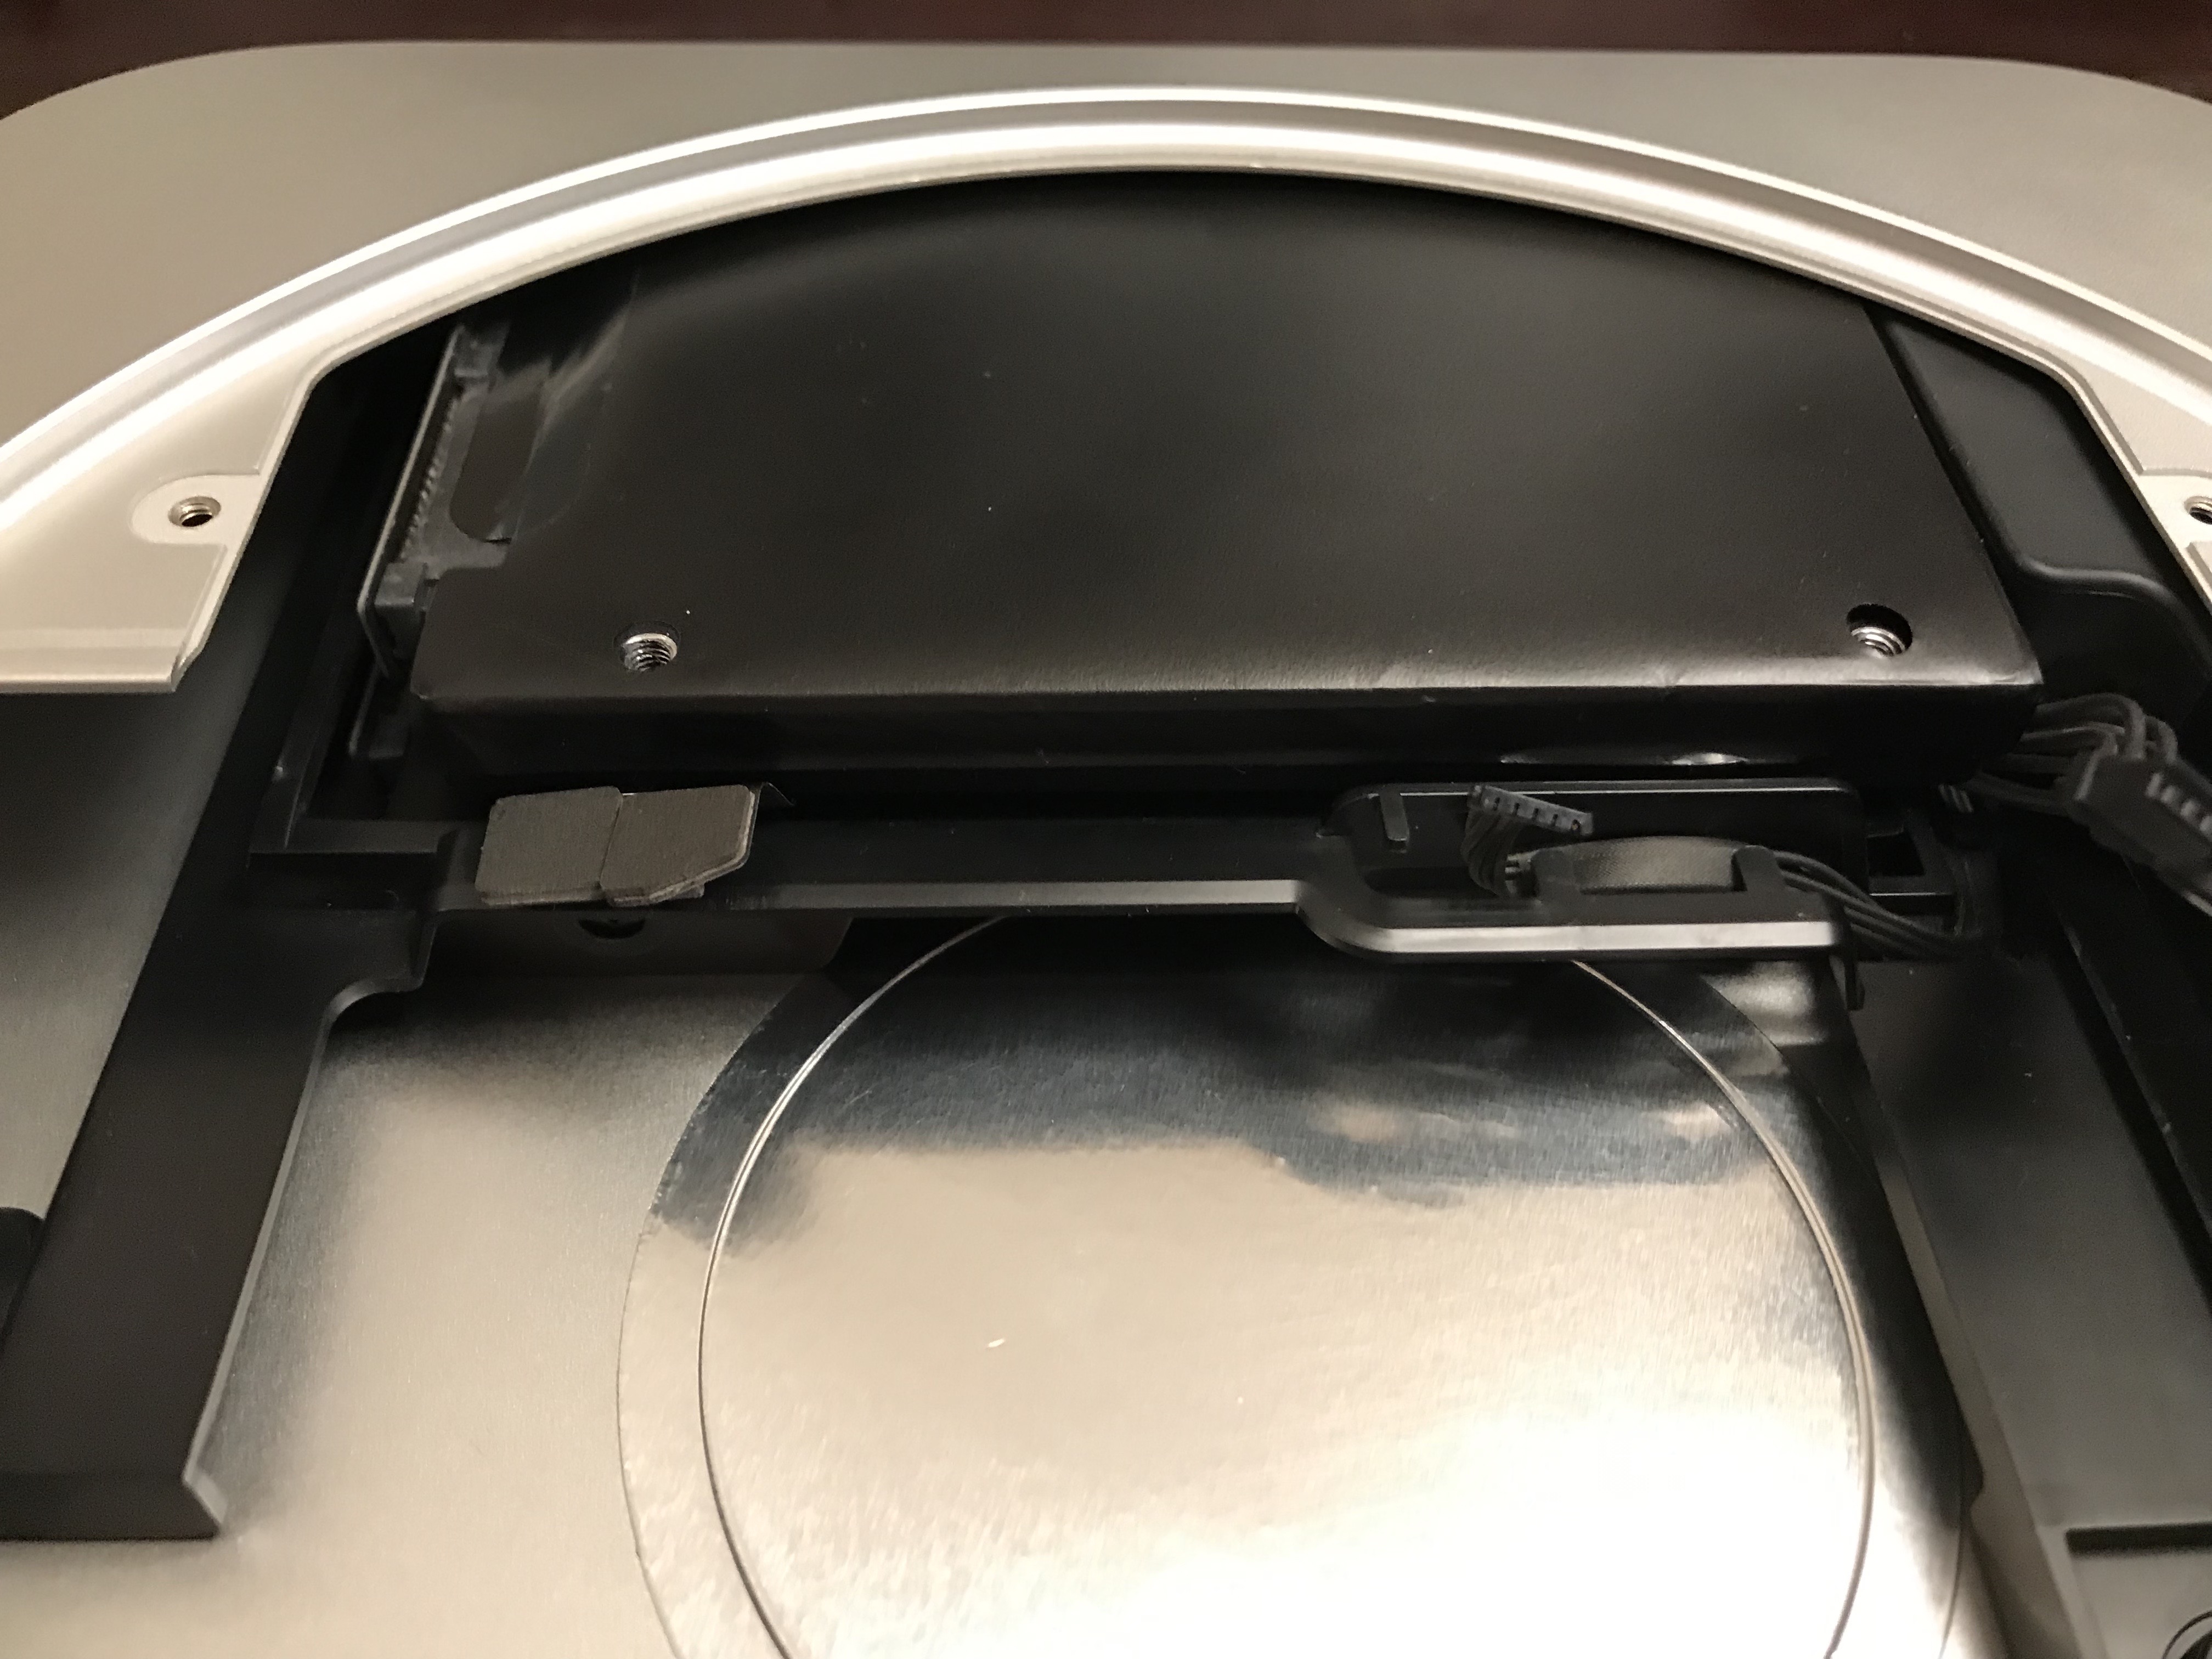
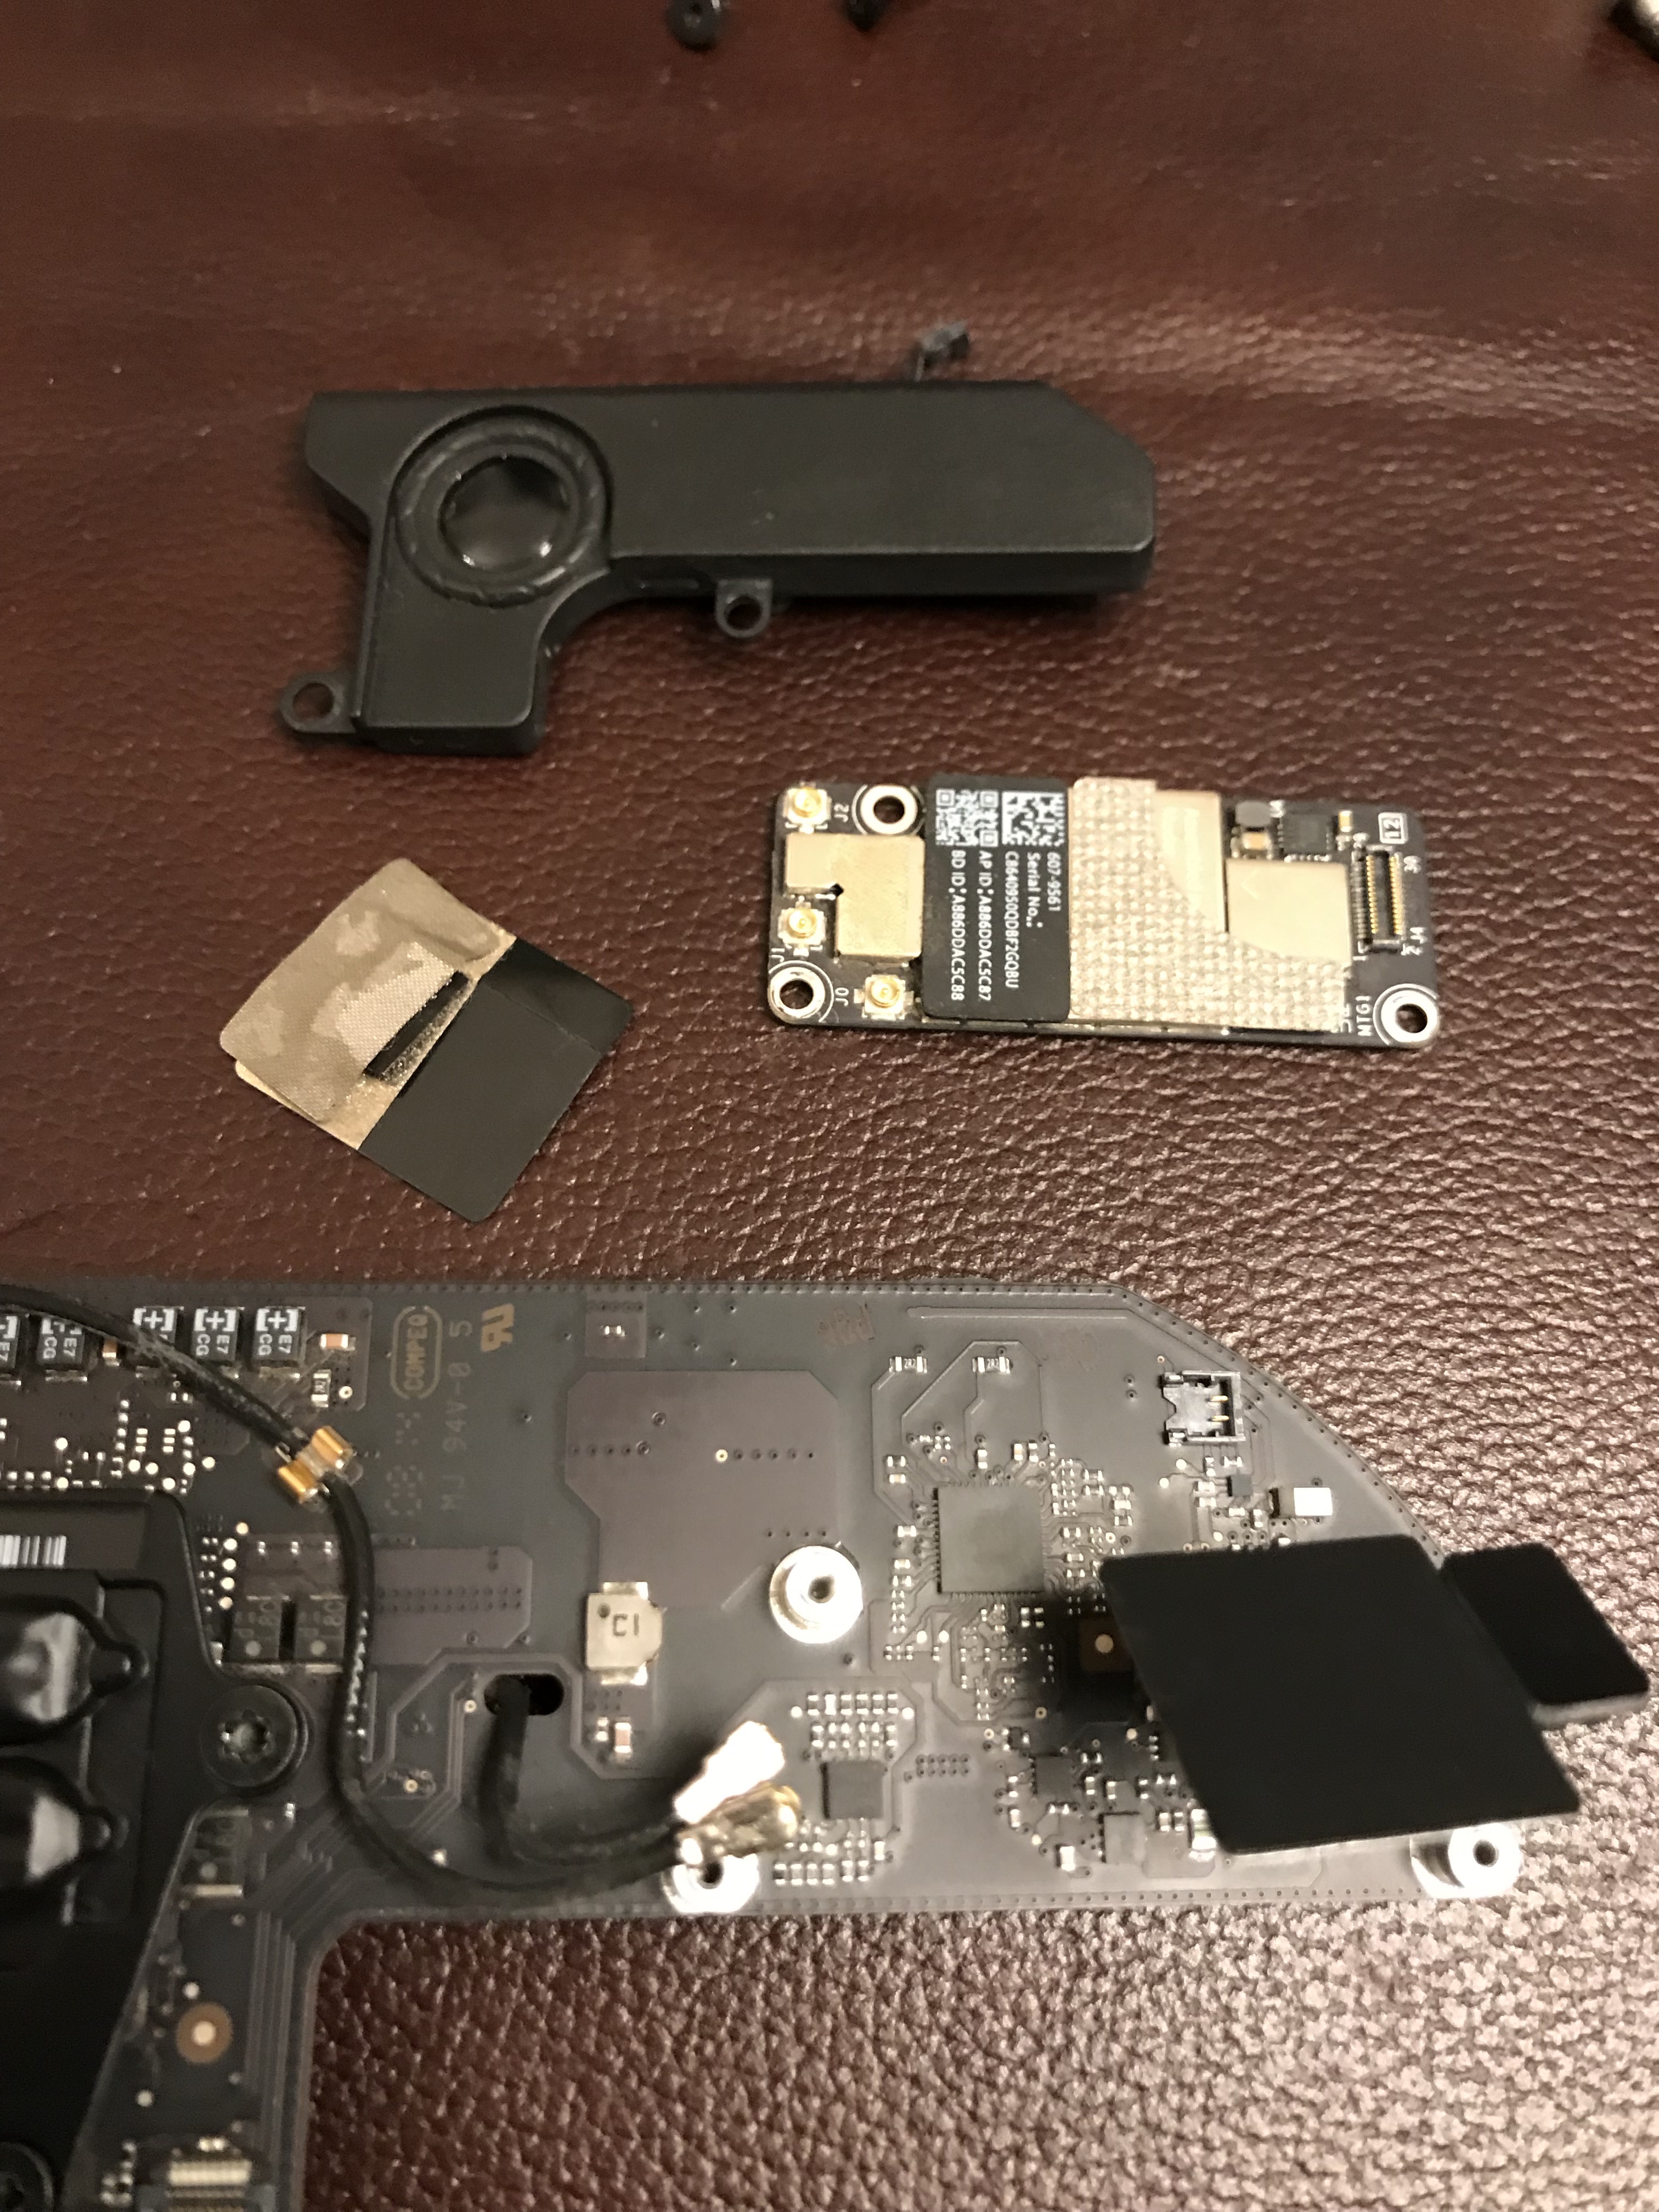
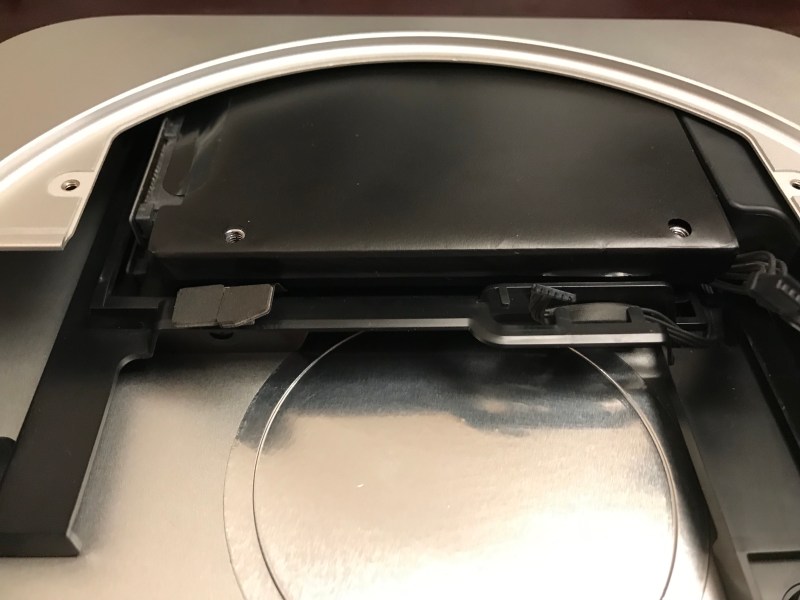
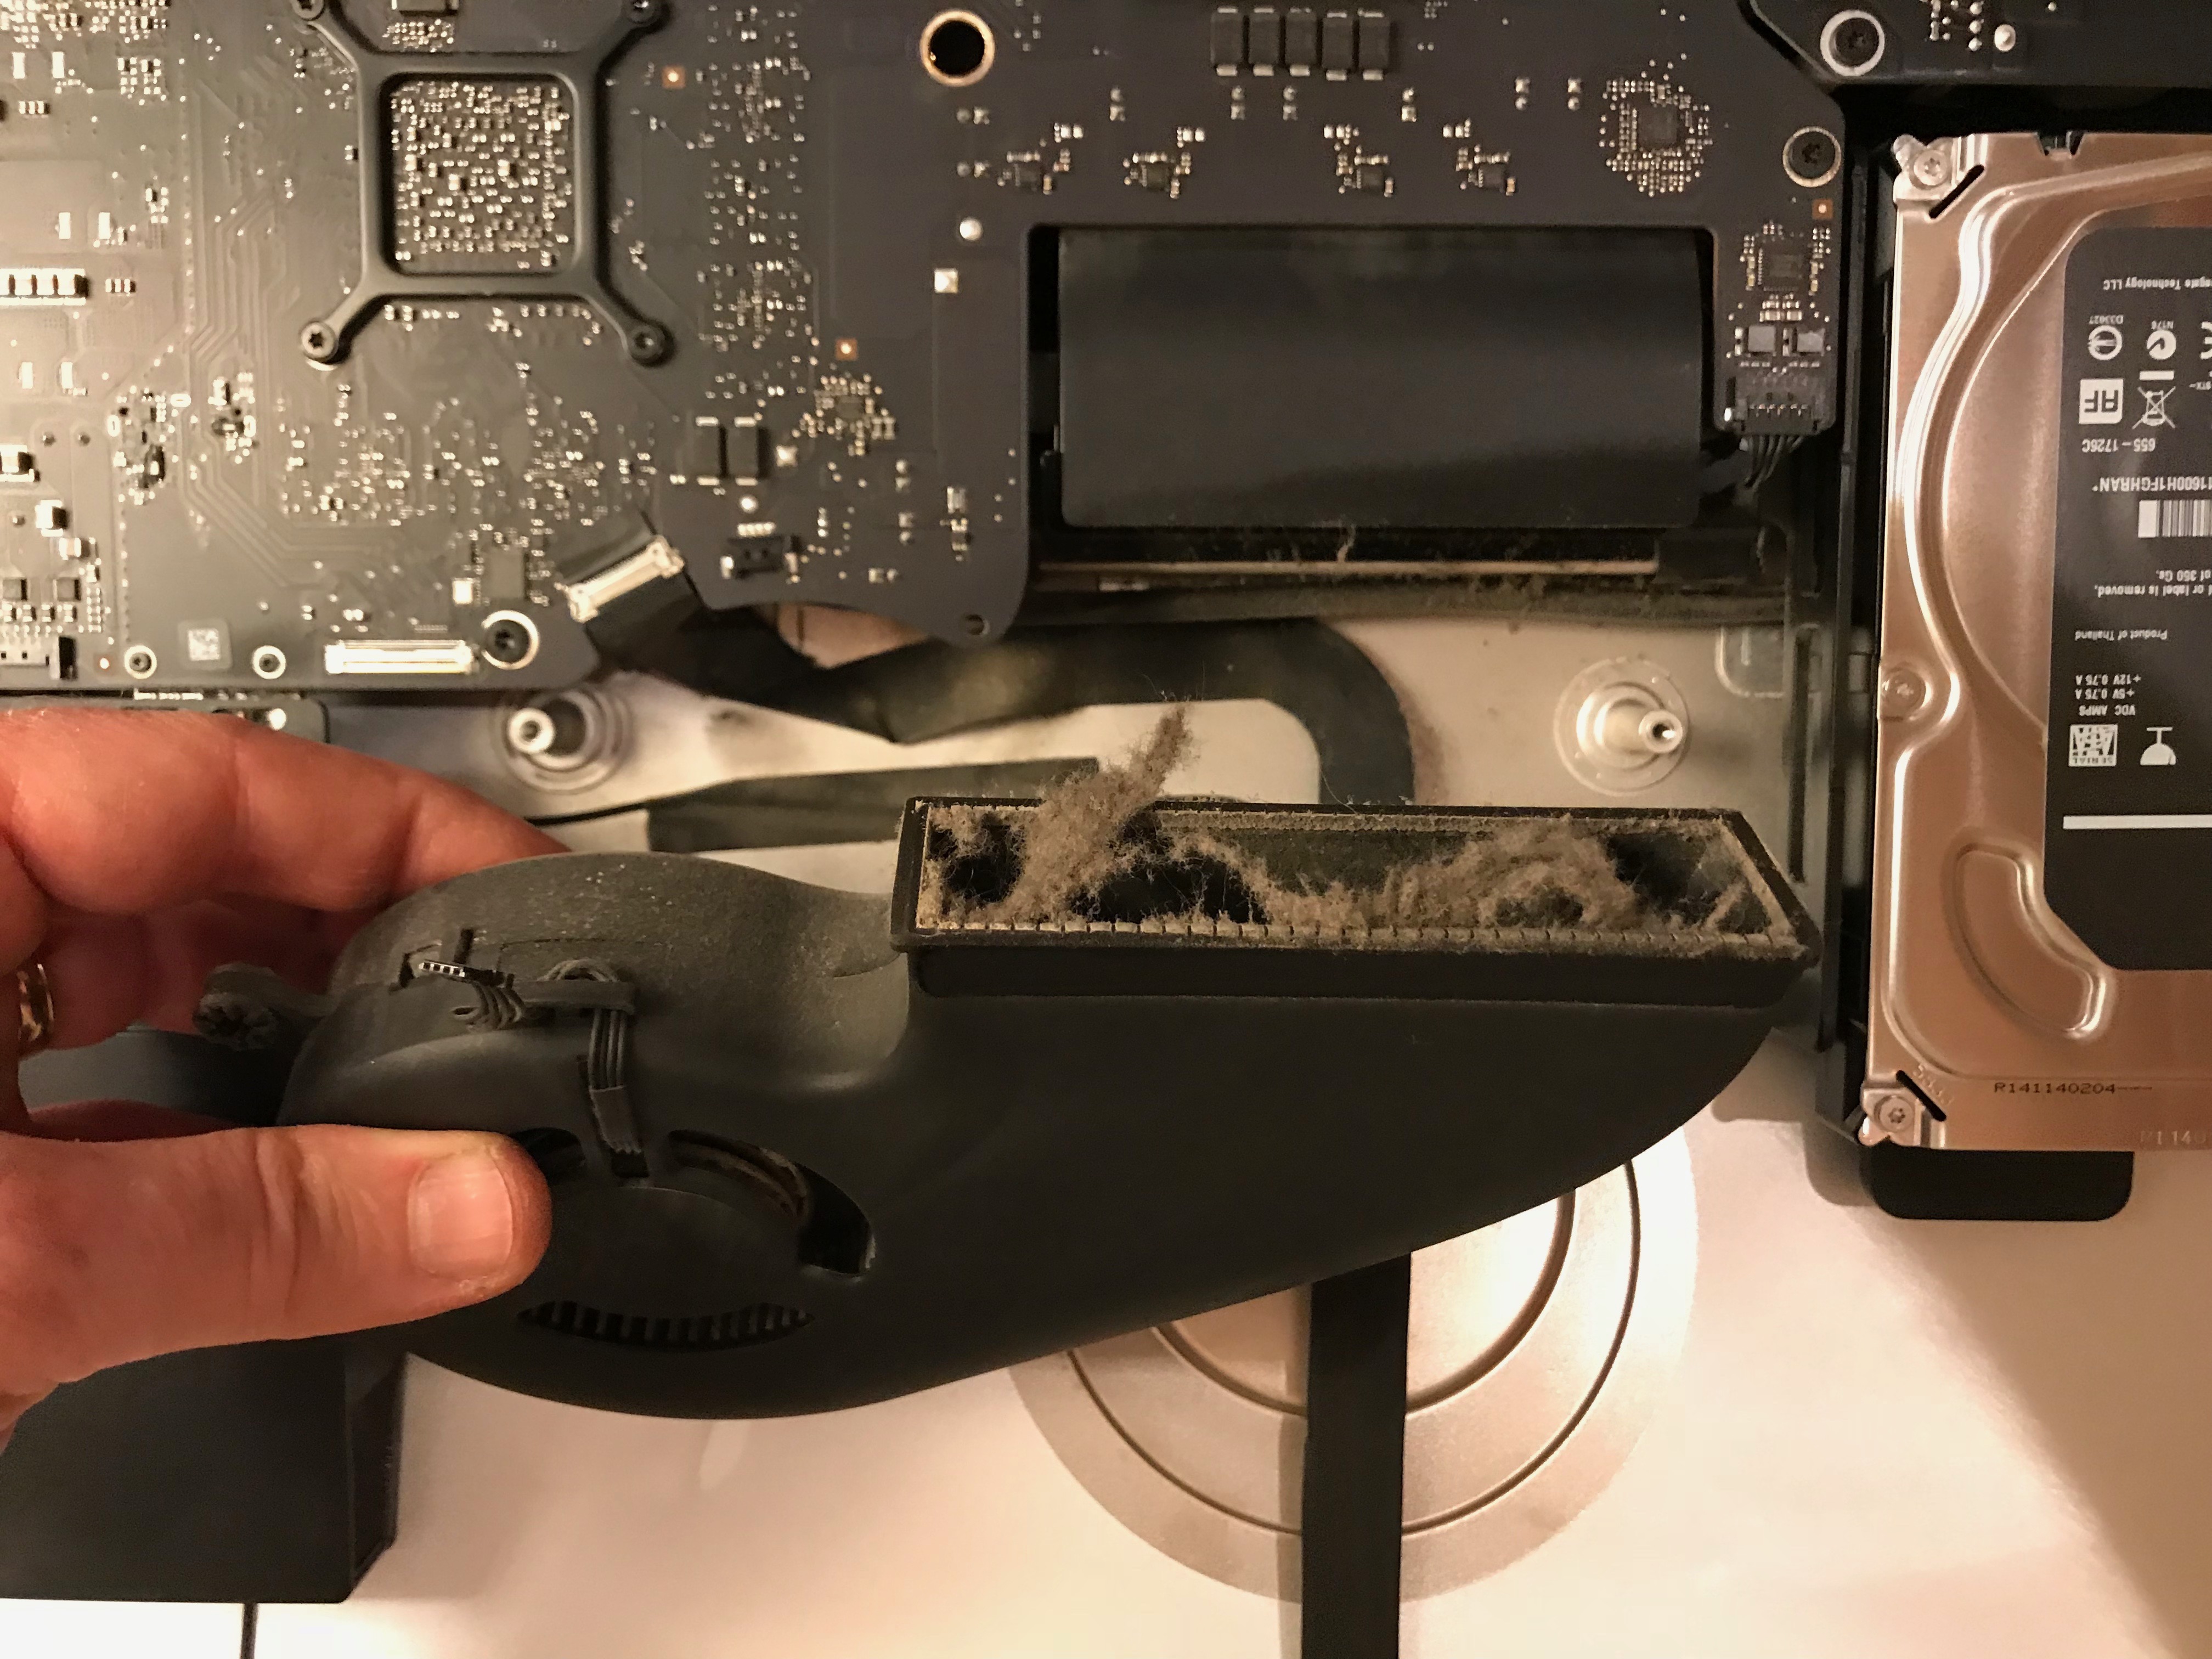
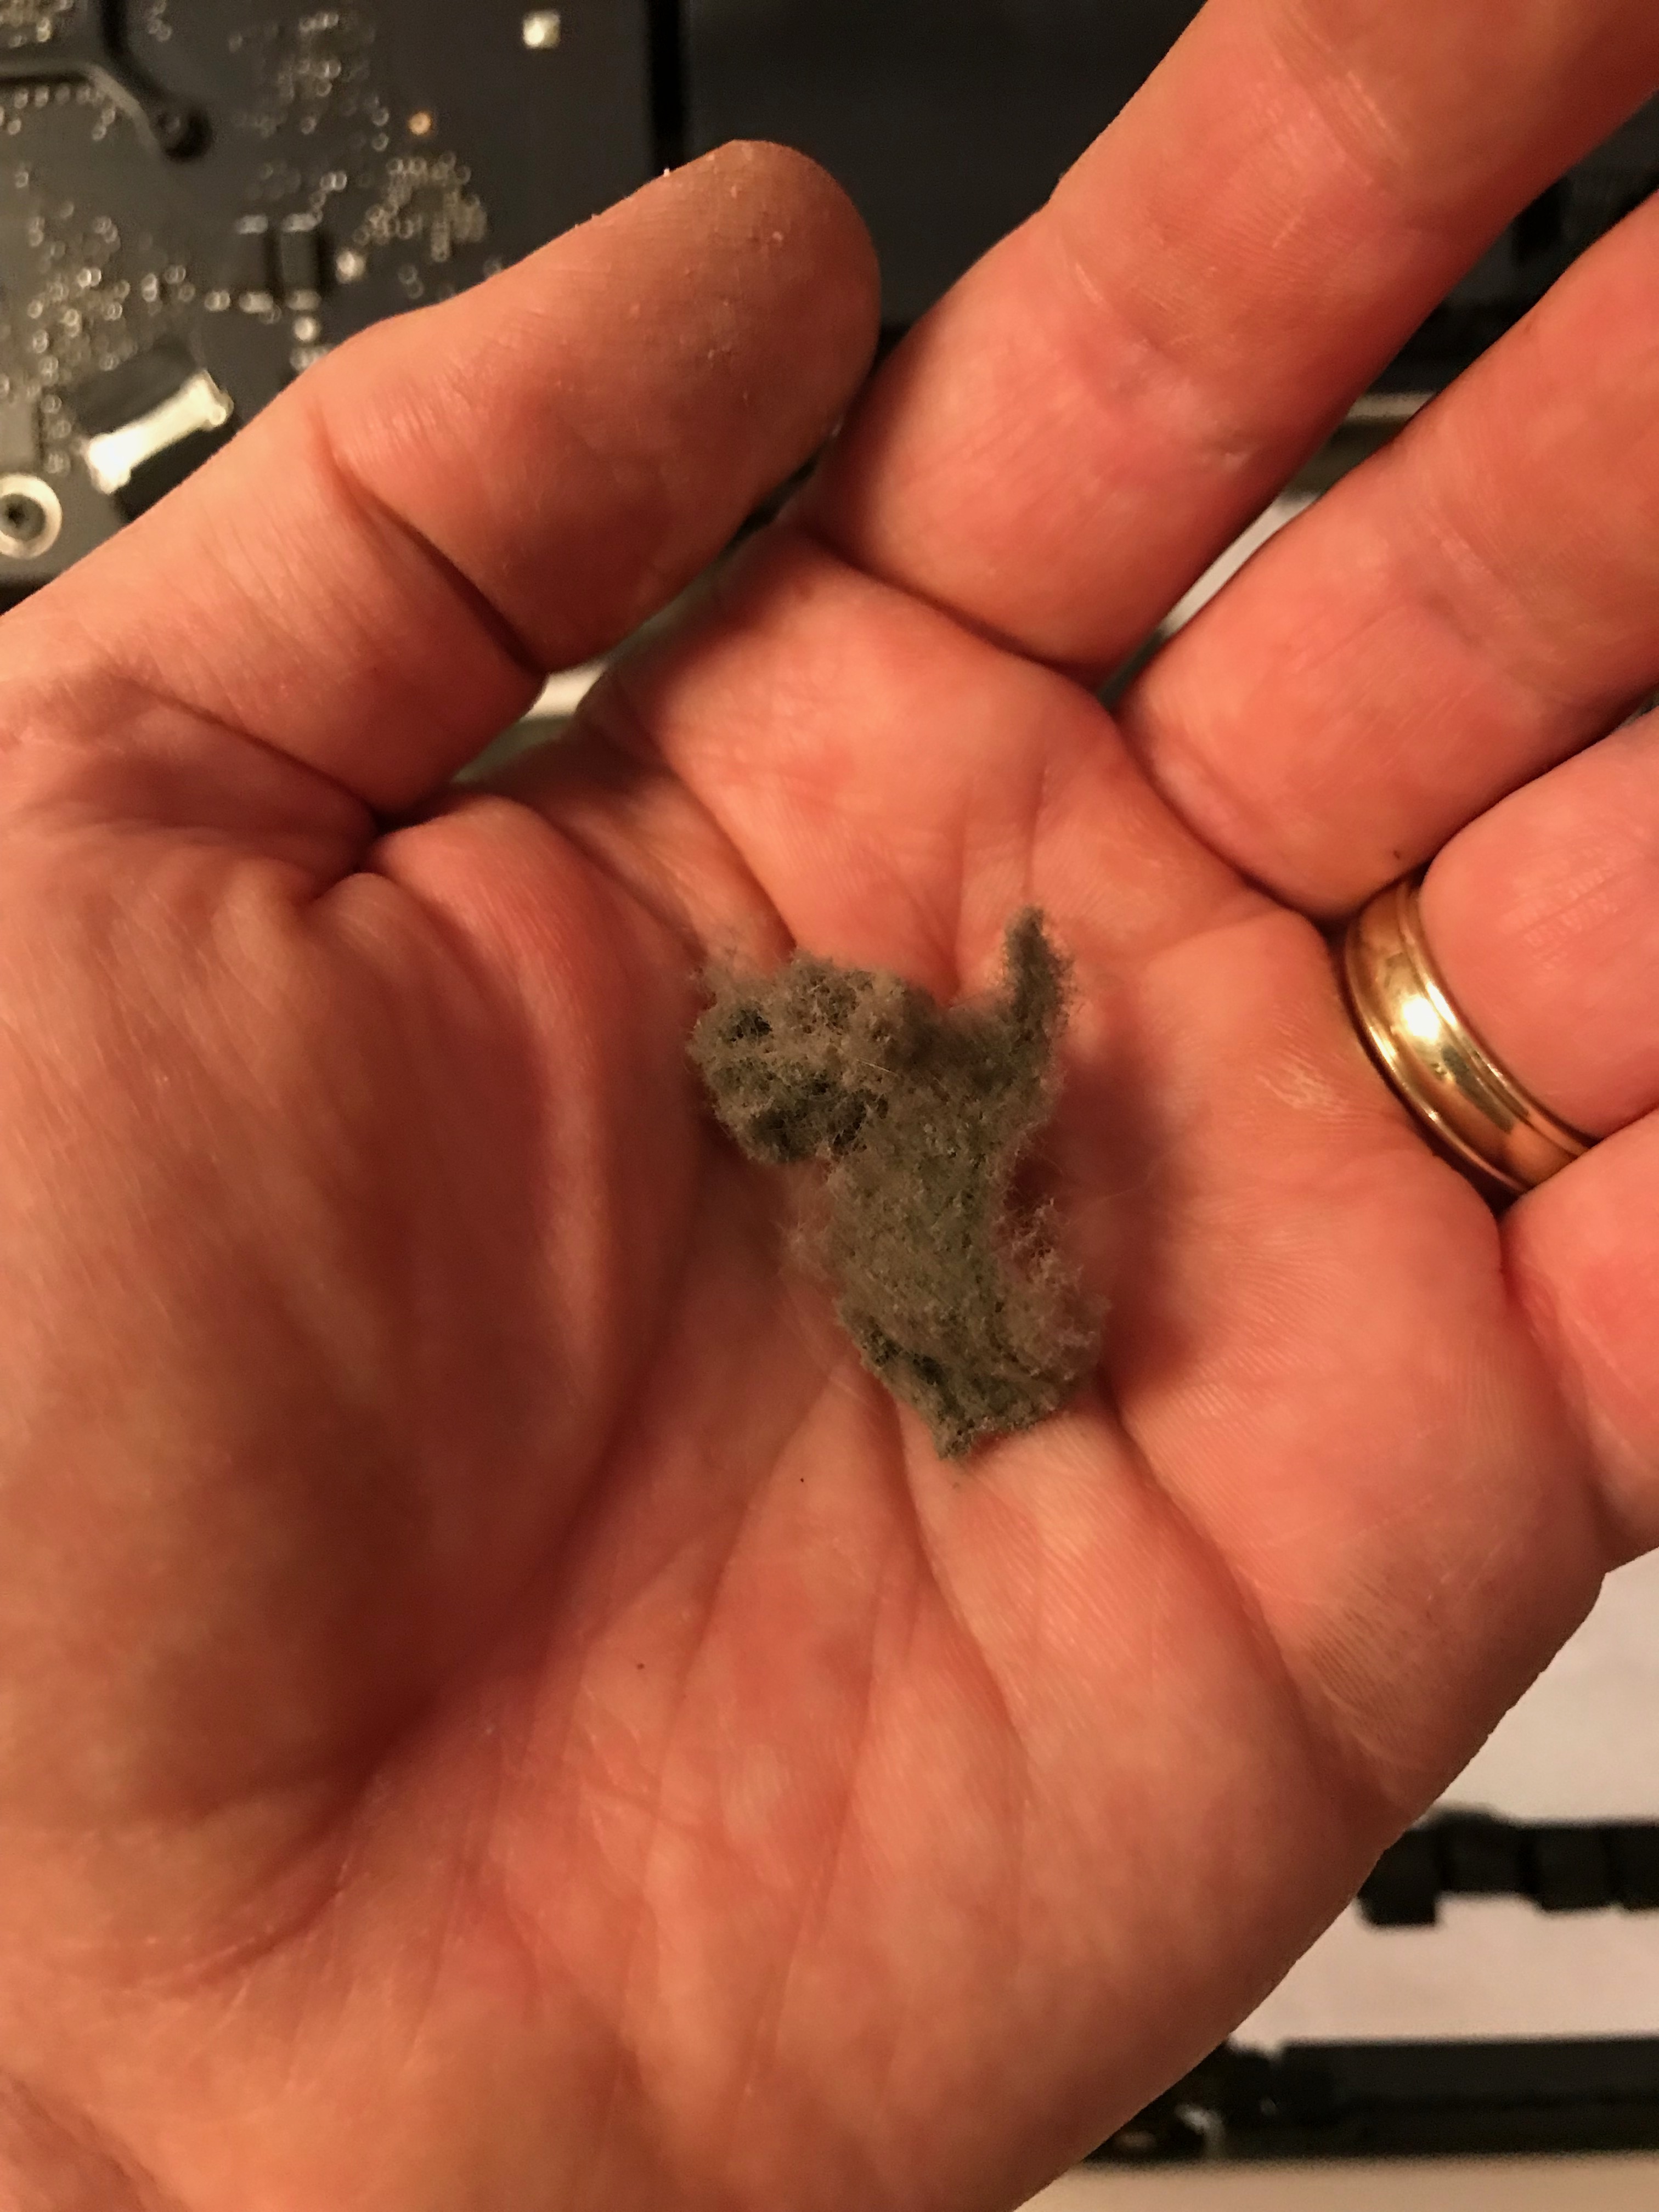
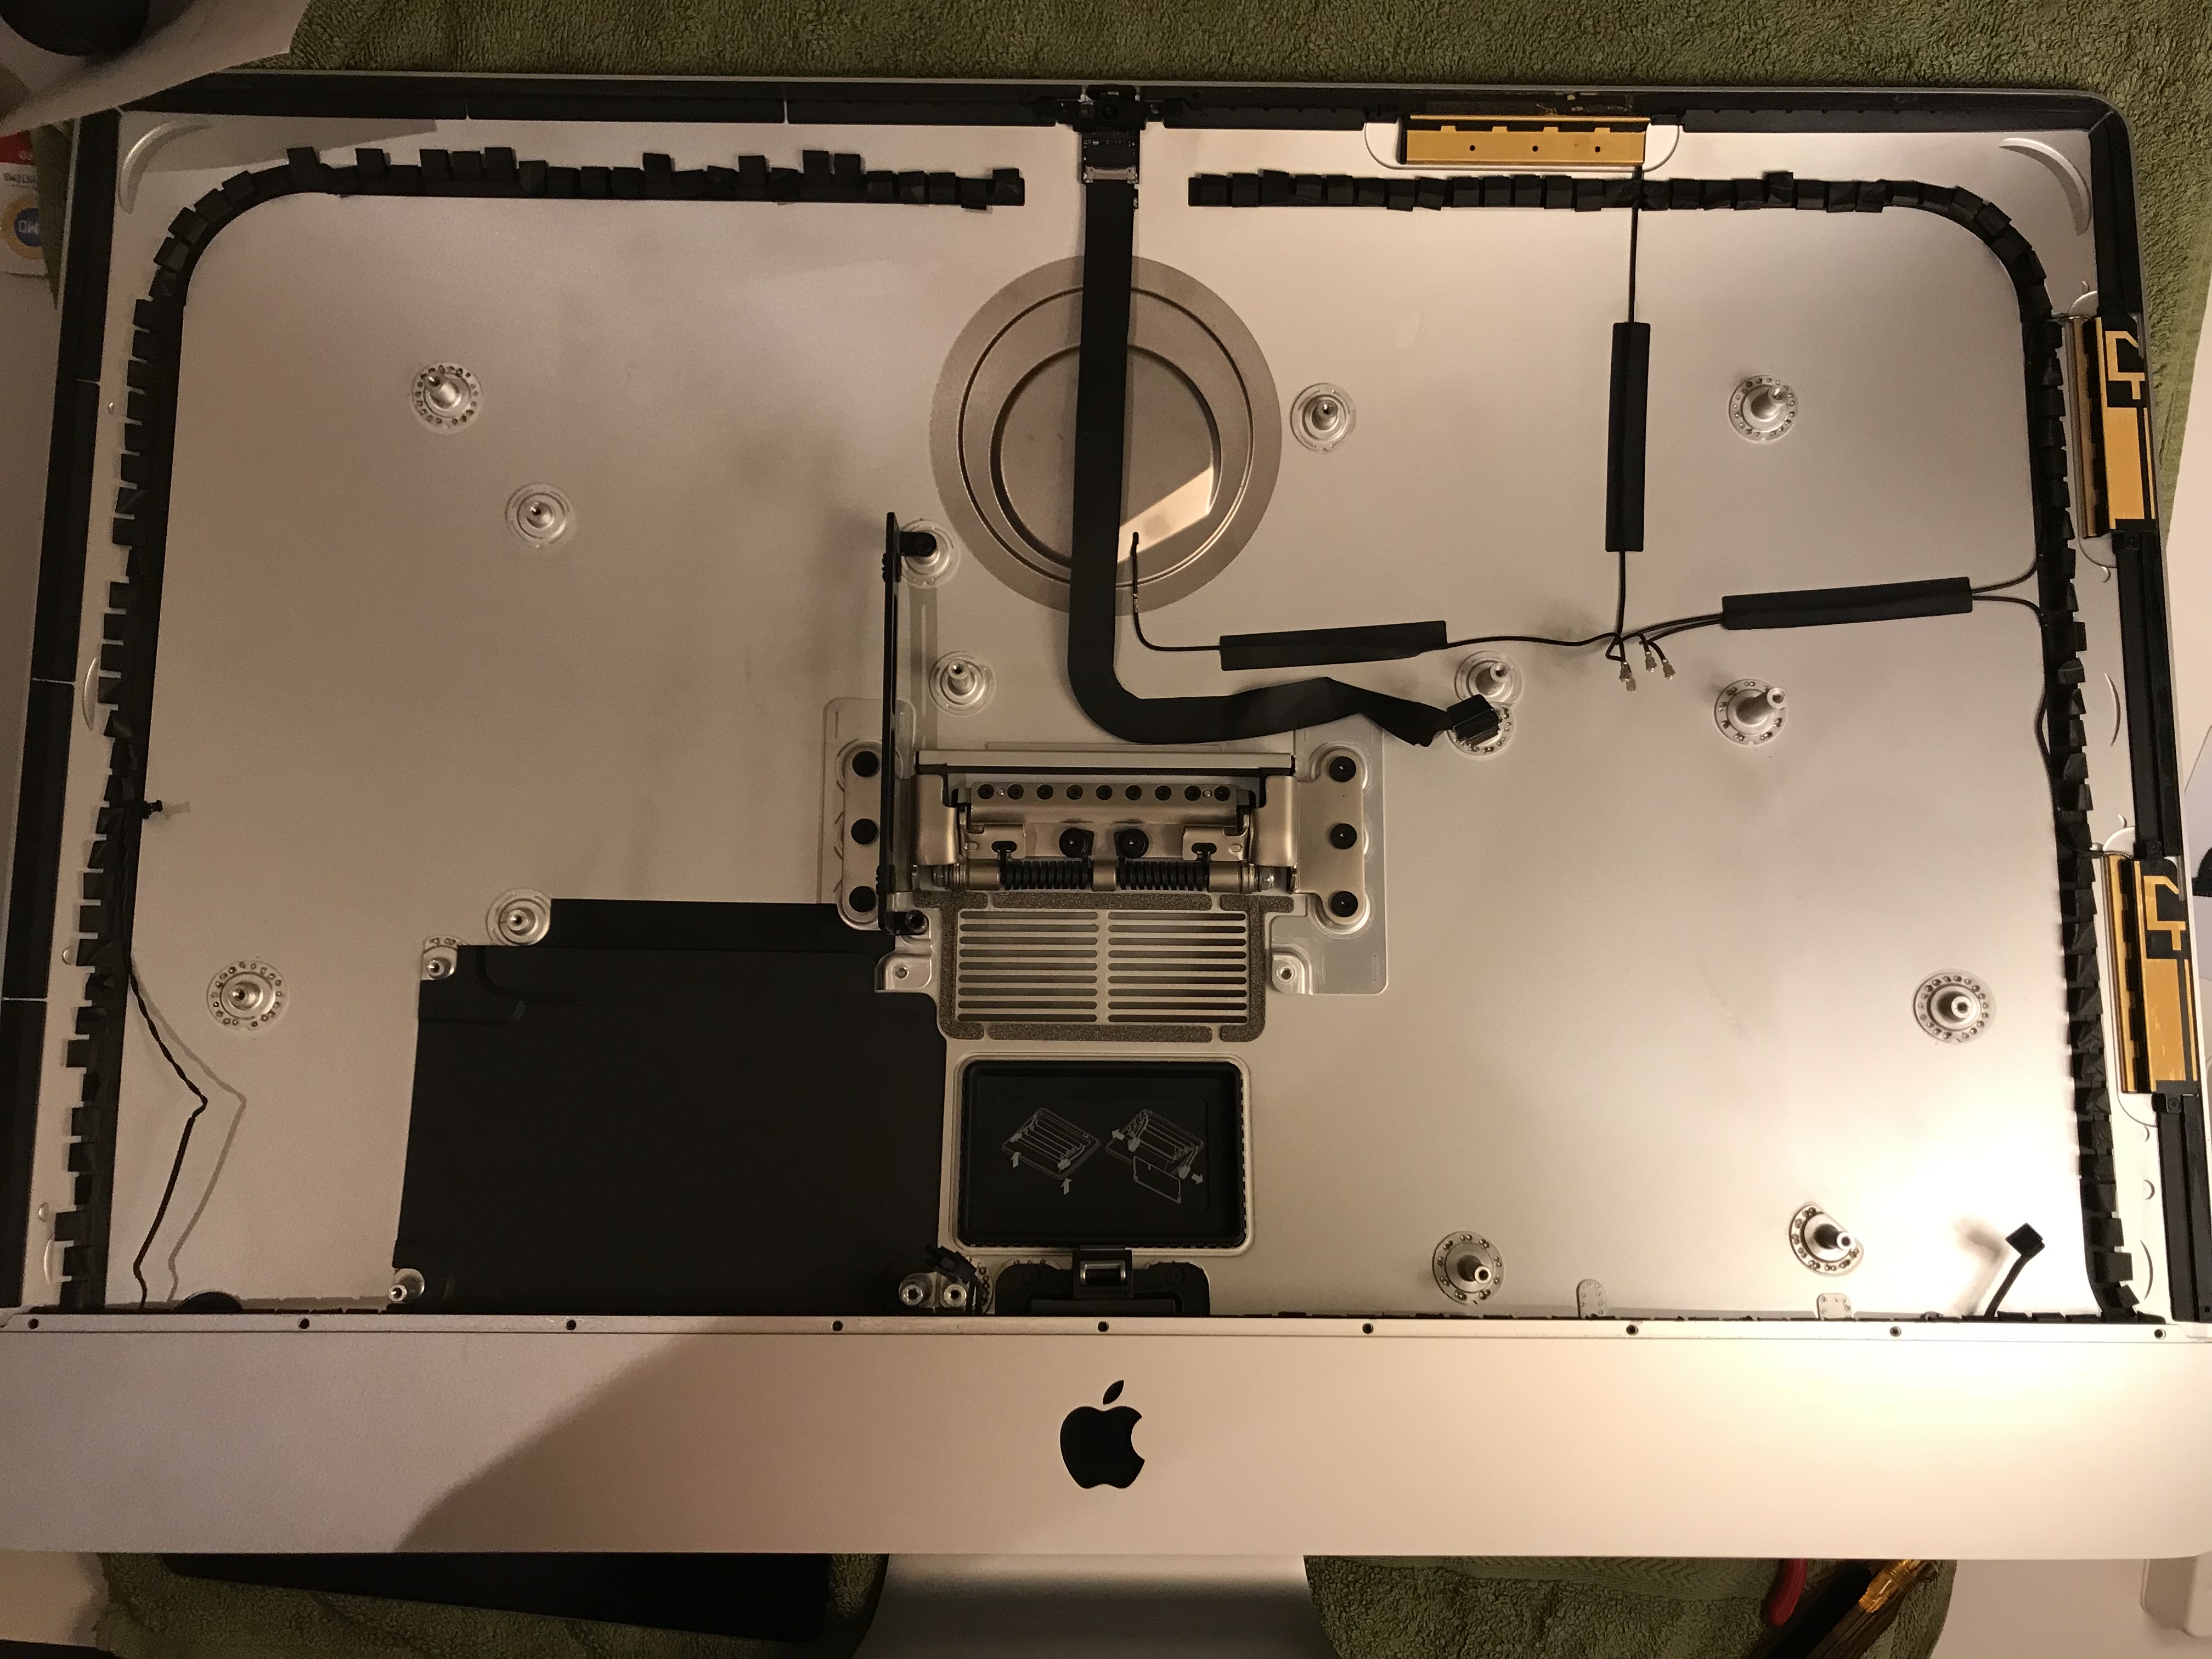
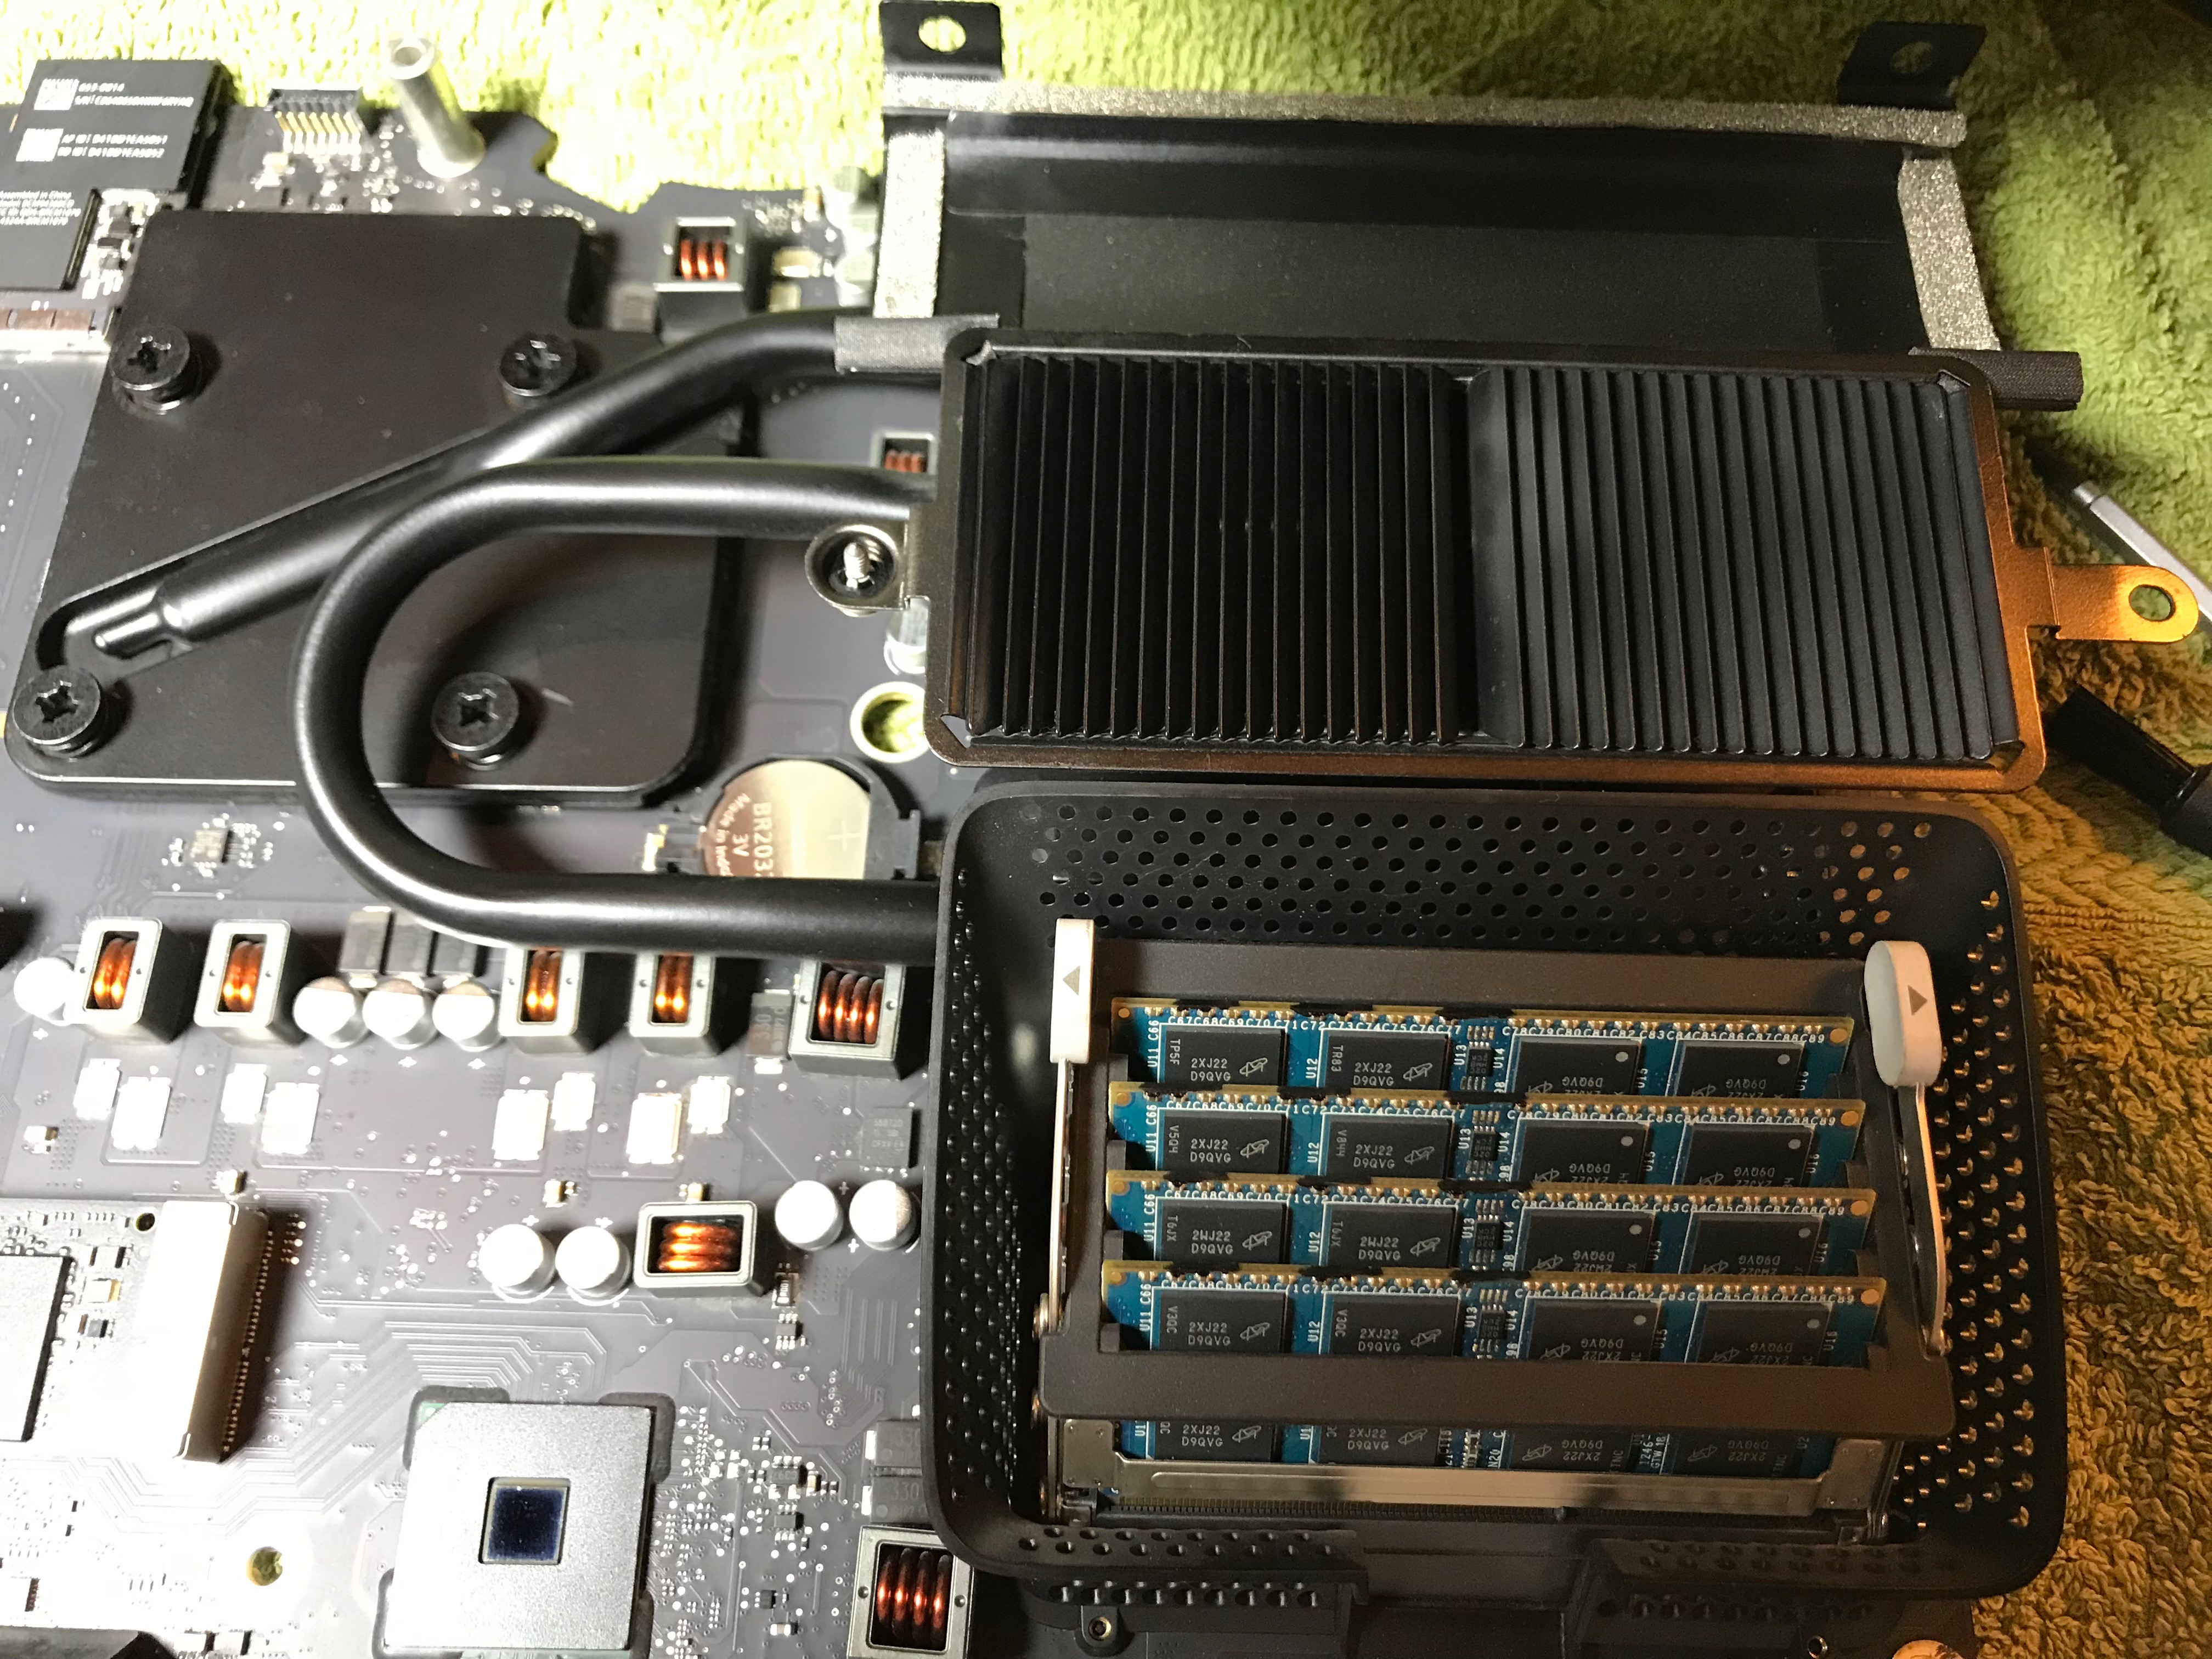
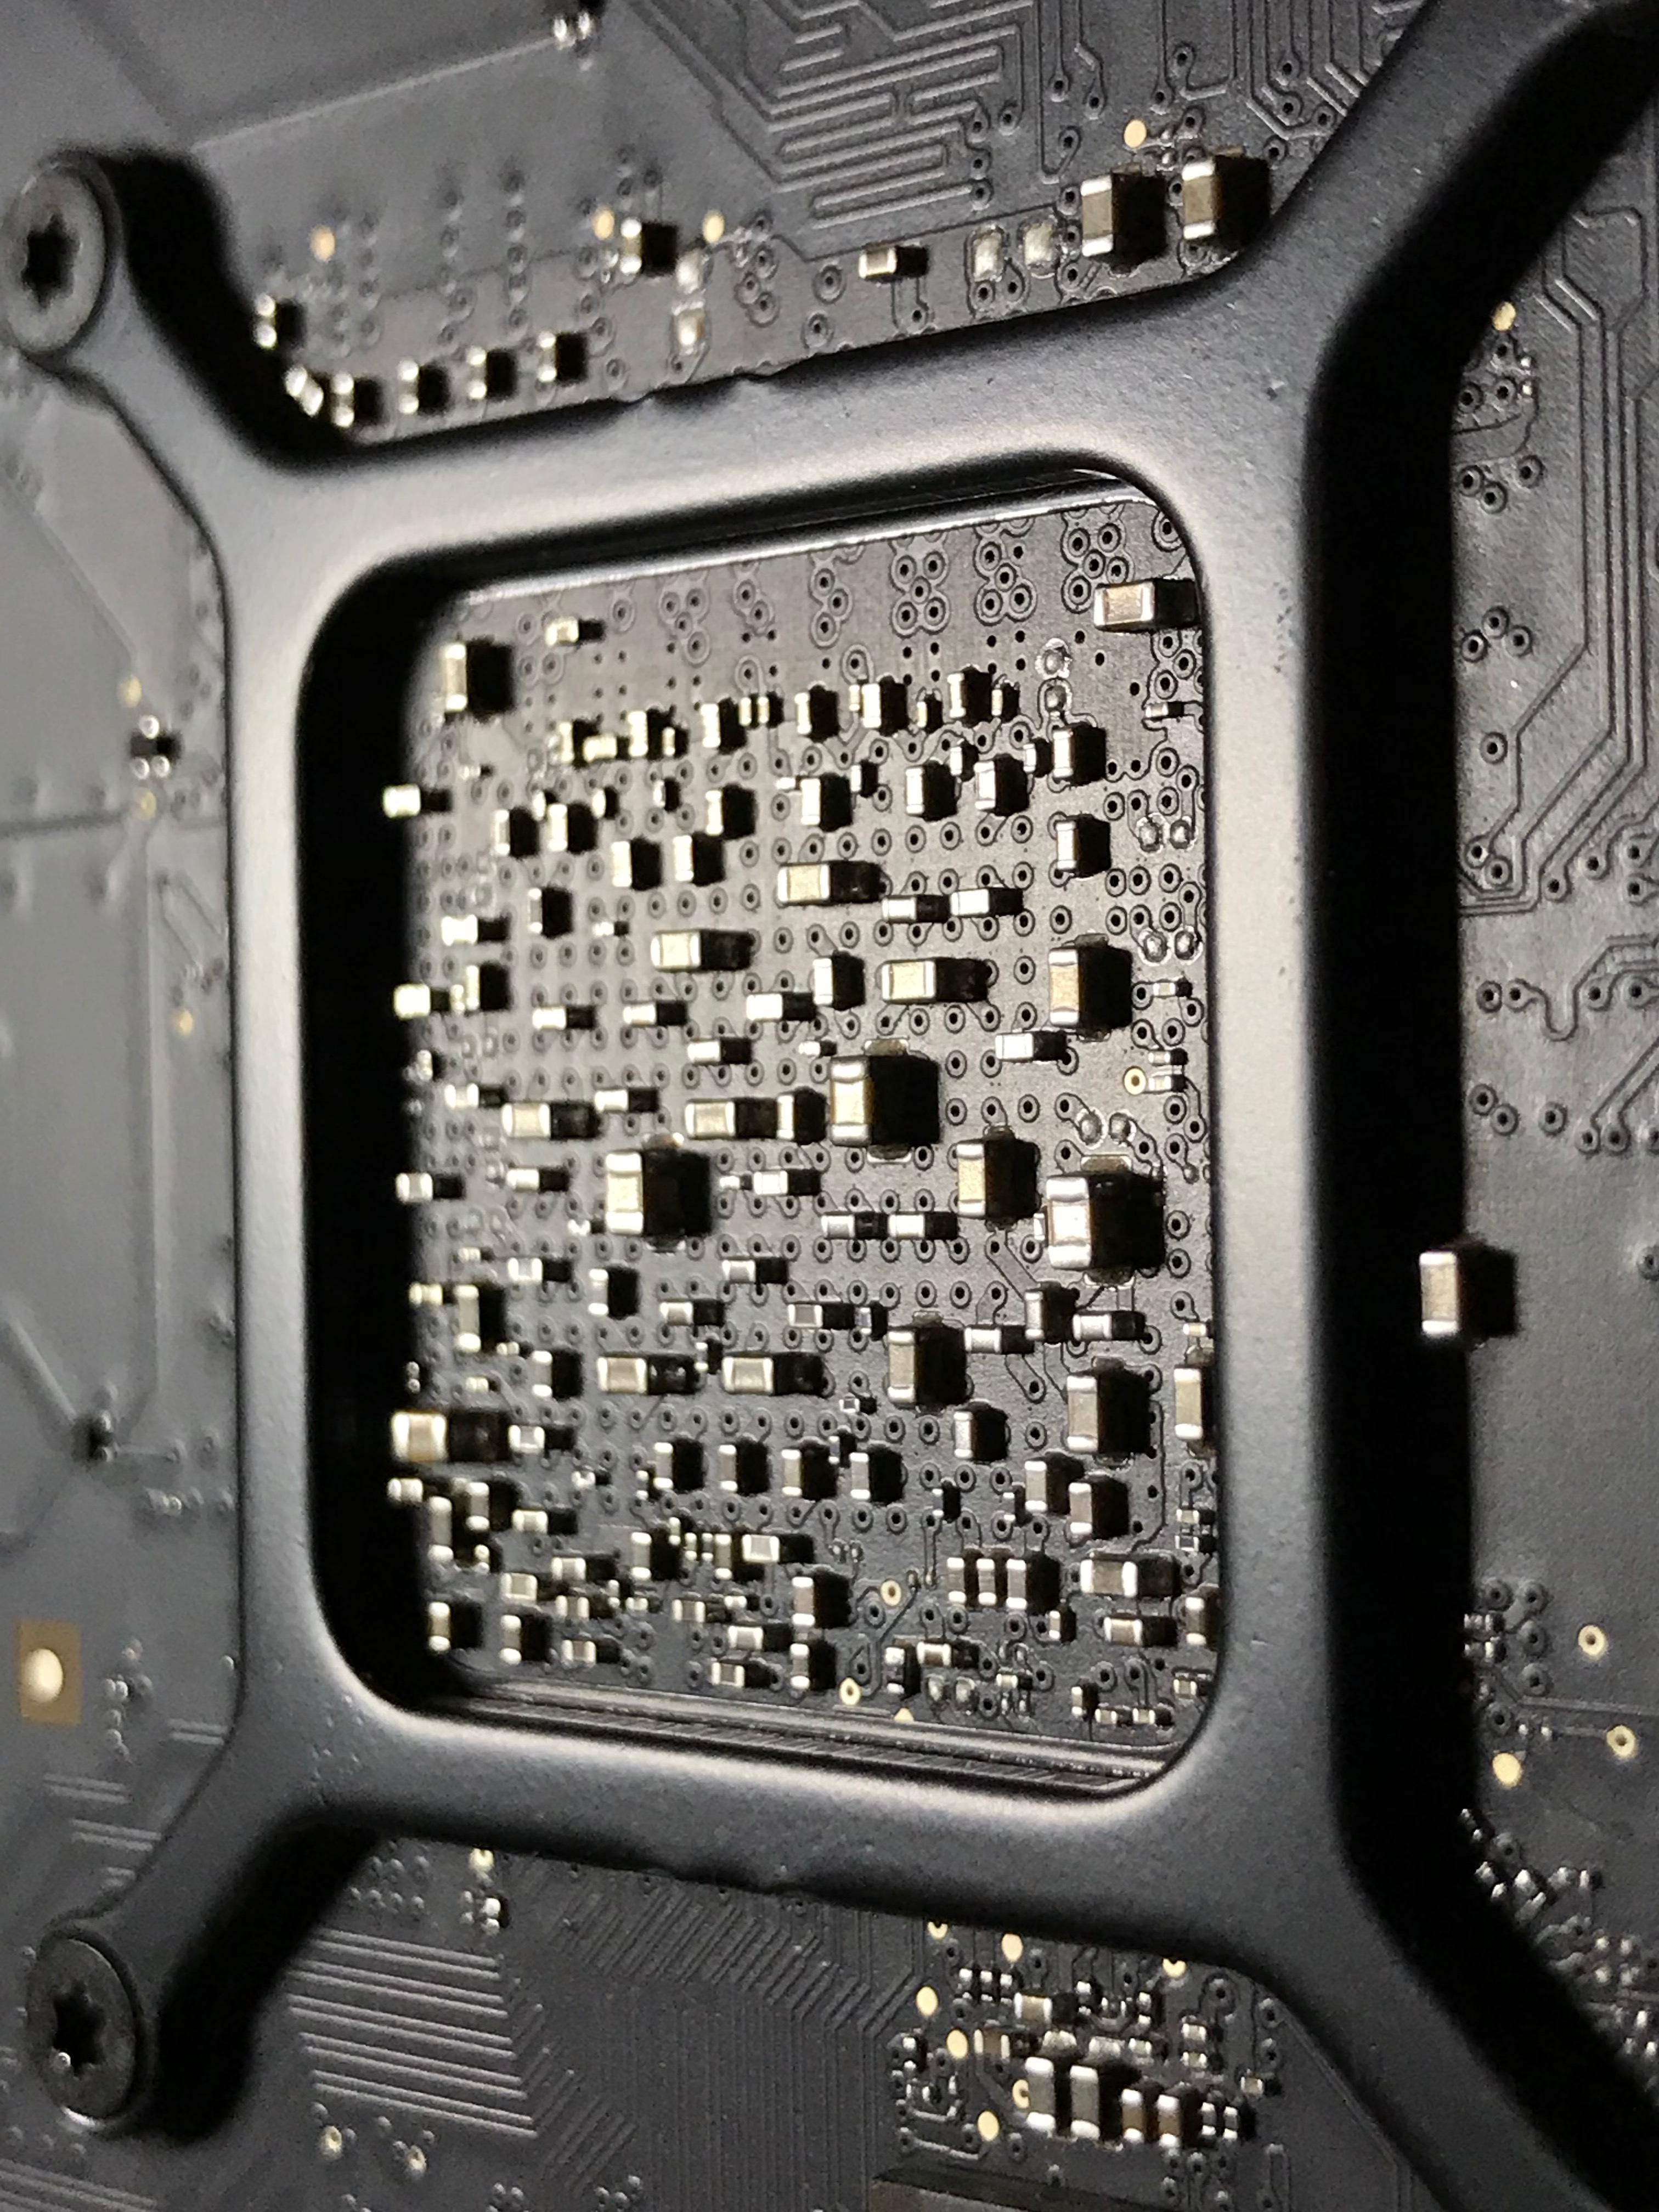
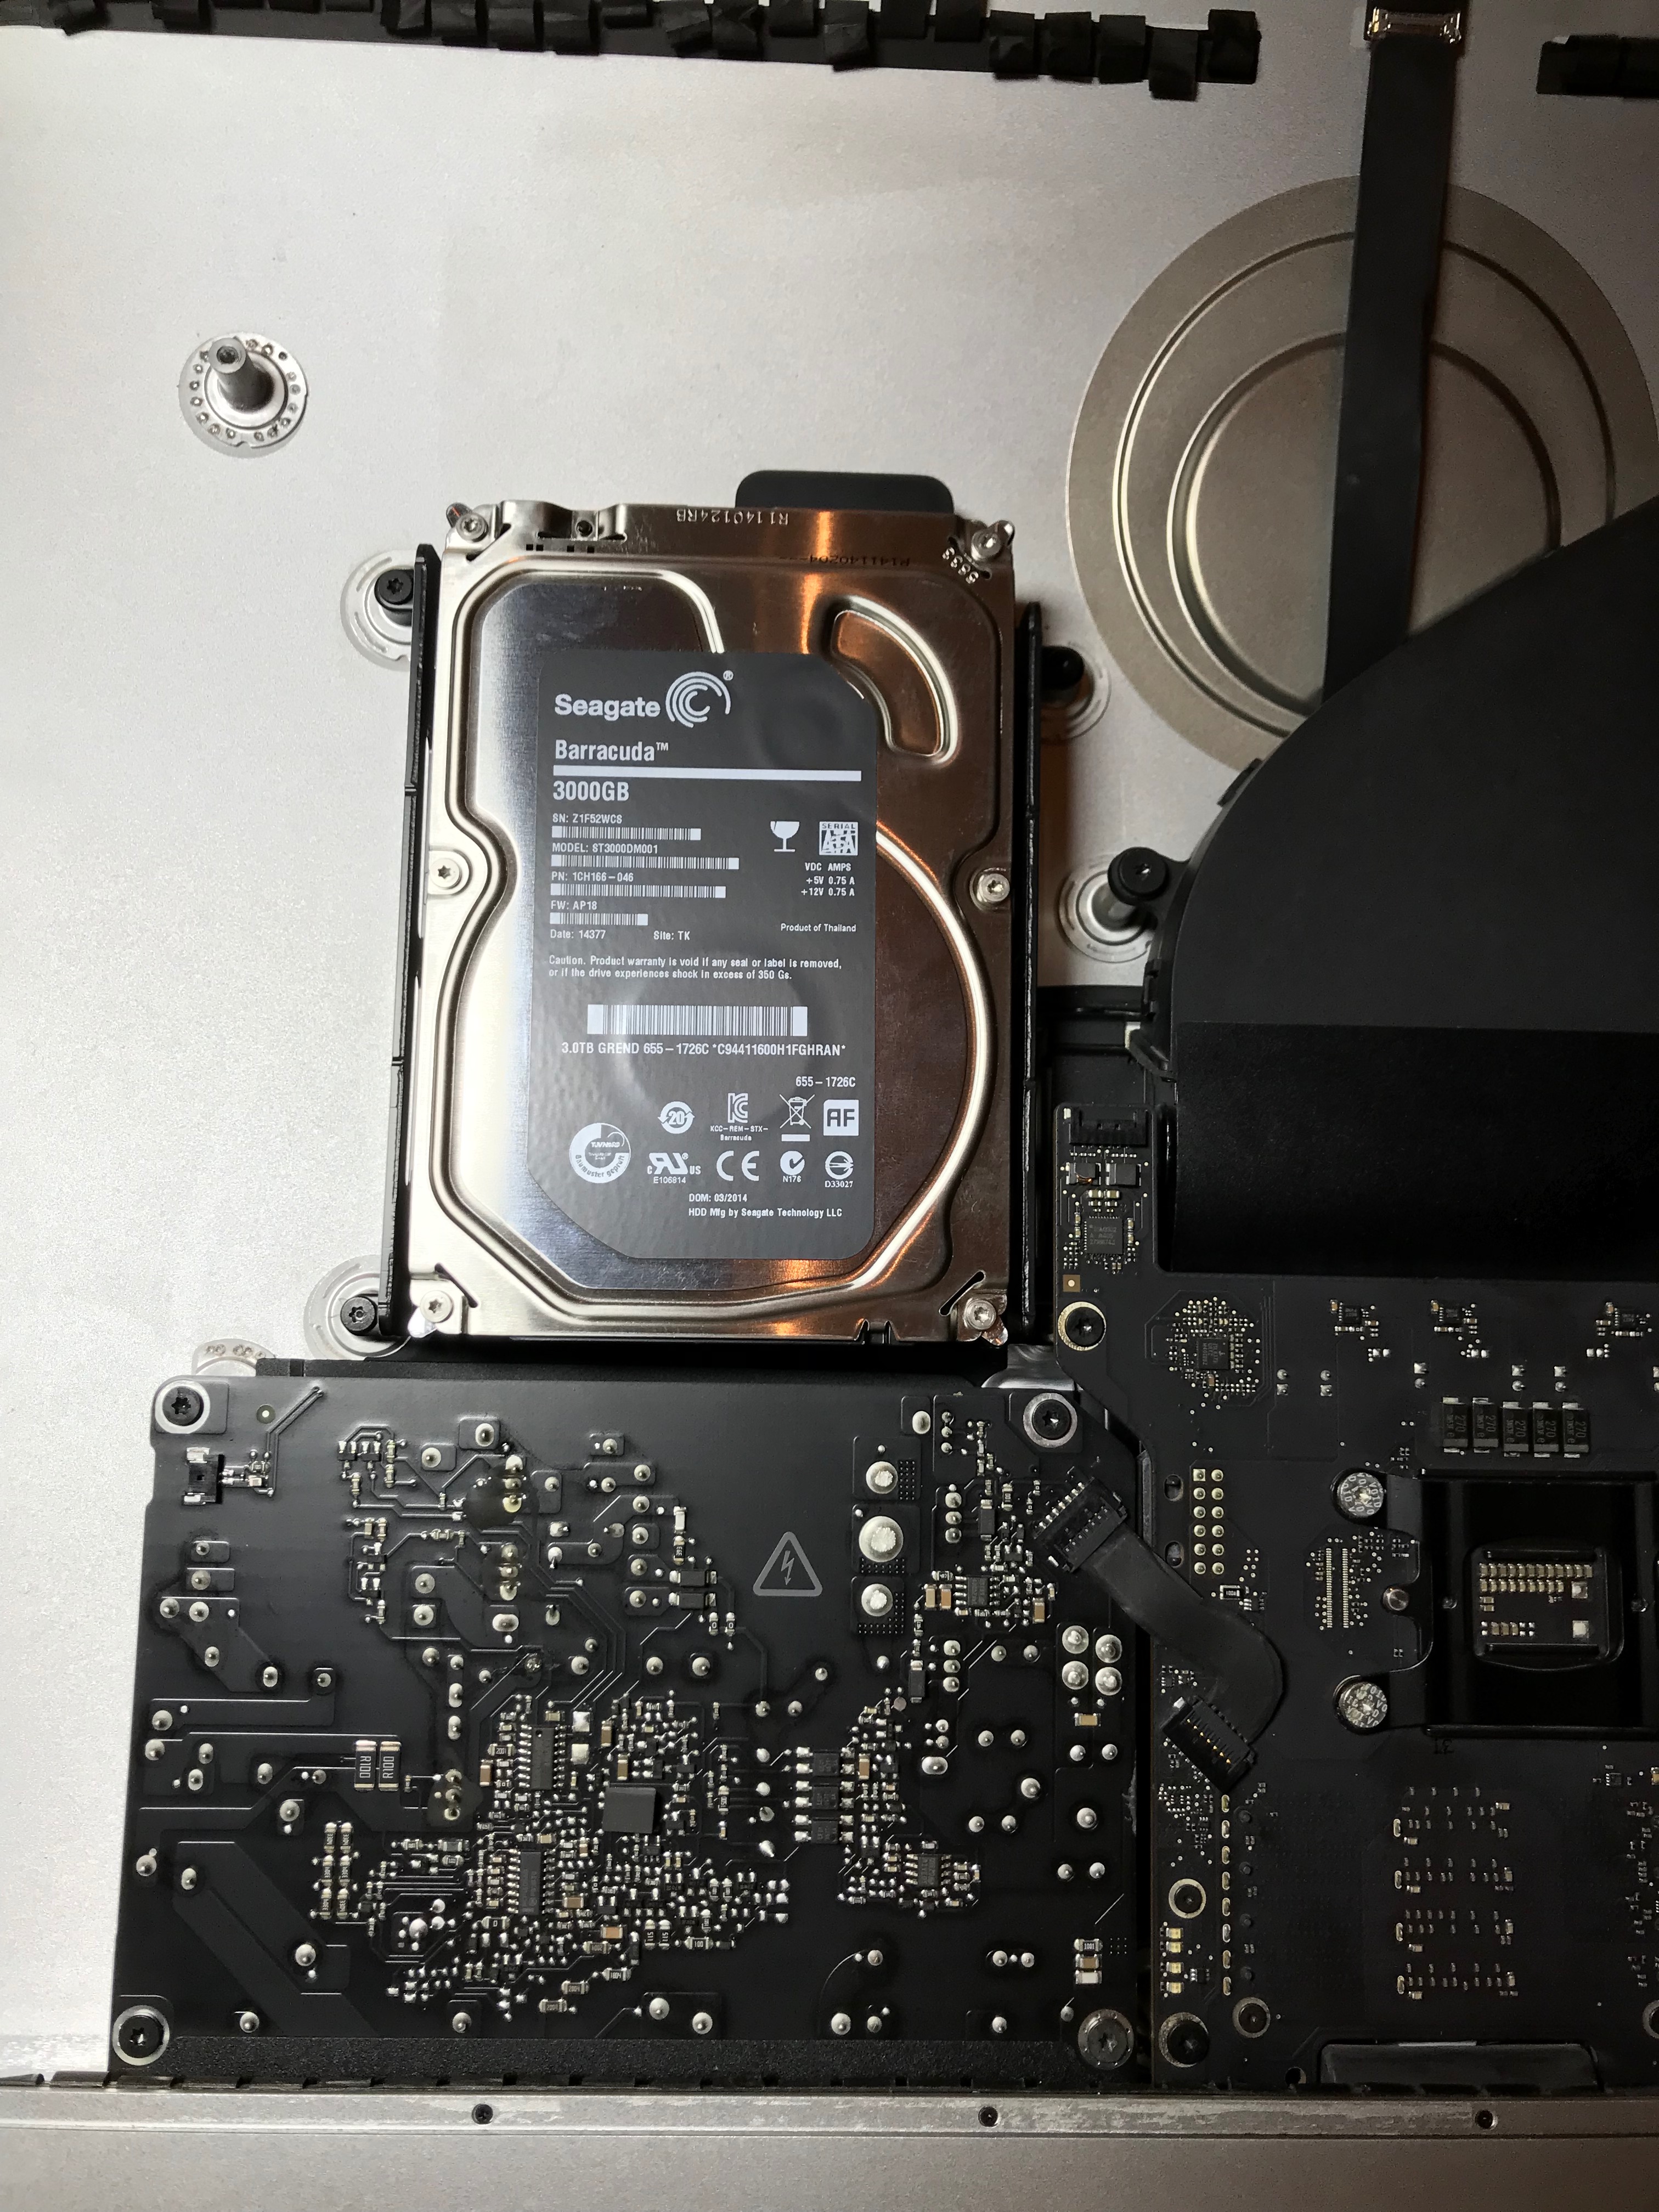
Here is a gallery of photographs from that process. The insides were indeed full of dust and the thermal paste had dried up. I followed this guide from iFixit, although I have to say it’s not entirely accurate, as detailed below.
I was on my own when it came time to work on the AirPort/Bluetooth board, where the setup differed quite a bit from the guide. There were also a few screws whose location was different in the guide. So I took photos before I disassembled things, just to be safe.
While I love the design of the Mac Mini (inside and out) and I think it’s a fantastic little computer, it’s tricky to work on. Everything has to fit together just right. The things that gave me problems when it came time to re-assemble it were:
the minified SATA cables, which kept popping out of their slots on the motherboard and are really only held in place by the cowling (the little piece of plastic in a semilune shape),
re-seating the top drive, whose side screws have to slide into some holes in the back of the case, but there is little to no tactile feedback when they’re in place, and there’s no way to check things visually; it actually fits asymmetrically over the bottom drive, which is a bit illogical, but that’s how the engineers worked out the hardware design,
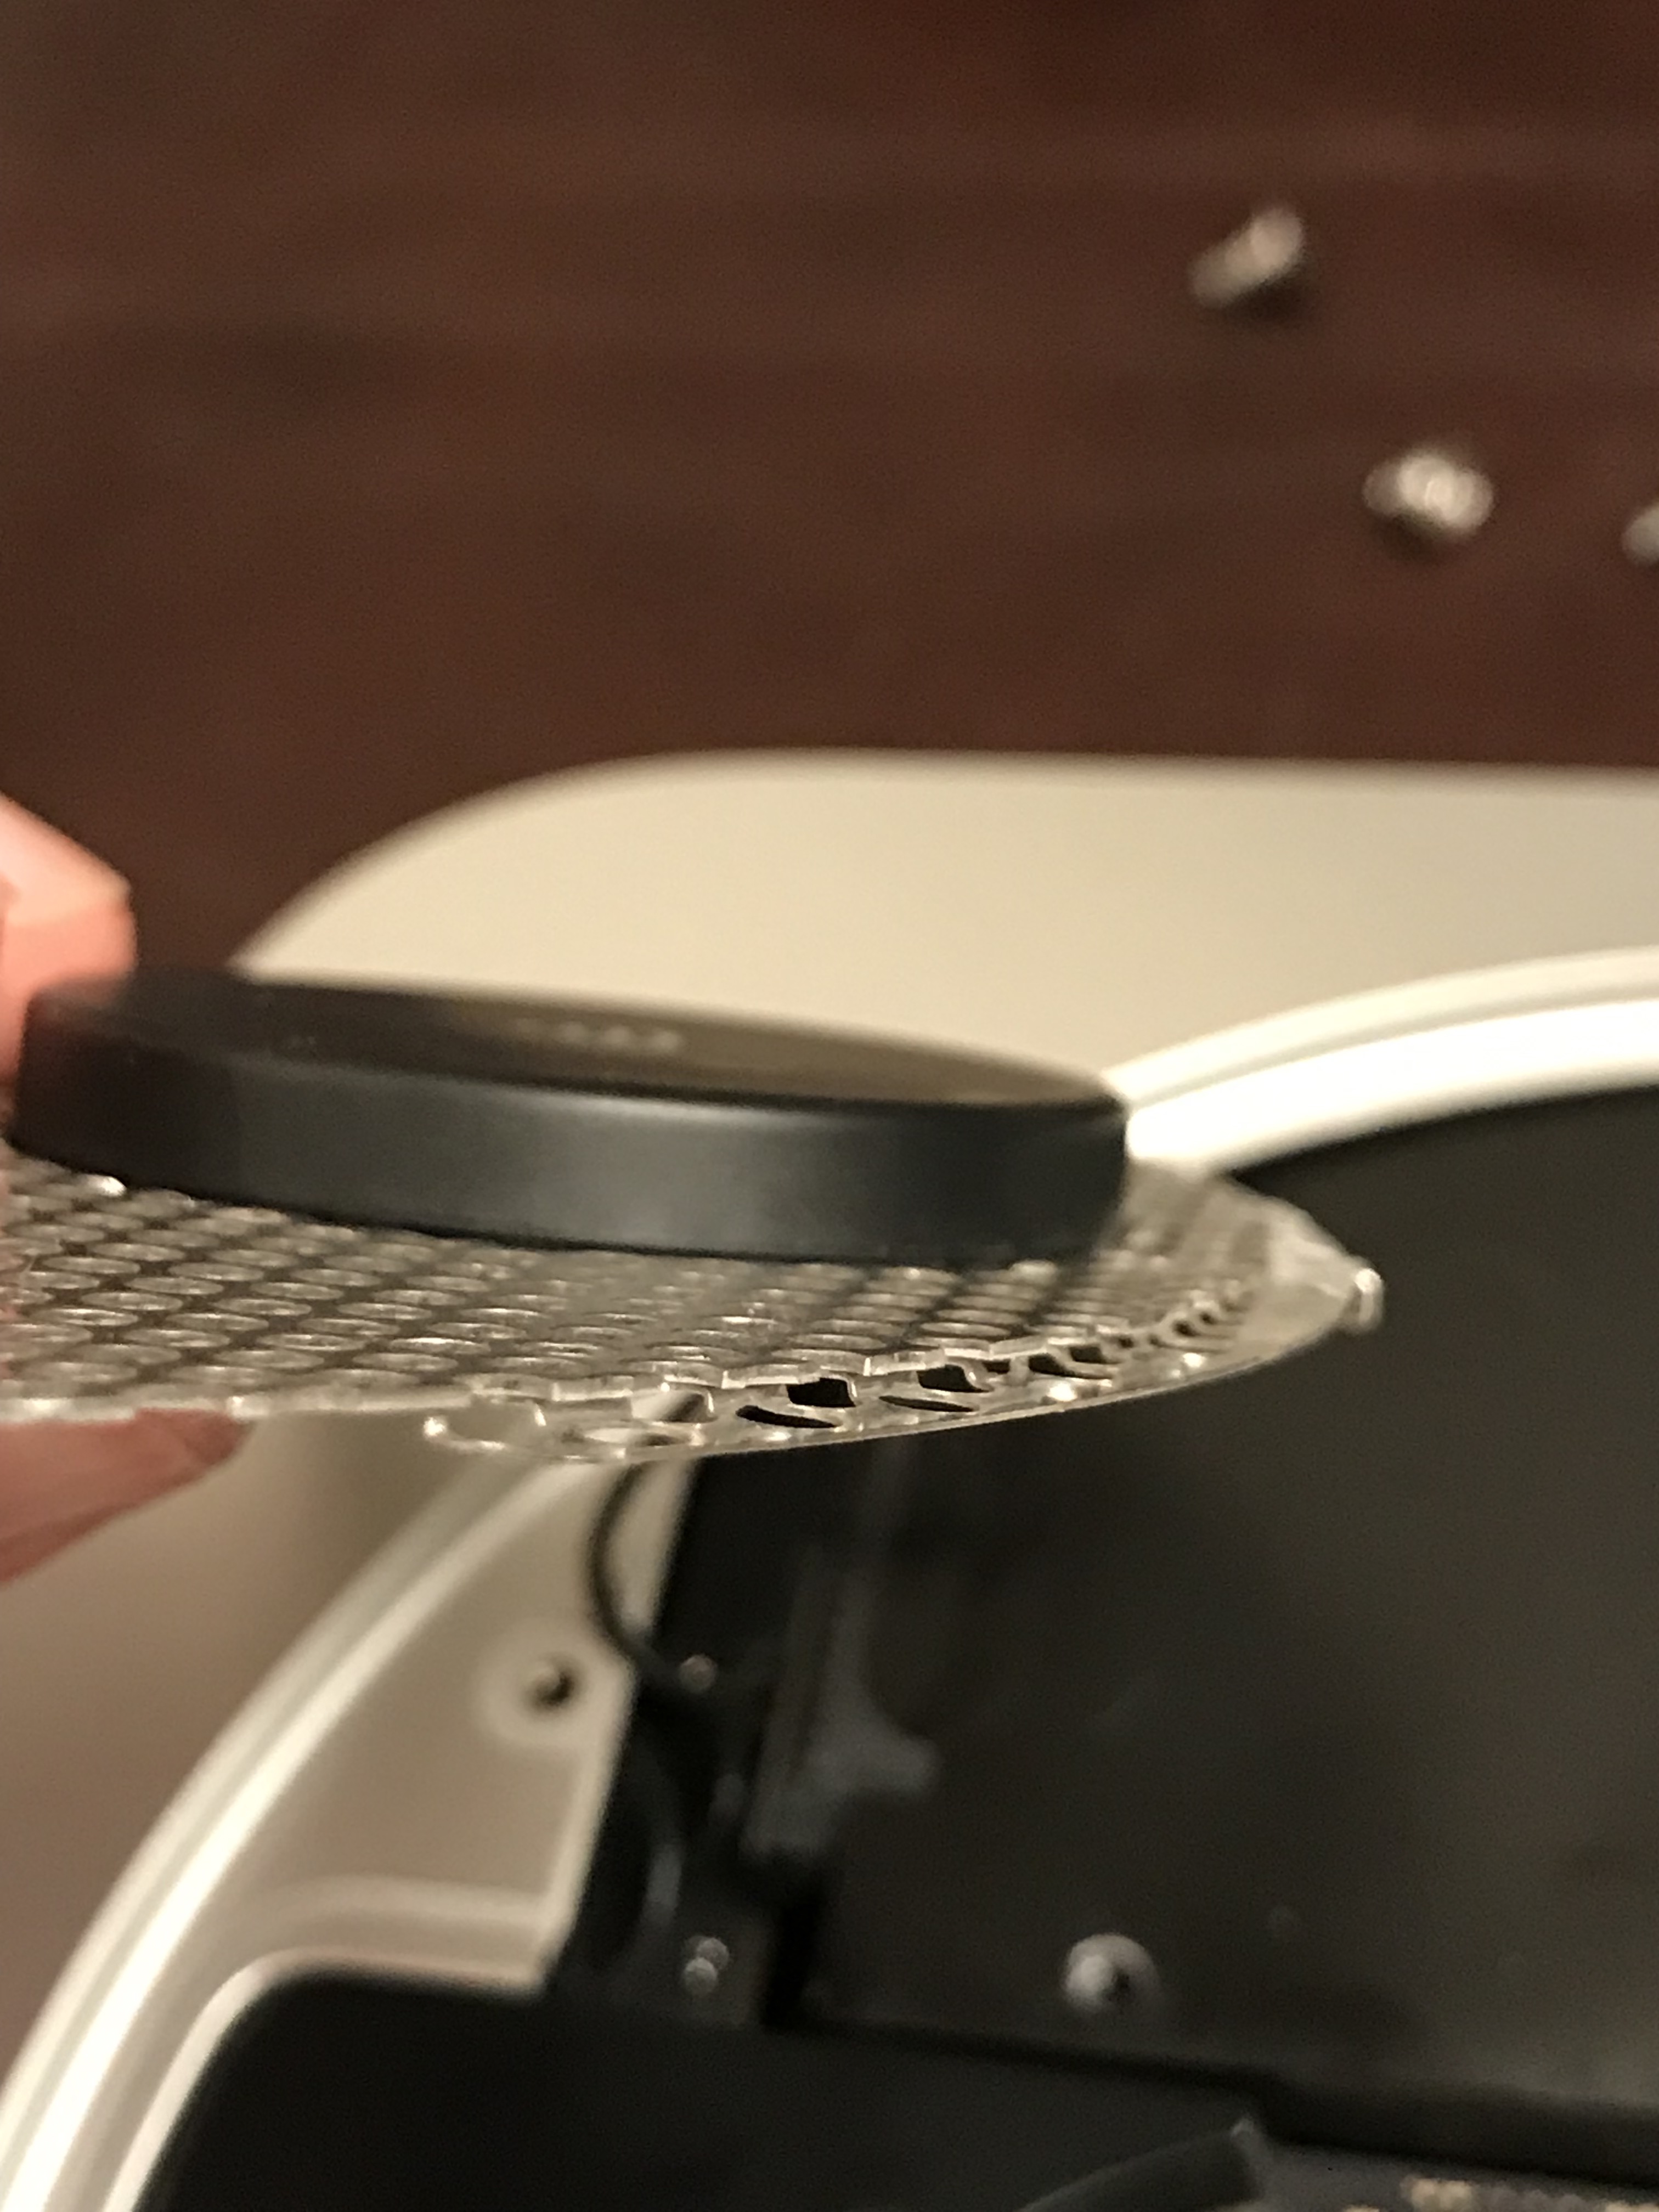
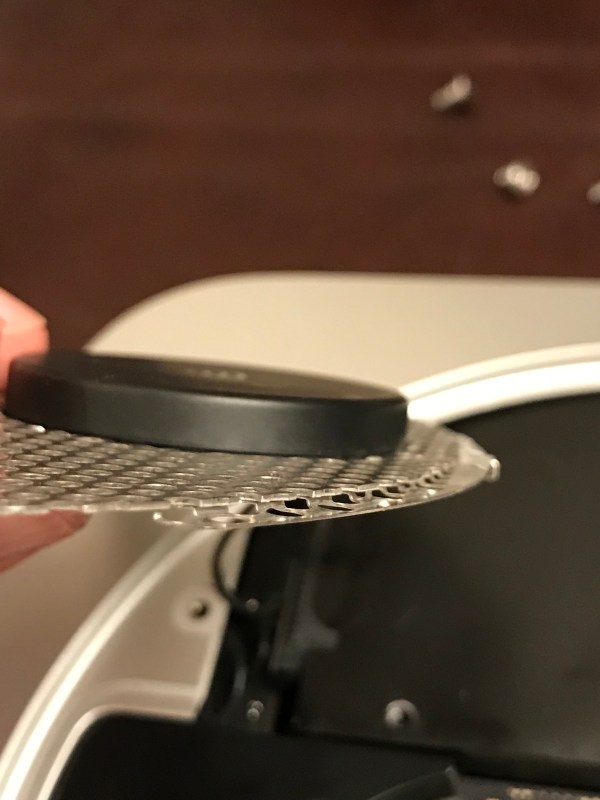
and the antenna plate. Oh wow, the antenna plate was a chore to work back in… It has to fit in just right, hugging the inside edge of the case with an indentation made in the wire mesh from which it’s constructed, and for some reason, it just didn’t want to go back in properly. It was off by less than 1 mm, yet it meant that I couldn’t put the screws back on. Be careful with that one!
When it was time to boot it up, the Mac Mini refused to do it. I stared at a black screen for a minute or two, wondering if I’d forgotten to connect some cable inside it, and then it occurred to me to re-seat the AC cable, which is notoriously hard to plug and unplug on this machine, because its slot is too tight. That turned out to be the problem. Whew.
Another wrinkle that I ran into was the Fusion Drive. This machine has an actual SSD inside of it, not a blade SSD, which is what you might find in an iMac or a MacBook. That was a bit of a surprise to me. Anyway, come time to reformat the drives, I figured I could re-enable Fusion Drive and end up with a single volume that used both the Apple SSD and the new ADATA SSD. Nope. While you can run the commands in Terminal to “marry” the two SSDs into a Fusion Drive (see this post for the details), checking the resulting volume with Disk Utility gives an error and Mojave refuses to install on it. So… no Fusion Drive for my wife, I guess. Then I figured I could create a software JBOD in Disk Utility to end up with a single volume once more, and I did that, and it worked, but once again, Mojave refused to install on it. So I had to simply format each SSD as a separate drive and use the 1TB SSD as the system volume, leaving the 128GB Apple SSD as a secondary volume to be used occasionally.
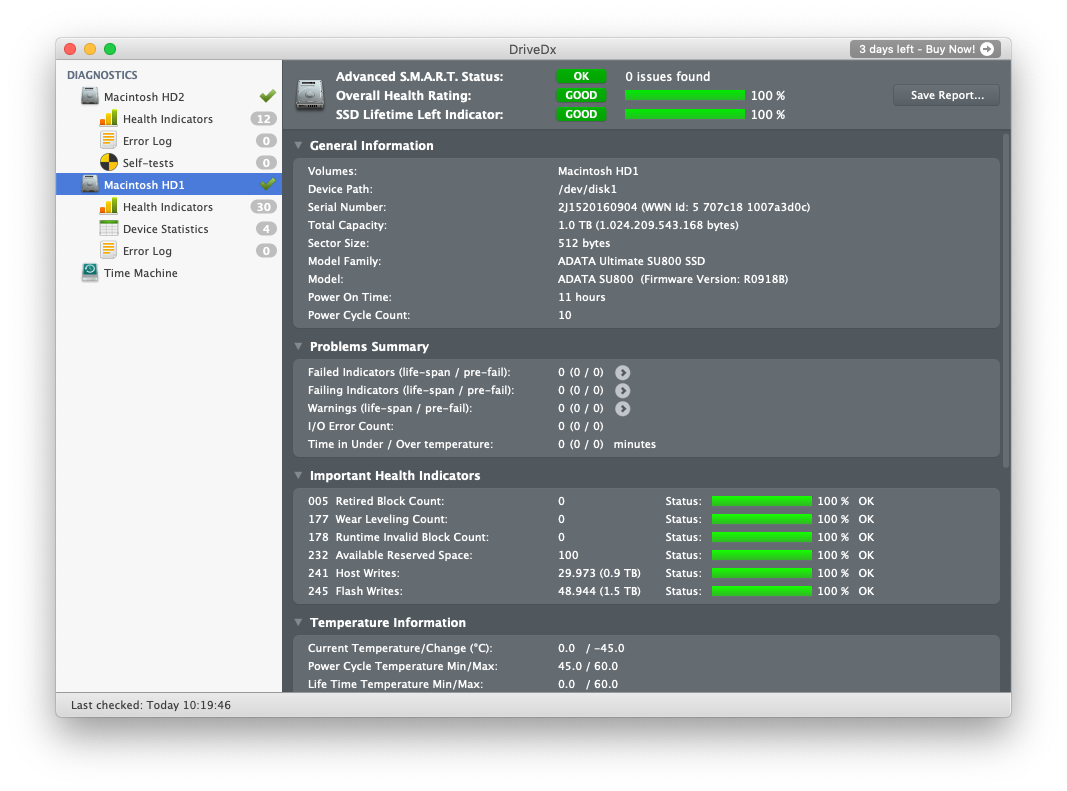
A quick check with DriveDx showed me that the new SSD was doing just fine.
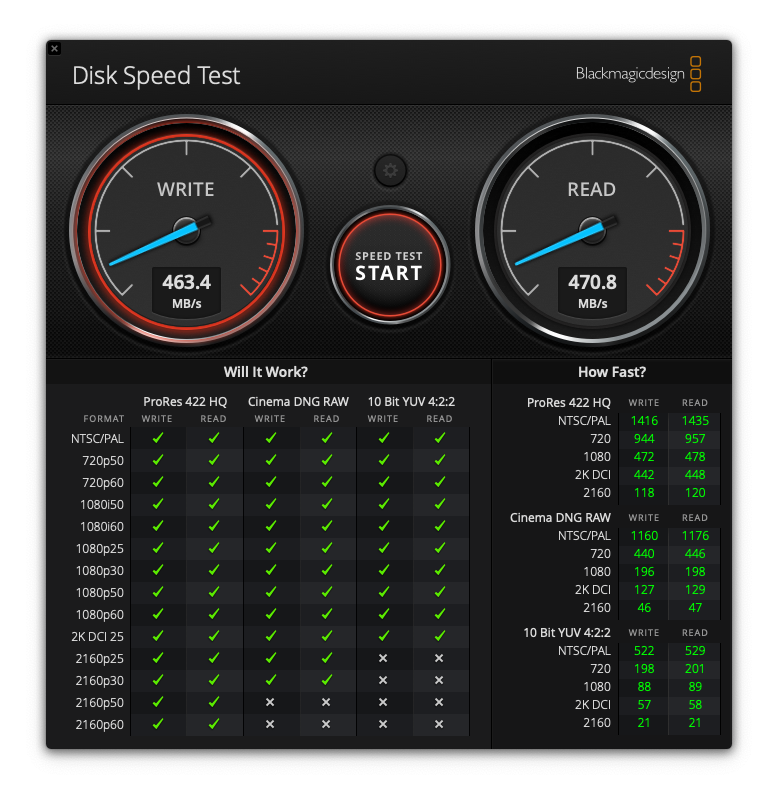
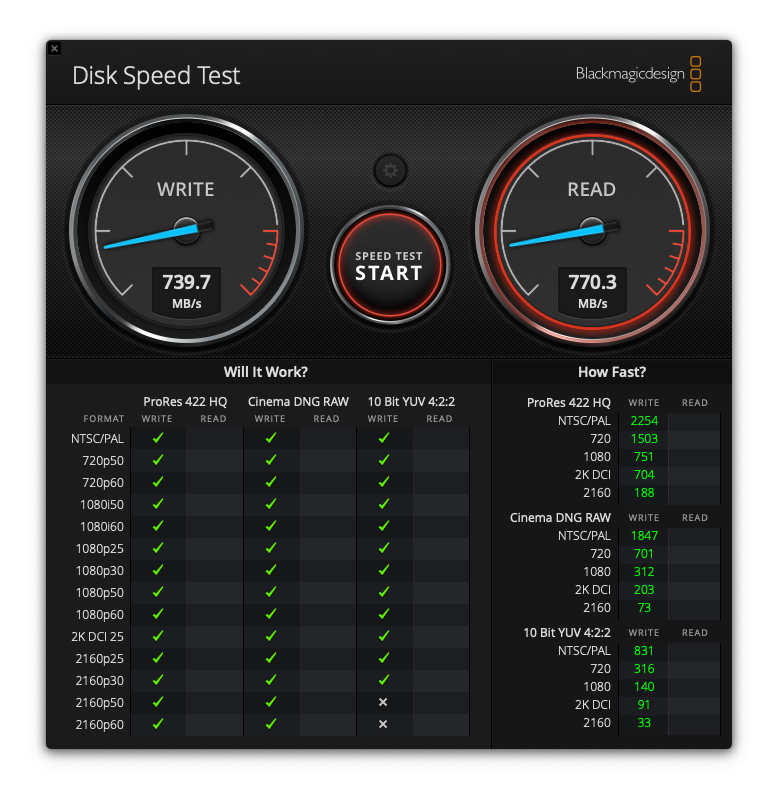
And a disk speed test showed things were humming along nicely.
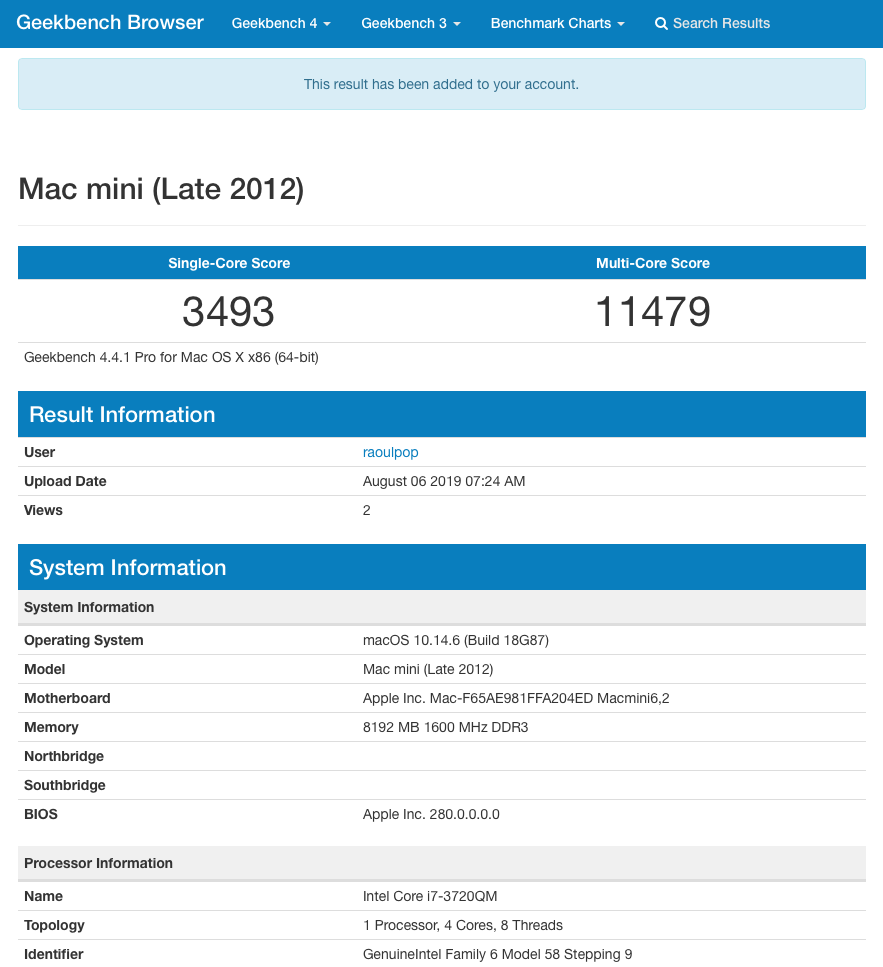
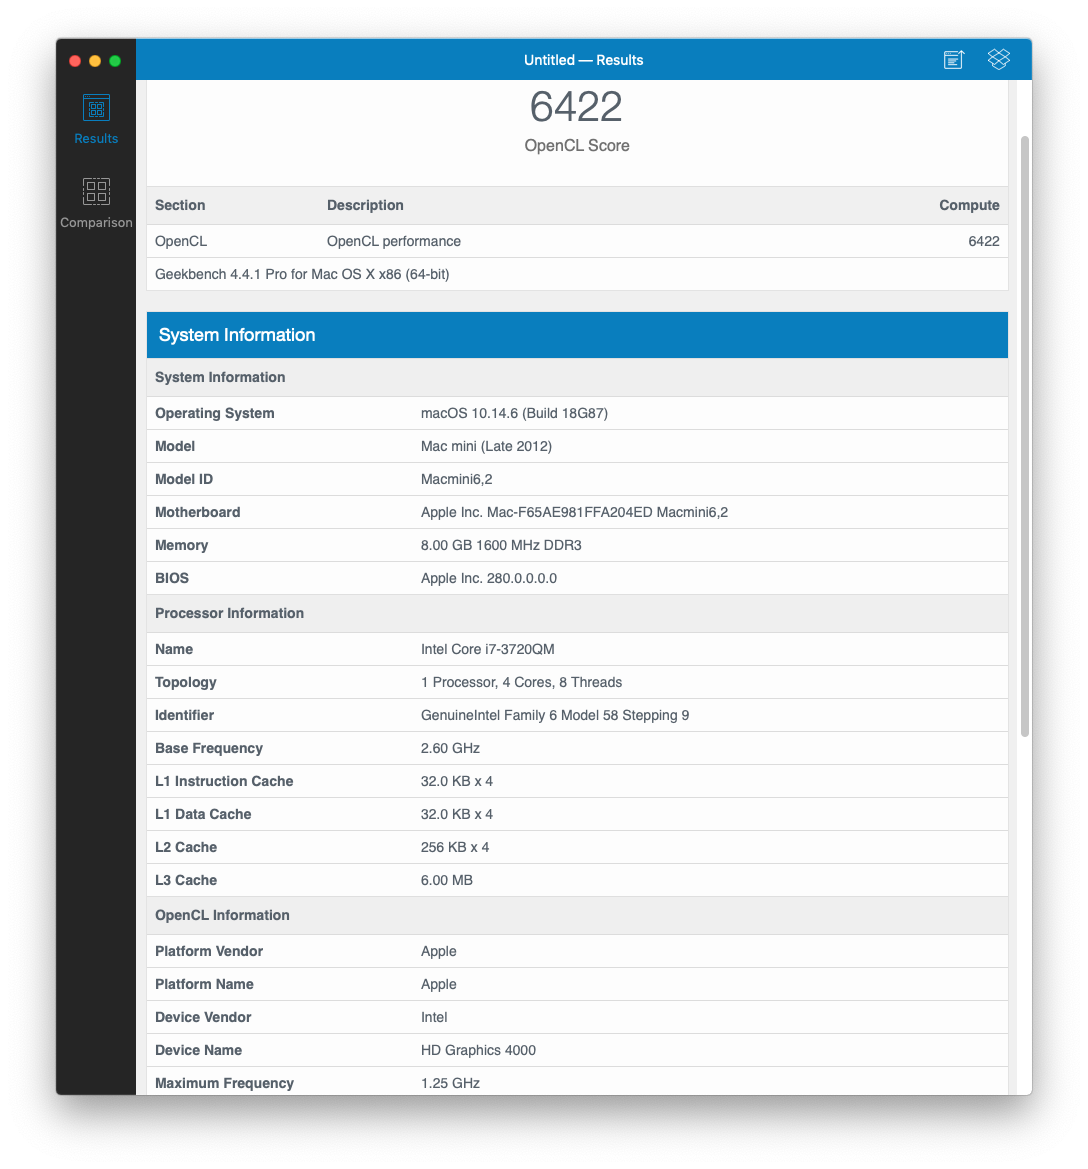
Here are some Geekbench scores for good measure.
My wife’s pretty happy with it now, she says it is faster than before and it doesn’t crash anymore, which it used to do every now and then. And if my wife’s happy, then I’m happy.
In a recent post, I wrote about upgrading the original (failing) blade SSD in my iMac to a bigger and faster NVMe module. During that upgrade process, I wondered whether splitting my Mac’s Fusion Drive would result in better performance, but decided against it for simplicity’s sake.
Even though I decided against splitting my Fusion Drive at that time, I read articles that advocated for it and suggested even better performance was to be had by allowing the SSD and HDD to run as separate volumes. The idea is to install the OS and select files and folders on the SSD, with the bulk of the files on the HDD. For the sake of experimentation and learning something new, I decided to tinker with my iMac and see if I could squeeze out some extra speed.
For those who are wondering what I’m talking about, Fusion Drive is an Apple technology built into macOS that creates what is essentially a hybrid drive, by combining an SSD module (NAND flash) with a traditional HDD (platter drive) and presenting the two as a single volume to the user. The protocols that govern the data I/O are called Core Storage. Apple writes: “Presented as a single volume on your Mac, Fusion Drive automatically and dynamically moves frequently used files to flash storage for quicker access, while infrequently used items move to the high-capacity hard disk. As a result, you enjoy shorter startup times and — as the system learns how you work — faster application launches and quicker file access.”
I’ve been using Fusion Drive since it came out, retrofitting my iMac at the time with a new blade SSD and thus making it run faster than its original specs. I love this technology, because it offers significant performance improvements for a fraction of the cost of buying a large SSD, which used to be be quite expensive a few years ago.
The long and the short of it is that it’s not worth it to split your Mac’s Fusion Drive. If you’re currently running Fusion Drive on your Mac, keep doing that, you won’t see any significant performance improvements if you split it. Actually, some things may run slower than before, and you’ll also have to deal with a few inconveniences, as detailed below.
I’ll present both scenarios here and you can decide what to do for yourself. There are multiple methods to it. These are the methods I’ve chosen. The number of Terminal commands that you have to run for either scenario is minimal, and the time involved has to do mostly with backing up your computer, waiting for the OS to reinstall and for your data to be restored from backup. For example, if you’ve got a 3TB drive and you’re at about 50-60% usage (and you should be at that threshold or lower on any hard drive), then you should figure on 4-5 hours for either of the two scenarios.
How to split your Fusion Drive
First and foremost, did you backup your computer? If you did, go ahead and create a bootable drive using Apple’s instructions, then boot into it by pressing the Option key as soon as your Mac restarts and holding it down until you see the Apple logo. You need to boot into a separate drive because you’ll be deleting your internal drives entirely, including the boot and recovery partitions.
Once you’re in, open Terminal and get a listing of your disks and volumes.
diskutil list
Your Fusion Drive presents itself as a logical volume group that appears as a separate disk with an HFS+ or APFS partition. Say your SSD is disk0 and your HDD is disk1, your Fusion Drive would be disk2 or disk3. In my case, it was disk3 (disk2 being the bootable recovery drive). Now unmount your internal disks.
diskutil unmountDisk disk0
diskutil unmountDisk disk1
You’ll want to delete that entire disk containing Fusion Drive. Be forewarned, this deletes all you data. Did you backup your computer?
diskutil apfs deleteContainer disk3
Now that Fusion Drive has been nuked, you’ll still have your separate drives that you’ll want to make sure are erased. The eraseDisk command requires that you offer a new name for each disk, so I chose to name them SSD and HDD, to keep things simple.
diskutil eraseDisk JHFS+ SSD disk0
diskutil eraseDisk JHFS+ HDD disk1
Now you’ll want to do a fresh install of macOS onto the SSD, and after that’s complete, you’ll boot up into your fresh install and go to Utilities/Migration Assistant, in order to do a selective data restore. Here you’ll have to decide for yourself, based on the total size of your SSD and your data set, how much of it you’ll want to restore onto the SSD. The rest you’ll need to copy manually from the backup drive onto the HDD. In my case, I restored my user settings and the system and libraries folders onto the SSD, and I copied the following folders onto the HDD: Documents, Downloads, Movies, Music, Parallels (in case you’re running some kind of VM software) and Pictures. Each of those folders was too big to keep on the SSD, even though I have a 512GB module (remember the rule about keeping your drive at or below 50-60% usage).
Once you complete all that work, you’ll need to create links to these folders on the HDD in place of your folders on the SSD. Mojave won’t let you do this when you’re logged into your account, so you’ll need to boot up into recovery mode and open Terminal once more.
Go to your homefolder on the SSD.
cd /Users/yourusername
Delete the folders that are now present on the HDD. You’ll need to do this for each folder that you’ve moved there. Hopefully you’ve written down their names ahead of time.
sudo rm -rf foldername
In your homefolder on the SSD (same location as above), make links to the folders on the HDD. I chose to put mine at the drive’s root level. You may choose to put them in a folder. Just don’t give it the same name as your username, I hear that may cause problems. You’ll need to do this for each folder.
ln -s /Volumes/HDD/foldername
That’s it, restart and use your computer. However, you may find a few inconveniences — these are the ones I experienced:
I noticed no performance improvements. There wasn’t even an improvement in the bootup time. Nothing, nada, zilch.
While Apps may open up faster, if they’re still accessing files on the HDD, editing will still be sluggish. In order for you to see that performance boost talked about with SSDs, both apps and their files need to be on the SSD.
In my case, I had to keep the Photos library on the HDD, because it was too big to keep on the SSD, and while Photos may have opened up fast, loading up the library took forever, until enough of the recent photos were cached on the SSD to allow me to work with my library. So things were a LOT slower with this app.
I kept my mailboxes on the SSD so I was hoping for better performance from Mail, but I didn’t get it. I have a lot of mail stored locally, so in theory, things should have worked faster because everything was on the SSD, but they didn’t. I also experienced odd issues, like when moving messages between mailboxes, it took a lot longer and sometimes didn’t register. I’d drag and drop them, then come back to the app a little while later and find them in the same place, just as if I hadn’t moved them.
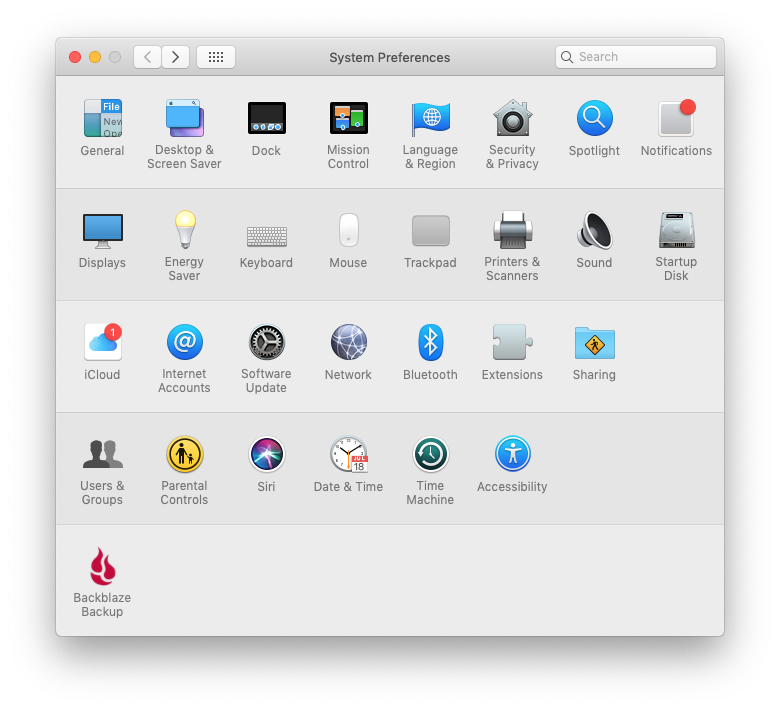
iCloud would display an odd notification icon, but when I’d go into it, there was no message. This icon was displayed continually for as long as my Fusion Drive was split. See the screenshot below.
While Time Machine will backup both internal drives, data restores will only restore the files from the SSD. I don’t know why and I don’t know how to fix that, so keep this limitation in mind. You can go into the Time Machine drive manually and copy the files over afterward, but if you run a restore operation on your computer and you wonder where most of your stuff is after it’s completed, don’t freak out, just know you’ll need to get it manually from the drive.
See that “1” over iCloud? It was there all the time.This is the kind of performance the SSD provided when my Fusion Drive was split. It looks impressive, but hold on until you see the same test with Fusion Drive enabled, later down in this post.
How to enable your Fusion Drive
After about a week of running my Mac with a split Fusion Drive, I’d had enough and decided to re-enable it. Here’s how I did it. Before you proceed with this, I’ll ask you again, did you do a full backup of your computer? This will wipe all your data.
Using the same bootable drive, I booted into it and opened up Terminal. Since you’ll be wiping all your internal drives again, you need to be booted from an external drive.
Apple recommends this single Terminal command that is supposed to do everything in one fell swoop. It didn’t work for me, perhaps because my SSD module was a newer NVMe running off an adapter card, not the Apple-approved blade SSD manufactured specifically for this kind of thing.
diskutil resetFusion
I had to do it with a few more commands. First, find out your disk IDs.
diskutil list
Now unmount your internal disks.
diskutil unmountDisk disk0
diskutil unmountDisk disk1
Then create a merged virtual hard drive with Core Storage.
diskutil coreStorage create Macintosh\ HD disk0 disk1
Now get its logical volume group name (the very long alphanumerical name that appears in Terminal after you type this command).
diskutil coreStorage list
Now format and create the JHFS+ volume that will run Fusion Drive.
diskutil coreStorage createVolume yourlogicalvolumegroupname jhfs+ Macintosh\ HD 100%
Don’t worry about formatting the drive to APFS. That’ll happen automatically when you install Mojave. Besides, APFS is not an entirely separate file system, it’s a container running inside HFS+, so like I said, don’t worry about it. That’s it. Now quit Terminal and do a full restore from Time Machine, but prepare yourself for an incomplete data restore (see the reasons given in the previous section). Once the data restore is complete, you’ll need to manually copy the folders that are missing from the Time Machine drive. Or, as I did, you can do a full restore to a backup set that existed before I split my Fusion Drive, which means you’ll get all your old data back in all the right places, but you’ll still need to get your newer files manually from the Time Machine drive.
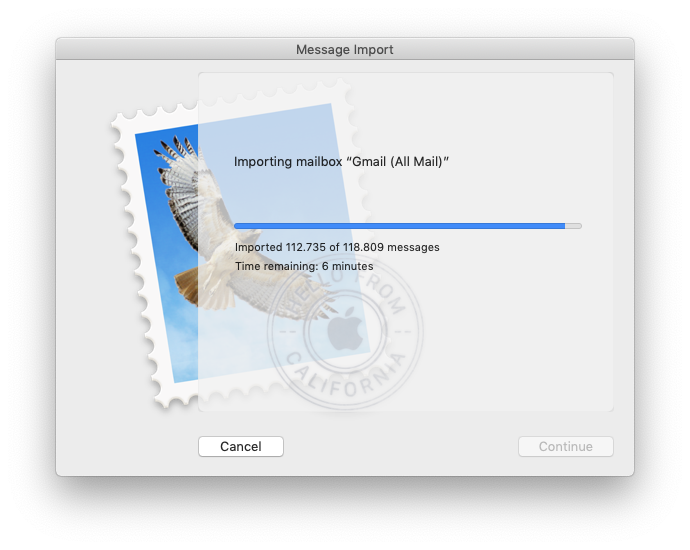
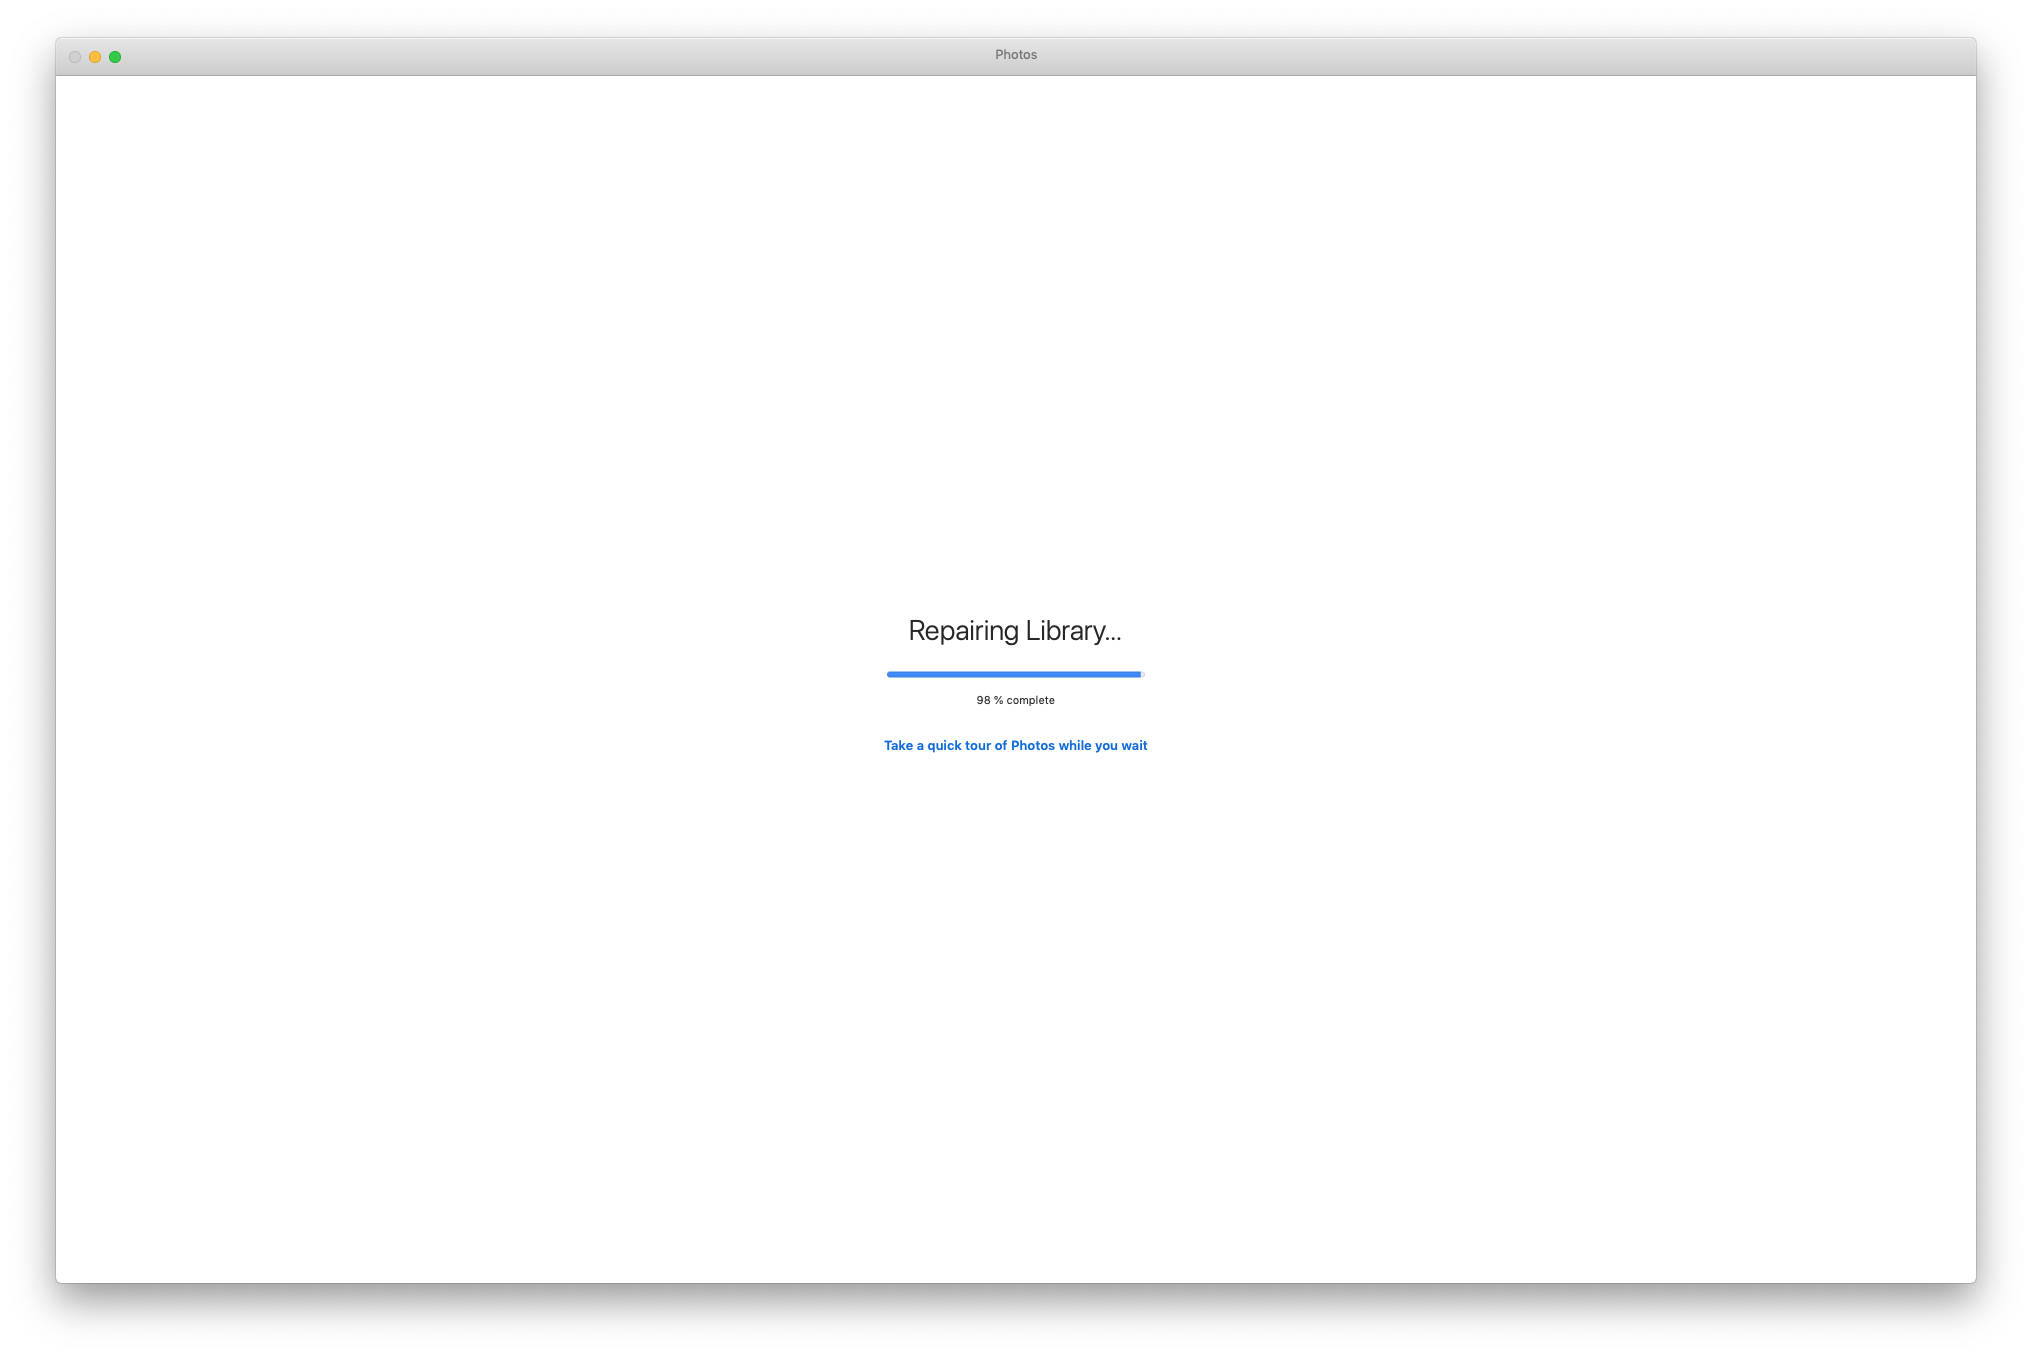
In my case, I needed to copy the mailboxes, which are located in ~/Library/Mail/V6 from the newest backup set (the one with the split drive) to my computer, and that gave me all my mail, including the interim stuff. I also copied the latest Photos library, and that gave me all my photos, including the interim stuff. Then I went through the Documents and Downloads folders on the Time Machine drive, sorted by date modified and copied the interim files onto my computer. I didn’t need to go through the other folders because I knew I hadn’t worked on other stuff. And once I did this, my data restore was complete. Mail and Photos still needed to rebuild their libraries though, and that took a while.
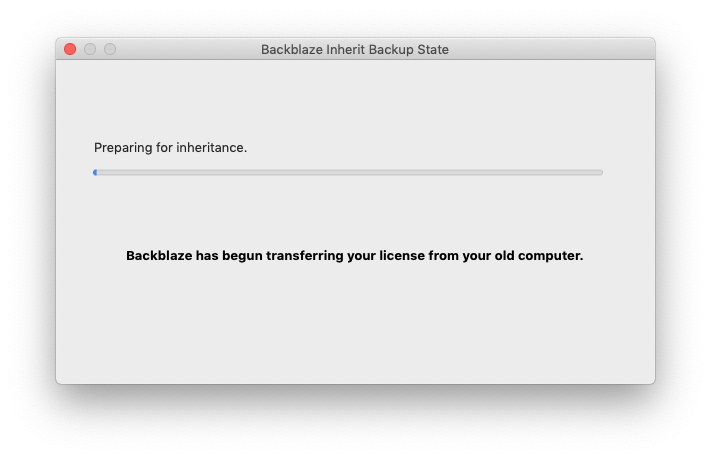
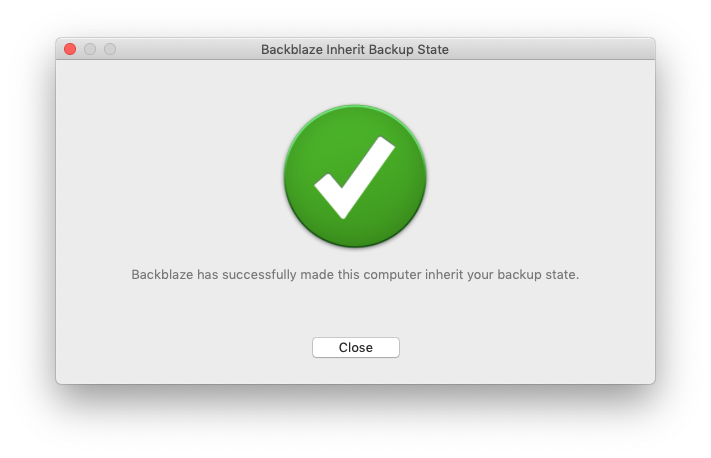
And because I use Backblaze to backup my computer offsite, I also needed to uninstall and reinstall that, then inherit a previous backup state (don’t worry about this if you’re not using Backblaze).
When that was done, Backblaze told me it had “made” my computer inherit my backup state, as if it had forced it to do this, in a non-consensual way. Kind of a funny way to word things, but their service works well.
Here’s the kicker. I ran another drive performance test after all this, and these were the results.
Actually a little bit faster than before 🧐
Everything runs fast now, and it runs as expected, without hiccups.
As I said at the start of this article, if you’re already running Fusion Drive, do yourself a favor and leave it running. You’ll avoid headaches you don’t need, unless you like complications.
The only way I can see to speed up my iMac even more, is to purchase a large 3-4TB SSD and run it as my only internal drive. That might be a little faster. But as you can see from the test screenshot shown above, my iMac is no slouch right now. And 4TB SSDs are still fairly expensive. It might actually be cheaper (and possibly faster) to get a 2TB SSD and a 512GB NVMe module, and run them together with Fusion Drive, although the overall capacity wouldn’t be the same. Food for thought.
Updated 7/30/21: I’ve since bought that larger 4TB SSD and I am very happy with the performance. Also, the Fusion Drive protocols will NOT allow you to create a Fusion Drive with two SSDs (or one SSD and one NVMe). They require the use of one SSD and one HDD. So, final(?) conclusion on this matter: larger SSDs are more affordable now and getting a nice, big one and running that alone without bothering with Fusion Drive is a viable and preferred option. Otherwise, stick with Fusion Drive.
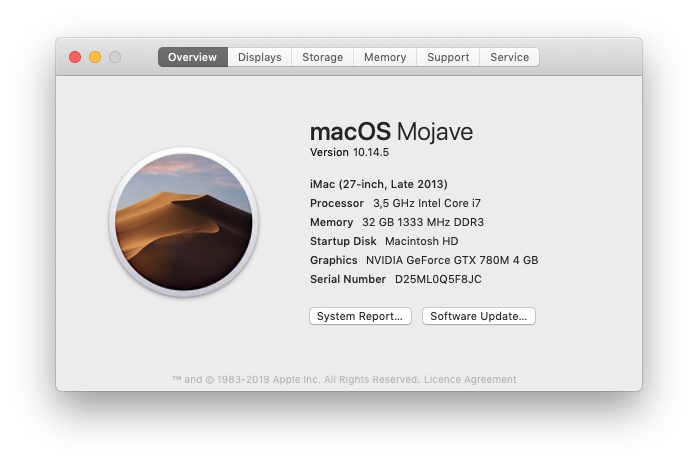
I’ve worked on a few upgrades to our family computers in recent months: my 2008 MacBook Pro, my mom’s 2007 iMac and my own late-2013 iMac (A1419, EMC 2639). This is the tale I’d like to recount for you now, because it’s something that I’ve had to deal with since last autumn (october of 2018), and I’ve just recently (I hope) finalized the upgrade/repair. There’s a valuable lesson in here for the people at Apple Support, if they’re interested.
It started with my iMac slowing down to a crawl over the course of a few days, back in late 2018. At first I thought it was spyware or a virus. I checked everything: every app, every file, every process. I removed apps, one by one, to see if it would fix the problem. It didn’t. I ended up removing all of the apps but those that came with macOS, and the problem still persisted. I wiped the drive clean and reinstalled the OS, then reinstalled the apps anew, one by one. It was just as bad. I ran hardware tests using Apple’s software and everything checked out. I scoured the web for solutions. There were some suggestions online that iCloud could cause slowdowns when the syncs weren’t going properly. I checked the Apple Server Status page and indeed they’d been having some problems with iCloud, but they were marked as resolved. I checked Photos and there were major issues: my photos weren’t syncing properly across my devices, and there were image compression/corruption (?) issues going on, with diagonal blue lines appearing all over my recent photos, lines that persisted even when opening the photo at full resolution.
I called Apple Support and began a series of interactions that did not end with any sort of solution. From the start, they agreed that iCloud was causing the slowdowns and had me go through a series of steps such as logging in and out of iCloud, disabling and enabling the various iCloud syncing options, etc. to no avail. Mail started acting up as well, so they suggested I disable Mail syncing, because I had “too many messages in my mailbox”. Documents started acting up, with iCloud Drive showing up empty on my computer, so they suggested disabling that. In spite of the fact that I’d already done it, they tried to convince me to reformat my computer and start fresh. I kept getting a hunch that something else was amiss and asked them if they were sure this wasn’t a hardware issue. They said no. They told me to wait for the photos to finish syncing, then enable the other iCloud features one by one, and things would get back to normal. They didn’t. We kept going back and forth, with Apple Support posting one update per day (or less) to the case, asking me to do this and that, and even though I’d complete their requests and post more updates during the day, they wouldn’t respond till the next. I offered to pay a case fee to expedite issues. I explained to them that this was my main computer and I couldn’t do my work. This went on for weeks, with me getting more desperate and the techs telling me they’d stop helping me because I couldn’t stay calm.
With things going nowhere and Apple Support techs who couldn’t care less, I decided to exercise the “nuclear” option. I found Tim Cook’s email address and wrote him an email. I didn’t expect a response, but I wanted to vent. To my surprise, a short while later I got a response, not from him but from his office, promising me my issue would be forwarded onto someone who would get back to me. I waited a couple of days and… nothing. No one contacted me. I figured I’d try my luck again. I got the same response, but someone finally contacted me and connected me directly with an advanced support technician. There’s apparently a “third tier” of tech support that is only available on a case by case basis; I guess after almost a month of my computer being down for the count, I qualified.
It took a while longer to get to the bottom of the problem: daily communications, screen sharing sessions, uploading log files to Apple servers, trying various steps, etc. It took over a week. iCloud was at first to blame, then Adobe software, then finally, after my case was put in front of a senior technician directly responsible for iCloud connectivity, my issue turned out not be software related at all, but caused by hardware. Hold on to your hat, because as it turns out my HDD was going bad. That was it. It was as prosaic as that! In total, I’d lost over one month of my time and I had to appeal to Tim Cook’s office, all because Apple Technicians couldn’t pinpoint a failing hard drive from the get-go.
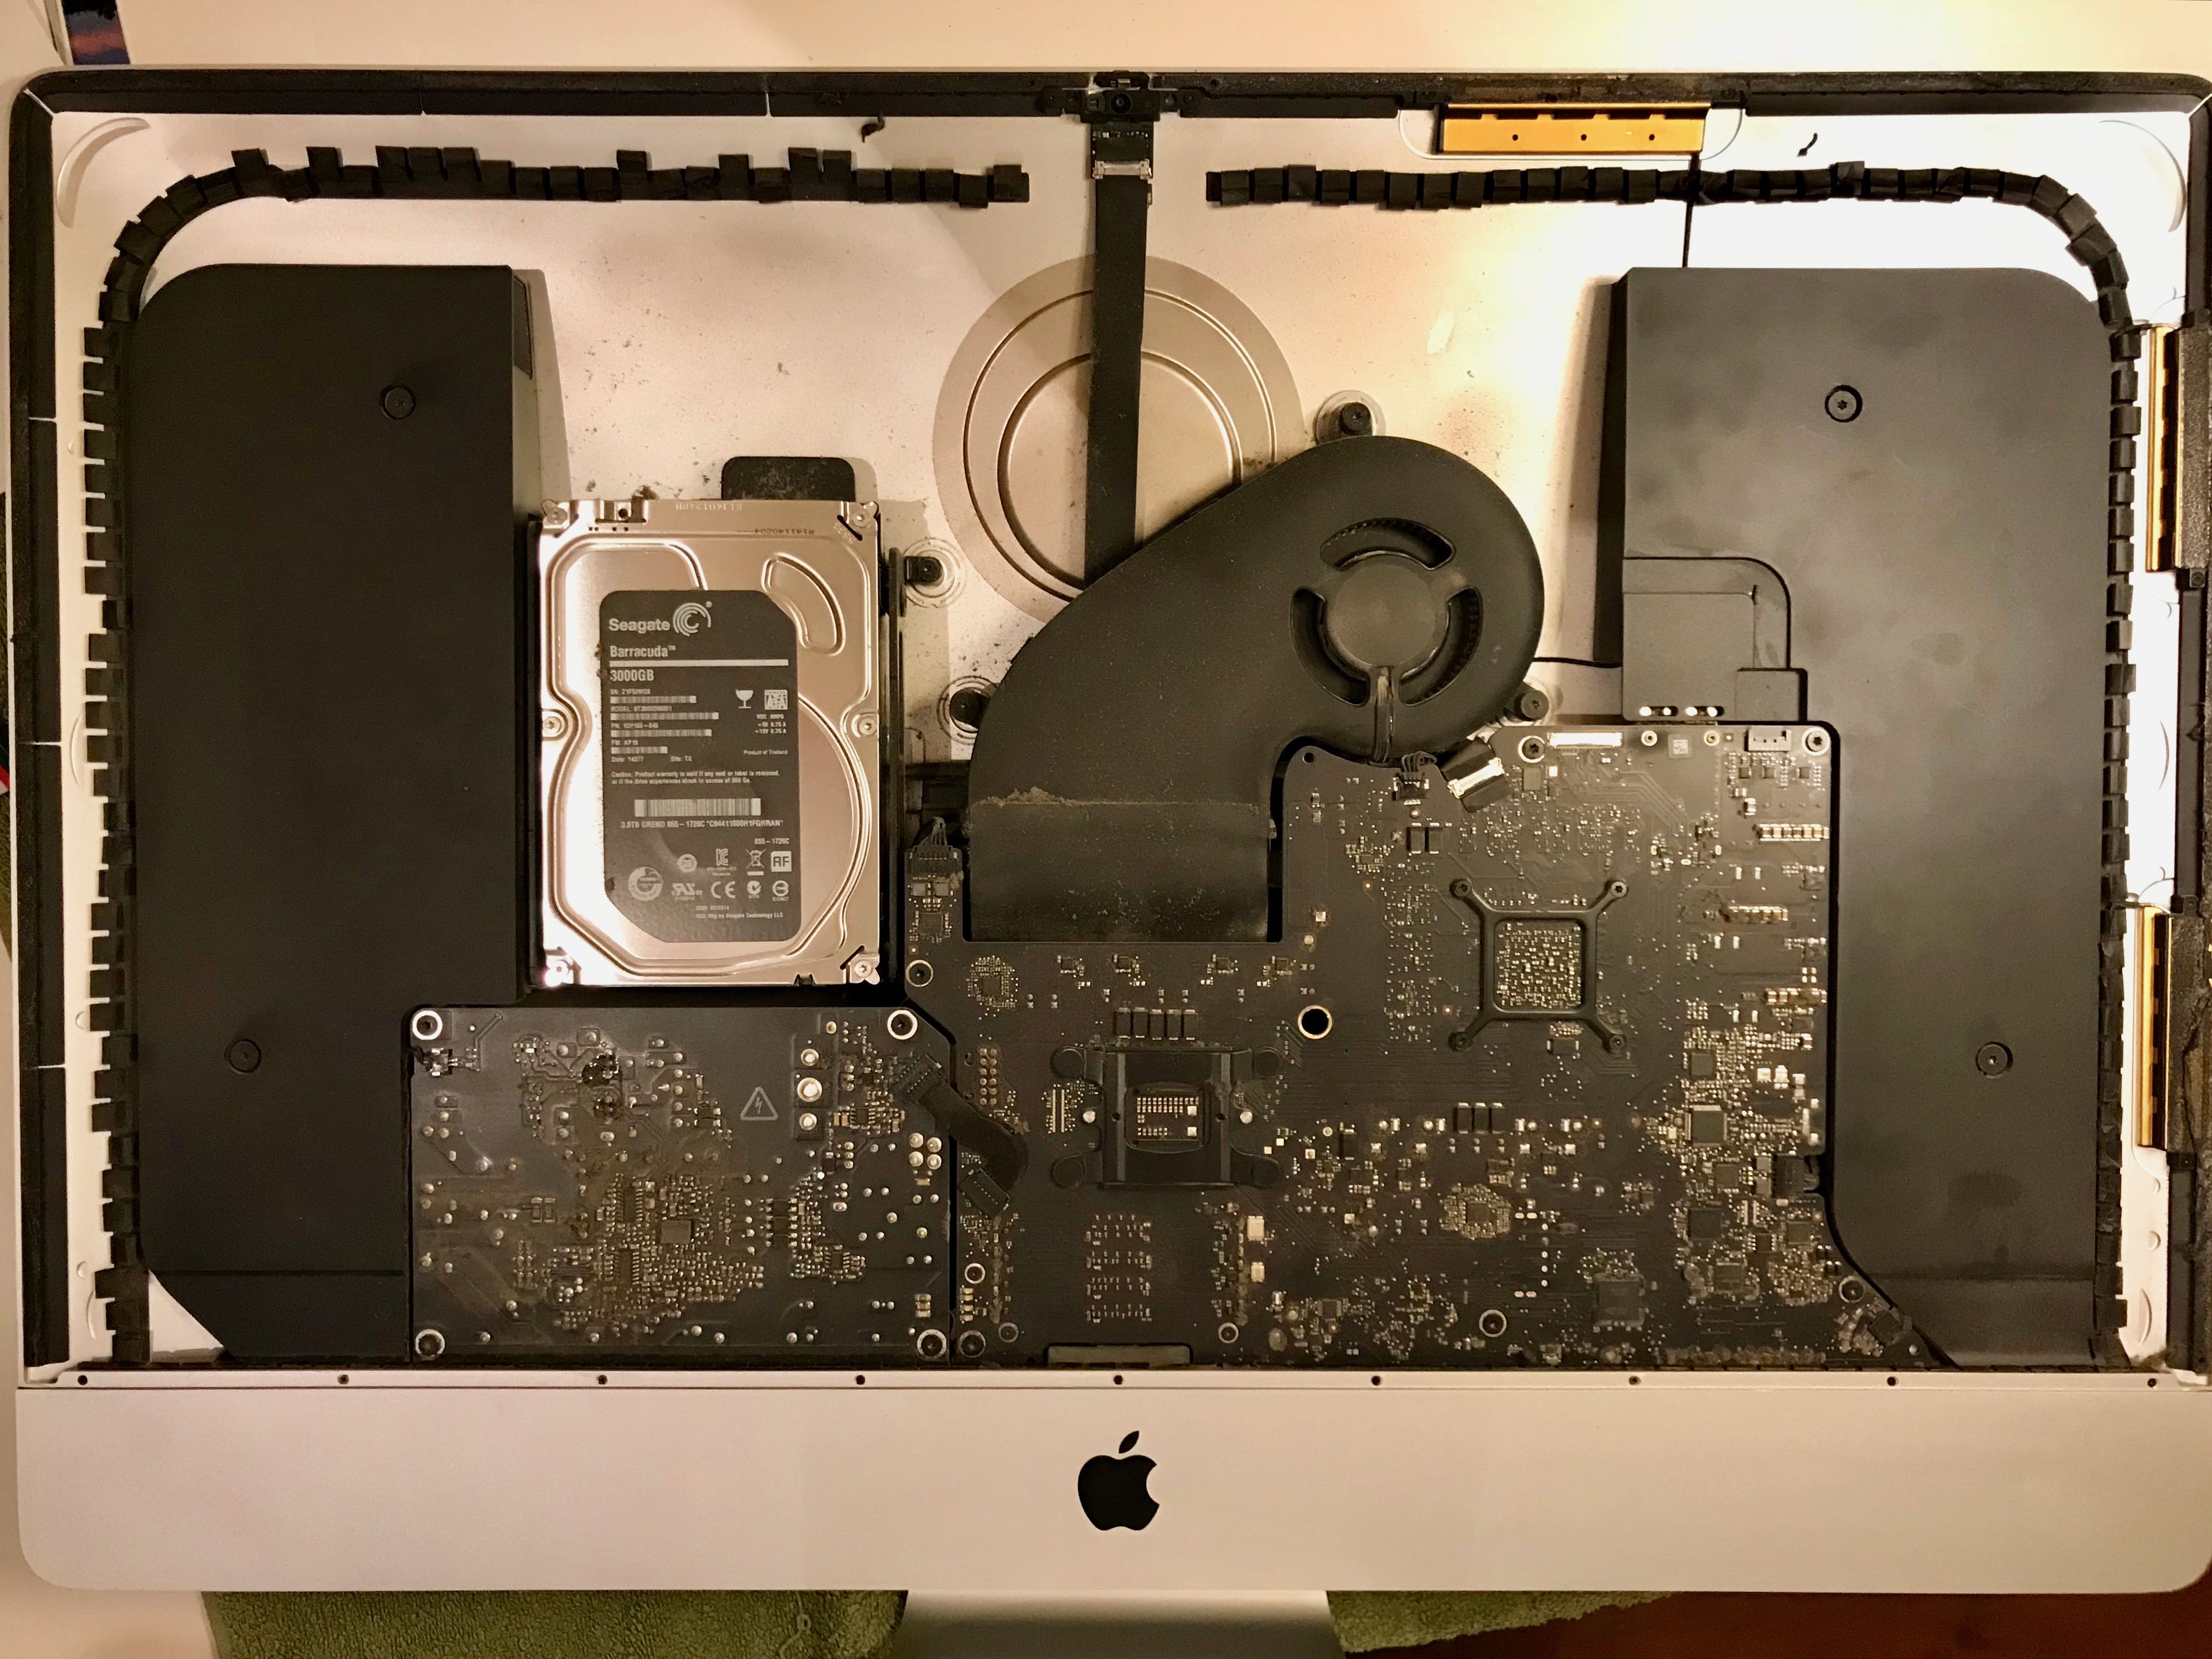
Once the problem was found out, it was an easy enough fix. I opened up my iMac and replaced the HDD with a fresh one. I also found and installed a piece of software called DriveDx, which gives detailed stats about hard drives and can let you know of a bad drive before it actually fails. Most drive diagnostic apps rely on the S.M.A.R.T. status flags, but that’s not enough. DriveDx does a whole lot more. The app quickly let me know that the blade SSD (the second half of the Fusion Drive on my iMac) was also close to its lifespan. Since it was still working okay, I decided to hold off on replacing it last year, choosing to monitor it with the app and only replace it when it was close to failing. Here is a gallery of photographs from the time I replaced the HDD. I also chose to take apart the chips and heat sinks and to replace the thermal paste, which had become dry and cracked. Before I put my computer back together, I cleaned the case and the parts thoroughly with a brush and soft cloth, because a lot of dust had accumulated inside and on them. After I put my iMac back together, it worked beautifully once again. I know I could have replaced the HDD with an SSD, and I plan to do it in the future. It’s just that I want to get a 3-4 TB SSD and their prices are still a bit high.
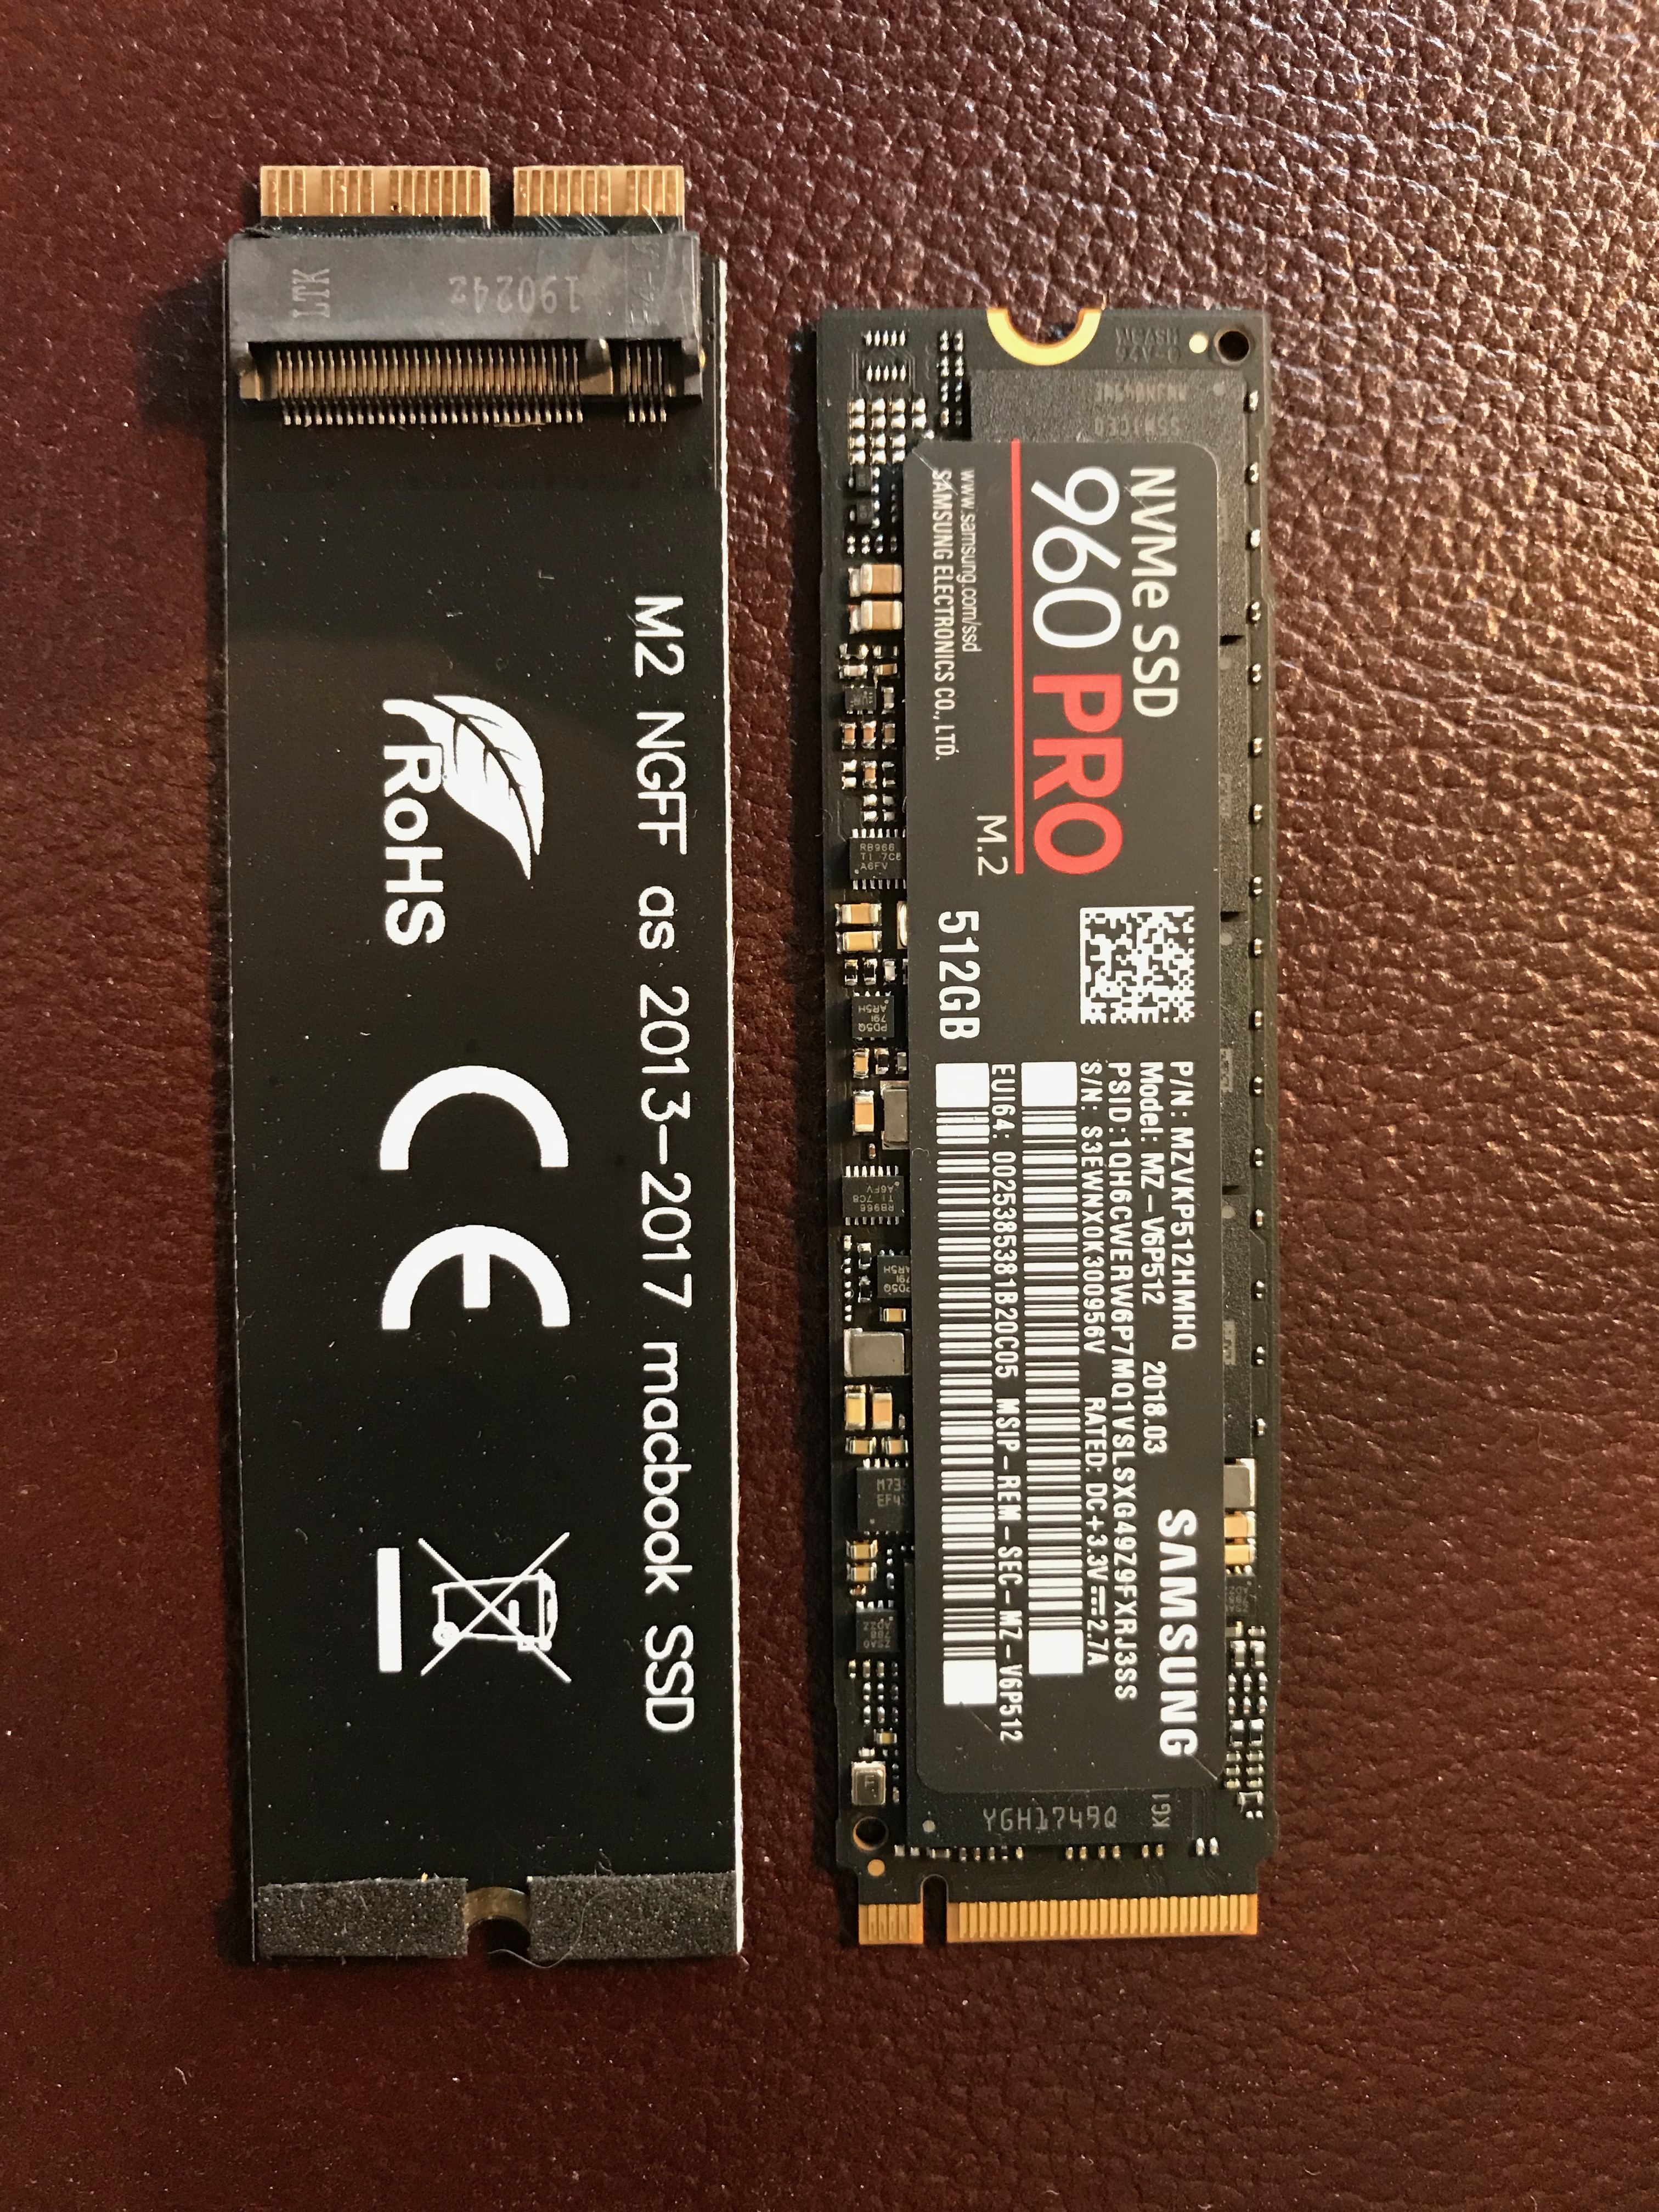
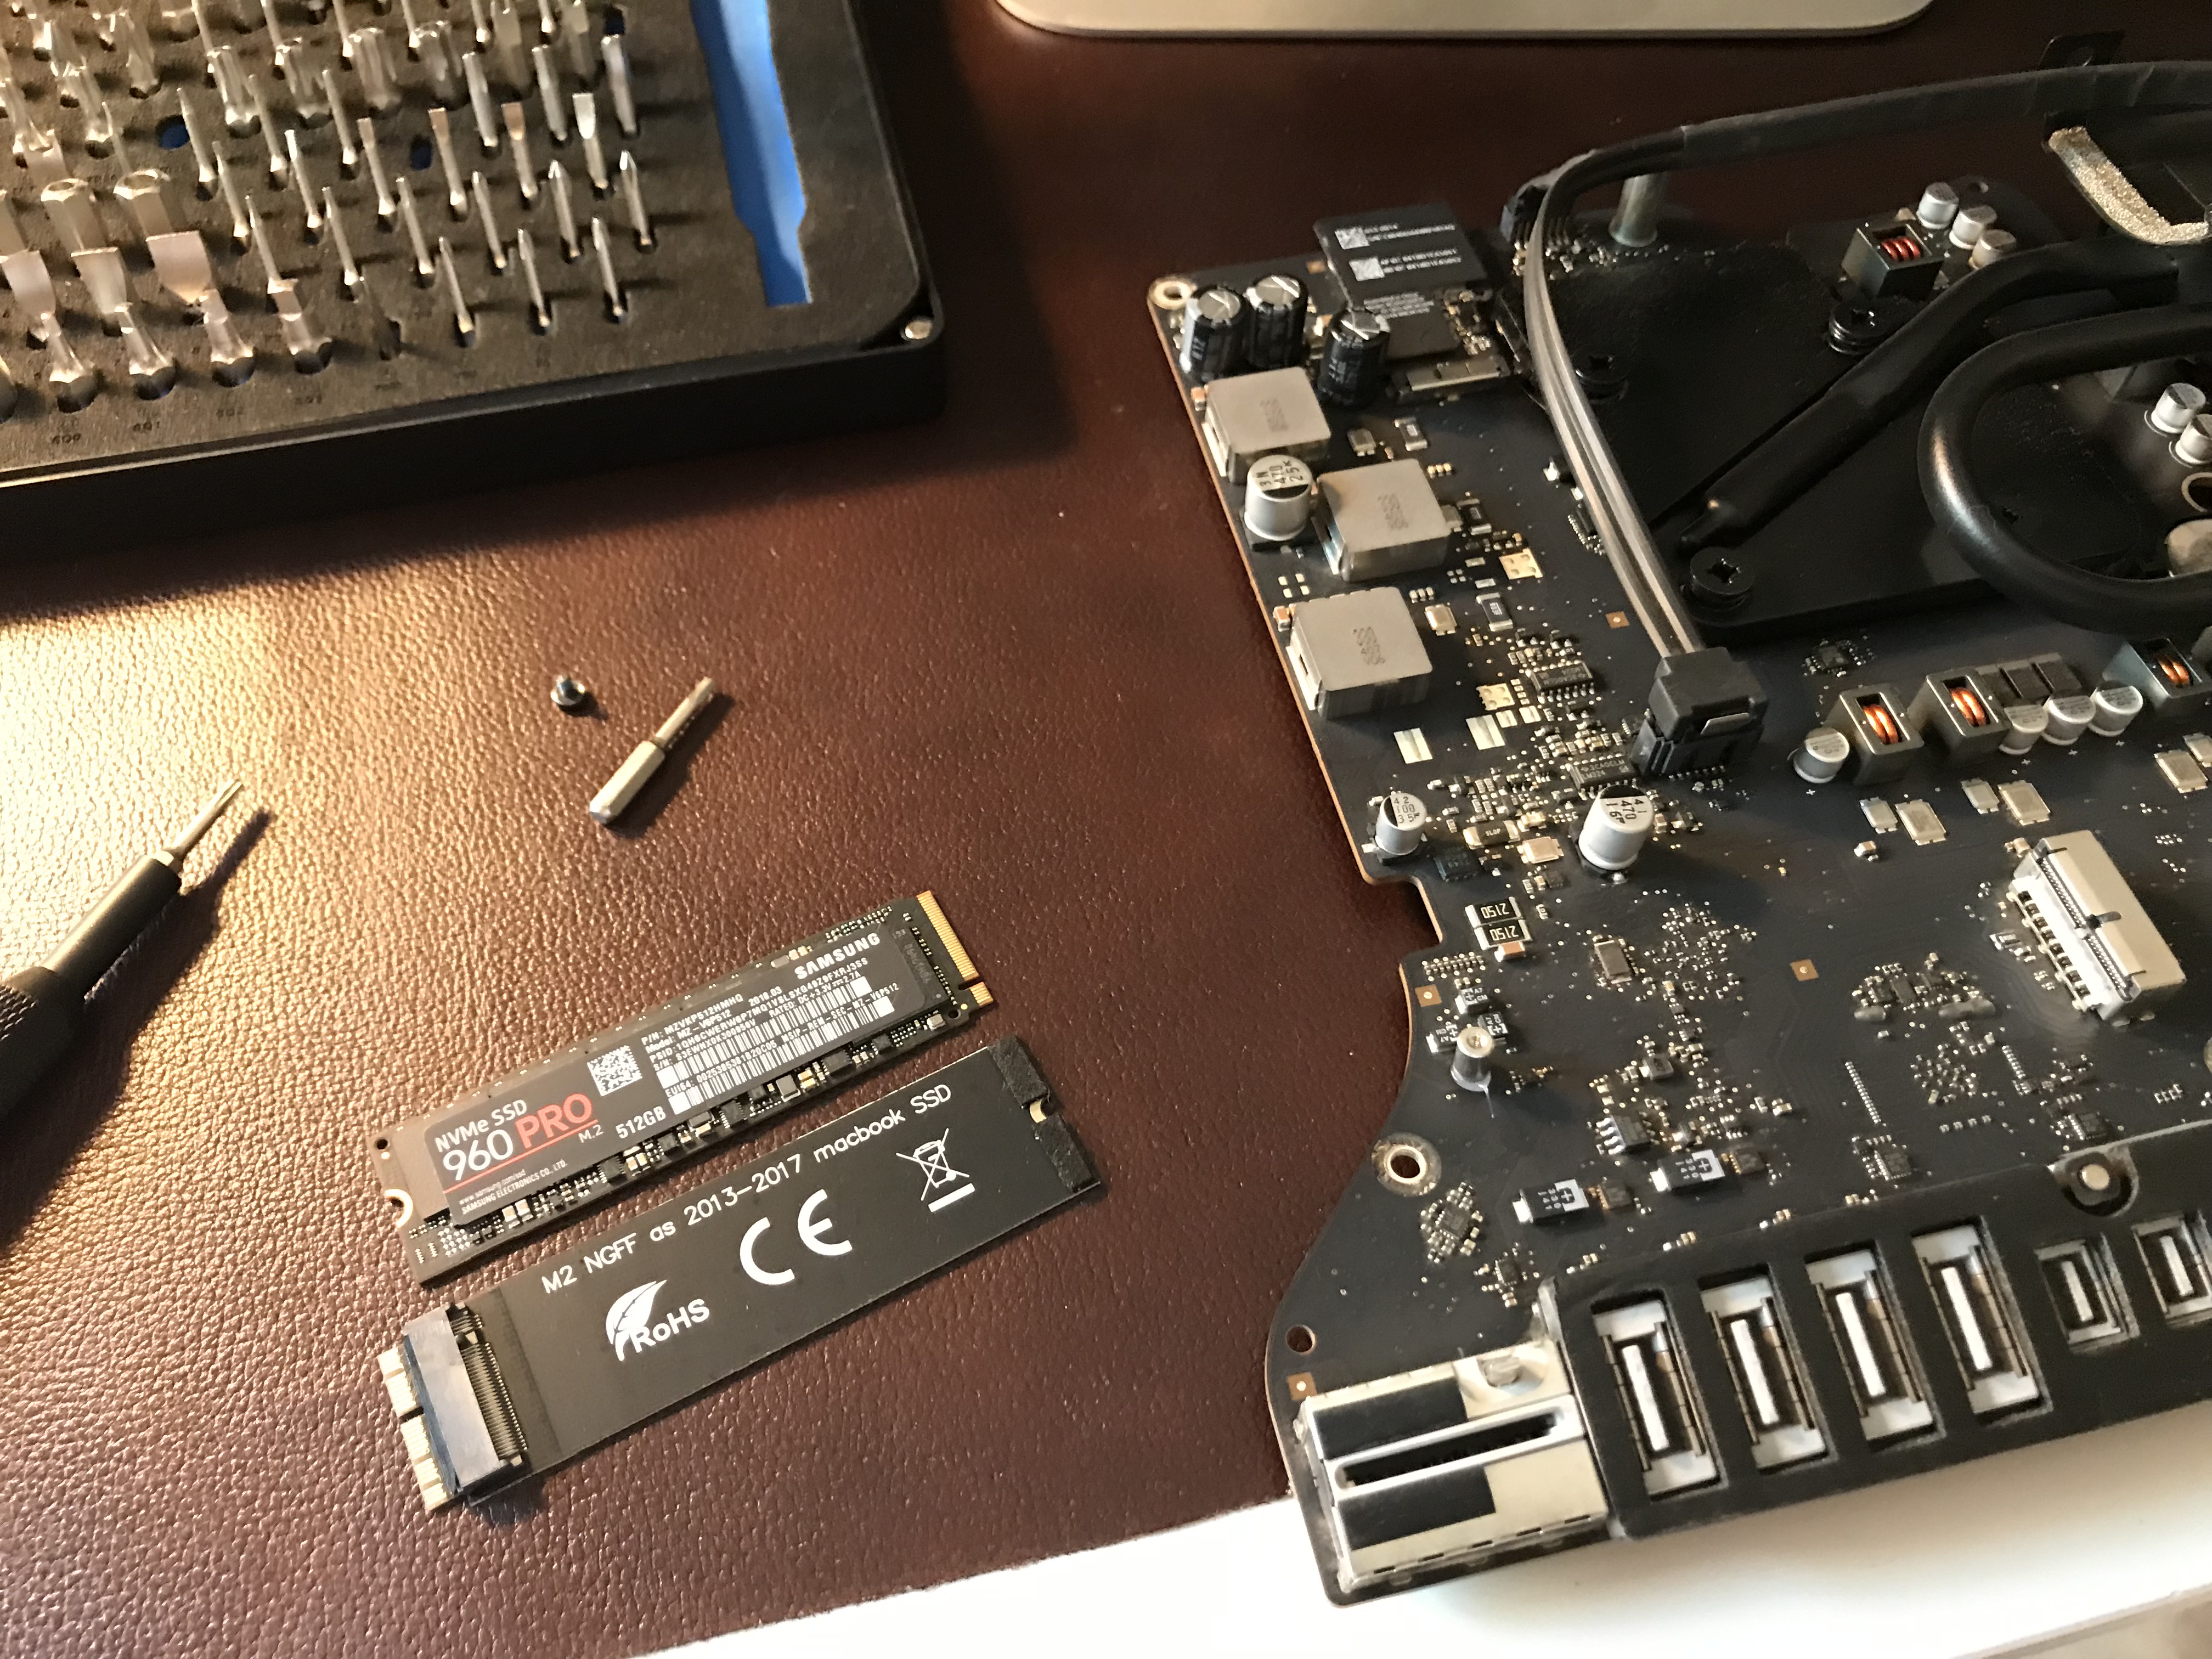
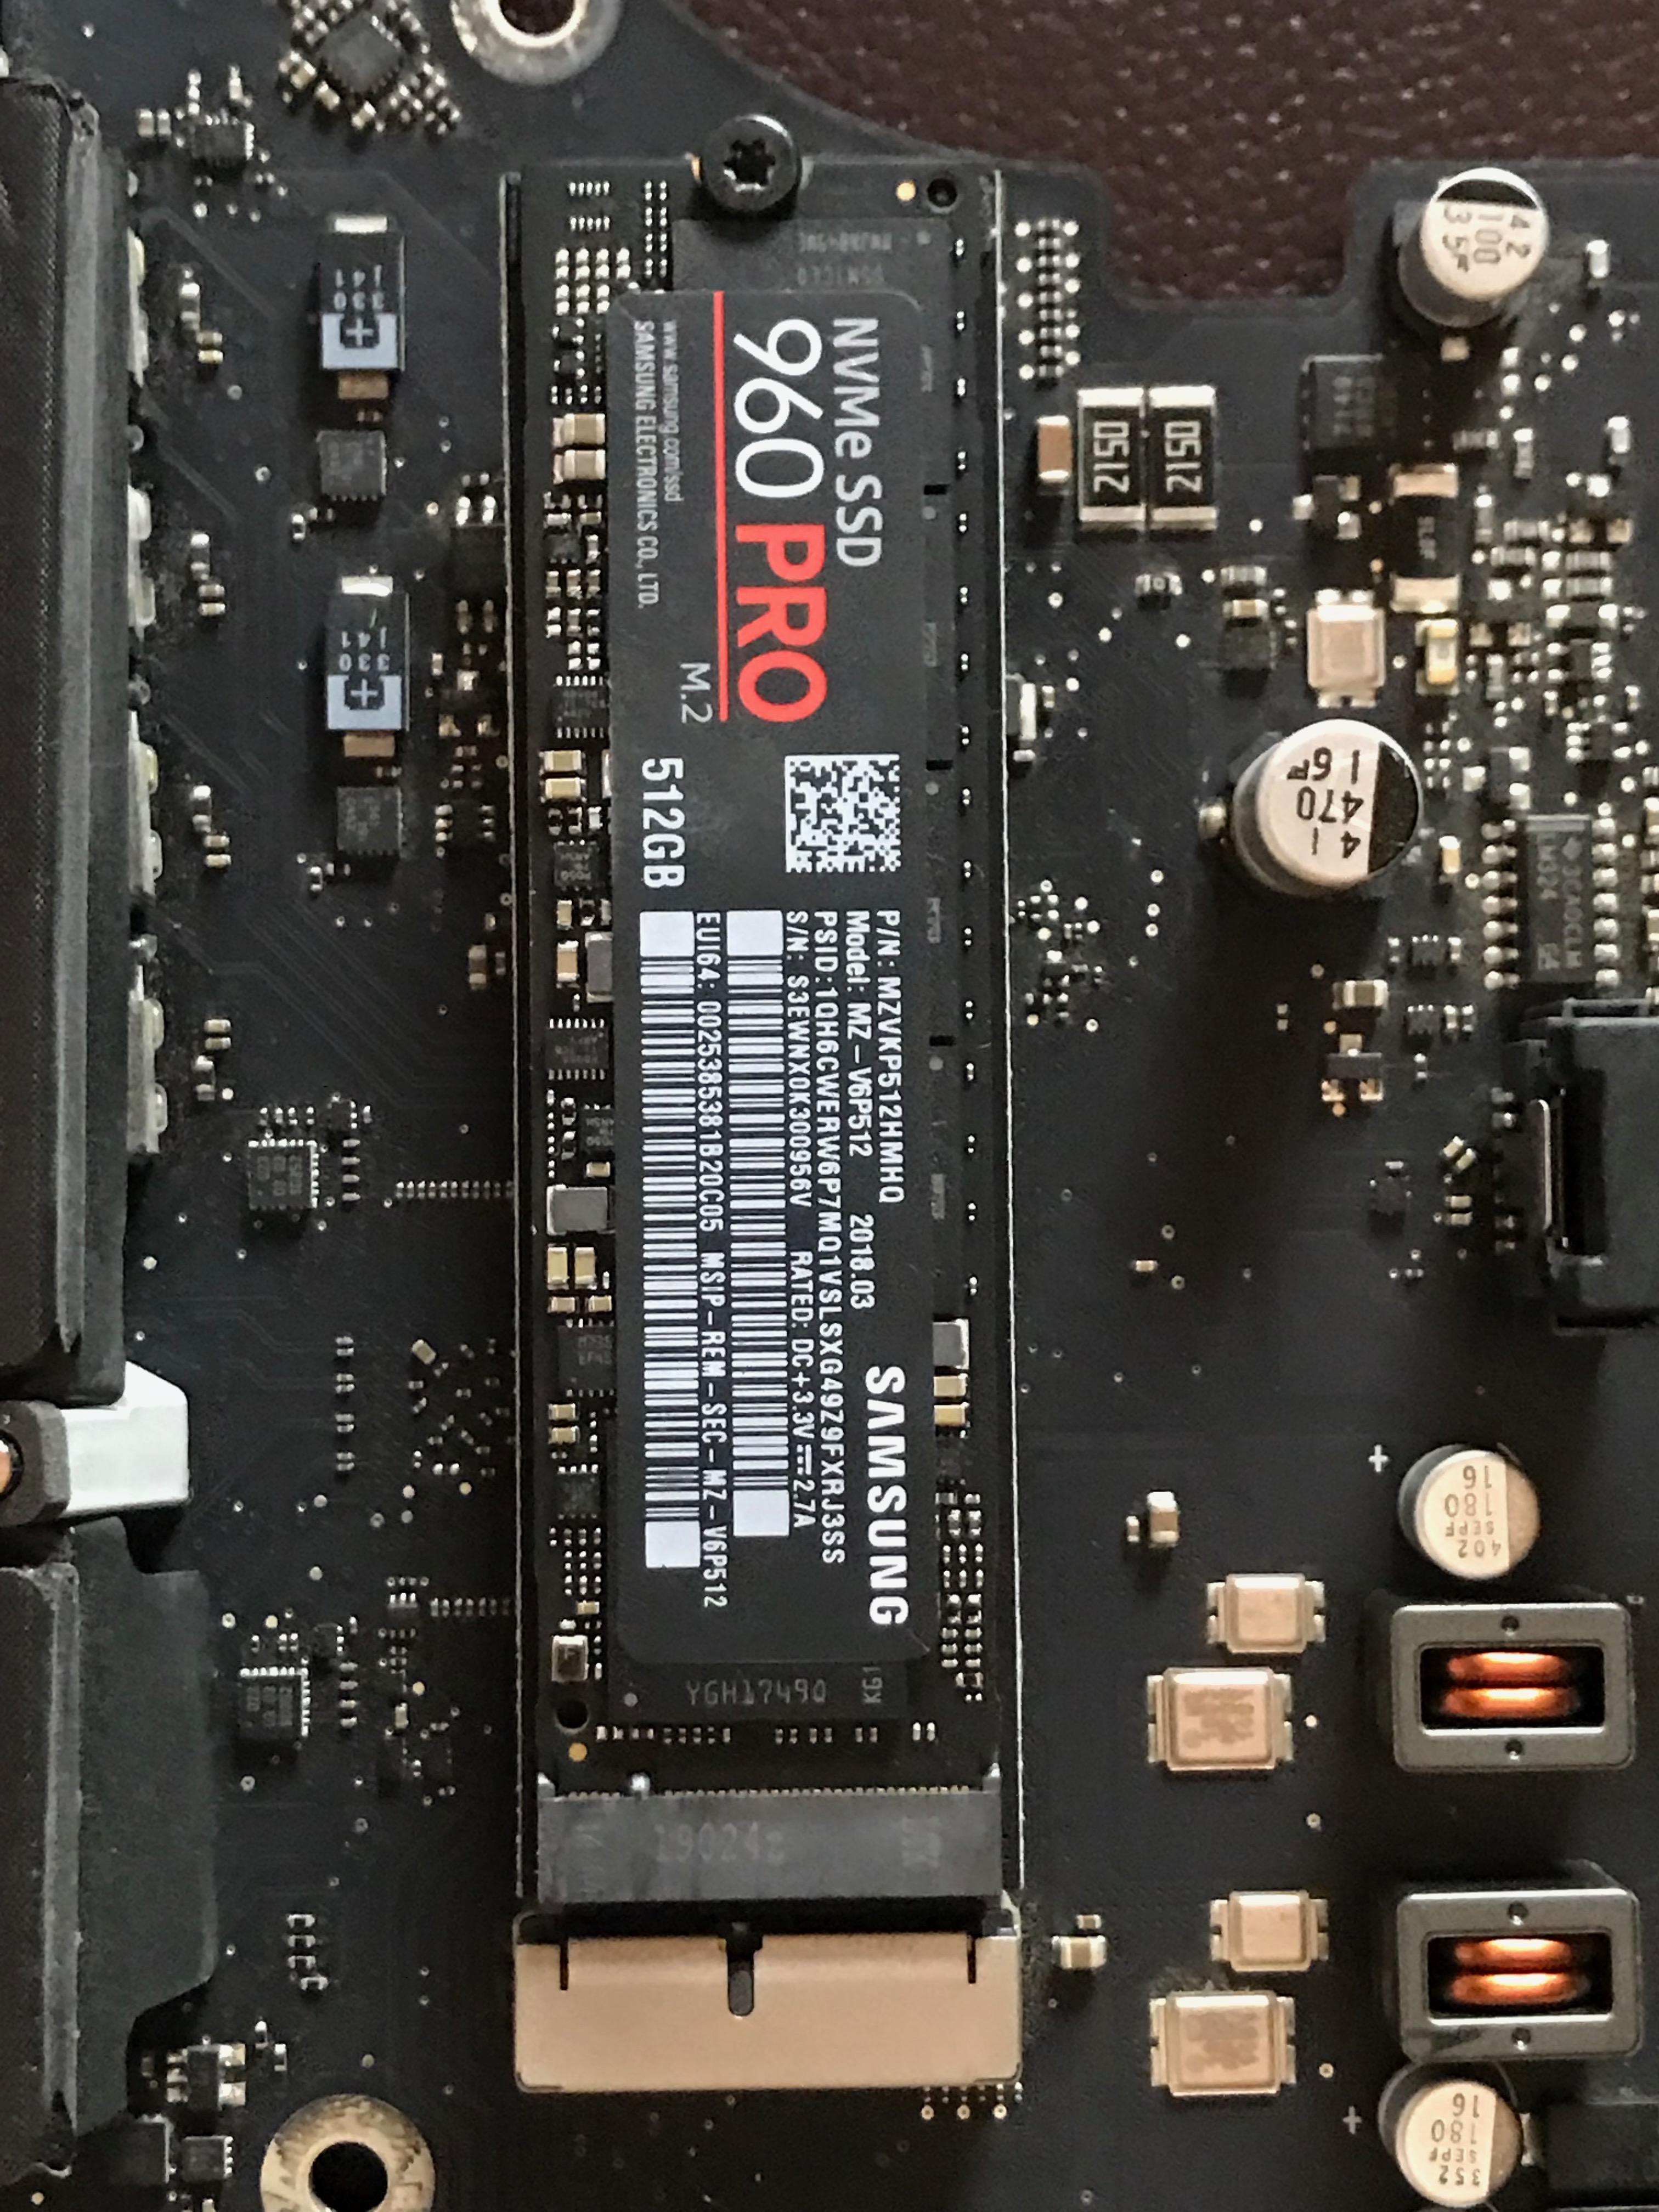
A few weeks ago (about seven months after replacing the HDD), DriveDx told me the blade SSD was fairly close to failing, so I chose to replace it with a Samsung 960 Pro M.2 512 GB NVMe SSD module that I already had, so this upgrade only cost me about $16 for a Sintech NGFF M.2 NVMe SSD Adapter Card, which seems to be the card everyone recommends for MacBooks and iMacs.
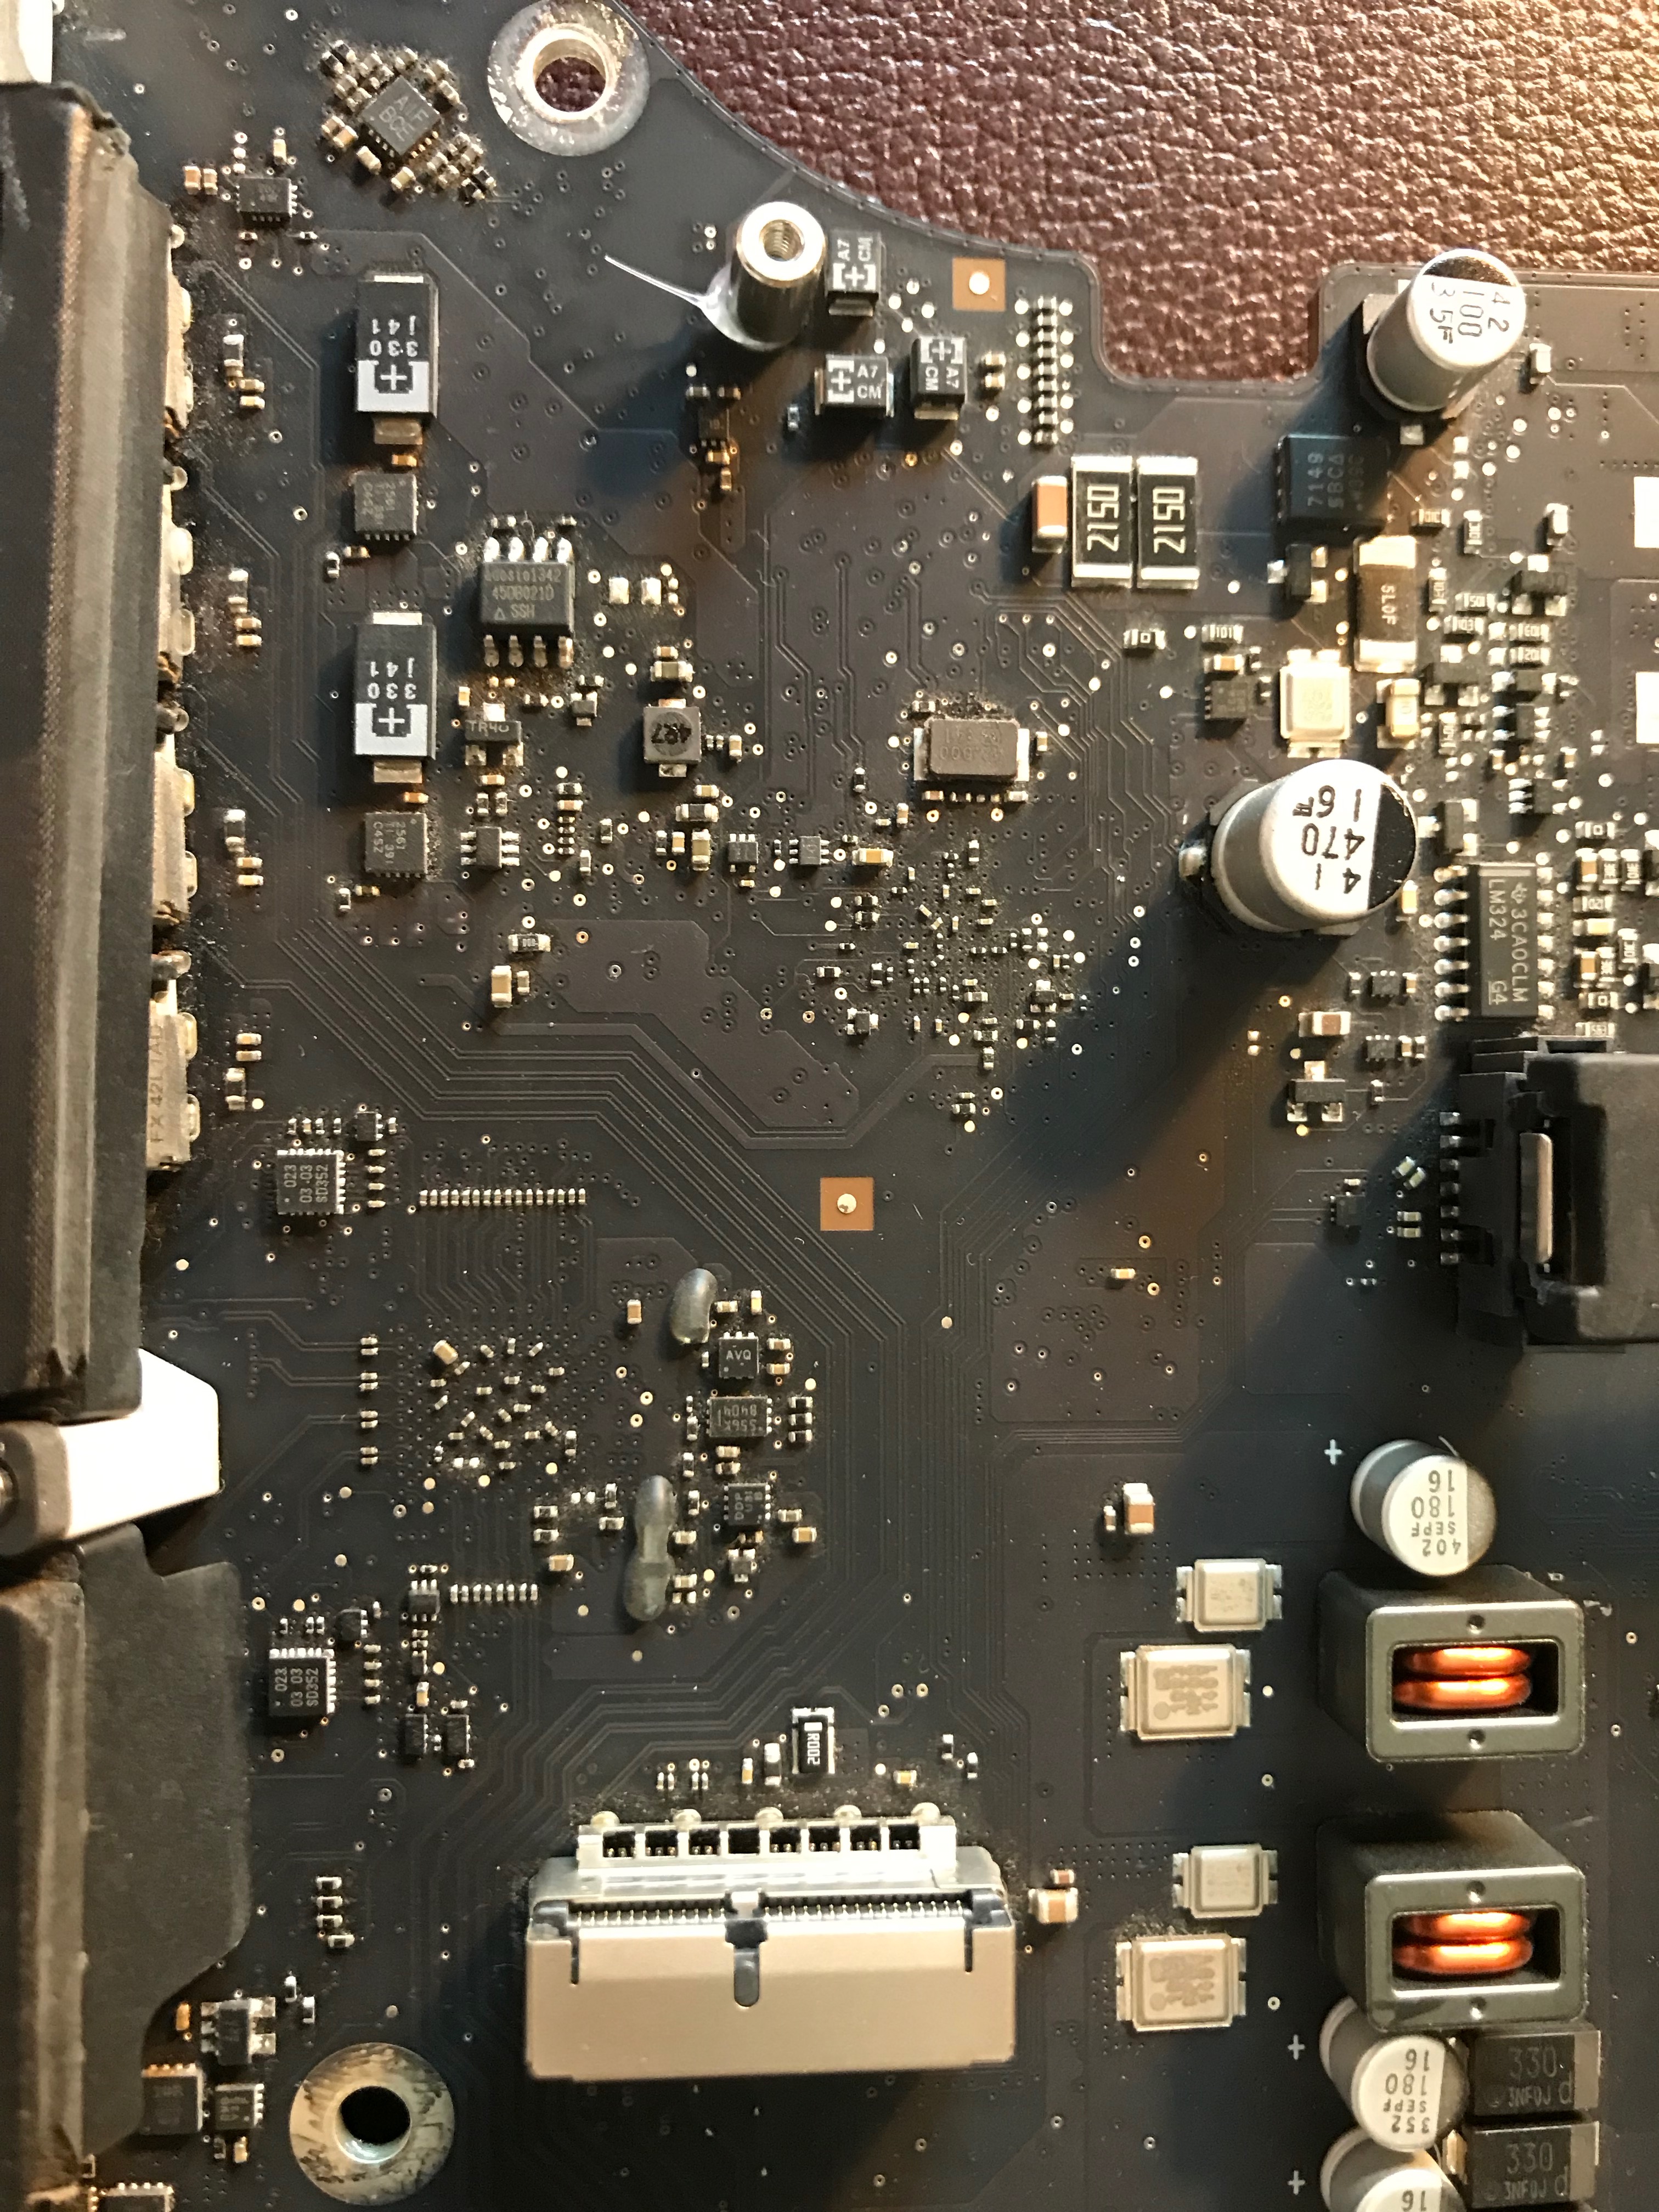
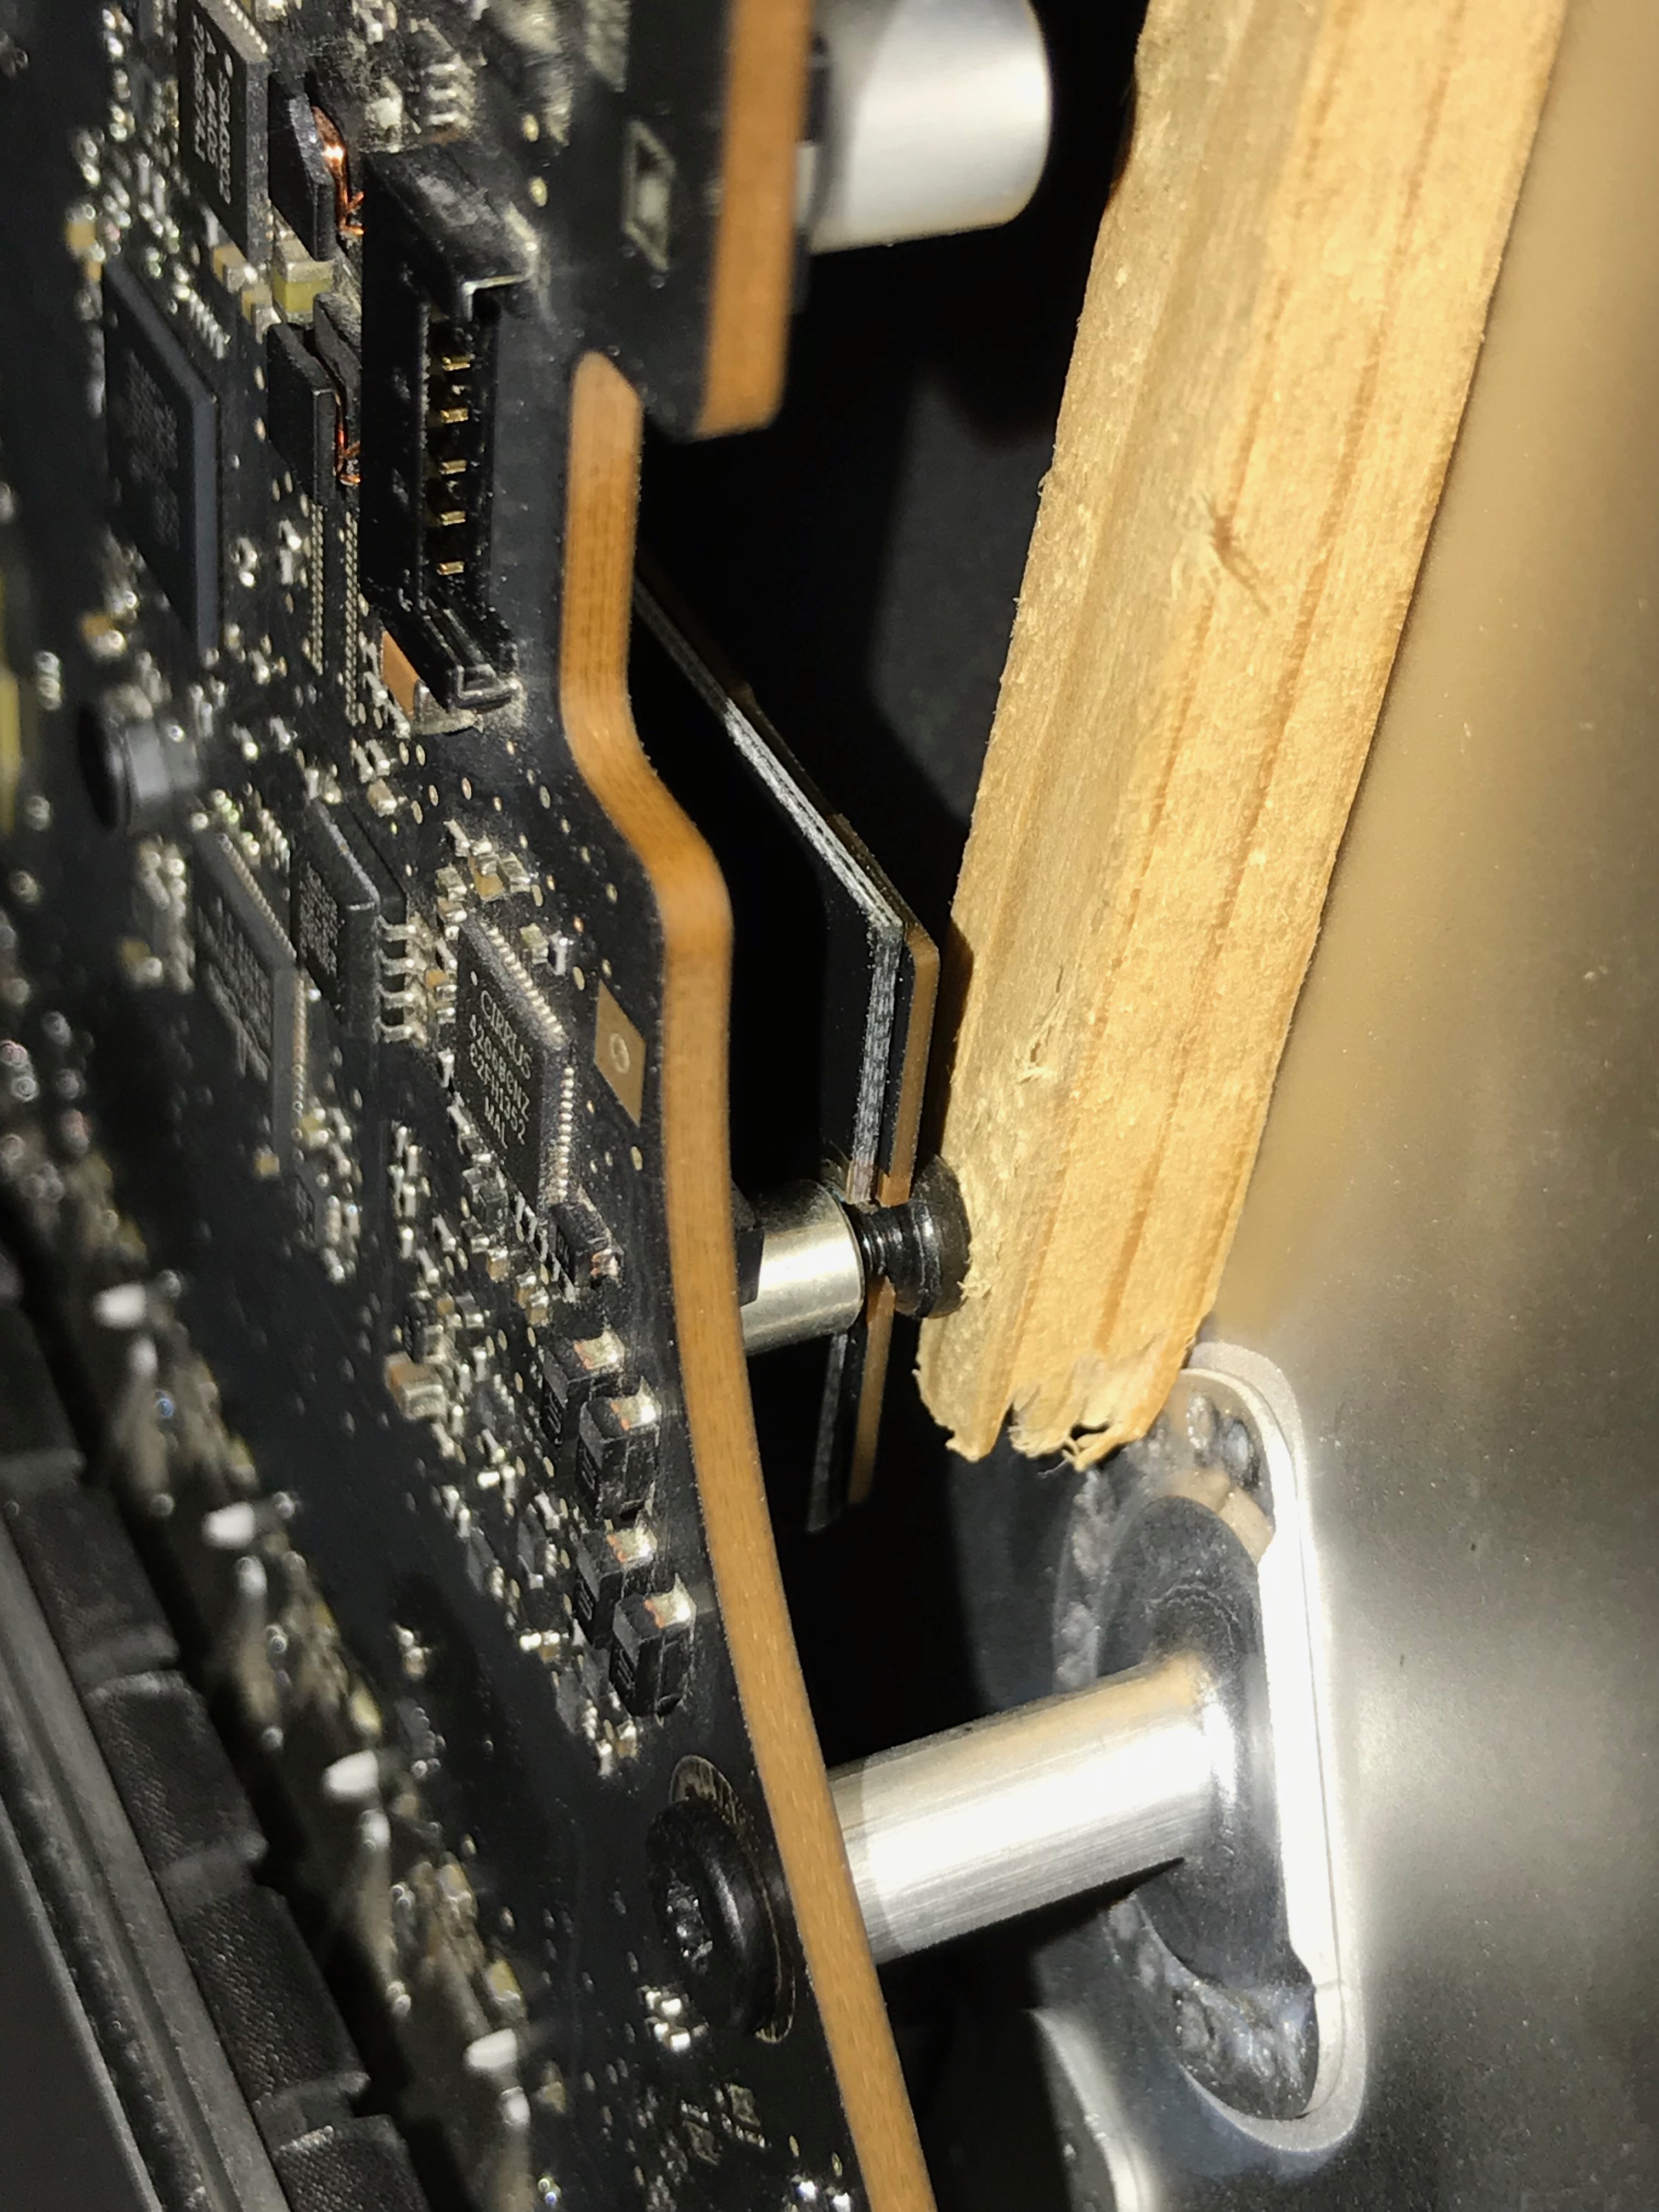
I’ve enclosed a separate gallery of photographs of this upgrade below. You’ll laugh when you see one of the photos, so I’ll explain: in what seems to be an iMac design flaw, the cylindrical bracket that secures the screw for the blade SSD is only glued to the motherboard. Unlike every other screw bracket which is secured directly to the motherboard with metal, this one is not designed into the motherboard. Underneath it, on the other side of the motherboard, there are circuits running right across that spot. It seems to me like at the time (2013), the blade SSD and its screw bracket were afterthoughts of sorts for the hardware design team. My bracket came right off the motherboard. I had no glue in the house, only some silicone-based adhesive that takes up to 24 hours to harden, so I put a dab of that under it, tightened the screw and stuck a wood shim in-between the case and the top of the screw, to hold it in place while the adhesive hardened. I know it looks terribly unrefined, but it’s been working fine.
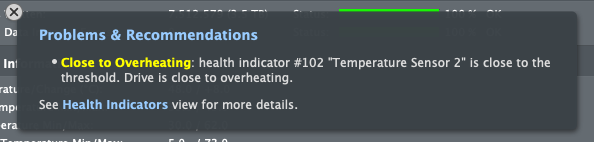
There are two things I should tell you about this upgrade: (1) this particular SSD tends to run hot, so DriveDx will warn you about its temperature, and (2) after booting up my iMac for the first time, it didn’t see the new NVMe SSD, so I powered it down, opened up it up again (thank goodness I hadn’t yet closed it completely) and re-seated the SSD and its adapter in the blade SSD slot. After I did that, it saw it, recognized it, and I was able to boot into recovery, go into Terminal and recreate the Fusion Drive, then reinstall the OS and restore my data.
In spite of the temperature warnings, my iMac has been working great so far. I noticed a bit of a speed boost, but since I’m still using Fusion Drive and I’m tied to a spinning hard drive, a lot of the oomph of the SSD can’t be seen. I suppose I could have chosen to install the OS on the SSD and keep my files on the HDD, but I prefer to work without complications. A single 3.5TB volume works for me. If I could have a single 24TB drive that holds my OS and all my files (that are currently sitting on three external hard drives), I’d be happy with that.
I would like to thank Tim Cook’s office for responding to my messages and getting me out of a real bind. I was at the end of my wits at the time, so the tone of my emails to them was gruff and biting; they could have chosen to ignore me. I don’t know what I’d have done if they hadn’t stepped in. But I do wish I didn’t have to exercise that option. Apple Support should have found out the issue from the start. It wasn’t something arcane, it was a simple drive failure.
In a TED talk given a few years ago, a scientist named Allan Savory puts forth an interesting proposal for reversing desertification and climate change. After having worked in the field his whole life, the solution he found is an unlikely one: grazing livestock. They are commonly thought to destroy the land and contribute to global warming, but they can in fact, help restore its vegetation and thus begin to reverse global warming, if the grazing process is done correctly. Allan goes into more details in his talk, which I invite you to watch. What he proposes is a low cost solution that involves forming large herds and moving them over the land in a sigmoid pattern so they never overstay in one spot. His methods have successfully worked on multiple continents to reverse desertification and restore grasslands, so they’re proven. And even if his proposal has its detractors, who say the livestock will emit more greenhouse gases, you can’t argue with the results, which are an almost magical revival of plants, trees and water in those places where his methods are put into place.
We got the following email to our company’s main mailbox yesterday. I took a screenshot of it, so you can click on it to view it large (see below). It certainly sounds ominous, and to the layperson, enough “details” are included in the message to make them start to worry and God forbid, even consider paying the turd who sent this out.
First and foremost, I need to say that this is a templated phishing attack. In other words, it sounds personal, but no one person is being specifically targeted. The hacker who sent this out is hoping that enough people will feel guilty and scared to start paying him/her the fee, after which point he or she will keep asking for more money.
I looked at the email headers and they were “stripped”, meaning the actual routing information for this email wasn’t included, flagging this message right away as a fake. Sure, it looks like it’s coming from our email address, but the hacker is “spoofing” it, using software that makes it look as if it was sent from us, when in fact it was sent from them. I know this sounds complicated to most people, but don’t worry, read on, I’ll give you other reasons why this is all fake and I’ll tell you what you need to do to safeguard against actual occurrences of these things. You can’t eliminate the possibility of this actually happening, but you can minimize it through basic precautions and regular upkeep of your network security.
This is why it’s important to be confident in the security measures and precautions that you have implemented at home or at the office. For example, I know that:
I change my passwords fairly regularly and I use long, randomized passwords or passphrases. I store them in Keychain, the built-in app that comes with every Mac.
I have standard network security in place, such as a firewall, a router that uses NAT, and I don’t keep any ports open by themselves. Network devices can open ports, but the firewall only allows incoming traffic to those devices and only when they initiate it. This is fairly standard on all modern firewalls. I know my router doesn’t have software vulnerabilities. I know because I update its firmware whenever a new version comes out, which is something everyone should definitely do with their routers.
I have anti-virus software that checks my computers. I update it regularly. You should do the same. There are many options here, pick one that you like to use.
I use a network traffic analysis tool called Fingbox, which alerts me to unusual traffic patterns, ports and devices using my network. There are other similar devices on the market and everyone should have one of these things and should know how to use it.
The email account the hacker talks about isn’t hosted on our local network, it’s hosted offsite with my web hosting provider, who is in a different country and has some fairly serious security measures in place to detect the sort of behavior the hacker brags about. So even if they’ve hacked into it, that doesn’t give them access to the kind of data they’re talking about.
Making a “full dump of my disk” is a ridiculous and funny thing to say. I have about 12-16 TB of data connected to my computer at any given time. Good luck making a “full dump” of that! It would take weeks, nay months…
The hacker apparently “looked at my web traffic” and was “shocked”. “Sites for adults”, oh no… I’m not even going to gratify that accusation with a response except to say every single one of us can visit whatever sites we damn well please on the internet, but we also need to be ready to accept the consequences of those web visits. The consequences can include: the logging of your activities on the site, the activation of your webcam and surreptitious recording of your “activities” as you surf those sites, the installation of trojans, and in case you visit illegal websites, possible visits from law enforcement. Macs are less likely to be “vandalized” in these ways by bad websites, but Windows computers can easily fall prey to code attacks. Know what you’re getting into and be willing to accept the consequences.
It also helps to have something called a Privise webcam cover (it used to be called Privoo when I bought it). It’s inexpensive and is a sliding cover for the webcam, allowing you to keep prying eyes from looking at you through the webcam even if they’ve hacked into your computer.
The filthy, smelly little bug who sent the phishing message wanted payment in Bitcoin. It is of course untraceable and would force you to buy the currency in order to pay him/her. Law enforcement wouldn’t be able to trace the transaction, even if you filed a police report afterward. This is why I don’t like cryptocurrencies! Not only are they wildly speculative but the transactions are untraceable, making them perfect for modern-day highway robbers and thieves.
Don’t think for a moment that once you pay the turd his asking fee, whatever he/she’s got on you will “self-destruct automatically”. No, he’ll keep whatever he’s got and he’ll keep milking you for money — after all, you’re his cash cow now. Moo…
Like I said above, your best defense is to learn and implement basic network security measures, be confident in what you’re put in place and if you messed up, own it and accept the consequences, but never pay the hackers, you’ll only encourage them. And back up your data! That should be your #1 safety precaution against anything. Ideally, you should have one synchronous local copy (gets updated regularly), an asynchronous local copy (only gets updated 2-3 times a year) and an offsite copy (or two). If your data is important to you, back it up!