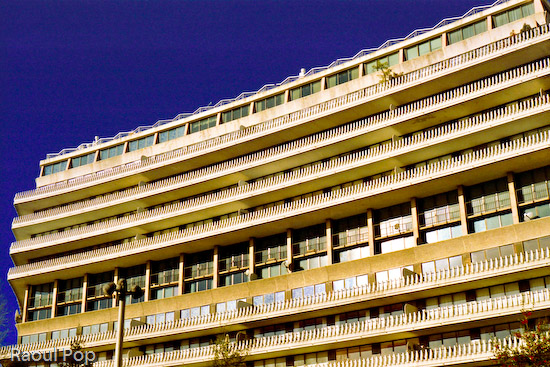
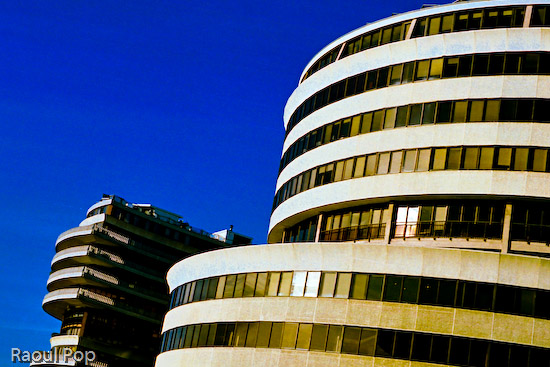
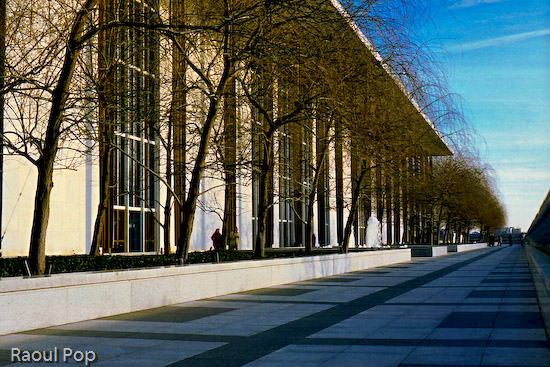
Back in February, Ligia and I plus good friends of ours took a photowalk through downtown DC. Our objectives: the Watergate Hotel and the Kennedy Arts Center. I used my Exakta EXA Ia to take the photographs. It was a lot of fun to use it, as always. I still love to shoot on film, even though it’s fairly expensive and time-intensive to get the photos in digital format. I say expensive because I’m used to shooting a LOT. I’m not satisfied with a few photos. I use up rolls of film during a session. Then I have to develop them and spend hours scanning them in. It takes about two hours to scan 24 exposures at the quality I want. And then I spend extra time editing them. But the results are worth it, and of course, the experience of using a fully manual, quality-built, metal camera like the Exakta is a treat in itself.
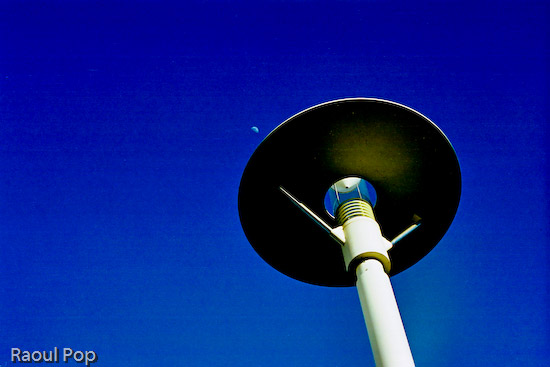
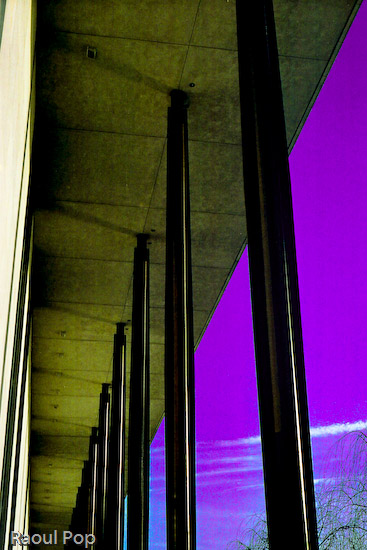
Here are a few photographs from that photowalk. We started down by the marina, walked up the street alongside the Watergate Hotel, then passed the Saudi embassy (which is quite an ugly building btw) and crossed the street to reach the Kennedy Arts Center. It was a cold, windy day and we froze, but I really like the photos I got, so it was worth it.
A modern interpretation of Don Quixote adorns the front of the Kennedy Center, and may I say what an ugly beast it is… Looks like whoever designed it was out to scare people, not inspire them.
The day ended with a beautiful sunset over the Potomac River.
A parachutist from New Zealand by the name of Michael Holmes somehow survived a major parachute malfunction from several thousand feet with only a broken ankle, a collapsed lung, and a broken nose. And on top of it all, he wanted to keep jumping afterwards… Talk about not learning your lesson. The first part is raw video from his helmet cam, and the second part is a follow-up TV interview.
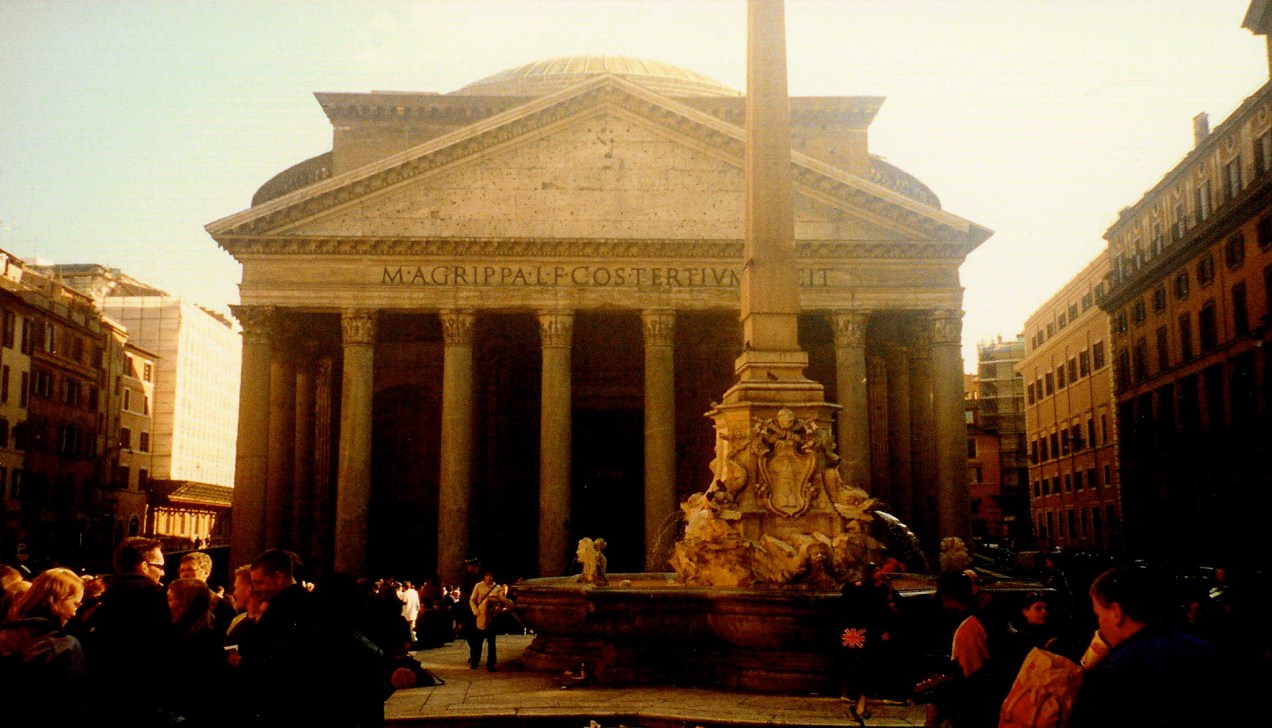
In March of 1999 I visited Rome. It was my first trip to Italy and I had a wonderful time. I stayed with my brother, who at the time was on a 3-year fellowship there to do research. He studies myths and religions and does comparisons between deities in various cultures. He also collects folklore: dying traditions and customs. Takes lots of photographs and films them as well. The latter part of his work is exciting. The former puts me to bed. Mille scusi, fratello!
Anyway, I had the most wonderful time. Bogdan (my step-brother — he’s pictured above) had his nose buried in dusty books at various libraries in Rome, while I literally walked through the entire Rome on foot, taking photos with my trusty little Canon Elph and consulting the map here and there. The Canon has since become unusable, because APS film is no longer available, but it did help me preserve the wonderful things I saw. Over the years, the photos gathered some dust themselves in my closet, till I finally decided to scan and share them online. Since I don’t have a scanner that will work with APS film, I scanned the photos themselves. I realize that’s a real step down in quality, and given the age of the prints, it really shows, but the digitized photos still serve to convey the beauty and history of the place. Plus, the aged paper gave a nice Sepia effect to the photos that I’d be hard pressed to reproduce in Photoshop.
While I really enjoyed Rome, my experiences with Romans were mixed at best. And I had breathing problems there as well, due to the pollution. But none of that could eclipse the sense of wonder and discovery I had every day as I planned out where I’d go, then get there and take photos. Maybe I’m biased, but I find today’s architecture pathetic. It’s disposable, ugly, flimsy and imitative. Few and far between are the buildings that make a statement. Well, in Rome, as in most European cities, you’ll have no shortage of good architecture. I think that’s what makes them so beautiful.
Here are several of the photos I took during my trip.
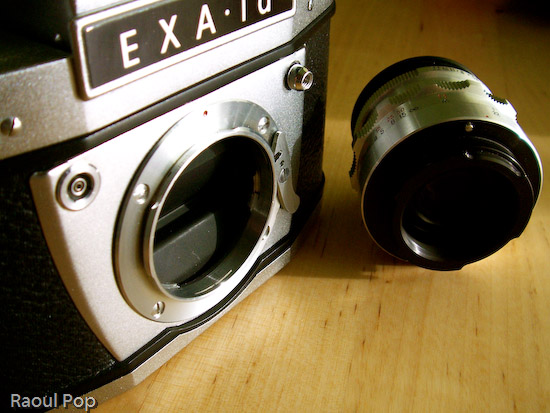
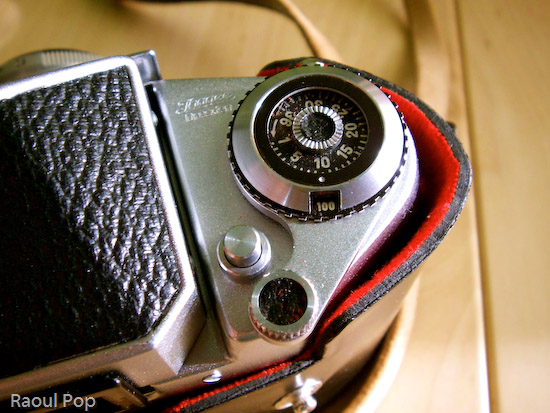
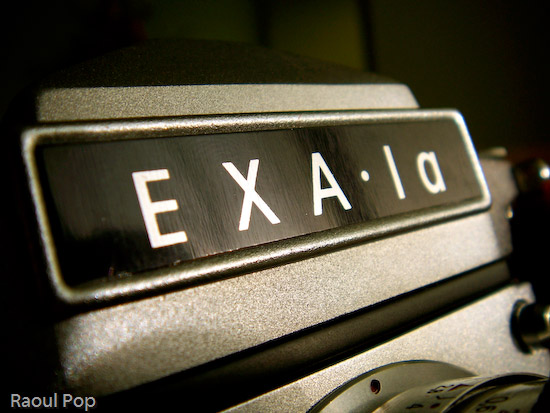
I got a fantastic present for Christmas from close friends of ours: an Ihagee Exakta EXA Ia analog camera.
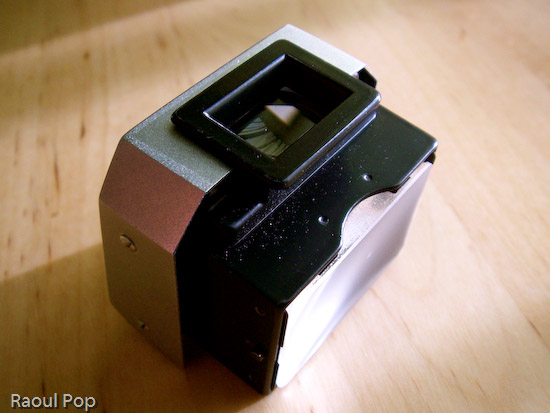
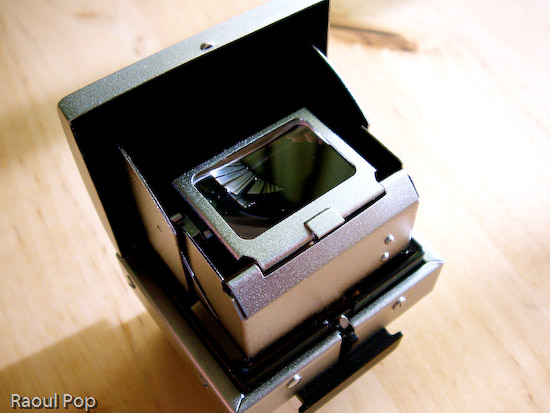
It apparently sat unused in a shop in Mexico since its factory production days back in the late 60s, still in the original box, waiting for someone to purchase it. It came with a whole kit which included a plastic/leather camera case, camera, lens, lens extension kit (for macro shots), two prisms/viewfinders (one normal, one 90-degree), a mechanical timer, a light meter and a ton of lens filters.
You can watch a video review below or here, or scroll past it to see the photos and read my review.
The camera kit also included the original instruction manual (in Spanish). Since I don’t speak Spanish, I had to figure out the camera on my own. Here are the specs as best I can figure them out:
Exakta EXA Ia body, fully manual, 1964-1968 production (approximated the year based on the serial number)
Analog flash sync for bulbs or electronic speedlights
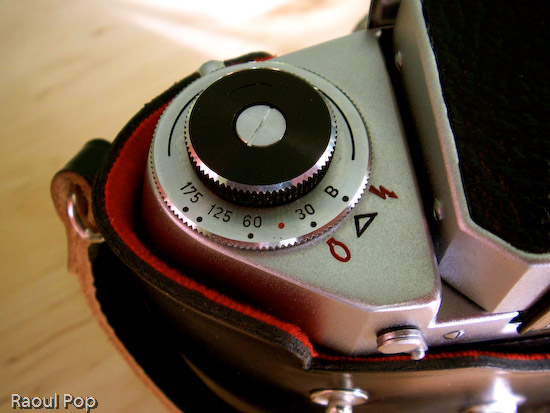
Shutter speeds from 1/175 to 1/30 s and Bulb mode
DIN sensitivity from 12-30 and ASA from 50-800, including b&w negatives; the list goes as follows: 12, 15, 18, 21, 24, 27, 30 (DIN) and 50, 100, 200, 400, 800 (ASA/ISO), plus C and NC.
Exposure counter can accommodate films of up to 36 exposures
Shutter release features threads for attachment of mechanical timer (included)
Shutter lock
Rewind release button and pop-up rewind knob
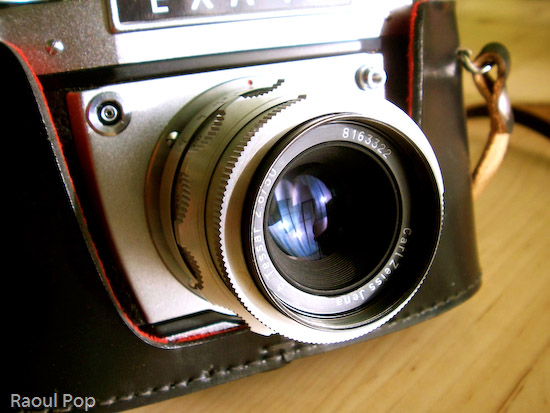
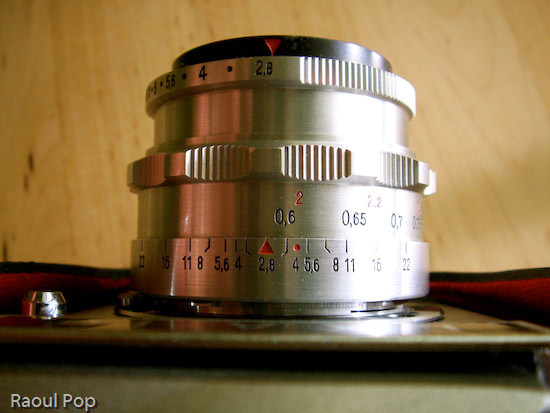
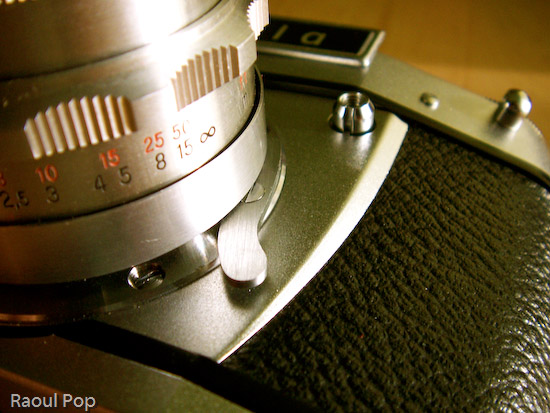
Carl Zeiss Jena lens, f2.8/22 50mm, focusing distance 0.6m to infinity
Lens extension barrel for macro shots; barrel disassembles into multiple sections to allow for varying focusing distances and macro apertures
If there’s one expression I could use to describe this camera, it’s ease of use. Once I figured out the controls, it turned out to be a joy to play with them. The focus control is so well made, that at close distances, it turns slower, allowing for some real precise focusing. The aperture adjustment clicks, letting me know when I’ve reached a proper setting. The film advancement lever’s travel is short and also clicks reassuringly. The exposure countdown dial clicks as well. I guess I like controls that click, but it’s the sort of feedback that encourages good use. It also gives the impression of something that’s very well-made.
It’s quite easy to take the lens off, and I love the fact that the extension barrel breaks down into multiple sections. It lets me vary the focusing length and also changes the perceived aperture of the lens, allowing me to get closer or further away from the object.
The interchangeable viewfinders are so much fun! I can just slide them out and use a different one, allowing me to customize the way I look at my photographic subjects. Both viewfinders allow me to see right through the lens (TTL), so I get a direct preview of the lighting conditions. When I adjust the aperture, the aperture ring closes or opens, and I can see right through the viewfinder how much light comes through the lens. Of course, as I found out with my first roll of film, you’d better know exactly what shutter speed you’re using, or else the photos aren’t going to come out as you saw them through the lens!
Judging from the instruction manual, this camera could be had with some pretty cool accessories when it came out: a lens hood to reduce glare, a tele lens, and a Stereflex Jena viewfinder and lens, that took 3D shots. It could also use a vertical grip and electronic flash, powered by a strap-held, external Braun battery. Pretty nifty! Just goes to show that a great gift doesn’t have to be new!
I need to point out (for those of you that have only used digital cameras) that working with a manual analog camera (especially one as old as this) is a _______ experience. It’s up to you to fill in that blank. Depending on your skill level and willingness to learn new things, it may be an amazing experience, or a completely frustrating one. If you’re only used to point and shoot, there is no such thing on a manual camera. Instead, you have what you see below.
You have to manually adjust the camera settings like aperture and shutter speed based on ambient light. You can guesstimate and live with the results, or use a light meter like this one. If you enjoy using burst mode (where you can shoot 3 or more photos in rapid sequence), you can forget it about it. You have to manually advance the film by cranking on a lever after each photo. Autofocus? Forget about it! Auto-flash? No such thing. You’ll need to manually adjust the power of the flash/strobe based on GN (Guide Number) calculations.
This may sound discouraging to novices, but believe me, it’s a fantastic learning experience. If you master the use of a manual analog camera, you’ll approach photography with a brand new perspective. The quality of your photos will improve tremendously, and you’ll get real joy out of using your camera, be it analog or digital. Plus, there are other fringe benefits, such as not needing to use batteries (manual cameras don’t need them) and of course, my favorite, the opportunity to pool with a really, really cool gadget. Once you hold one of these cameras in your hand and get to appreciate the fine engineering and craftmanship that went into making it, you’ll know you’ve got something pretty unique, something you don’t see these days, when cameras are made by robots. There’s something captivating about using metal levers and gears and getting real tactile feedback from your camera. I get a really nice feeling when I press the shutter and a mechanical part actually moves inside. It’s not a circuit, it’s not a sensor — it’s a real piece of metal. Now that’s nice!
Updated 12/25/12: I no longer have the camera, please stop asking for the user manual. Thanks!
This post is part of a series on Walt Disney World. Click on each link to access Part 1, Part 2 and Part 3.
There’s a ride called the Backlot Tour at Disney MGM Studios. At first sight, it seems like nothing fancy: just a tour bus that takes you around various places. But if you assume that and never go on it, you miss out on a whole lot of fun.
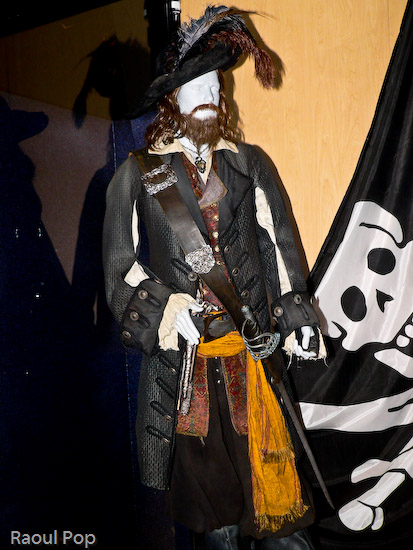
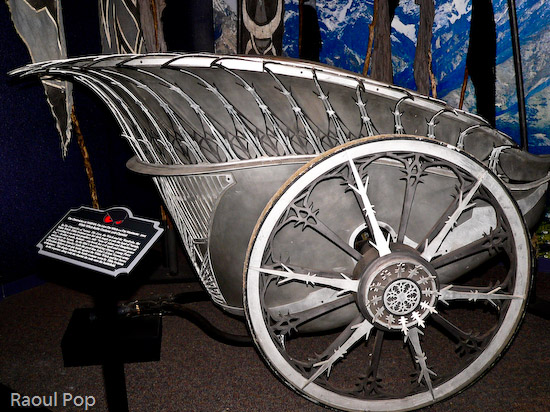
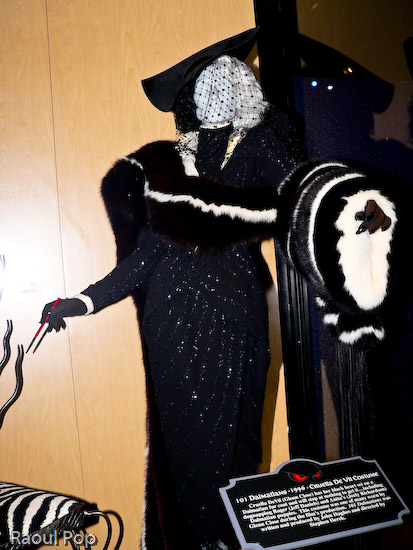
The Backlot Tour is actually made up of three segments: a pre-ride special effects show (with audience participation), the actual tour in the buses, and a very nice post-tour walk through the on-site AFI (American Film Institute) Museum, which is packed full of actual movie props and costumes.
The special effects show involves mock action sequences from Pearl Harbor, and the audience is shown how stunts like the ones in the movie were created. You also get a sense of the scale of those special effects, and of the incredible effort and planning that went into creating each action scene, even if it lasted only a few seconds.
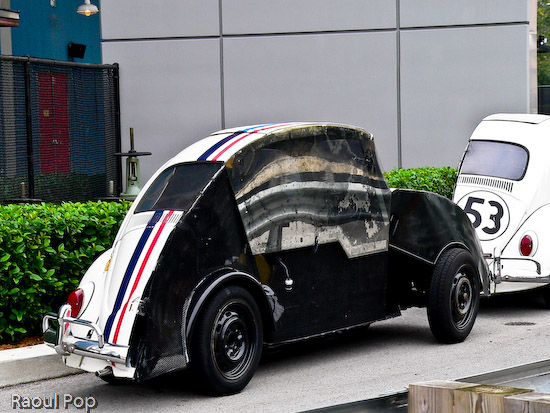
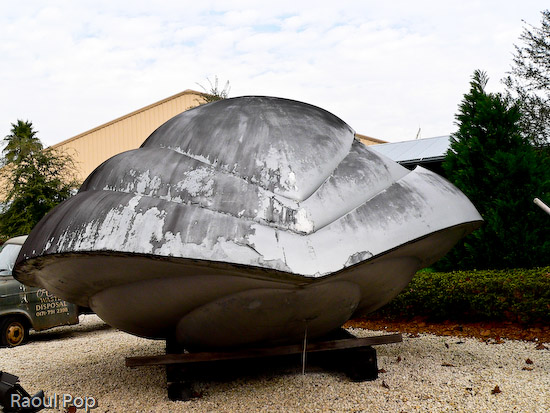
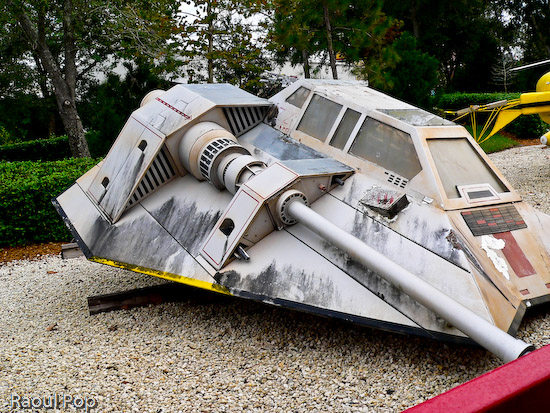
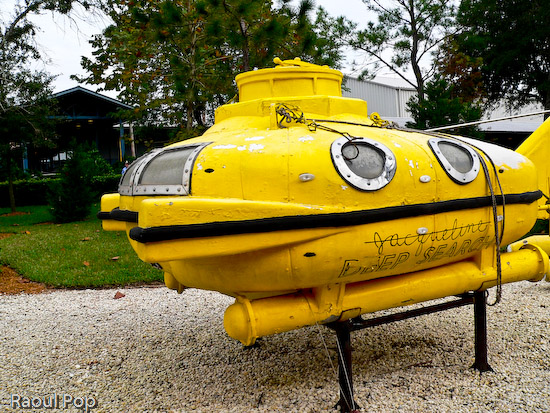
The backlot tour gives the visitors behind-the-scenes glimpses at the work that goes on at the studio, which is supposedly in use for various movies from time to time. As the tour guide speaks, the bus snakes its way among various cars and objects used in past and recent movies.
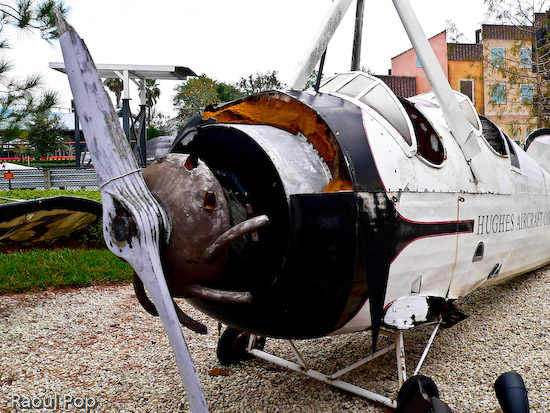
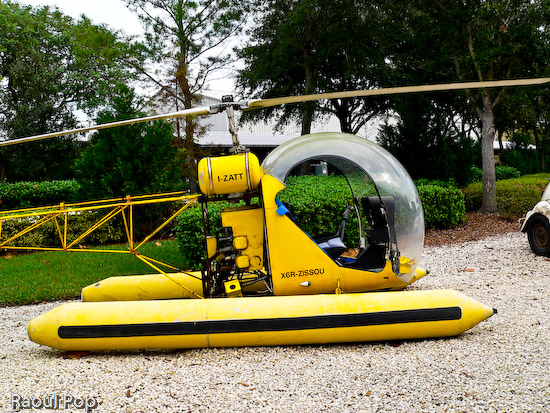
There are rare gems, like Walt Disney’s personal plane. He used it to fly over the Florida Everglades when he surveyed the land he would later purchase for Disney World. Toward the end of the tour, you’ll be taken through the costume department. There’s a tunnel built right through the building where the staff works on costumes, and large windows line it. You’ll be able to look right in and see them at work on the various costumes worn by WDW cast members.
You’ll get an unexpected shock as you experience a fire and water stunt at a specially-designed canyon. Tens of thousands of gallons of water will rush past you. It’s quite a sight to see!
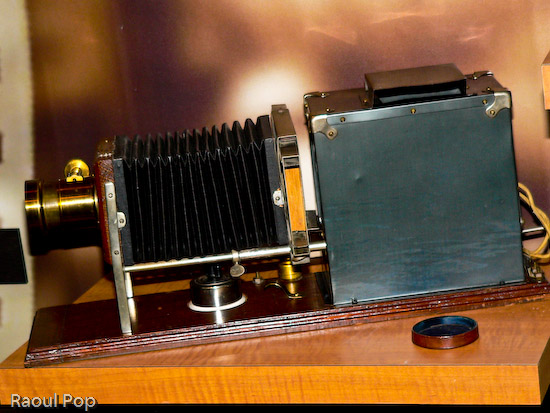
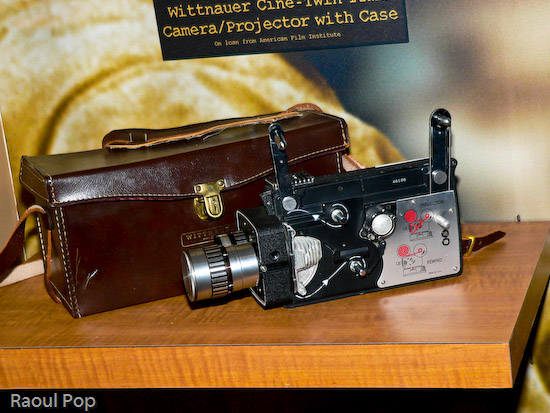
But what I thought was really interesting was the AFI Museum, available at the end of the tour. There was no time limit, and we could look at the various movie props and costumes as long as we wanted. It was a treat!